How To Make An Easy DIY Sunflower Clothespin Wreath
Have you ever wondered how to make a clothespin wreath? Or even better yet, how to make a sunflower clothespin wreath? Today I’m sharing how to make a clothespin sunflower wreath with Rit Dye, paint, clothespins, and a wreath form.
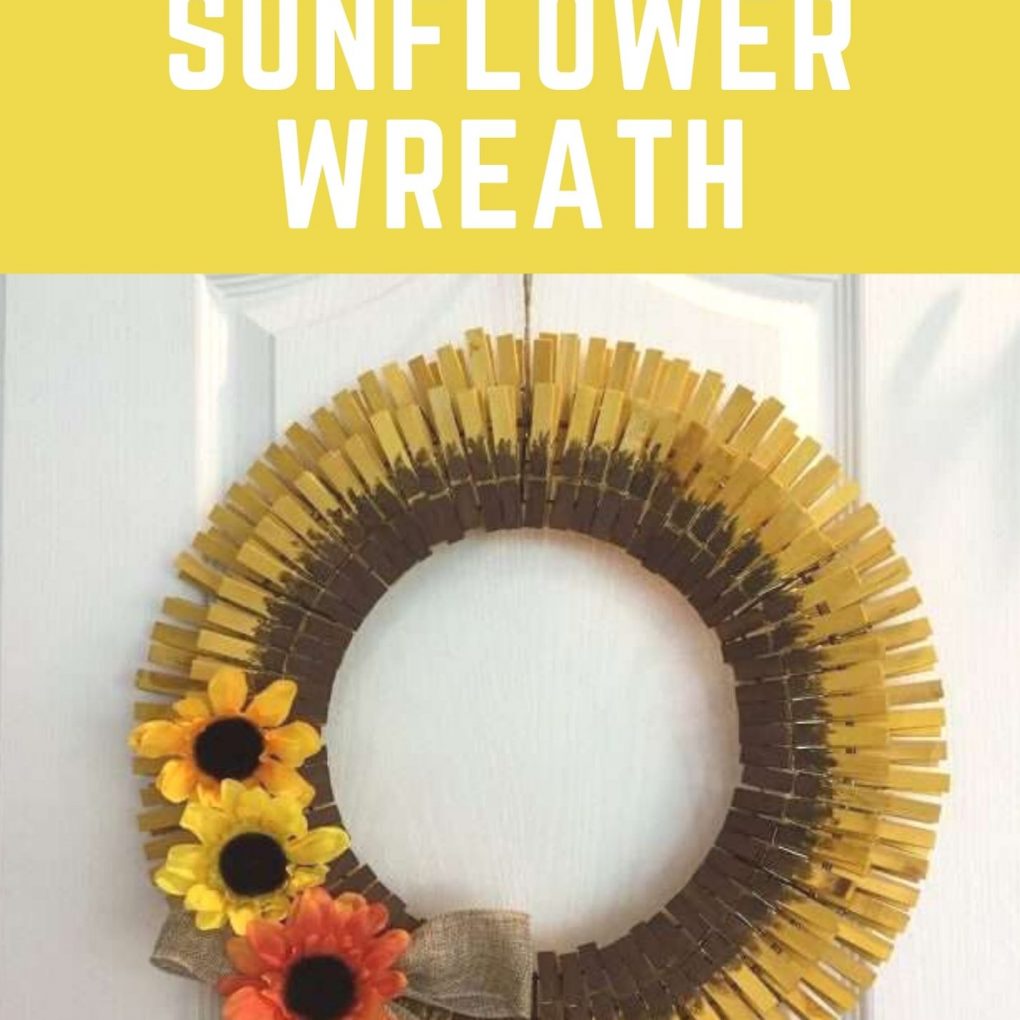
How to Make DIY Sunflower Clothespin Wreath
This is an amazing and fun Dollar Tree craft. This is a perfect craft for kids or one to make with a crafting group of adults.
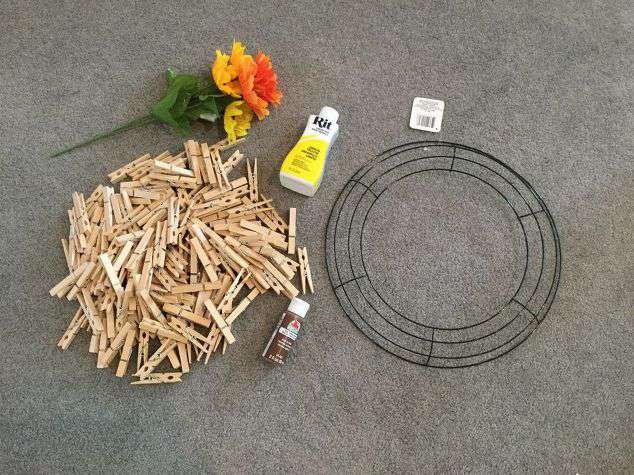
Supplies for Dollar Tree sunflower clothespin wreath:
- Bunch of clothespins
- Rit Dye – I used Lemon Yellow
- wire wreath form
- Brown acrylic paint & paint brush
- Faux flowers
- Burlap ribbon or fabric
- Twine
- Bowl or Bucket for dying
Sunflower Clothespin Wreath Directions:
Step 1: Dye clothespins
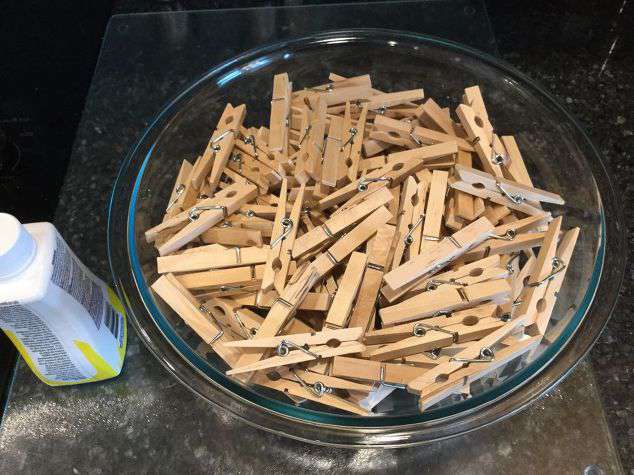
Put your clothespins in a large bowl or bucket.
*For my wreath, it is a 14″ frame from Dollar Tree and it took 156 wooden clothespins.

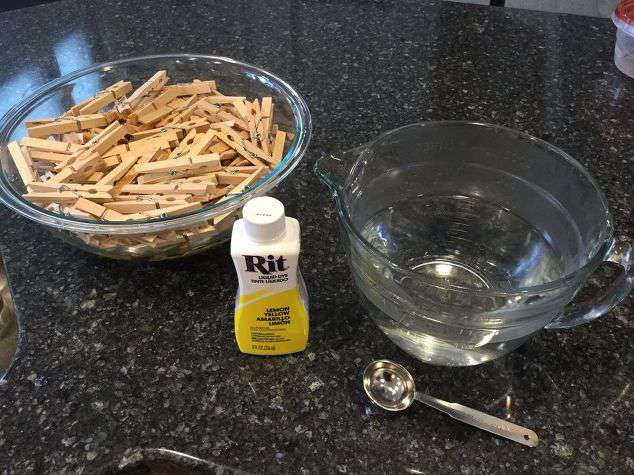
Cover the clothespins in water. Add 2 Tablespoons or more of Rit Dye to reach your desired color. Remember to shake the bottle before pouring.
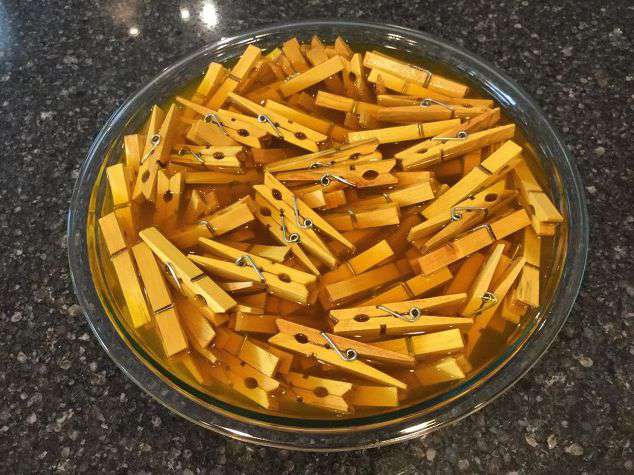
Let them soak for approximately 4 hours. The dye creates such vibrant colors.
Yes, you can use food coloring to dye your clothespins as well, or you can use spray paint.
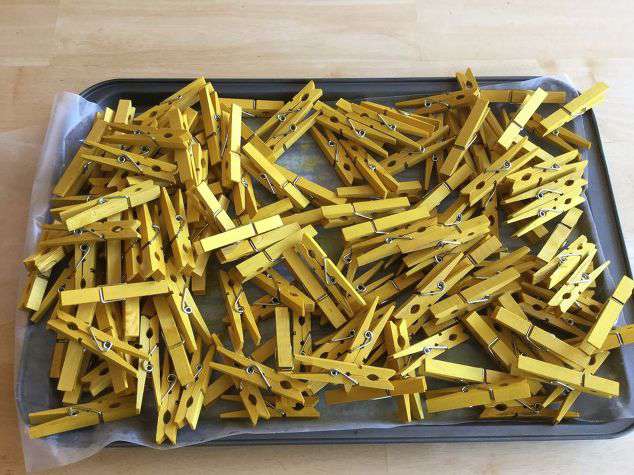
Step 2: Allow clothespins to dry
Let the clothespins dry completely. Mine took a little over 24 hours stacked like this.
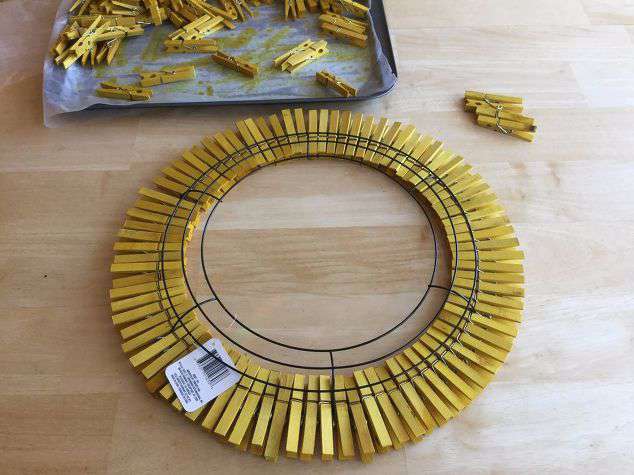
Step 3. Attach first layer clothespins
On your wire wreath frame, clip your clothespins on the last wire all the way around the outer circle.
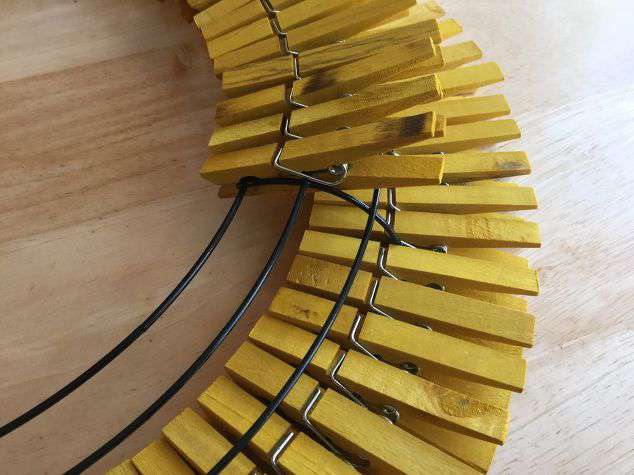
Step 4. Attach second layer clothespins
For your second layer, clip your clothespins on the first and second wreath wire all the way around the inner circle or the wreath form.
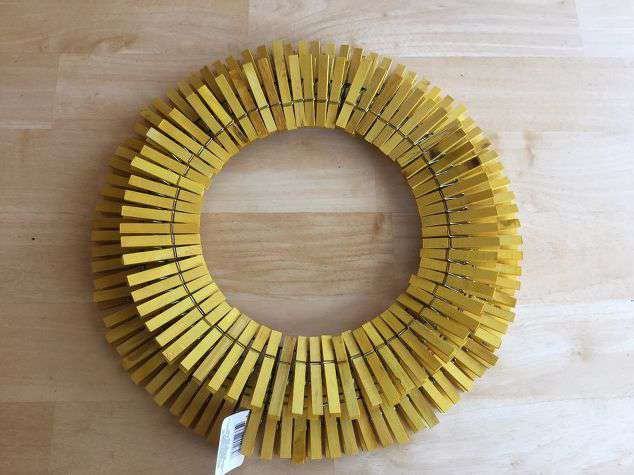
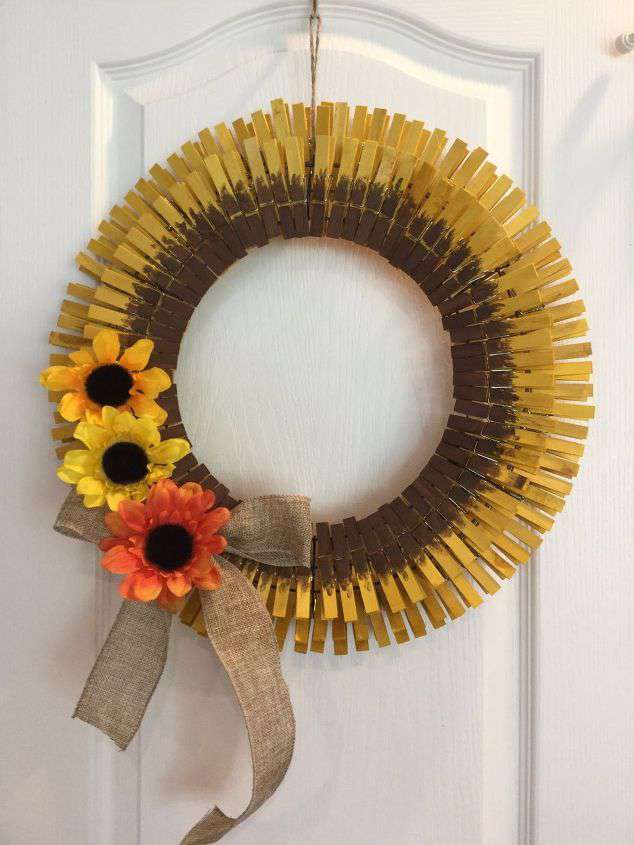
It’ll look like this after you get all the clothespins on forming the petal shape.
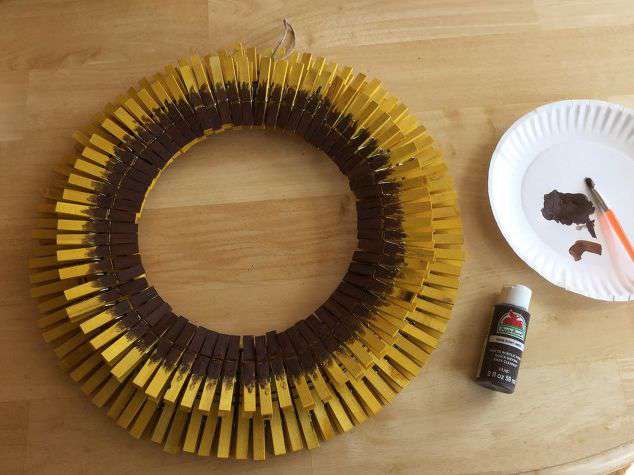
Step 5. Paint flower center
Paint brown acrylic paint on the first layer a little over halfway toward the wreath center to create the flower center. Using a small paint brush, I also made the edges uneven to create that sunflower’s center look.
*Optional, if you aren’t up for the painting, you could use brown Rit Dye and dye the first circle of clothespins instead. So you’d have an outer layer of yellow and a center layer of brown clothespins.
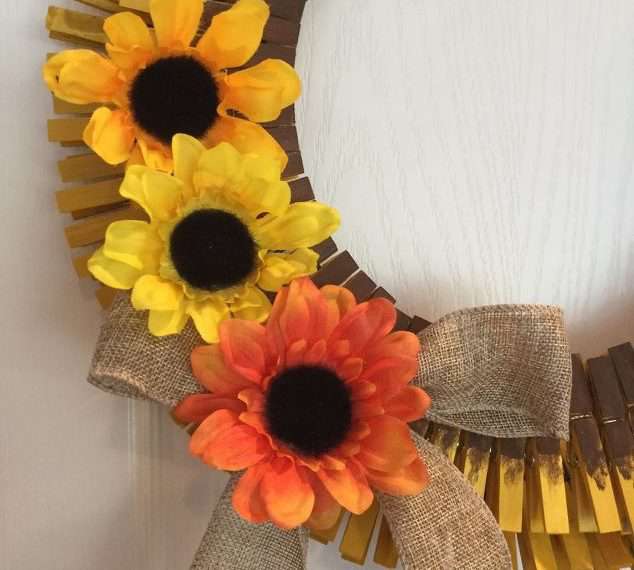
Step 6. Glue flowers and bow
Add embellishments, a brown burlap ribbon bow (or poly burlap if you’d rather), pull some sunflower heads off a bouquet, and use a hot glue gun to attach them to your wreath.
Other options include using poly burlap, or other flowers like apple blossom, Gerber daisy, etc. Instead of using flowers, you could also use faux greenery for sunflower leaves.
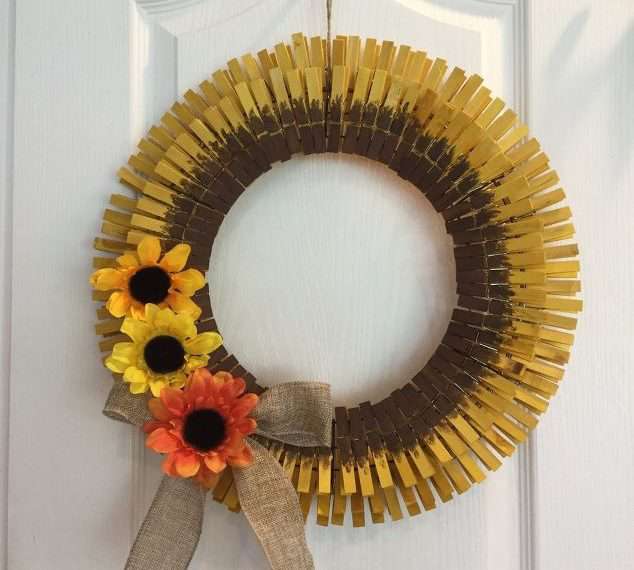
Step 7. Attach twine to hang
Tie a piece of twine at the top for hanging. Hanging your wreath from the top works best as the back of the wreath form is covered with the petals. Your big sunflower is done for you to enjoy. I put mine on my front door and I love this beautiful wreath.
If you are looking for more flower crafts, be sure to see my complete flower collection tutorial here: Easy Flower Crafts.
This clothespin wreath is so easy to make and you can change up the colors and flowers to make different designs.
If you’re looking for a DIY Sunflower wreath out of poly burlap mesh, yellow poly burlap mesh, zip ties or pipe cleaners, etc. Or perhaps you’re looking to make your sunflower wreath out of a cardboard circle and gold bandanas. You might like one of these tutorials on Pinterest.
This DIY wreath will cost less than something you might buy at Hobby Lobby, but I found some affordable options on Amazon if you don’t want to make it. Get Yours Here
Learn more about “Creating Seasonal Decor for Your Home” to create seasonal decor that doesn’t cost an arm and a leg.
Shop any of these stores and I receive a small commission at no cost to you.
 (Pack of 50) Wooden Clothes...Shop on Amazon
 Darice 12" Metal Floral Wre...Shop on Amazon
 Nakoma Rit Liquid Dye,Golde...Shop on Amazon
 StikArt Removable Sunflower...Shop on Amazon
For my Dollar Tree 14 inch wire wreath form, it took 156 wooden clothespins. Adjust for less or more clothespins if using a different size wire form. Options for wire wreath sizing include 8, 10, 12, 14 or 16 inches.
To dye the clothespins for the sunflower wreath, you can use Rit Dye. First, put the clothespins in a large bowl or bucket, cover them with water, and add 2 tablespoons or more of Rit Dye to reach your desired color. Let them soak for approximately 4 hours. After soaking, be sure to let the clothespins dry completely before using them for the wreath.
I like to use a hot glue gun. But, you can attach the faux flowers with floral wire. For hot glue just use a small amount on the back of the flower and attach it to the clothespin wreath. Glue the flowers anywhere on the wreath and can be centered or they look nice off centered, too.
You can use dried flowers to attach to this clothespin sunflower wreath. Try attaching them with a hot glue gun or you can use floral wire. If you want a more rustic wreath, consider using dried sunflower heads. To attach, use a hot glue gun and glue the dried sunflower heads onto the wreath. Place a small amount of hot glue on the back of the flowers and press it onto the wreath in the spot you would like them.
How To Make A DIY Clothespin Sunflower Wreath
Equipment
- StikArt Removable Sunflower Wall Decals Printed on Waterproof Canvas
- Nakoma Rit Liquid Dye,Golden Yellow, 14.22 x 6.35 x 5.08 cm, 236 ml
- Darice 12″ Metal Floral Wreath, Green
Materials
- Clothespins
- Rit Dye
- Wreath Form
- Brown acrylic paint & paint brush
- Flowers
- Burlap ribbon
- Twine
- Bowl or Bucket
Instructions
- Put your clothes pins in a large bowl or bucket. Let them soak for approximately 4 hours.
- Let the clothes pins dry completely.
- On your wreath form, clip your clothes pins on the last wire all the way around.
- For your second layer, clip your clothes pins on the first and second wires all the way around.
- Paint brown acrylic paint on the the first layer a little over half way.
- Add a burlap ribbon bow.
- Hot glue some sunflower heads onto your wreath.
- Tie a piece of twine at the top for hanging.
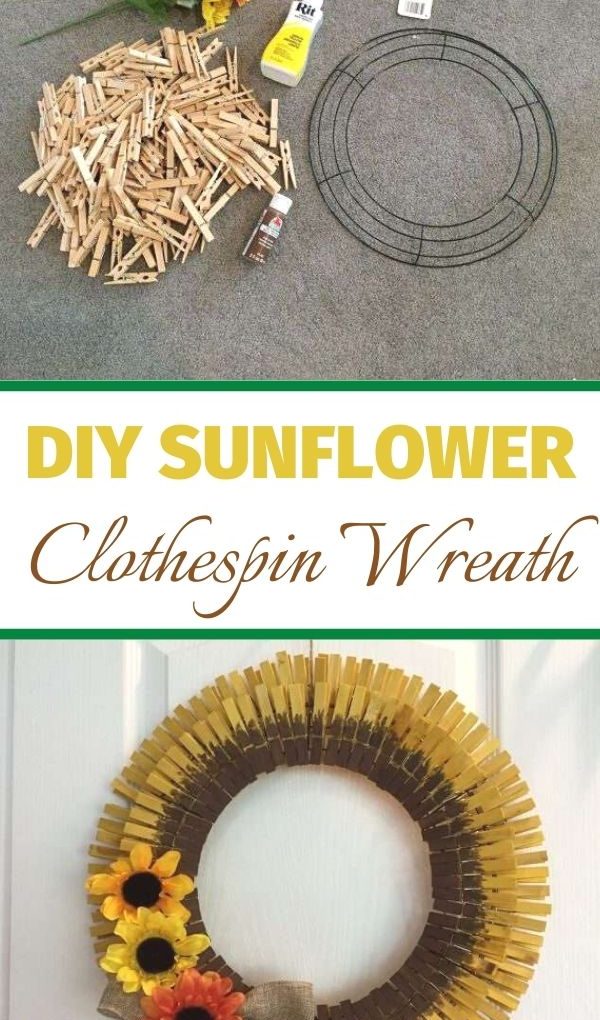
Some would consider this a fall wreath and others maybe a perfect summer decoration. What do you think? Let me know in the comments below.
This is such an easy project and you can have fun with wreath ideas. Adjust colors and designs to make clothespin wreaths for holidays like Valentine’s Day, St. Patrick’s Day, Fourth of July, or any season.
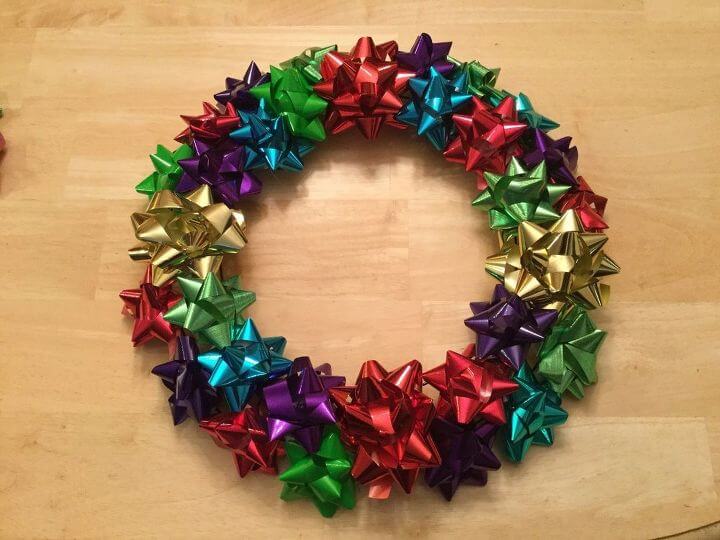
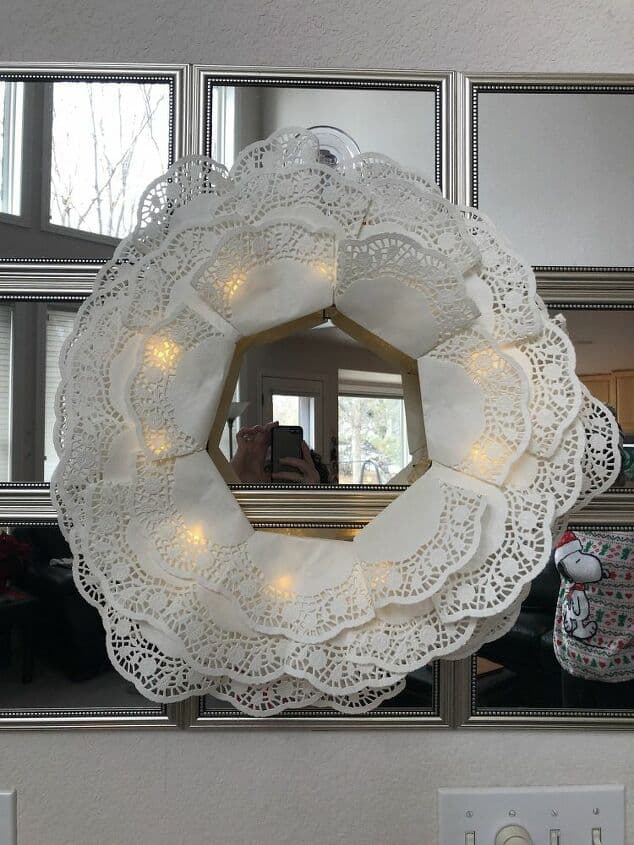
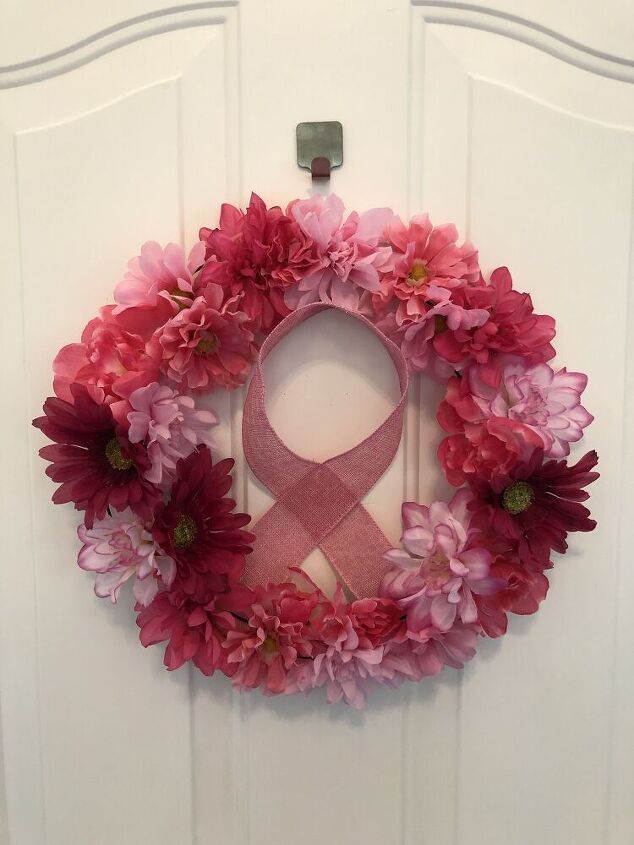
Check out some of my other wreaths!
If you liked this easy project, you might have fun with these other wreath ideas! Make some for every season!



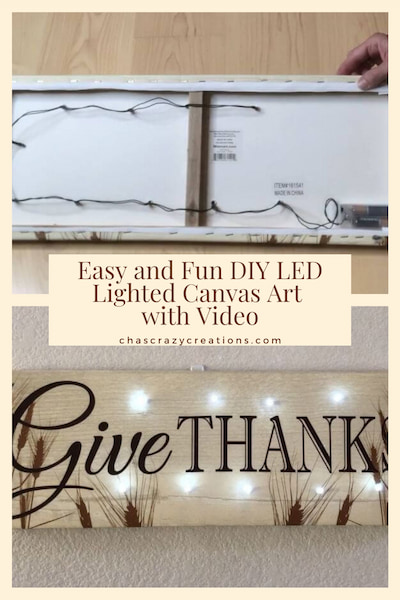
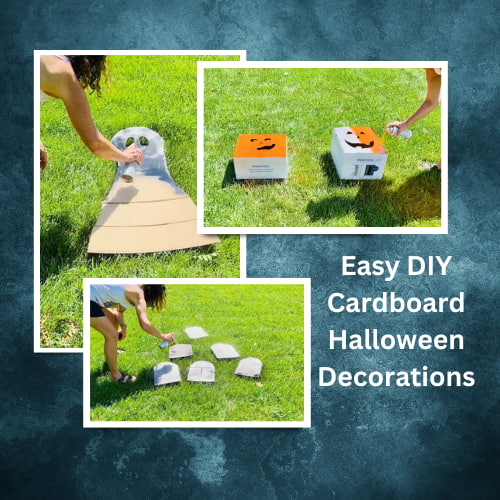


I must be doing something wrong. The inside layer keeps flopping over…HELP!
Make sure you get the clothespins all the way on, and then once you hang it up, they’ll stay in place as well.
Such a fun idea!
Thank you for linking up to Creative Compulsions!
Michelle
mybijoulifeonline.com
Thank you so much Michelle
Well, I definitely had to click the sunflower link ~ my favorite flower. I think I pinned this a while back, but I’ll pin again lol! I’m visiting from Artsy Fartsy ~ I shared links #11 and #12. Happy Thursday!
Thanks Allyson, and thanks for the Pin. I’m thrilled you like the wreath and love that it’s one of your favorite flowers!
What a creative and beautiful way to use clothespins.
Thank you so much
This is lovely, i came from Esme salon link shear I will follow you and look forward to you coming over to my place for a read.
Thank you so much Ellen, and I look forward to learning more about you as well.
Love it and especially since it’s a sunflower! Pinned ♥ If you’re not aware, I have a new UNLIMITED Monthly Link Party! I’d like to invite you to bring this post and more over and linkup with everyone.
Thank you so much Dee and thanks for the Pin. I appreciate the invitation and I’ll be sure to stop by.
Thank you for sharing at #OverTheMoon. Pinned and shared.
You’re the best Marilyn – Thank you 🙂
Thank you for sharing at #ThursdayFavoriteThings. Pinned and shared.
Thank you very much Marilyn, have a wonderful week.
What a great wreath, Chas! Pinning because I think I need one. You’ll be featured tonight on my blog. Thank you for sharing at Party In Your PJs!
You are so very sweet Ann, thank you so much and thanks for the Pin and feature. I hope you’re having a great start to summer and see you at the next link party 🙂
I have leftover clothes pins from a wreath project from last year. I need to try this project out too. Thanks so much for sharing.
Thank you Donna and I’m thrilled you want to give it a try.
This is adorable! Great tutorial as well! We just started a new link party called Handmade & Otherwise- stop by and join us! petalspiesandotherwise.com
Thank you so much Katy and thanks for the invite, I’ll be sure to stop by.
Pinned this to my “DIY Lovely Wreaths” board, Chaz! I’m here via Talk of the Town! Would love to have you come and party with us at Tuesday Turn About! We’re live until Friday Midnite!
Thank you so much Julie and thanks for the invite… I’ll be sure to stop by 🙂
Gran idea, muy original.
Saludos
Thank you so very much Lirtea 🙂
This is a great wreath! I have some sunflower plants started. Too bad they don’t grow clothespins : ) : ) hahaha.
Thank you very much Liberty and I love that you’re growing sunflowers – love them.
Your sunflower wreath is downright ADORABLE and I love how easy it is to make! Pinned 🙂
Thank you so much Marie and thank you for the Pin 🙂