

Easy DIY Dollar Tree Solar Butterfly (Using Hangers!)
Are you looking for a way to add some whimsy to your garden at night? With just a few simple supplies from the dollar store, you can make this glowing solar creature for less than $5! This project is one of my favorite [Dollar Tree Hacks] because it takes everyday items—plastic coat hangers—and turns them into something unrecognizable and beautiful. It fits perfectly with my other [Solar Light Projects], like my flower pot lighthouse or solar chandeliers.

Quick Answer: How do you make a butterfly out of hangers?
You can create a giant glowing butterfly for your garden in 4 steps:
- Arrange: Lay 4 plastic hangers on a flat surface so the hooks meet in the center (forming the antennae) and the triangles form the wings.
- Secure: Zip tie or wire the hangers together at the center (hot glue will melt outside!).
- Light: Attach a cheap solar path light to the center to create the “body.”
- Hang: Suspend it from a shepherd’s hook or fence using fishing line.
In this post, I’ll show you how to build your own Solar Butterfly and, most importantly, how to waterproof it so it lasts all summer long.
How To Make A Butterfly Video
Materials Needed
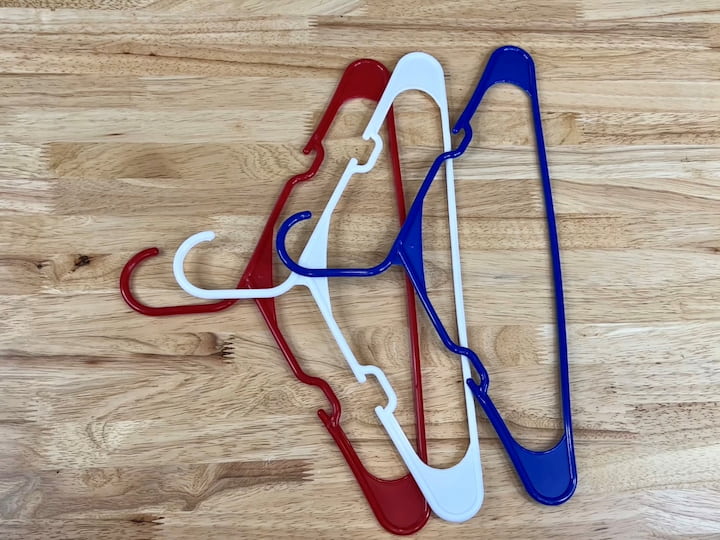
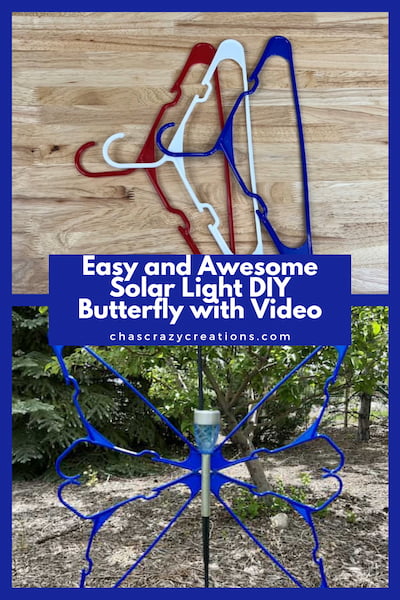
- 4 Plastic Hangers: (The standard tubular kind work best. You can use colored ones or paint them!).
- 1 Solar Path Light: (The cheap $1.25 kind from Dollar Tree).
- Zip Ties or Floral Wire: (Crucial for durability).
- Hot Glue: (For temporary hold only).
- Fishing Line: (For hanging).Optional: E6000 glue, glitter, or acrylic paint for decoration.
How to Make a Solar Hanger Butterfly
Step 1: Position the Hangers

Lay your 4 hangers on a flat surface (table or floor).
- Orientation: Point the hooks of all 4 hangers inward so they touch in the center.
- The Shape: Angle the top two hangers up and the bottom two hangers down. You will instantly see the “Butterfly Wing” shape appear!
Step 2: Glue & Reinforce (Important!)
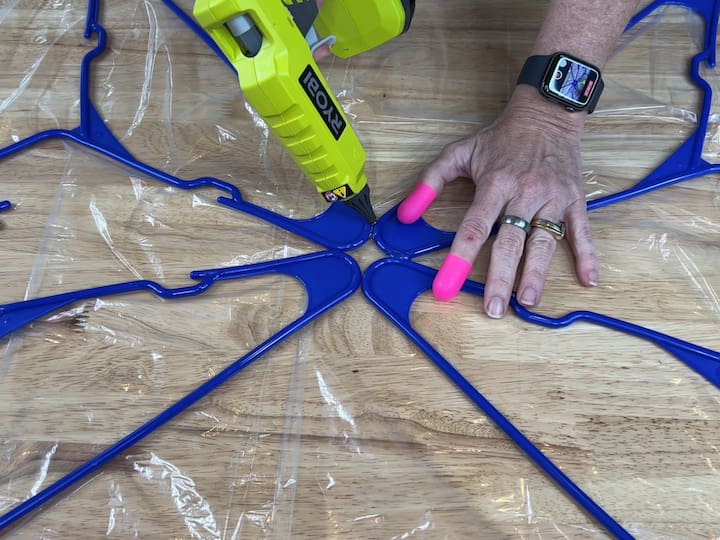
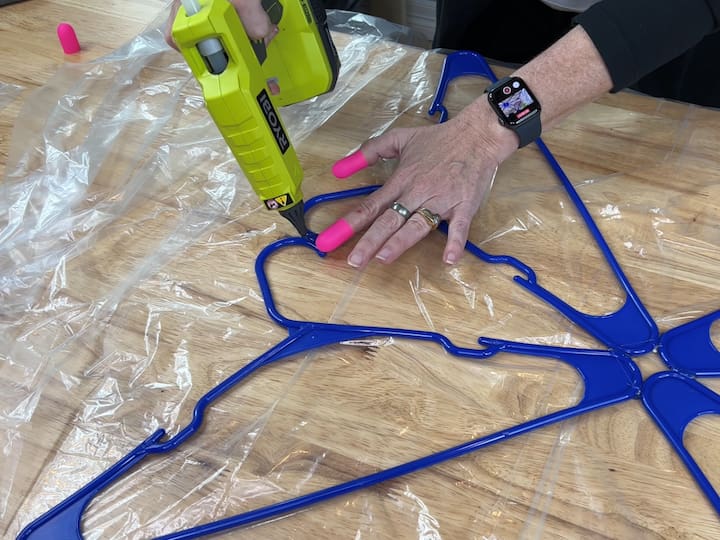
Use a dab of hot glue to stick the hangers together at the center point. This holds them in place while you work.
- The Pro Tip: Hot glue will not hold in the outdoor heat/cold. You must reinforce the center connection. Wrap zip ties or floral wire tightly around the center where all the hangers meet. If you want it invisible, use clear fishing line wrapped many times.
Step 3: Attach the Solar Light
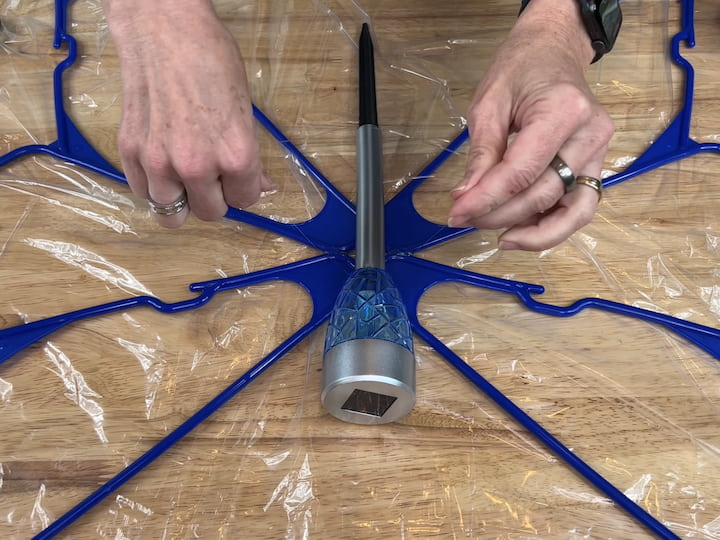
Take your solar path light and remove the plastic stake (you just need the light and the post).
- Place the solar light vertically in the center of the wings. This acts as the butterfly’s “body.”
- Secure it to the hangers using zip ties or E6000 glue. Ensure the solar panel is facing up so it can charge during the day!
Step 4: Decorate (Optional)
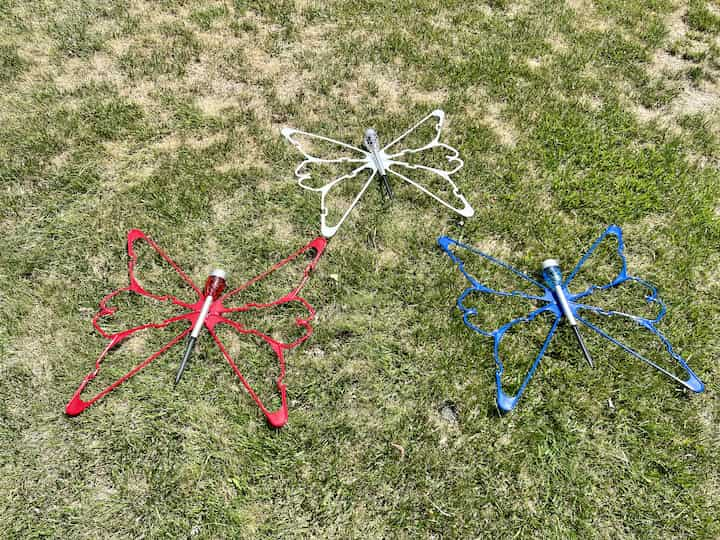
You can leave the hangers plain (white or blue hangers look great as is!), or you can dress them up:

- Paint: Spray paint the whole thing one color.
- Glow: Add Glow-in-the-Dark paint to the wings for extra night visibility.
- Screening: One reader (Beryl) glued fiberglass window screening to the back of the wings to give them a realistic texture!
Step 5: Hang It Up
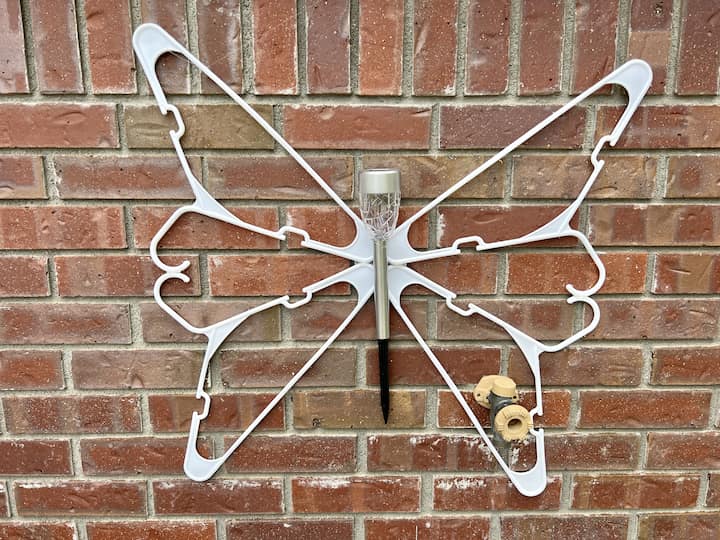
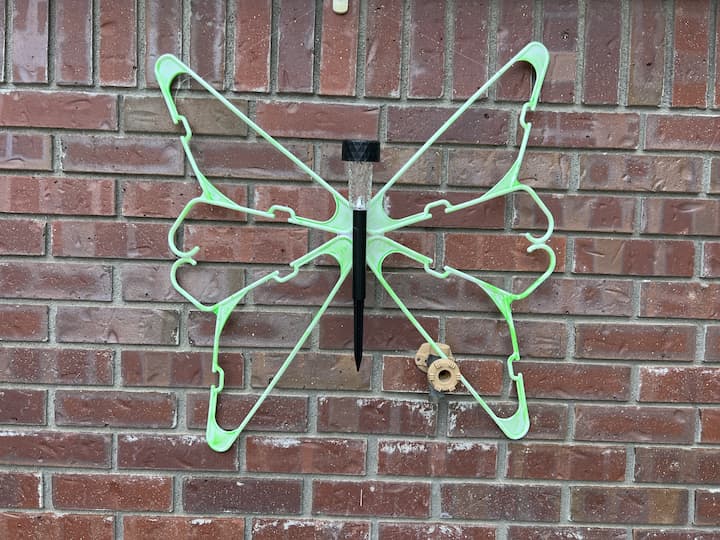
Tie a piece of fishing line to the top wings and hang your butterfly from a tree branch, a shepherd’s hook, or even mount it to a brick wall using a heavy-duty Command Hook
I hung my white butterfly in my front yard on a blank brick space where it could stand out.
Customizing & Hanging Your Butterfly
This project is totally flexible based on what you have in your craft stash. Here are the best alternatives I have found for building and displaying them:
Best Glues & Reinforcement
Since hot glue won’t hold up long-term outdoors, try these strong alternatives to keep your hangers secured:
- Heavy Duty: E6000, Silicone, Epoxy, or Gorilla Glue.
- Mechanical: Zip ties (cable ties), floral wire, or even pipe cleaners twisted tightly!
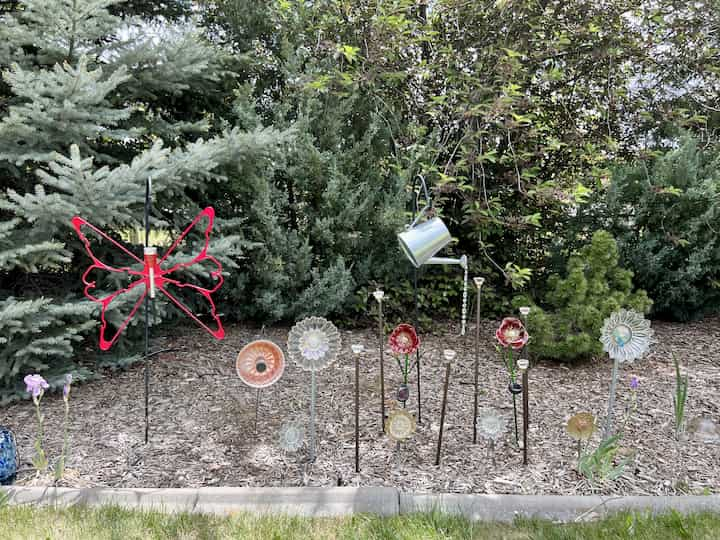
I hung my red butterfly by my dish flower garden with my pouring watering can.
Fun Ways to Decorate
I left mine plain to match the colored hangers, but you can dress them up:
- For Kids: Add stickers, 3D butterfly decals, or glitter glue.
- For Nighttime: Use Glow-in-the-Dark paint on the wings or wrap battery-operated fairy lights around them.
- For Texture: Glue fiberglass window screening or tulle to the back of the wings for a realistic look.For Color: Use spray paint (Krylon Fusion works best on plastic) to make the hangers any color you want.
How to Display Them
You can create an entire “Butterfly Garden” by hanging them in different spots:
- In the Garden: Hang from a shepherd’s hook or a low tree branch using fishing line.
- On a Fence: Use a nail or an outdoor screw to mount it directly to a wooden fence.
- On Brick/Siding: Use Brick Clips or Vinyl Siding Hooks (no drilling needed!).Indoors: These make cute nightlights for a kid’s room if you hang them near a window!
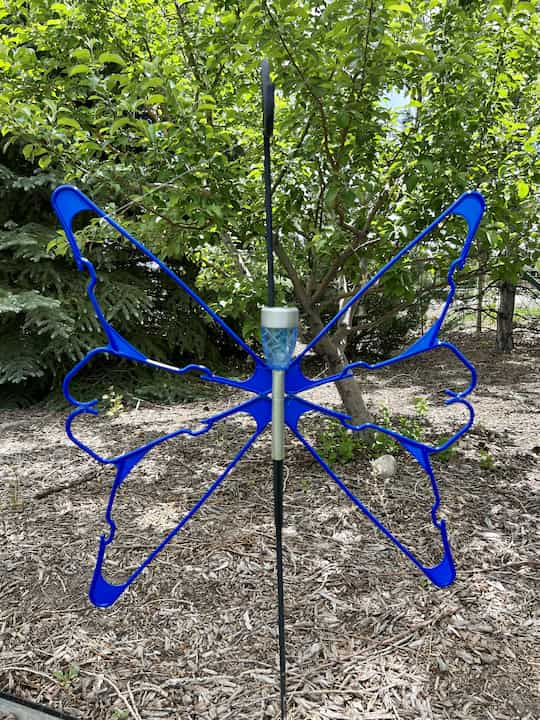
I hung my blue one out in the yard on a Shepard hook above our fresh flowers.
How To Make A Butterfly Video
Frequently Asked Questions:
Yes. Standard hot glue will pop off in freezing cold or extreme heat. Always reinforce your structural joints with zip ties, wire, or E6000 adhesive for outdoor projects.
If you want to mount it to a wall instead of hanging it from a tree:
Brick: Use a “Brick Clip” (no drilling required!).
Siding: Use a “Vinyl Siding Hook.”
Command Hooks: Use the “Outdoor” rated Command Hooks, but be aware they may struggle in direct sunlight over time.
You can paint the stem of the light, but do not paint the solar panel on top! If you cover the panel, the battery won’t charge.
Easy and Awesome Solar Light DIY Butterfly with Video
Equipment
- Hot Glue Gun
Materials
- Hangers
- Solar Light
- Hot Glue Gun
- Fishing Line
Instructions
- POSITION THE HANGERS
- HOT GLUE THE PIECES TOGETHER
- PLACE AND ATTACH A SOLAR LIGHT IN THE MIDDLE
- HANG YOUR DIY BUTTERFLY
Video
Check out some of my similar posts!


I made these and discovered by putting fiberglass screening on the back sides made them look more realistic. Everyone loved them hanging on our fence.
I love that, thanks for sharing and I’d love to see pictures please
so cute chas im gonna try this
Thank you so much 🙂
These are awesome and so easy! Right up my alley!! How did you hang it on the brick?
Thank you so much 🙂 I used a command hook to hang it on the brick
Wow! Such an easy thing to do and yet so pretty. Where do you get all this imagination?
Thank you so much 🙂
This is such a cute idea, Chas! I can’t believe how perfect the shape is using those hangers. Very creative my friend.
Thank you very much 🙂