
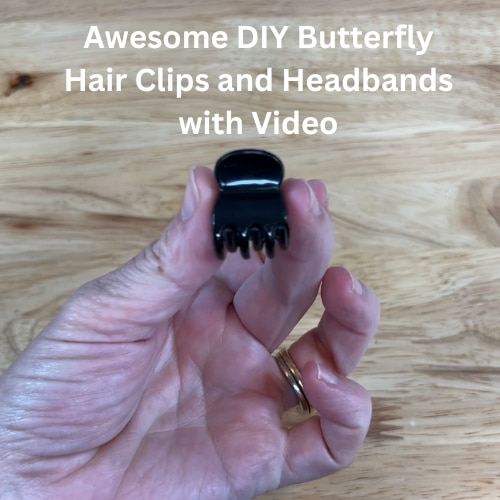
Awesome DIY Butterfly Hair Clips and Headbands with Video
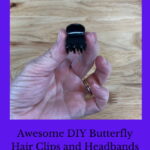
Are you looking for butterfly hair clips? Here are some easy DIY updates you can make to those clips and headbands.
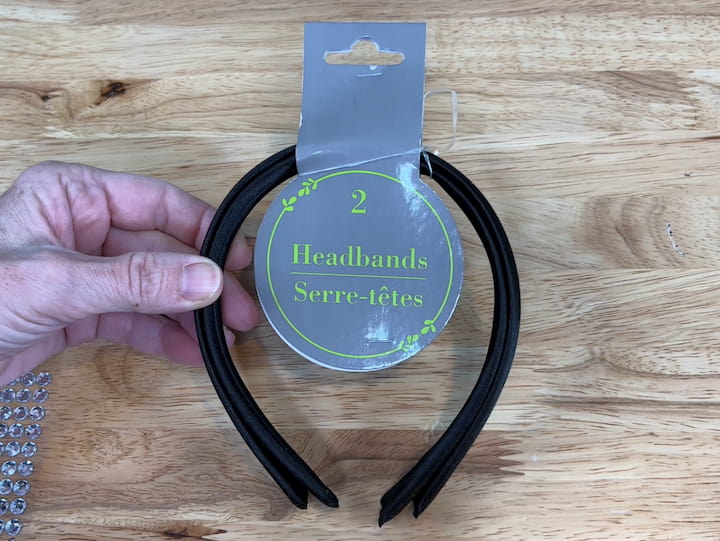
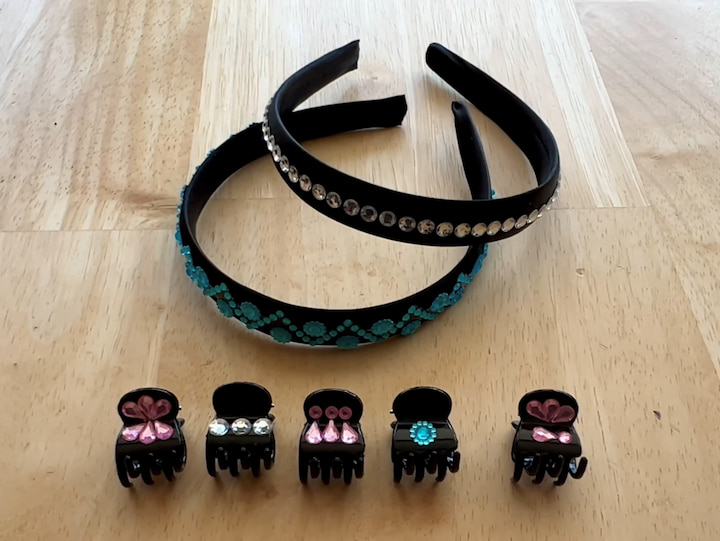
Butterfly Hair Clips Materials
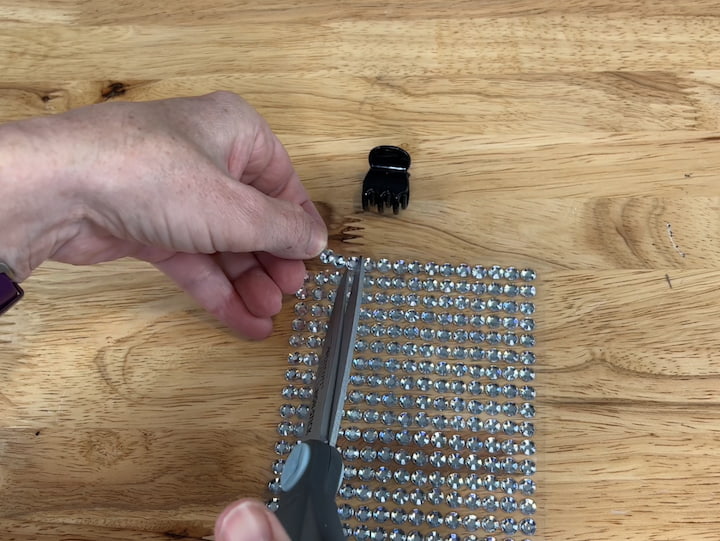
To start this project you’re going to need some gemstone stickers and these came from the dollar store.
 Wecoe Headbands for Women G…Shop on Amazon
 100 Packs Assorted Color Bu…Shop on Amazon
 QUEENTI 2102pcs Gems Sticke…Shop on Amazon
Butterfly Hair Clips Video
Butterfly Hair Clips instructions
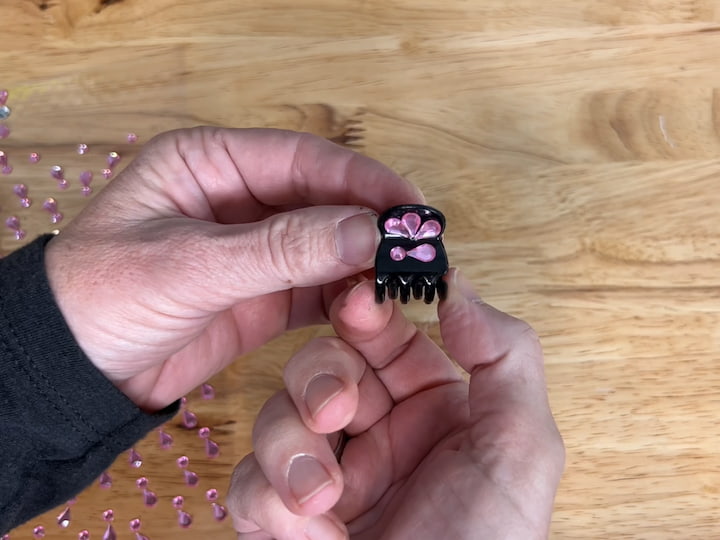
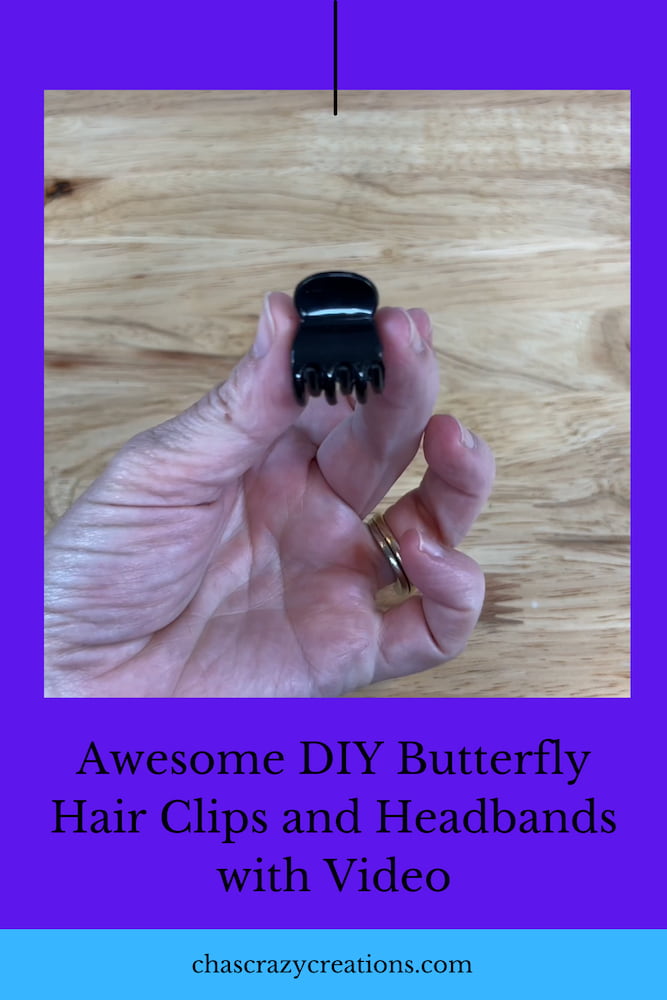
1. Add Stickers to Hair Clips
Next, I have a hair clip I’m going to peel up three of the stickers and then cut them and then I’m going to go ahead and place them onto the hair clip. Then I’m going to flip over and do that to the other side as well.
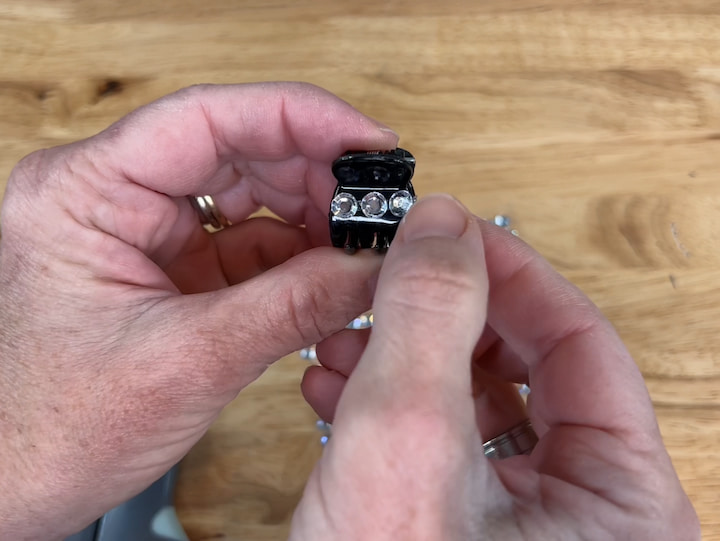
Now you can leave it like this or we can go ahead and update the top part as well. It’s really your choice on how you want to do that,
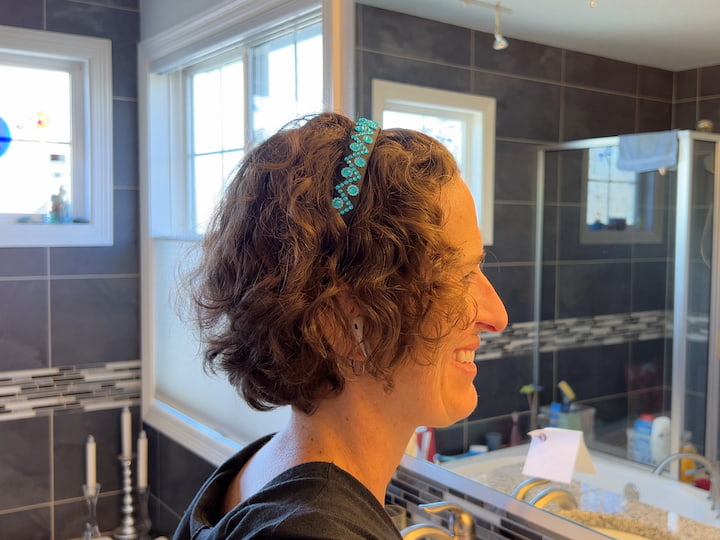
2. Add stickers to headbands
Now let’s go ahead and move on to the next project. I’m going to update a headband and just like before I’m going to go ahead and remove a row of stickers.
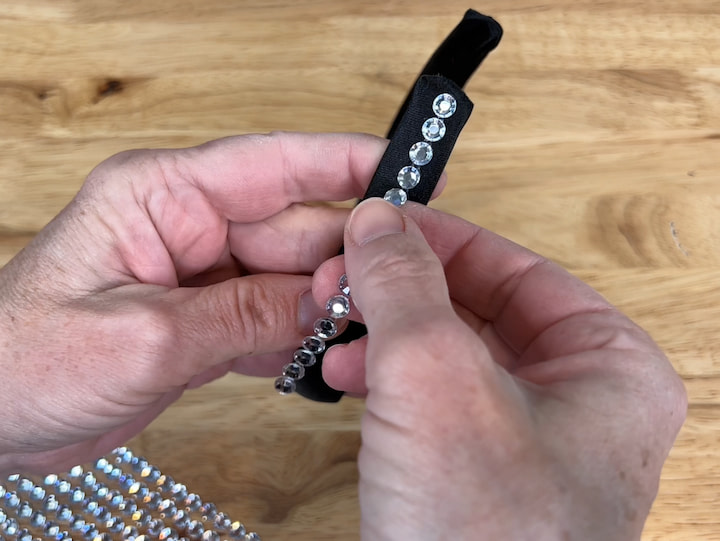
I’m going to start at the bottom and place them in the center or you could do if you want a solid row of stickers you could easily do two side-by-side or perhaps even three. I’m just going to aim at the center and I’m just going to continue doing this grabbing another row and then continuing over the top centering that up as I go over the headband until I get to the other side. I’ve got at least one more row to grab here and if I end up with some extra on the other side I will just simply trim it up.
You could easily do more than one row if you like. I’ve just given a very plain headband a nice little facelift.
More Butterfly Hair Clips and Head Band examples
I’m going to take this simple headband and update it with some beautiful stickers so the first thing I’m going to do is pull this row of stickers off. Then I’m going to go ahead and stick one end to the headband and then I’m going to continue to go around the headband to the other side.
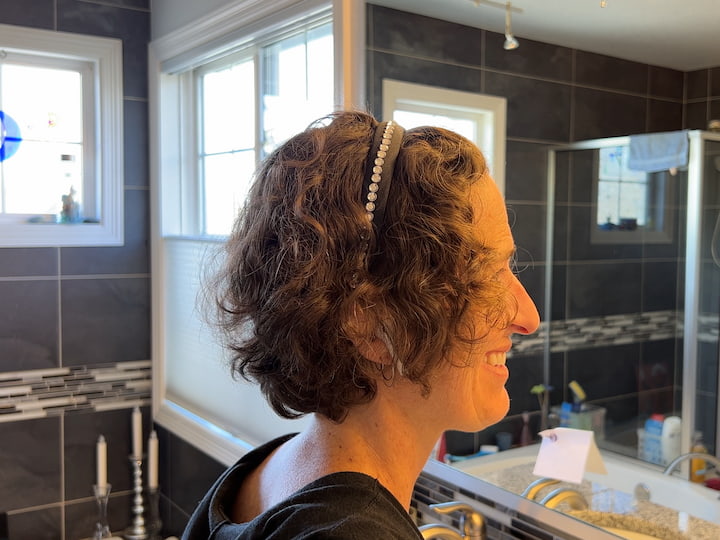
Here’s a quick and easy headband great for anyone and a great gift idea.
For this next clip I took some stickers that I had on hand you can easily pull them apart but I took an exclamation point shape and put it on the side of the clip next I pulled the dot off and used the teardrop shapes to create something like wings. Looks like a butterfly or a dragonfly.
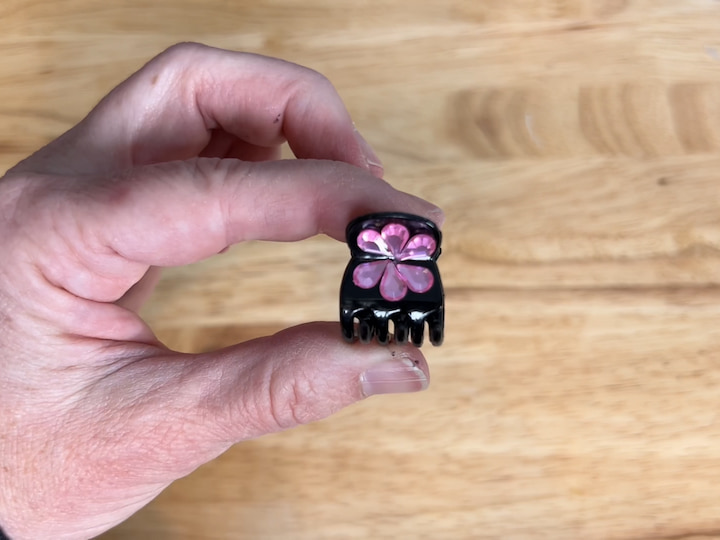
For this next one, I took the exclamation point shape and put the dot on one side and the teardrop on the other side, and aligned three up of these in a row. For this one, I took the teardrops and made a kind of like flower shape with them.
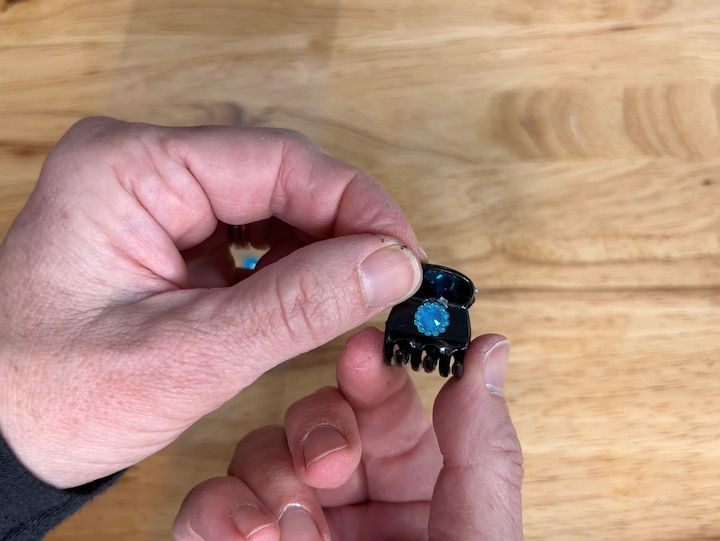
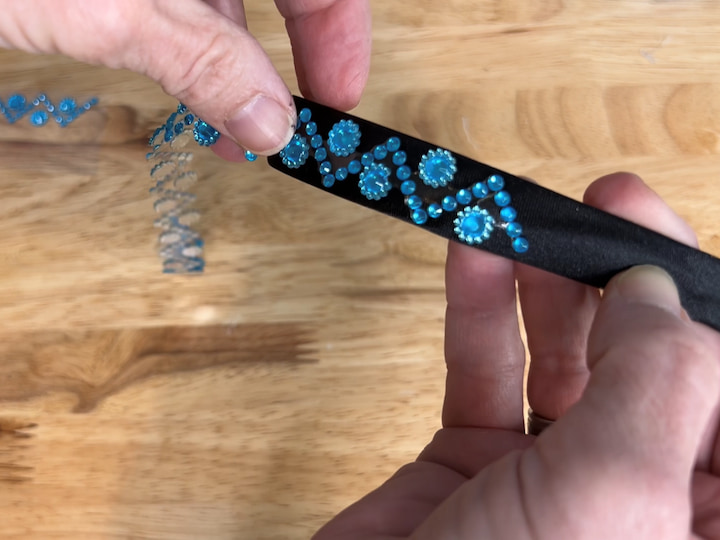
Now just to show you that you can change up your colors and everything this one I’m just going to throw on some blue flowers.
You can use pretty much any stickers you want to decorate these simple clips.
If you want you can just buy butterfly clips instead, however, these are much cheaper and fun to DIY yourself or with kids.
Grab a comb and use these clips with a hairstyle:
- hair twist
- buns
- intricate detail
- wavy hair
- when you’re growing it out it becomes a hair game with bangs
- break sections of hair on the crown of the head
- braids
These hair accessories are great for so many hair options.
I hope this inspires you to update some clips and headbands of your own with some stickers. I’d love it if you’d subscribe to my YouTube channel and my blog. Thanks for watching and I’ll see you in my next video don’t forget to like share and subscribe.
Butterfly Hair Clips Video
Shop any of these stores and I receive a small commission at no cost to you.
") Bessrung 100 Pcs Thick Seam…Shop on Amazon
Bessrung 100 Pcs Thick Seam…Shop on Amazon Kitsch Spiral Hair Ties for…Shop on Amazon
 Goody SlideProof Bobby Pins…Shop on Amazon
 YoulerTex Microfiber Hair T…Shop on Amazon
, Black") Teenitor Hair Styling Kit: …Shop on Amazon
Teenitor Hair Styling Kit: …Shop on Amazon


Hi,
I love these idea, but I have a question please? How do you keep the stickers from falling off or even getting stuck in your hair. I found that the sticker glue is not very strong and with in one or two wears most of them have fallen off or got stuck in my hair and was pulled off when I removed them from my hair. Do you have a way to prevent this?
Thank you kindly
Hi Leonie, I understand exactly what you are saying. I suggest using an adhesive like a Alene’s jewelry adhesive, E6000, or Fix All Super Glue to place the gems on and keep them there permanently.