
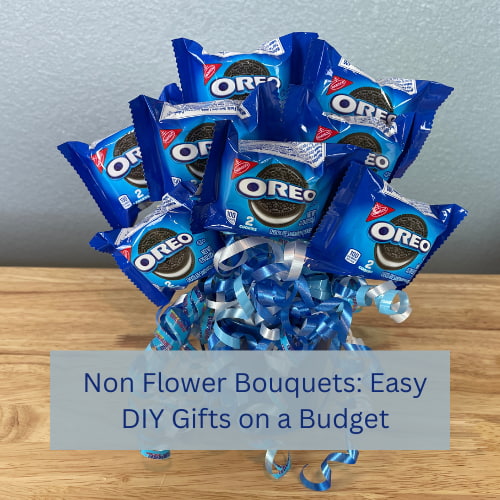
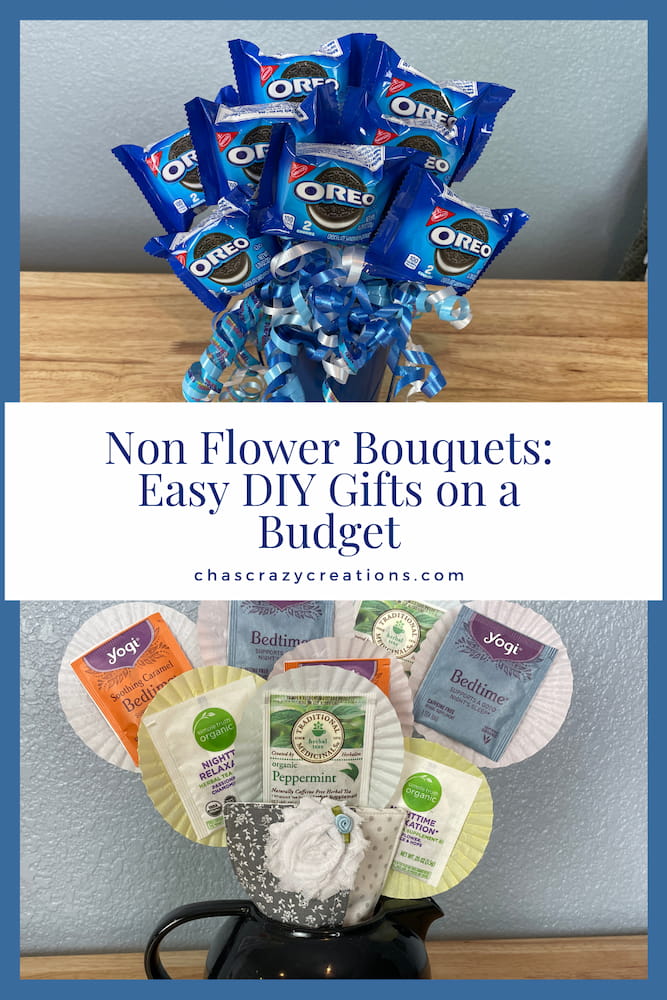
Non Flower Bouquets: Easy DIY Gifts on a Budget

Are you looking for non flower bouquets? Here are several easy, fun, and adjustable options you can create for any occasion on a budget.
Non Flower Bouquets: Easy DIY Gifts on a Budget Video
What are different types of bouquets?
When someone thinks of a bouquet, they often think of flowers. These are used during weddings that brides and bridesmaids hold as they walk down the aisle, and given as gifts to people on various occasions. Did you know that you can create other types of bouquets? These can be a unique blend of something that represents that person such as a photo bouquet, edible bouquet, or thinking even more outside the box. Here are several DIY bouquets that you can create on a budget.
Non Flower Bouquets: Easy DIY Gifts on a Budget Instructions
1. Snack Non Flower Boquet
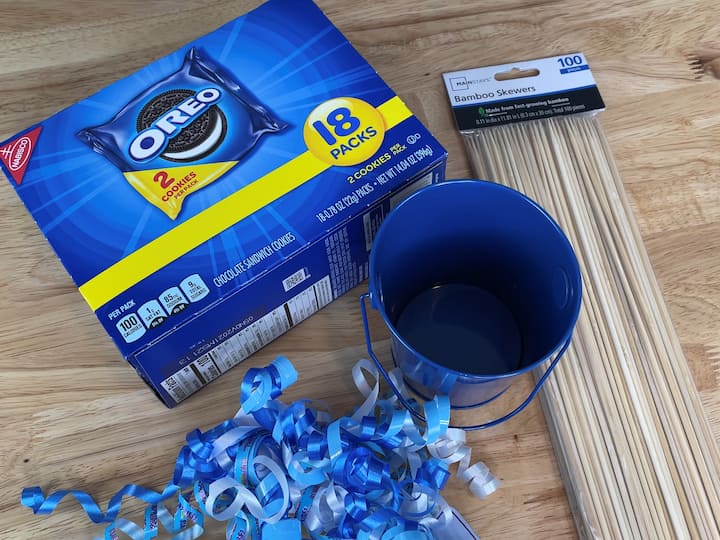
To create this fun and easy DIY project, you’ll need the following items:
- A bucket
- Snacks of your choice
- Skewers
- Curling ribbon
- Dollar Store rocks (optional)
- Tape
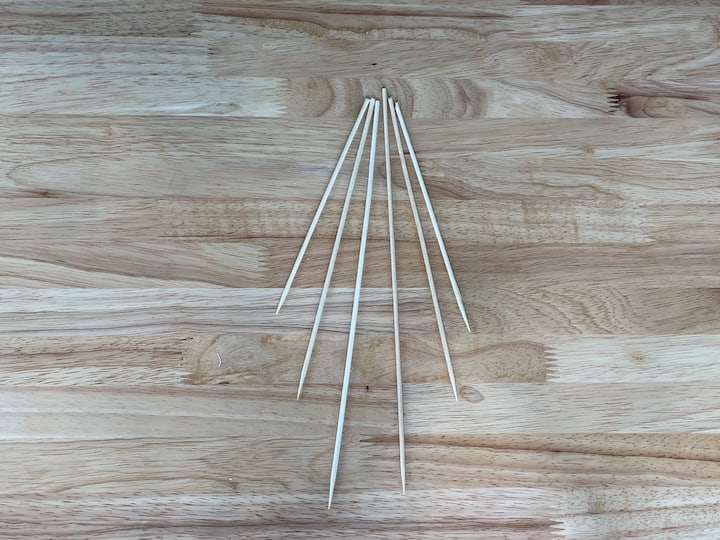
Step 1: Prepare the Skewers
First, if you want a variety of sizes for your skewers, you can break off some of the bottoms of the skewers to create different lengths.

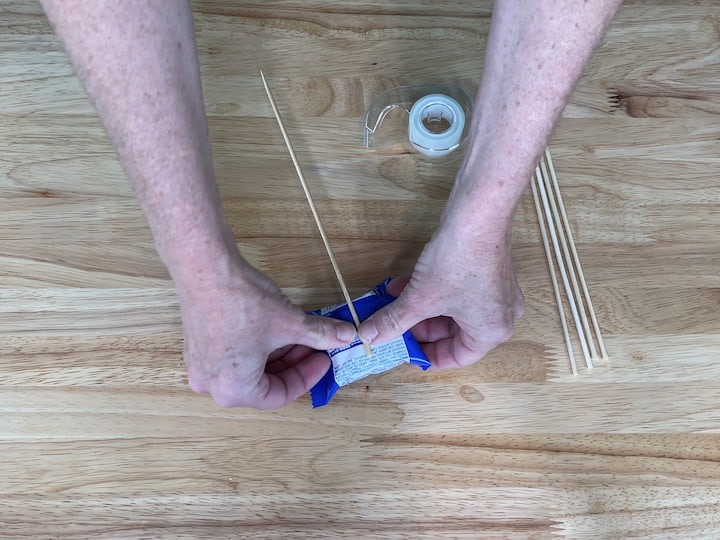
Step 2: Attach Snacks to Skewers
Next, take a skewer and place it on the back of a snack (such as an Oreo), then use a piece of tape to hold the skewer into place. Repeat this step until all of your snacks are attached to skewers.
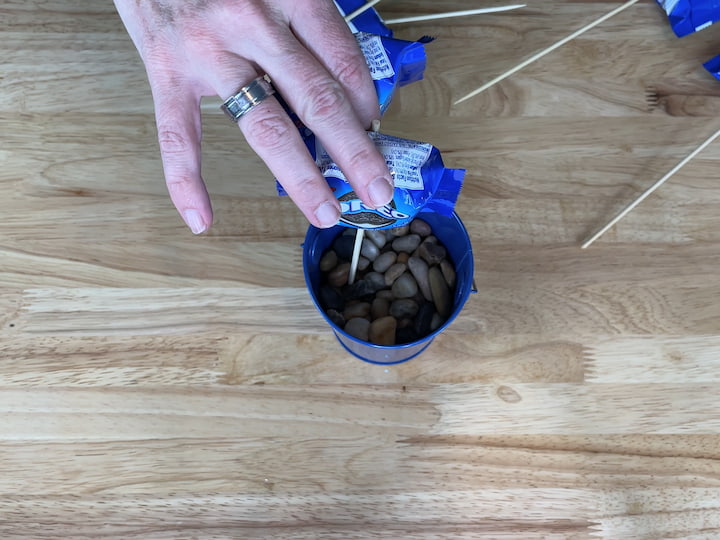
Step 3: Assemble the Bucket
Now it’s time to assemble the bucket. Place all of your snacks into the bucket and arrange them to your liking.
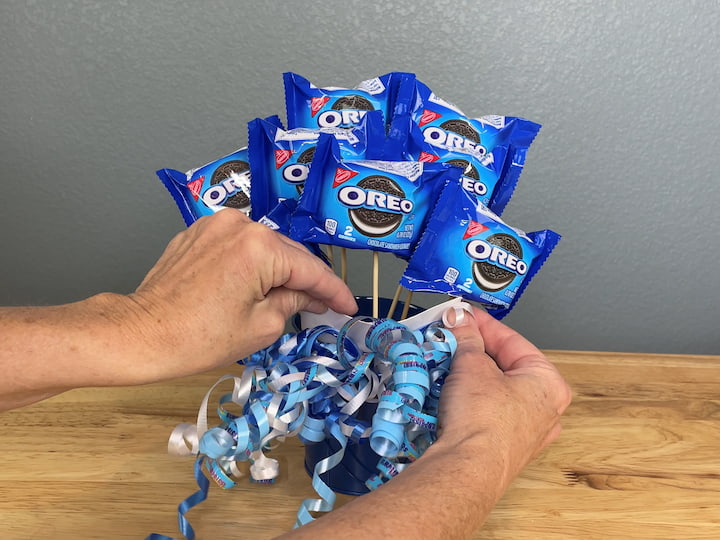
Step 4: Add Curling Ribbon
Finally, take your curling ribbon and slide it into the bucket. Spread the ribbon out so it gives the bucket a fun look and hides the skewers in the background.
Optional: You can also add Dollar Store rocks or foam to the center of the bucket to help hold the skewers in place.
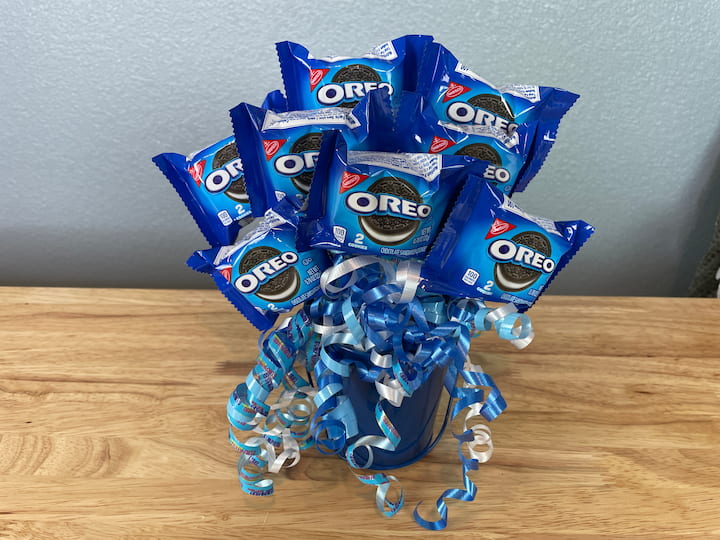
Here’s an example of what your finished project could look like
2. Chocolate Non flower Bouquet
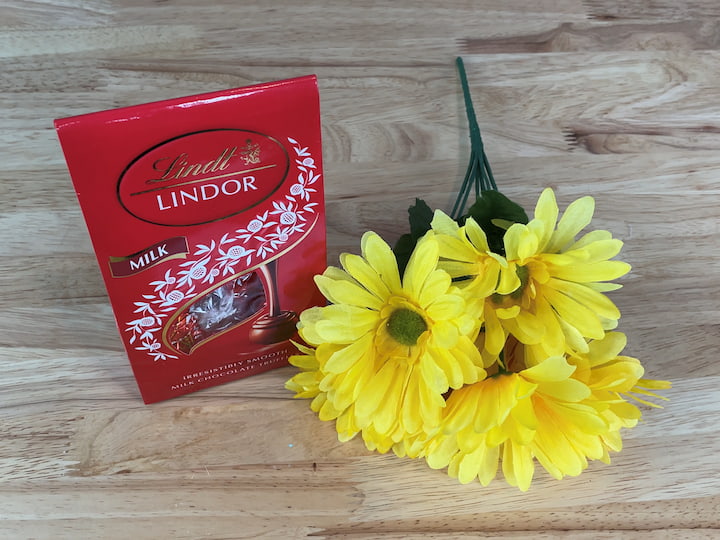
To create this lovely chocolate flower bouquet, you’ll need the following items:
- Fake flowers
- Chocolates of your choice
- Adhesive (glue dots, double-stick tape, or hot glue)
- Vase or recycled bottle
Step 1: Prepare the Flowers
Remove the labels from your fake flowers and spread them out to give you more room for the next step.
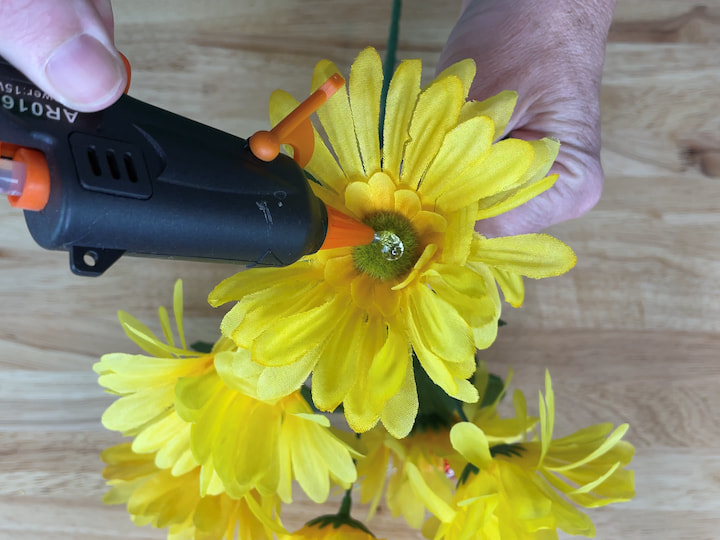
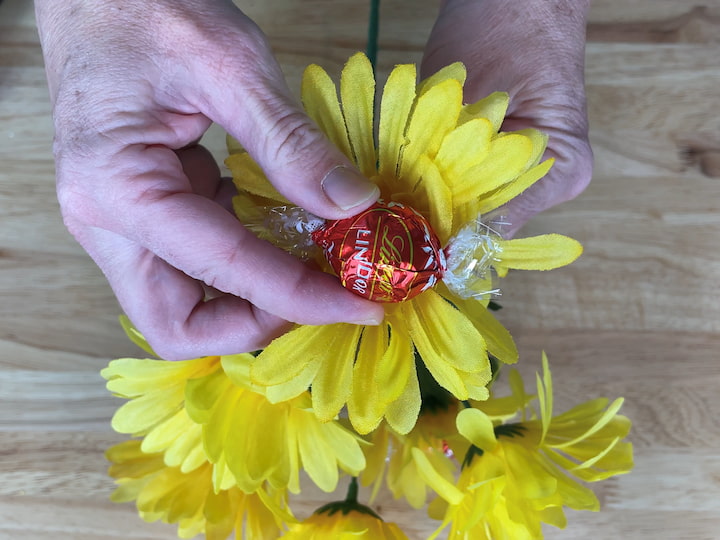
Step 2: Attach Chocolates to Flowers
Using your adhesive of choice, place a dollop of hot glue in the center of a flower and attach chocolate to it. Hold it until the glue cools and fluff the petals if needed. Continue this step until each flower has chocolate in it.
Step 3: Prepare the Vase
Find a vase or recycled bottle to use as your base. You can also stencil a recycled bottle to add a personal touch. You can find the full tutorial for stenciling a bottle on my blog or YouTube channel.

Step 4: Assemble the Bouquet
Place your chocolate flowers into the vase or bottle and fluff them to get them into place. Your bouquet is now ready to be given as a gift!

Here’s an example of what your finished project could look like
I hope this DIY project inspires you to make some food and snack bouquets of your own!
3. Tea non Flower Bouquet
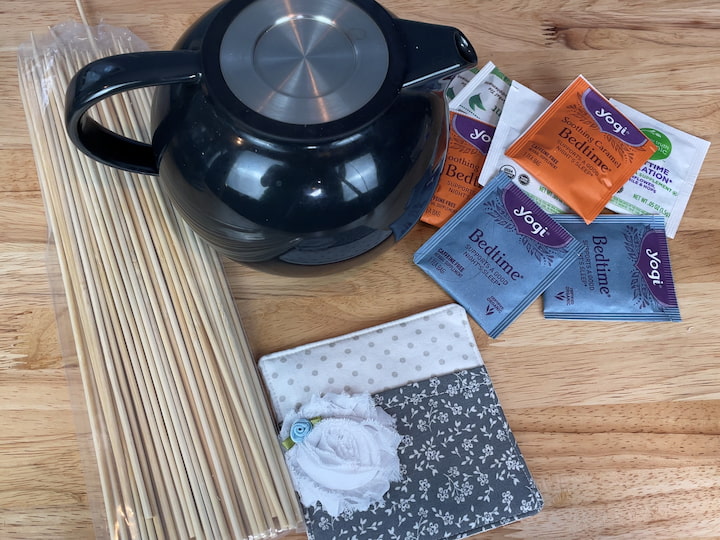
To create this amazing project you’ll need the following materials
- Tea coasters
- Skewers
- Teapot
- Rocks
- Foam squares
- Muffin liners
- Hot glue or tape
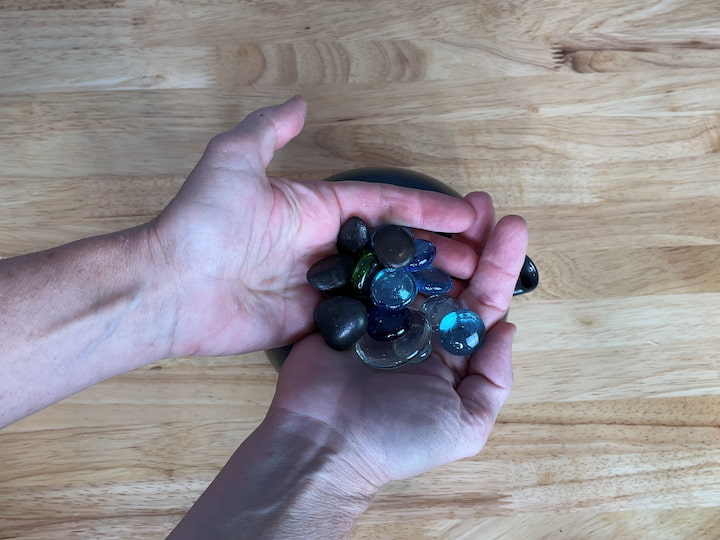
Step 1: Prepare the Teapot
Place rocks from the dollar store into the teapot to help hold the skewers steady.
Alternatively, use foam squares from the dollar store, cut to size, and insert them into the teapot. Stick the skewers into the foam to hold them in place.
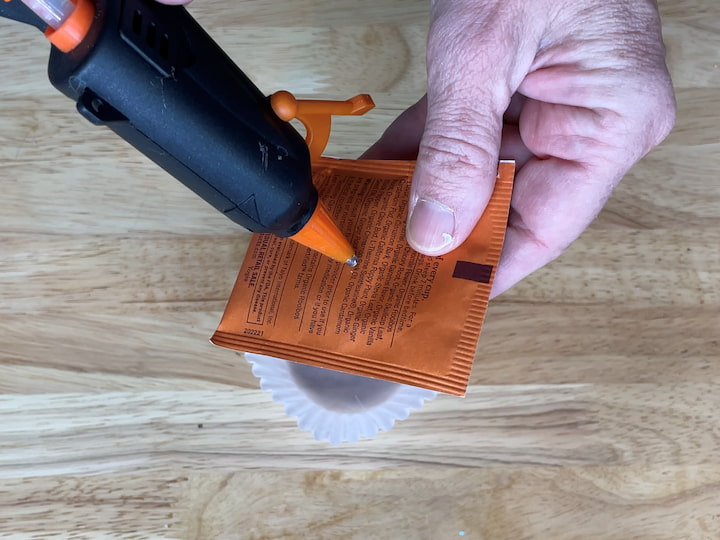
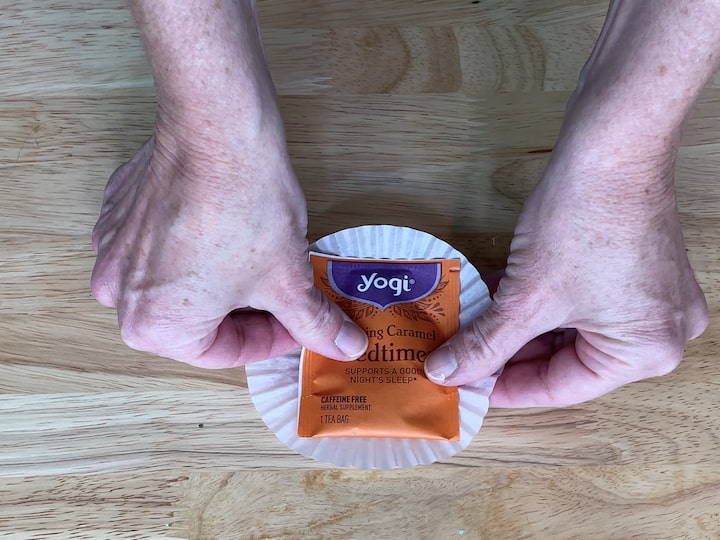
Step 2: Create Tea Bag Flowers
Use muffin liners and hot glue to create tea bag flowers.
Place a dab of glue on the backside of the tea bag and stick it onto the liner.
Continue making tea bag flowers until you have enough to make a bouquet.
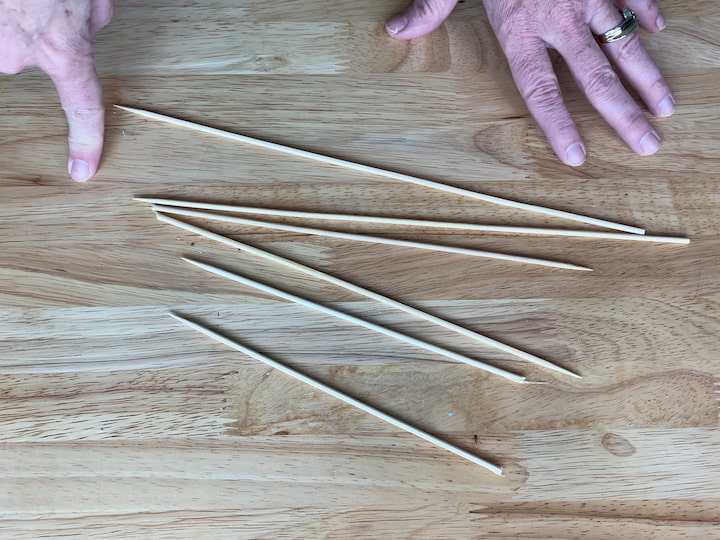
Step 3: Prepare Skewers
Break skewers into different lengths to use as the base for the flowers.
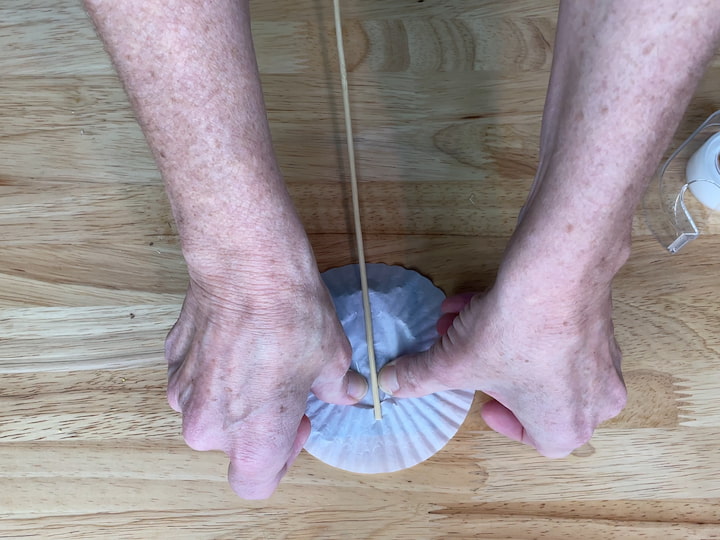
Step 4: Assemble the Flowers
Tip the tea bag flower upside down and attach the skewer using tape or hot glue.
Repeat until all tea bag flowers are assembled.
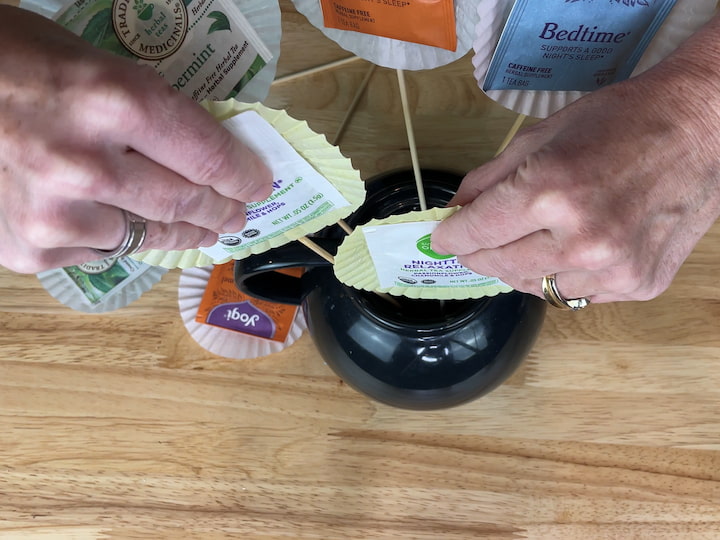
Step 5: Arrange Flowers in Teapot
Stick the skewers into the teapot, arranging the tea bag flowers like a bouquet of flowers.
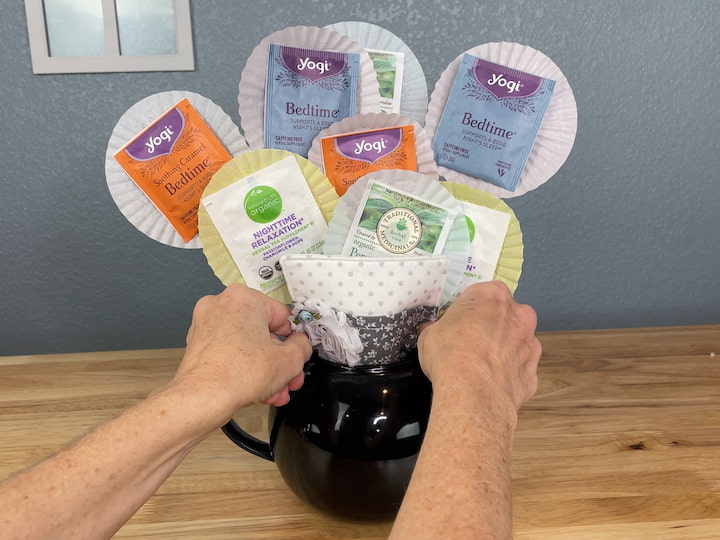
Step 6: Optional – Use a Coaster
Use a coaster as a centerpiece by placing it underneath the teapot.
If delivering, tuck the coaster in the front and arrange the flowers around it.
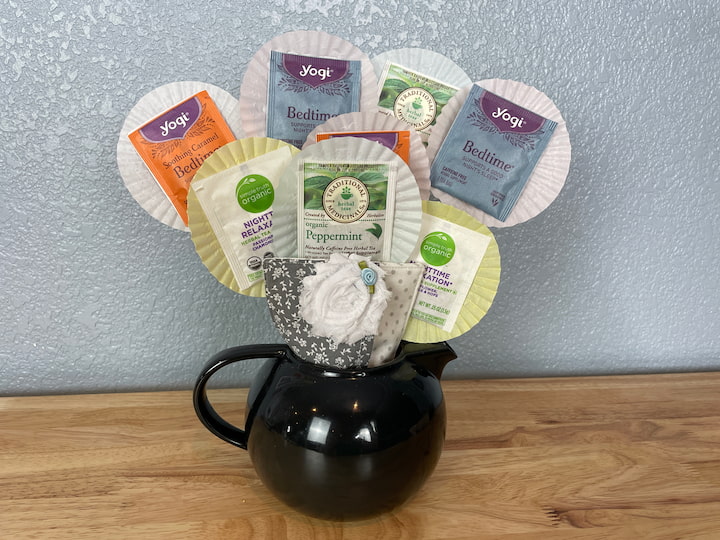
Step 7: Enjoy Your Tea Bouquet
Your tea bouquet is ready! Enjoy it as a beautiful centerpiece or as a unique gift for a tea lover.
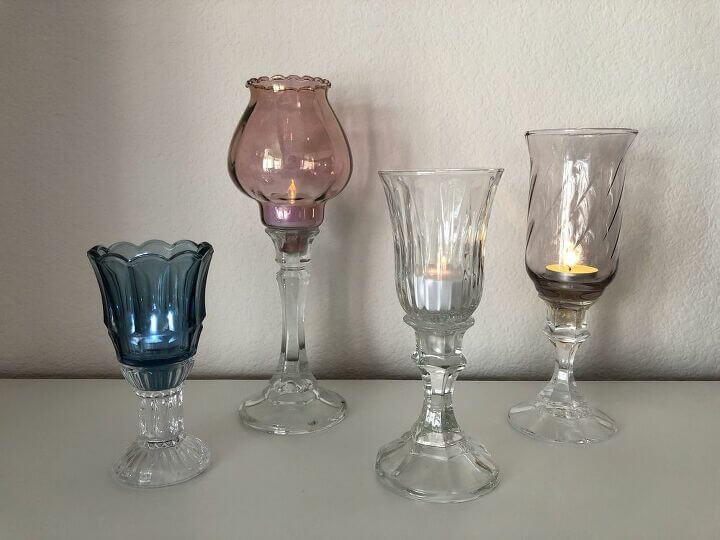
4. Recycled Vase and Candle Holder Non Flower Bouquet
If you’re looking for a simple and fun DIY project, consider upcycling candle holders or vases! These items are often available at thrift stores and can be repurposed into elegant and unique home decor pieces. In this tutorial, we’ll walk through the steps of creating a flower-inspired candle holder and an updated candle holder using mix and match vases and candle holders.
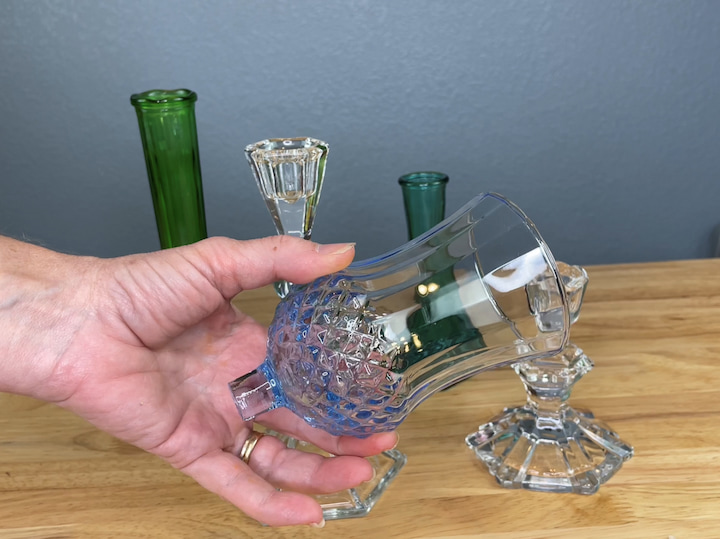
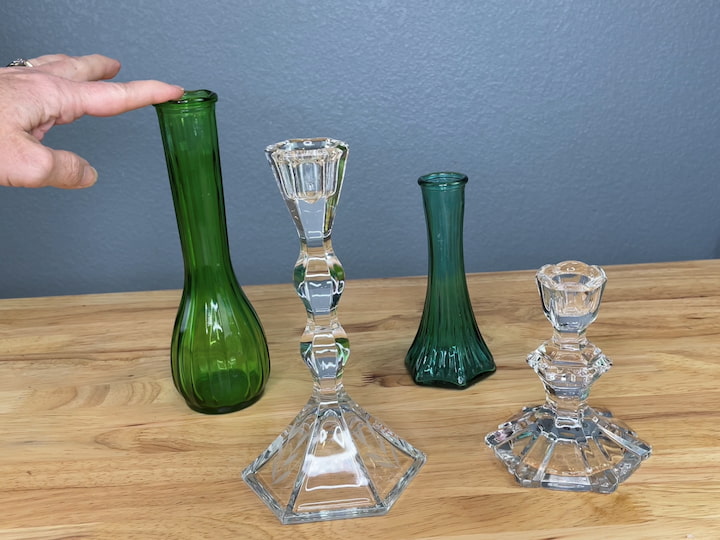
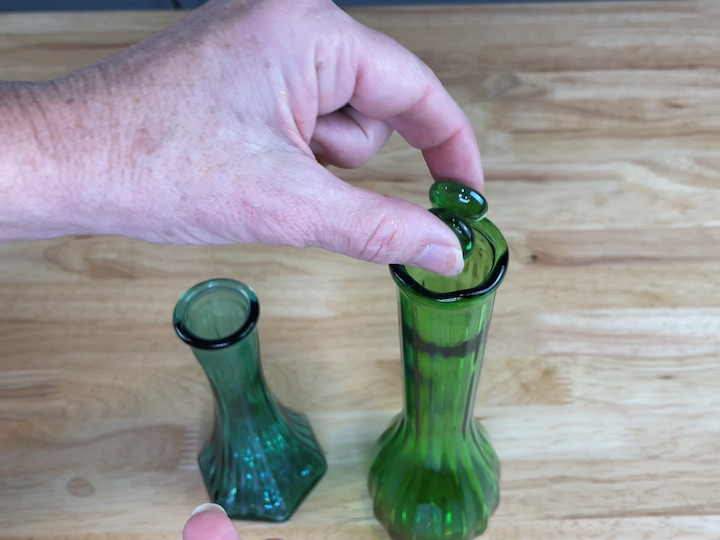
Step 1: Choose Your Candle Holder or Vase
Start by selecting your candle holder or vase. You can use candle holders that have lost their base or vases of various colors and sizes. Make sure to try them out in-store to ensure that the bottom fits securely.
Step 2: Arrange Your Pieces
Depending on the look you’re going for, you can arrange your candle holder and vase in different ways. You can place the candle holder on top of the vase, or you can insert the candle holder into the vase. Experiment with different combinations until you find one you like.
Step 3: Add Rocks or Sand
If you’re using a vase that isn’t very stable, you can add some rocks or sand to the bottom to create a firmer base. Make sure to choose the appropriate fill material based on whether or not you want to see through the vase.
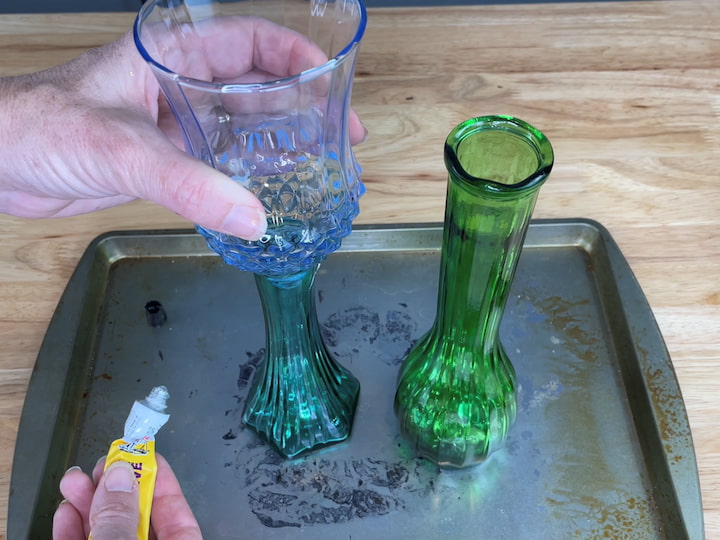
Step 4: Glue Your Pieces Together
Once you’ve arranged your pieces and added your fill material, it’s time to glue them together. Use a strong adhesive like E6000 or Fix-All Adhesive, applying it around the top of the vase. Make sure to protect your work surface before gluing. Once you’ve applied the glue, carefully place the candle holder onto the vase and let it dry for 24 hours.
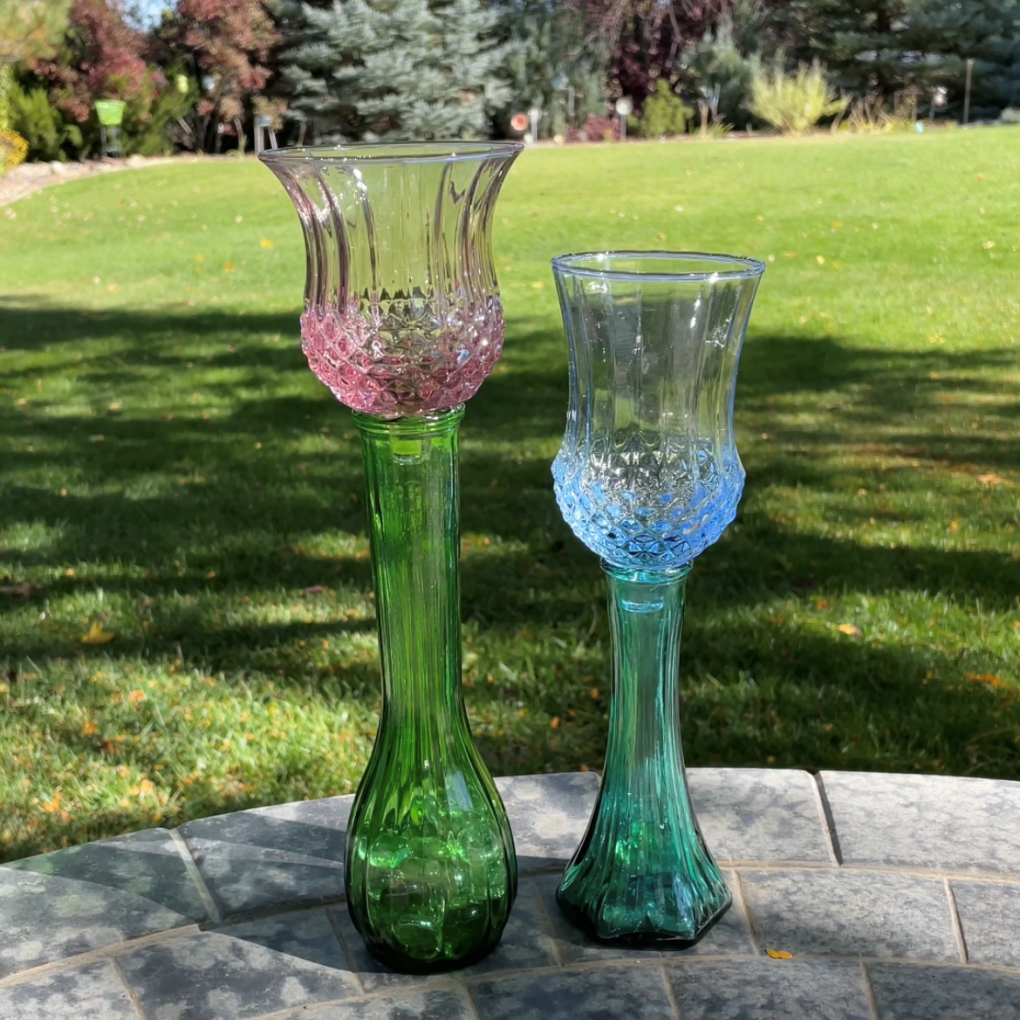
Step 5: Enjoy Your New Creation!
After 24 hours, your candle holder or vase should be securely glued together. Now you can display your creation anywhere in your home and enjoy your unique and elegant new decor piece. We hope this tutorial has inspired you to create your own thrift store creations!
I have made more of these upcycled vases and candle holders into flowers and you can find the full tutorial for those at Upcycled Thrift Store Candle Holders
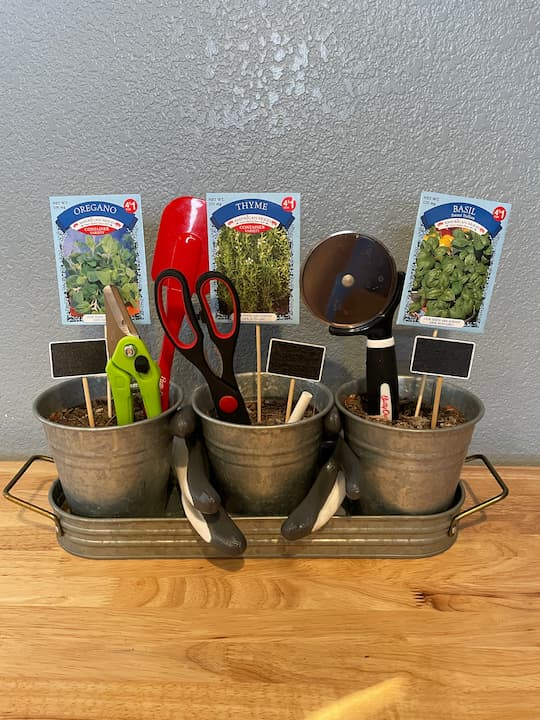
5. Garden Lover Non Flower Bouquet
Do you need an easy gift idea for a gardener? You can make this garden gift basket that’s great for indoors or outdoors. This simple DIY bouquet gift alternative is great for any gardener whether you enjoy vegetables, flowers, herbs, etc. You can find the full tutorial for this project at Easy Garden Gift Basket DIY with Video
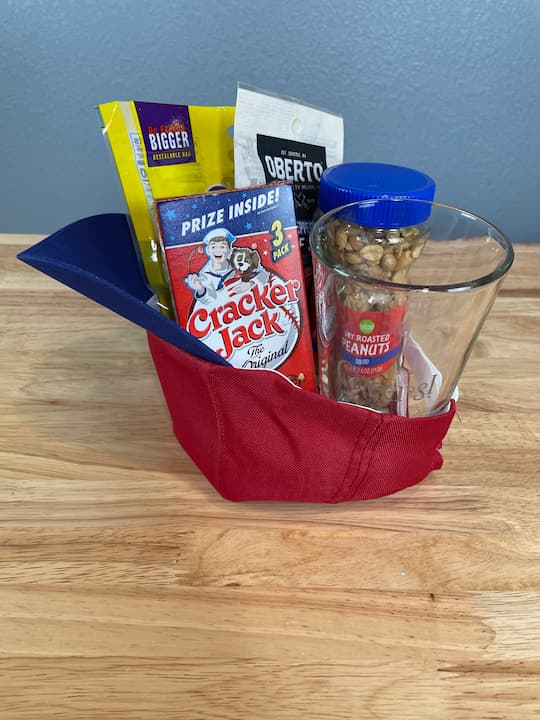
6. Sport Lover Non Flower Bouquet
Do you want an easy baseball gift? Personalize this project, and it is easily adjustable, eco-friendly, and great for so many occasions. You can find the full tutorial at Easy Baseball Gift Customizable DIY
Non Flower Bouquets: Easy DIY Gifts on a Budget Video
Shop any of these stores and I receive a small commission at no cost to you.
") 96PCS Natural Dried Pampas …Shop on Amazon
96PCS Natural Dried Pampas …Shop on Amazon Dried Fruit Gift Basket – H…Shop on Amazon
 Unboxme Get Well Gift Box -…Shop on Amazon
 HOME SMILE Ceramic Ring Dis…Shop on Amazon
 Burt's Bees Gifts Ideas – T…Shop on Amazon
 Childom Mothers Day Mom Gif…Shop on Amazon

Non Flower Bouquets: Easy DIY Gifts on a Budget Q&A Section
I love making gifts for others, and here is a huge list of easy and non-expensive DIYs you can make for any occasion.
Easy DIY Dollar Tree Coffee Cozy: Great Gift Idea
Easy and Natural Ingredient Hand Scrub DIYs with Awesome Results
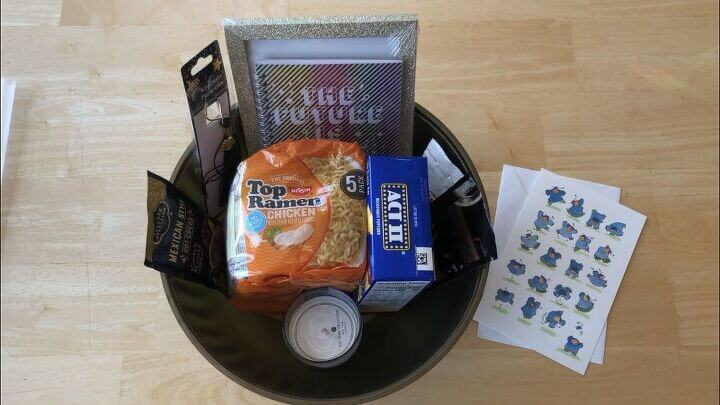
Easy and Fun DIY Gifts and Crafts for Graduation and Other Celebrations
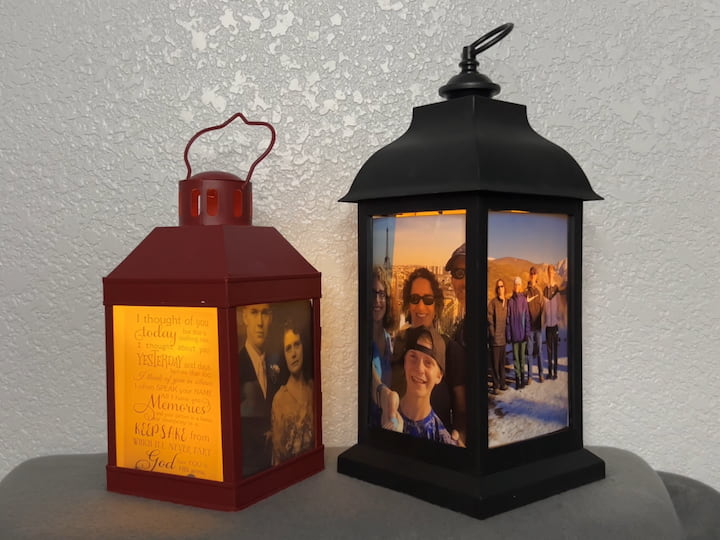
Stunning DIY Photo Lantern for Any Occasion and Memorial Day Craft
Fantastic and Outstanding Gifts for Crafty Moms
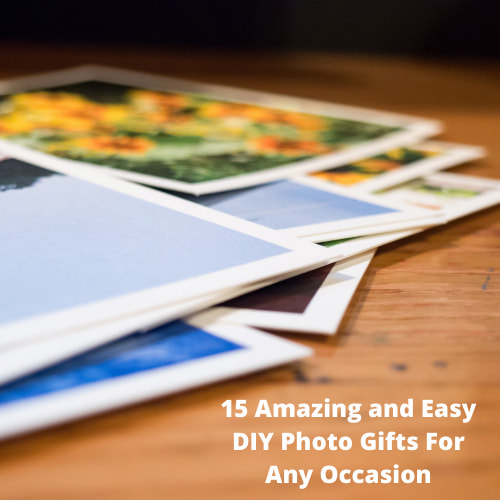
15 Amazing and Easy DIY Photo Gifts For Any Occasion
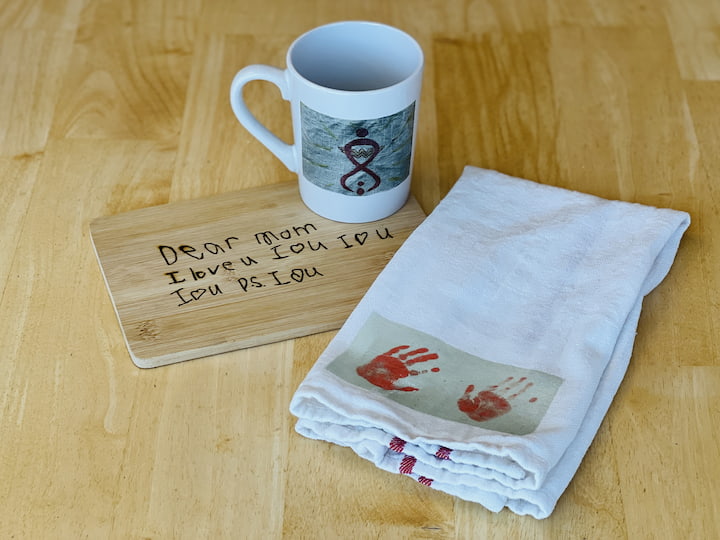
How to make DIY Ceramic Mugs Using Sharpies or Paint
5 Dollar Tree Glass Jar Gift Ideas For Any Amazing Celebration
Easy Floral Pens
Easy Gift Wreath For Any Occassion
fabric to create flowers or another look
feathers
a fan
cotton
vintage items like brooches to make a brooch bouquet
leaves
paper flowers
ribbons and bows
seashells
greenery like asparagus, ferns, magnolia leaves, herbs
wheat
faux flowers
pinecones
lollipop bouquet
vegetables or fruit
Beads or pearls
Are you ready to move away from the traditional flower bouquet that doesn’t last as long and go with some bouquet alternatives? Be unique and move away from the traditional bridal bouquet on your wedding day, do something different for your mom on her birthday or Mother’s day, etc. Look at what’s trending, avoid the blooms, and see what you can create that might last longer.
I hope this inspires you to create some non-bouquet flower arrangements of your own for gifts. I’d love it if you’d subscribe to my youtube channel and my blog. Thanks for watching and I’ll see you in my next video and don’t forget to like share and subscribe.

Don’t forget to link to ThriveCart – Book
wow i liked all of them
Thank you so much Faith 🙂