Halloween Mantel Ideas: Easy DIY Spooky Decor Practically Free!
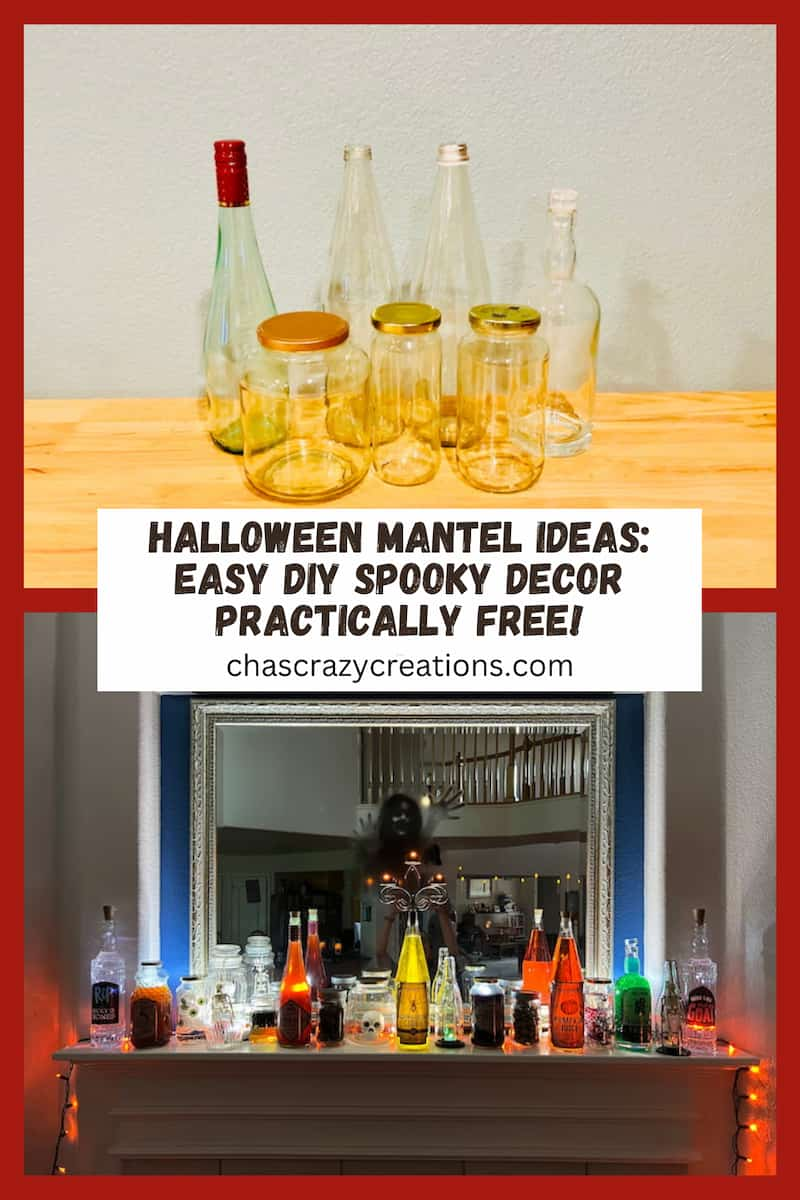
Are you looking for Halloween Mantel Ideas? Look no further! Create a spooky Halloween mantel with these easy DIY decor ideas, featuring potions, apothecary jars, and more. Transform your space with budget-friendly, upcycled Halloween decorations that are practically free. Perfect for adding a stylish and spooky touch to your home this Halloween season.
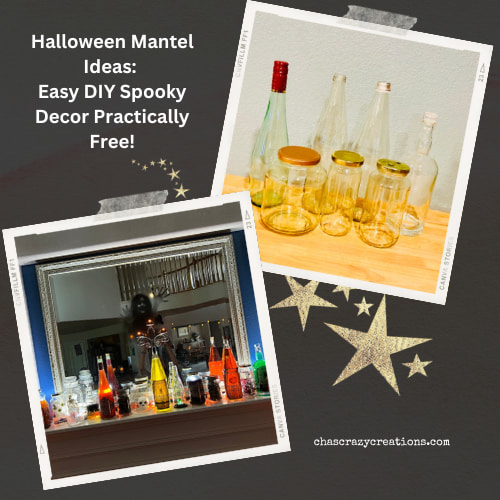
Today we’re diving into one of my favorite holiday crafting challenges: making Halloween decorations using recycled jars and bottles for my mantel! I’m teaming up with Mona from Craft Klatch.
We are doing our craft challenge called “Craft or Crap.” You decide! That’s right, we’re turning trash into treasure with some seriously spooky DIY Halloween decorations.
Halloween Mantel Ideas Video
Halloween Mantel Ideas Craft or Crap Rules:
Halloween Mantel Decor Ideas Materials List:
- Bottles and Jars
- Halloween Stickers and Labels
- Water
- Food Coloring
- Plastic Bugs & Spiders
- Coffee and Coffee Grounds
- Black Walnuts and Acorns
- Plastic Eyeballs
- Soap
- Skeleton Garland
- LED Lights
- Battery-Operated Cork Fairy Lights
- Lanterns
- Creepy Window Clings
Halloween Fireplace Mantel Instructions
Wash and Remove Labels from Bottles and Jars
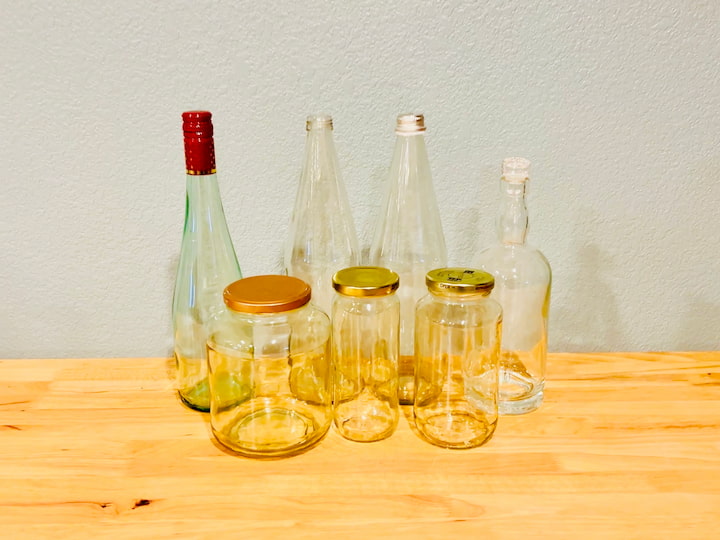
Now, of course, I washed and cleaned all of the bottles and then removed the labels. I might also suggest cleaning the glass with rubbing alcohol.

My tip for removing labels from bottles and jars easily. Soak them in soapy water for about 10 minutes and most of the labels fall right off. If you have the extra gunk, rub coconut oil on top of it, let it sit for 10 minutes, and then that gunk will come right off as well.
Add Halloween Labels to Bottles and Jars
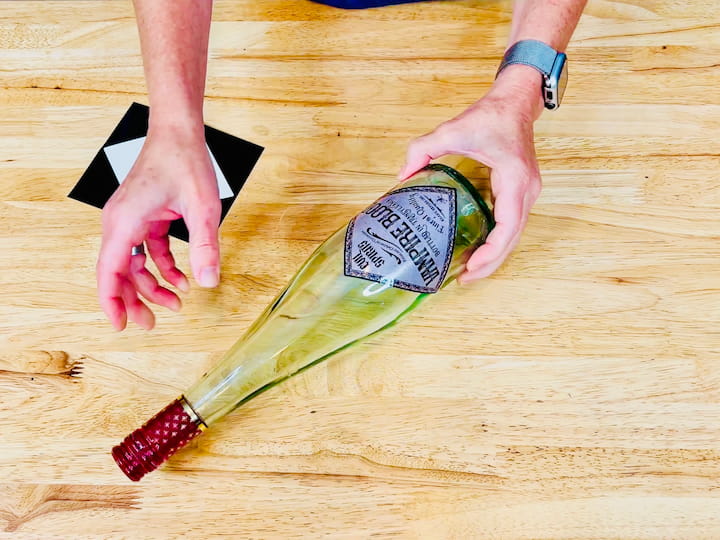
Once this bottle was dry, I peeled off the sticker and placed it on the bottle.
Fill the Jars and Bottles
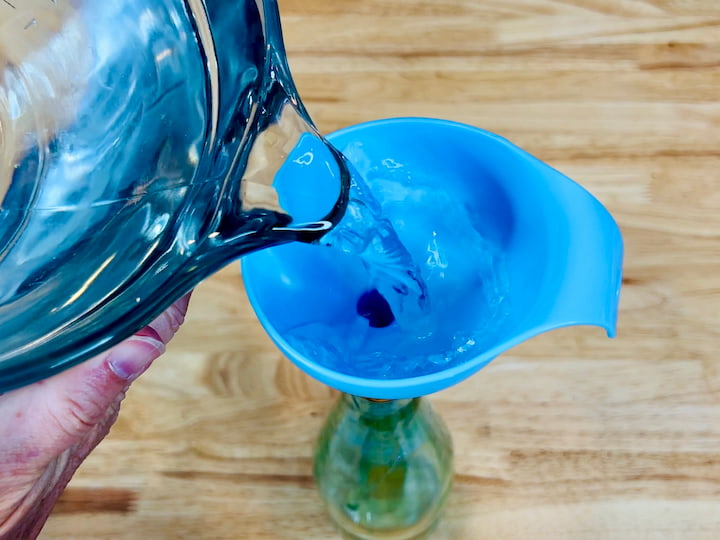
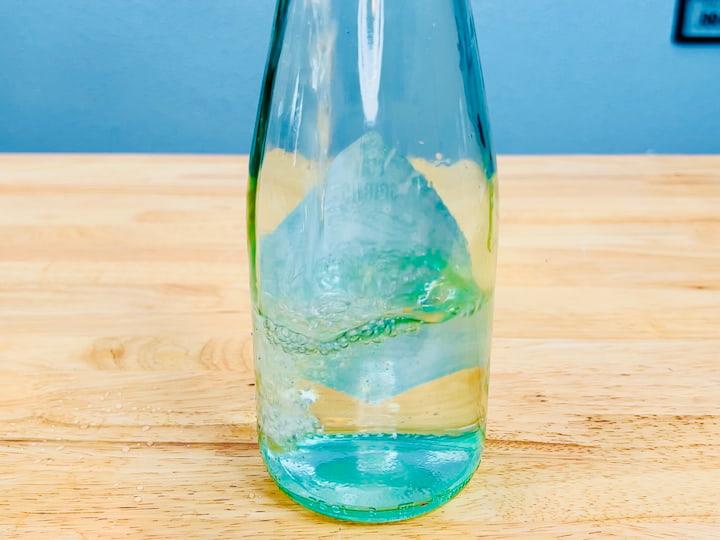
The first thing I’m going to do is add a funnel to the top, and then I’m going to grab some water and fill up this bottle.
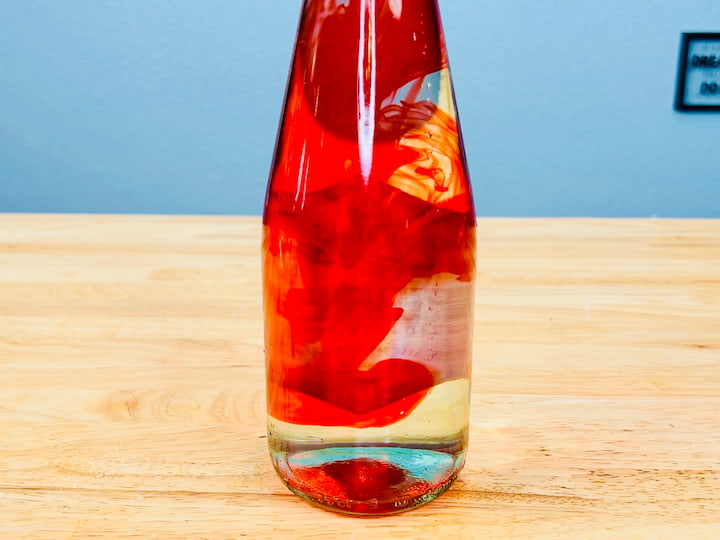
I’m going to use some food coloring that I found at the dollar store. For this first bottle, I’m using the color red, and I just love to watch the food coloring fall and float into the water. Now, let’s play a little game. I want you to guess what each of the labels will say. This one says vampire blood.
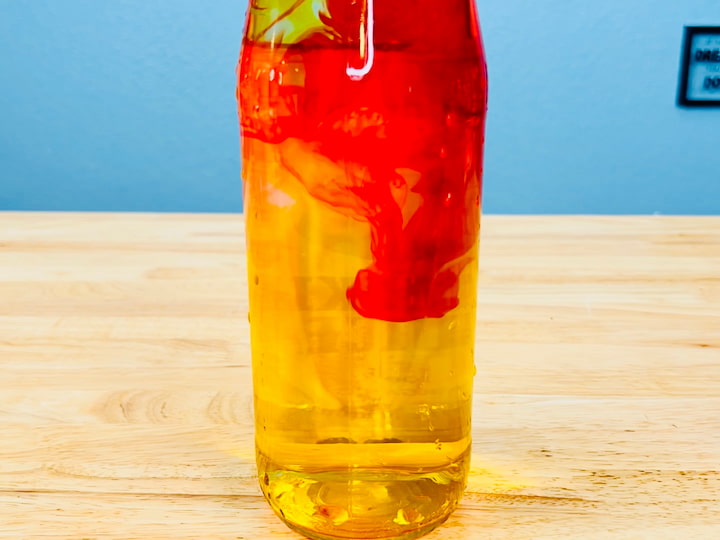
So I’m going to fill the next bottle up with water, and for this one, I’m adding yellow and red. Okay, can you guess what it’s going to say? This one says pumpkin juice.
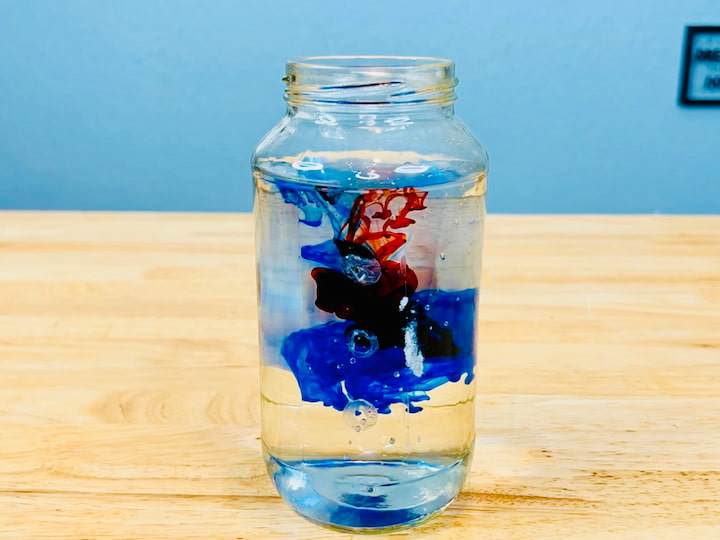
For this one I’m going to use a jar, and I’m going to fill it up with water. And I’m going to use the color blue and red. Can you guess what this one says? Witch’s brew.
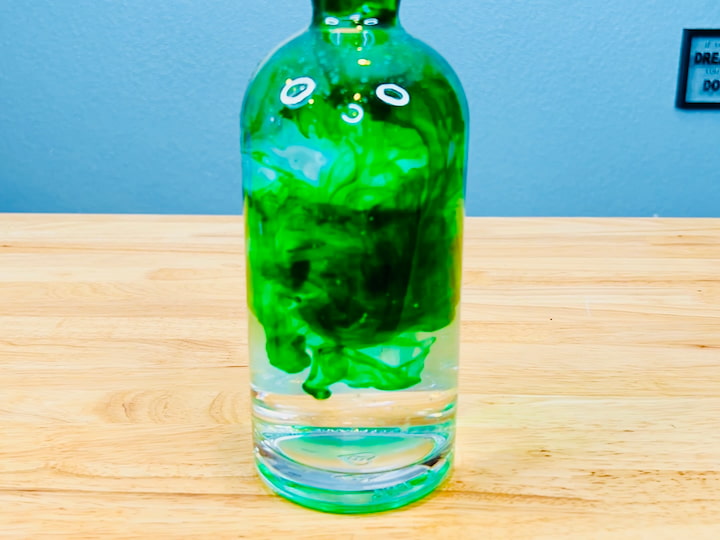
I’ve been saving this unique-shaped bottle, and I’m going to fill this one up with water too. I’m adding green food coloring to this one. Can you guess what this one says? It says snake bite tonic.
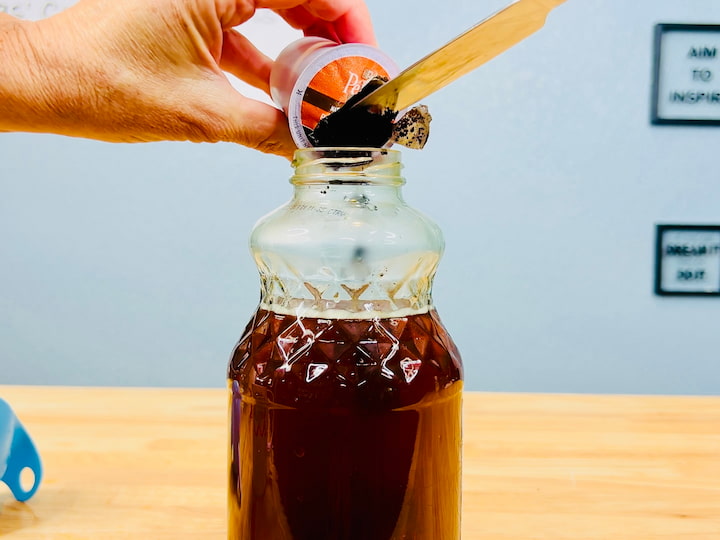
This used to be jalapeno limeade from Trader Joe’s, which by the way is delicious. I’m filling this one up with water.
Now, as you can see, I saved a little room for this one and I want to do a little something different with this one. I’m pouring in a cup of coffee into the top of this one. So this one was a little too light for my liking. So I’m adding some of the grounds to the water so that it will darken over time. And this jar, can you guess what it says? Killer coffee.
My last bottle, I’m adding the color yellow. Last chance to guess. This one says albino spider cider.
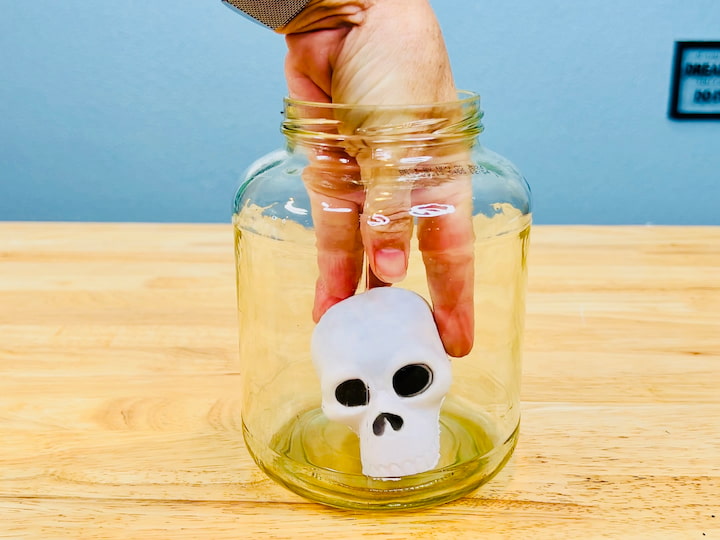
This is an old pickle jar and I’m just taking one of those squeezy skulls and placing it in the center of this one.
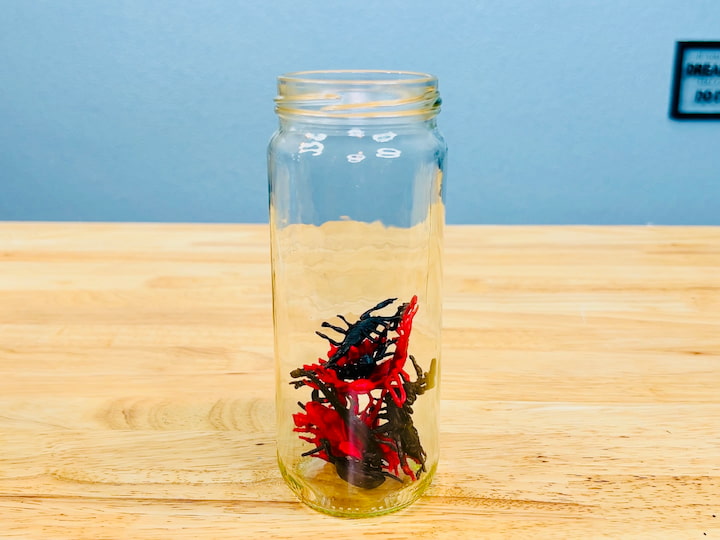
For this one, I added some bugs that I found at Dollar Store. They had scorpions, praying mantises, centipedes, and more. Now, I didn’t love that this jar wasn’t completely full, so later I added some spider rings to the mix and some water.
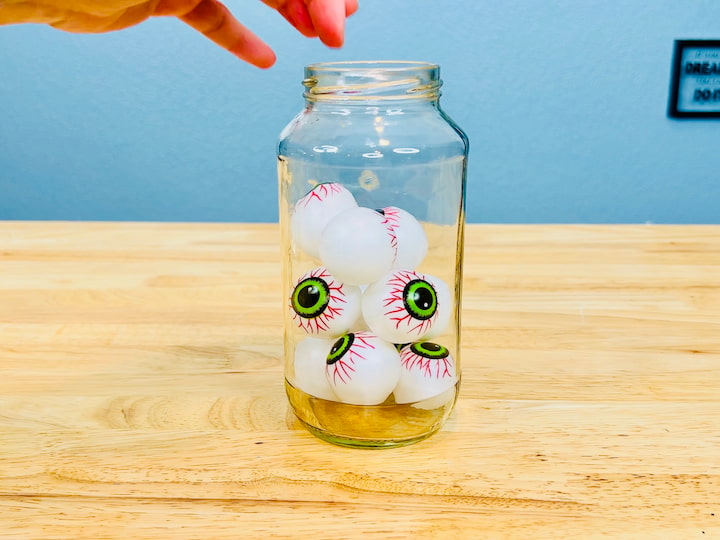
For this jar, I found a package of 12 eyeballs at the Dollar Store, and I’m just adding all of these inside the jar.
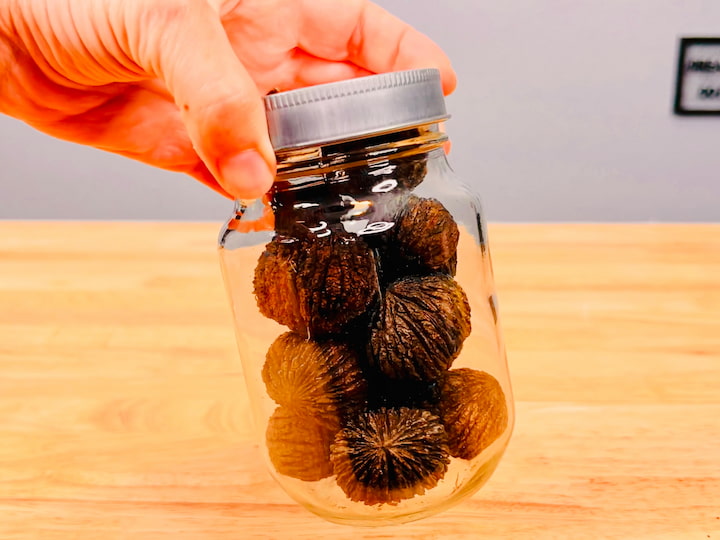
Our family farm has a black walnut tree, so I grabbed a bunch of those and I placed them into a jar.
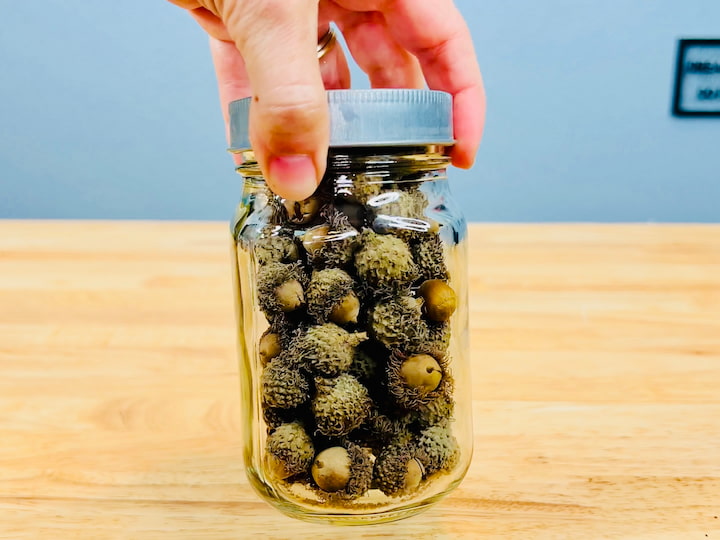
And then I grabbed another jar And I filled it full of a bunch of acorns. Now these last two jars you could leave out for fall.
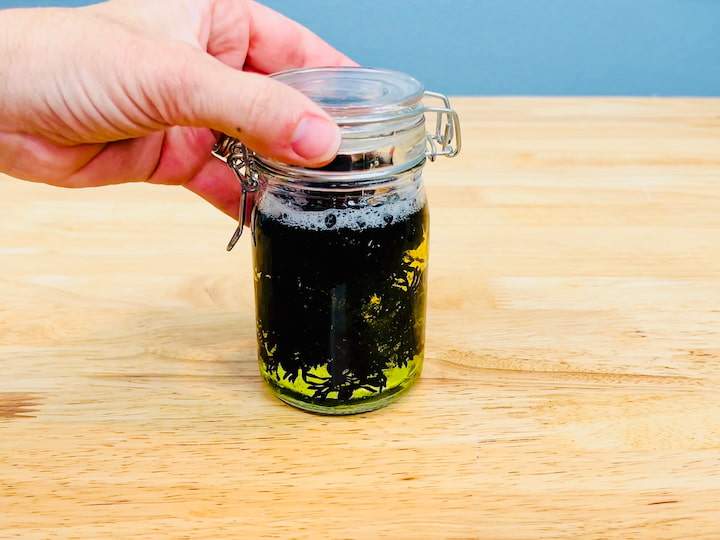
Now this jar was just lying around so I decided to use it as well. So I grabbed some dial soap that was bright yellow and I poured it into this jar. And I grabbed a bunch of confetti spiders and placed them into the jar with the soap. Now there wasn’t quite enough soap to fill the jar, so I added a little bit of water, but it kept the same yellow color, and I was able to stir the spiders in better.
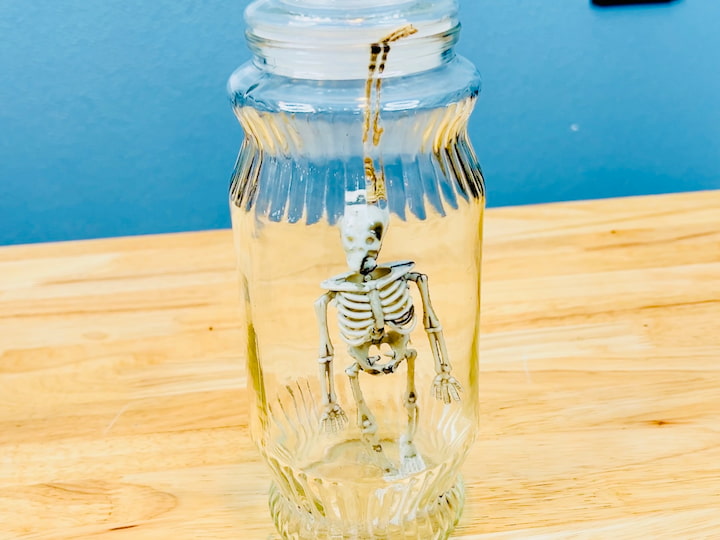
And for this next DIY, I grabbed a skeleton garland that I found at Dollar Tree. It has four skeletons on it. I removed all of the skeletons, and then I cut each of them apart, but I wanted to leave some of the string in case I needed it. Now this jar happens to be an old planter’s peanut jar. You know, the kind they put peanuts in during the holiday season.
I’ve been saving it for such occasions like this. So I grabbed one of the skeletons and I placed it inside. And I grabbed the string and hung it over the edge. I placed the lid on top so that it would look like the skeleton was standing inside. And I trimmed up the edge of the cord. Now I have this creepy skeleton hanging out in a jar.
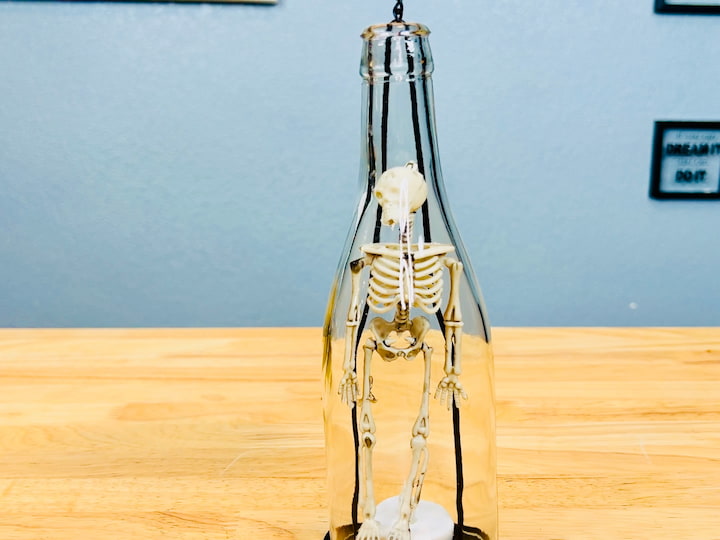
Now this is a lantern I found at a thrift store I grabbed a battery-operated tea light and I’m placing it inside this little lantern. I’ll have another one that I use an LED light in as well. Now for this one, I was able to trim the twine off the top of him and I placed him inside this little lantern because he would stand up nicely on his own.
Now I could hang this one up as this one comes with a chain, but that’s not what I’m going to be doing with it.
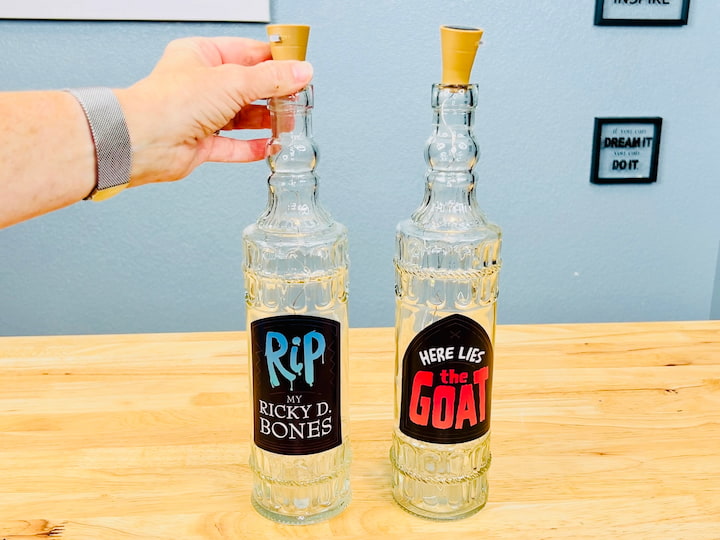
And I happen to have a couple of bottles that I’ve been waiting to do something fun with. I started by unwinding the lights and then I started pushing them into the bottle. Once I got all of the lights into the bottle, I just put the cork on top.
I went ahead and did this with a second bottle. There is a little switch at the top that turns them on and off. Now I could have used some more stickers, but I wanted to show you another trick. And this is using the dollar store window clings. I added window clings to each of the bottles. Then when the holiday is done, I just remove them and I can use the bottles for something else without having to soak them all over again.
Fireplace Mantel Decor Set Up
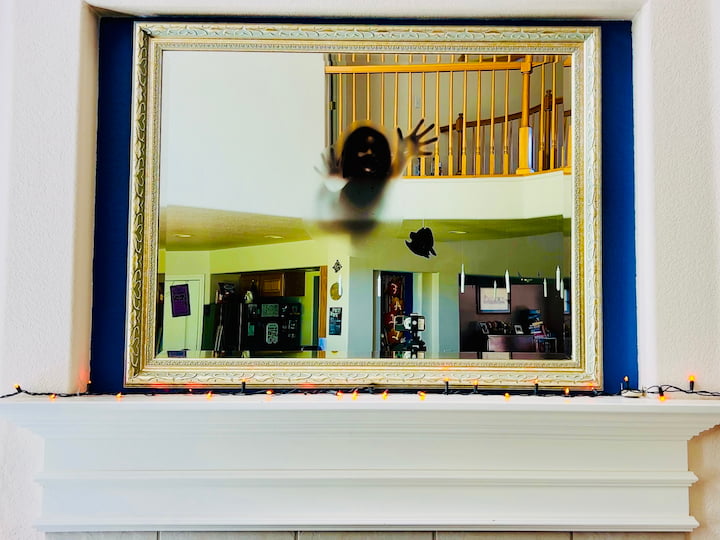
So get ready, I’m going to set it all up. My display is going to be on my living room mantel. And I started by adding a strand of orange LED lights all the way around the mantel. Now I have a mirror above my mantel and I started by adding a creepy window cling to it as a focal point.
Then I added the battery-operated LED light bottles. on either side. Next, I added three of the bottle labels spacing them apart. Then I added two of the other bottles with the liquid in them as well. And I just built on that. I added the skull, the bugs, the witch’s brew, and the spiders. The large skeleton jar, and then I started moving things around a little bit until I created the look that I wanted to.
I added the little skeletons, the acorns, and the walnuts. And I just moved them all over until I got the look I was going for.
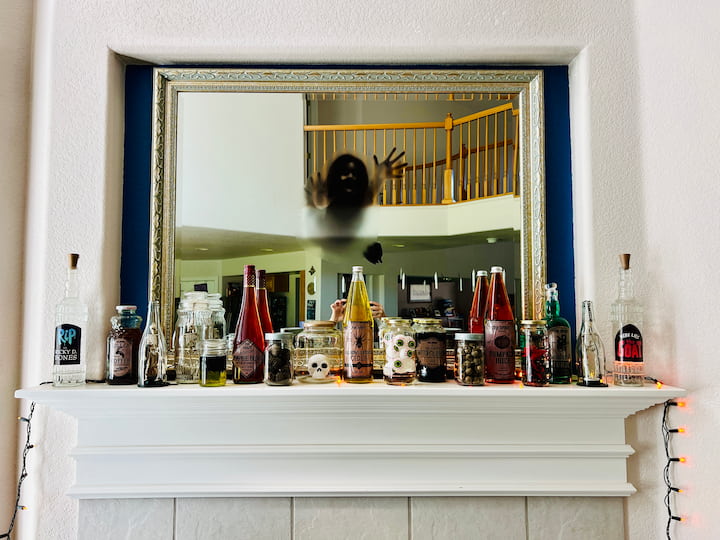
Now get ready! I’m going to show you what it all looks like during the day. So sit back and relax. I’m going to share with you the whole spooky mantel display while it’s lit up during the daytime.
You can see the close up of the mantel with all of the jars and bottles.
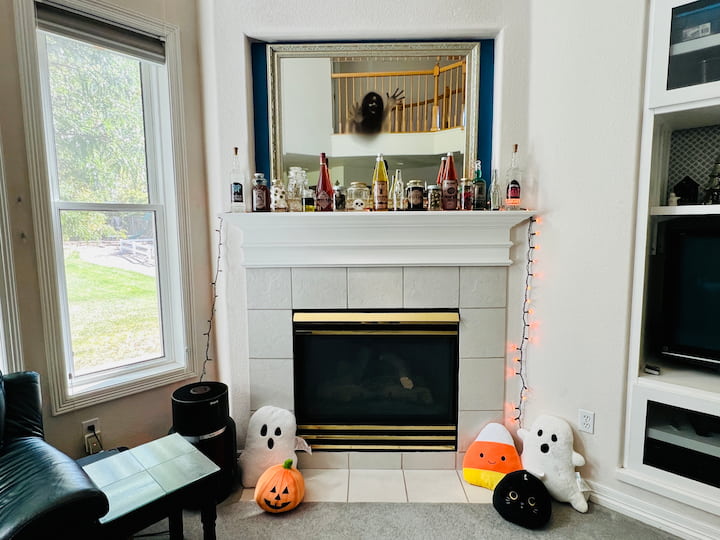
Here is the distance photo of my Halloween mantel during the day. Let me know what you think in the comments below.
Other Halloween Mantel Ideas:
Add any of the following accents to your mantel:
- Candles & Candle Holders
- A Wreath
- Leaves
- Cobwebs
- Vases
- Mini Pumpkins – orange pumpkins or white pumpkins
- Spooky Pictures in Frames
- Bones
- A Candelabra
- Black Crows
- Skulls
- Moss
- Witch Hats
- Old Books
Or perhaps you would like to build a theme for your mantel:
- Farmhouse Halloween Mantel
- White Halloween Mantel Decor
- Black Halloween Mantel Decor
- Pink Pumpkin Mantel
- Fall Mantel – maybe you just want something up for the fall season
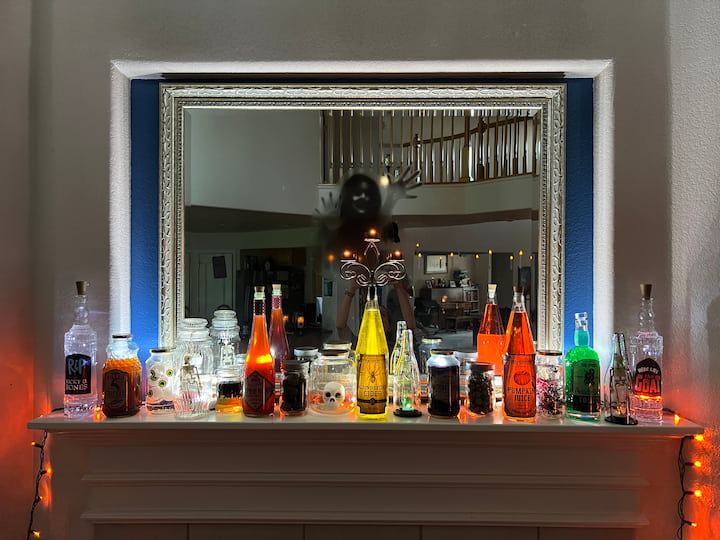
Now I have to share, that I wasn’t thrilled with the way things were lighting up. So I added a few more LED candlesticks and some of these pop lights behind to help light things up.
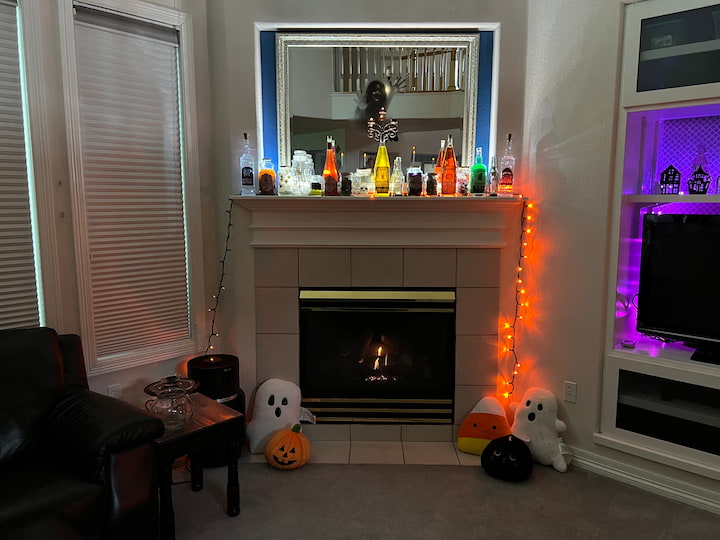
So please allow me to put on my witch hat and costume, wave my magic wand, and let’s check it out at night.
Let me know what you think in the comments below!
Halloween Mantel Ideas Video
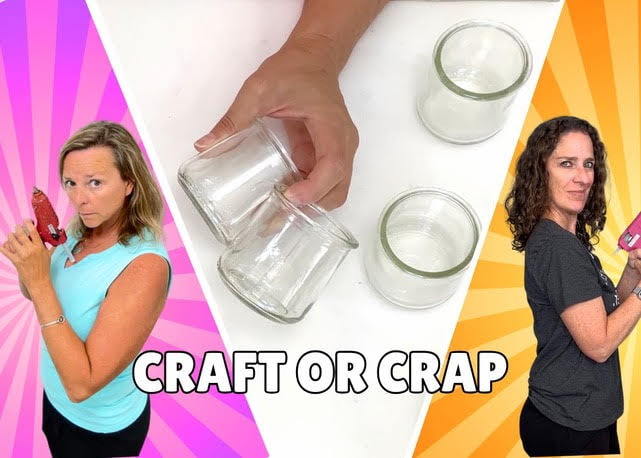
Be sure to hop on over to Mona from Craft Klatch’s project. See what her project is and let us know what you think. You get to decide: is it craft or crap? We want to know what you think.
We hope that you will participate in our Craft or Crap Challenge. If you do, we’d love to see your projects.
- So you can share it on Instagram with the hashtag #craftorcrap and tag @craftklatch or @chascrazycreations.
- Join and share it in our Facebook group at Craft or Crap.
- Or email us and send in your photos. chas(at)chascrazycreations(dot)com & mona(at)craftklatch(dot)com
More DIY Halloween Decoration Ideas
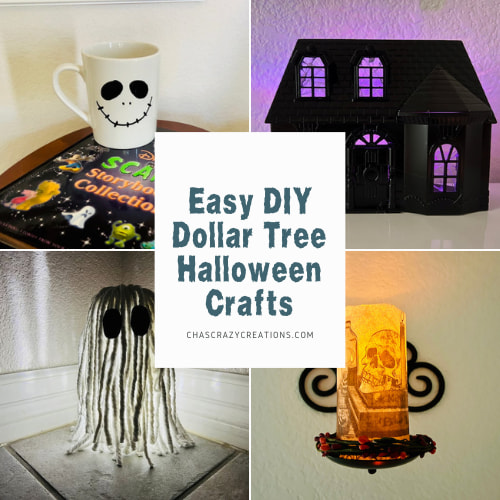
Easy DIY Dollar Tree Halloween Crafts
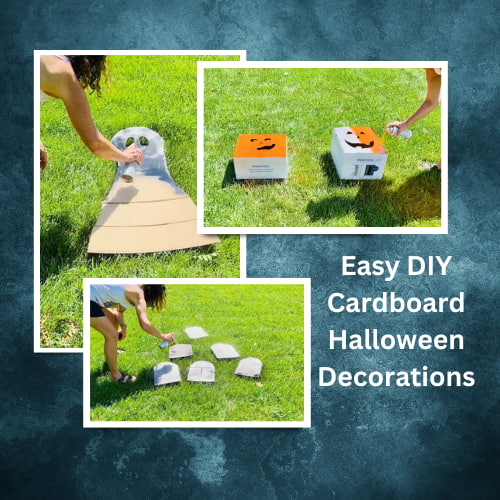
Easy DIY Cardboard Halloween Decorations
DIY Dollar Tree Halloween Decorations on a Budget: Easy and Spooky

Easy and Awesome DIY Dollar Tree Halloween Decor with Video
Easy and Fun DIY Halloween Bathroom Decor on a Budget
Easy and Awesome DIY Halloween Decorations Indoor on a Budget
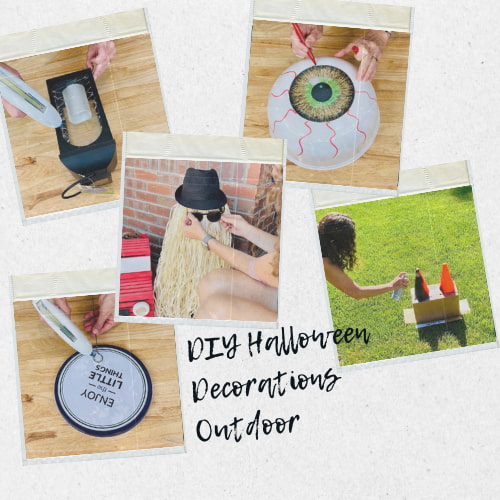
DIY Halloween Decorations Outdoor: Fun and Easy Ideas on a Budget
Easy and Fun DIY Halloween Yard Decorations on a Budget
Want to see more craft or crap challenges?
- DIY Tiered Tray: Craft or Crap Challenge
- DIY Snowman Craft from Thrift Store Dishes: Craft or Crap Challenge
- Easy DIY Fall Gnome Craft: Craft or Crap Challenge
- DIY Easter Painting Ideas: Easy And Fun
- Stunning Patriotic Wreath: An Easy and Unexpected DIY
- DIY Garden Decor: Epic Yard Art Showdown
- Easy DIY Sock Snowman Craft: Winter Decor and Gift IdeaHalloween Mantel Ideas: Easy DIY Spooky Decor Practically Free!
- Easy DIY Cardboard Halloween Decorations
- Delightful Easy Flower Crafts with Video
- Super Easy DIY Dollar Tree Valentine Ideas with Video



What a fantastic setup for your mantel! The orange LED lights sound like a perfect touch for creating that spooky atmosphere. I love how you’ve incorporated so many creative elements, like the creepy window cling and the light bottles. It sounds like you really took the time to arrange everything just right to achieve the desired look.
Thank you