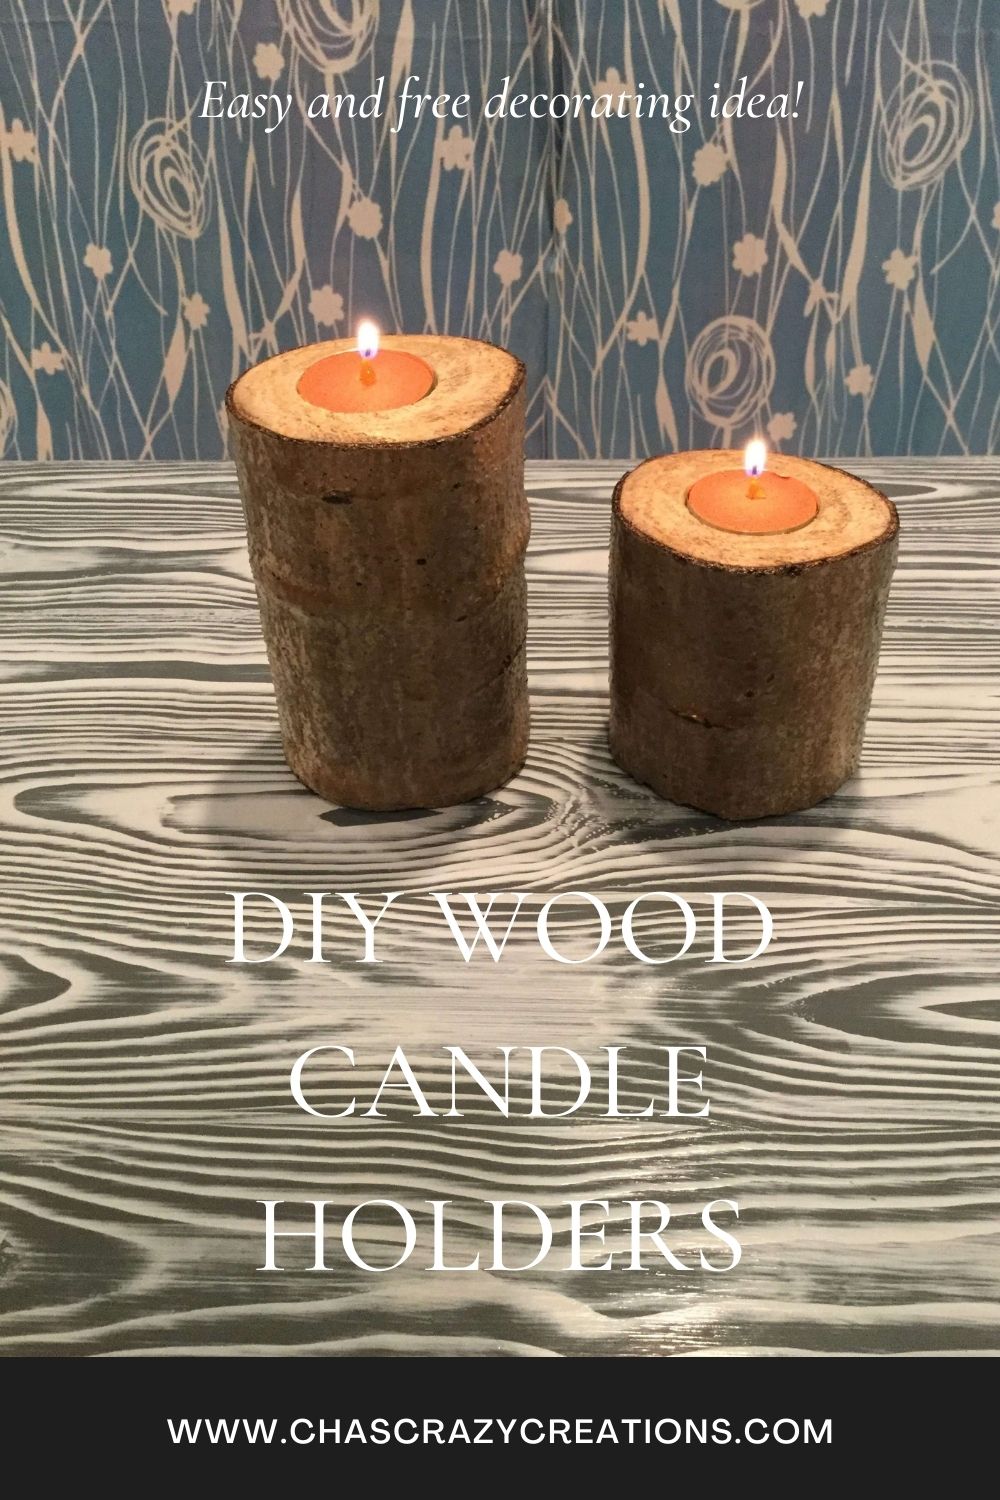
How To Make Real Tree DIY Candle Holders For Free
Learn how to make your own real tree DIY candle holders for free!
We love the outdoors at our house. I have always loved the look of the tree branch candle holders, but oh my goodness the prices!!!
We were just in Grand Lake, Colorado camping over Labor Day and I saw some in a store for $15 each. We recently had an aspen tree pass away at our house and cut it down.
We saved some of the branches and we made our own aspen branch candle holders!

SUPPLIES NEEDED FOR WOOD CANDLE HOLDERS
- Tree Branch
- Drill
- Spade for Drill
- Polycrylic
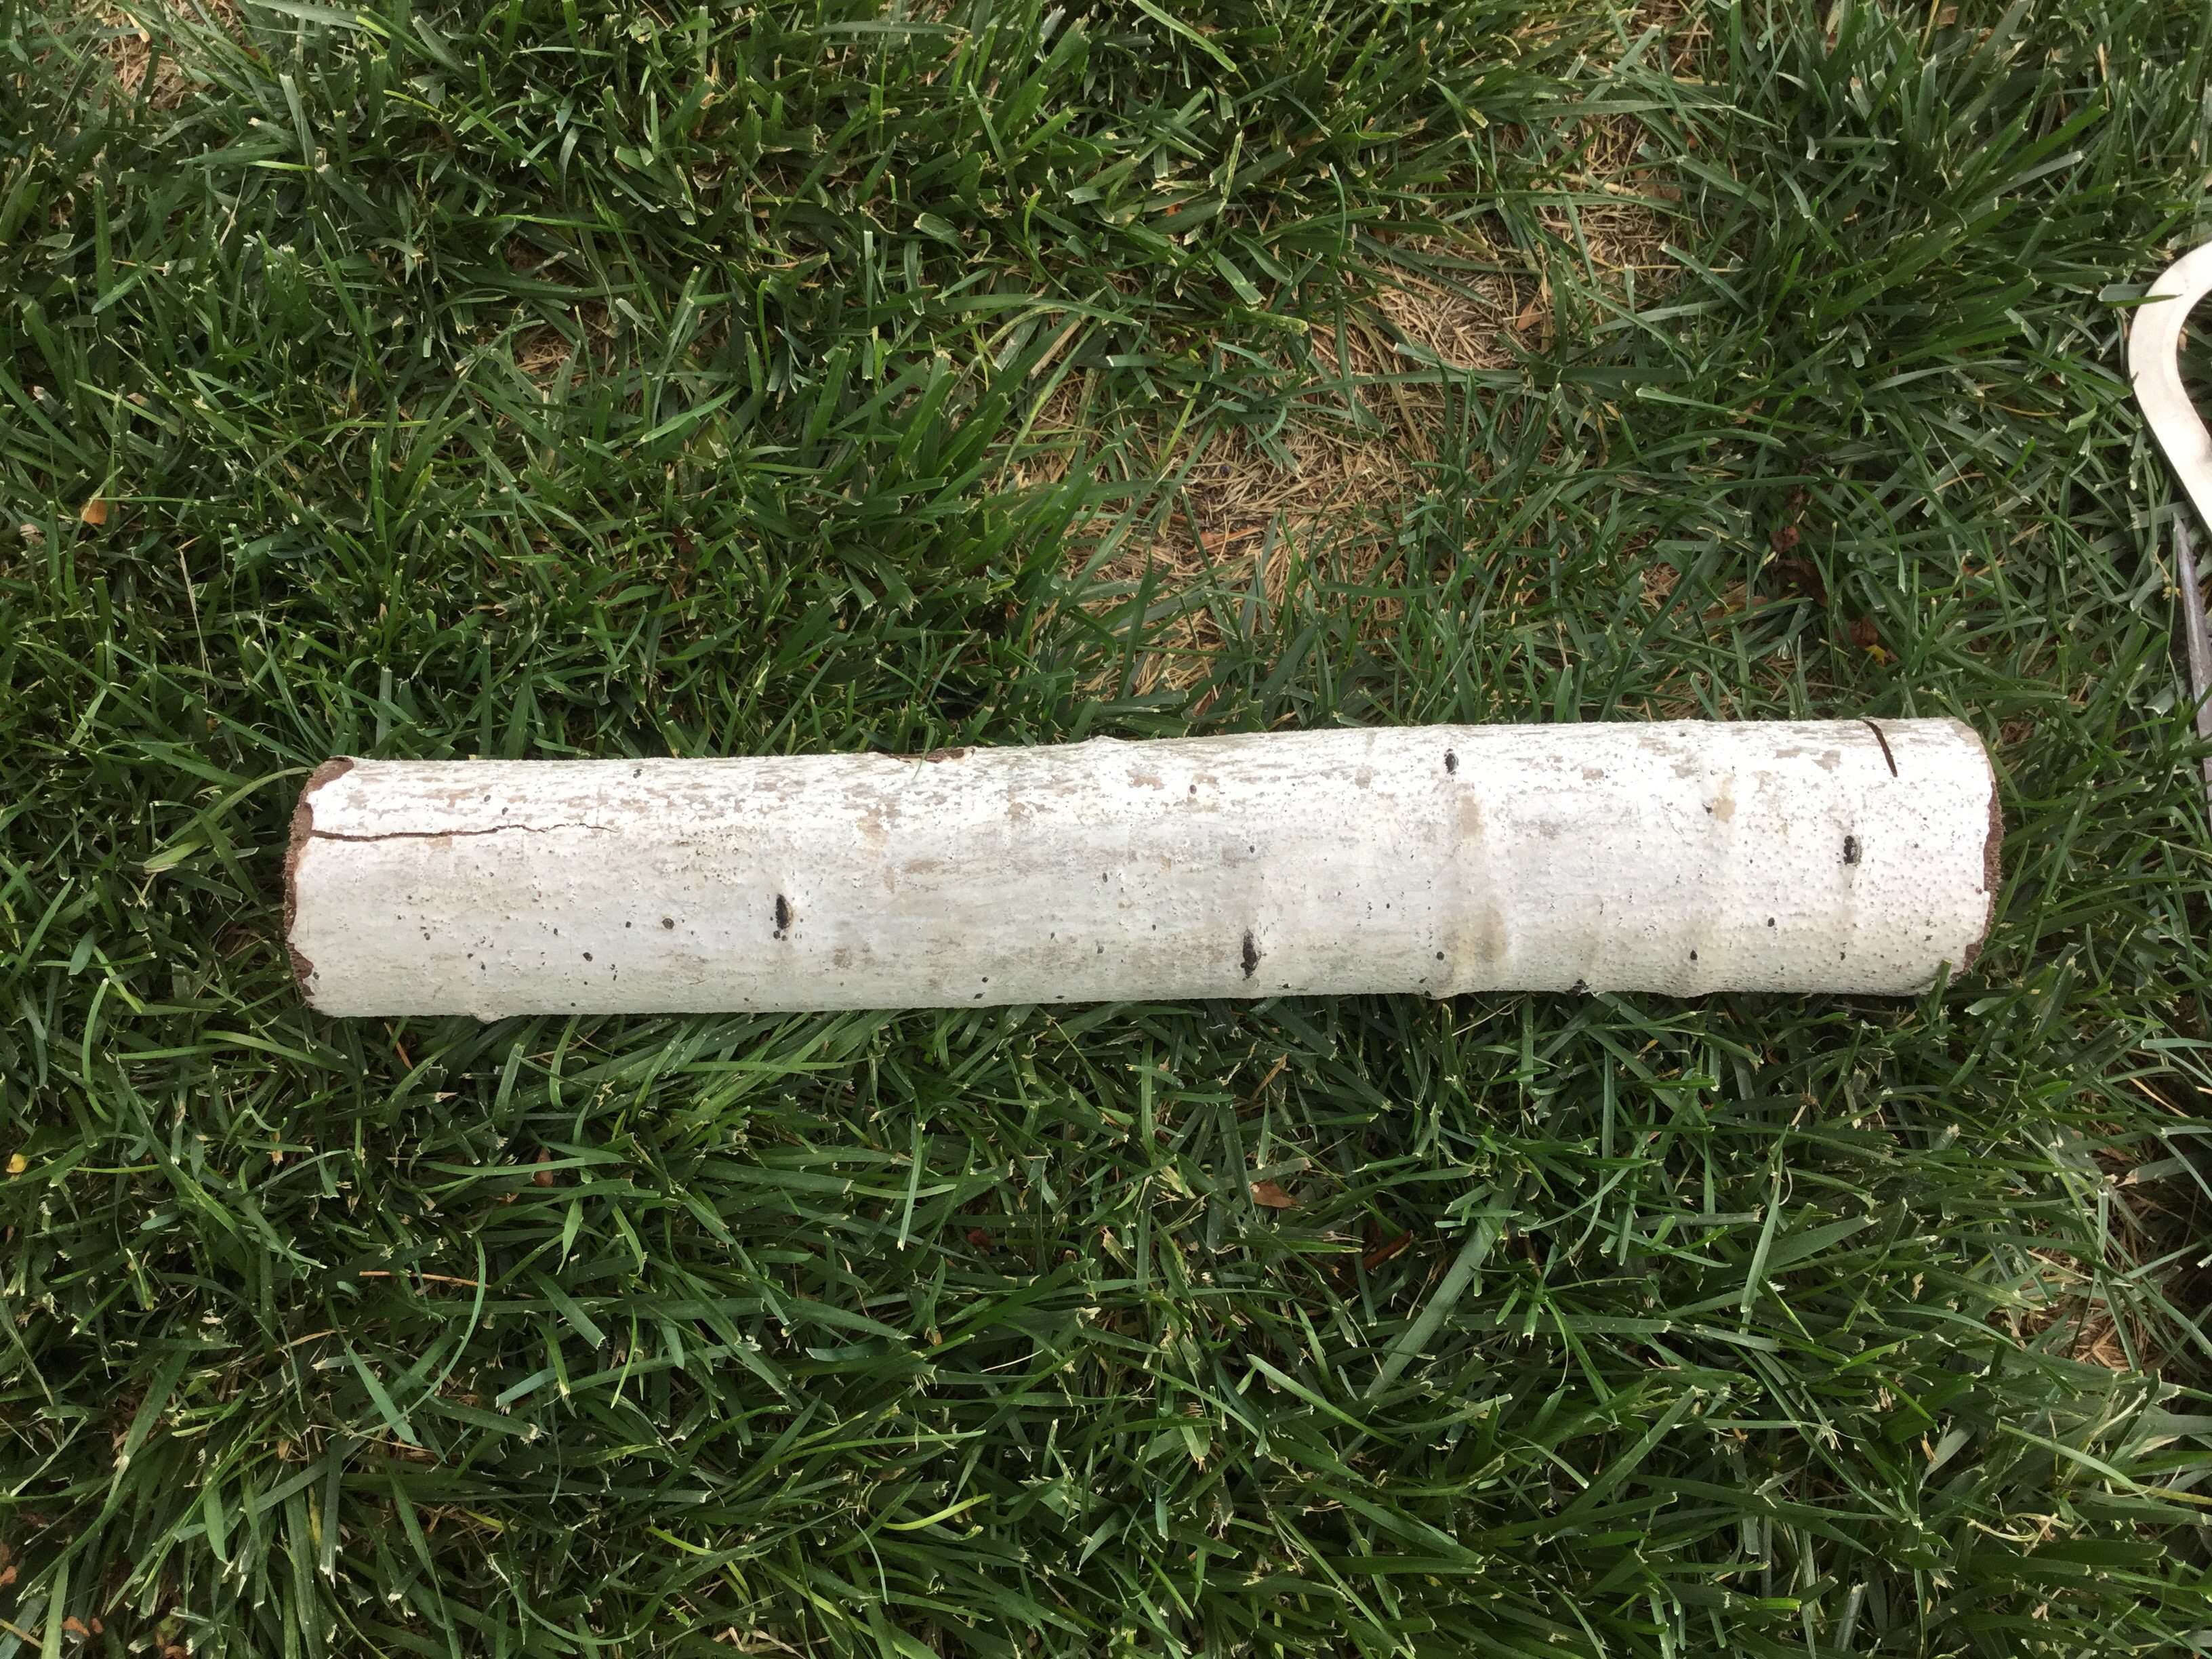
It all started with a branch. You’ll want to let it dry out if you are going to seal it in the end. If not, you’ll be okay to move ahead sooner.
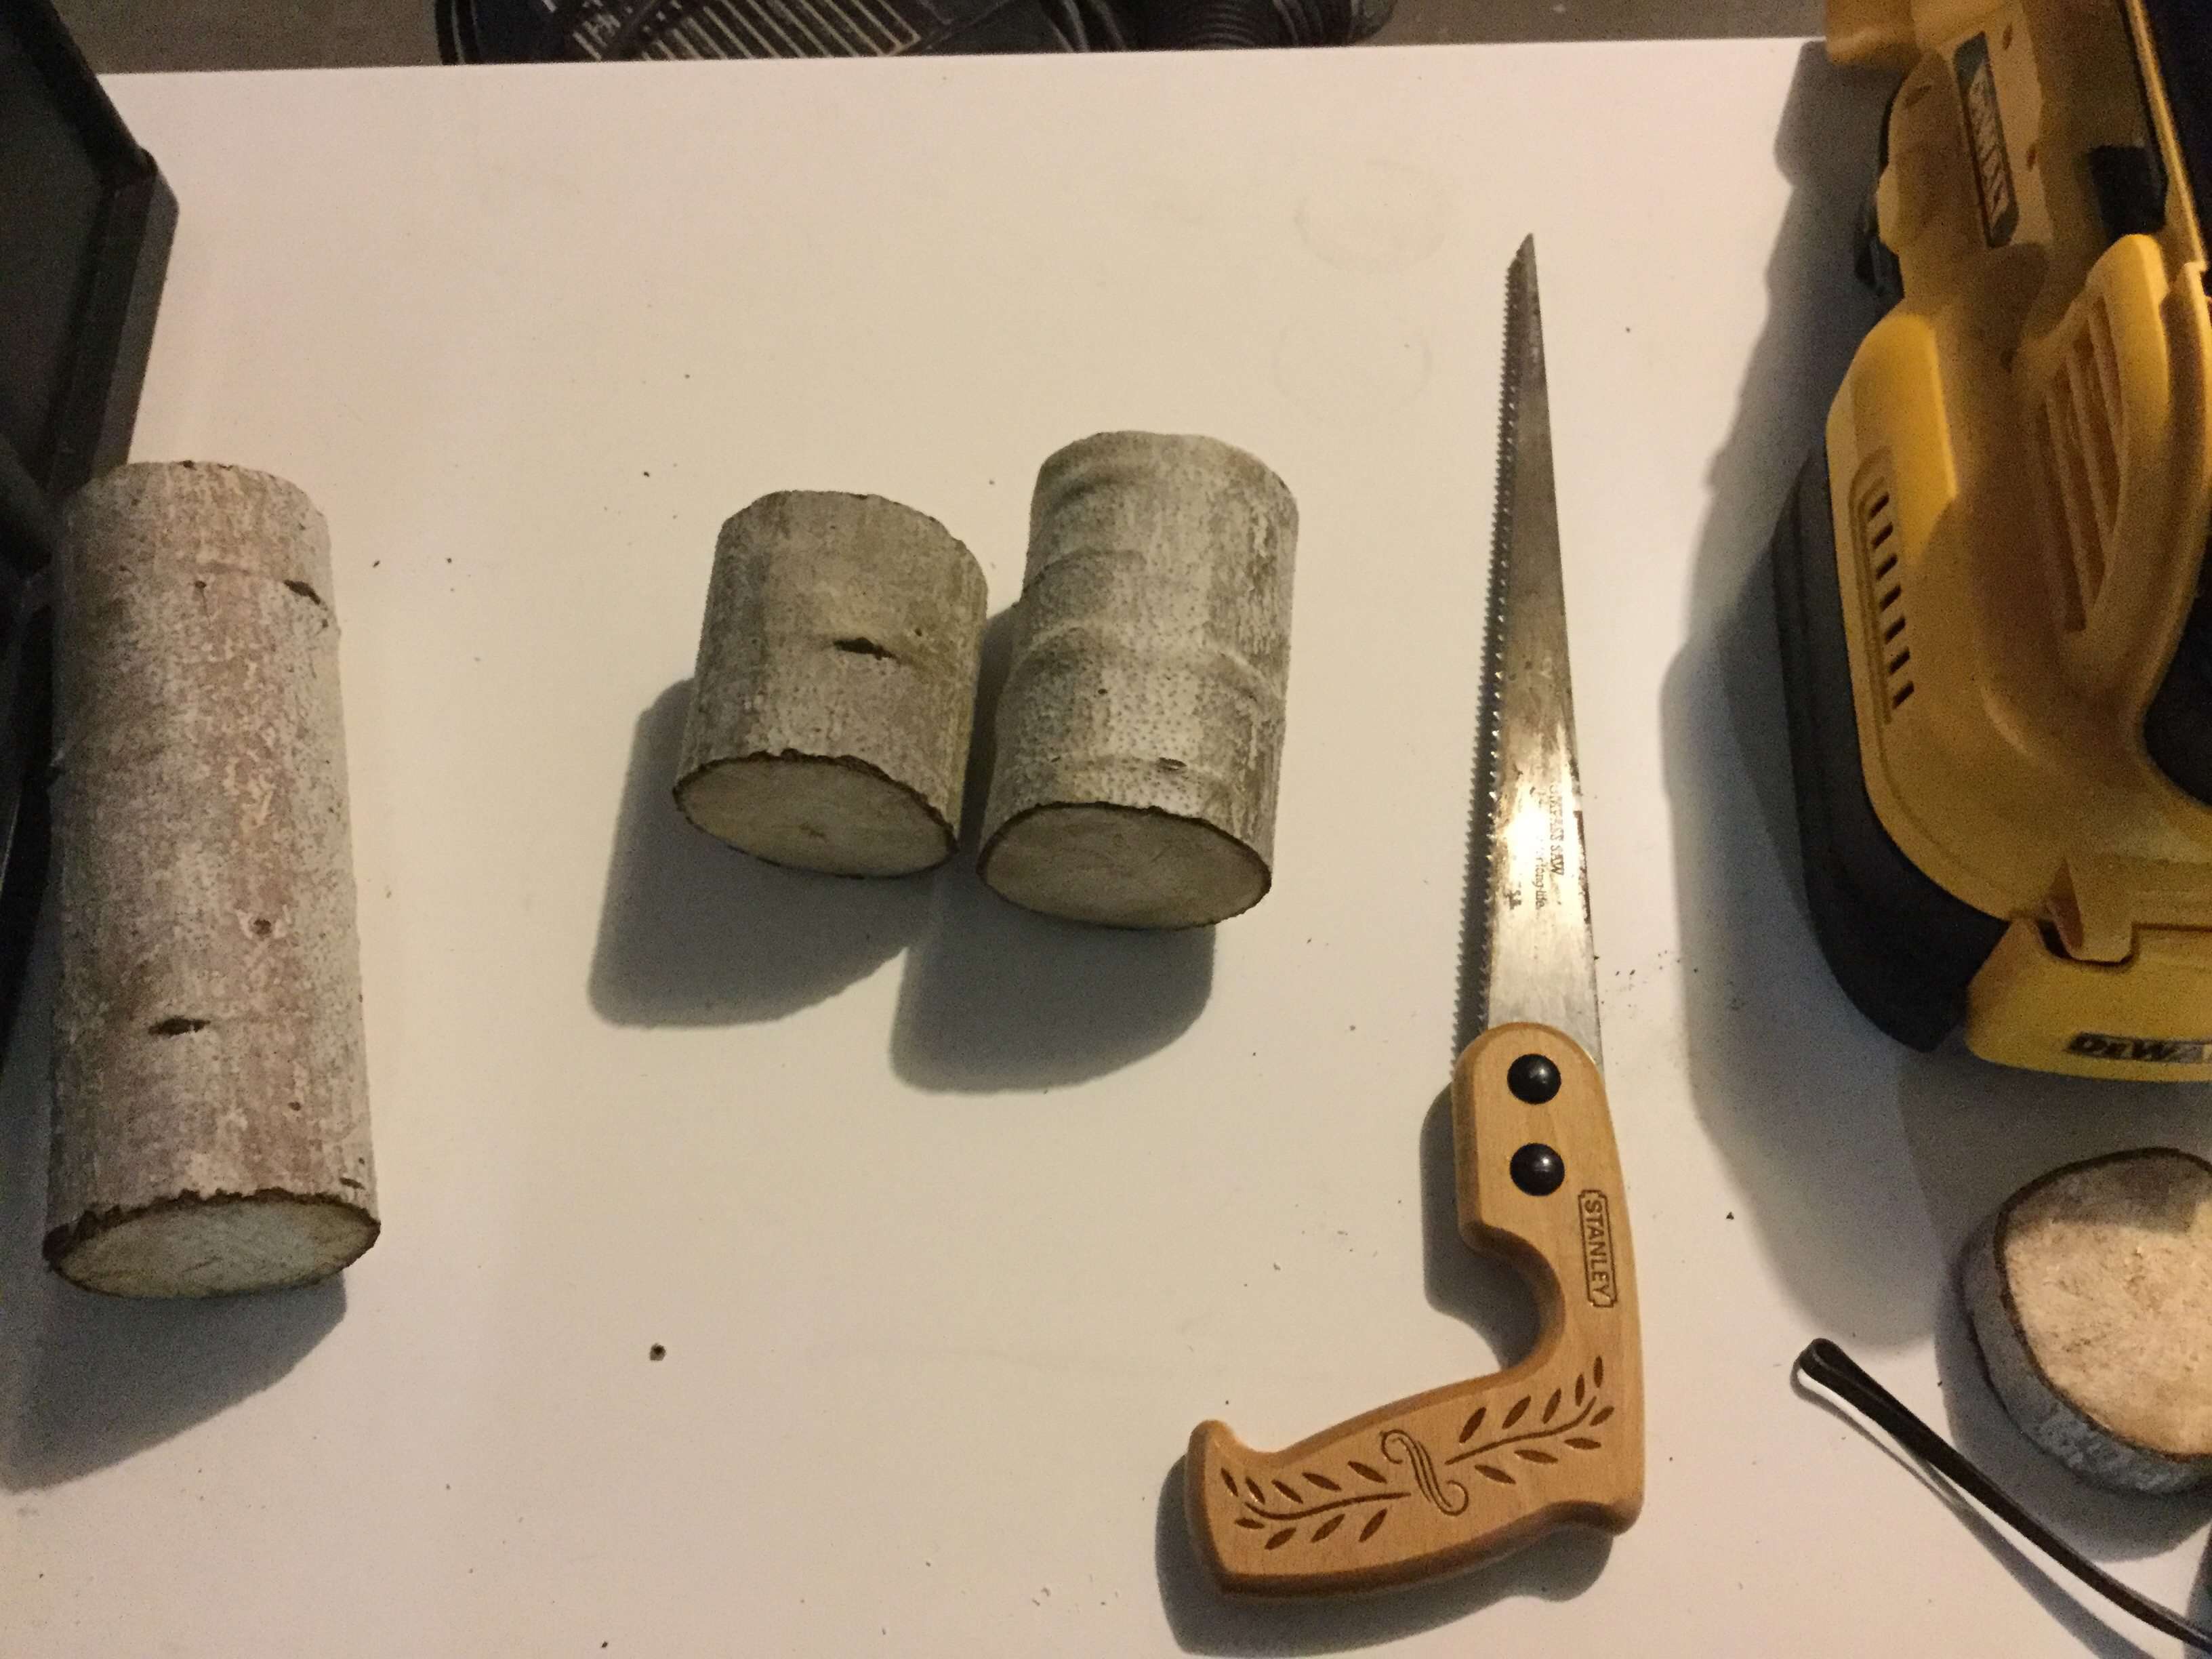
I guessed at the size I wanted my candle holders to be and I sawed them to size. After sawing them, I sanded the top and the bottom of the branches with a sanding block.
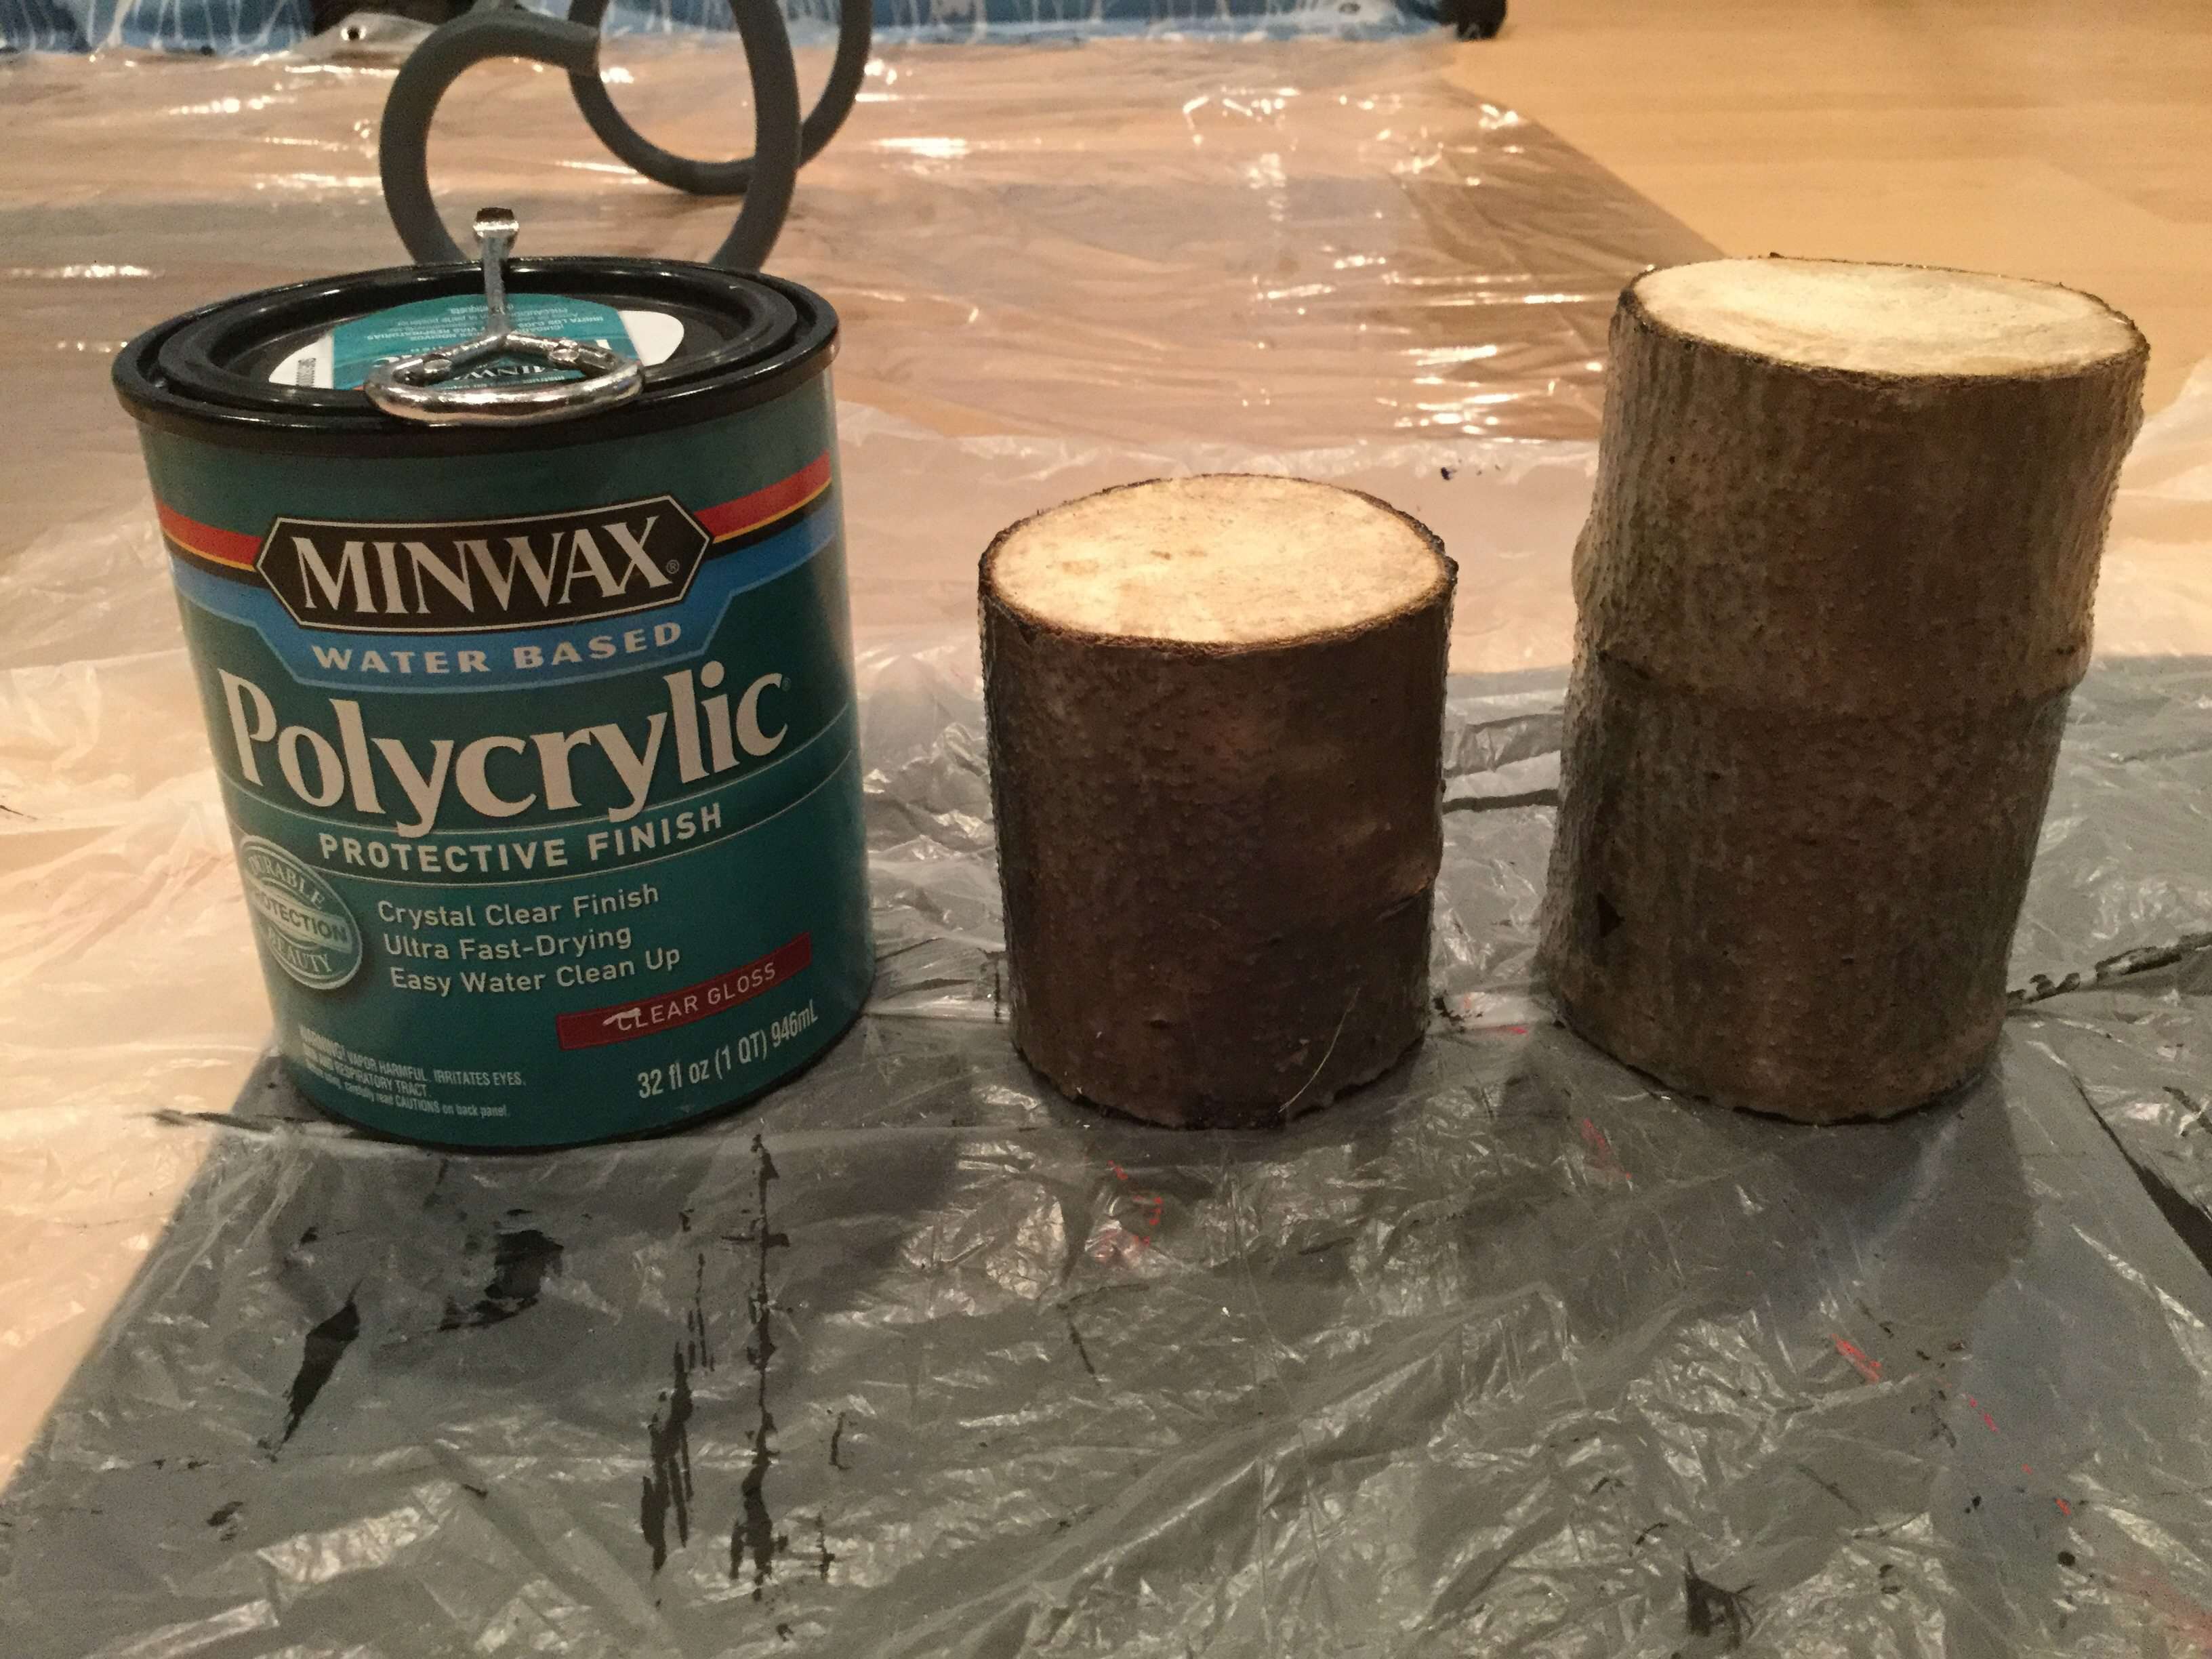
I used Polycrylic to seal the candle holders. I was a little disappointed that some of the “white” from the aspen seemed to disappear, but I felt it better to seal the candle holder for long term and to prevent splitting and cracking as they dry.
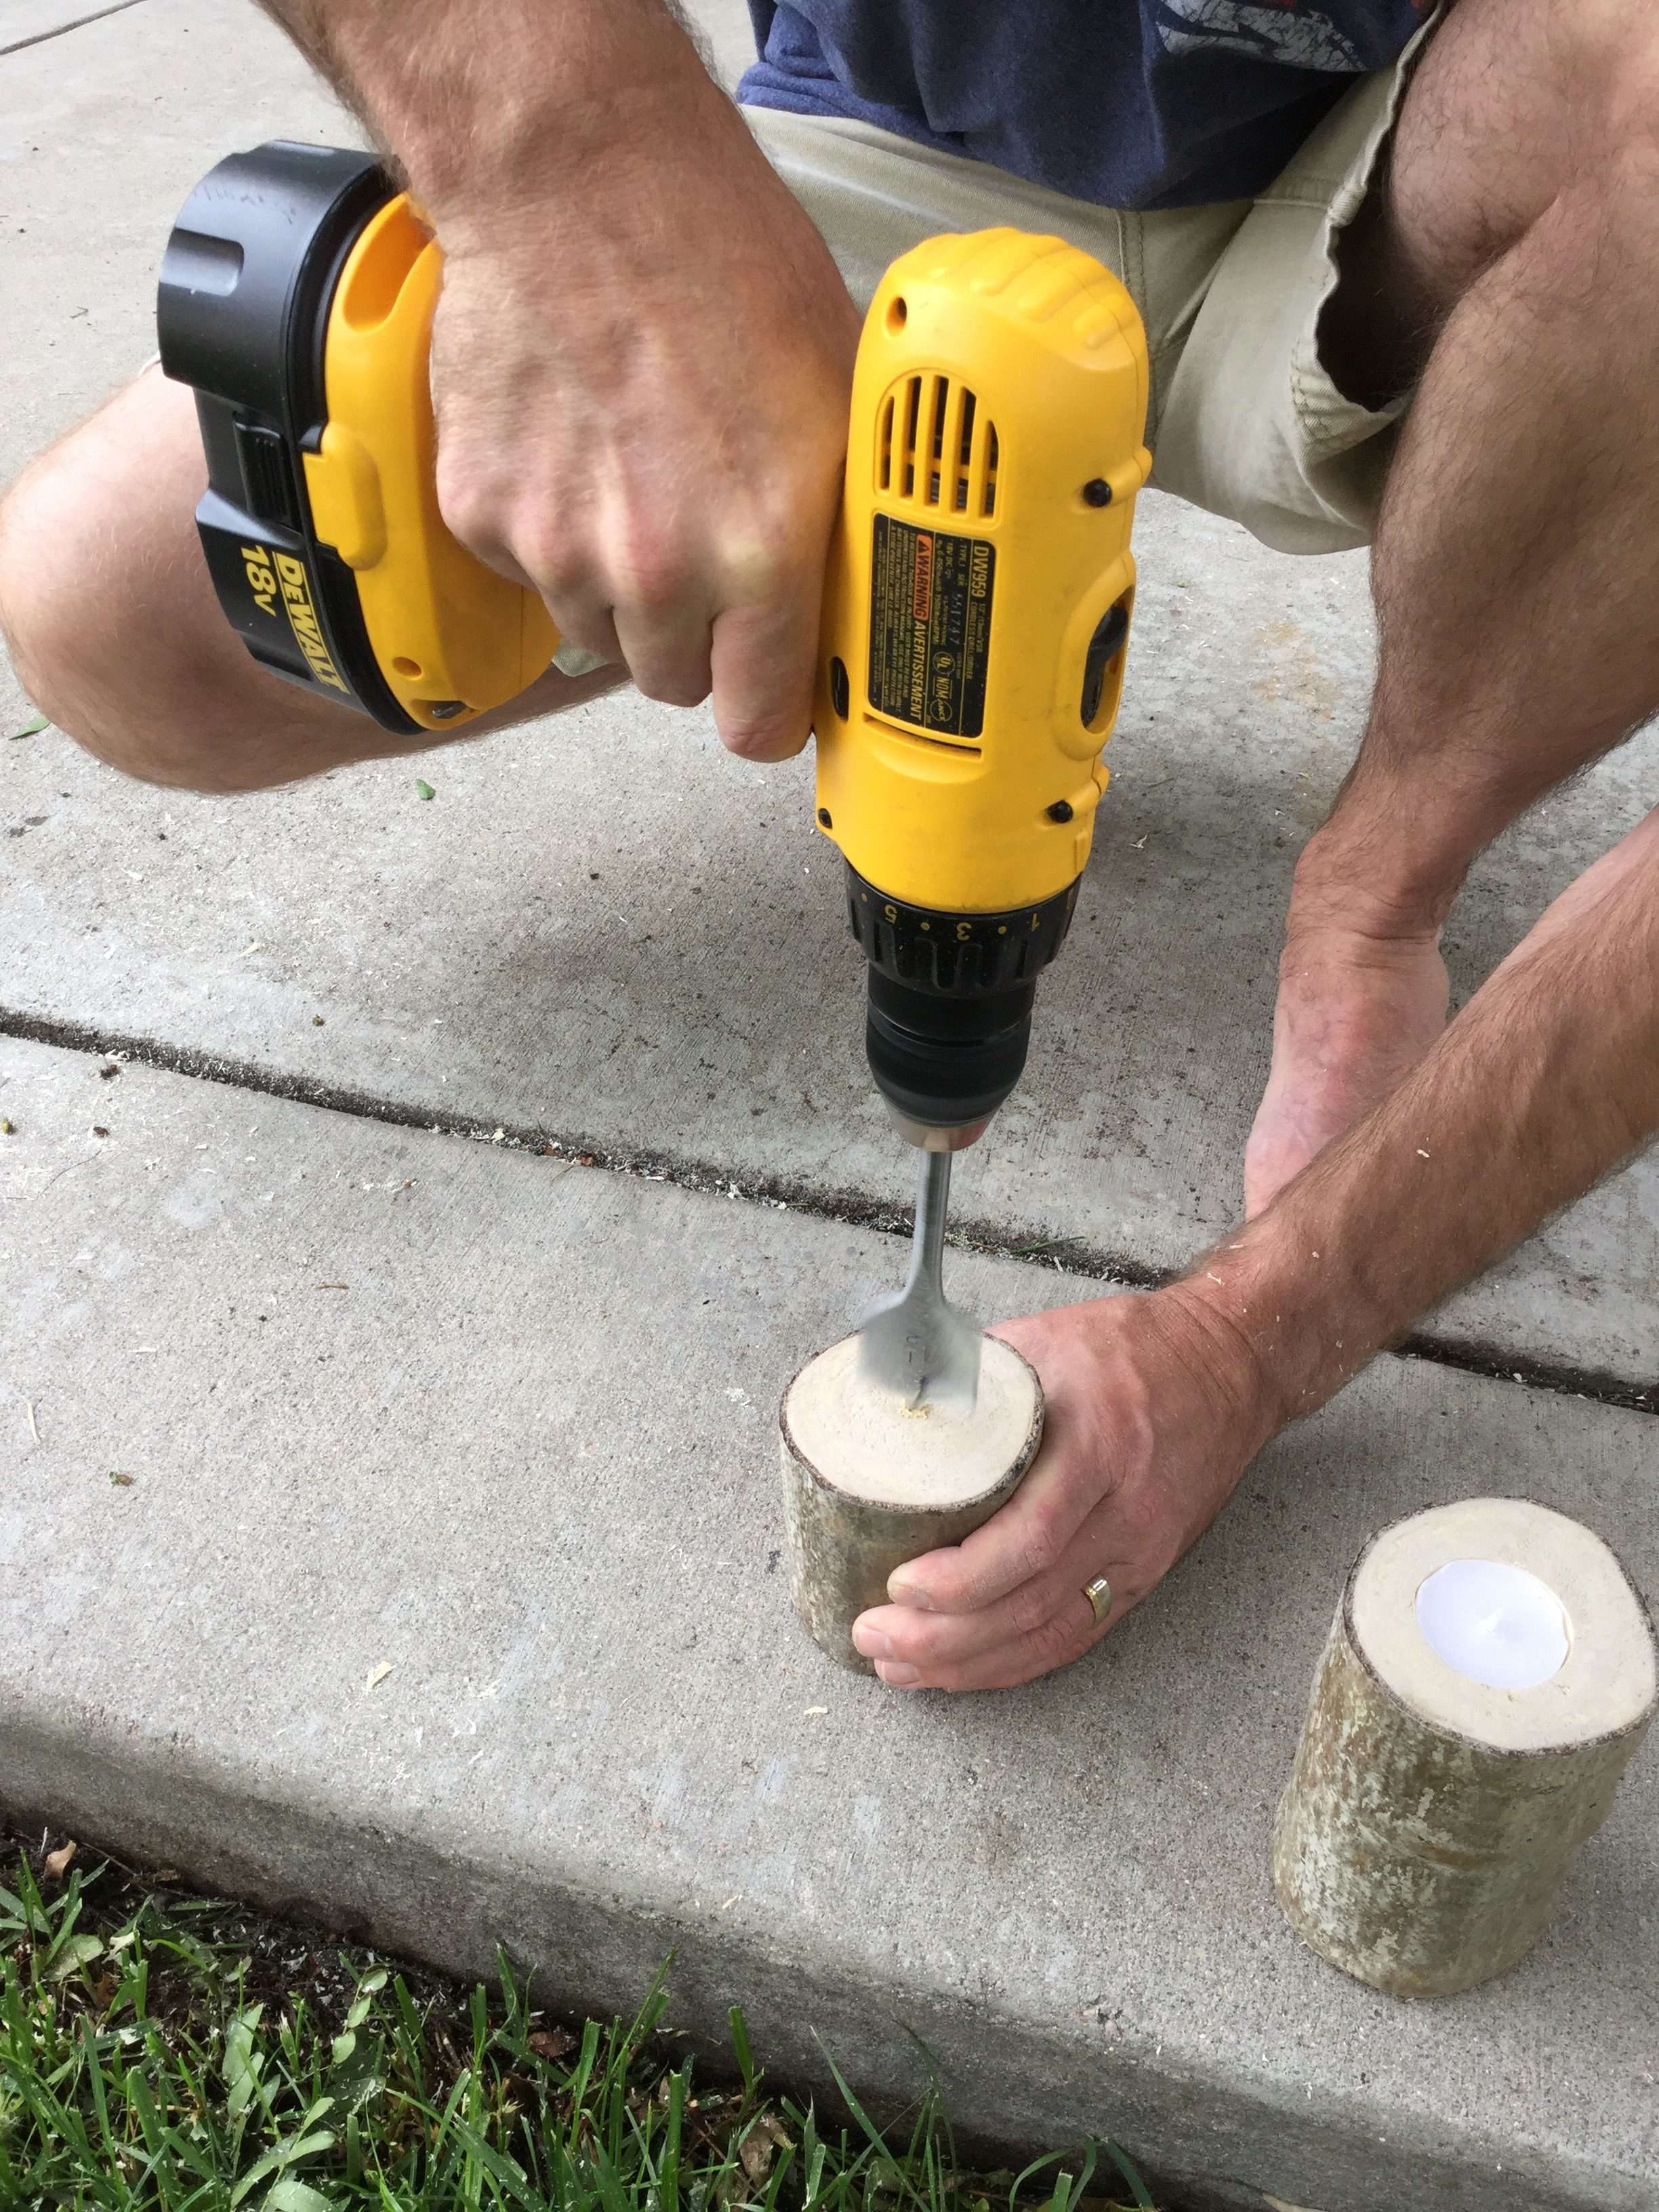
Using a 1 1/2 inch spade drill bit in our drill, we made indents for the candles.
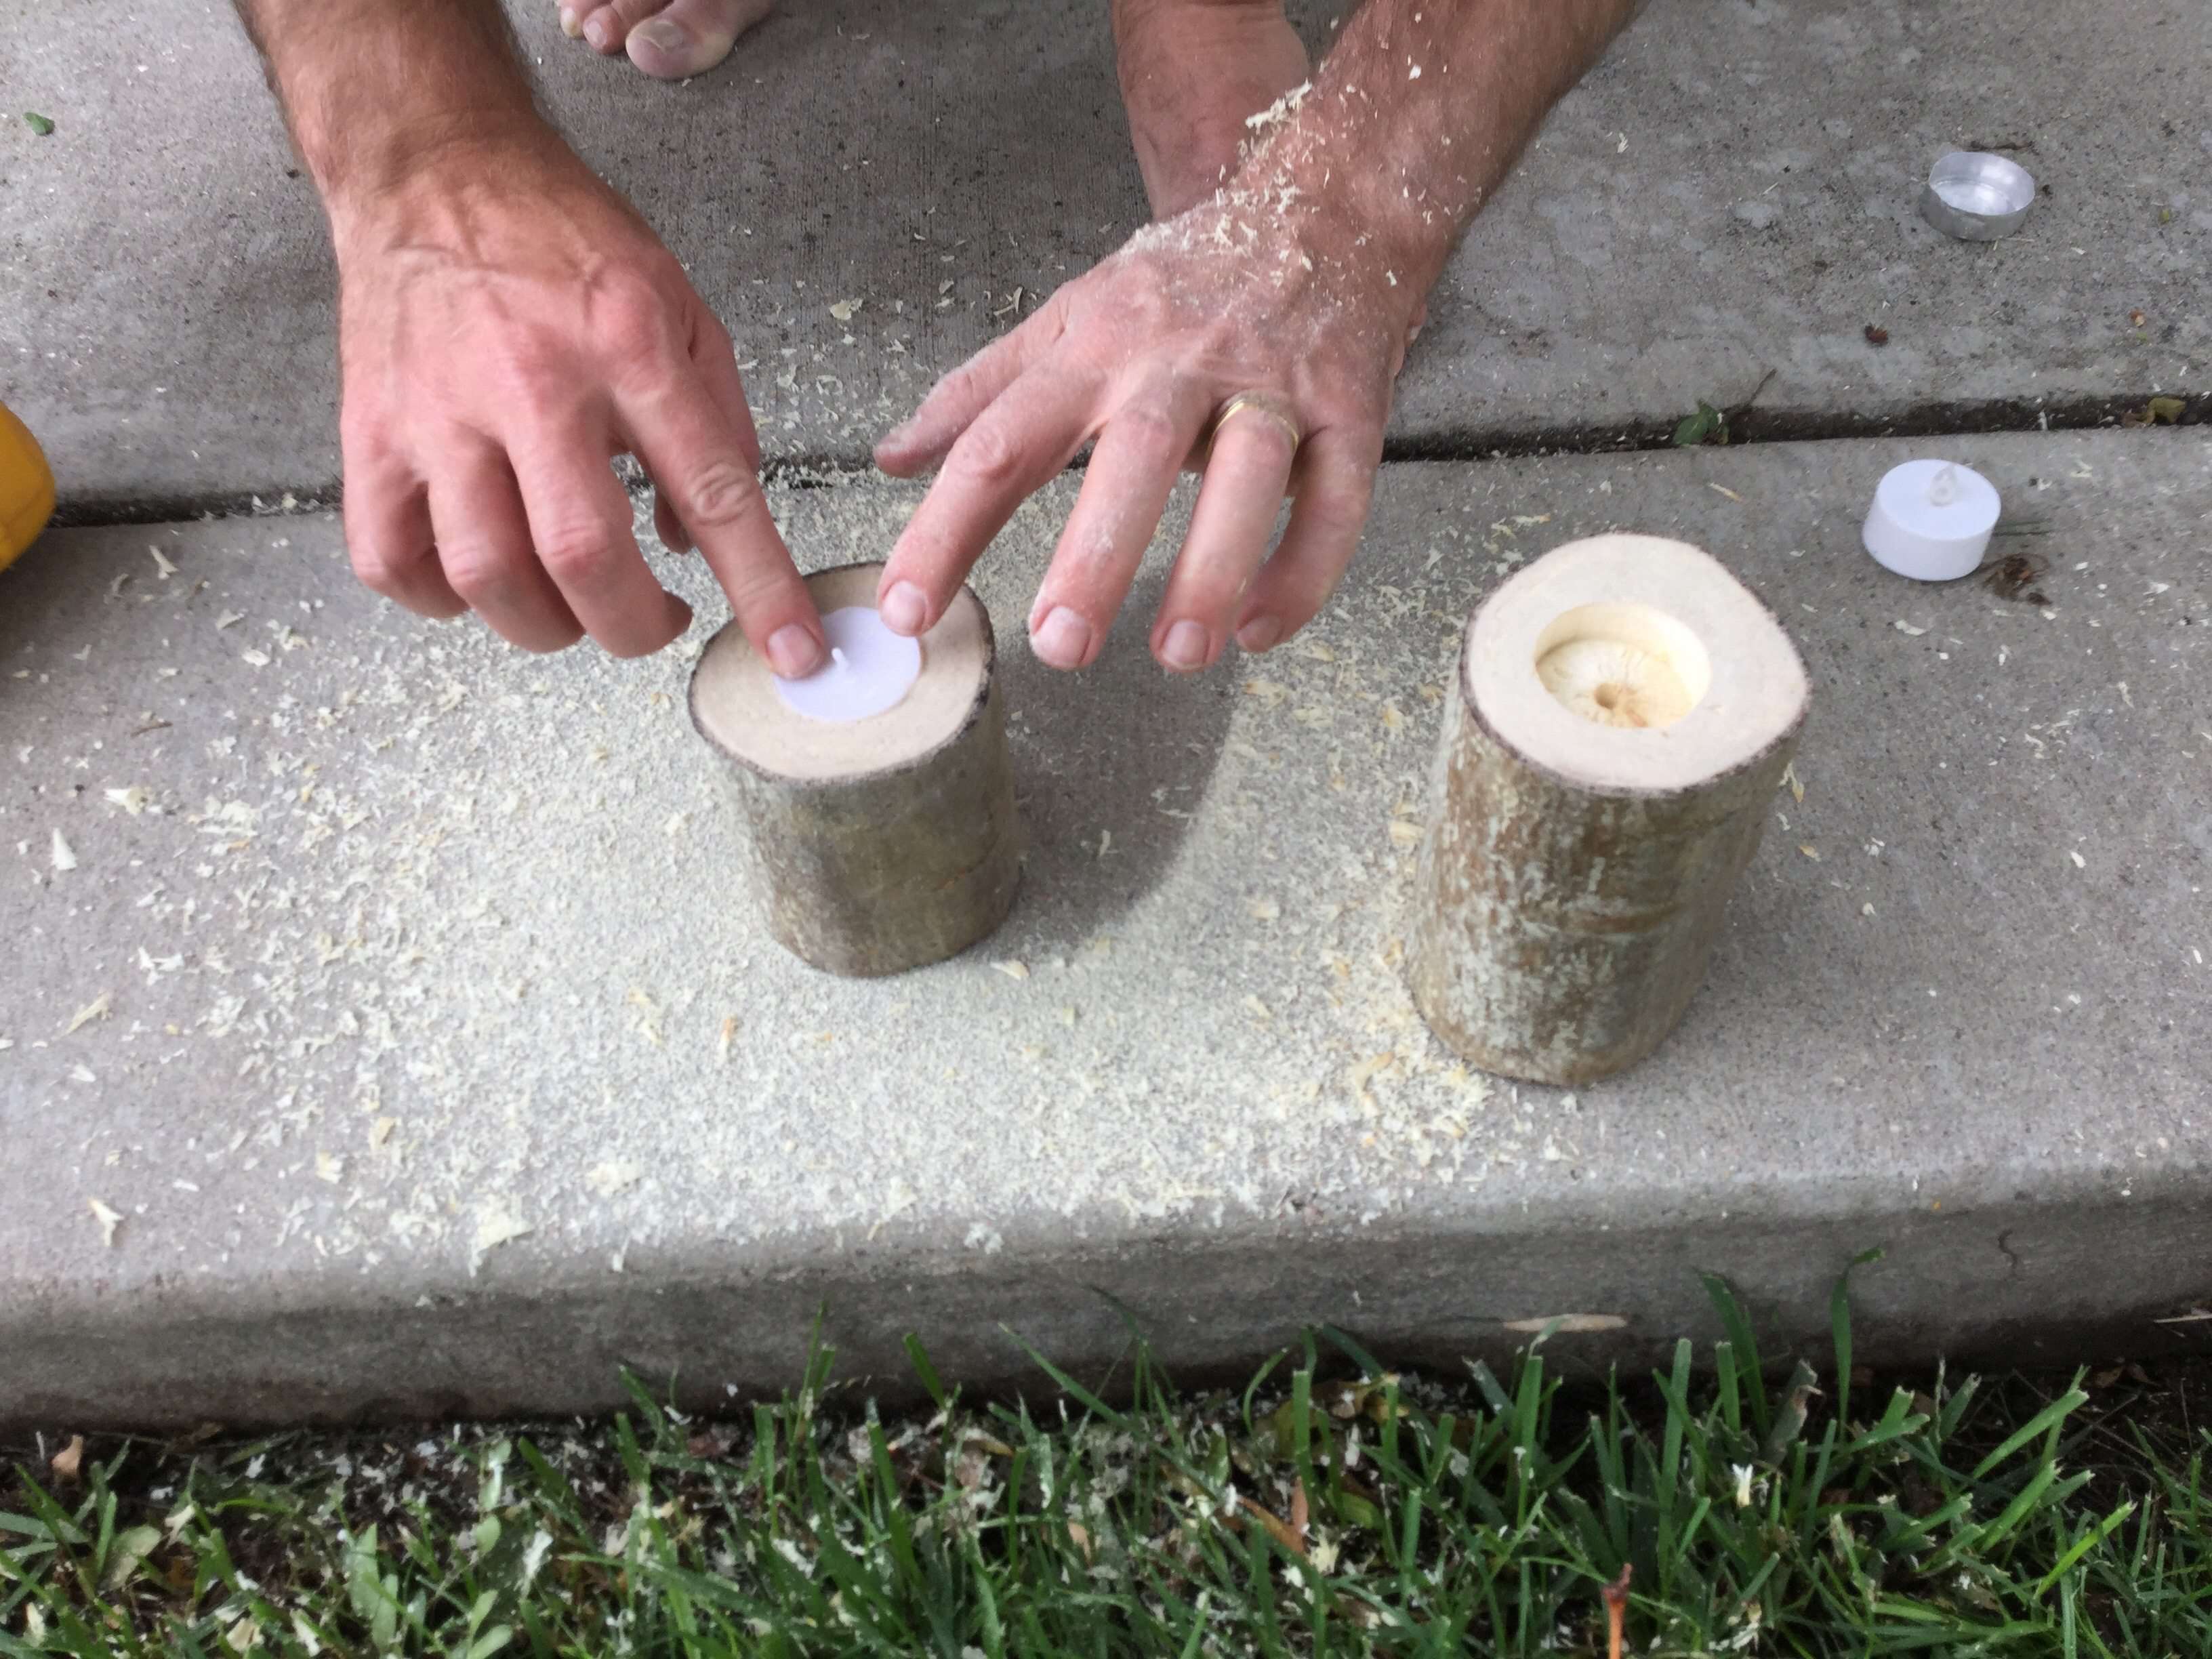
We tested both candle holders to make sure both a tealight candle and a battery-operated tea light candle would fit into the holders.
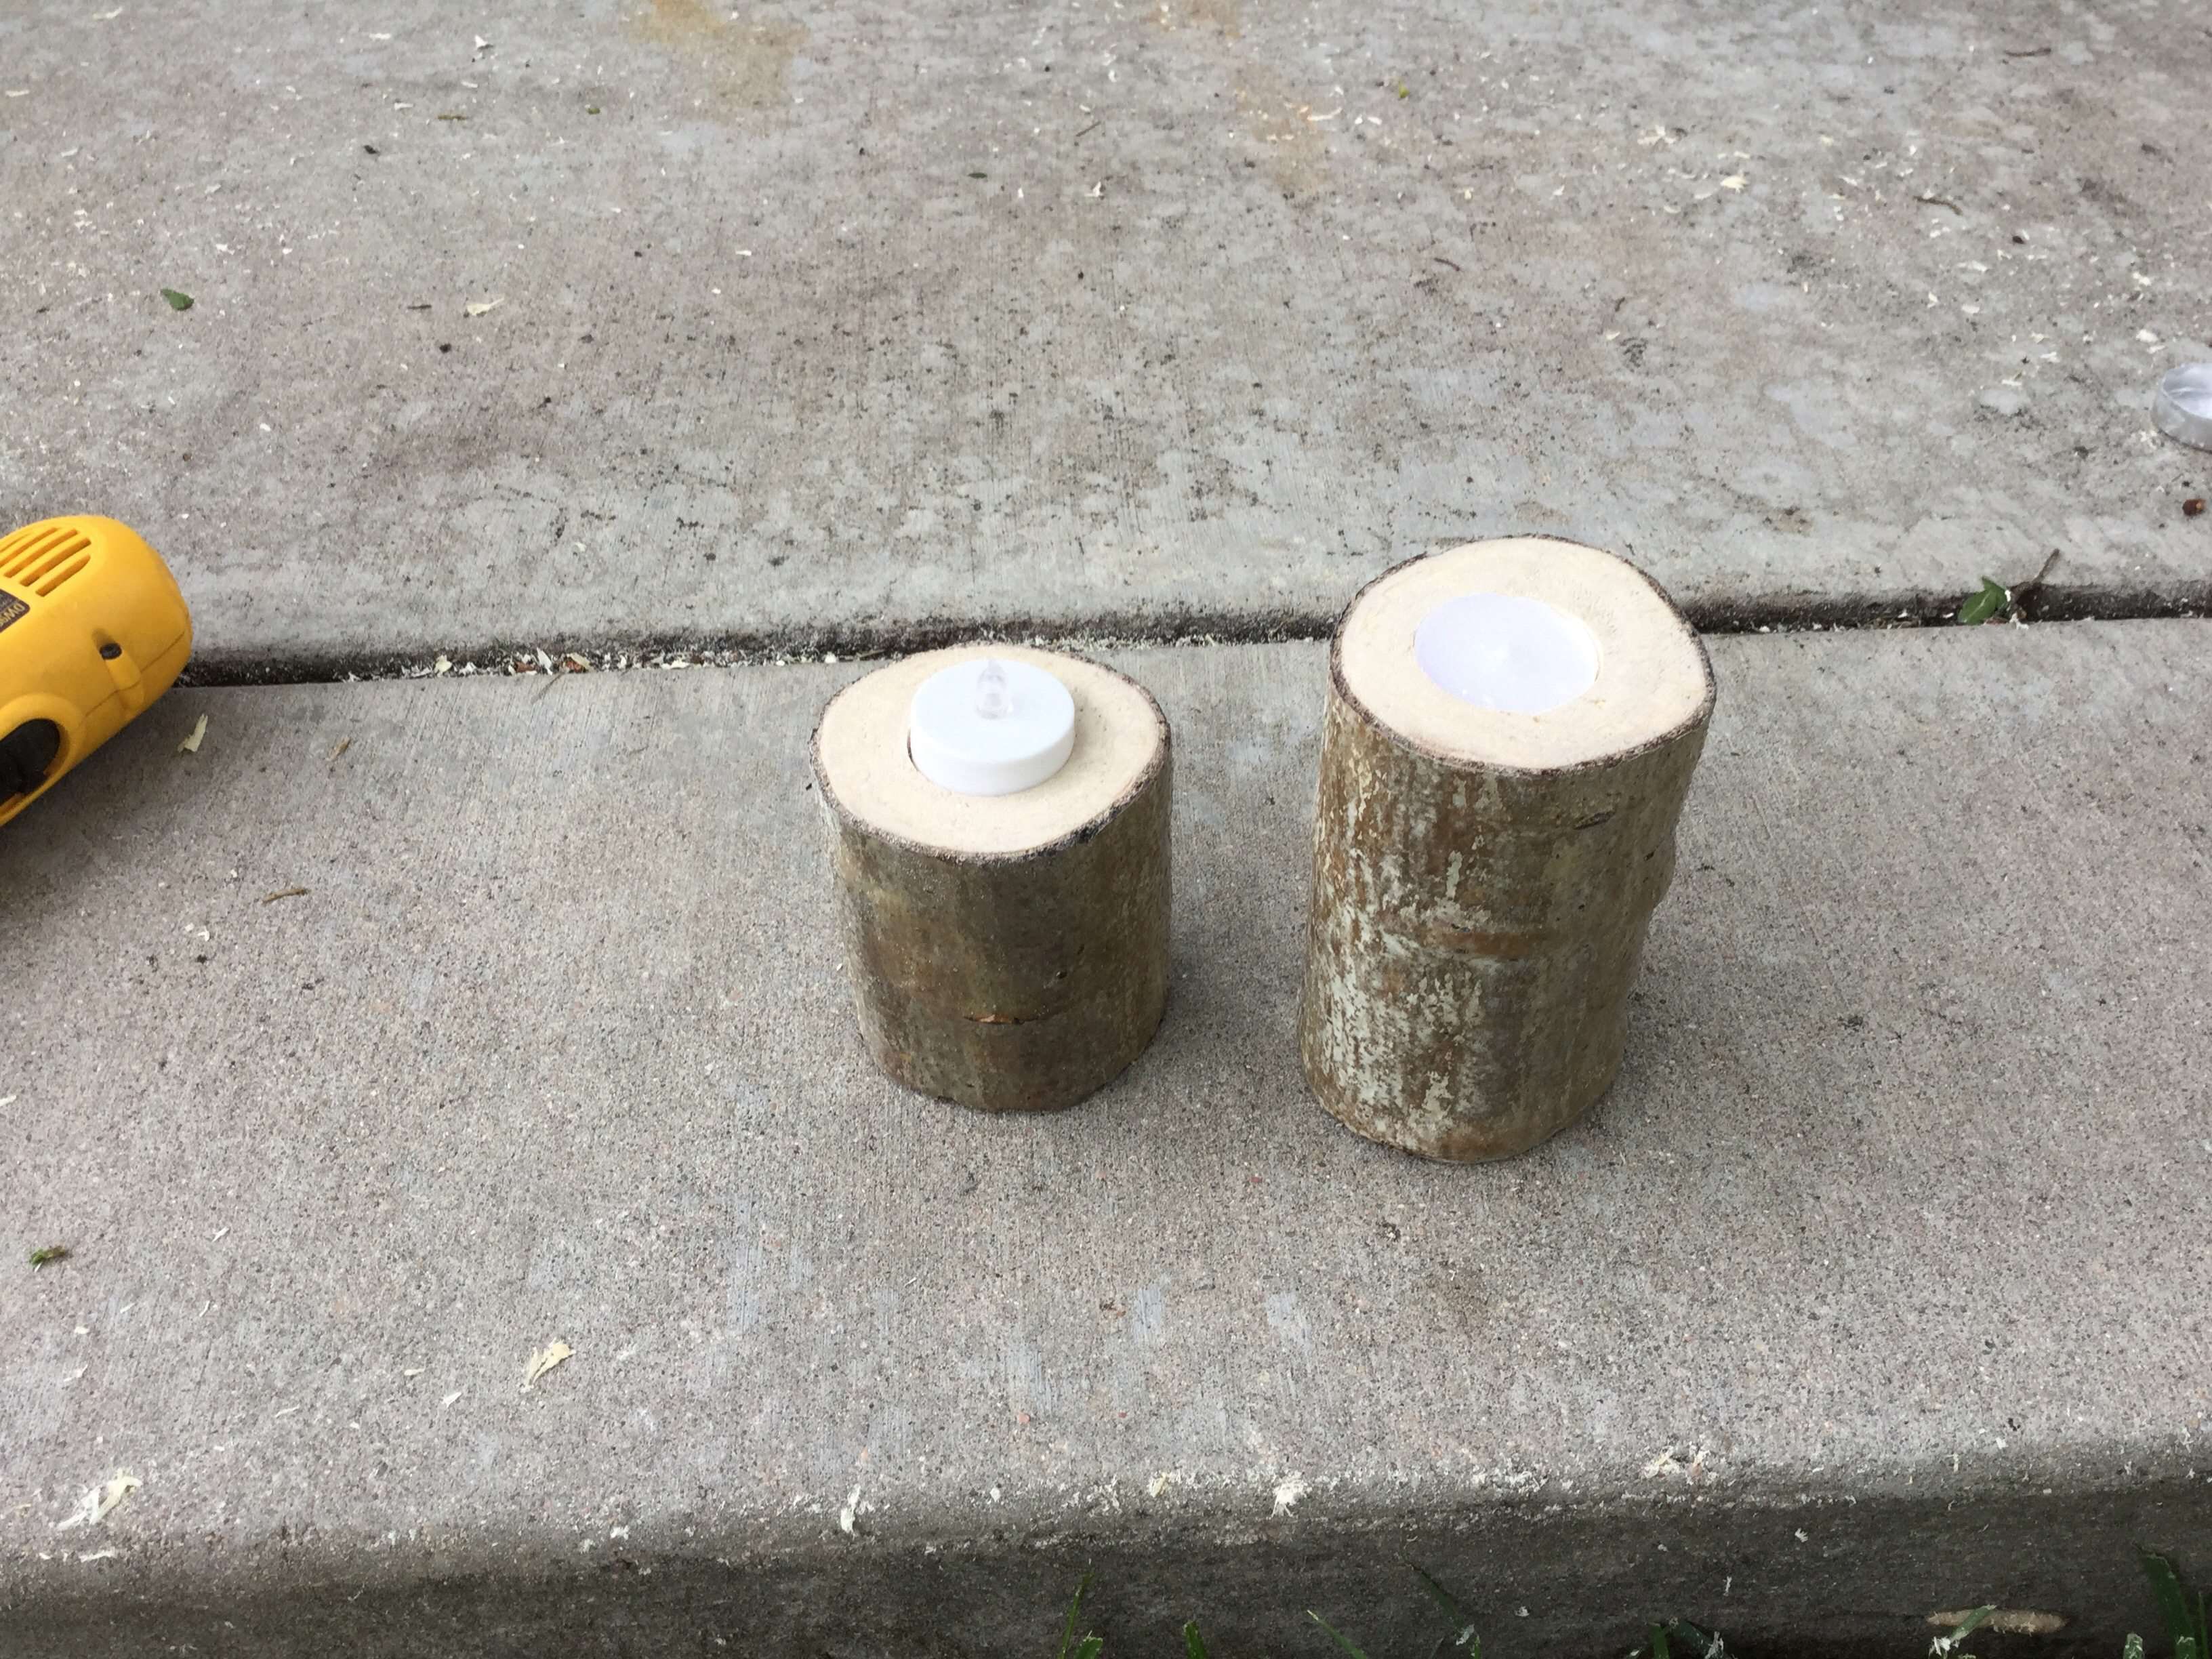
We could have drilled the battery-operated tealight down more but then the candle tealight would have sat down too low and we didn’t want the flame that blows in the wood.
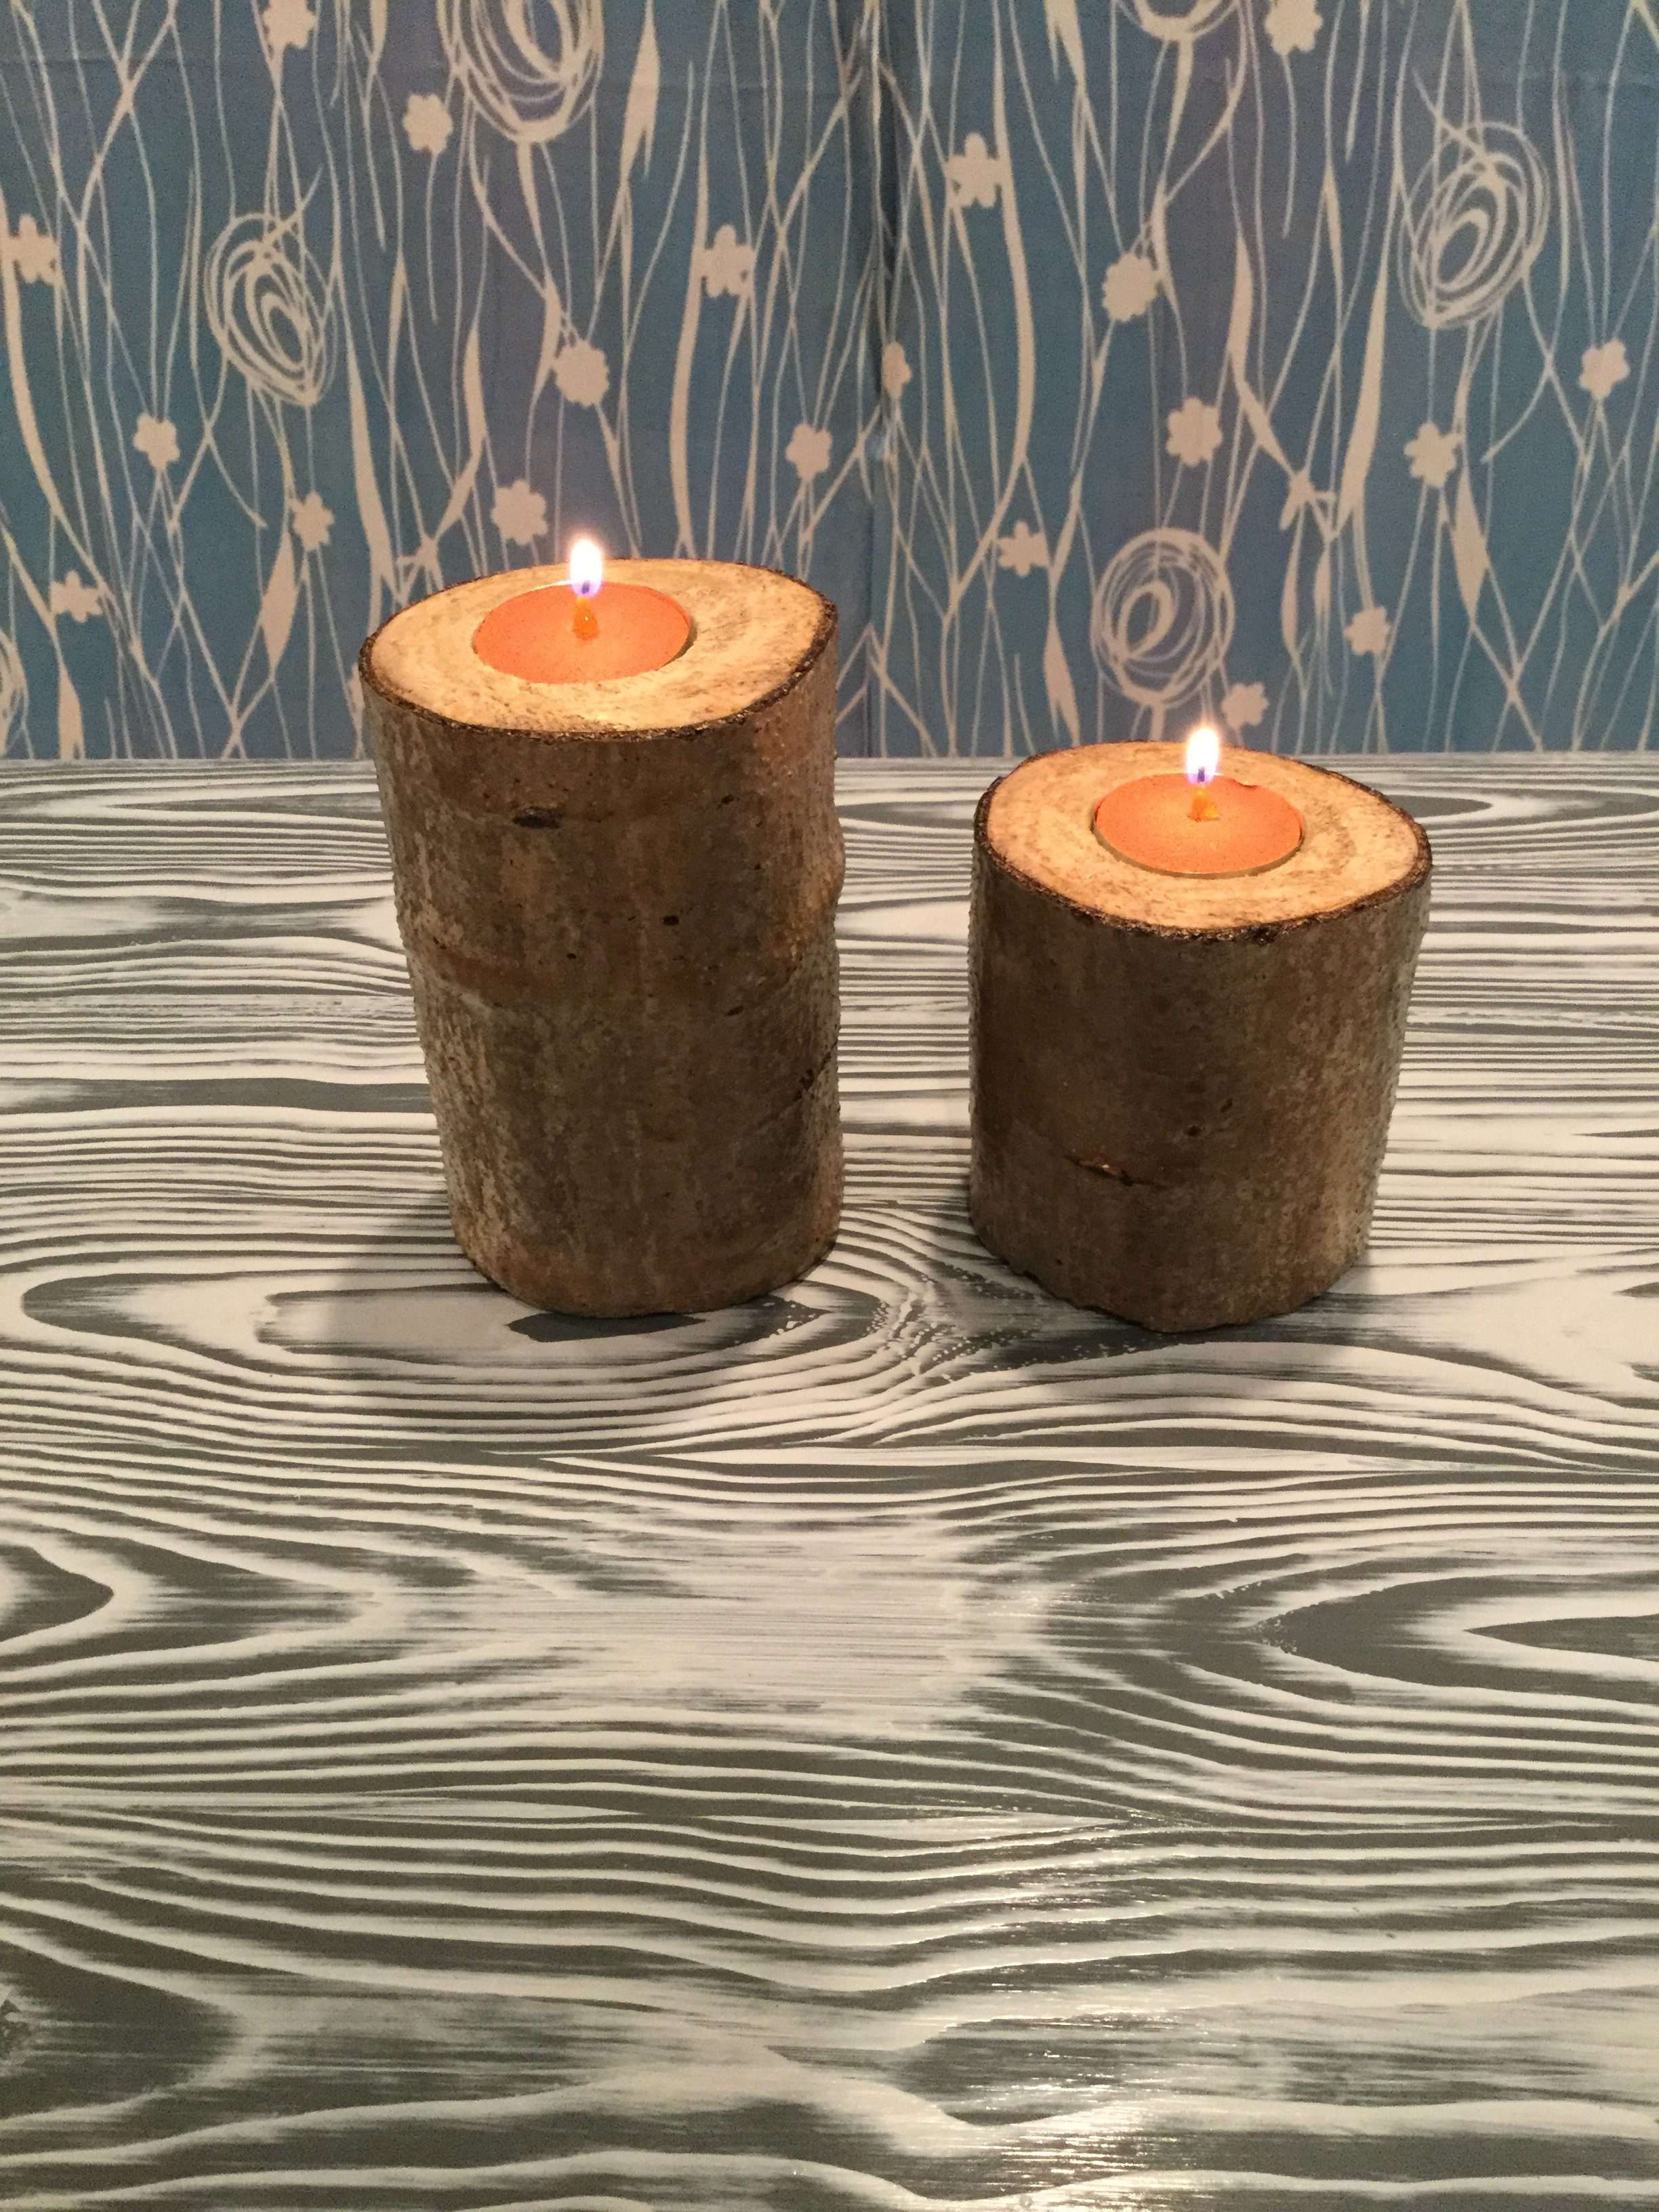
Here they are finished, and we love the way they turned out!

Once you’ve made them, they’re ready to be placed where you like.
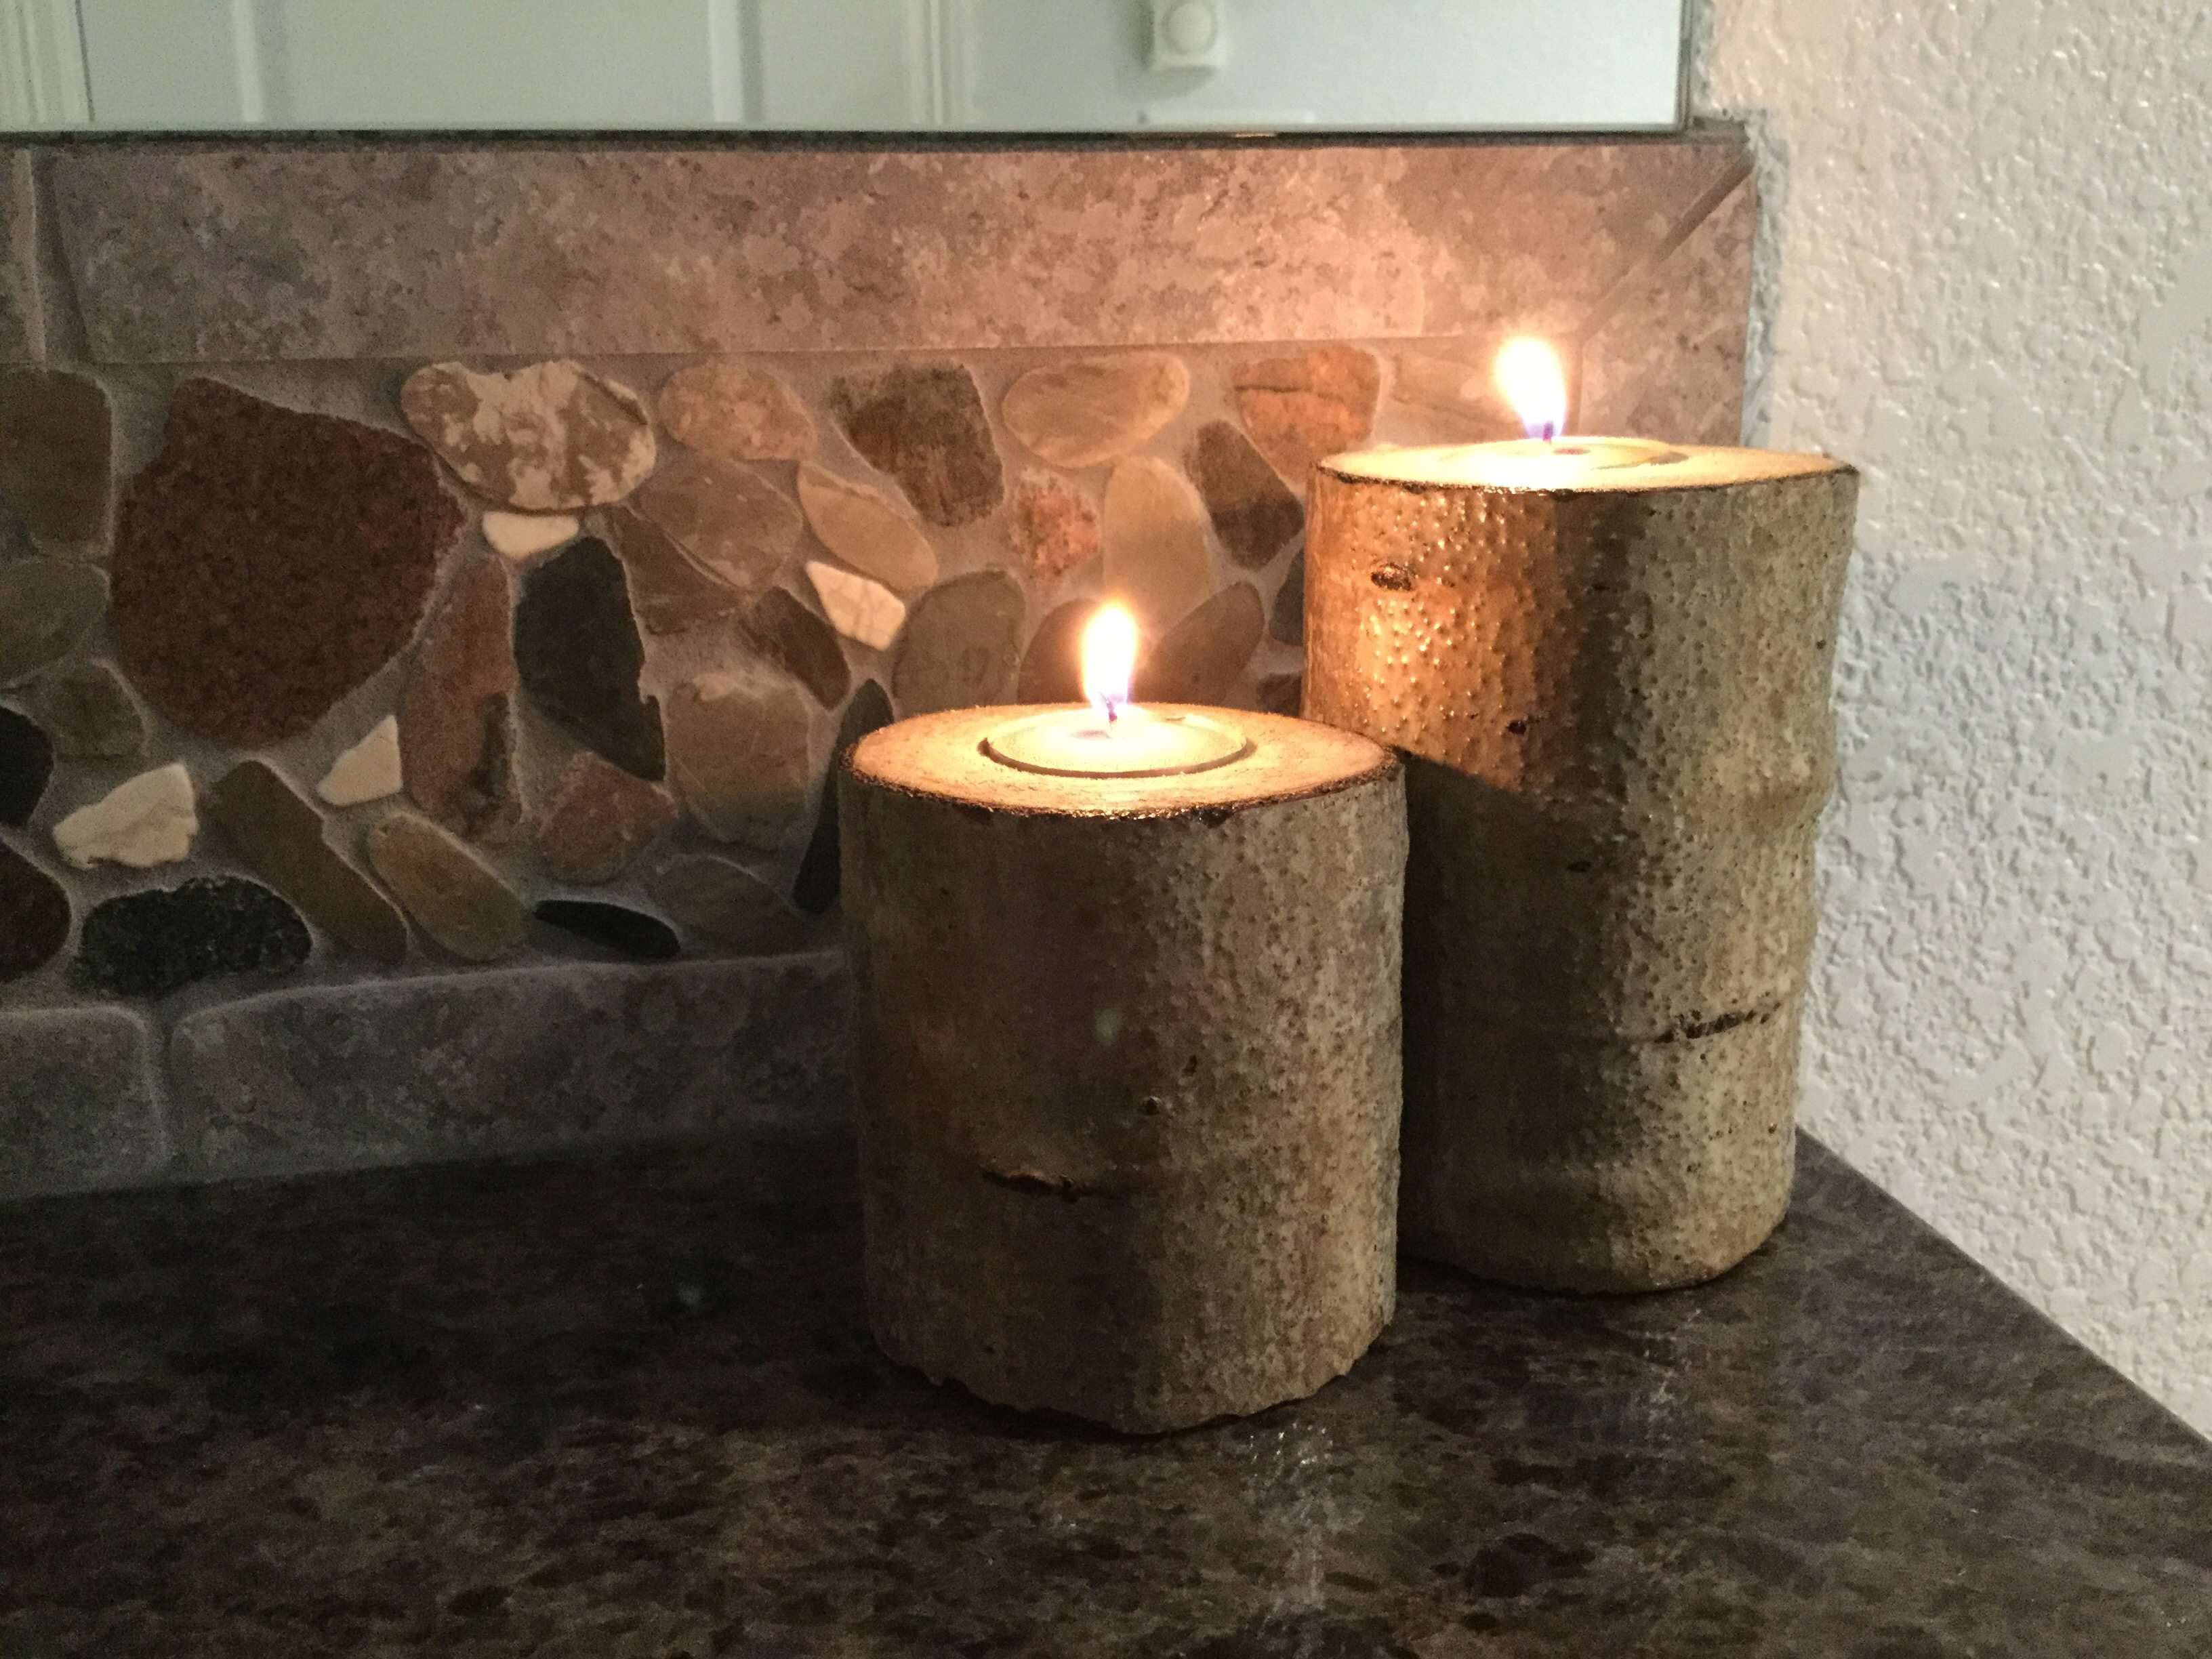
I’m thinking these would make a great gift as well!
Are you interested in seeing a faux tree diy candle holders? Check out my Faux Tree Candle Holders
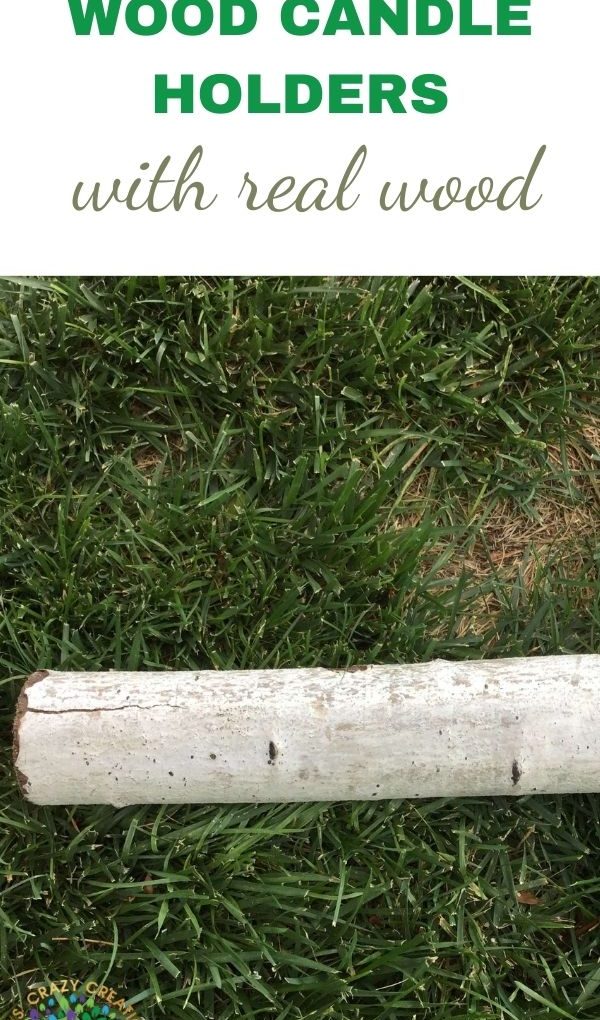
SHARING IS CARING…PLEASE PIN THE BELOW IMAGE:
Shop any of these stores and I receive a small commission at no cost to you.


Check out some of my other candle holders!
- Upcycled Tuna Can Candle Holder
- Upcycle Jars to Candle Holders (2 Options)
- Super Easy Dollar Tree Candle Holders DIY To Light Up Your Life
How To Make Real Tree DIY Candle Holders
Equipment
- Drill
- Drill Spade
Materials
- Tree Branch
- Polycrylic
Instructions
- It all started with a branch. You’ll want to let it dry out if you are going to seal it in the end. If not, you’ll be okay to move ahead sooner.
- I guessed at the size I wanted my candle holders to be and I sawed them to size. After sawing them, I sanded the top and the bottom of the branches with a sanding block.
- I used Polycrylic to seal the candle holders. I was a little disappointed that some of the "white" from the aspen seemed to disappear, but I felt it better to seal the candle holder for long term and to prevent splitting and cracking as they dry.
- Using a 1 1/2 inch spade drill bit in our drill, we made indents for the candles.
- We tested both candle holders to make sure both a tealight candle and a battery-operated tea light candle would fit into the holders.
- We could have drilled the battery-operated tealight down more but then the candle tealight would have sat down too low and we didn’t want the flame that blows in the wood.


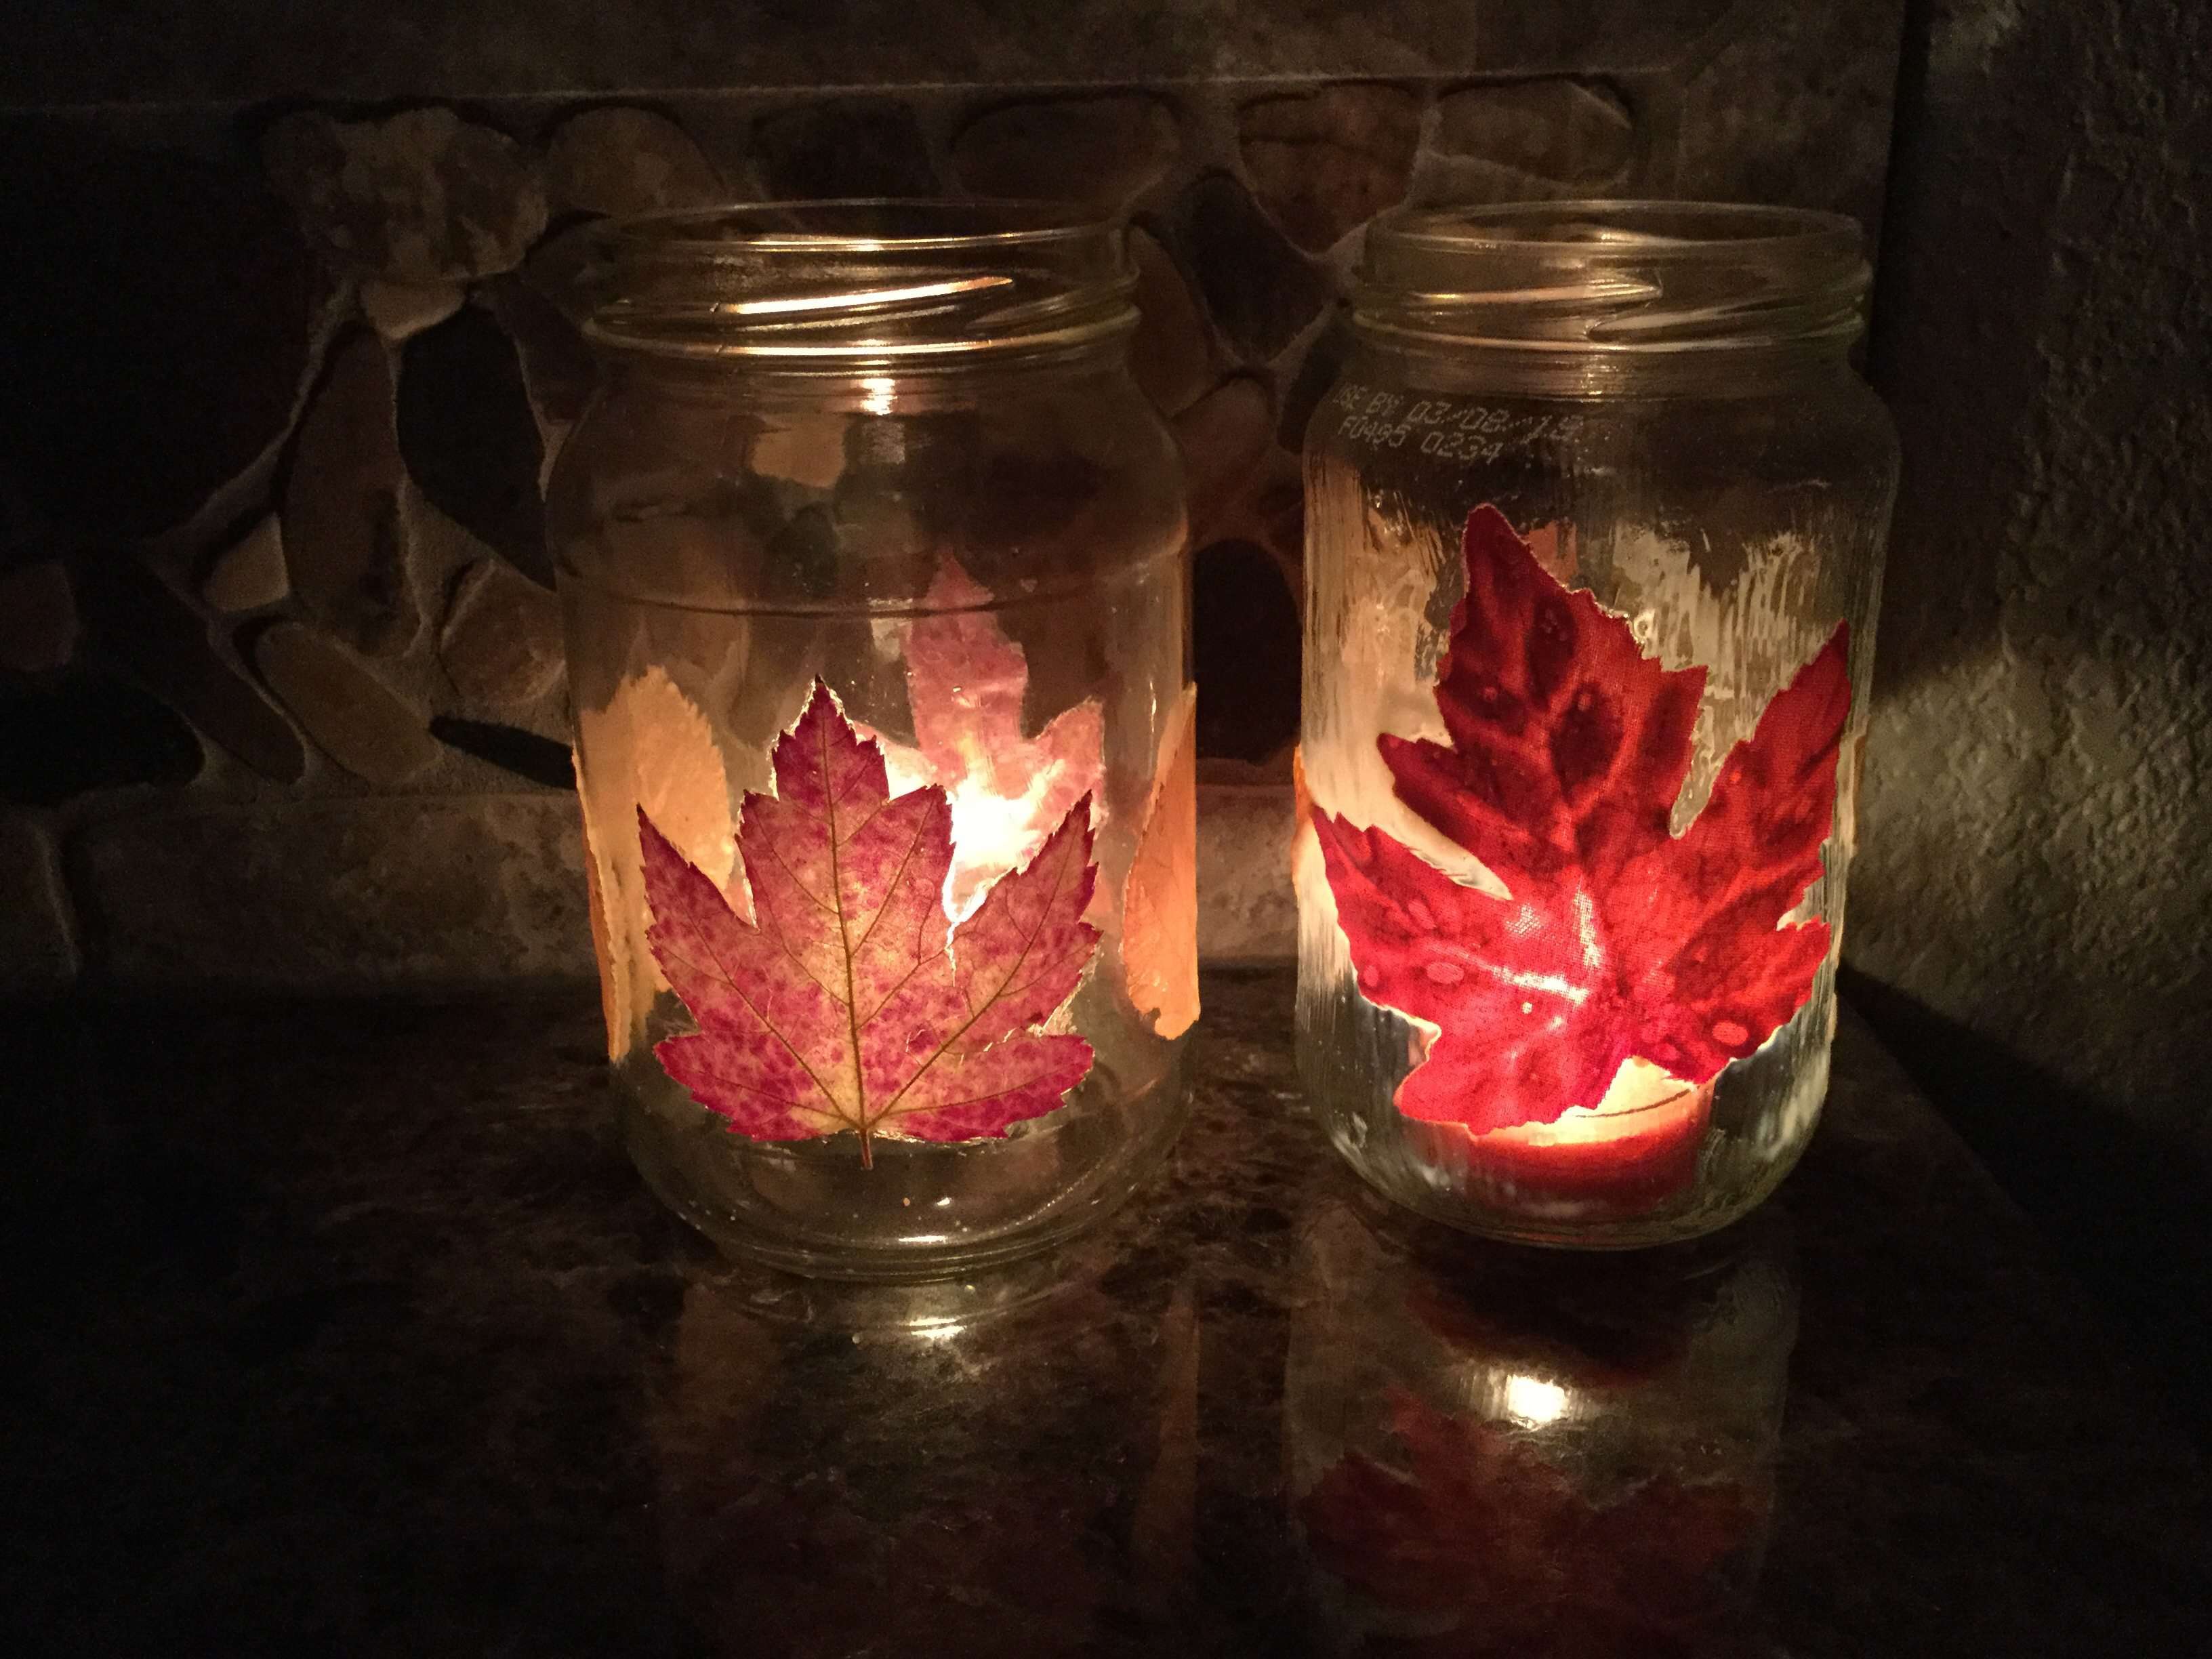


I certainly do love the natural look of these candle holders. Great job!
Thank you so much Sue 🙂
Very resourceful using what you can from nature – and saving money. They look great! Thanks for sharing at #HomeMattersParty
Thank you Donna 🙂
Oh I wish I had some Aspens around me! They’re gorgeous and perfect for fall decor. Thank you for sharing at Designing You!
Thank you Trudy, and I love that Designing You is a place for so many to share their ideas.
These candleholders are great! I’ve admired these in stores as well. Way to be resourceful and use your own fallen tree. I’m going to pin this. Thanks so much for sharing!!
Thank you so much Angela, and thanks for the Pin 🙂
That’s such a great gift idea. Love them. Thanks for sharing.
Thank you so much Julie and thanks for stopping by
Those are adorable! What a great way to use up the extra pieces we trim in our yard. 🙂 Pinning it.
Thank you Jamie, and thanks for the Pin 🙂
Such a great idea for fall decorating!!
Thank you Connie 🙂