
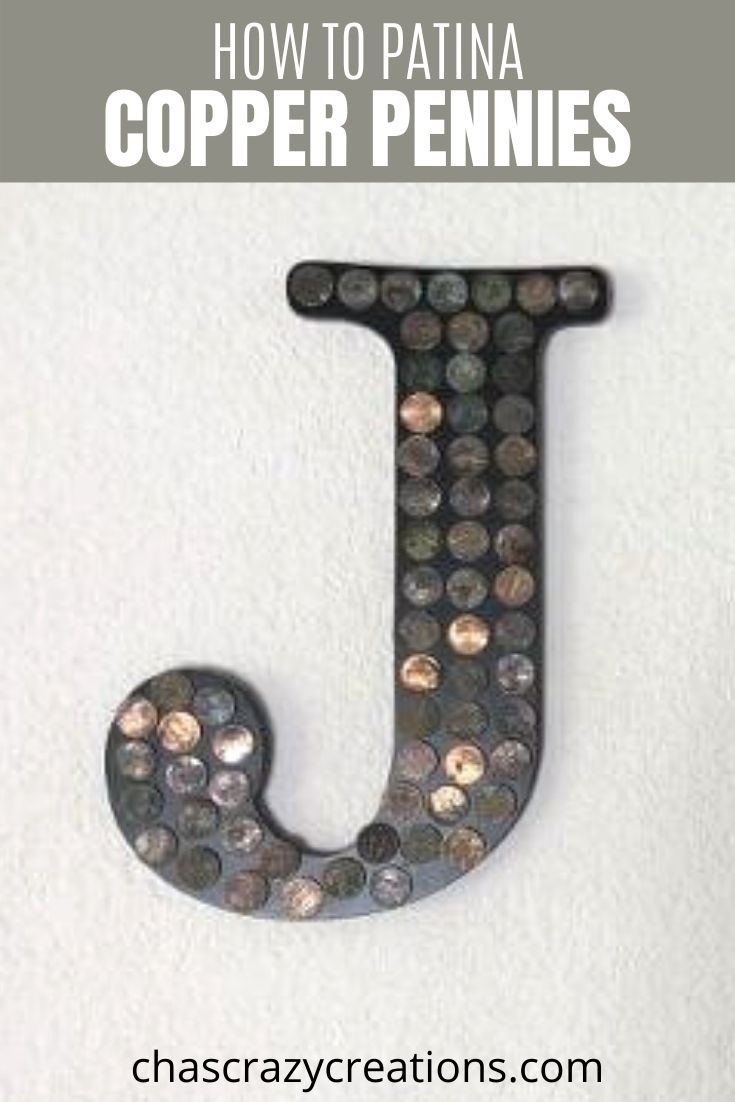
How To Patina Copper Pennies – Easy DIY Tutorial With Video
Do you want to know how to patina copper pennies? I love penny projects and I wanted to try to patina copper pennies and create a fun display with our initials on wooden letters that I had on hand. I’ll show you how to get that patina finish and antique look on pennies and then create a lovely display.
What is copper patina? It’s that green patina color that shows up on the surface of copper items giving copper an aged look and a rich color.
How To Patina Copper
If you want to know how to clean copper pieces please check out my other post regarding that.

How To Patina an Copper Item
Let’s get started on the patina process.
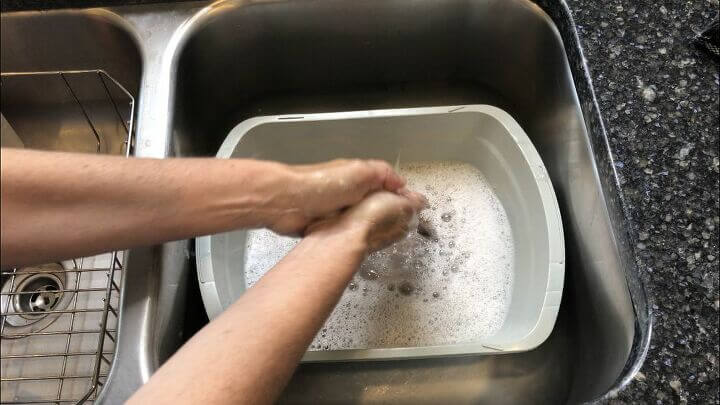
1. Wash Your Pennies –
Wash your pennies with Dawn soap, hot water, and baking soda to clean off the fingerprints, oils and dirt.
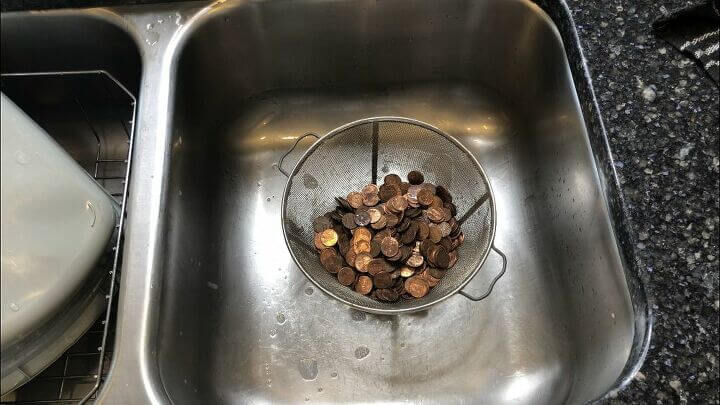
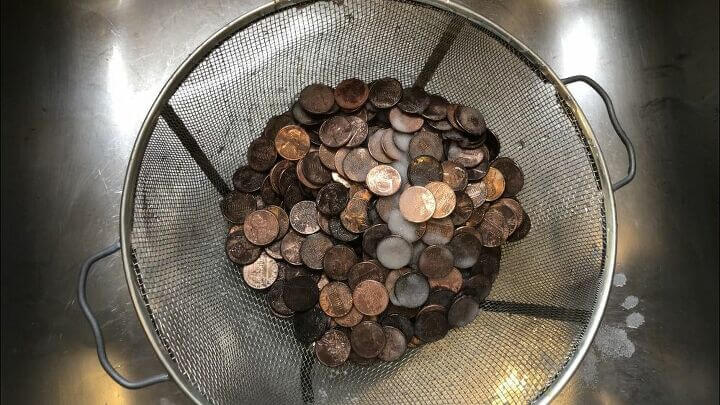
2. Drain, Rinse, & Dry your Copper
Drain the soapy baking soda water, rinse the pennies with clean water . The best way to do this is to use a strainer. Let them dry completely, you don’t want any residual moisture.
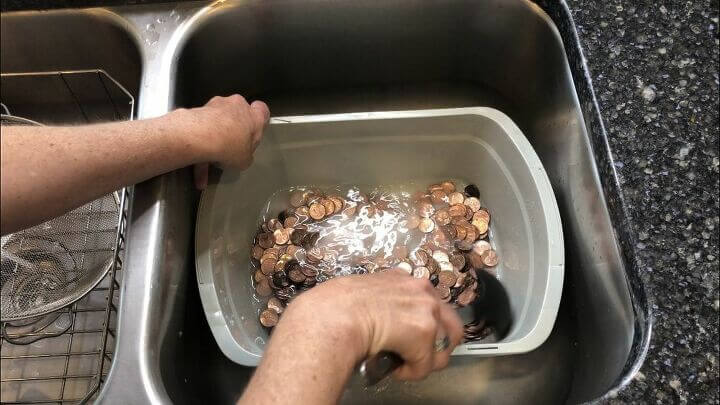
3. Soak copper in vinegar and salt mixture
To create the patina solution, mix together equal parts of white vinegar and table salt (non-iodized salt) so that it coats all of the pennies. Let the pennies soak for 30 minutes so the chemical reaction process and chemical reaction can take place. I did this in a small plastic container, but you could use a glass container like a bowl, or perhaps a bucket.
4. Drain the mixture
Drain out the mixture but don’t rinse the pennies with clean water.
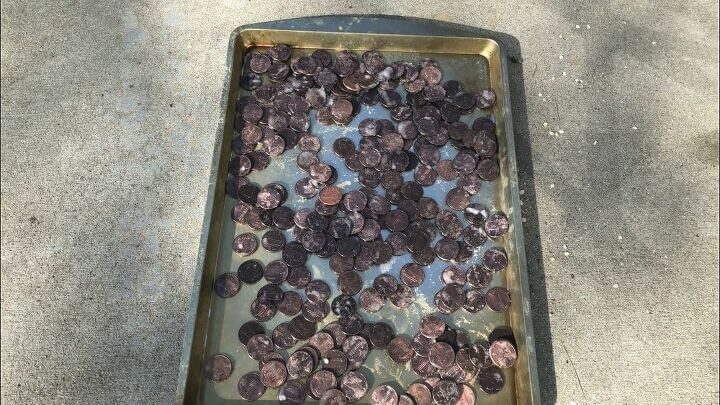
5. Air dry the copper
Place the pennies on a baking sheet and let them dry completely so the oxidation process can complete its magic. You can sprinkle with more salt as they’re drying if you wish. Pennies will patina at different rates so you can play with the timing to get your desired color.
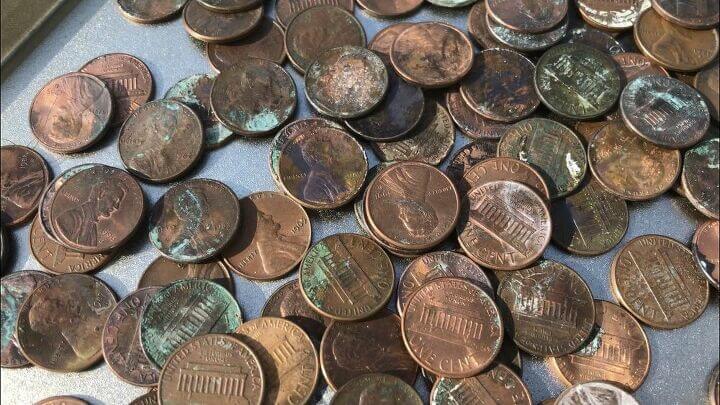
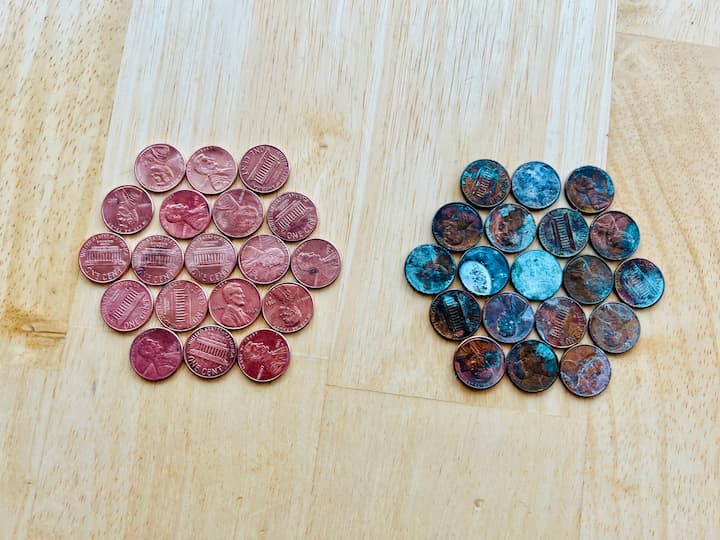
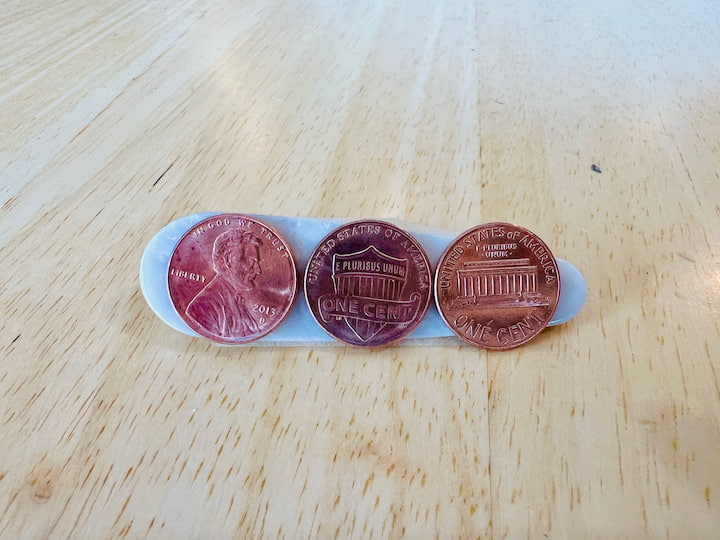
Once they’re dry they are ready to use. You’ll have a lovely patina that may be a green color, brown color, and sometimes you can even get a little blue patina color. This is one of the simplest methods for artificial patination vs the natural patina aging process
If you want to repeat the process you can also make the mixture above and put it in a spray bottle. Spray it on and let them air dry.
If you don’t like the idea of laying the copper on a pan, you can always put it on wax paper.
I like this version because it doesn’t have any dangerous chemicals.
Now if you don’t want your copper to oxidize, you can always seal it in a plastic bag or container until the next use. This works with silver as well.
How To Patina Copper Pennies DIY
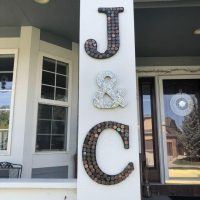
Patina Copper Letters
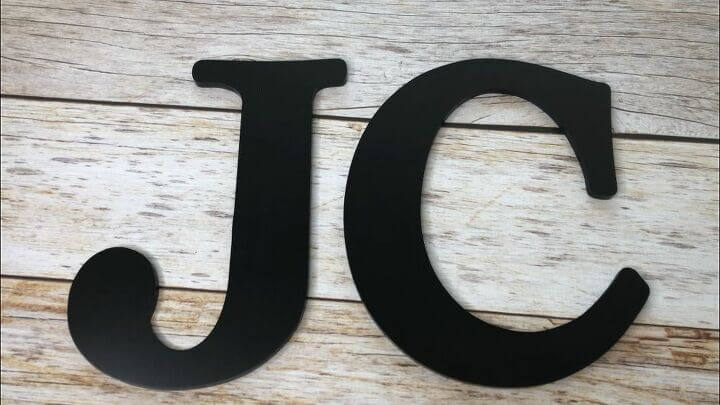
I had these plain letters that I wanted to spruce up. I decided to use these lovely patina pennies for the project.
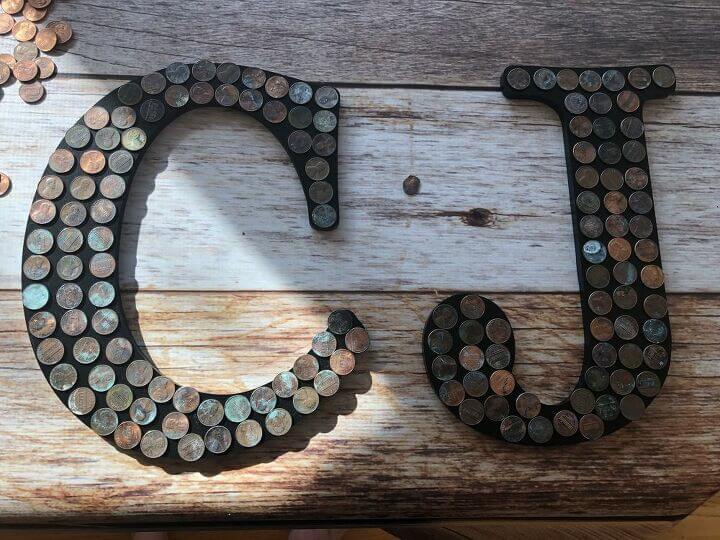
I placed my pennies onto the letters.
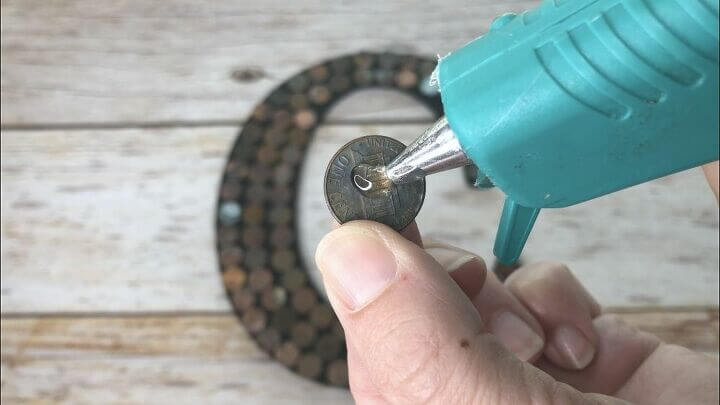
I hot glued the pennies into place.
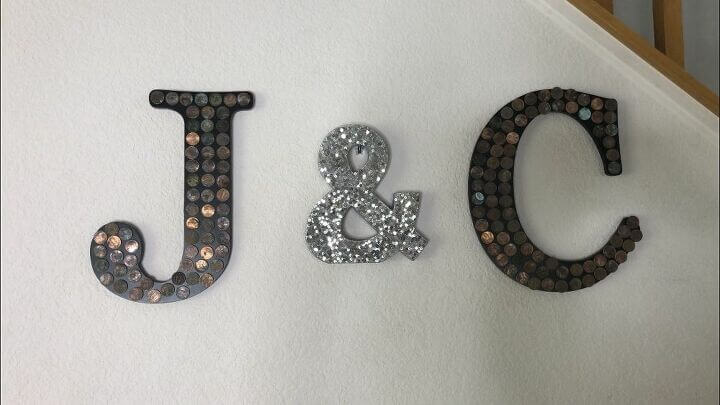
Then you can hang them up in your home.
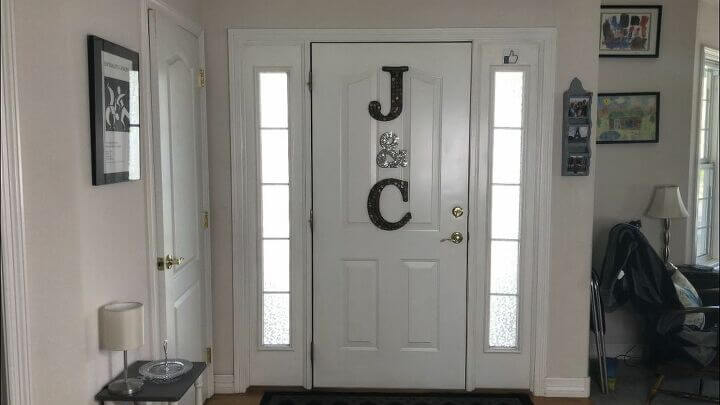
There are so many possible places to use these fun letters.
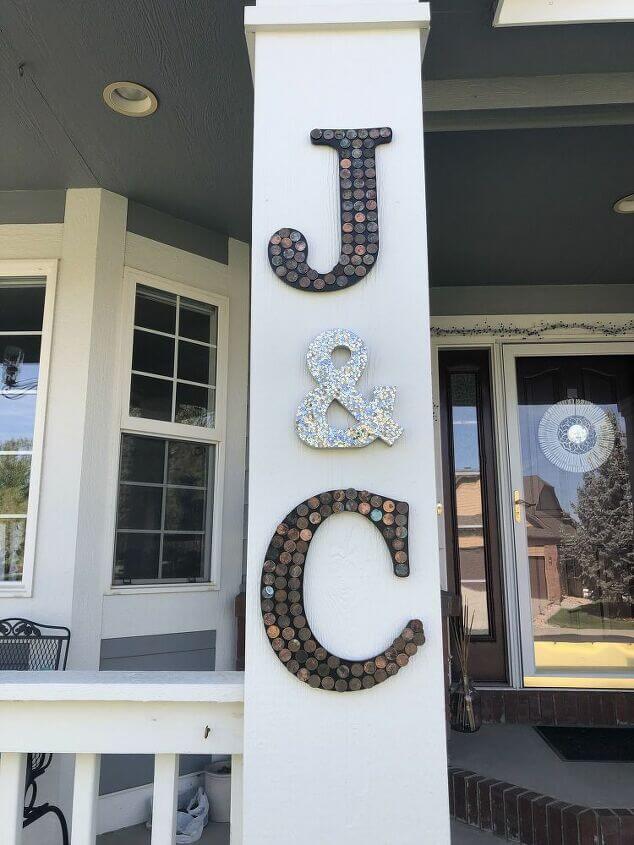
After making this project I had several people giggle and tell me that it’s funny “JC Penny”. I didn’t even think about that, and it is pretty funny. What do you think? Let me know in the comments below!
Patina Coasters
So I arranged these pennies in this pattern and I glued them together, but I could easily wash the glue off. And what I’ve done is created some coasters. So I have both the shiny copper coaster as well as the patina coaster.
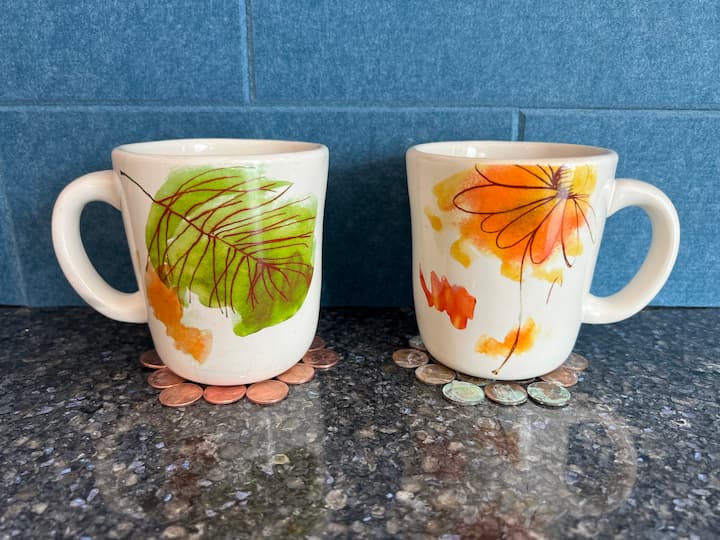
I think these would make a fantastic gift idea as well.
Patina Barretts
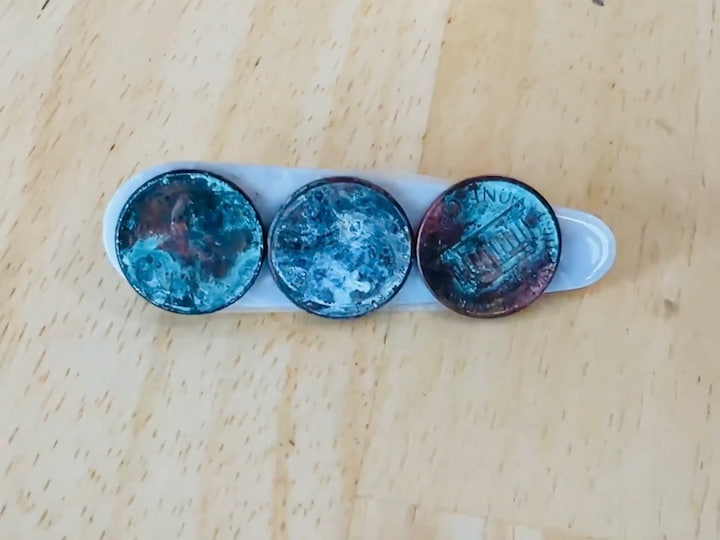
Now let’s take a barrette with the shiny pennies and the patina pennies, and I’m going to use some adhesive to stick the pennies to the barrette. And now I have a fun little hair piece that I can use anytime.
And I can choose whether I want the patina or the shiny copper penny.
I think it would be fun to create some jewelry with these pennies too. Let’s create some other DIYs.
Easy Suncatcher/Picture
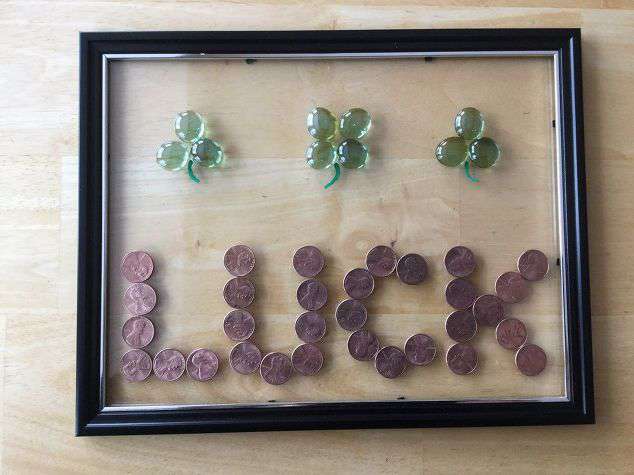
For this project I used shiny pennies and I used a dollar store frame and some glass gems. I removed the backing and I laid my pennies out to spell the word luck. I used my hot glue gun to put the pennies onto the glass frame.
And then I added some glass rocks to the top to represent shamrocks and clovers and added a little bit of marker to the bottom to give them their stem. Now I have a sun catcher that I can either put the back on and make a picture or leave it as a sun catcher. For this project, I had the letters J and C after my husband and my name.
You can find this full tutorial at Easy St. Patrick’s Day Suncatcher/Picture
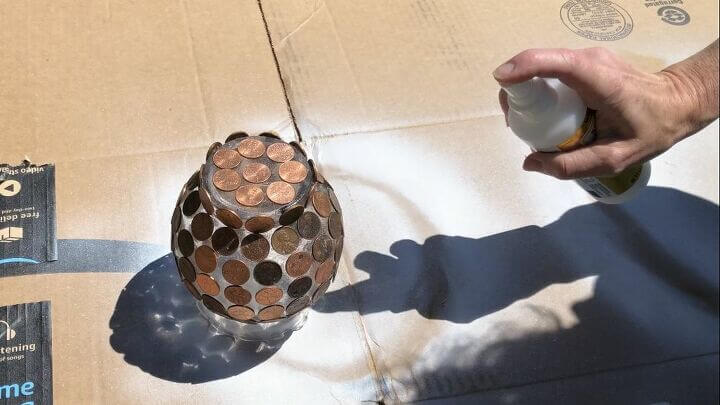
Garden Globe
So I grabbed some Mod Podge and I sprayed on some old pennies onto a base and made a garden globe to put in my yard. You can find the full tutorial at
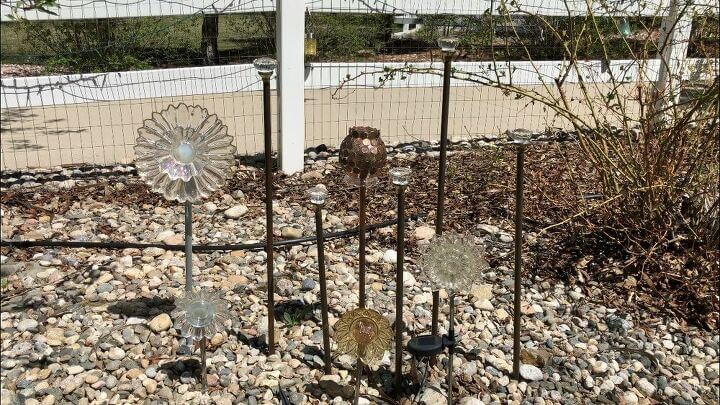
You can find the full tutorial at Easy and Awesome DIY Gazing Ball Garden Globe for your Yard
Shop any of these stores and I receive a small commission at no cost to you.
 pt Modern Masters PA901 Gre…Shop on Amazon
 Ranger VPKR-34827 Vintaj Pa…Shop on Amazon
 Testors MM3062-70 Modern Ma…Shop on Amazon
 Regal Art & Gift Copper Pat…Shop on Amazon
 Vintaj Patinas – Open Stock…Shop on Amazon
 Copper Patina Roof Vinyl On…Shop on Amazon
Find out “What Exactly Does It Mean To Repurpose Or Upcycle“, save money, and create the most amazing things.
How To Patina Copper YouTube Video
How To Patina Copper Q & A
The fastest way to patina copper is to create a patina solution using equal parts of white vinegar and table salt, and then soak the copper items in the solution for about 30 minutes.
Raw copper can begin to patina in a matter of hours, but it can take several weeks or even months to develop a full and rich patina, depending on the environment and conditions.
Copper oxidizes relatively easily due to its chemical properties, especially in the presence of moisture and air. This process can result in the formation of the greenish patina layer on the copper surface.
How To Patina Copper – Easy DIY Tutorial With Video
Equipment
- Hot Glue Gun
Materials
- Dawn and baking soda
- Vinegar and salt
- Wood Letters
Instructions
- Wash your pennies with Dawn and baking soda.
- Drain the soapy baking soda water, rinse the pennies off, and let them dry.
- Mix together equal parts of vinegar and salt, so that it coats all of the pennies.
- Let the pennies soak for 30 minutes.
- Drain out the mixture.
- Place the pennies on a baking sheet and let them dry completely.
- Hot glued the pennies into place.
- Hang and enjoy!
SHARING IS CARING…PLEASE PIN THE BELOW IMAGE:


I like the idea of adding patina to copper. Thanks for sharing your method.
Thank you, I’m glad you like the project 🙂
Thank you for sharing at #OverTheMoon. Pinned and shared.
Thanks Marilyn, have a wonderful week!
Thank you for sharing at #ThursdayFavoriteThings. Pinned and shared.
Thank you so much Marilyn 🙂
Great tip and project, Chas. Thank you for sharing at Party In Your PJs!
Thank you so very much Ann, it was a lot of fun to experiment 🙂
I had no idea you could do that to pennies! Very cool!
Thank you so much Julie 🙂
Love a good upcycle project – though obviously you could spend pennies they look like they cost more than the pennies used this way!
Thank you so very much Kristen 🙂
This is too cool! What a fun project. I think the kids would enjoy making this with me! Maybe one for their rooms!
Thank you Kristi, and I’m thrilled you want to do this with your kids. Thanks for stopping by 🙂
I knew it was possible to clean the patina off of pennies, I did not know it was possible to add it. Great tip!
Thank you Vanessa, I like to clean them off and make them shiny as well. Nice to be able to do both.
I just need to pick your brain about everything!! You are SO creative!! I will admit that I would want all the pennies to be more bright and shiny? How could I do that?
XOOX
Jodie
#senisal
Thank you so much Jodie – you are so very sweet. So I completely understand and yes – I love shiny pennies as well. For that you would use one of these options to clean the pennies – https://chascrazycreations.com/copper-cleaning-hacks/