
How To Stencil on Fabric with Video
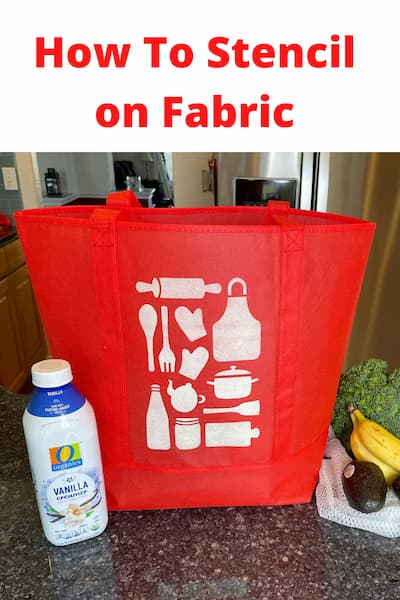
Do you want to know how to stencil on fabric? This technique is great for clothing, reusable grocery, and gift bags, banners, and other DIY projects.

Here are the materials you’ll need
- Fabric item and I’ll be using a reusable bag
- Stencil Brush
- Stencil Tape
- Stencil
- Paint
- Wax paper or cardboard
How To Stencil on Fabric Video
Here are the instructions
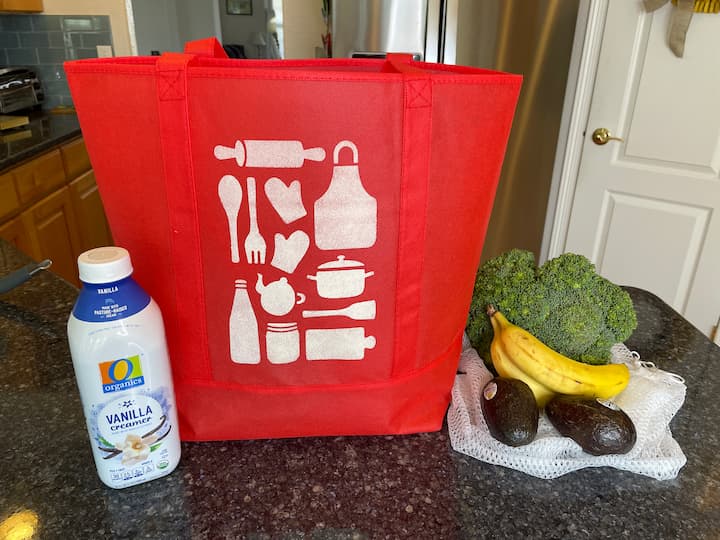
I purchased this bag for this project. These kinds of bags are great for reusable grocery bags, gift bags, tote bags for going places, etc. This can be adapted to personalize any type of fabric bag, clothing, etc.
You can use an adhesive stencil where you peel off the back and stick it to the surface, you can use an adhesive stencil spray or liquid to adhere your stencil to the fabric, or you can use stencil tape to stick your stencil the fabric.
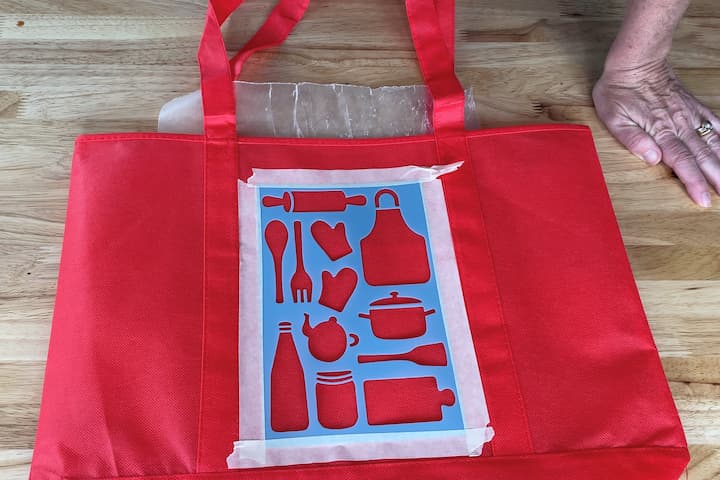
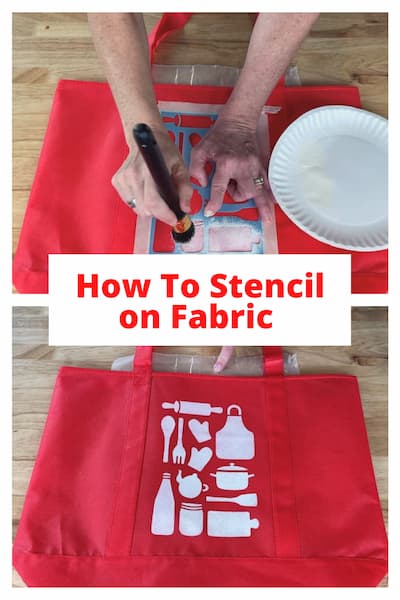
I placed my stencil onto the fabric bag and used stencil tape to hold the stencil in place.

Place something like wax paper or cardboard underneath the fabric under the stencil. This will stop the paint from bleeding through onto the back side of my bag. This is important for fabric projects.
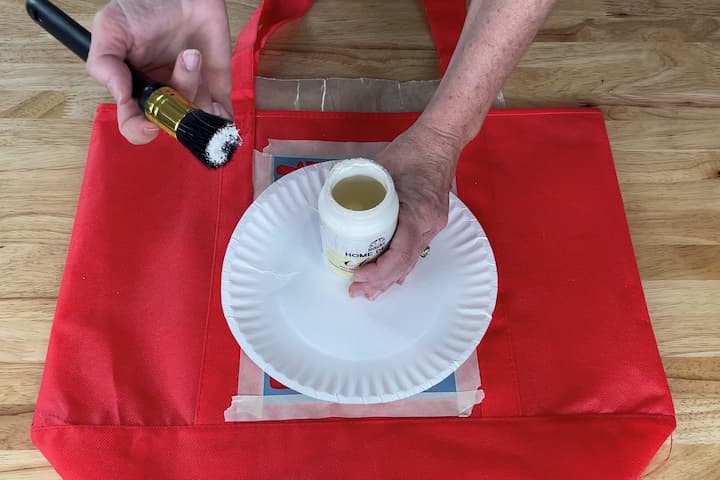
I loaded my stencil brush with paint. Loading means to get paint on your brush. I’m using Folk Art Home Decor Chalk paint in the color Sheepskin. Read the back of paint to make sure it’s good for fabric. If you want to be able to wash the fabric, look for that on the bottle as well.
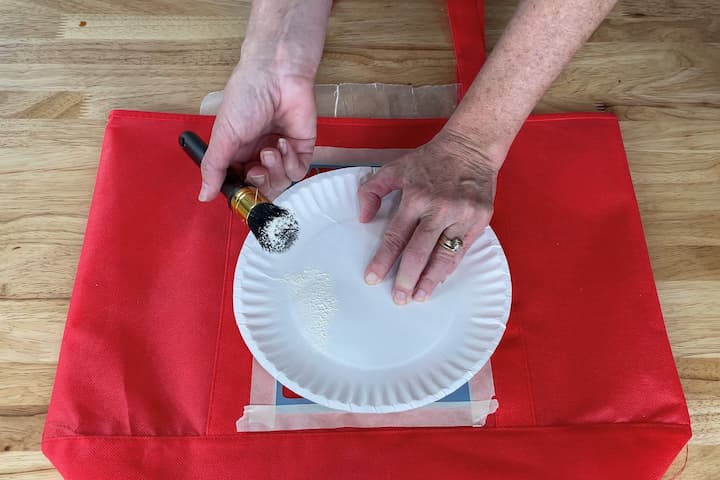
Next I tapped the brush onto a paper plate to “off load” the brush. This is to remove as much paint as possible to prevent bleeding underneath the stencil.
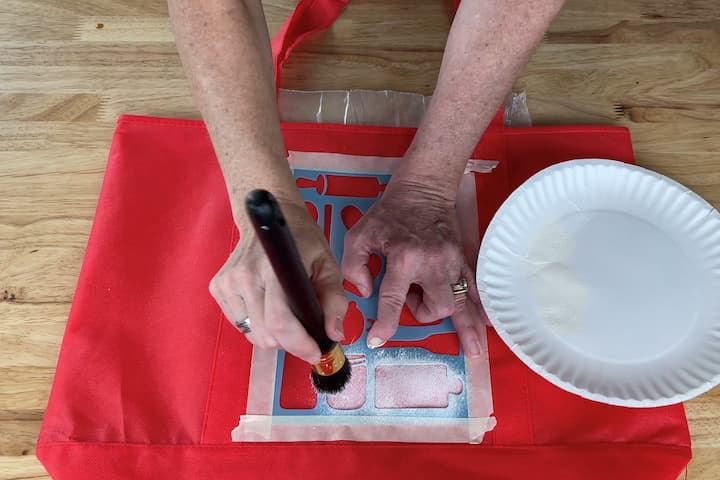
I tapped the stencil brush up and down over the stencil and onto the fabric. Tapping up and down prevents the paint from going underneath the stencil. Keep tapping until it you need to add more paint to the brush. Repeat the process of loading the brush, offloading the brush, then tapping onto the fabric and stencil. Keep going until the entire stencil has been coated with paint.
Start with a light first coat which may be enough, or you can add another coat if needed. Adding too much paint at once is what causes the bleeding underneath the stencil.
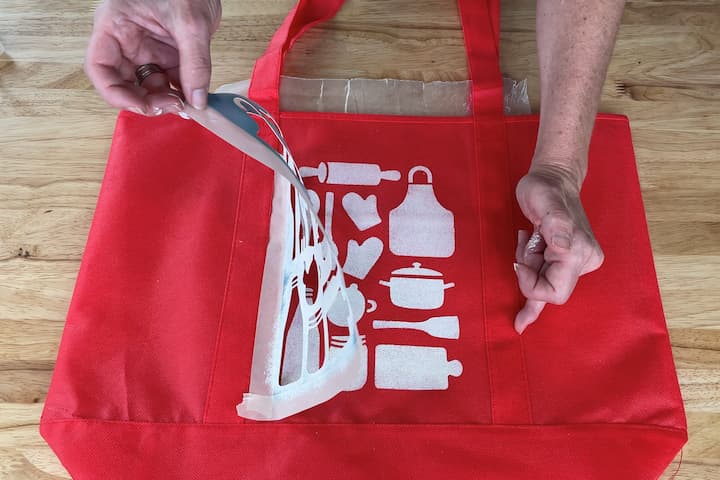
Once I finished covering the stencil with paint, I immediately carefully peeled the stencil off the bag. You want to remove the stencil right away so the paint doesn’t stick to it. If paint sticks to the stencil and you lift it, sometimes the paint will come back off the surface with the stencil.
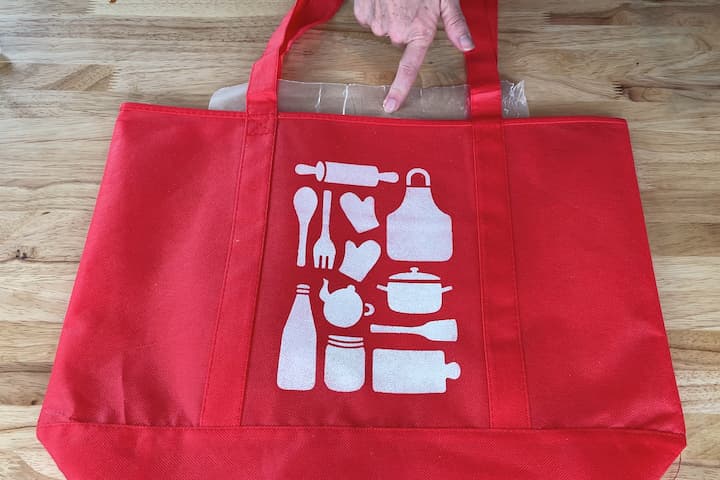
Let the fabric dry completely, then remove the wax paper or divider from the center.
It depends on the surface you are painting. Look on the back of the paint to make sure it’s good for that surface.
The trick is loading the brush with paint, then getting as much paint back off the brush as possible, and next tapping the brush up and down and not brushing back and forth to get paint under the stencil.
I recommend lifting the stencil off as soon as you’re done painting. Sometimes if you leave the stencil on the paint and stencil can dry together. When you peel up the dried paint it can come up with the stencil.
Yes, you can use acrylic paint for stenciling. It is important to know your surface and then look at the back of the paint to make sure it’s good for that surface.
Yes, you can use chalk paint for stenciling. It is important to know your surface and then look at the back of the paint to make sure it’s good for that surface.
Place your stencil on the fabric, choose paint that is okay for fabric, load your brush with paint, off load as much paint from the brush as possible, tap the paint brush up and down onto the stencil and fabric, peel the stencil off the fabric when done painting.
I love Plaid and Folk Art stencil brushes
How To Stencil on Fabric with Video
Shop any of these stores and I receive a small commission at no cost to you.
") FolkArt Home Decor Ultra Ma…Shop on Amazon
FolkArt Home Decor Ultra Ma…Shop on Amazon CVNDKN Canvas Tote Bags,2 P…Shop on Amazon
, 0289956") Plaid Stencil Brush Set, (8…Shop on Amazon
Plaid Stencil Brush Set, (8…Shop on Amazon, 12\" x 12\"") FolkArt Die Cut Paper, Farm…Shop on Amazon
FolkArt Die Cut Paper, Farm…Shop on Amazon") Earthwise Deluxe Collapsibl…Shop on Amazon
Earthwise Deluxe Collapsibl…Shop on Amazon

EASY & AWESOME DIY GIFTS ON A BUDGET TO MAKE AND SELL Ebook
Do you love to make gifts for friends and family members? Would you like to personalize your gifts too? This book is for you! Over 30 DIYs gifts on a budget plus extra tips, tricks, eco-friendly gift wrapping ideas, and more!
So what are you waiting for?!!! Get your copy today and start creating!
Find out “What Exactly Does It Mean To Repurpose Or Upcycle“, save money, and create the most amazing things.

How To Stencil on Fabric with Video
Equipment
- None
Materials
- Fabric item and I’ll be using a reusable bag
- Stencil Brush
- Stencil Tape
- Stencil
- Paint
- Wax paper or cardboard
Instructions
- I placed my stencil onto the fabric bag and used stencil tape to hold the stencil in place.
- Place something like wax paper or cardboard underneath the fabric under the stencil. This will stop the paint from bleeding through onto the backside of my bag. This is important for fabric projects.
- I loaded my stencil brush with paint. Loading means to get paint on your brush.
- Next I tapped the brush onto a paper plate to “off load” the brush.
- I tapped the stencil brush up and down over the stencil and onto the fabric.
- Once I finished covering the stencil with paint, I immediately carefully peeled the stencil off the bag.
- Let the fabric dry completely, then remove the wax paper or divider from the center.
Video
Check out some of my other stenciling posts!

Don’t forget to link to ThriveCart – Book


This is so cute! What a great idea! It would make a great customized gift bag, too, filled with goodies!
Thank you so much Danielle, and so many possibilities!