How To Make A Flower Pot Lighthouse
Do you want to know how to make a plant pot lighthouse? I just love the beach and I’ve been looking for creative ways to incorporate beachy, coastal decor into my home. This decorative lighthouse is the perfect project to accent my shell collection! With just a few easy-to-find materials you can have your own nifty flower pot lighthouse in under an hour or two. This DIY lighthouse is an easy craft project, you don’t need any crafting experience in order to do it yourself. Check out my step-by-step instructions for my clay pot lighthouse guide and get started!
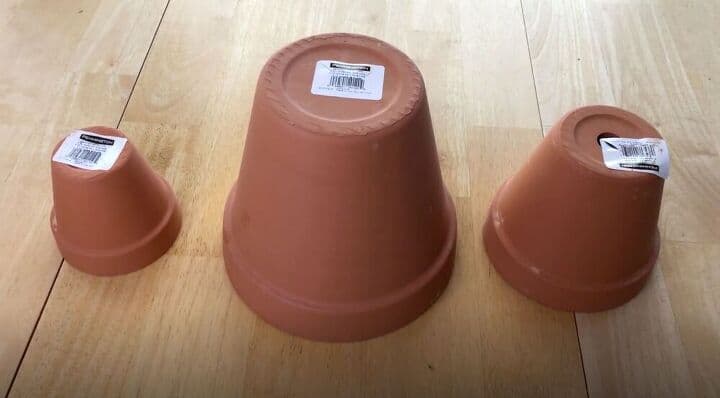
Flower Pot Lighthouse Materials:
- 3 flower pots (We’ll be stacking the pots so make sure that they are different sizes and stack nicely. I got a 4”, 6”, and 8” flower pot for my lighthouse). I used terra cotta pots of various sizes
- Craft Paint, the colors of your choosing
- Paintbrushes
- Waterproof silicone
- Permanent marker
- Sealant
- LED light
- Lantern (or solar light if you choose)
Now I’m using the size I mentioned but you can also use some of the smallest pots to make smaller versions or go bigger as well.
How do you make a lighthouse?
Flower Pot Lighthouse Instructions
1. Prep the Flower Pots
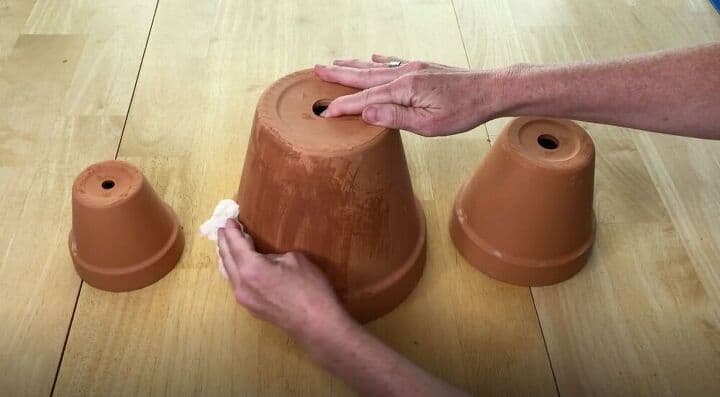
Make sure to remove the labels from the flower pots. Wipe them down with a wet towel to remove any dirt or debris on them. This is important because if they are dirty the paint won’t stick properly. Let them dry completely before you start painting.
2. Paint
A note on painted surfaces: The type of paint you choose depends on where your flower pot lighthouse is going to live. If it’s going to be inside, then you can simply use acrylic paint. However, if your flower pot lighthouse is going to live outside then you need to use outdoor acrylic paint that can withstand the elements. I’m using Apple Barrel Paint – Cobalt Blue.

Depending on the paint you might need a primer as well, I didn’t need a primer with this paint. I’ve used white paint, and with that I needed a primer.
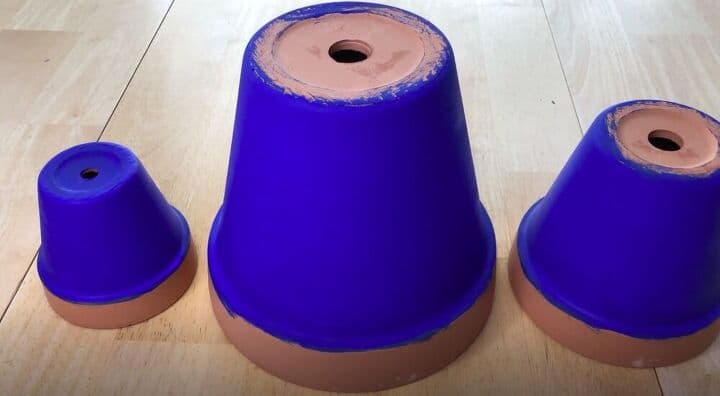
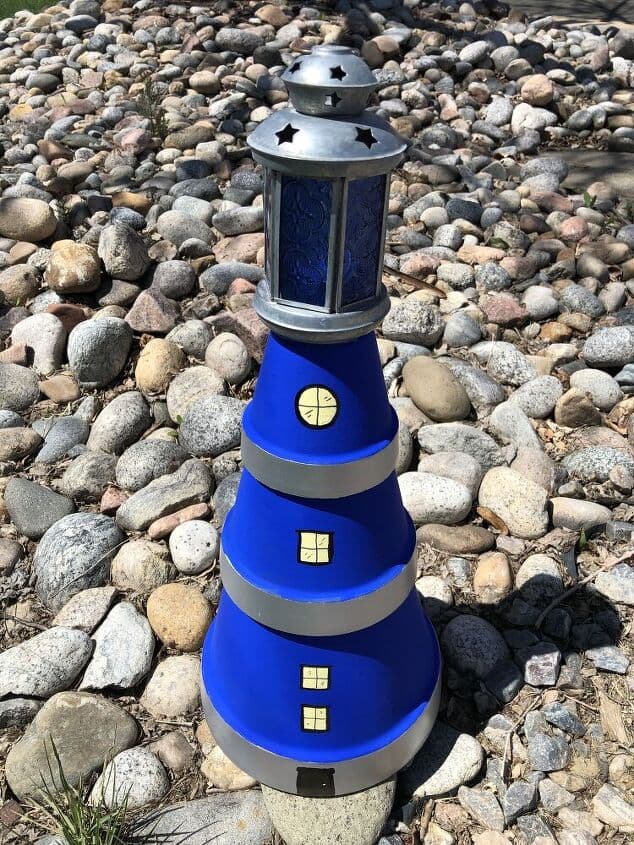
I used a paint brush and painted the outside of the flower pots blue, leaving the rim of the pot natural.
I also painted the bottom of the smallest clay pot because it will be visible on the top of the lighthouse.
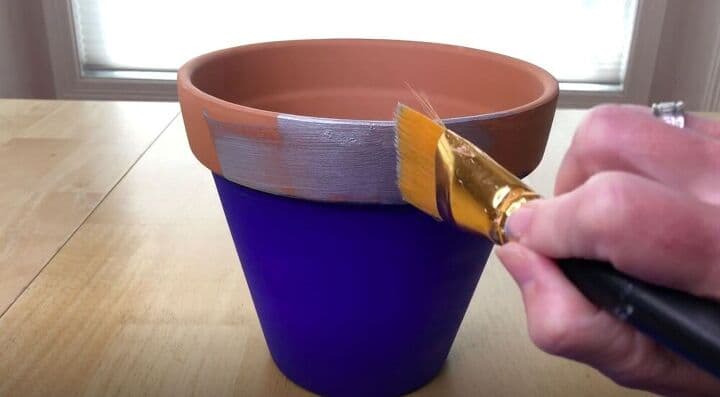
Then I painted the rims of the flower pots silver to provide some visual interest. I used Delta Ceramcoat Metallic Silver.
3. Connect the Flower Pots
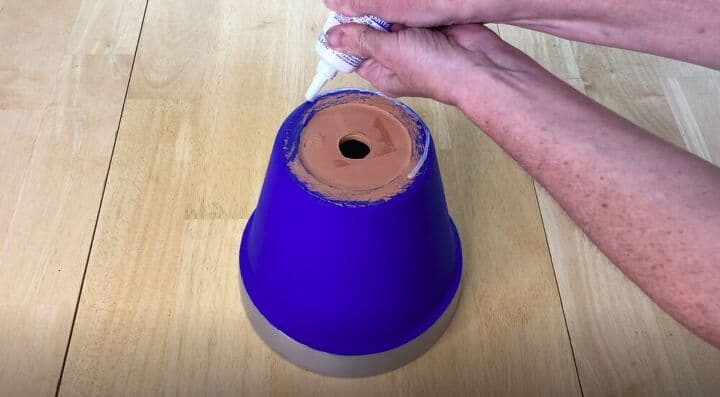
I flipped the largest flower pot over and added a ring of clear silicone along the edge of the bottom. Then I placed the smaller pots on top of it. You could use different adhesive if you prefer.
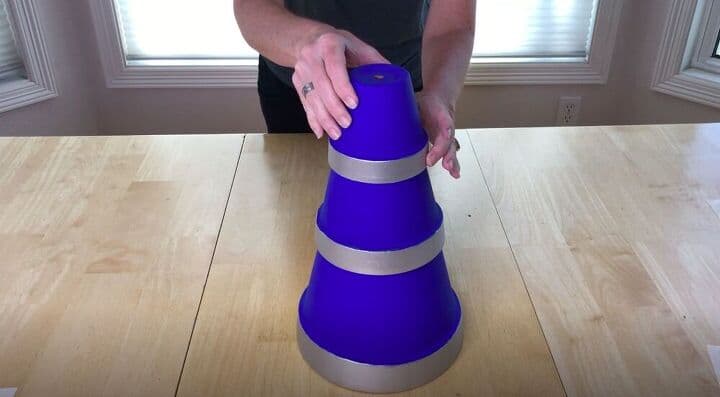
Next, I repeated the process with the smallest flower pot and gave it time to dry before moving on to embellish the pot.
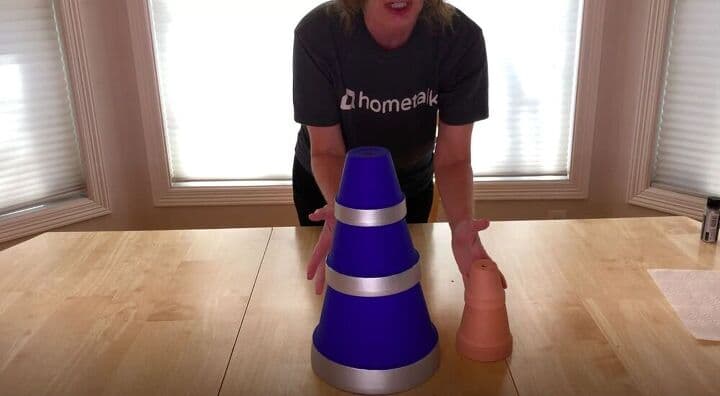
If you want, you can add even more flower pots to make a larger lighthouse, or use two smaller flower pots to make a smaller lighthouse for somewhere else in your home.
4. Embellish – Let the decorating begin!
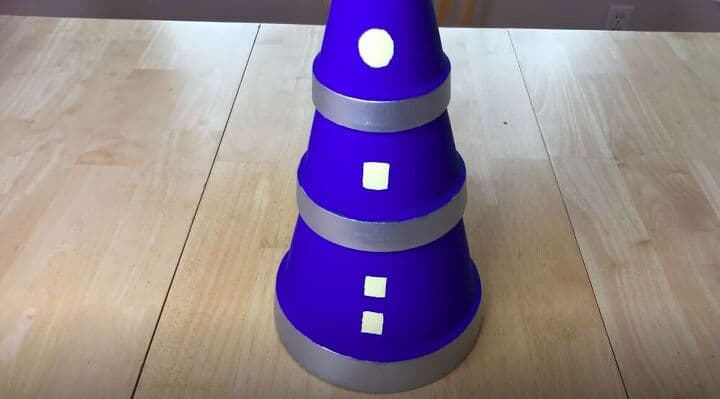
This step is totally up to you, but I chose to add a few different-sized windows to my flower pot lighthouse. I used a small paintbrush and Folk Art Home Decor Summer Porch Chalk Paint to mimic the look of light shining through a window.
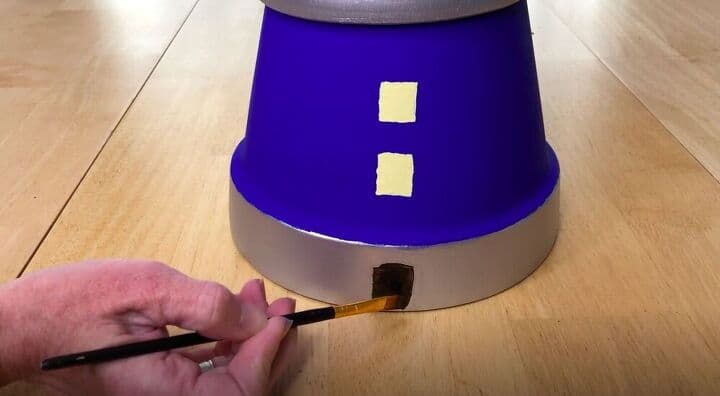
Then I used a Folk Art gold/black Color shift to create a door at the bottom of my lighthouse.
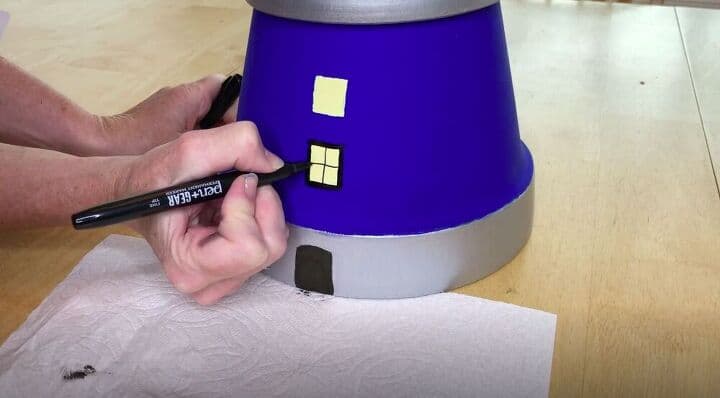
Once everything had dried I used a permanent marker to add some more details to my windows and door, and some other accents on the rest of the lighthouse. You could draw sand, rocks, waves or even decorative rope or sea glass if you wanted to as well.
If you have a vinyl cutter you could create your window shape with that as well.
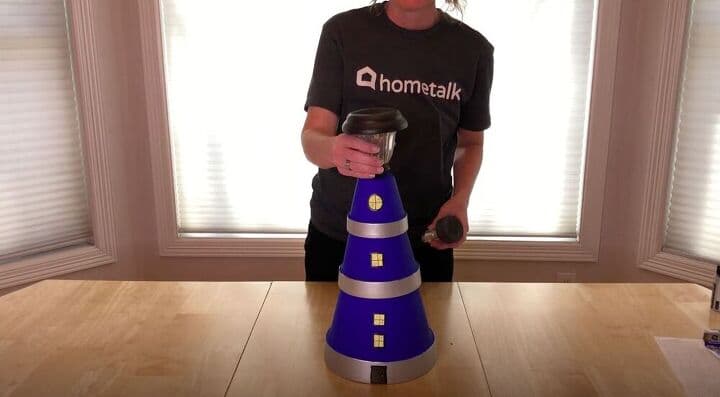
There are lots of possibilities for how you can add light to the top of your flower pot lighthouse. If it’s going outside a solar light is a perfect fit for this project.
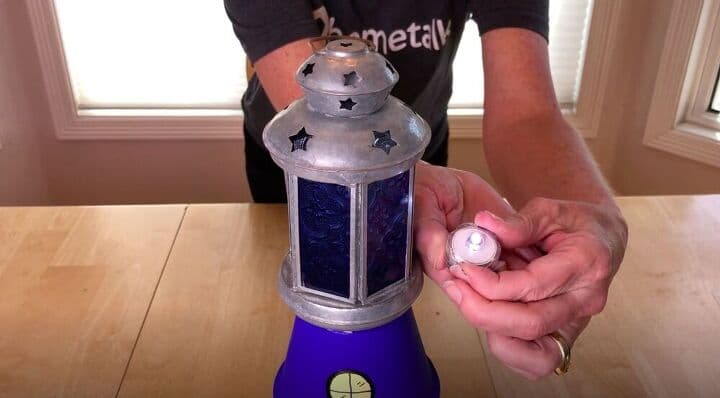
For the top pot, I decided to go a bit of a different route and attached a small lantern that my son had given me to the top, with a battery-operated waterproof LED light inside (You could use a flameless battery-operated tea light as well). You could add a clay saucer to the top if you’d like to. This will give it a level surface for you to attach something like a jar and a solar light or votive candle if you’d prefer.
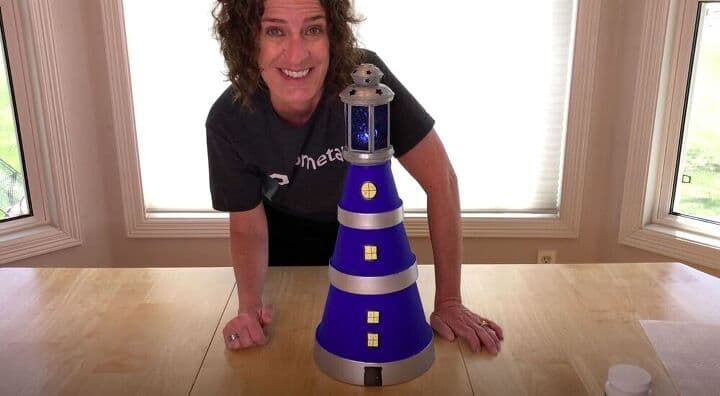
5. Seal
If you want to protect and seal your lighthouse, go ahead and give it a clear coat of outdoor mod podge to stand up to the elements.
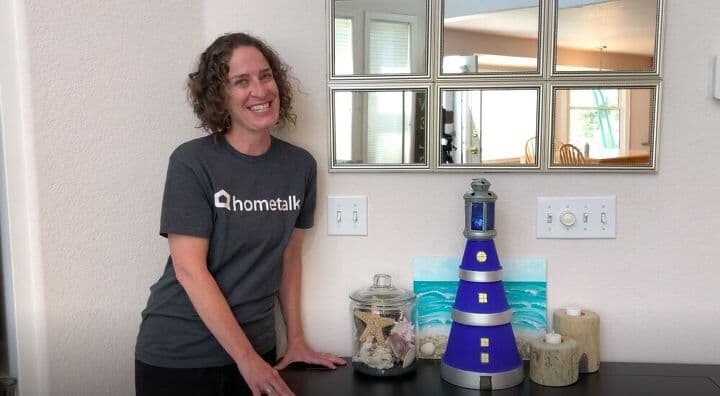
Can’t you smell the beach already? This flower pot lighthouse is a quick and easy way to bring the beach straight into your house. How would you decorate yours? Let me know in the comments below!
What size pots do I need to make a lighthouse?
You’ll need 3 flower pots. They can be any size you want, but they need to be at least an inch to 2 inches apart so they’ll stack.
What can you make with clay pots?
- Flower Pot Lighthouse
- Flower Pot Scarecrow
- Nutcracker Flower Pot Solider
- Update A Terracotta Flower Pot Into Uncle Sam
- Halloween Frankenstein Candy Holder
- Flower Pot Bunny Craft DIY
- Flower Pot to Solar Pumpkin
- Mosaic Terra Cotta Flower Pots
How To Make A Flower Pot Lighthouse Video
Click here for Plaid Enterprises, Inc. Disclosure @PlaidCrafts #PlaidCrafts #PlaidCreators
Shop any of these stores and I receive a small commission at no cost to you.
 Apple Barrel Acrylic Craft ...Shop on Amazon
 Mod Podge Waterbase Sealer,...Shop on Amazon
 GE All Purpose Silicone Cau...Shop on Amazon
 HOMENOTE 7/6/5/4 inch Plast...Shop on Amazon
 JHY DESIGN Decorative Lante...Shop on Amazon
 Miles Kimball Red Solar Lig...Shop on Amazon
Are you ready to make your own DIY clay pot lighthouse out of terracotta pots? Let me know in the comments below how you would make your cute lighthouse.
Learn more about “Creating Seasonal Decor for Your Home” to create seasonal decor that doesn’t cost an arm and a leg.





Another fantastic up-cycle lighting craft! Your ideas are amazing!
Hugs, Kippi
Thank you Chas for sharing your lighthouse project. I love lighthouses and have visited a few. Be sure to stop by and share again.
Have a great week!
Thank you so much Karren, I’m thrilled you like it. See you at the next one.
This is too cute, Chas…and the lantern, love it! Thank you for sharing at Party In Your PJ’s.
I’m so glad you like it Ann, thank you so much 🙂
This is just too cute, I love it
Thank you so much Anita
I’m a bit impressed that the blue is that blue against the terracotta. I recently painted some terracotta pots blue, but I painted them white first.
The lighthouse is so cute! I love that you used a gift from your son as the topper! This is a fun piece.
Do you find the outdoor Mod Podge a better option than Krylon or Rust-Oleum clear sealer?
Thank you so much Alexandra – and I know exactly what you’re talking about that sometimes you need a primer first. I think either of those sealers work great too, I just like to make sure I’m getting a nice even coat of sealer on it.
That is a wonderfully creative idea, I am going to have to try and do something like that with my son, he will love it.
Thank you Robyn, & love that you want to try it with your son.
Chas you are so amazingly creative! What a darling idea! Thanks for the tips and the video too! Happy 4th my friend! ?
Thank you so much my amazing friend! You are just so sweet! Happy 4th to you as well.
********************************************************
Thank you for sharing at #OverTheMoon. Pinned and shared. Have a lovely week. I hope to see you at next week’s party too! Please stay safe and healthy. Come party with us at Over The Moon! Catapult your content Over The Moon! @marilyn_lesniak @EclecticRedBarn
********************************************************
Thank you so much Marilyn! I hope you have a great week
Very cute idea, Chaz! You couldn’t have picked a better lantern style for the top. Such a fun terracotta pot repurpose and so cute to have on display in a flower garden.
Thank you so very much Marie, I’m thrilled you like it. I was so lucky my son gave me that lantern.
So cute and perfect for summertime! You are always so crafty and creative! Hugs!!
Thank you so much Chloe! You are so very sweet. So great crafting with you – hugs back friend.
This is sooo cute, reminds me my trip to Nova Scotia last Summer and seeing all the light houses along the coast.
Thank you so much Sonja – oh my that had to be an amazing trip. I would love to do that!
Well this post just popped out at me. I love lighthouses and my favorite color is blue. I just got back from a little road trip to see some lighthouses. I have got to make this. I really liked your lantern on top of the lighthouse. I hope that I can find one like it. I am Amy’s sister and help her with her blog. I love the wide variety of tips, crafts, etc. that you have on your blog. I’m so excited to make this lighthouse.
Hi Audrey – so nice to meet you! I would LOVE to learn more about your lighthouse road trip – that is something I would really like to do someday. You are so sweet – thank you so much for the kind words. I just love those recipes too!!!
I am in love!! I need one of these in my life, it will be a great project to do with the kiddos!
Awe Sarah – you are so sweet, thank you. Just made my day! I love that you want to do this with the kids – great idea!
What a fun idea! I love it!
Michelle
mybijoulifeonline.com
Thank you so much Michelle