How to Make An Ice Pack and Rice Heating Pad: Easy DIY
Are you wondering how to make an ice pack or a rice heating pad? I have a super easy and inexpensive tutorial to share. We’ll cover a few options when creating these and include sew and no sew options, use a variety of materials, and alternative ideas to help make exactly what you are looking for.
If you’re asking any of the following questions:
- How do you make a natural ice pack?
- How do you make a no sew rice heating pad?
This post is for you! I’m sharing several options and variations to create these and more! Use this homemade rice heat pack for yourself, or your family, or give it away as a gift! It is also great as a cold pack, so you’ll be good either way. Unlike an electric heating pad, this one you don’t have to plug in. You can use an an old sock or old tube sock if the rice pack is for yourself or buy a fun new pair of socks if the rice sock will be used as a gift.
How to Make An Ice Pack and Rice Heating Pad Materials
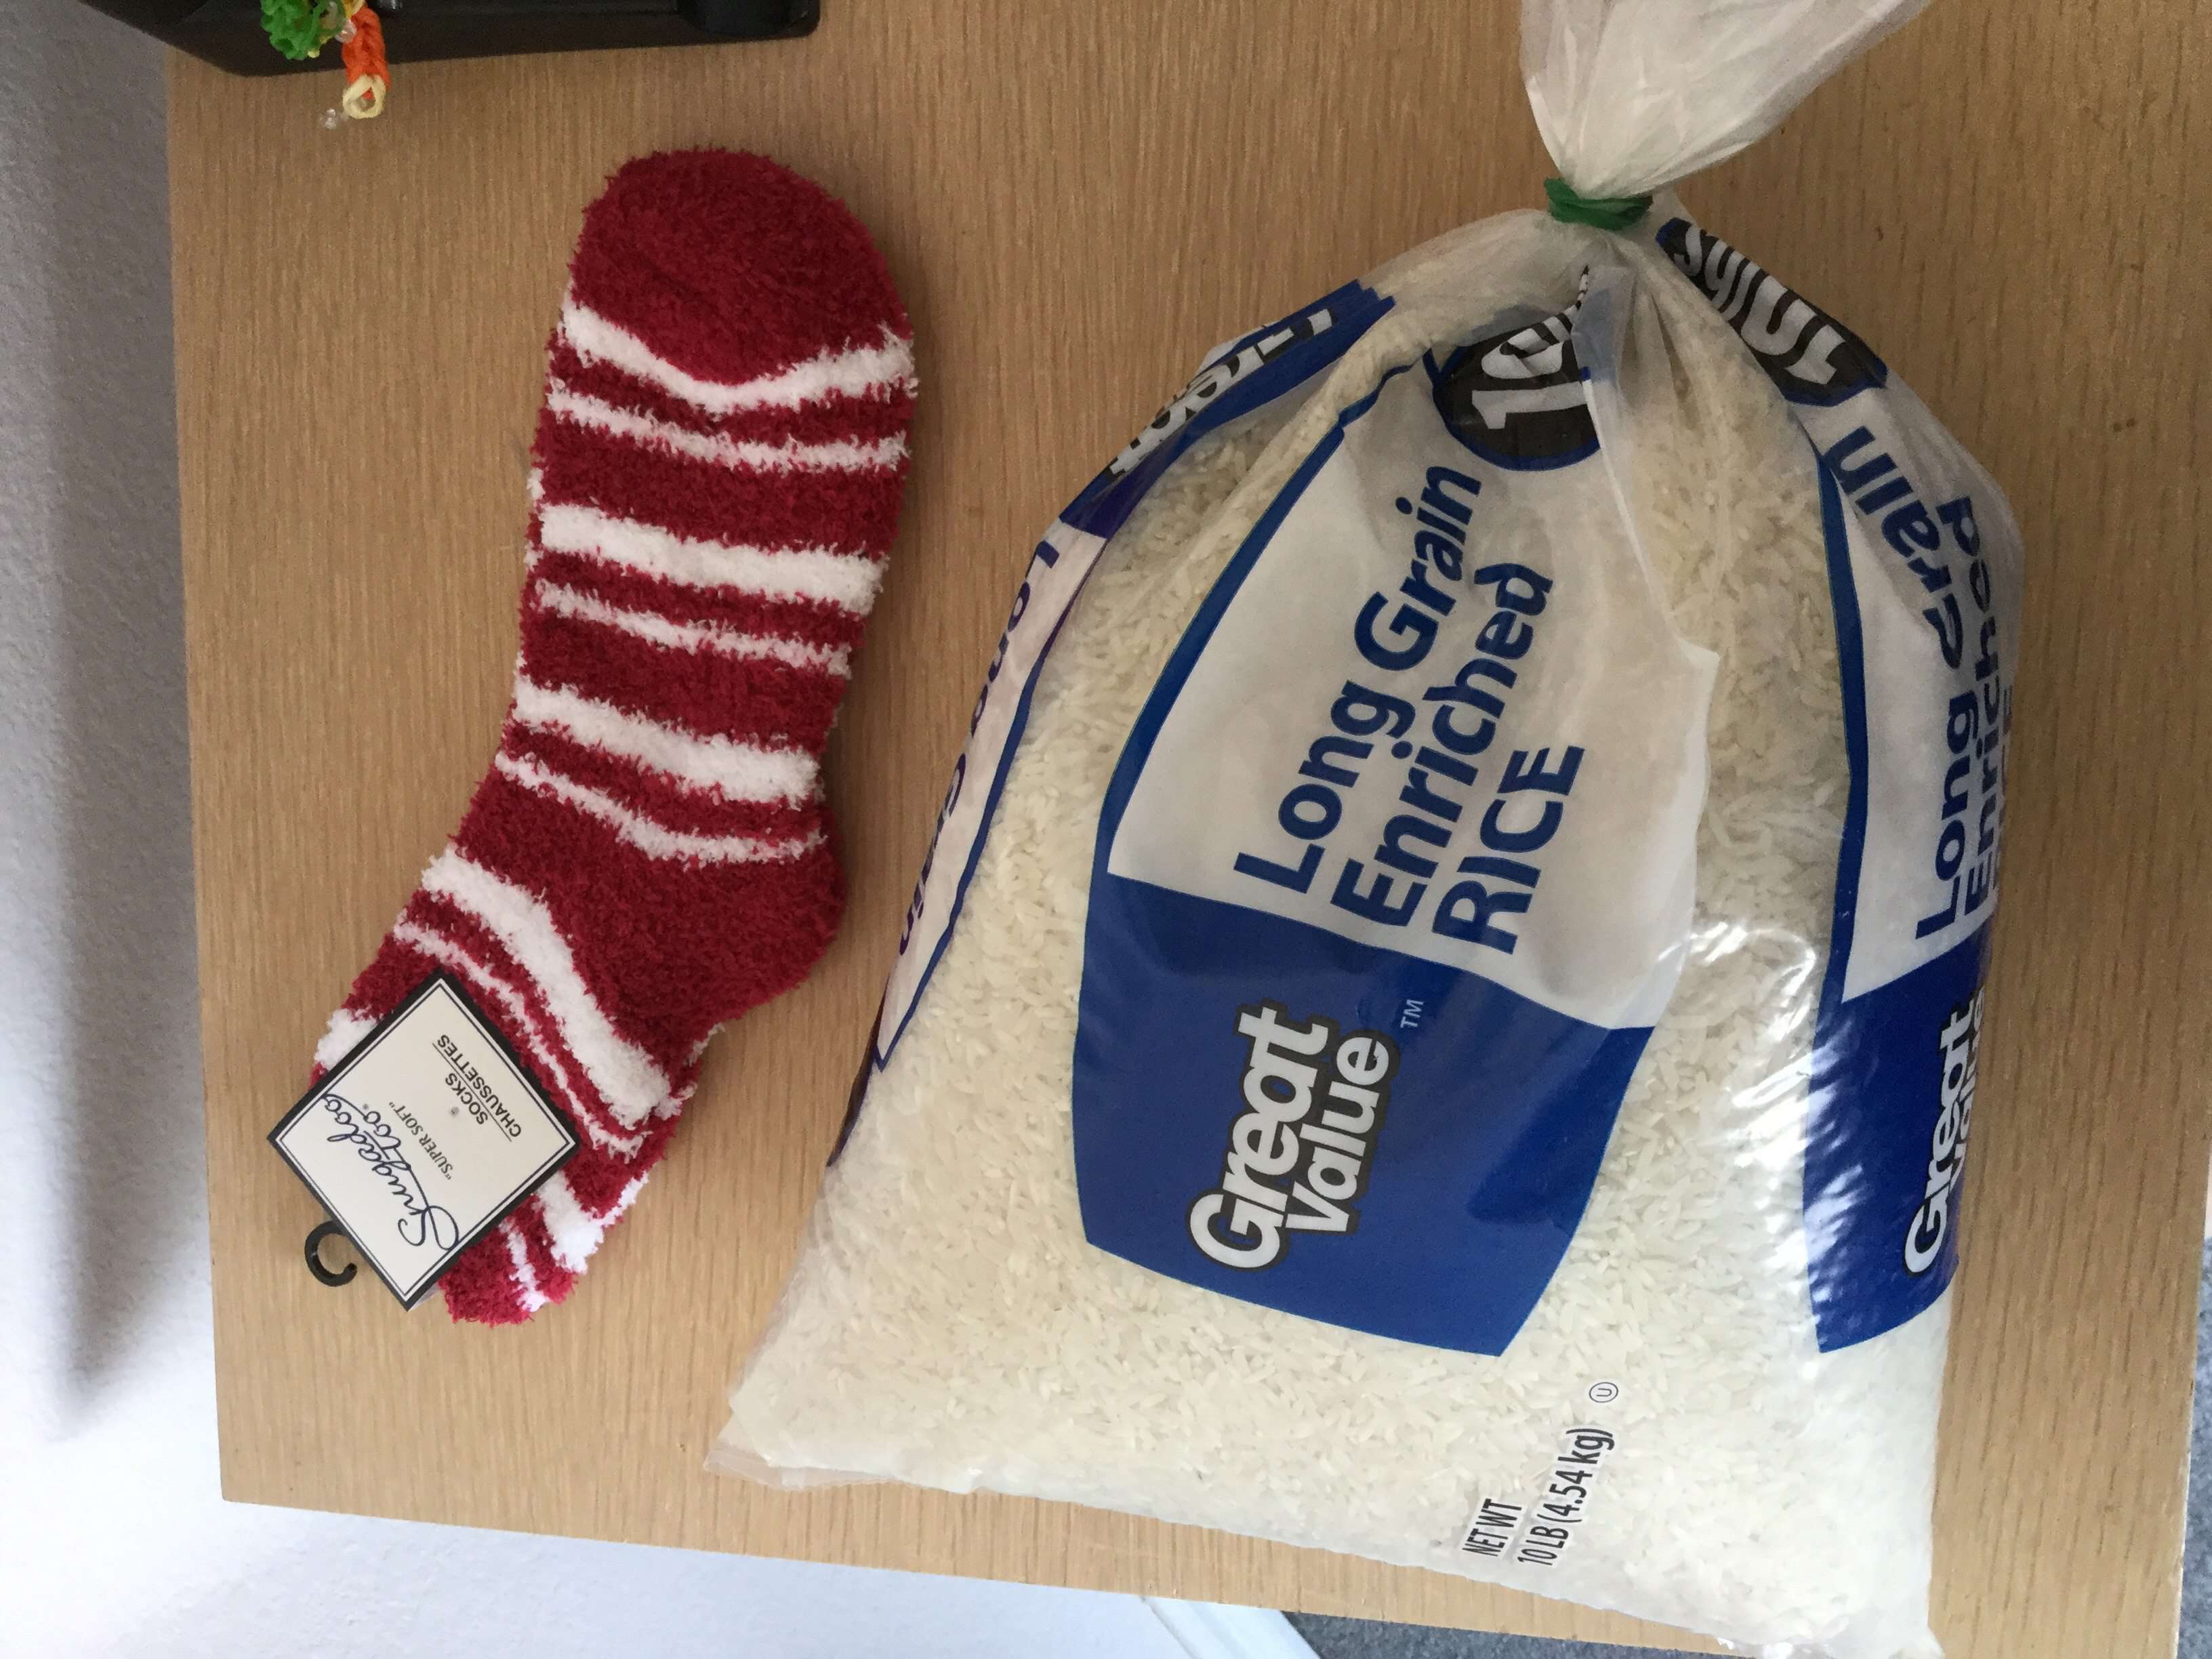
- Fuzzy Socks.
- 1-2 cups of uncooked Rice
- Sewing Machine/Needle and Cotton Thread or Hot Glue Gun
- Scissors
How to Make An Ice Pack and Rice Heating Pad Instructions
Sock Ice Pack and Rice Heating Pad
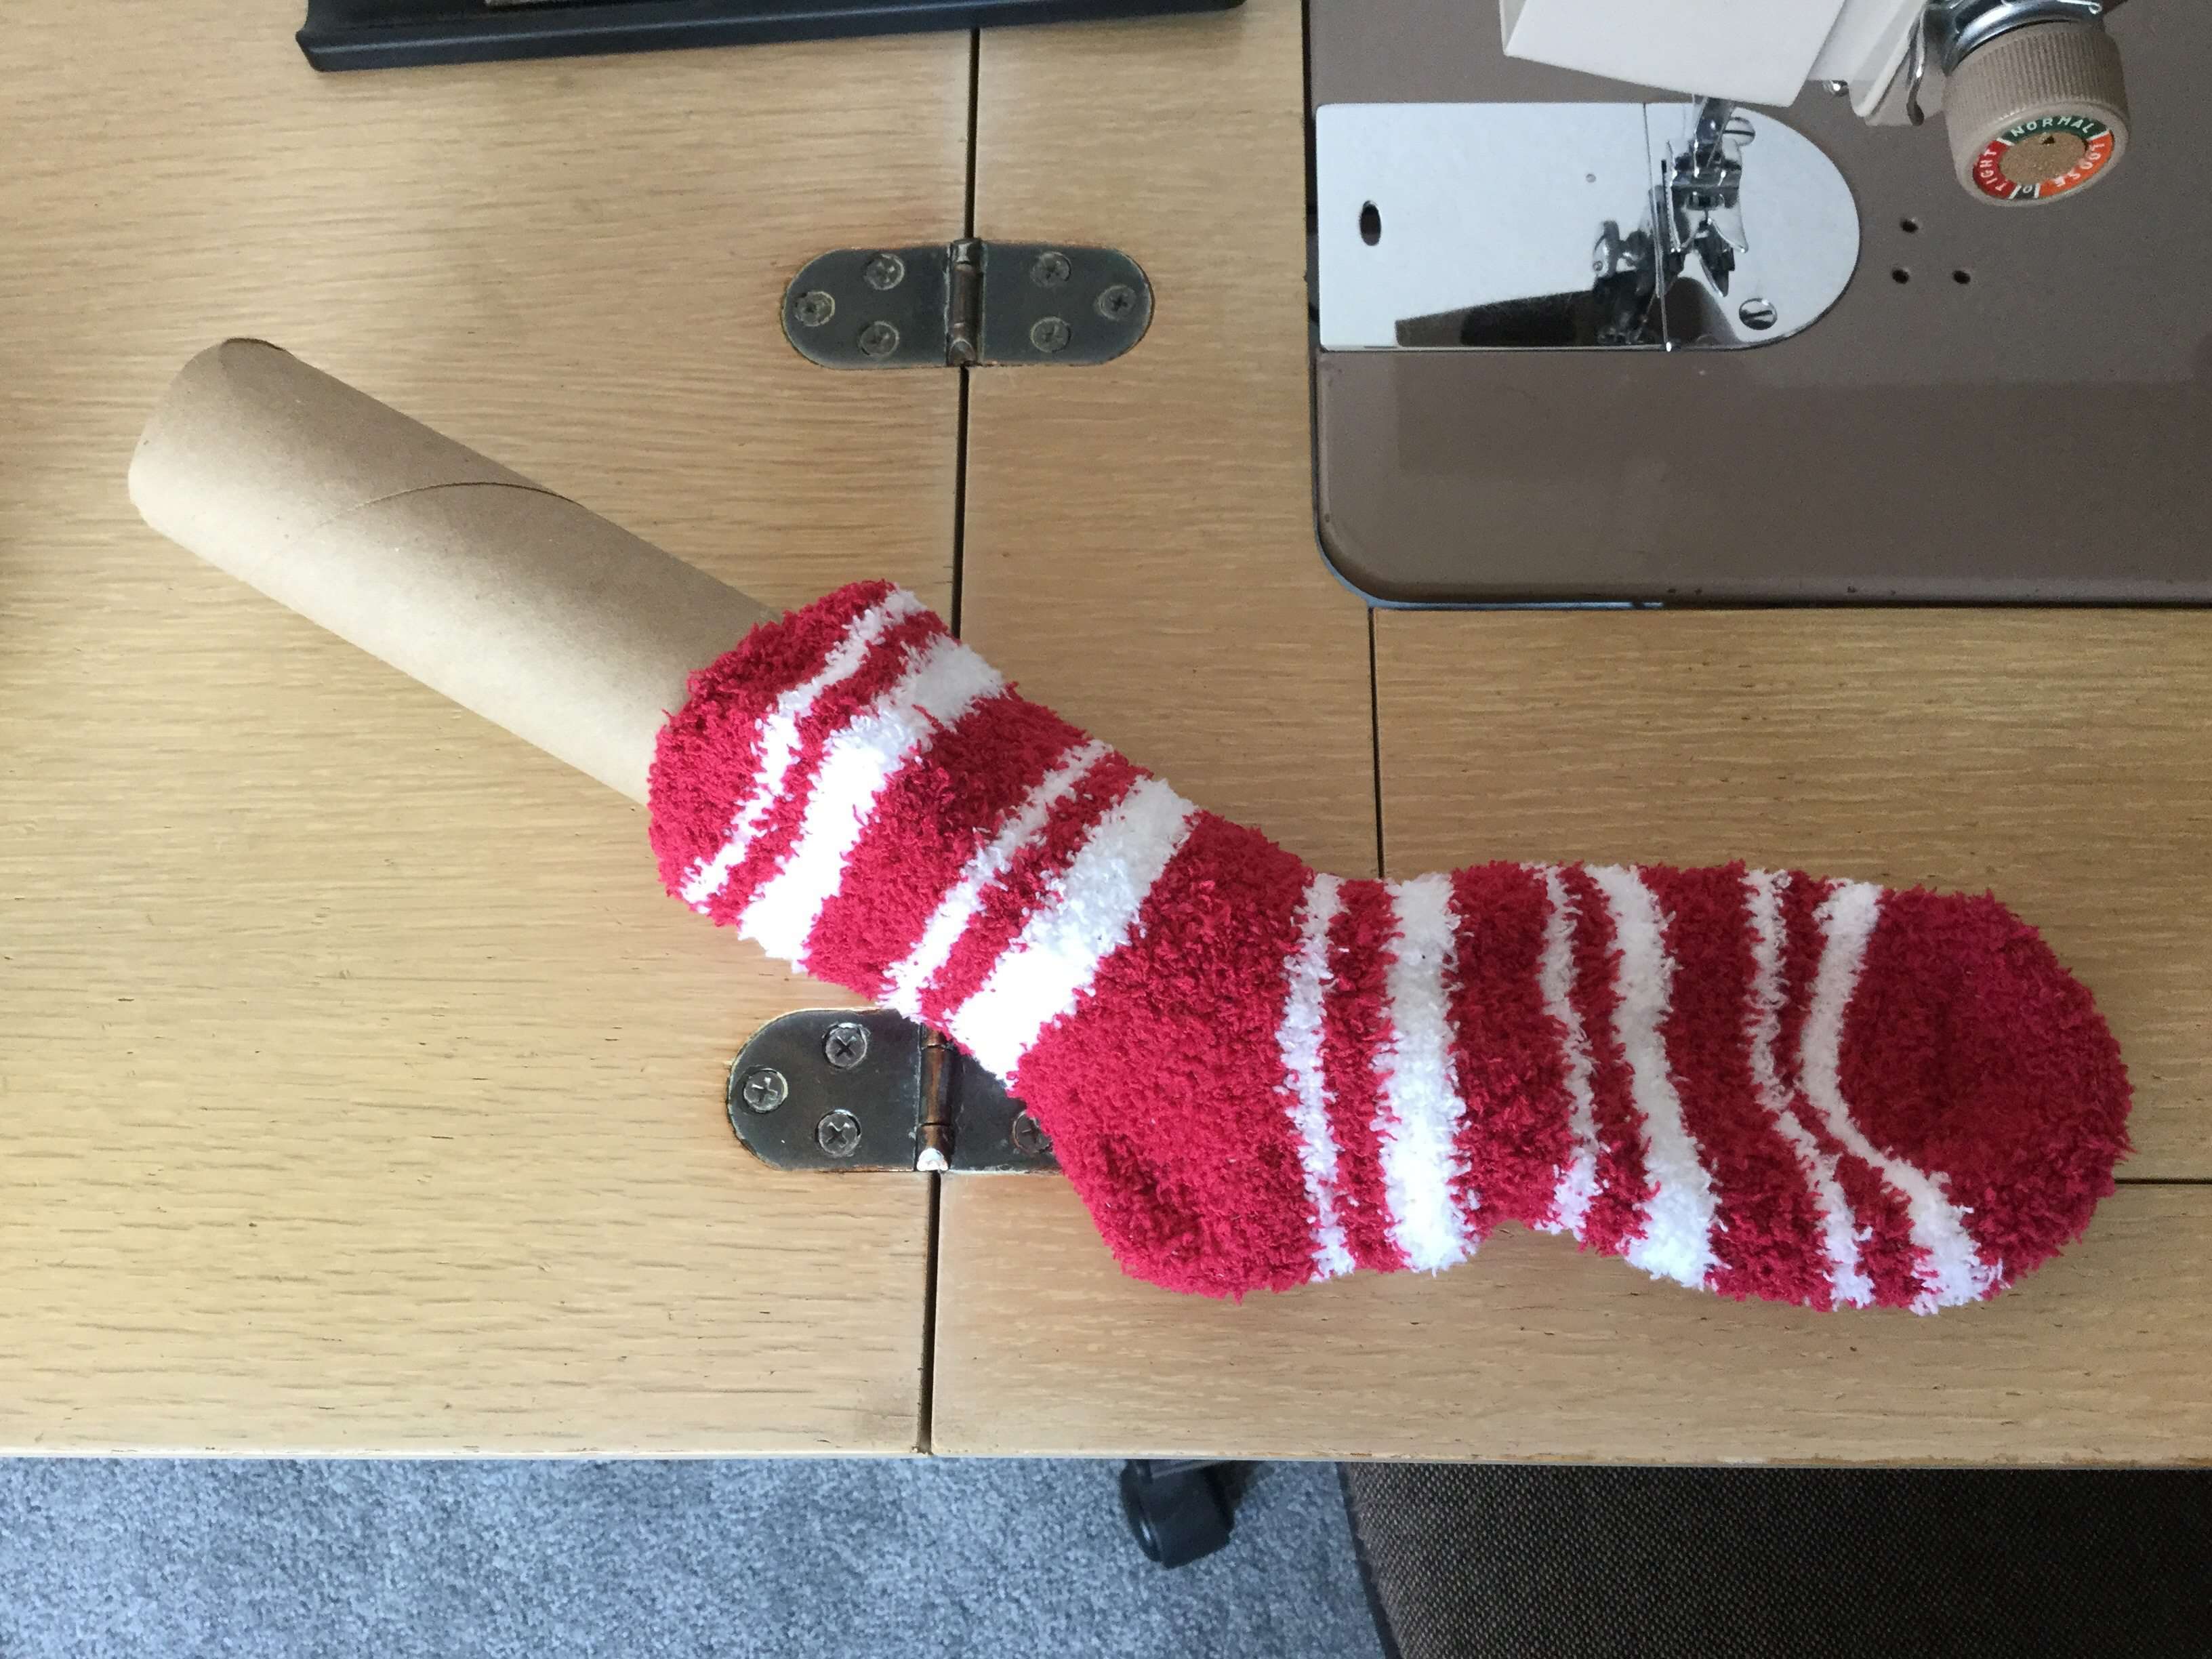
Place a paper towel tube (or a funnel) in your sock, this will make filling the sock with the rice much easier.

Don’t forget to link to ThriveCart – Book
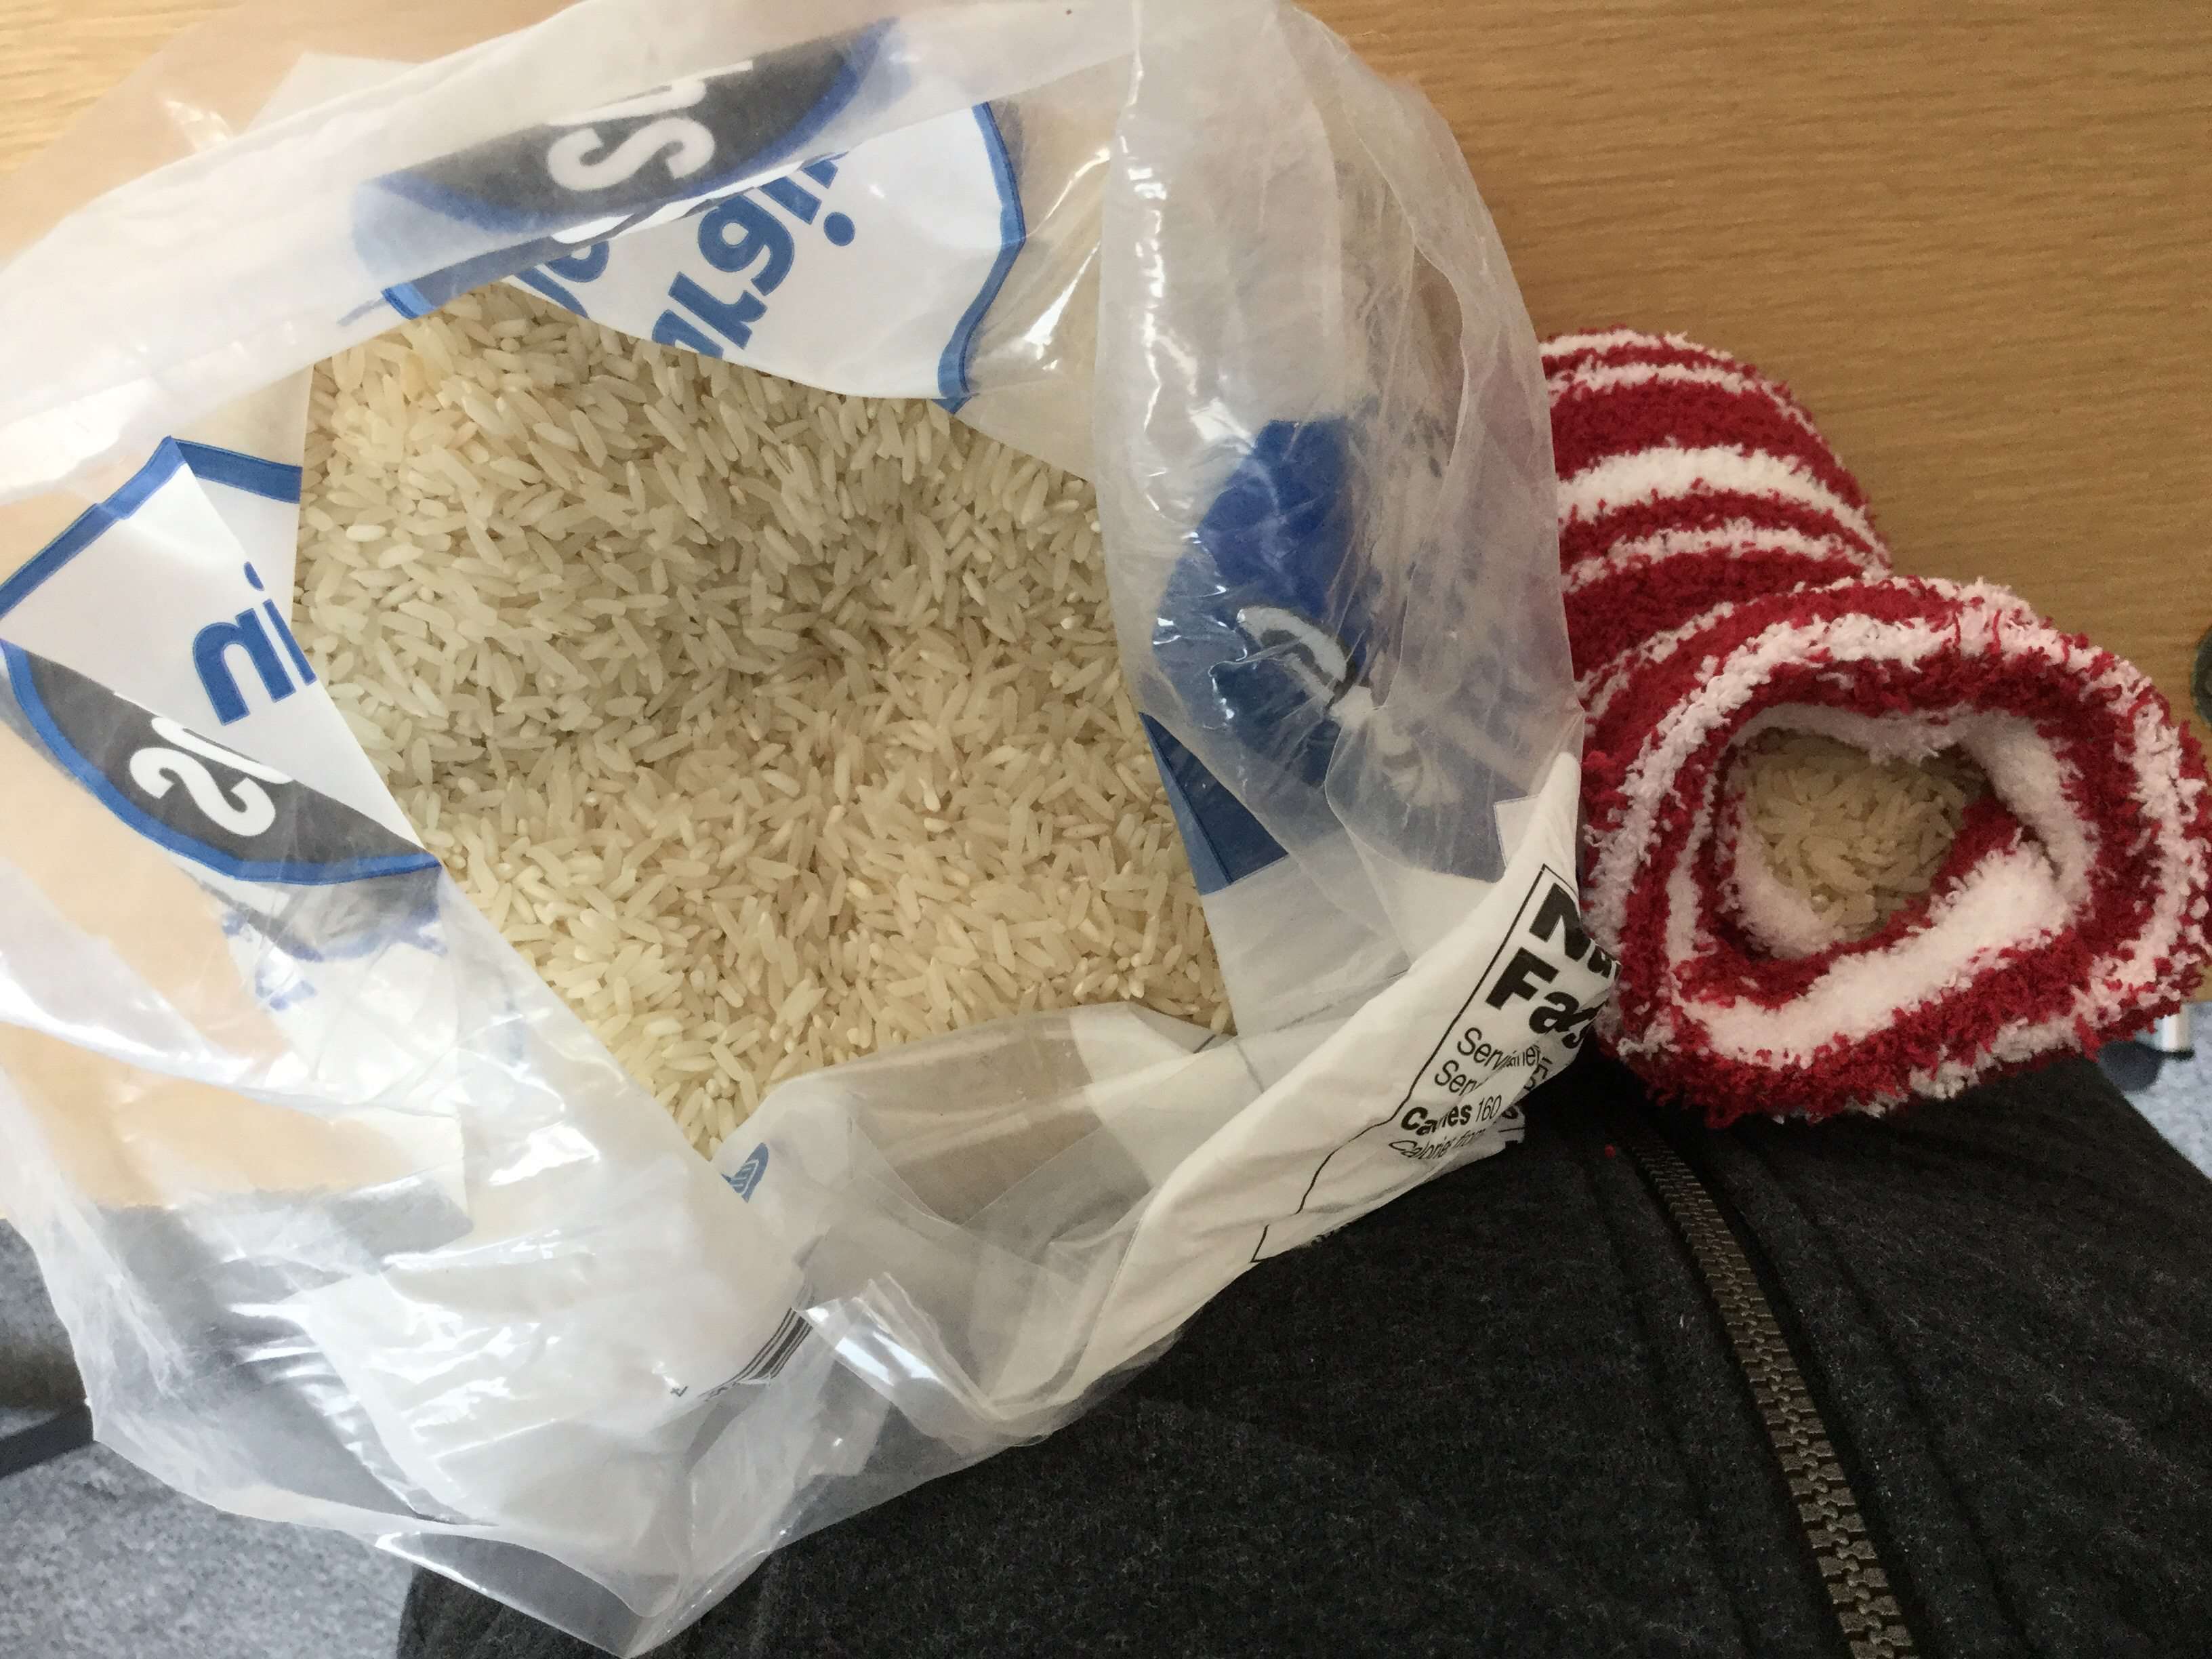
Fill the sock up to your desired amount with the rice. I used white rice and the amount of rice you need depends on the size of your sock. For this one I used a couple of cups of rice.
You could alternatively use beans, rocks, corn, flaxseed, other grains of rice, or other items inside if you prefer.
You can add drops of essential oil like lavender or of your choice to give off a relaxing scent.
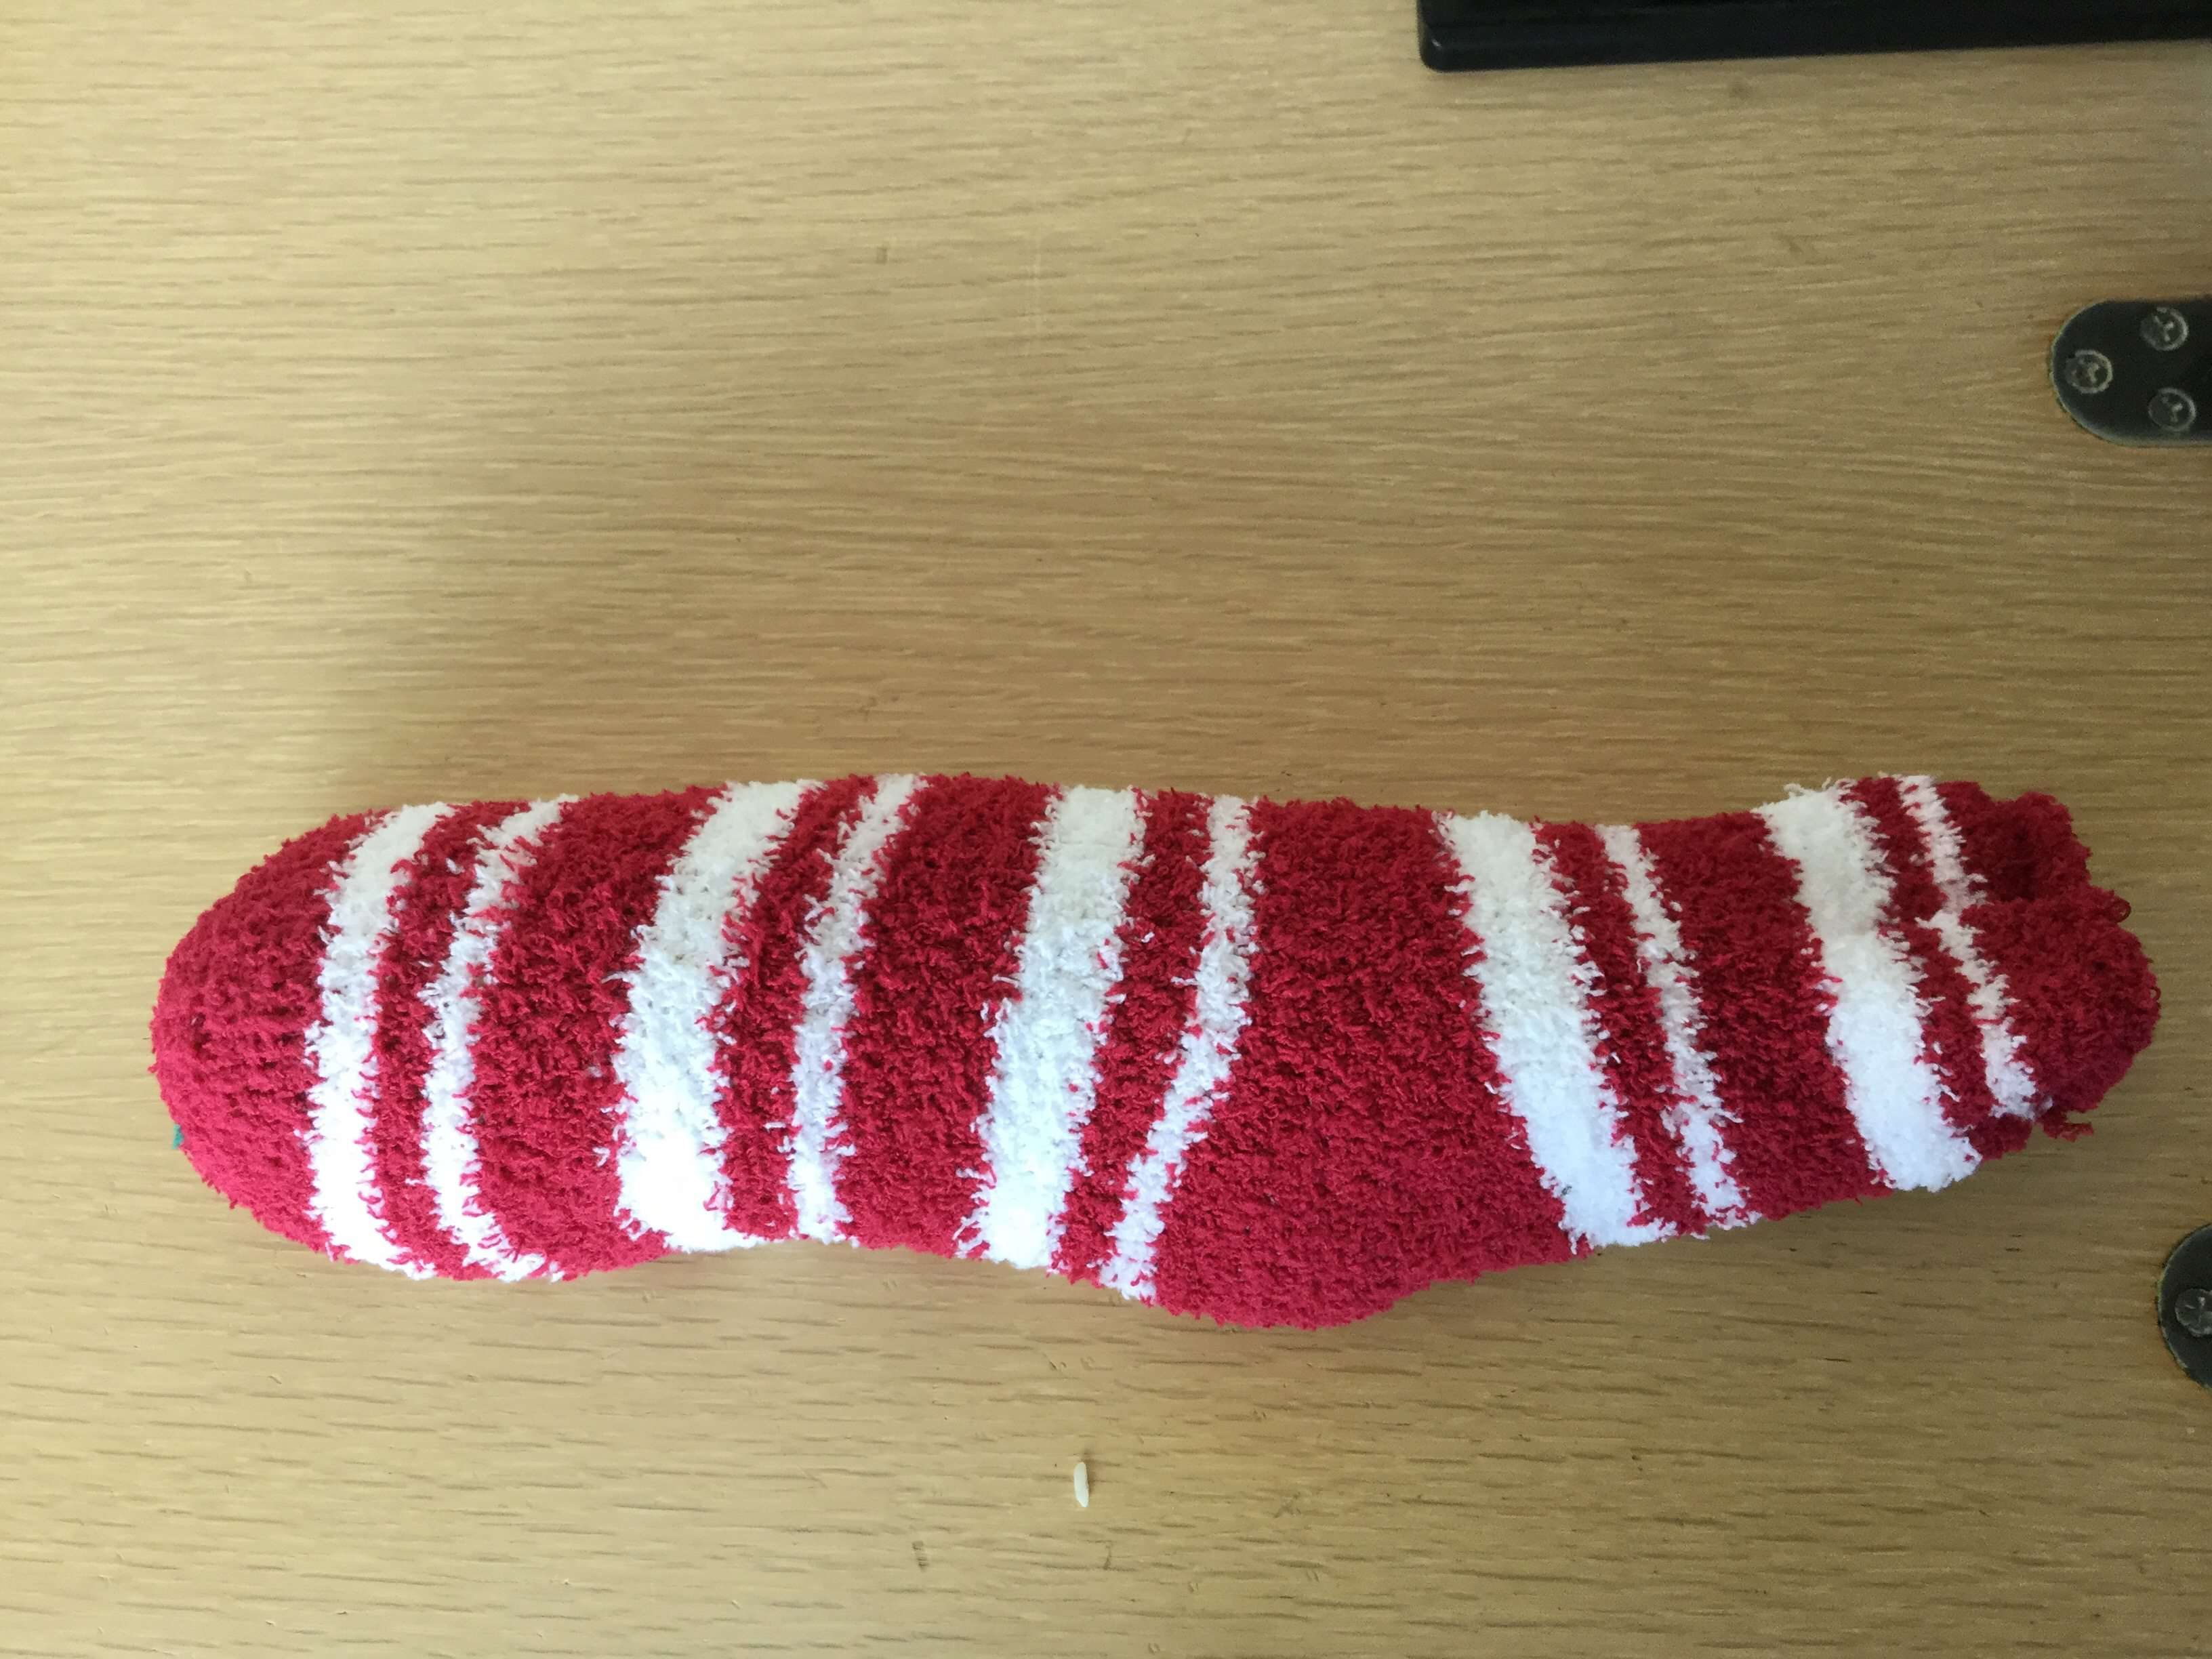
Lay your sock flat, and event it out. Make sure the open end matches up so you are ready to seal it closed. Spread your rice out and make sure you have the desired amount in your sock.
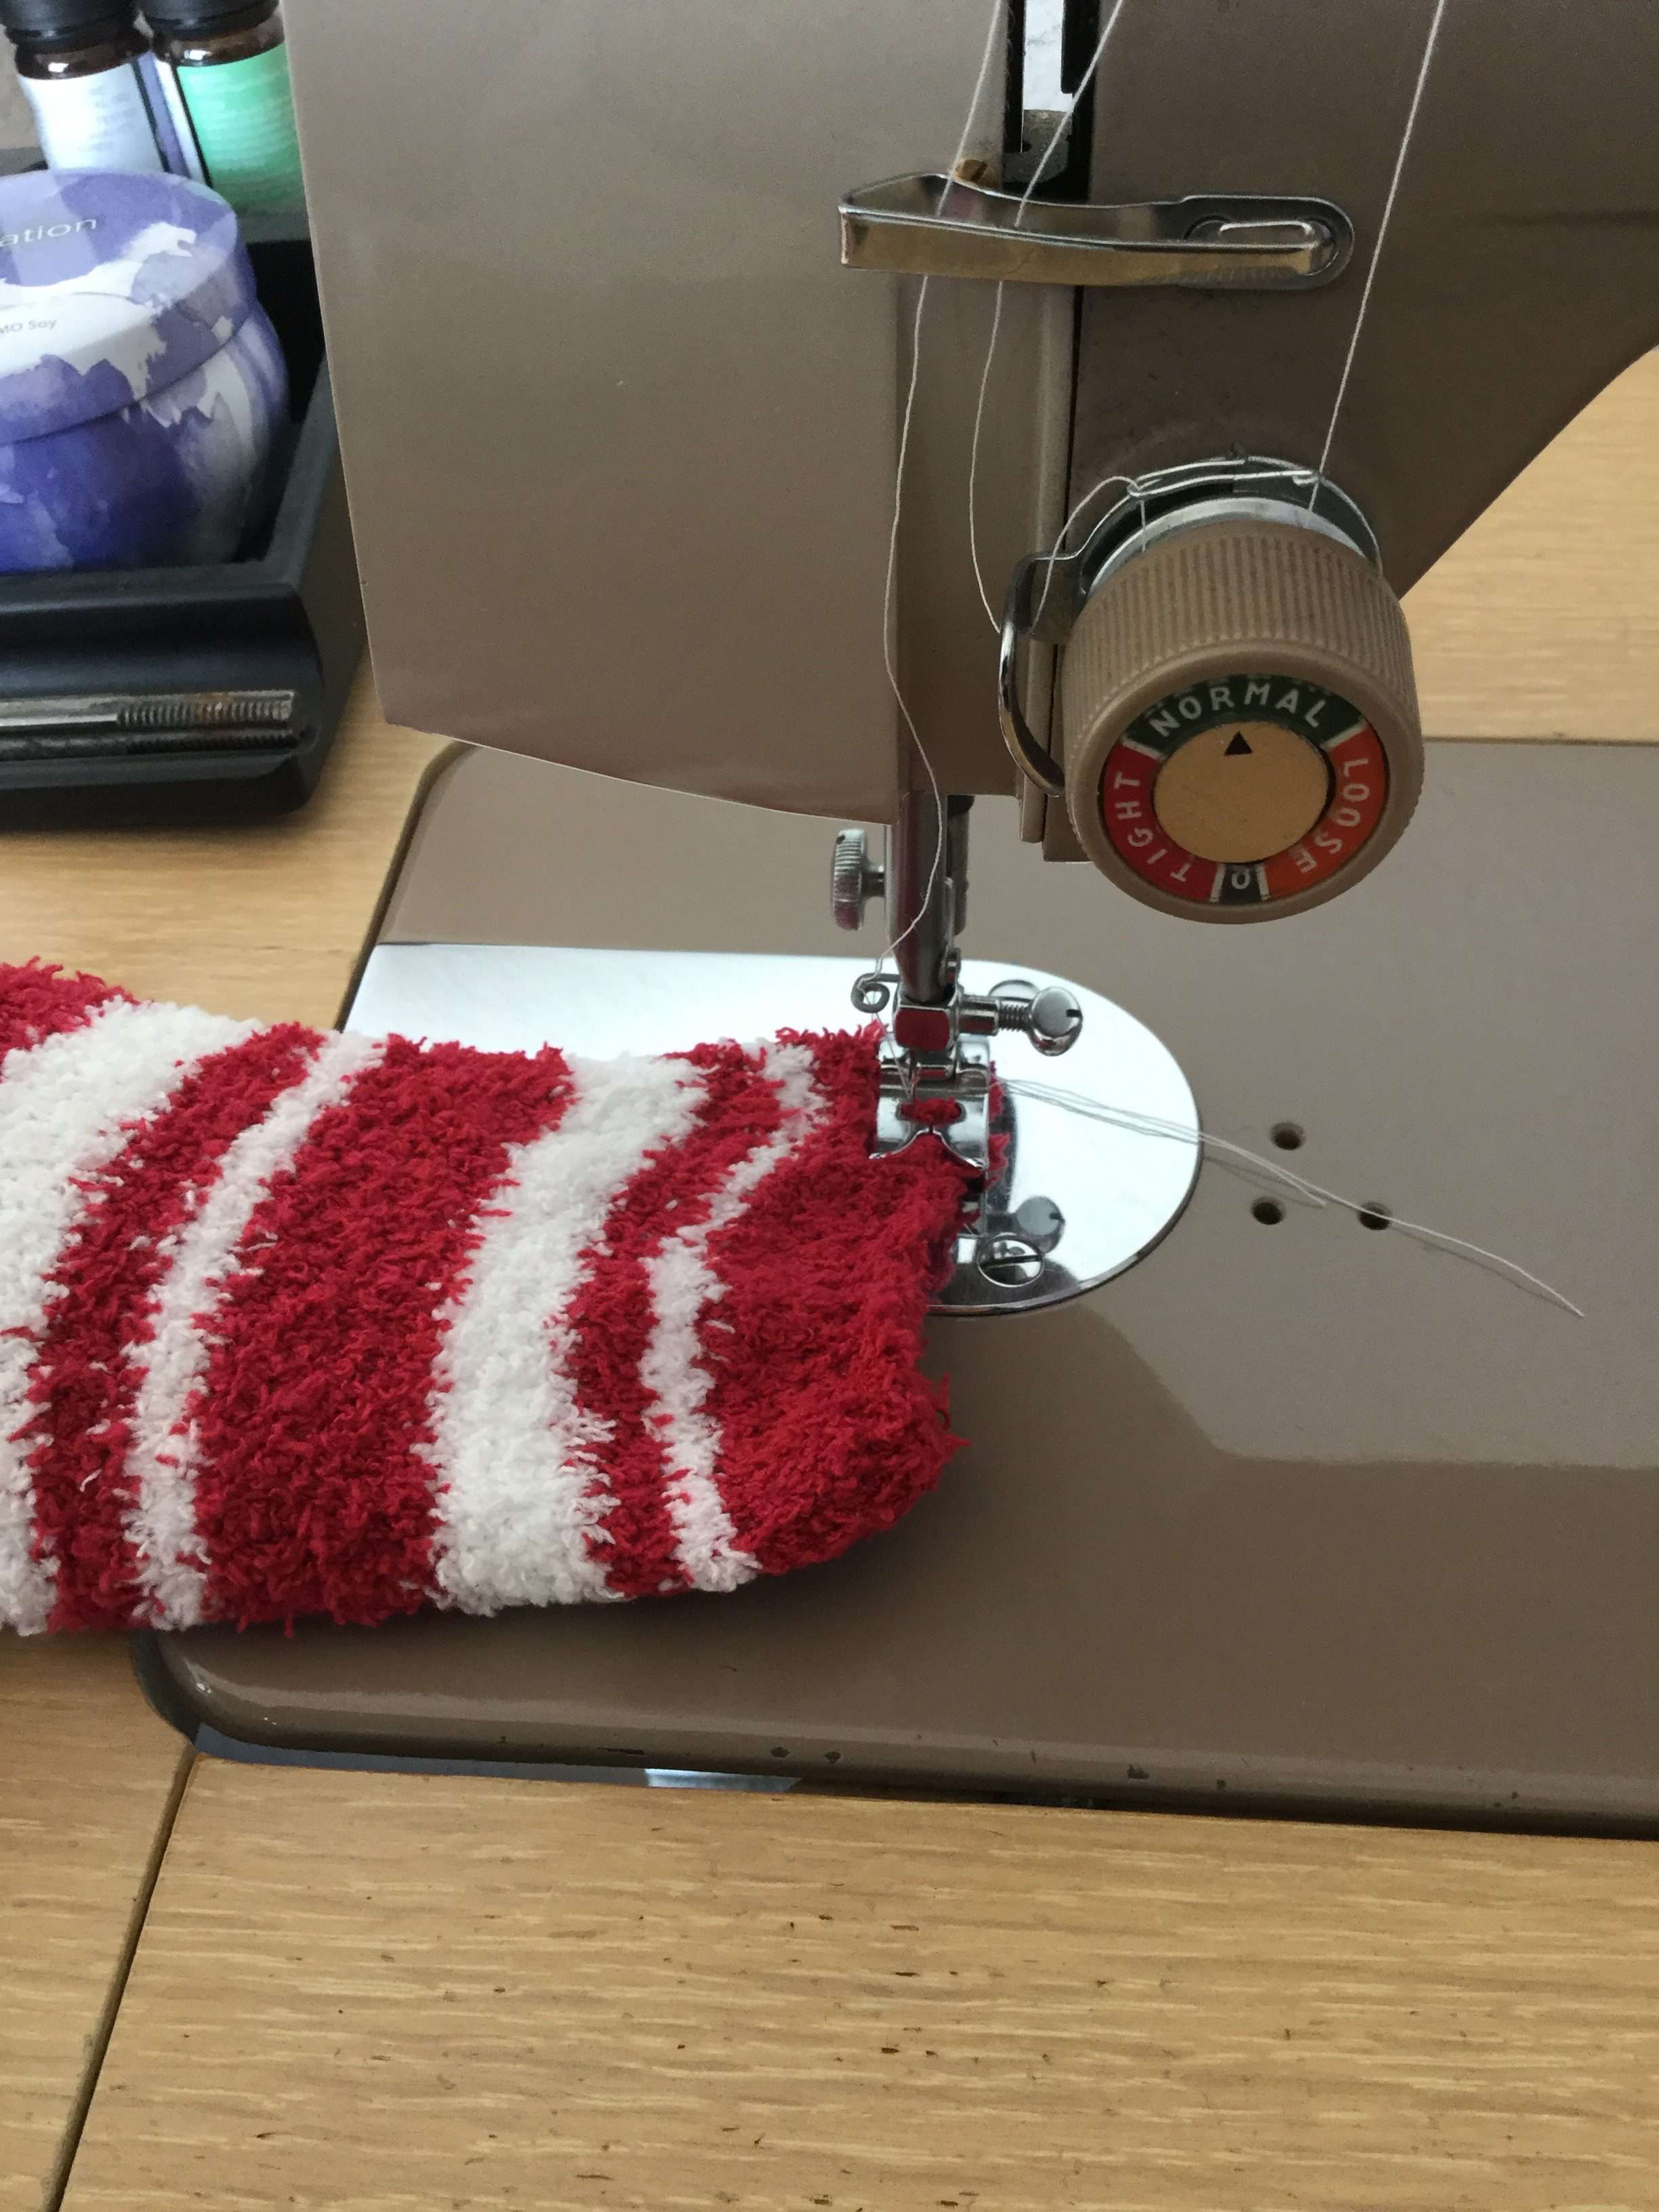
Close up your sock, and you have several options to do this.
- Sew the sock closed with a sewing machine
- Sew the sock closed with a needle and thread using a loop stitch
- Hot glue the sock closed
- Use a rubberband and twist the top closed
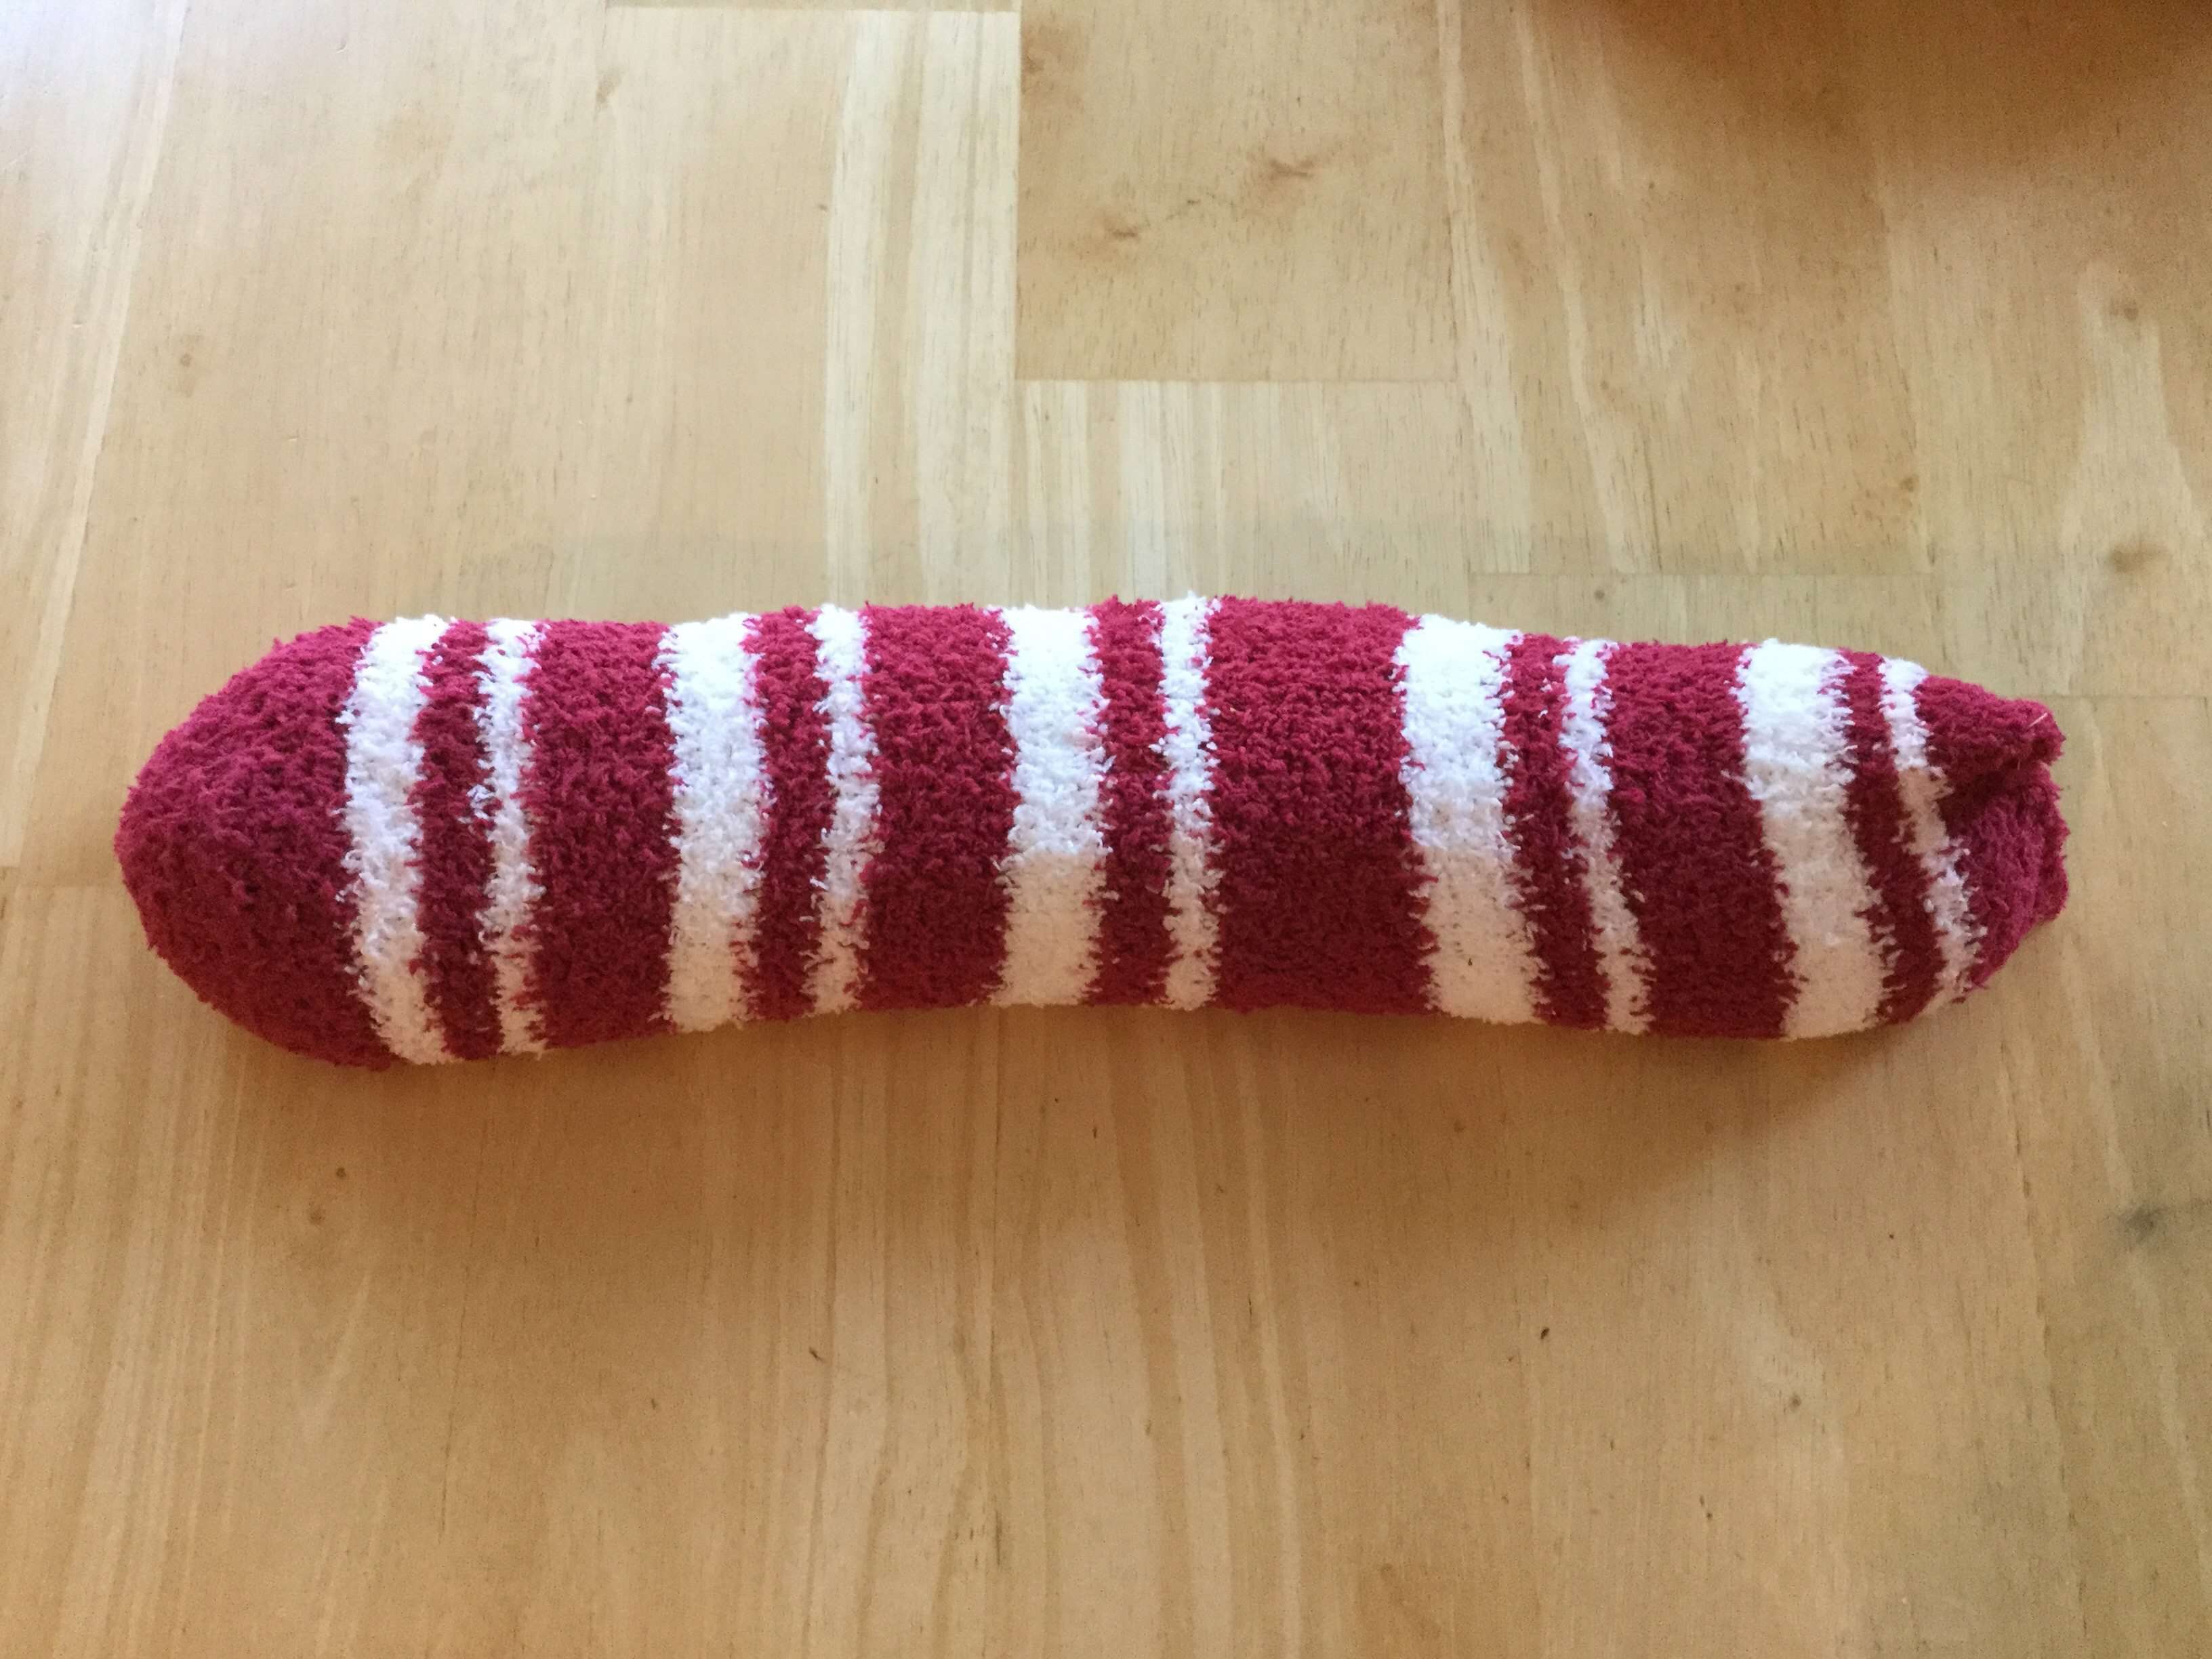
Your hot or cold pad is ready to use!
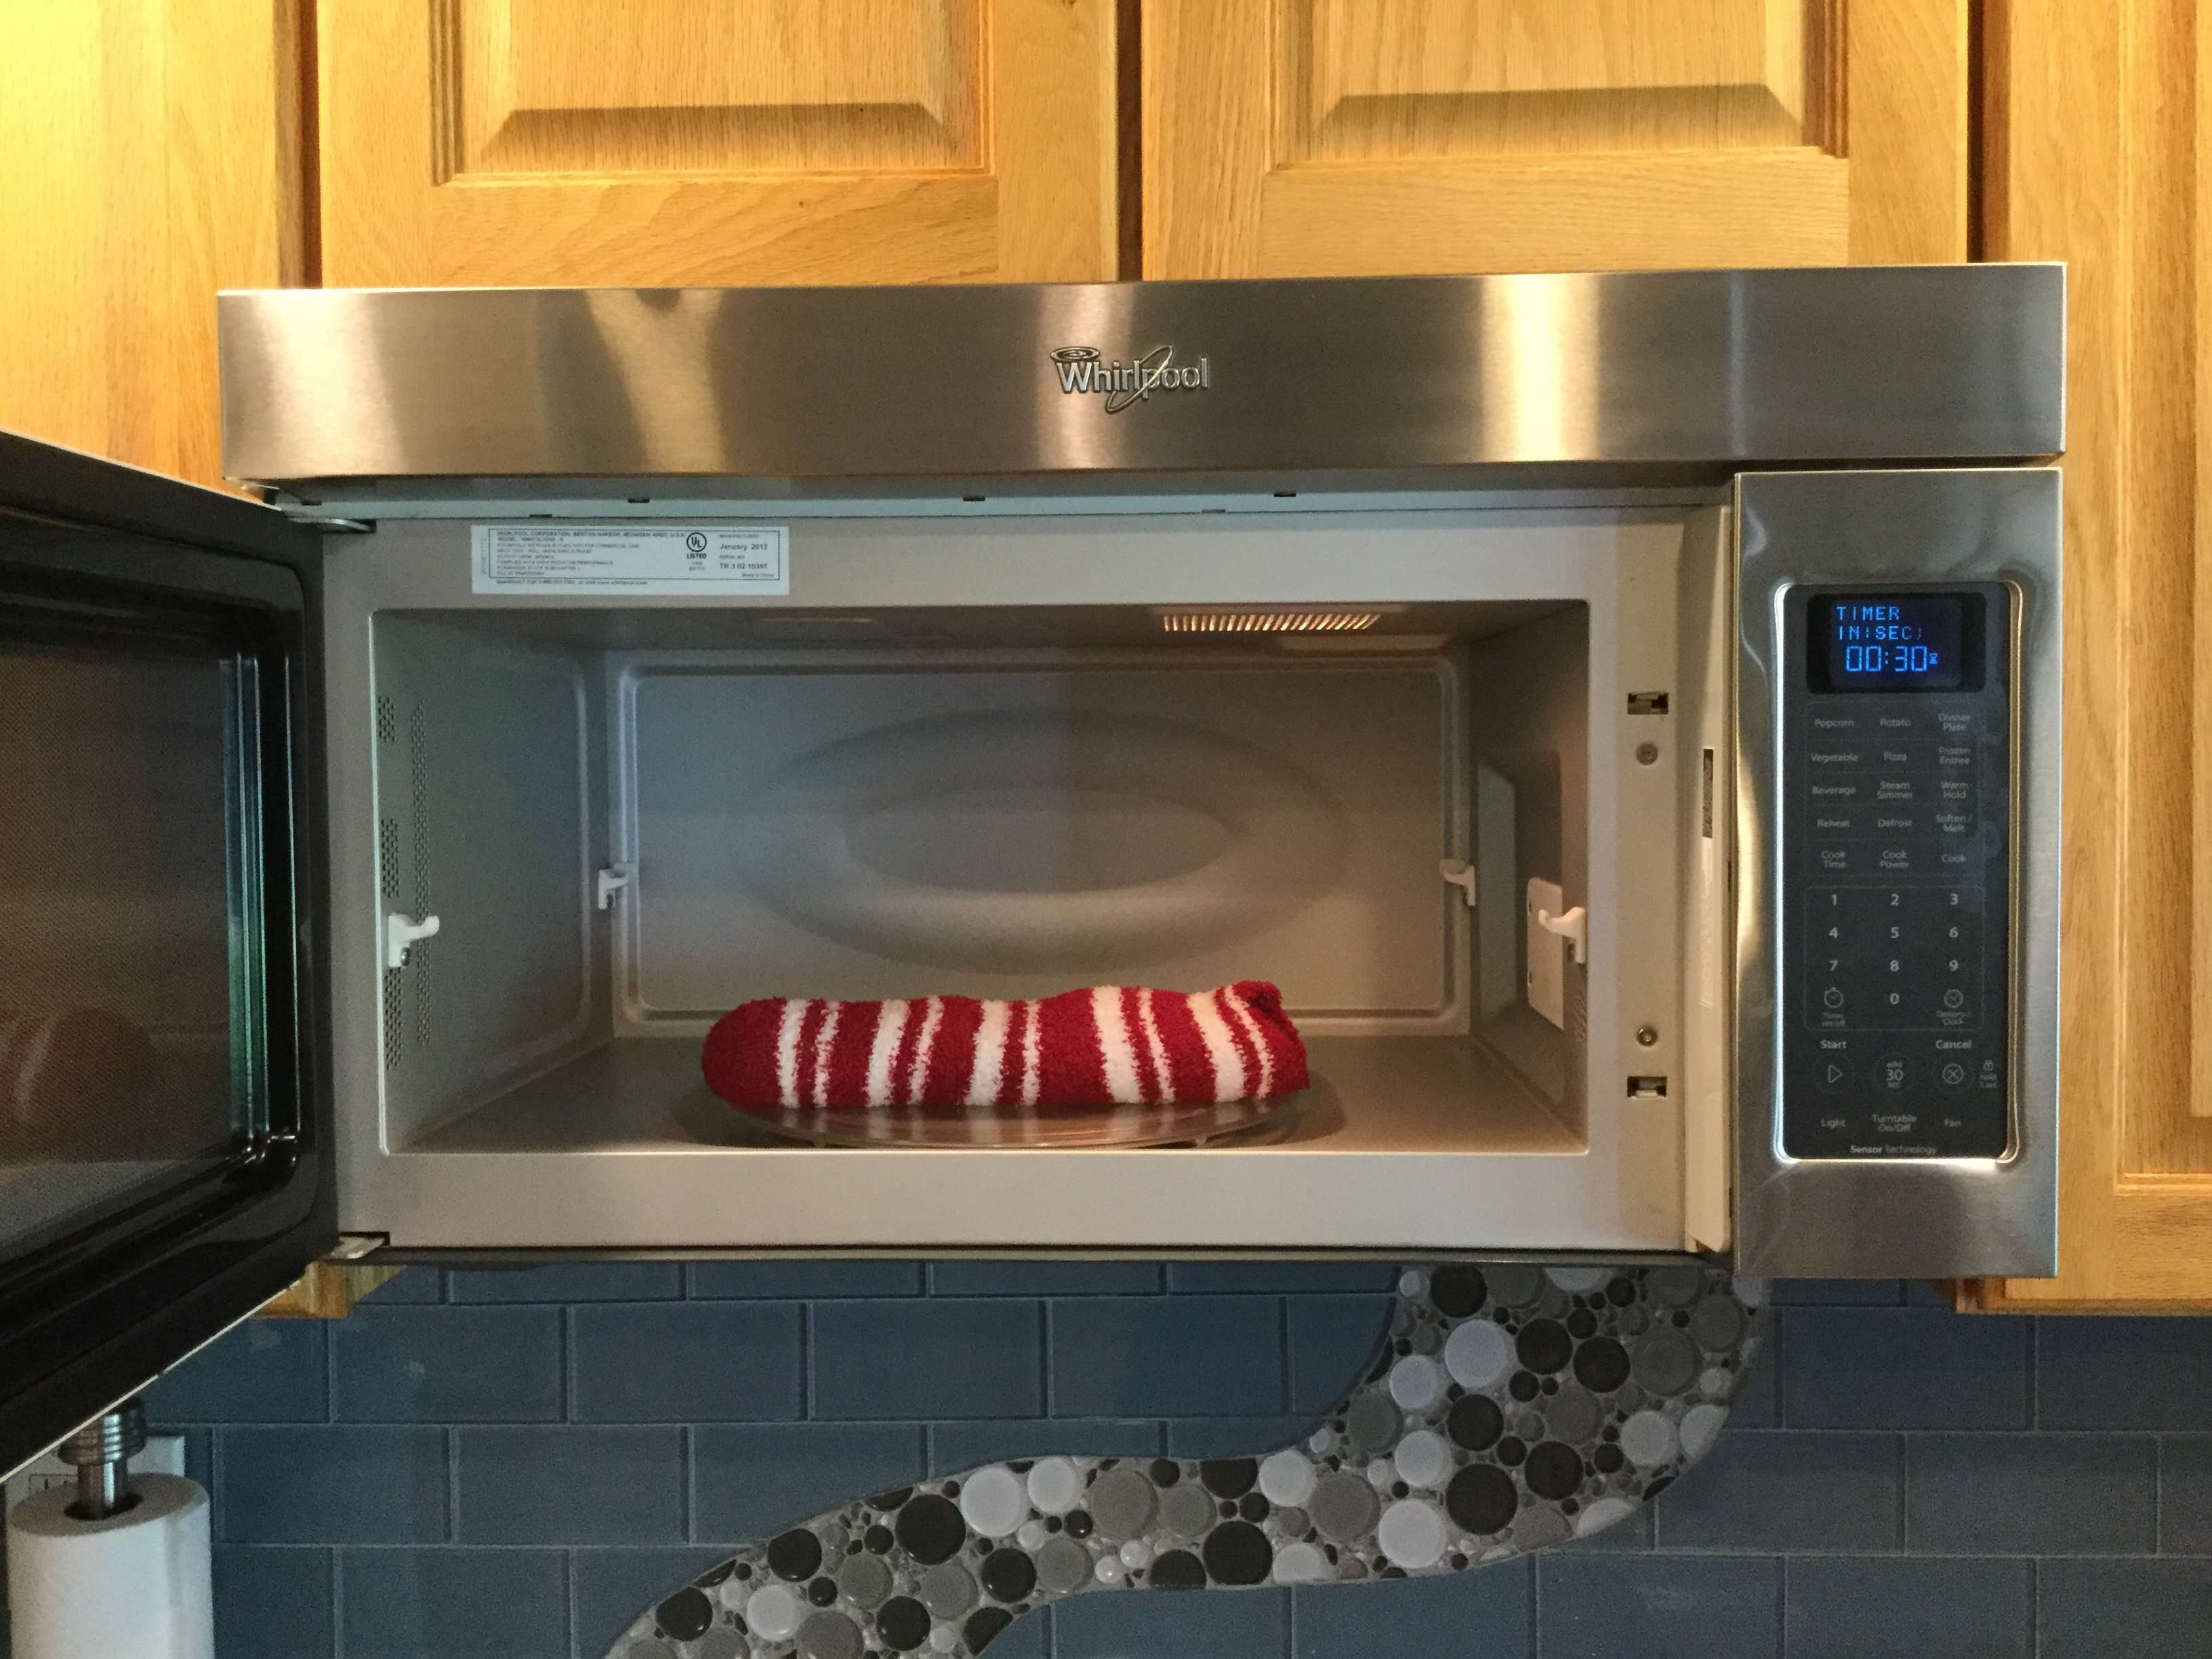
To use it as a heating pad, place the sock in the microwave and heat it up. I recommend starting with no more than 30 seconds and checking the warmth. Microwaves are not created equal and 30 seconds in one can be really warm while another is not warm at all. Once you have it to the desired warmth, use it to warm aches and pains, or “boo-boos” for kiddos.
*If using hot glue, the glue may warm up again and be tacky. This generally doesn’t happen unless you heat it up really warm/hot. If this happens, simply squeeze the opening closed to make sure it stays closed and the hot glue will harden right back up as it cools.
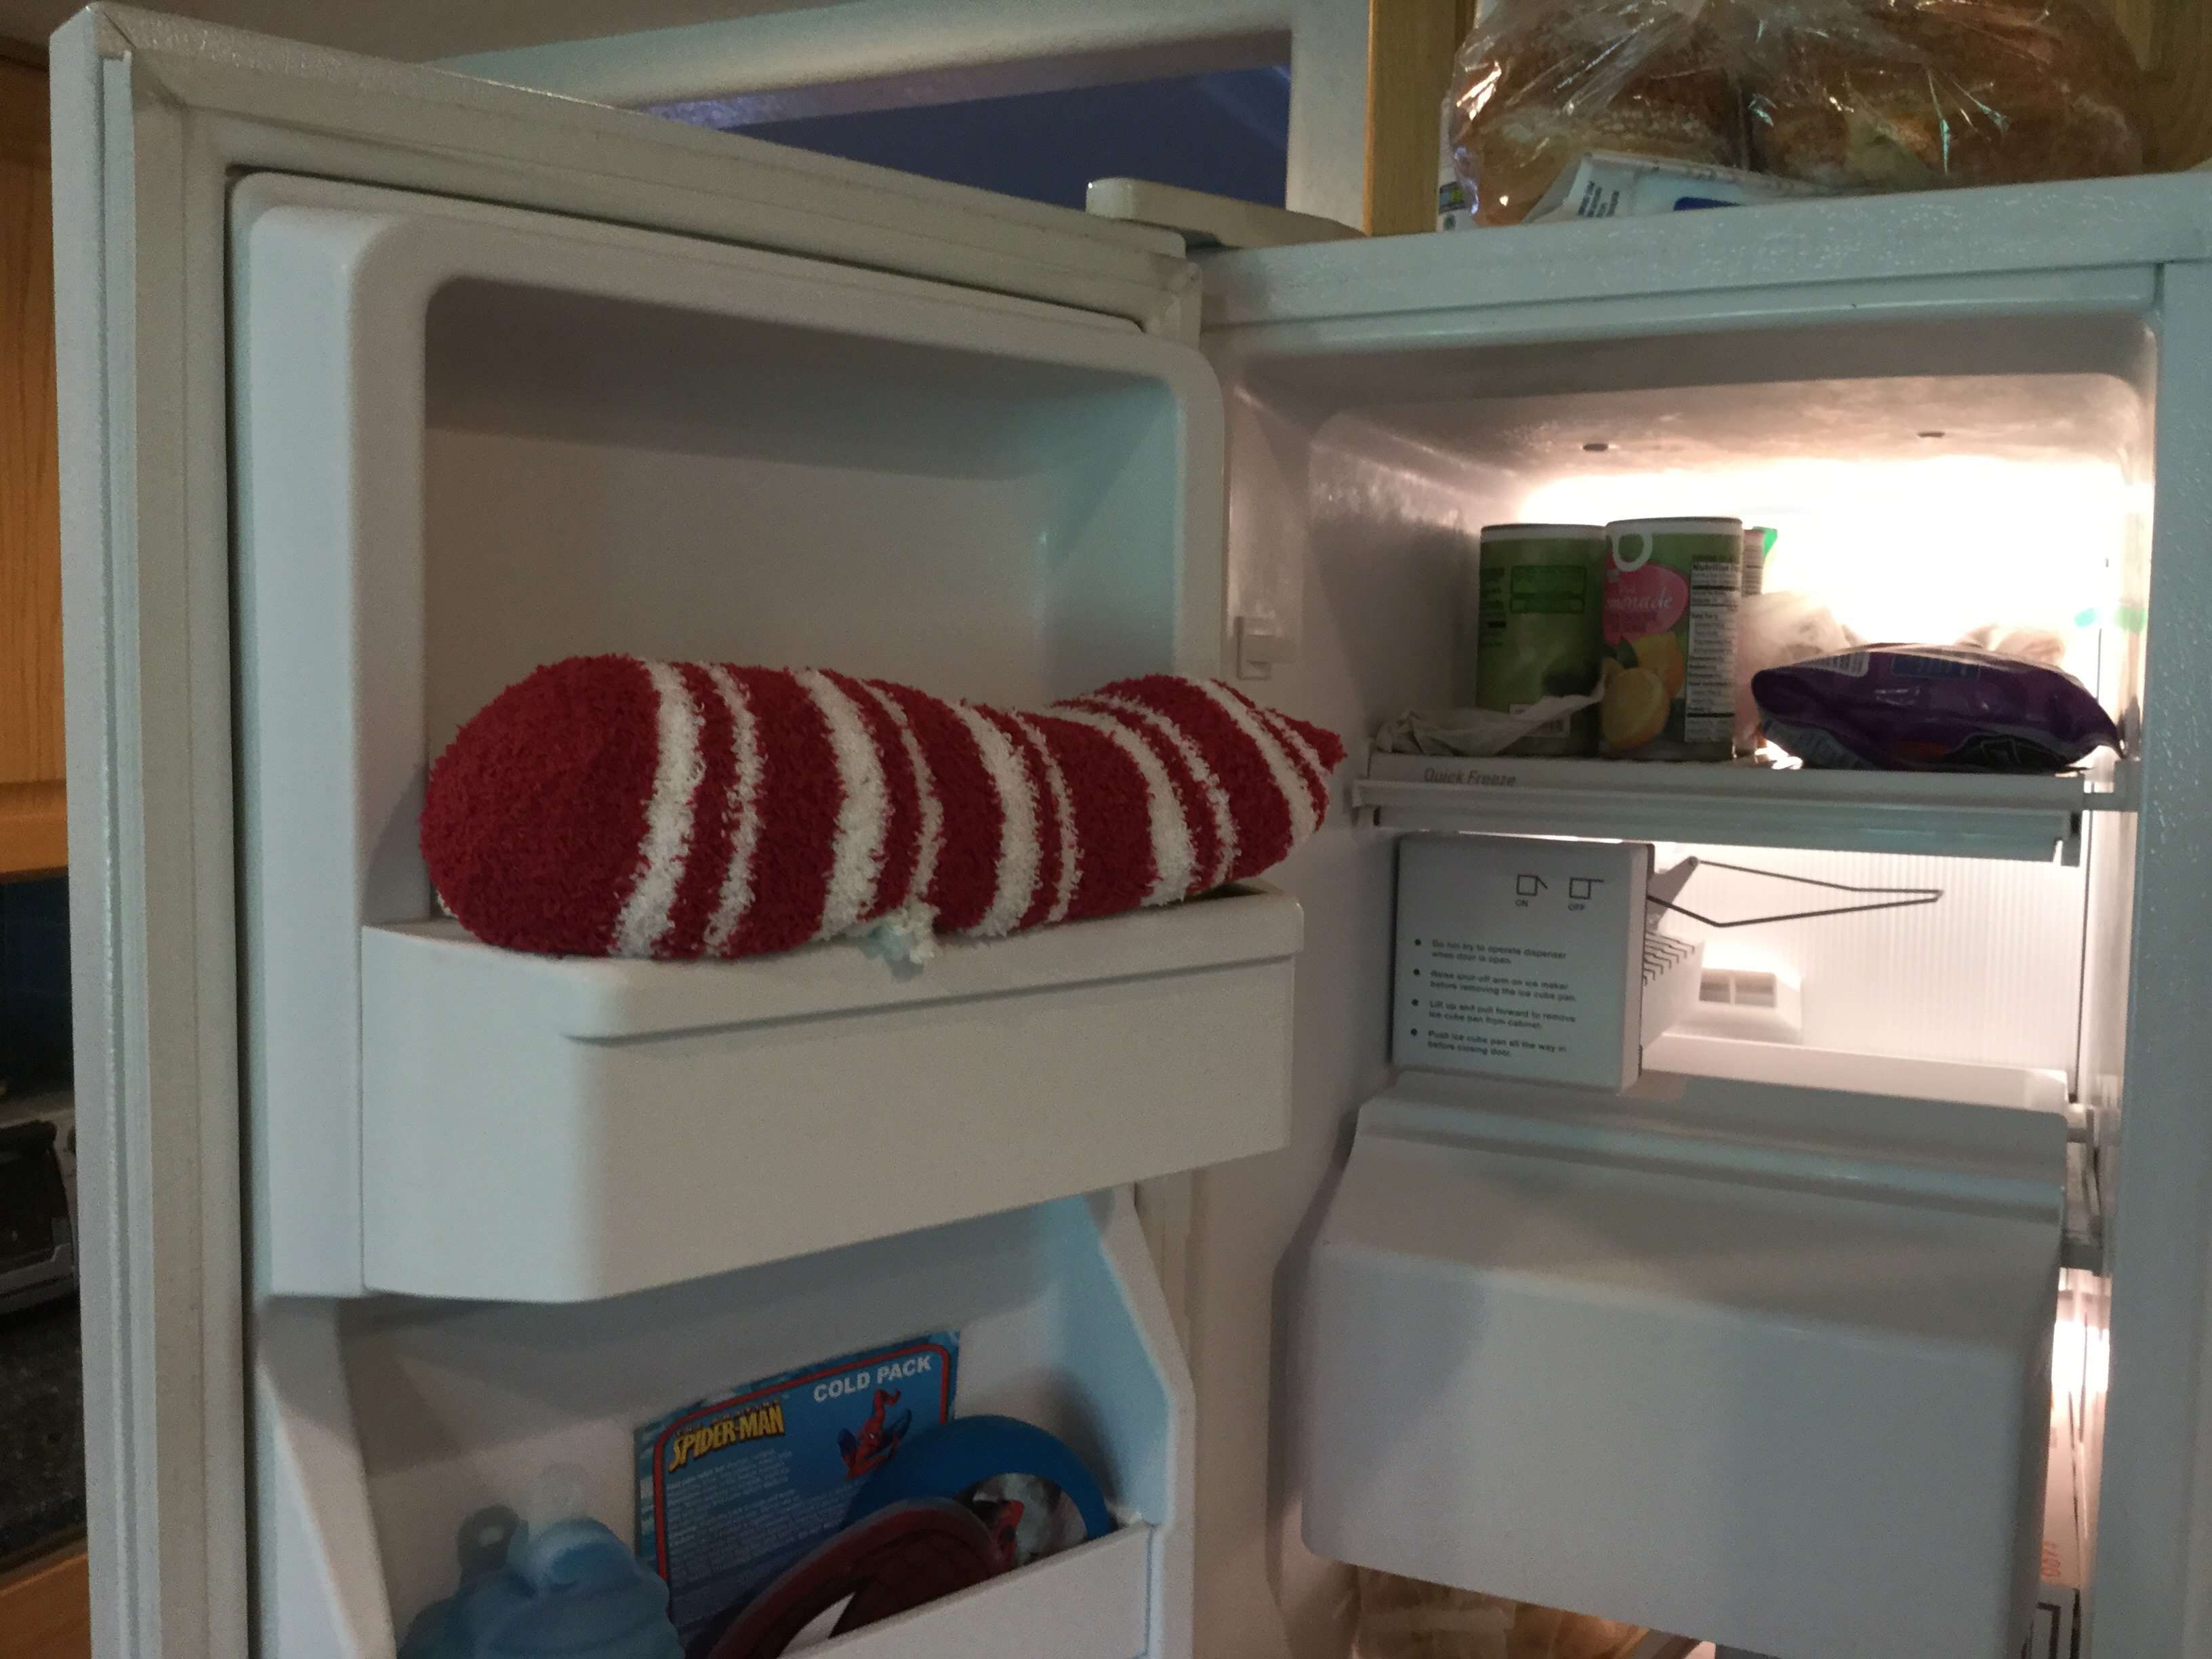
To use it as an ice pack, place your sock in the freezer. You can leave it in there all the time so it’s ready to use when you need it.
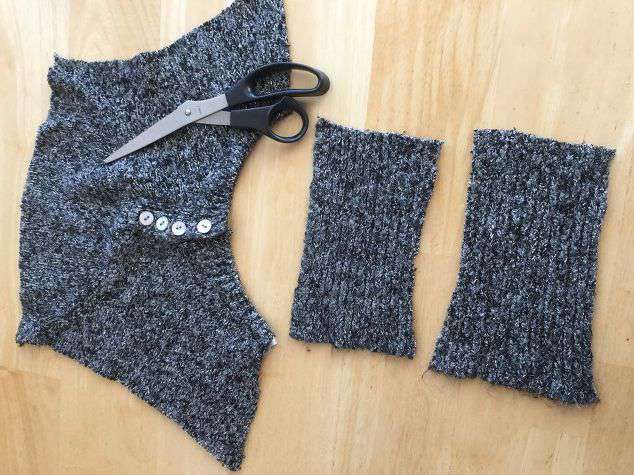
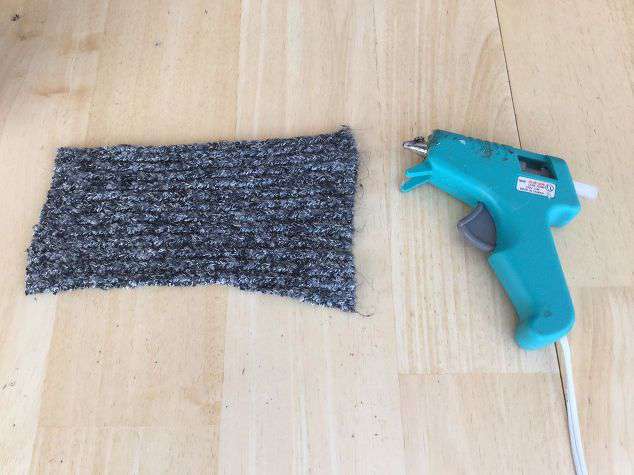
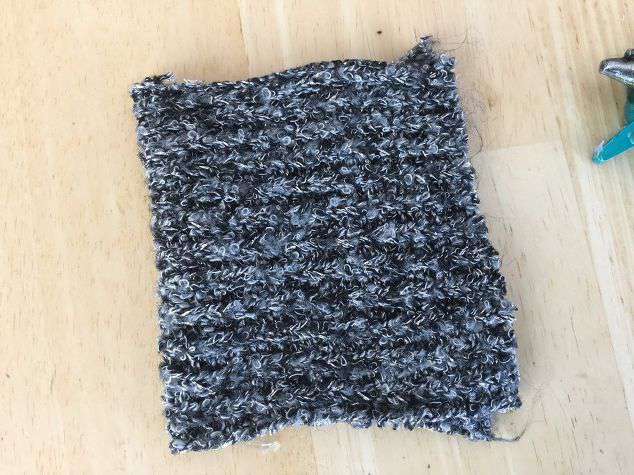
Ice Pack or DIY Rice Heating Pads Using A Sweater or Flannel
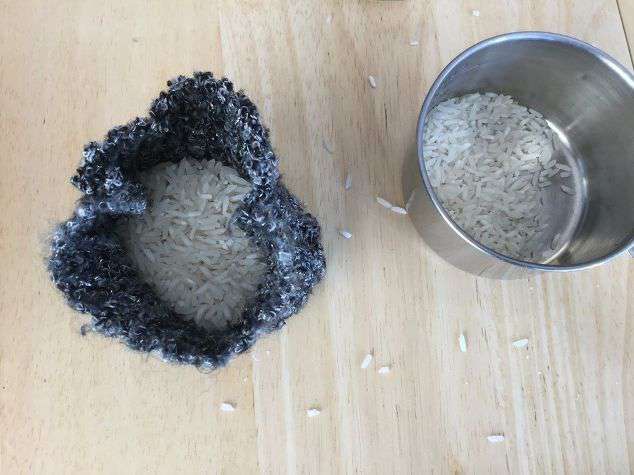
- Cut 2 rectangles from a thrift store sweater or flannel.
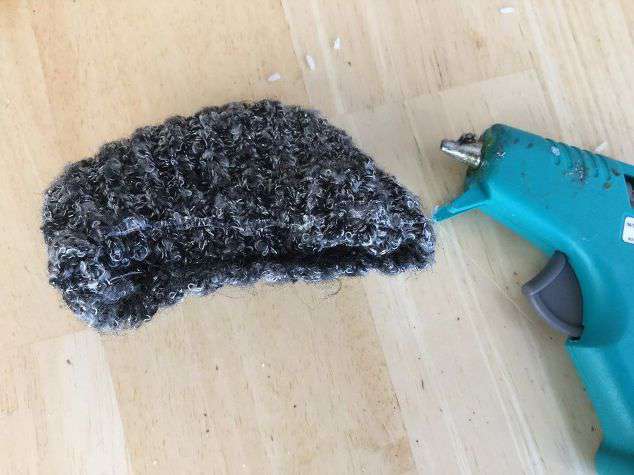
- Hot glue 2 sides and fold together
- Once the glue cools, flip the pocket inside out.
- Add rice.
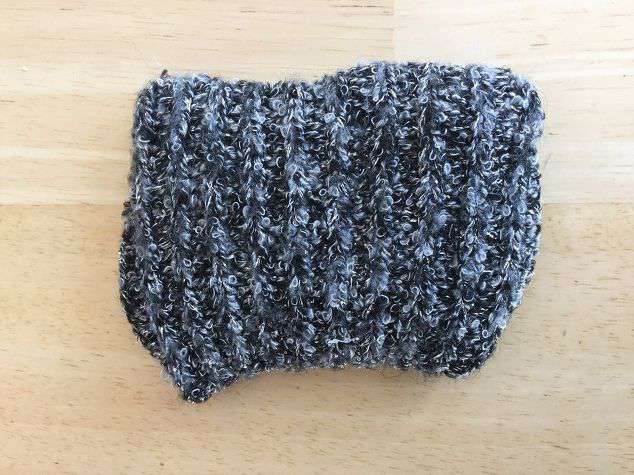
- Put hot glue on one side on the outside of the sweater.
- Flip both sides in and press together.
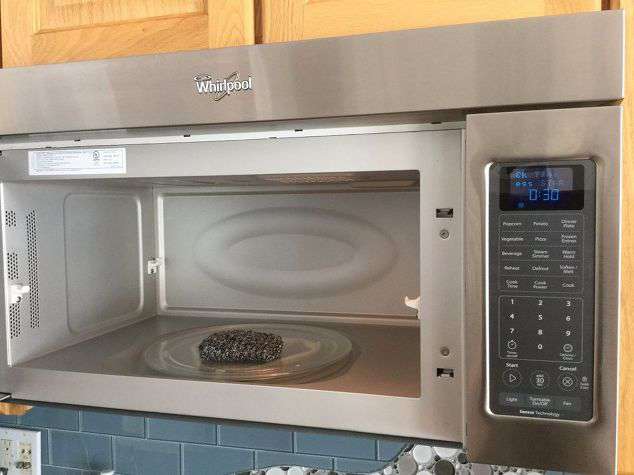
To use as a rice warming pad hand warmer, place in the microwave for a few seconds. It depends on the strength of your microwave but 10 seconds is enough in mine. Use to warm cold hands after coming in from outside. Warm and place inside your mitten for added warmth.
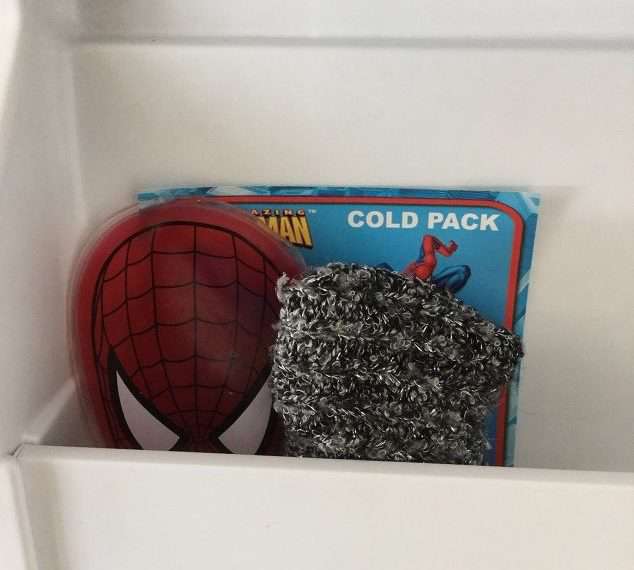
These also double as cold ice packs for sore muscles and boo-boos. Place your hand warmer in the freezer. Pull out when you are ready to use it and place it back in the freezer when you’re finished.
You can adjust the size of the material you’re using, making them small for hand warmers, or larger rice warming pads for your back or bigger surfaces. The same works for ice packs making is smaller for little bumps and larger for bigger needs. You can use a sweater, flannel fabric or shirt, cotton fabric, or fleece.
You can find more information at 5 Items From ONE Thrift Store Sweater!
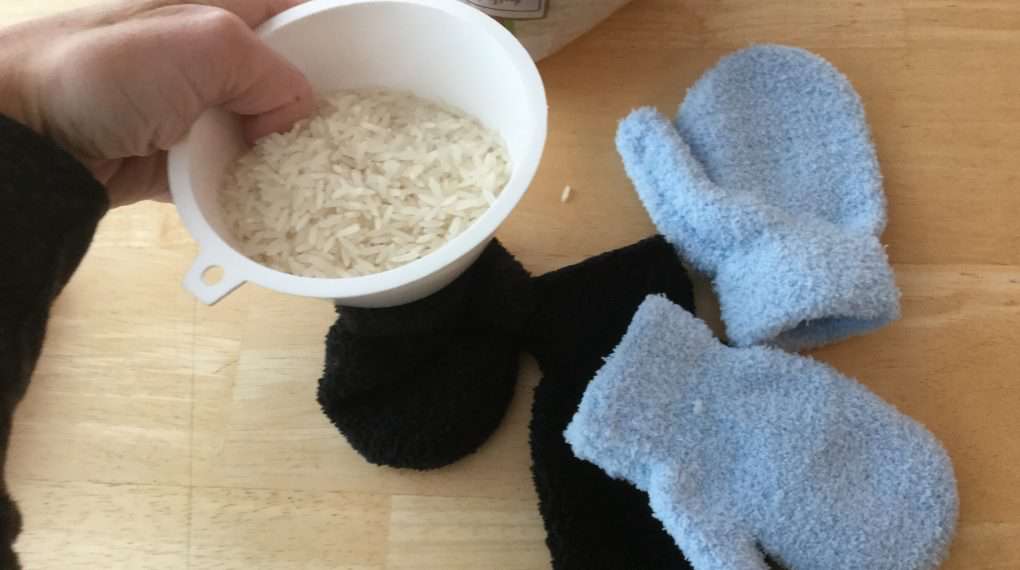
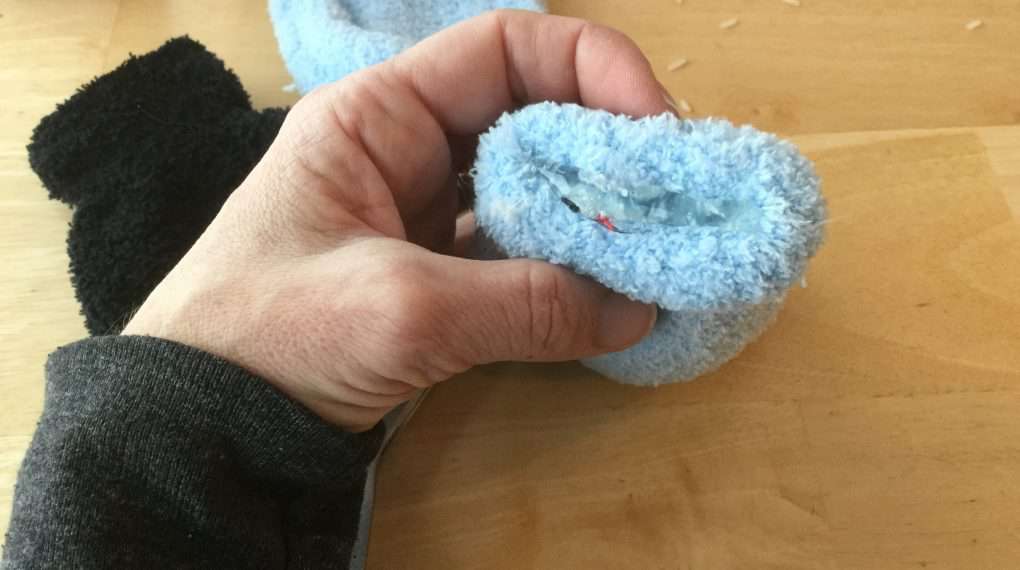
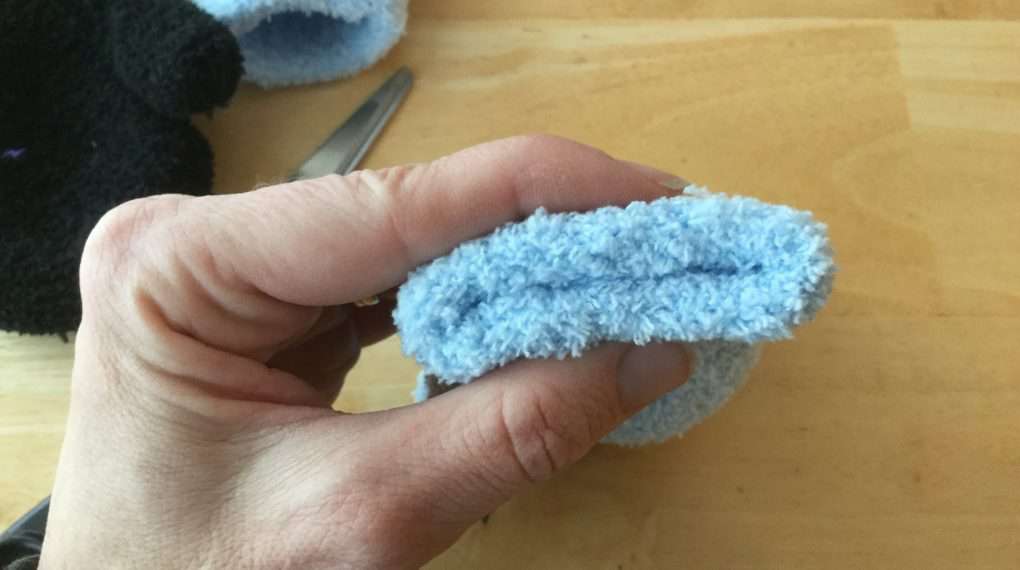
Small Ice Pack or DIY Heating Pad Using Kid’s Mittens
- Fill the mittens with rice.
- Sew or hot glue them closed.
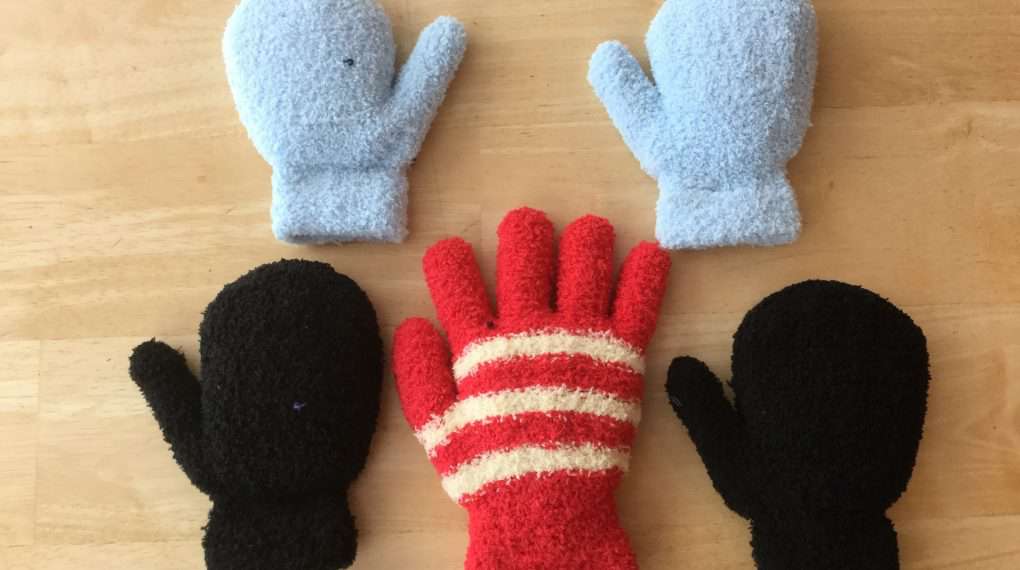
You can make them in a variety of shapes and sizes.
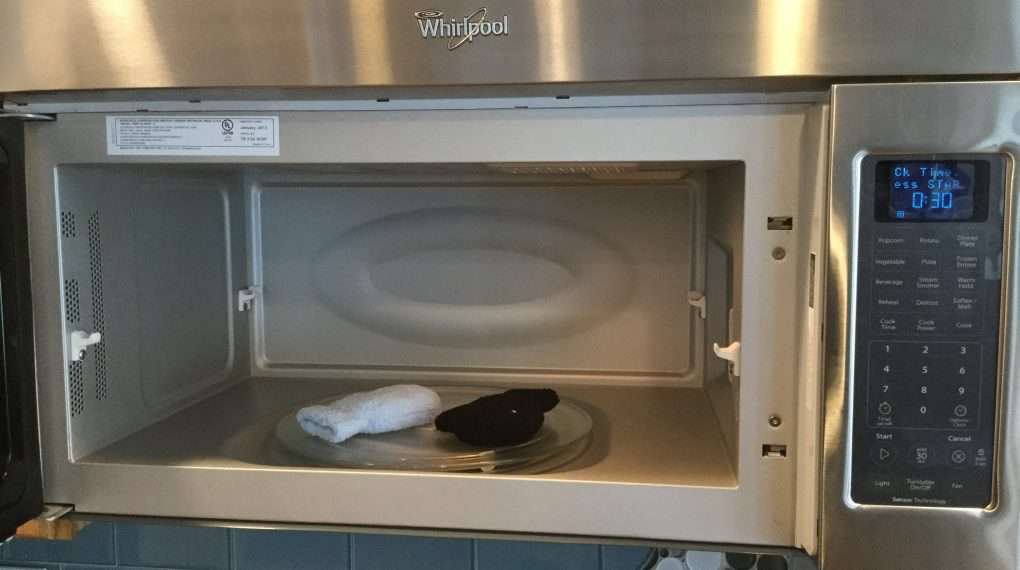
You can warm the rice heating pad in a microwave and use them as hand warmers. Start with warming the microwavable heating pad 1-2 minutes, and check to be sure it’s not too hot. If you use hot glue, be careful not to warm it too much as the glue loosens. If this accidentally happens, just let it harden again and it’ll be fine.
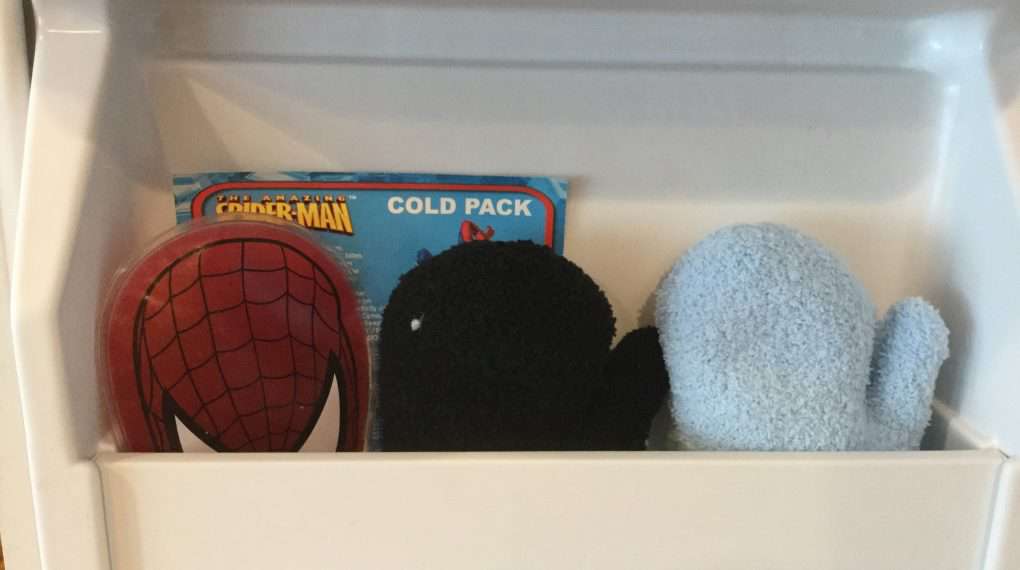
You can also use them as cold ice packs by placing them in the freezer. You can find more information at 3 Amazing, Inexpensive, and Easy Repurposed Clothing Ideas with Video
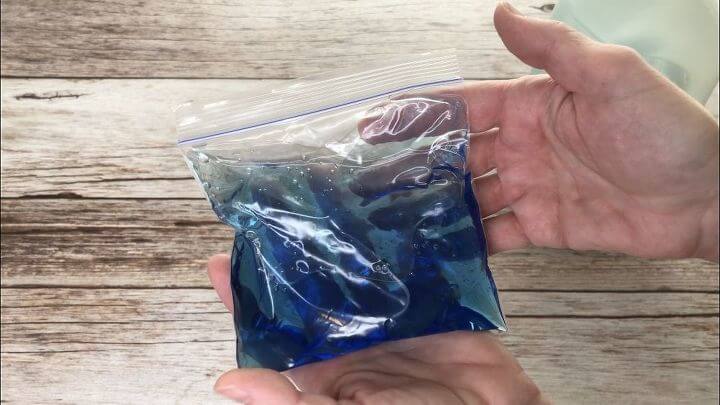
Dish Soap Ice Pack: Make a Gel Ice Pack – How to Make a Homemade Ice Pack?
You can use any size freezer bag to make different-sized ice packs. Fill your ziploc bag with dawn dish soap or a dishwashing gel of your choice, squeeze out as much air as you can, and seal it. (Note there are no cups of water in this) Place the zip-top bag in the freezer for 1 hour or more. The longer it’s in there the more solid it will become. You can find the full tutorial at Amazing Ways To Use Dawn Dish Soap That Will Make Your Life Easier
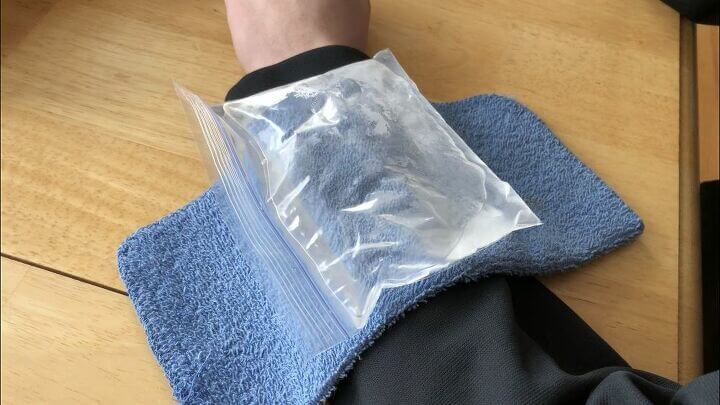
Alcohol Ice Pack – How do you make an ice pack with Ziploc?
Pour a cup of rubbing alcohol into a plastic ziploc freezer bag, and place them in your freezer. Alcohol freezes at a much colder temperature than water and this allows your ice pack to get cold but remain flexible. When ready to use, pull it out, put the ziplock bag on a cloth to protect the skin, and place it on the injury. Once you’re finished, put it back in the freezer to be used again. You can find the full tutorial at 15 Ways To Use Rubbing Alcohol
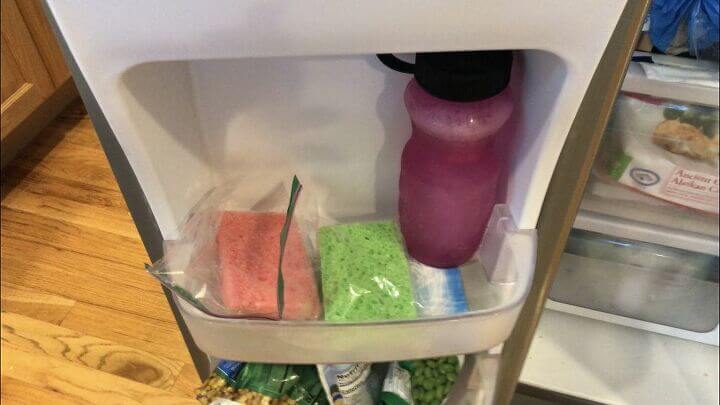
Sponge Ice Pack – How to make an ice pack with a sponge?
Fill your sponge with water, place the wet sponge inside a ziploc freezer bag, and freeze. This frozen sponge is great to use as ice packs or as cold packs in lunches. You can find the full tutorial at 14 Crazy Cleaning Sponge Hacks & How To Clean It

Non-Messy Ice Pack on the Go
Freeze several water bottles and place them in your cooler to keep items cold. Use it as an ice pack, and as it melts it does not leave a mess and you’ll have cold water to drink. It also keeps your food and drinks cold and dry. You can find the full tutorial at DIY Summer Projects For the Best Summer Ever!
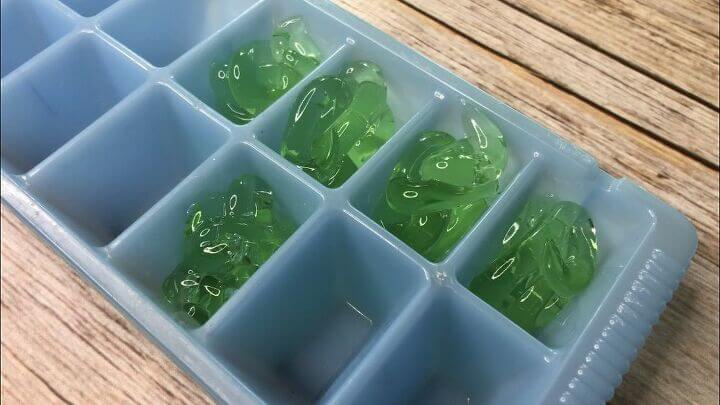
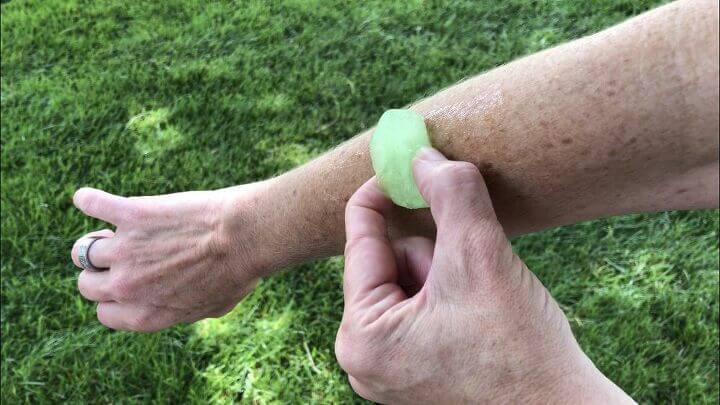
Aloe Ice Pack
- Squeeze Aloe Vera into ice cube trays and freeze.
- Pop one out and rub it on sunburned skin for relief or for bug bites.

Boo Boo Bunny
You might also be interested in checking out my tutorial How To Make A Super Cute Boo Boo Bunny Easily
Shop any of these stores and I receive a small commission at no cost to you.
How to Make An Ice Pack and Rice Heating Pad Q & A
What are the benefits of rice heat packs?
Rice heat packs offer several benefits:
1. Natural heat therapy: Rice retains heat well, providing a natural source of warmth and comfort for aches, pains, and muscle tension.
2. Cost-effective: Rice is an inexpensive material, making rice heat packs a budget-friendly alternative to store-bought heating pads.
3. Versatility: Rice heat packs can be used for various purposes, including soothing sore muscles, providing warmth during cold weather, relieving cramps, and comforting injuries.
4. Customizable size and shape: You can adjust the size and shape of rice heat packs to target specific areas of your body, ensuring maximum effectiveness and comfort.
5. Reusable and long-lasting: Rice heat packs can be reheated multiple times, offering long-term use and value.
6. DIY personalization: Making your own rice heat pack allows you to choose your preferred materials, patterns, and scents, adding a personal touch to your self-care routine.
Overall, rice heat packs are a convenient, affordable, and customizable solution for natural heat therapy.
What kind of rice should I use for a heating pad? Can you use jasmine rice in heat packs?
For a heating pad, it is recommended to use long-grain white rice. This type of rice retains heat well and provides even warmth when heated. Jasmine rice can be used in heat packs just like any other type of rice. It retains heat well and provides soothing warmth when heated. So go ahead and use jasmine rice to make your DIY heat pack for a relaxing and comforting experience.
Are beans or rice better for a heating pad?
Both beans and rice can be used effectively in a heating pad, but rice is generally considered to be a better option. Rice retains heat well and provides even warmth when heated, making it a popular choice for DIY heating pads. Beans can also be used, but they may retain heat for a slightly shorter duration compared to rice. Ultimately, the choice between beans and rice will depend on personal preference and availability of materials.
How long does a heated rice sock last?
A heated rice sock can last for about 30 minutes to an hour, depending on the amount of rice used and the insulation of the sock. It gradually loses heat over time, so it’s best to reheat it or replace it if you still need warmth.
Do rice heating pads work?
Yes, rice heating pads work effectively for providing warmth and soothing relief. The rice retains heat when heated in a microwave and can be used to alleviate muscle aches, pains, cramps, or simply provide comfort during colder days. The natural heat retention of rice makes it a convenient and inexpensive option for creating a DIY heating pad.
How long do you heat up a rice bag?
The heating time for a rice bag can vary based on the size of the bag and the power of your microwave. It’s recommended to start with 30 seconds and then check the warmth. If you feel it needs more heat, you can continue to microwave it in short increments of 10-15 seconds until it reaches your desired temperature. It’s important to always monitor the bag while heating to avoid overheating or burning.
What filling makes the best cold pack?
When it comes to making a cold pack out of a sock, the best filling to use is rice. Rice retains and releases cold temperatures effectively, providing soothing relief for aches and pains.
What is a substitute for ice packs?
If you don’t have access to ice packs, a great substitute is a DIY sock cold pack. Fill a sock with rice, freeze it, and voila – you have a homemade cold pack ready to use for pain relief or to soothe minor injuries. It’s a simple and inexpensive solution that can be just as effective as traditional ice packs.

EASY & AWESOME DIY GIFTS ON A BUDGET TO MAKE AND SELL Ebook
Do you love to make gifts for friends and family members? Would you like to personalize your gifts too? This book is for you! Over 30 DIYs gifts on a budget plus extra tips, tricks, eco-friendly gift wrapping ideas, and more!
So what are you waiting for?!!! Get your copy today and start creating!
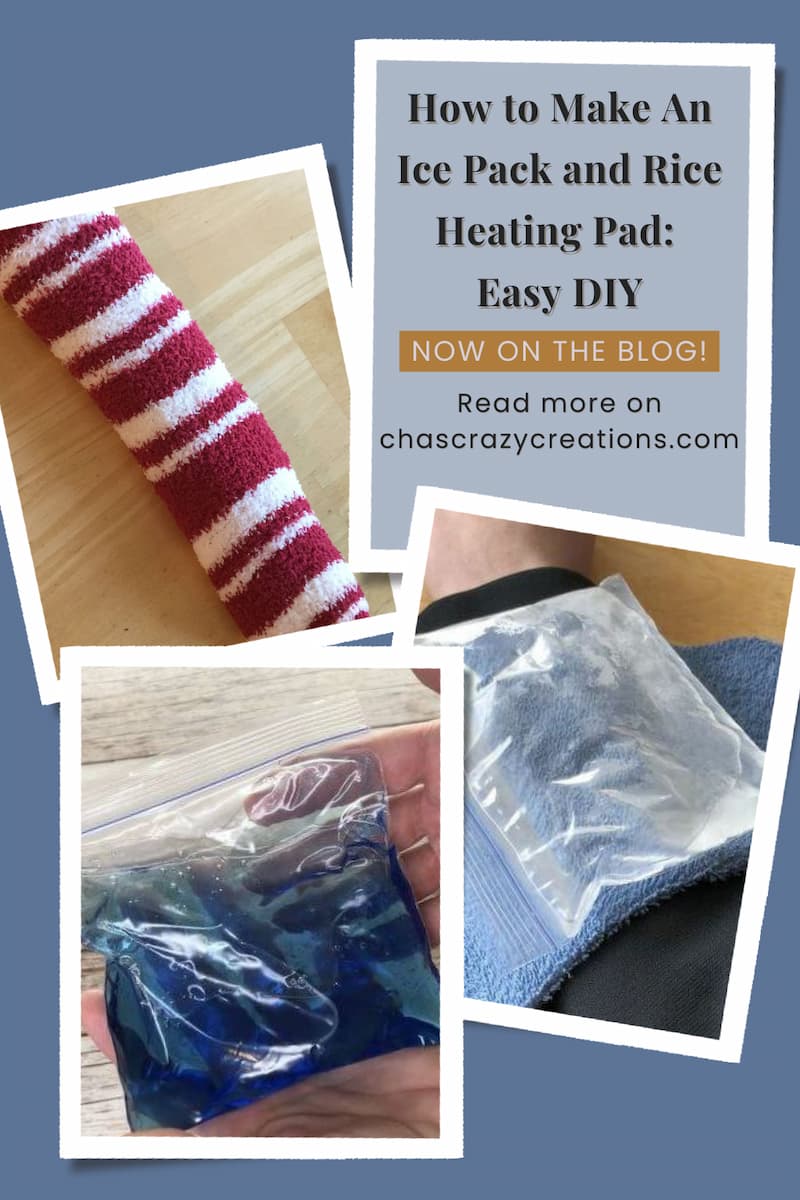
Use the homemade heating pad for heat therapy after a long day for pain relief, blood flow, joints, menstrual cramps, etc. Make your own gel ice pack for cold therapy which is great for compression to the affected area that is injured, use it as a cold compress for aches and pains (like back, wrists, ankles, or neck pain)or helps with circulation.



Such an easy and clever idea! Thanks for sharing with us at Merry Monday. I’ll quite likely be doing this one for sure.
Thank you Shirley, thanks for the invite to Merry Mondays and for offering a wonderful place for us all to share.