Easy DIY Fall Gnome Craft: Craft or Crap Challenge
I’ll show you how to make an adorable fall gnome craft that’s perfect for adding a touch of whimsy to your autumn decor. This budget-friendly DIY project uses simple materials and is easy to follow, making it a fun activity for crafters of all levels.
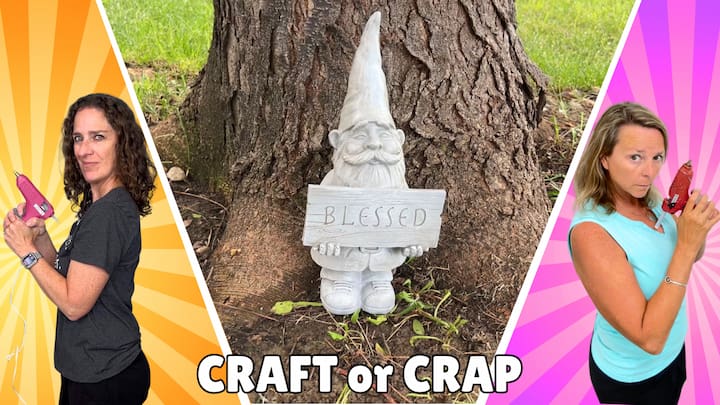
Hello, crafty friends! Welcome to another exciting DIY project from Chas’ Crazy Creations. Today, we’re taking on the Craft or Crap Challenge with a fun and festive Fall Gnome makeover. I’m teaming up with Mona from Craft Klatch. We are doing our craft challenge called “Craft or Crap.” You decide! This project is perfect for adding a touch of autumn charm to your home decor. Let’s dive in!
The DIY Fall Gnome Craft or Crap Challenge Rules
- The craft must include a gnome
- It must have a fall theme
- It must include a pumpkin
DIY Fall Gnome Craft Video
DIY Fall Gnome Craft Supply List
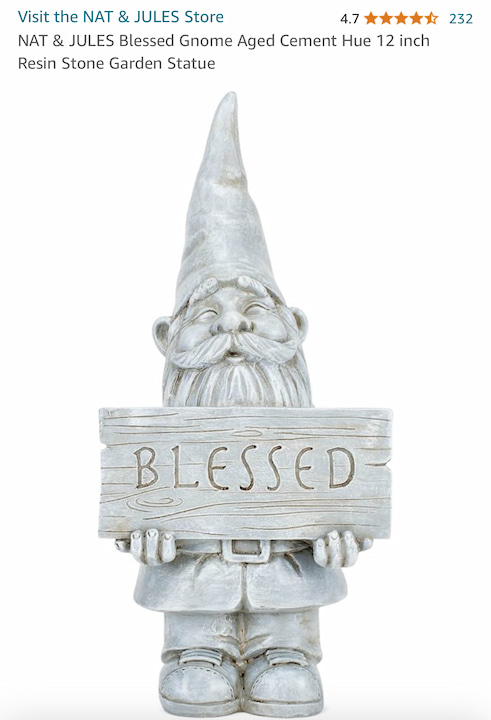
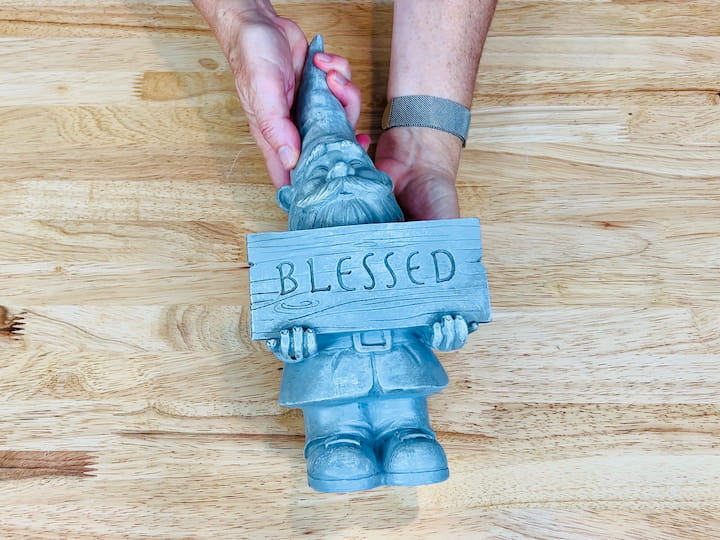
- Gnome figurine Amazon or Walmart
- Blue napkins
- Red napkins
- Mod Podge
- Folk Art Multi Surface Paint (Light Flesh)
- Apple Barrel Acrylic Paint (Black)
- Mop
- Adhesive chalkboard
- Wooden signs
- Folk Art Ultra Dye (Solar Power and Lady Marmalade)
- Football socks
- Vine decoration
- LED lights (orange)
- Small pumpkin decoration
DIY Fall Gnome Craft Step-By-Step Tutorial
Preparing the Gnome’s Body
Preparing the Gnome’s Pants
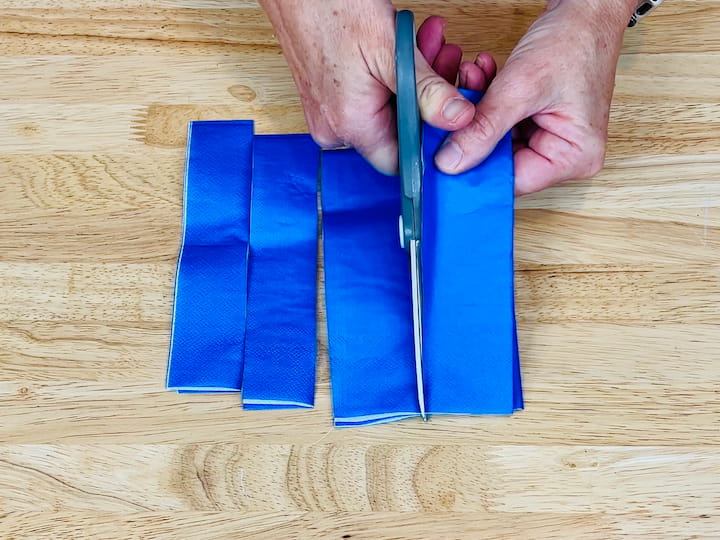
I’m going to start with these napkins that I got at the dollar store. So I’m going to take the napkin and I’m going to go ahead and cut it into strips and then into squares.
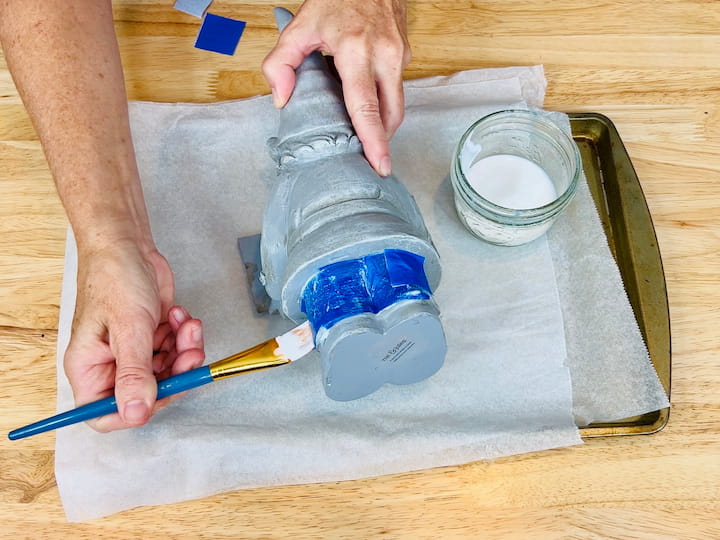
I’m using some Mod Podge. Now I’m using gloss but if you’re going to place this outside you might want to use dishwasher safe Mod Podge.
Now what I’m going to do is paint some of the Mod Podge onto the gnome and then I’m going to place the small squares of napkin onto the Mod Podge and then I’m going to place another layer of Mod Podge over the top. And I’m going to continue doing this until all of his pants are complete with the napkins.
So what I’m doing is adding some texture to the pants of the gnome.
Creating the Gnome’s Shirt
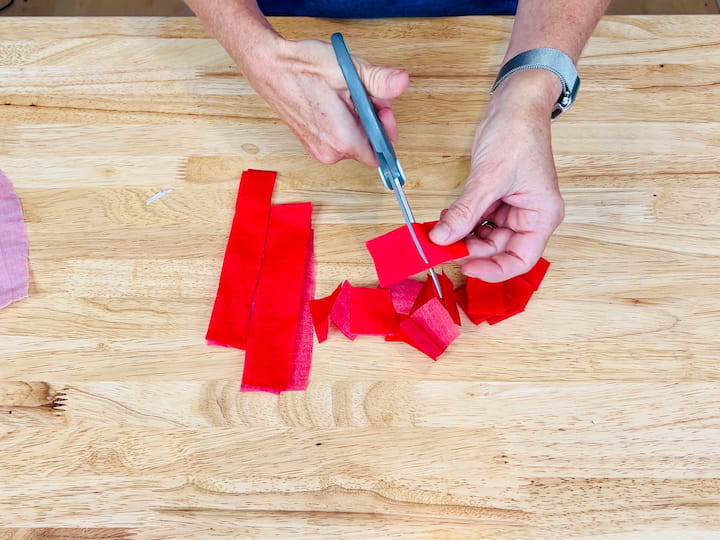
I ran into one problem with the blue napkins and that was that there was this white film in between the napkins. So I’m going to go ahead and remove that this time and then I’m going to repeat the same process of cutting it into strips and then into squares.
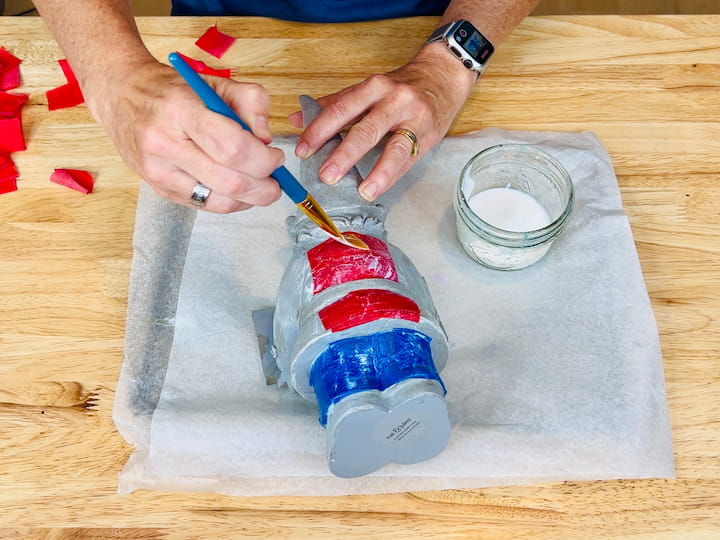
And just like before, I’m going to paint on the Mod Podge, add one of the little squares of napkin, and then paint Mod Podge over the top.
And I’m going to do this for the entire shirt of the gnome.
Painting the Face and Hands
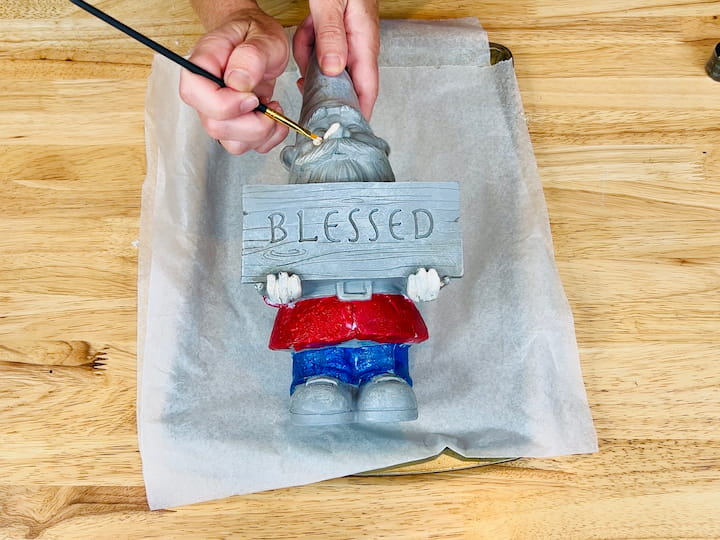
For this next step, I’m going to be using Folk Art Multi Surface Paint in the color Light Flesh. And what I did was I painted both of his hands, ears, and his gnome nose and face with the paint.
Now, I did notice that the resin was a little slippery, so the first coat didn’t come out as good as I like, so I’m definitely adding a second coat.
Adding Details with Black Paint
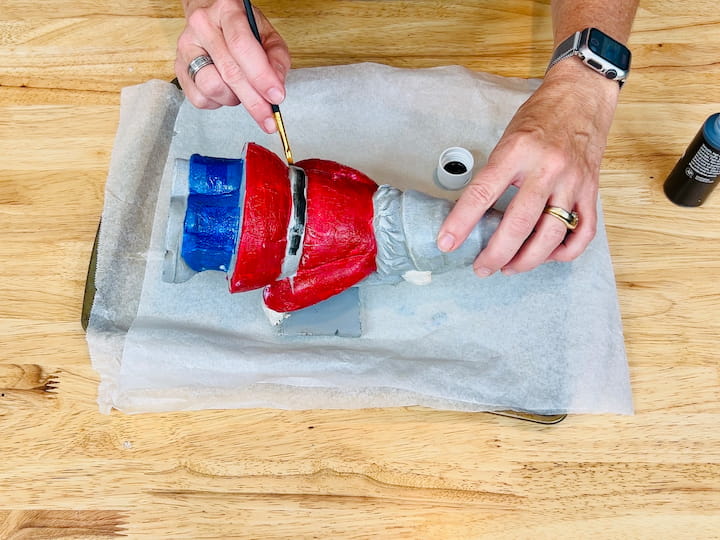
I’m grabbing some apple barrel paint in the color black. I use this to paint all of his belt. Now, I did notice the black went on much better and easier than the flesh colored, so the lighter color paints are a bit harder and are going to need two coats.
The darker colors might need less.
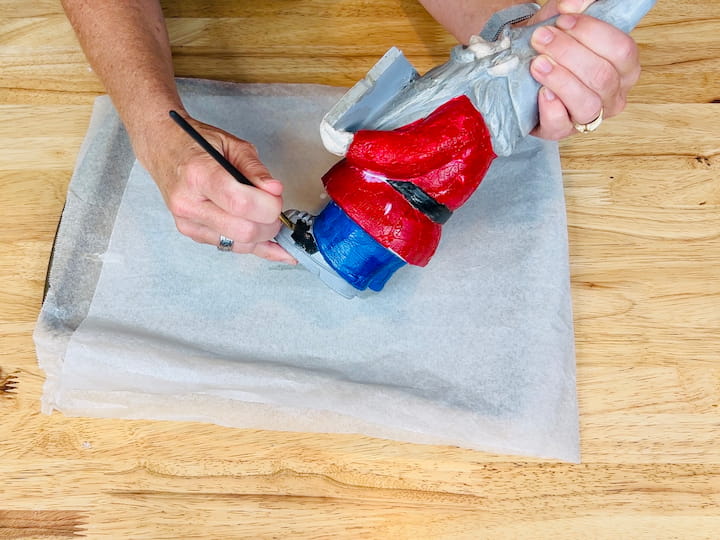
In addition to his belt, I also painted part of the shoes black as well. Now, I always love to pay tribute to an item with its original color, so I’m going to leave part of the shoes with the original gray as well as the belt buckle.
Creating the Beard and Hair (Plan B)
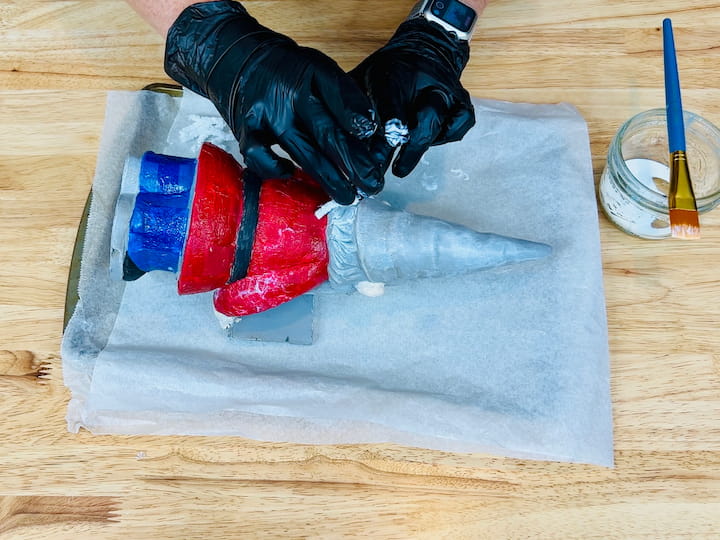
For my next step, I plan to use Chanel yarn that I found at the dollar store. I cut the yarn into several strips. Now I took the yarn and I dipped it in the Mod Podge and I planned to stick it on the gnome.
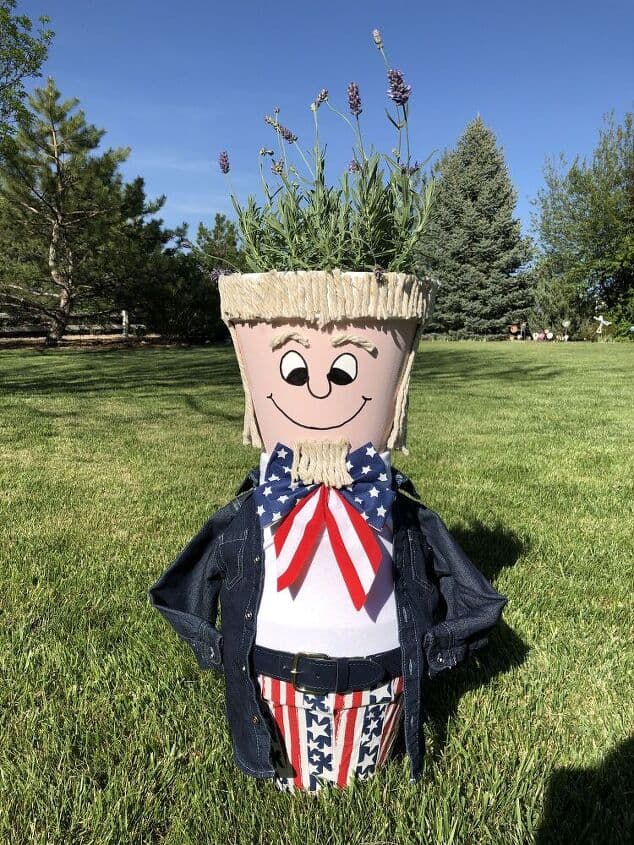
Now I’ve done this before with a different project, my Uncle Sam project.
But what happened was a fail. It didn’t stick. I, no matter what I tried, I could not get the yarn to stick on his hair. I waited for it to get tacky. It just wasn’t going to work. Luckily, I had a backup plan.
And it just goes to show that no project is a fail, you can always recover. Have you ever had a fail before? Let me know in the comments below.
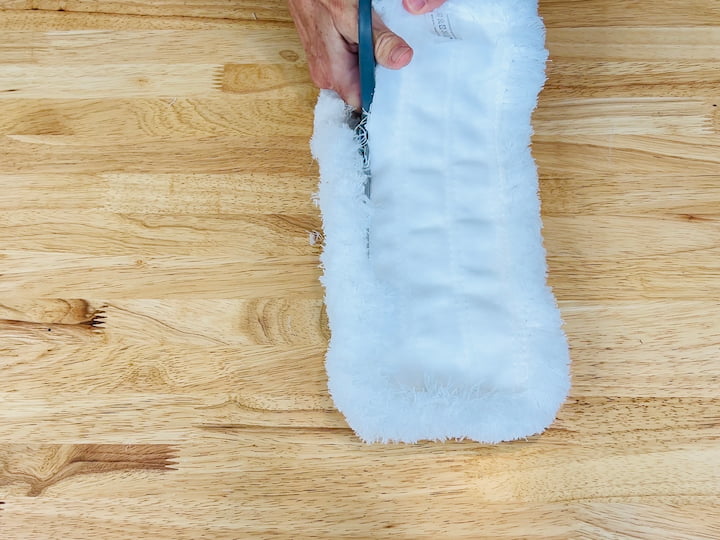
I started by cutting this mop.
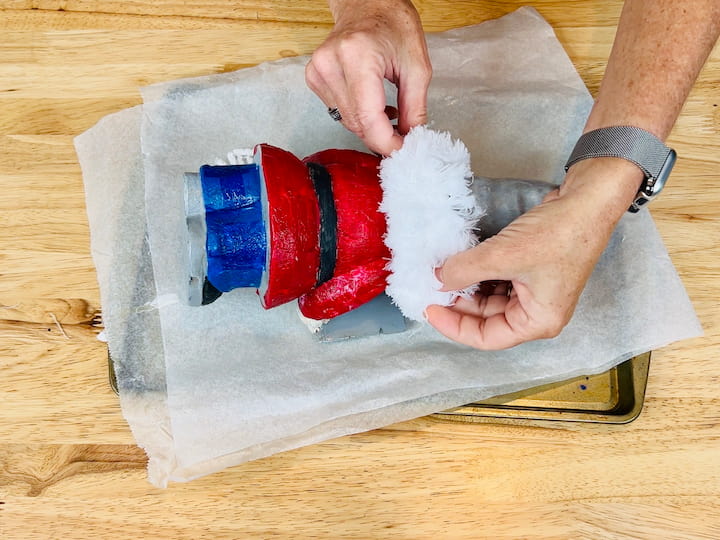
I added some hot glue to the back of his head and then I placed this strip from the mop on the back of his head and waited for that to cool.
Now, I found that sometimes my cool glue gun worked, and sometimes I needed my hotter hot glue gun.
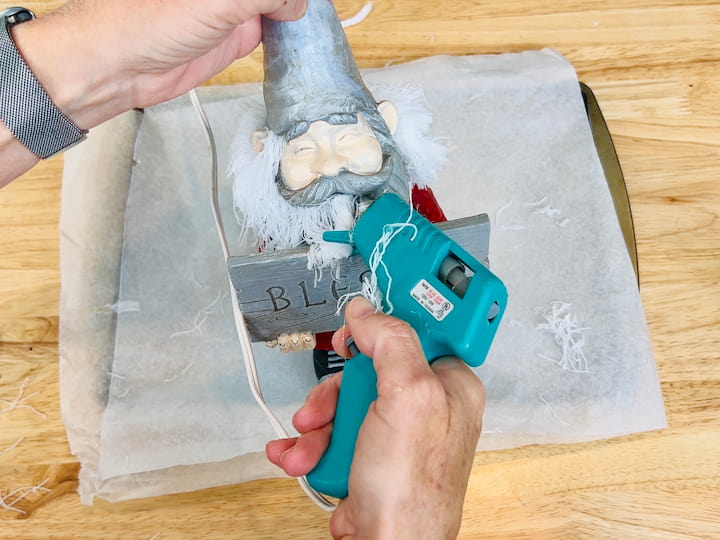
I started pulling more pieces out of the mop, and you can see some lying on the table. And I added some hot glue, and then I placed the loose pieces of mop onto his beard. And I continued doing this all the way across the front of his beard.
Next, I added a dab of hot glue to his mustache and then created a moustache out of those scrap mop pieces. Now, I’m not going to lie. This was a little troublesome to do this whole process because the hot glue was sticking to my fingers and some of the pieces were falling off, but I really liked the end result.
Making a Customizable Sign
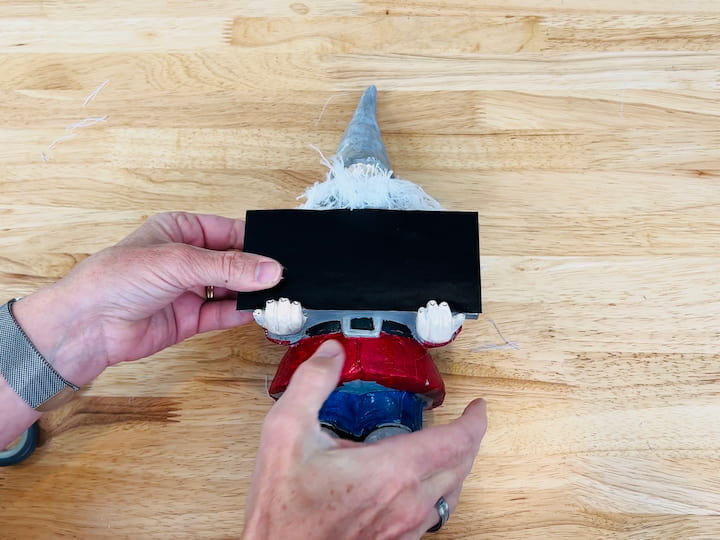
I grabbed some adhesive chalkboard inside from the dollar store. I cut it to the right size and I peeled it off and stuck it on the sign on the gnome. Now, I wanted to do this so I could always go back to the original sign or I could change the sign up later if I want to.
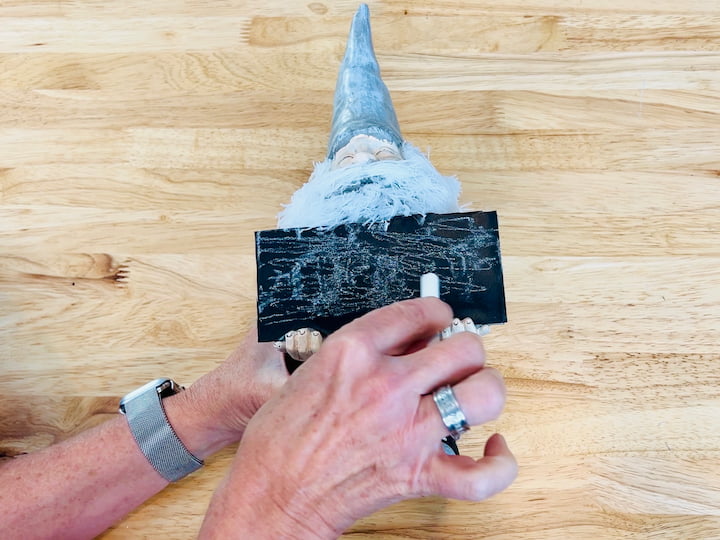
Now with any chalkboard, you need to season it by rubbing chalk all over the surface.
If you don’t do this step, when you write it and then try to erase it, the word kind of permanently stays on the chalkboard. So I went ahead and seasoned the whole piece of chalkboard sticker first. After seasoning it, you can go ahead and erase it and the chalkboard is ready. By making this chalkboard sign, I could easily write anything I want to on it.
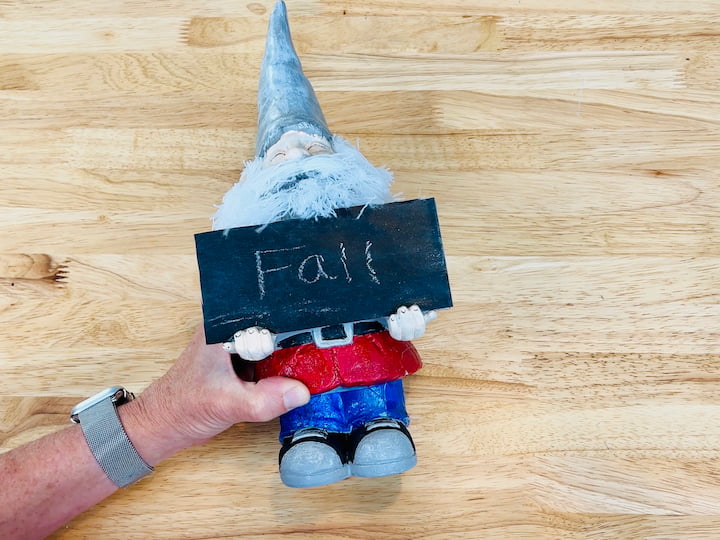
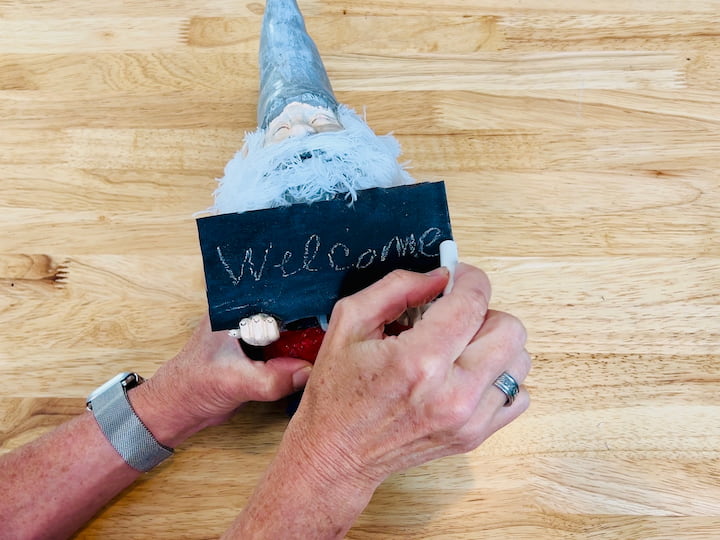
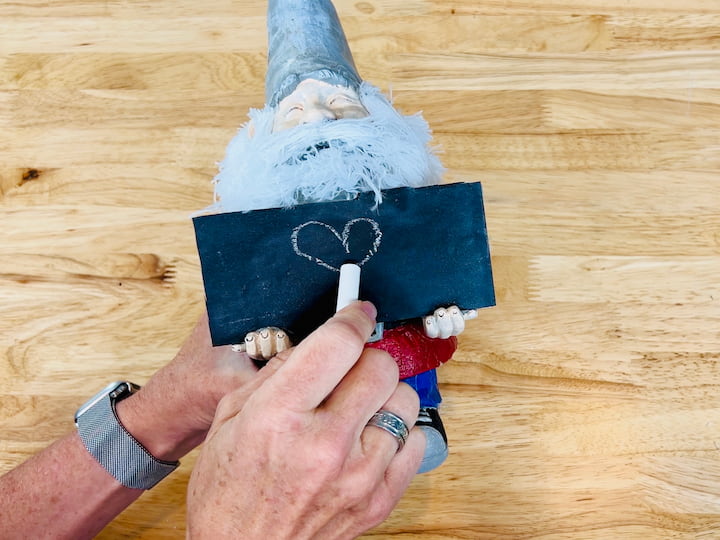
I could write the word fall. And then other times of year, I’ll be able to change the sign. So it says things like welcome, love, home, whatever you want per season. You could even draw pictures and let kids get in on the fun. What would you write? Let me know in the comments below.
Decorating the Wooden Sign
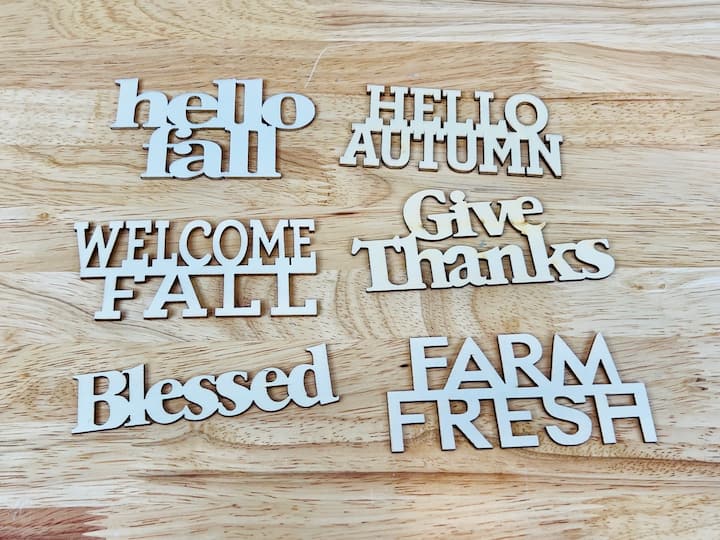
I found these little wooden signs from the dollar store. There were six to choose from, hello fall, hello autumn, give thanks, welcome fall, blessed, and farm fresh. Now it already says blessed, so I want to change that up. Which one of these would you pick? Let me know in the comments below.
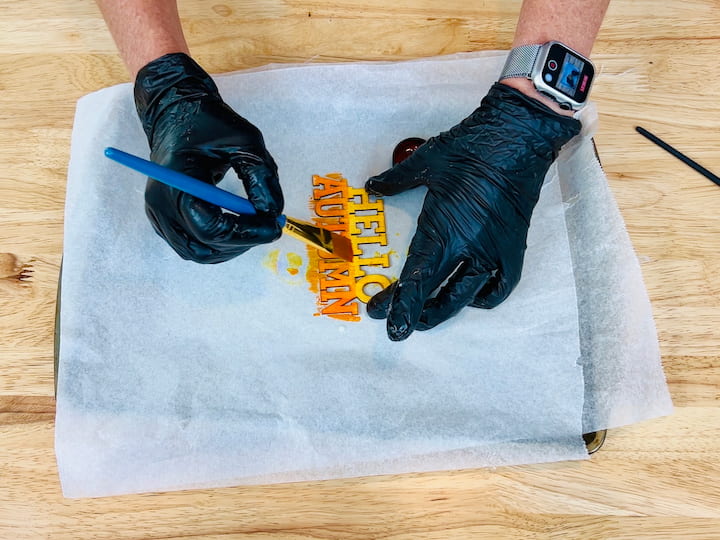
I’m going to be using folk art ultra dye in the color solar power and lady marmalade. I started by painting the yellow solar power on top, and I just love the way this FolkArt Ultra Dye just soaks right into the wood. I just can’t even explain how beautiful it is. It’s like a wood stain. Next I painted on the orange lady marmalade to the bottom and then I wanted to create kind of an ombre look by overlapping the colors and blending them in the center.
Creating a Removable Hat
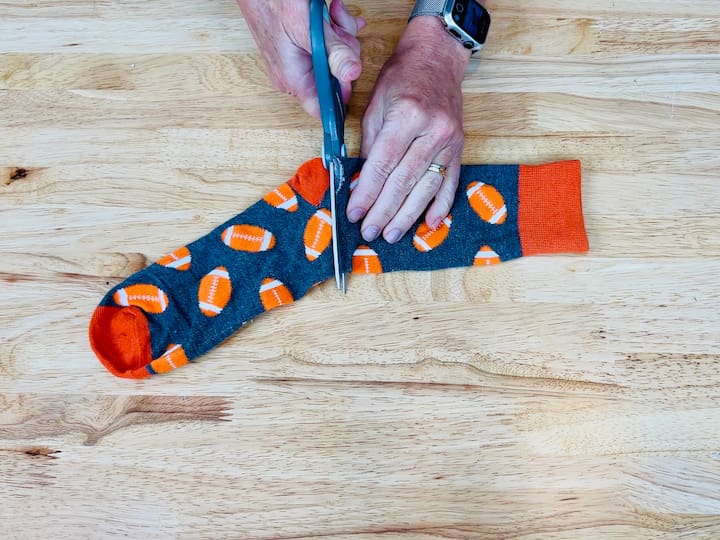
Now I had bought some fabric with a pumpkin on it for this next step but I couldn’t find it. Somehow I lost it. So I happen to have these football socks from the dollar store and I grabbed those instead. I cut the top off of the sock.
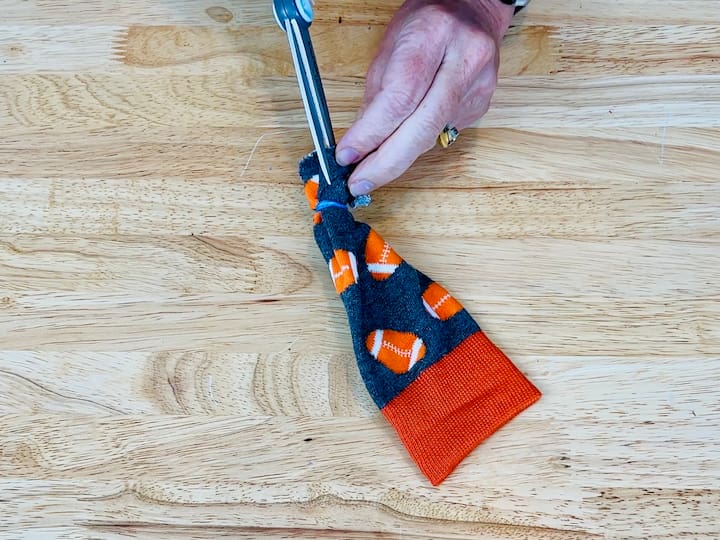
I squished together the top end that I had cut and I added a little rubber band to it.
I took my scissors and I cut little slits into the hat to kind of make a little pom pom top.
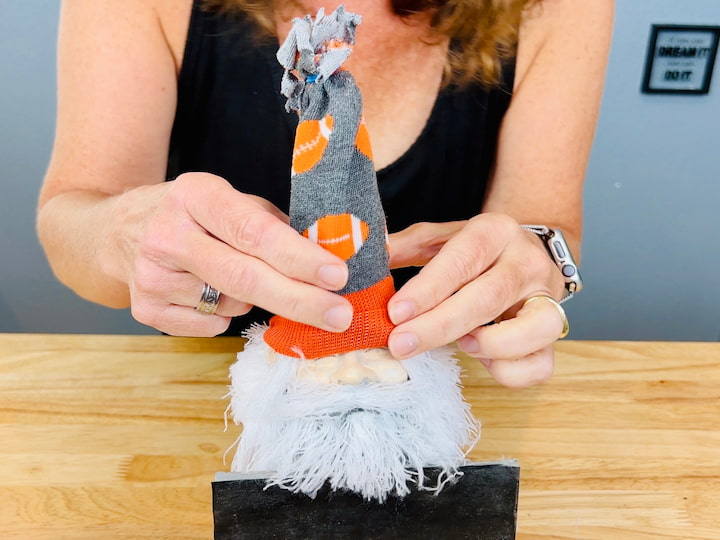
I slid the sock on top over the other gnome hat. Now what I love about this is I’m going to be able to change this up per season, both the sign and the hat on the gnome.
Adding Gnome Accessories & Final Touches
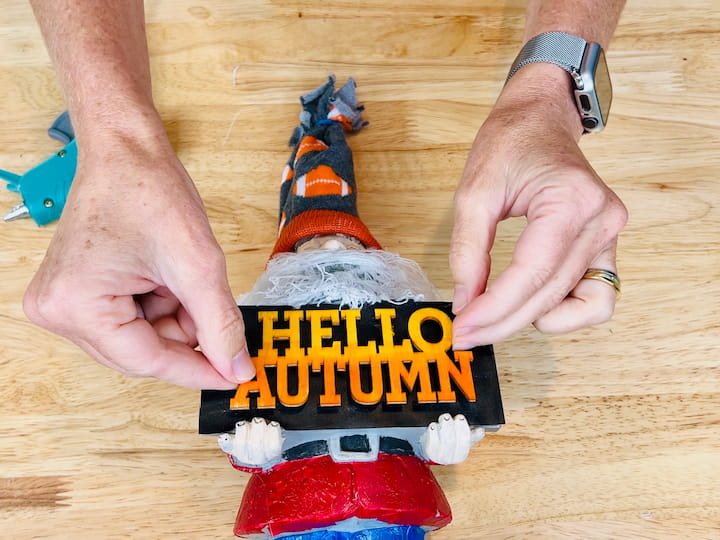
My little wooden sign was dry so I added a little bit of hot glue to the back and then I centered it onto the chalkboard sign.
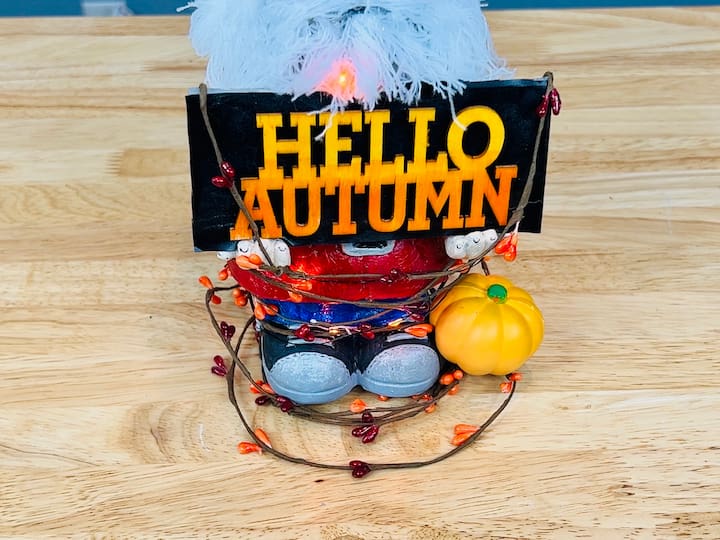
Now, I wanted to embellish it a little bit, so I had bought this vine from the dollar store and I’m just going to wind it around the gnome and loop it around him and circle it just to add some extra fall flair. And I love anything that lights up, so I found these little LED lights at the dollar store that are orange and I just went ahead and wove them around the gnome as well.
Since I lost the fabric with the pumpkin on it, I’m just going to go ahead and add the little pumpkin here because that was one of the rules as well. Here is my Fall Gnome and I’m thrilled with how he turned out.
You could change this up by adding fall leaves (I was going to but mine aren’t changing yet), pinecones, or other embellishments.
The Result
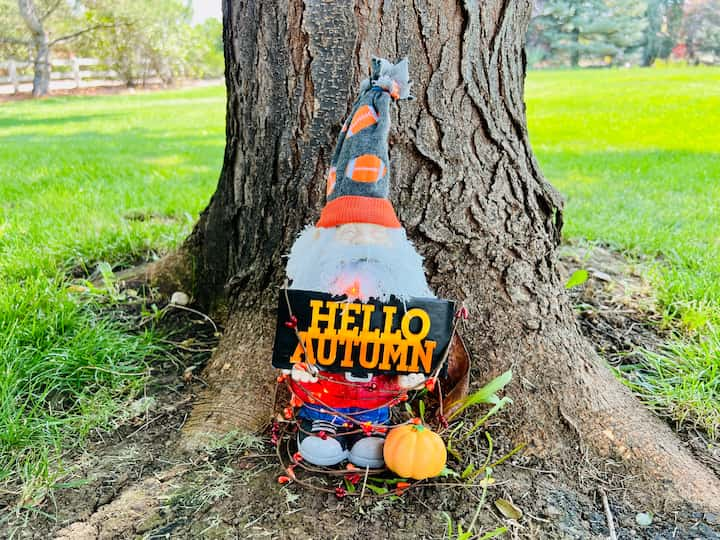
And I love that I’m going to be able to change him up for every season & holiday and leave him out year round. Maybe change him up by season – fall, winter, spring, summer, or maybe even by holiday – Christmas, Valentine’s Day, or even make a Halloween Gnome.
DIY Gnome Craft – Is it Craft or Crap?
Now it’s your turn to decide – is this a craft or crap? Let me know in the comments below!
DIY Fall Gnome Craft Video
Remember, even when projects don’t go as planned (like our yarn beard mishap), there’s always a way to turn it around. Don’t be afraid to get creative and find alternative solutions.
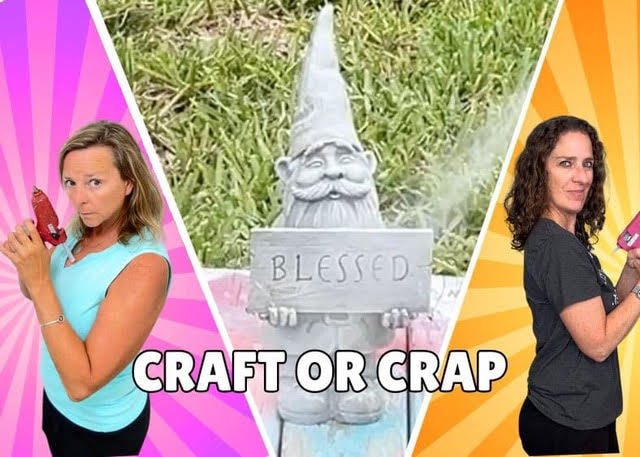
Be sure to hop on over to Mona from Craft Klatch’s project. See what her project is and let us know what you think. You get to decide: is it craft or crap? We want to know what you think.

We hope that you will participate in our Craft or Crap Challenge. If you do, we’d love to see your projects.
- So you can share it on Instagram with the hashtag #craftorcrap and tag @craftklatch or @chascrazycreations.
- Join and share it in our Facebook group at Craft or Crap.
- Or email us and send in your photos. chas(at)chascrazycreations(dot)com & mona(at)craftklatch(dot)com
More Gnome Projects & Gnome Tutorials
With a little creativity and magic you can create some of these gnomes! All of these are no sew gnomes, and many are a Dollar Tree gnome made with Dollar Tree supplies. Many of these come with video tutorials as well! Get started on these holiday gnomes today!
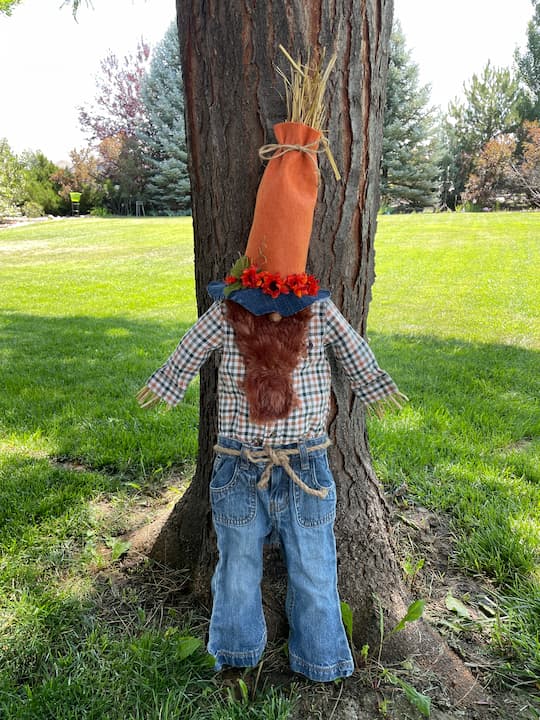
Awesome and Easy Autumn DIY Gnome with Video
Do you love gnomes? I just love these little guys. Adorable DIY gnomes can be dressed up in different ways to make a farmhouse gnome, cute Christmas gnomes, garden gnomes, or even little gnomes to use as gnome ornaments. Homemade gnomes are a great way to decorate for any holiday season and the best part is you can make these inexpensive crafts using everyday items. I’m sharing how to make an awesome and easy autumn DIY gnome with craft supplies (faux fur fabric, wood beads, pool noodles for a gnome’s body) you can get at the craft store, thrift store, hobby lobby, and dollar tree! You can find this gnome at Awesome and Easy Autumn DIY Gnome with Video
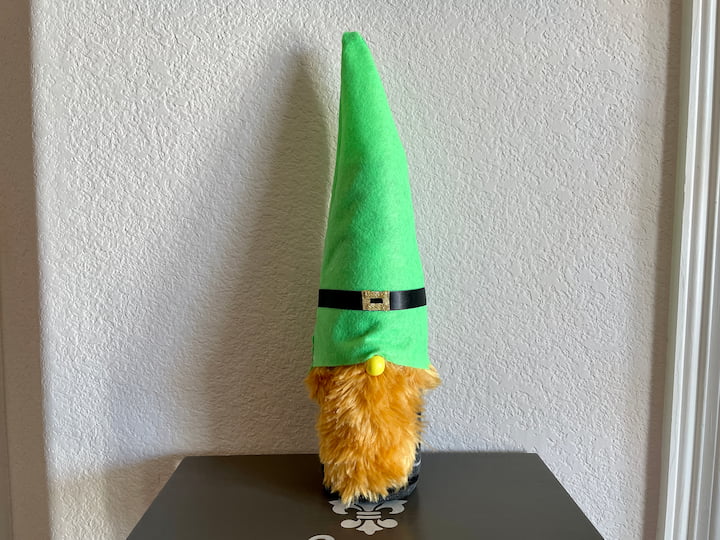
Awesome and Easy Gnome Craft Ideas with Video
Are you looking for gnome craft ideas? Here is a super easy DIY that anyone can do, plus a few more options along the way. Today I am going to show you how to make easy DIY sock gnomes. These adorable gnomes are made from everyday items you probably have around your home or are easy to find at any Dollar Tree or craft store. As you will see these sock gnomes require no sewing skills making them a perfect crafting project for kids. So let’s get started with step-by-step instructions. You can find the full tutorial at Awesome and Easy Gnome Craft Ideas with Video
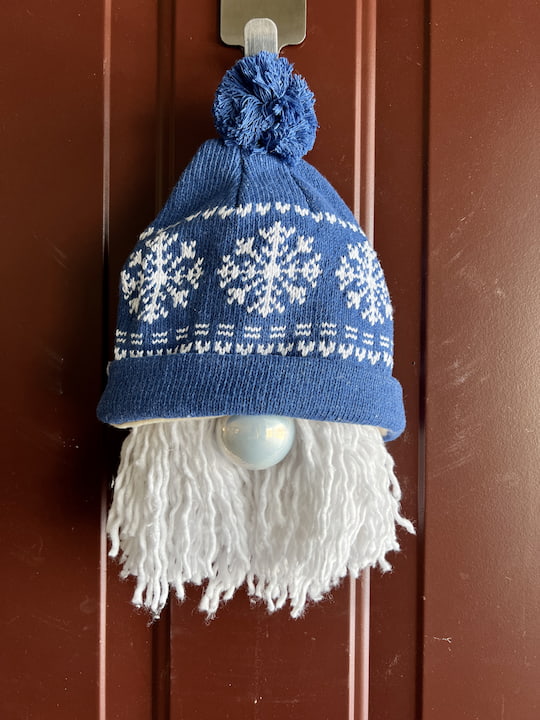
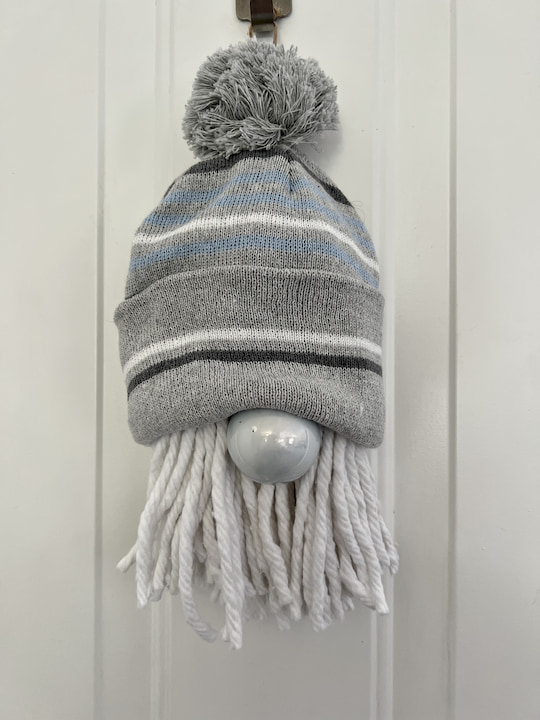
Winter Gnomes: Easy and Cute Dollar Tree DIY with Video
Are you looking for winter gnomes? These cute gnomes are easy, and only take a few supplies from Dollar Tree to make. We are going to have so much fun today! We are going to make adorable gnomes to add to your holiday decor. All you will need for this project, besides a little hot glue is a dollar store hat, a dollar store mop for the gnome beards, and a dollar store ornament. You can find the full tutorial at Winter Gnomes: Easy and Cute Dollar Tree DIY with Video
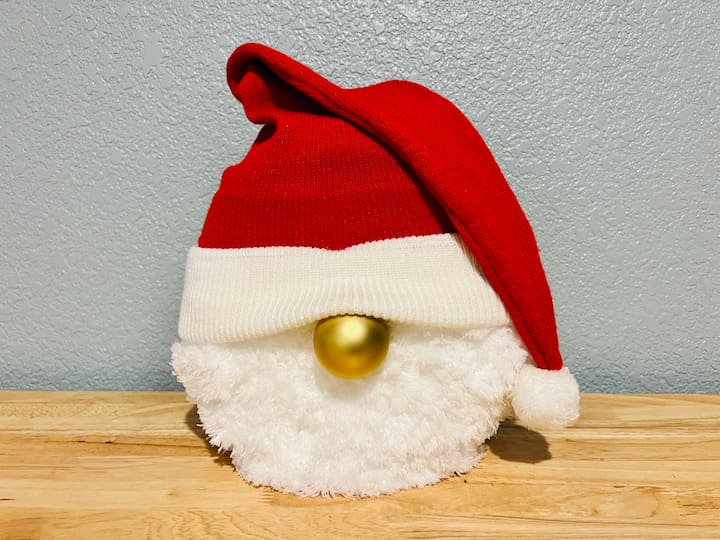
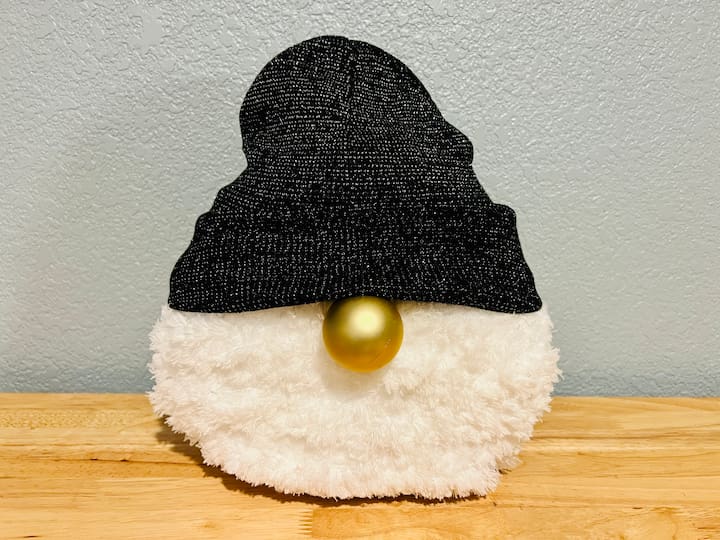
DIY Christmas Gnome
Today, we’re diving into the creative world of DIY Christmas gnomes. We’ll explore step-by-step instructions to turn ordinary household items into charming holiday decorations. So, gather your crafting supplies, and let’s get started on these adorable and budget-friendly projects. You can find the full tutorial at DIY Christmas Gnomes: Transforming Everyday Items into Whimsical Decor
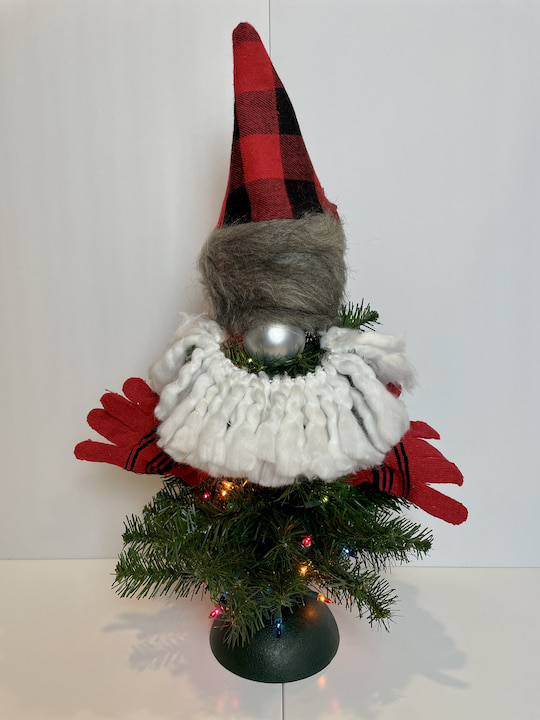
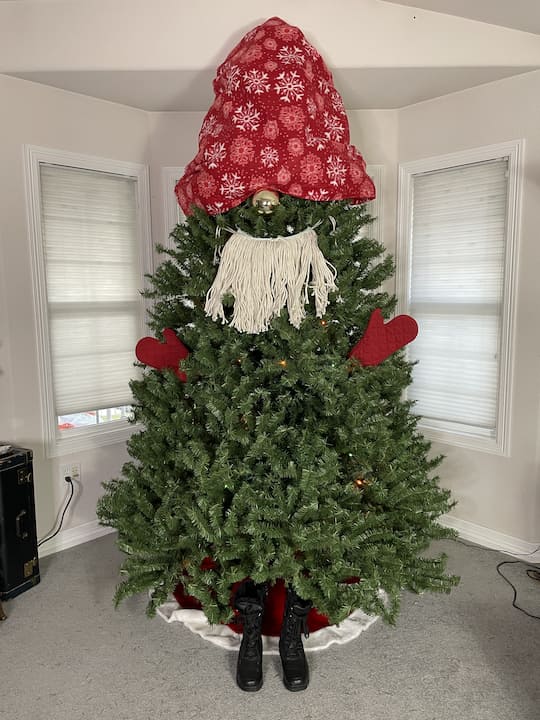
Easy and Cute Dollar Tree DIY Gnome Christmas Tree
I’m sharing a gnome Christmas Tree made with items from Dollar Tree, and the best part is you can adjust this to any size tree you want. You can find the full tutorial at Easy and Cute Dollar Tree DIY Gnome Christmas Tree
I hope this inspires you to join our Craft or Crap Challenge and create your own DIY Fall Gnome. Don’t forget to subscribe to my YouTube channel and check out my blog at chascrazycreations.com for more fun DIY projects!
Happy crafting!
Want to see more craft or crap challenges?
- DIY Tiered Tray: Craft or Crap Challenge
- DIY Snowman Craft from Thrift Store Dishes: Craft or Crap Challenge
- Easy DIY Fall Gnome Craft: Craft or Crap Challenge
- DIY Easter Painting Ideas: Easy And Fun
- Stunning Patriotic Wreath: An Easy and Unexpected DIY
- DIY Garden Decor: Epic Yard Art Showdown
- Easy DIY Sock Snowman Craft: Winter Decor and Gift IdeaHalloween Mantel Ideas: Easy DIY Spooky Decor Practically Free!
- Easy DIY Cardboard Halloween Decorations
- Delightful Easy Flower Crafts with Video
- Super Easy DIY Dollar Tree Valentine Ideas with Video


This is a very versatile craft. And cute.
Thank you Ellen
First of all, Congratulations on being cancer free!!! I am so very happy for you and your family! Secondly…I love the gnome!! Totally cute…
Thank you very much Karolyn
Love this craft! And congrats on being C free! Prayers for you to stay that way!!!!!
Thank you very much Ginny
Chas! He turned out so cute and great use of a mop and napkin! Don’t get between Chas and her big bottle of Mod Podge!
Thanks Mona, lol yes it is a big bottle of Mod Podge and I’ve had it forever. Always fun crafting together.
I think this is also a craft! very cute.
Thank you so much Charlene
Great job. This is craft. Very cute!
Thank you very much Cindy