
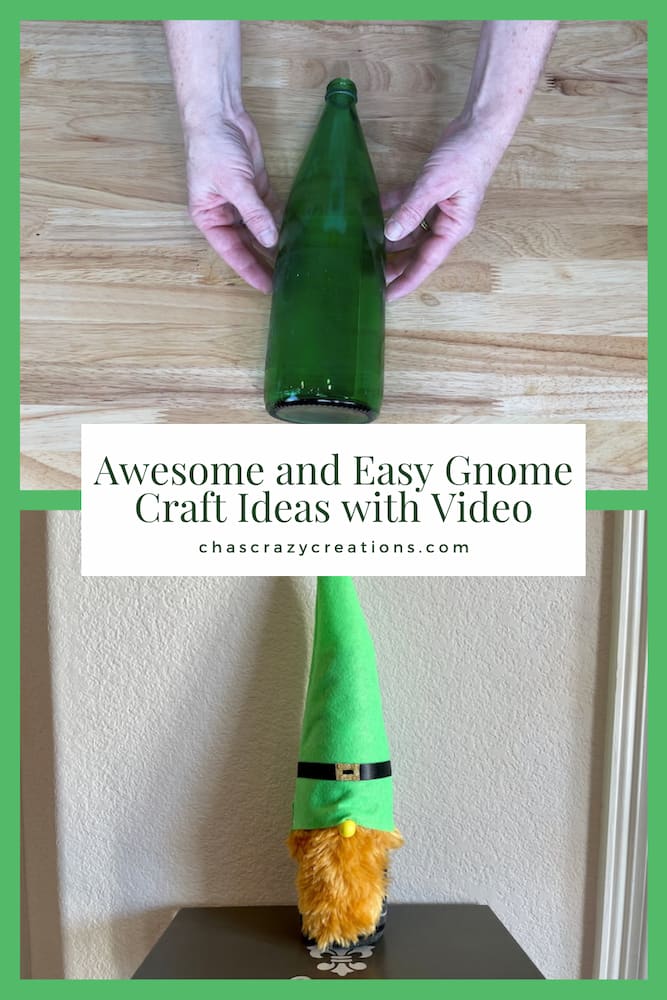
Awesome and Easy Gnome Craft Ideas with Video

Are you looking for gnome craft ideas? Here is a super easy DIY that anyone can do, plus a few more options along the way.
Today I am going to show you how to make easy DIY gnomes. These adorable gnomes are made from everyday items you probably have around your home or are easy to find at any Dollar Tree or craft store. As you will see these sock gnomes require no sewing skills making them a perfect crafting project for kids. So let’s get started with step-by-step instructions.
Gnome Craft Ideas Materials
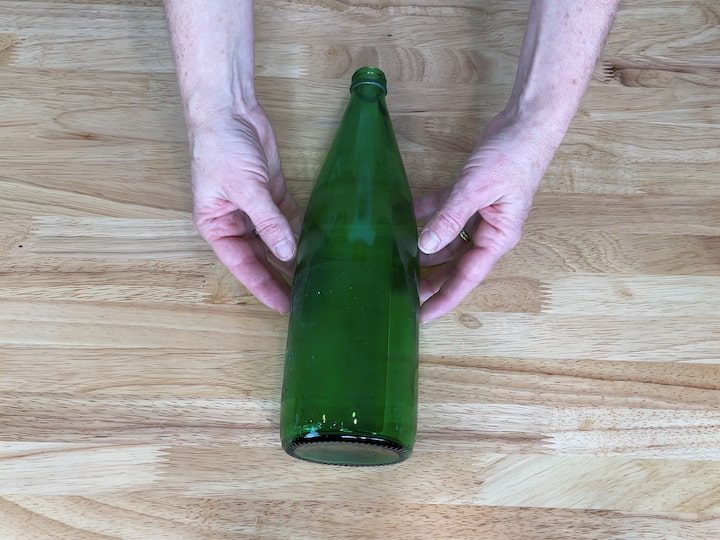
To start this project you’re going to need a bottle of your choice for the gnome body. I’m using a lemon juice bottle but you could also use a plastic bottle if you prefer.
 Otis Classic Swing Top Glas…Shop on Amazon
") Tipi Toe Women's 12 Pairs C…Shop on Amazon
Tipi Toe Women's 12 Pairs C…Shop on Amazon Assorted Color Felt Fabric Sheets Patchwork Sewing DIY Craft 1mm Thick … (20cm * 30cm, 48pcs)") flic-flac 48PCS 8 x 12 inch…Shop on Amazon
flic-flac 48PCS 8 x 12 inch…Shop on Amazon 36 Colors 900 Yards Satin M…Shop on Amazon
 Tatuo 2 x 100 Inch White Fa…Shop on Amazon
 Innovative Offer 510 Pcs Wo…Shop on Amazon
Gnome Craft Ideas Video
Gnome Craft Ideas instructions
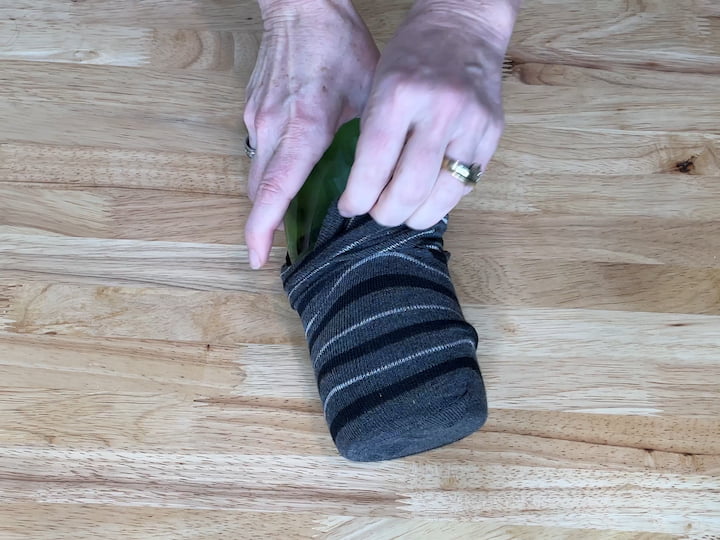
1. Slide a Sock over a recycled bottle
This cute gnome is a great way to use leftover socks if you have those stragglers, or you can purchase a pair of socks at the dollar store and just use one of them. I’m going to take a single sock and slide it over the bottom of the bottle and pull it all the way up to the top.

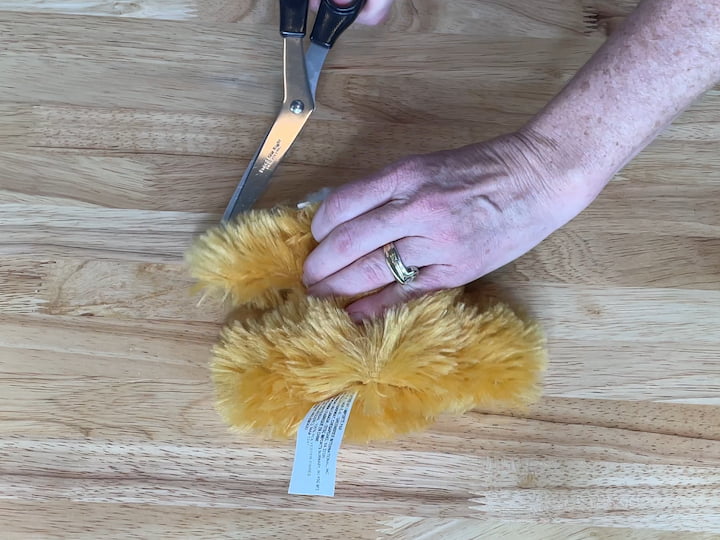
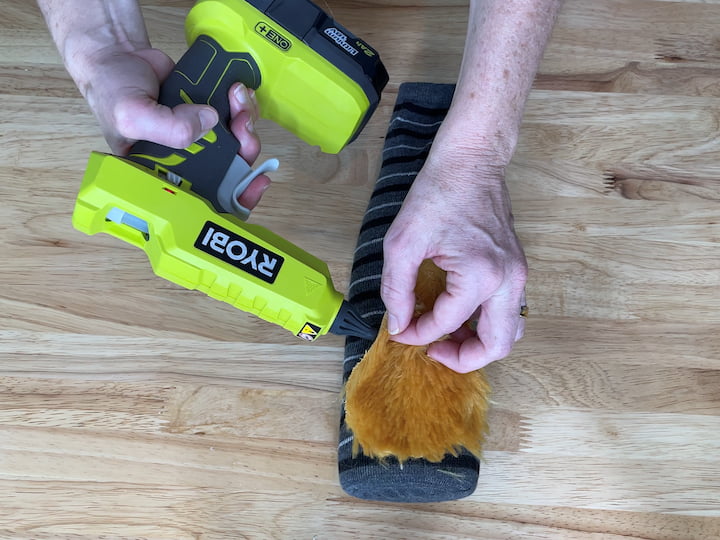
2. cut a fur Beard for your GNome
Next, I’m going to be using a dollar store bear but you could use faux fur or craft fur fabric if you like. This just happens to be a little less expensive and works just the same. I’m going to focus on the back side of the bear and cut a triangle shape out of the back side of the bear. This will become by gnome beard.
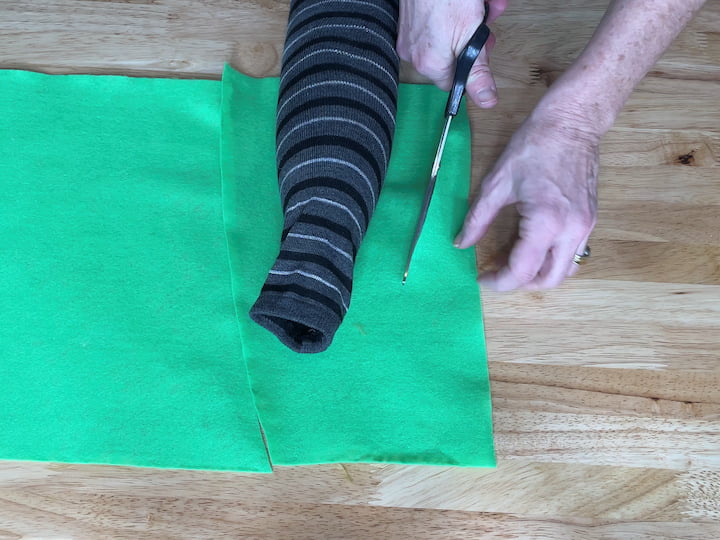
3. Make a no sew hat out of felt
I purchased some green felt from the dollar store and this will become my gnome hat. I’m placing my bottle on top of the felt and I will cut a triangle shape with fabric scissors. Make sure to leave it wide enough on either side to work with. Take that same piece and use it as a template to cut another identical triangle from the remainder of the fabric.
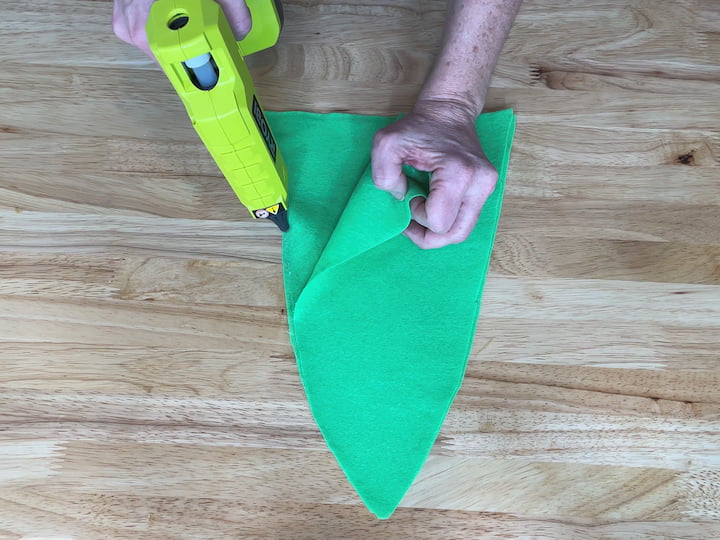
So I have two pieces that are exactly the same. I’ve got my two identical pieces on top of each other and I’m going to take my hot glue gun and run a line of glue down one side of the felt and press that into place. Then I’m going to repeat the same process on the other side. I’m going to take that piece of felt and turn it inside out which will actually be right side out, so the seams are now on the inside of my hat. Now I have a cone shape gnome hat.
4. Glue the beard to the sock
Now I’m going to start assembling. I’m going to place my little furry beard down at the bottom and hot glue it into place.

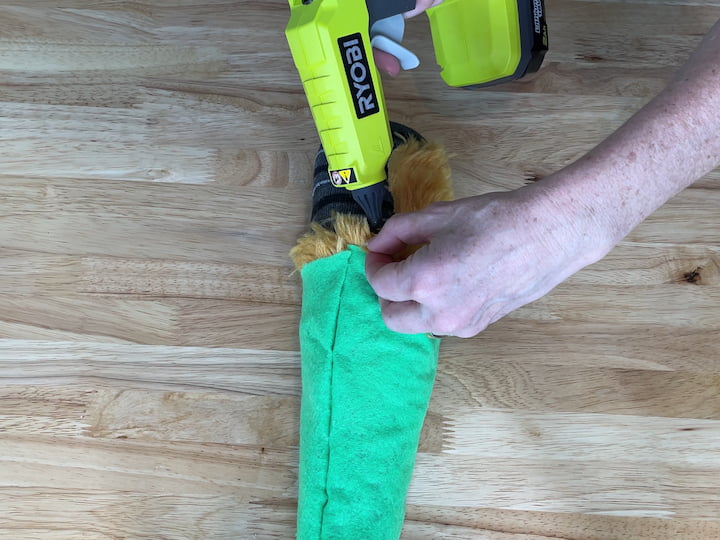
5. Put the hat on the gnome
Next, I’m going to put the hat on over the top of the bottle and slide it down so that it overlaps the beard.
6. Add some hair under the hat.
I saved a few scraps of the bear and I’m going to be using that for hair that I will glue on under the hat. Now that the nose is in place I’m going to finish by gluing all the little hair around the rest of the bottle.
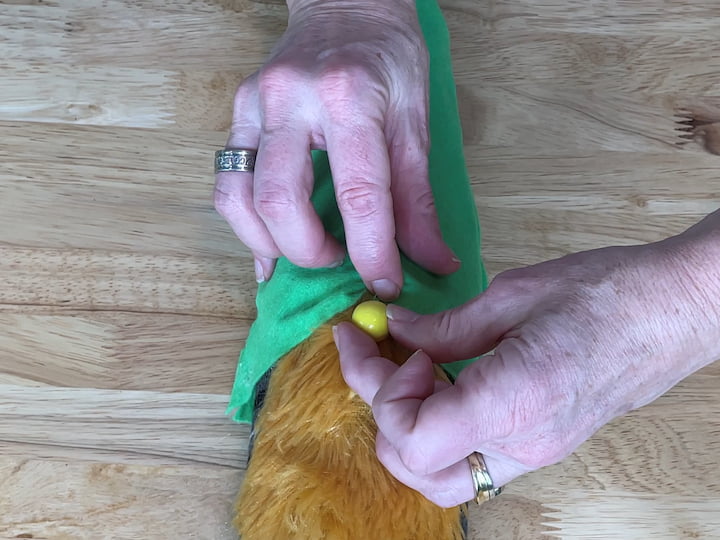
7. Add a nose
I have a little bead from the dollar store that I will use for the gnome nose. I’m going to slide that underneath the hat so that the hat gathers just a little bit and then the nose fits on the beard as well. You could also use a small pom pom, a little ball, or a wooden bead as a gnome nose.
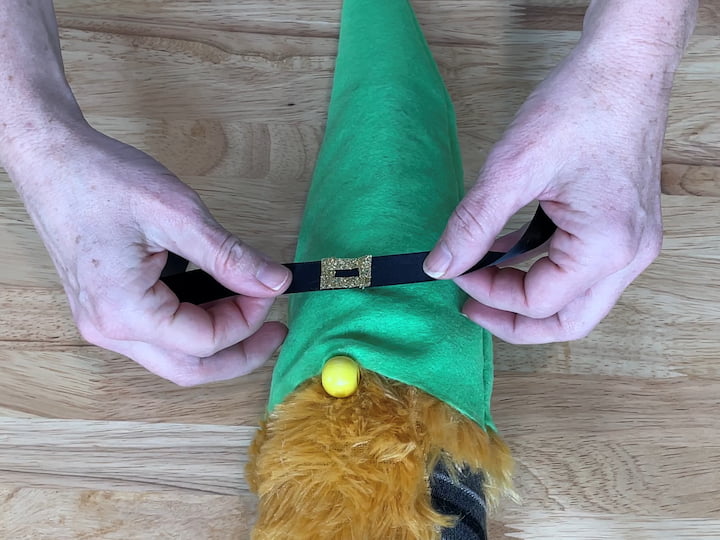
8. Add a ribbon to the hat
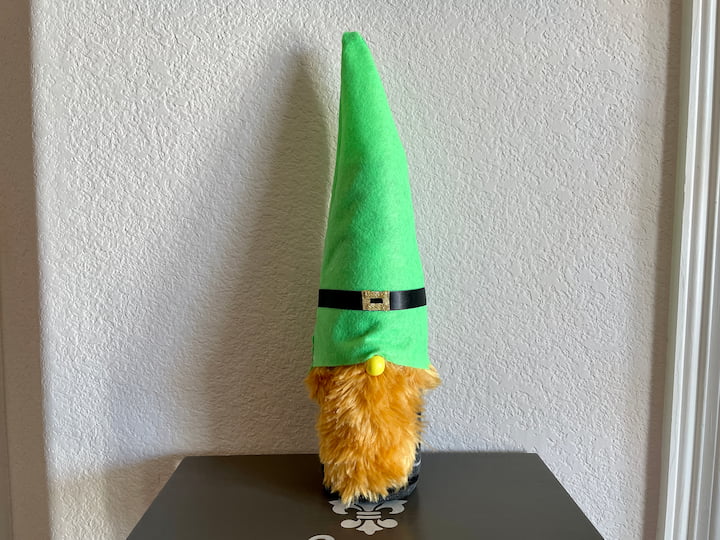
I am going to add an embellishment to the gnome hat with some ribbon. I have a gold ribbon and I cut a buckle shape. Next, I measured the black ribbon and approximately how long I would need it to go around the hat. I hot glued the gold buckle onto the black ribbon and then used a bit more hot glue to the black ribbon into place around the hat. You could also use yarn, beads, or really anything to spruce up the gnome hat.
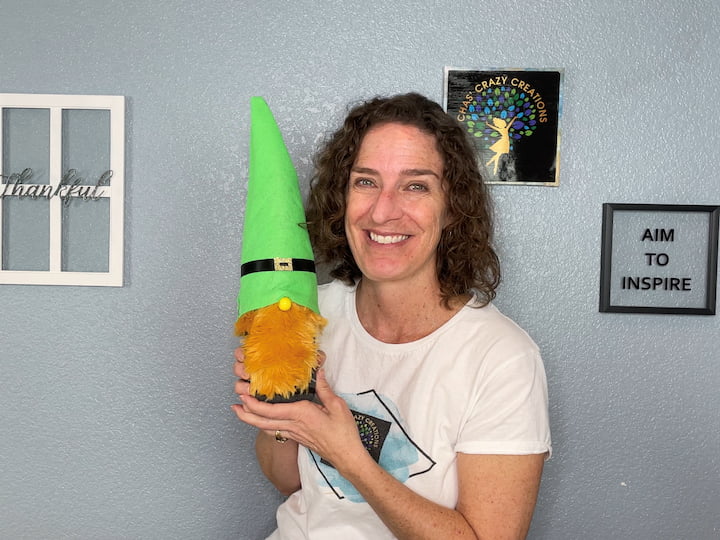
I chose a basic color for my DIY sock gnome and that way I can make several different hats for every holiday season. I can add a red hat to make a Christmas gnome or an orange hat for a Halloween gnome. With the green hat, he can be a leprechaun for St Patrick’s Day.
These adorable gnome crafts can be made to complement any holiday decor. You can have cute Christmas gnomes sitting on the mantel or shelf with Christmas decorations or peeking out from under the Christmas tree! They also make great gifts and since he was made with Dollar Store items he’s super inexpensive.
Gnome Craft Ideas Video
More Gnome Craft Ideas
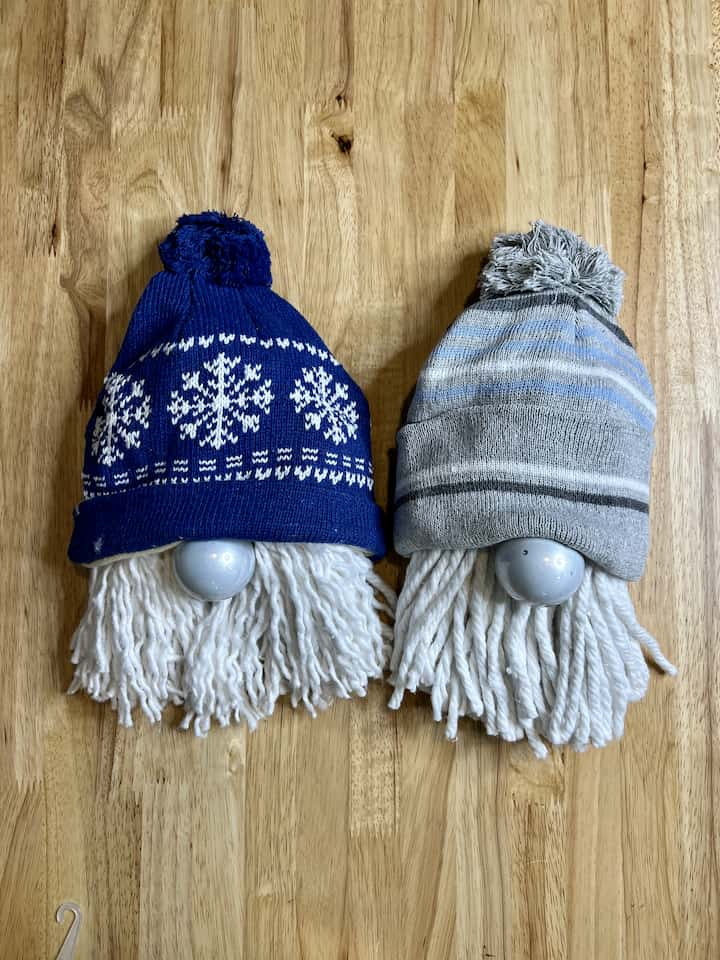
Winter Gnomes: Easy and Cute Dollar Tree DIY with Video
Are you looking for winter gnomes? Here are a few for you that are easy, cute, and only take a few supplies from Dollar Tree to make. You can find the full tutorial and video at Winter Gnomes: Easy and Cute Dollar Tree DIY with Video
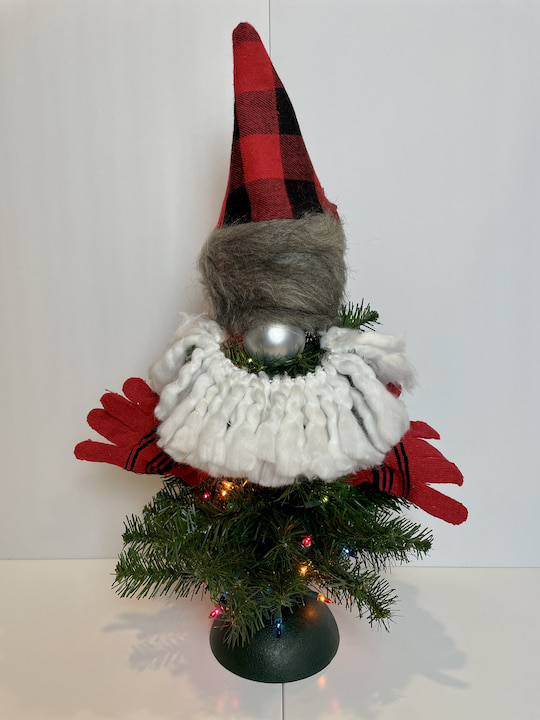
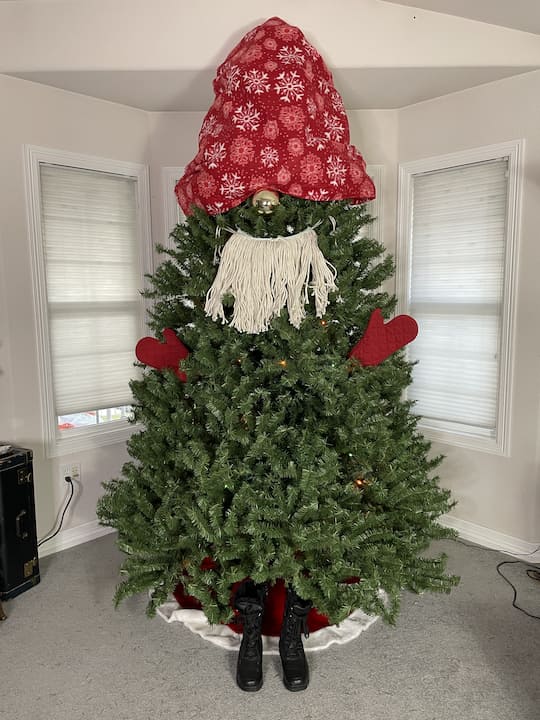
Easy and Cute Dollar Tree DIY Gnome Christmas Tree
I’m sharing a gnome Christmas Tree made with items from Dollar Tree, and the best part is you can adjust this to any size tree you want. You can find the full tutorial at Easy and Cute Dollar Tree DIY Gnome Christmas Tree
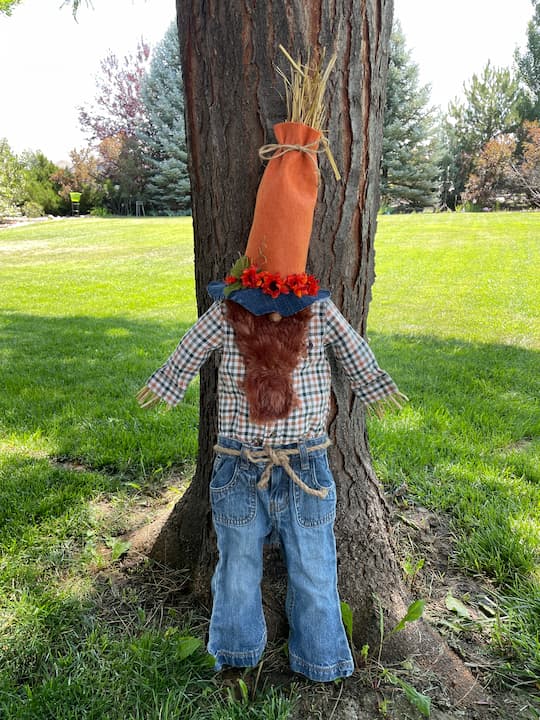
Awesome and Easy Autumn DIY Gnome with Video
Do you love gnomes? I just love these little guys. Adorable DIY gnomes can be dressed up in different ways to make a farmhouse gnome, cute Christmas gnomes, garden gnomes, or even little gnomes to use as gnome ornaments. Homemade gnomes are a great way to decorate for any holiday season and the best part is you can make these inexpensive crafts using everyday items. I’m sharing how to make an awesome and easy autumn DIY gnome with craft supplies you can get at the craft store, thrift store, hobby lobby, and dollar tree! You can find the full tutorial at Awesome and Easy Autumn DIY Gnome with Video
I hope this inspires you to make a gnome of your own. I’d love it if you’d subscribe to my YouTube channel and my blog at chascrazycreations.com. Thanks for watching and I’ll see you in my next video, and don’t forget to like, share and subscribe.
Happy crafting!!
Check out my other gnome crafts!
- Easy and Cute Dollar Tree DIY Gnome Christmas Tree
- Awesome and Easy Autumn DIY Gnome with Video
- Winter Gnomes: Easy and Cute Dollar Tree DIY with Video
Shop any of these stores and I receive a small commission at no cost to you.
 DIY with 8pcs Detachable Magnet Holiday Icons, Great for Rustic Farmhouse Decor or Housewarming Gift.") LittleFox 3D Gnome Intercha…Shop on AmazonShop on Amazon
LittleFox 3D Gnome Intercha…Shop on AmazonShop on Amazon Jetec 24 Pcs 4th of July Pa…Shop on AmazonShop on Amazon


Such a fun idea ❤️
Thank you so much!