Chalk Paint Side Table: It’s So Easy and Has Amazing Results
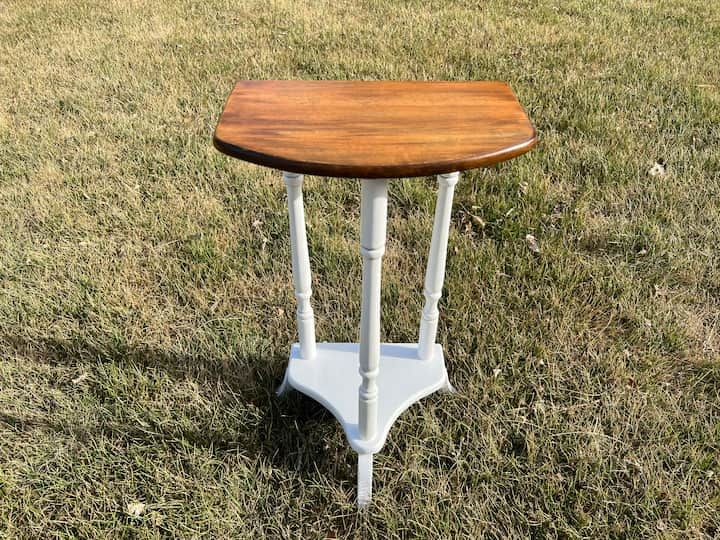
Have you wanted to chalk paint a side table? Our family loves superheroes and my son wanted to update his room. I figured this was the perfect opportunity to refurbish a furniture piece. I found this solid wood, little old end table on Facebook Marketplace for $10. This is a great place to look for an inexpensive piece of furniture. You can also find great deals at the thrift store or at yard sales. I knew with a little paint, superheroes, and a little bit of love we could give this side table a new look.
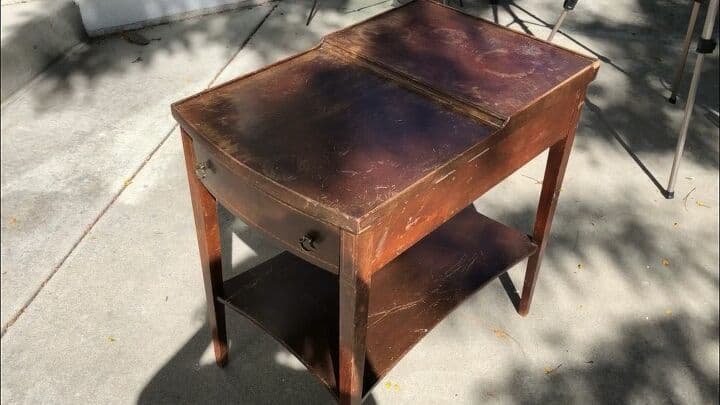
Here’s the original side table – it was in good condition, but clearly had seen better days and needed a little love.
Chalk Paint Side Table: It’s So Easy and Has Amazing Results Video
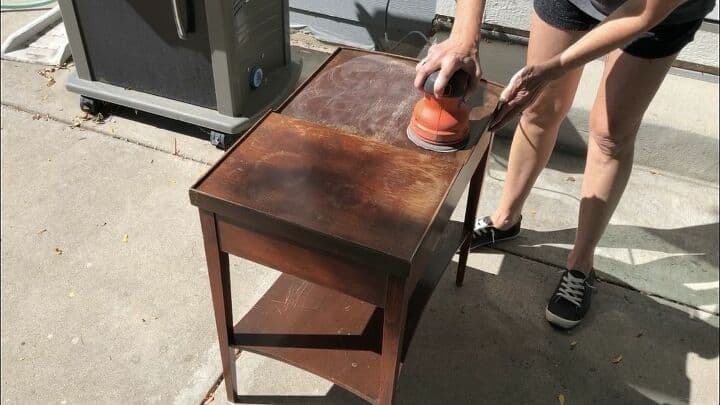
The first thing I did was sand the entire piece with my Black & Decker Orbital Sander. As a side note, it’s a good idea to use a circular motion when sanding. I just gave the entire table a light sanding.
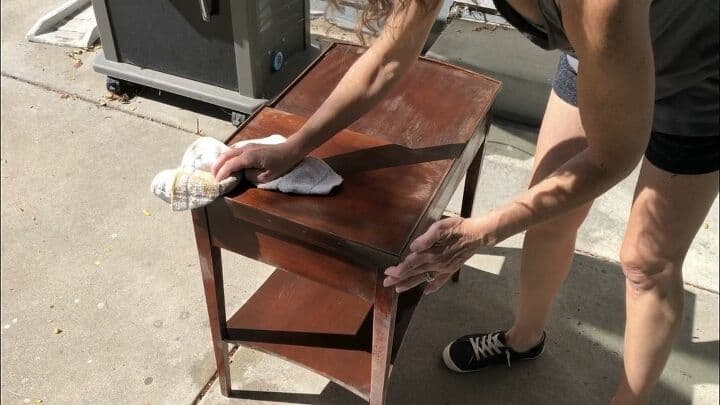
I cleaned the whole piece with denatured alcohol.
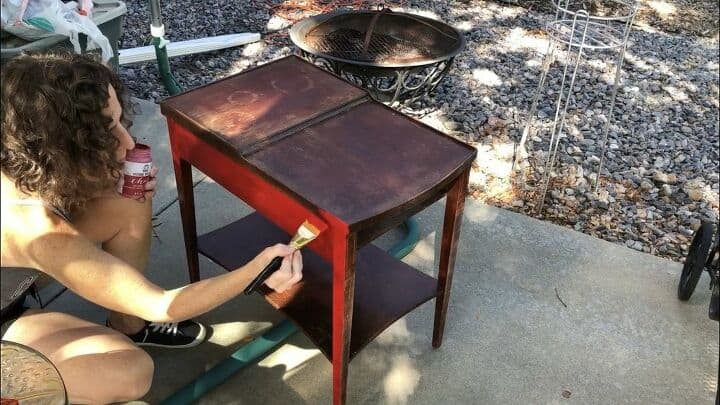
I painted the piece with Folk Art Home Decor Chalk paint in the color Imperial. The beauty of chalk paint is how easy it is to use. It provides even coverage and is a good option to use for furniture projects. It leaves a nice matte finish and the good thing is it comes in thousands of paint colors. I gave it total of 2 coats of paint, letting it dry between each coat. You can use a foam brush or a bristle brush, whichever you prefer.
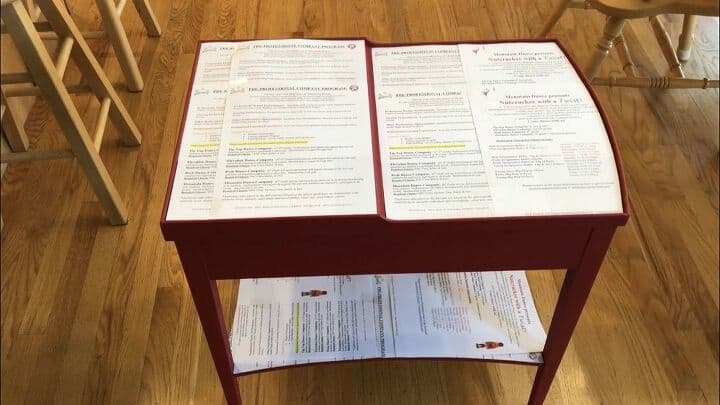
I then made a template with recycled paper for the top of the table and the shelf below.
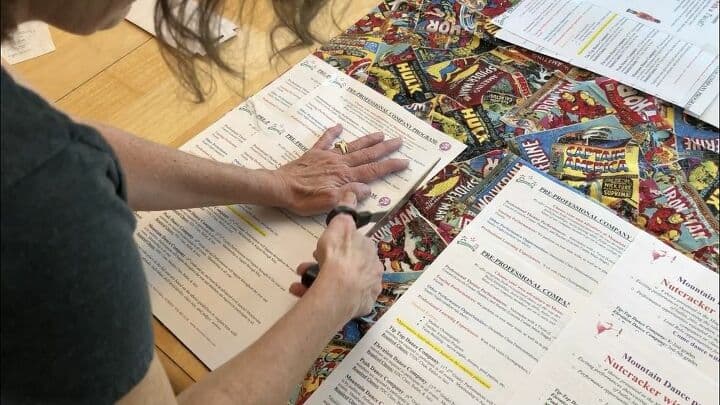
I used the template to cut my superhero comic fabric. Using fabric is a great idea because you have so many choices to personalize any piece of furniture.
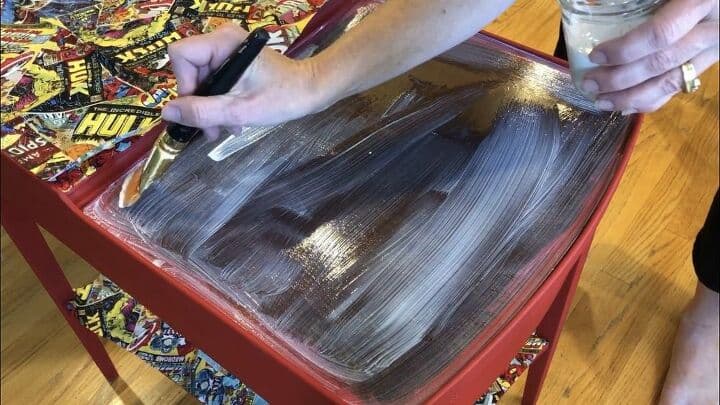
I placed a thin layer of Mod Podge onto the table top and on the shelf below.
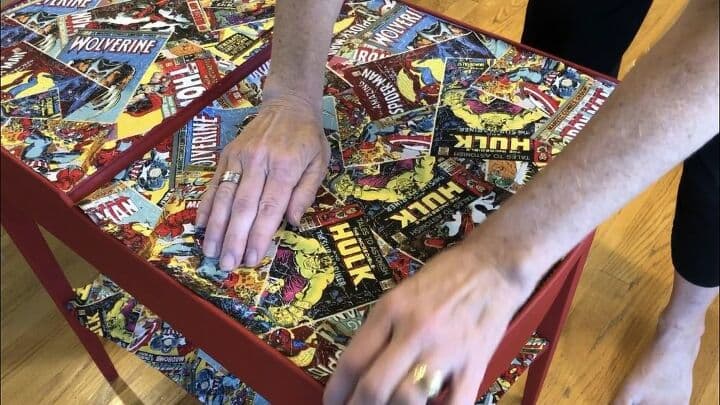
I pressed the fabric onto the Mod Podge and into place.
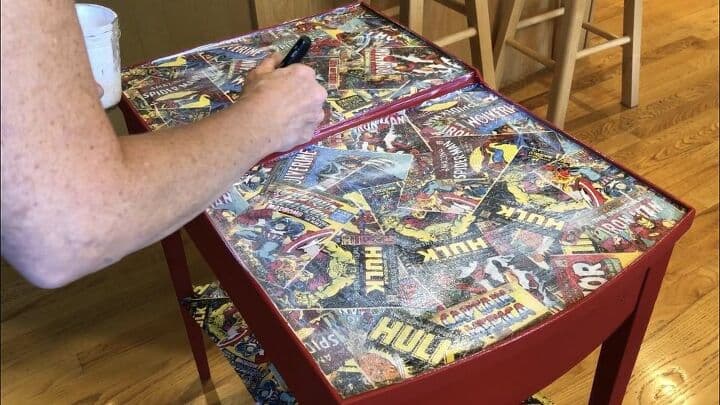
I placed a coat of Mod Podge over the top of the fabric as a sort of protective top coat. Mod Podge goes on white and dries clear.
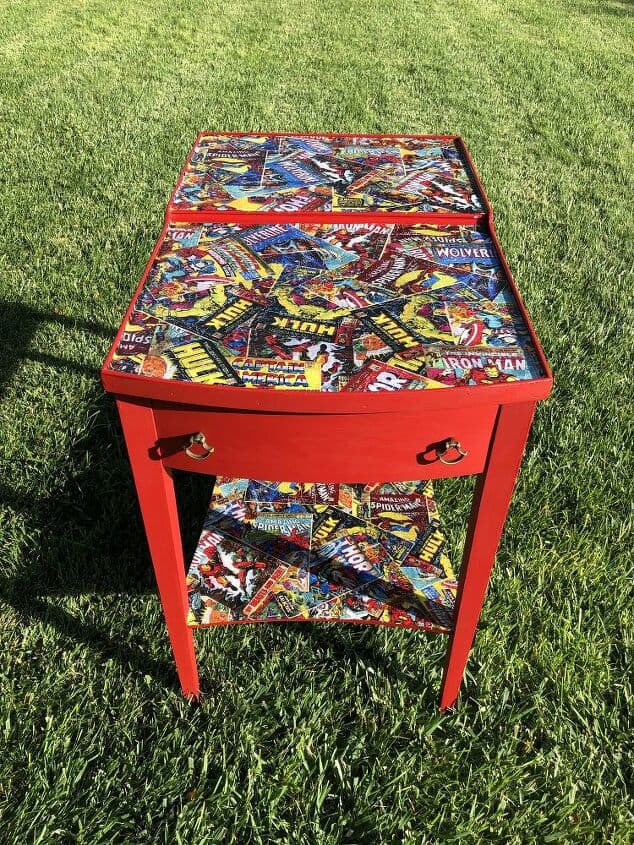
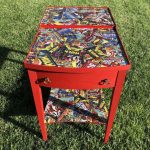
We love how the table turned out. This was an easy project and now this table has a new home.
There are a lot of different brands of chalk paint out there and I really like Folk Art Home Decor chalk paint. You could also use Annie Sloan chalk paint,Dixie Belle paint, homemade chalk paint (which includes either plaster of paris or calcium carbonate), spray paint, etc.
Other chalk painting furniture ideas include:
- chalk paint coffee table
- kitchen cabinets
- kitchen table
- living room furniture
- sofa table
- dining room table
- side tables
- picture frames
Other tips to paint furniture include:
- Chalk paint is often self-leveling so it doesn’t show brush strokes.
- You don’t always need a second coat
- You can always use furniture wax to finish a piece like dark wax, white wax, or a coat of clear wax
- Using a top coat of some sort will give it a smooth finish
- It’s always a good idea to use grit sandpaper to help the paint stick to the surface better.
- You can also sand to create distressed areas on the piece
Good luck with your DIY chalk paint project!
Chalk Paint Side Table Video
Shop any of these stores and I receive a small commission at no cost to you.
 BLACK+DECKER Orbital Sander...Shop on Amazon
 FolkArt 34994 Home Decor Ch...Shop on Amazon
 Mod Podge Waterbase Sealer,...Shop on Amazon
Click here for Plaid Enterprises, Inc. Disclosure @PlaidCrafts #PlaidCrafts #PlaidCreators
Find out “What Exactly Does It Mean To Repurpose Or Upcycle“, save money, and create the most amazing things.
Check out some of my other projects!



This table turned out so fun. I love it. I can’t believe the difference between before and after!
Thank you Amy, I’m so thrilled with how it turned out.
Great job! This is a makeover that is truly unique and could never be purchased! thanks so much for sharing on craft schooling Sunday!
Thank you so much Sara, I’m thrilled you like it. See you at the next party.
My son would LOVE this for his man cave! Sharing with him! 😉
Thank you so much Julie and thanks for sharing 🙂
I’ll bet your little boy loves that table! Thank you for sharing at Party In Your PJ’s.
Thank you so much Ann 🙂
How fun! I have a grandson who would love this table. Perfect to house his superhero figurine collection
Thank you, and I’m thrilled your grandson would love it too 😉
An involved project that would be hard to do here in the condo. When I’m at home in my float cabin I’ve upscaled thrift store purchases to fill in small spaces and give me more storage. – Margy
Thank you so much for sharing Margy
What a unique piece! I am envisioning making matching pieces with other existing furniture. My mom was always great at making everything so cohesive when she would redo my room – I’m trying to be more like that. I’d like to join this blog hop – can you email me more info?
Thank you Alexandra, and we’d love to have you! I’ll email you more info.
What a totally awesome idea! I bet your son was thrilled.
Michelle
mybijoulifeonline.com
Thank you so much Michelle – I’m really happy with how it turned out.
This table would be perfect in my son’s Spiderman room! It looks great! Great makeover! Pinning!
Thank you so much and thanks for the pin 🙂
This turned out so great and fun! Nice job!
Thank you so much 🙂
What a fun table project! It looks great! I linked up Gloria’s master bedroom vanity makeover that turned out to be one of our most daunting furniture makeovers. Also, Happy Birthday!
Thank you Beverly, and I’m so happy you could join us and our party. I can’t wait to read it!