Creative Solar Light Ideas for Summer Nights (14+ DIY Projects)
Do you love sitting on your patio on a warm summer night, but hate how dark and uninviting it feels once the sun goes down? I have a confession: I am addicted to solar lights. I have over 100 of them in my yard! But I don’t just stick them in the ground. As a “Crazy Creator”—and a lover of [Thrift Store Makeovers]—I see every old candle holder, vase, or broken chandelier as a potential light fixture.
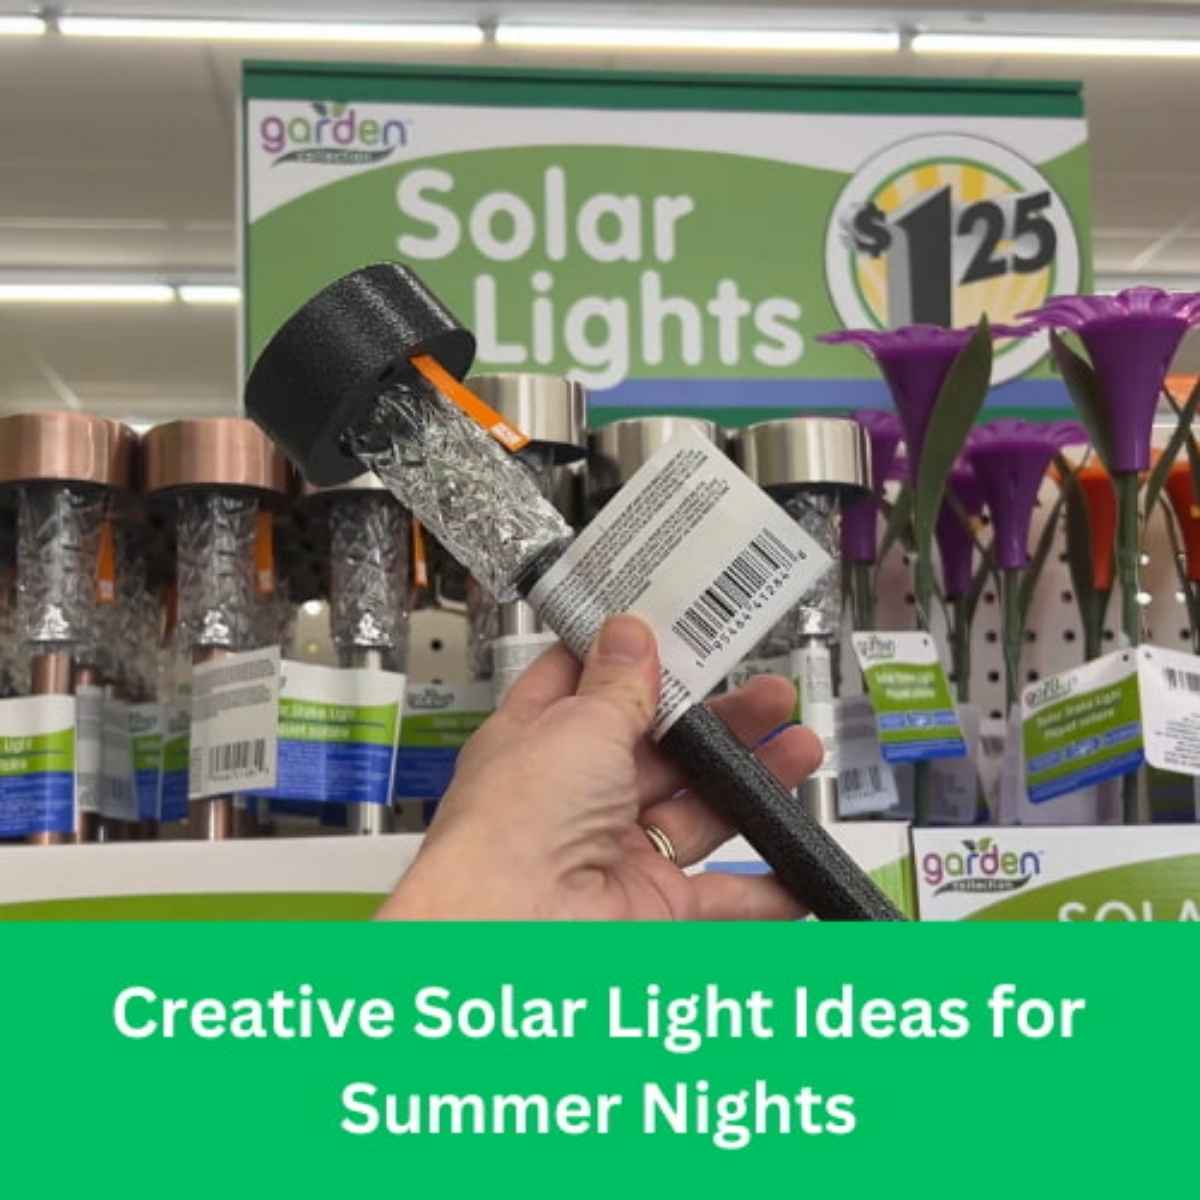
Quick Answer: How can I upcycle solar lights?
You can turn almost any hollow vessel into a custom solar light! My favorite methods include:
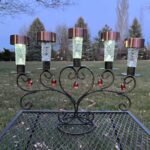
- Solarabras: Remove stakes from solar lights and glue them into candelabras.
- Chandeliers: Remove old wiring and insert solar lights into the candle cups.
- Vases: Fill with glass rocks and rest the solar light “puck” on the rim.
- Fountains: Use a solar-powered pump kit in a thrifted punch bowl.
By combining simple dollar store solar stakes with upcycled finds, you can create high-end [Outdoor Decor] that mimics the soft, warm glow of nature without running a single wire.
In this post, I’m sharing my top 14+ ways to repurpose everyday items into stunning solar decor. From my viral “Solarabra” to easy walkway hacks, here is how to light up the night on a budget.
Creative Solar Light Ideas Video
Part 1: The “Secret” to Upcycled Solar Lights
Before we start, here is the simple trick I use for 90% of these projects:
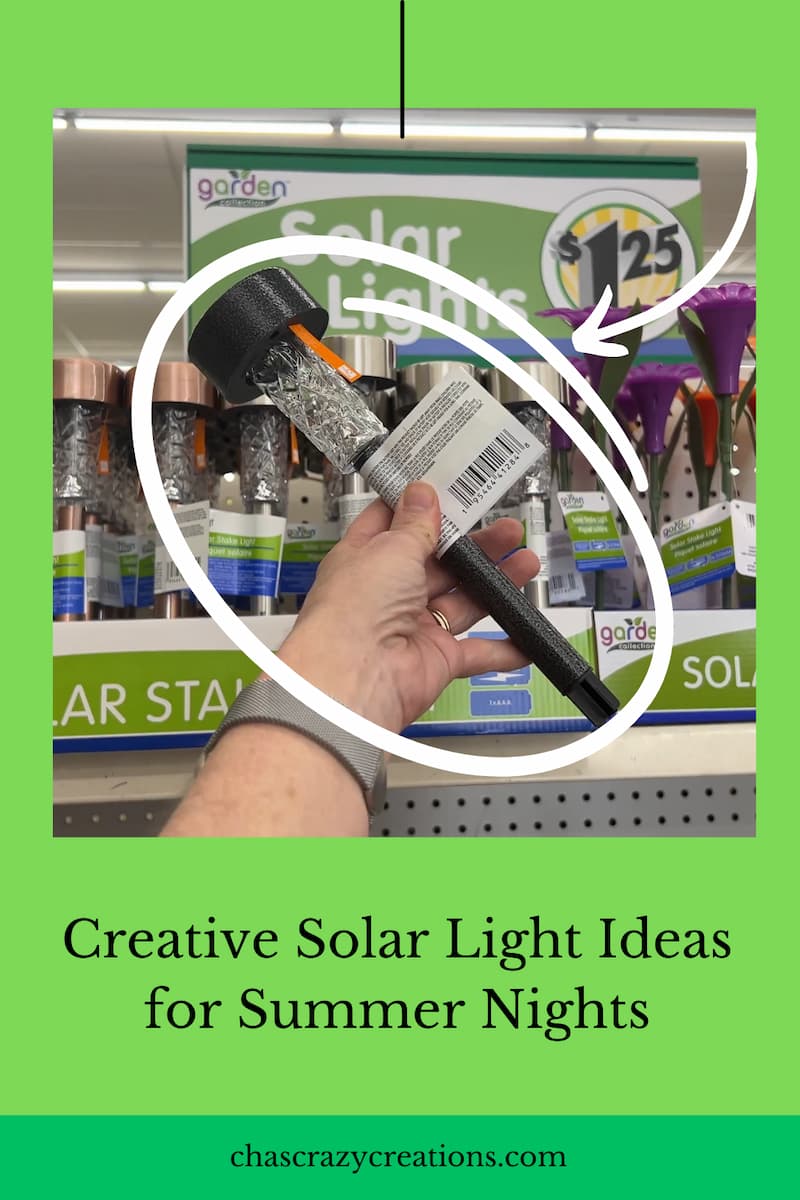
- The Light: Buy standard solar stake lights (Dollar Tree, Walmart, or Amazon).
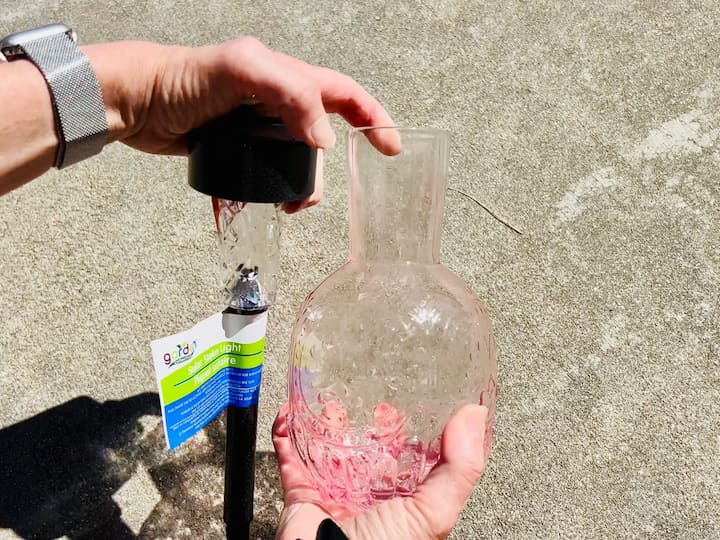
- The Hack: Pull the long plastic tube/stake off the bottom. You are now left with just the “head” (the light and solar panel).
- The Assembly: Find a thrift store object with an opening about the same size as your solar light head and glue it in place!
Part 2: Tabletop Lanterns (Vase Hacks)
These are the easiest projects to start with. They make perfect centerpieces for outdoor dining.
The Dollar Tree Vase
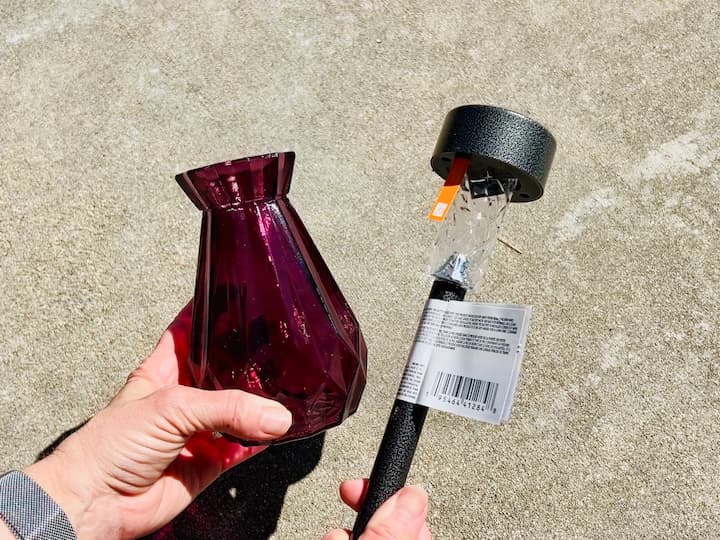
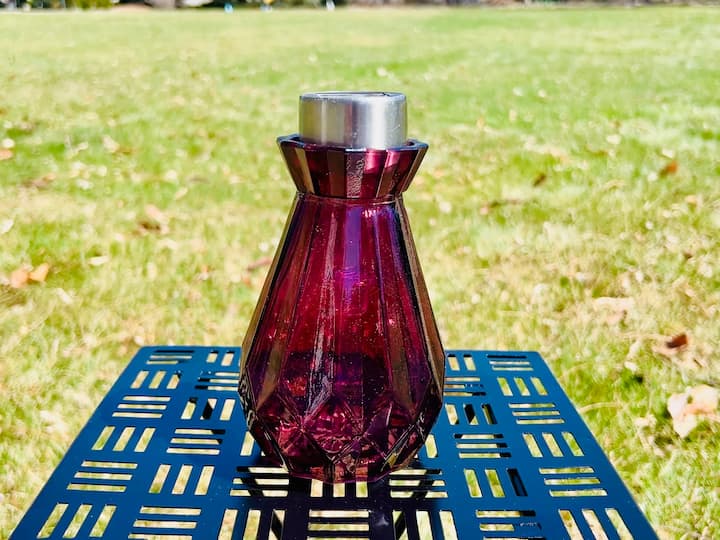
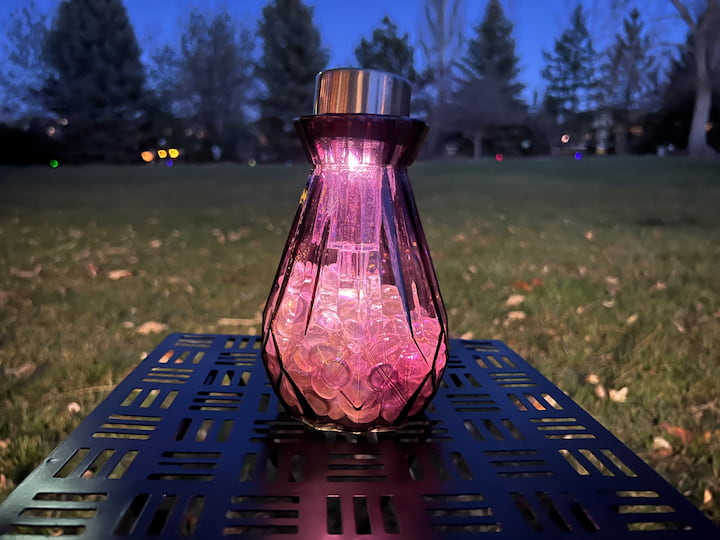
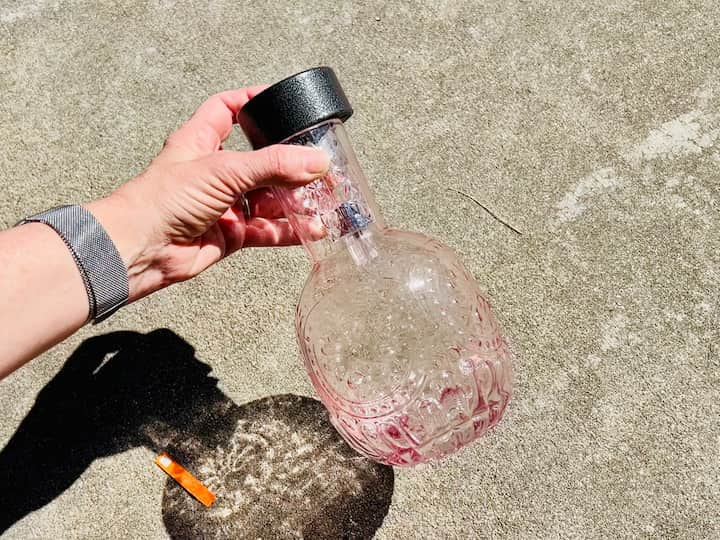
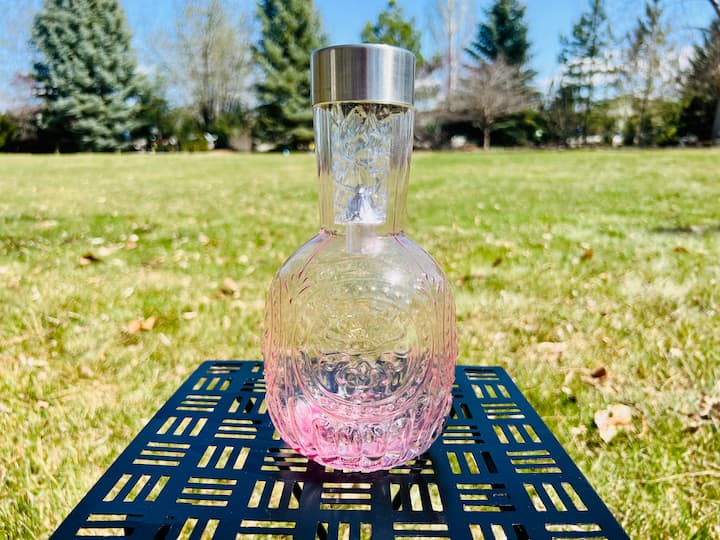
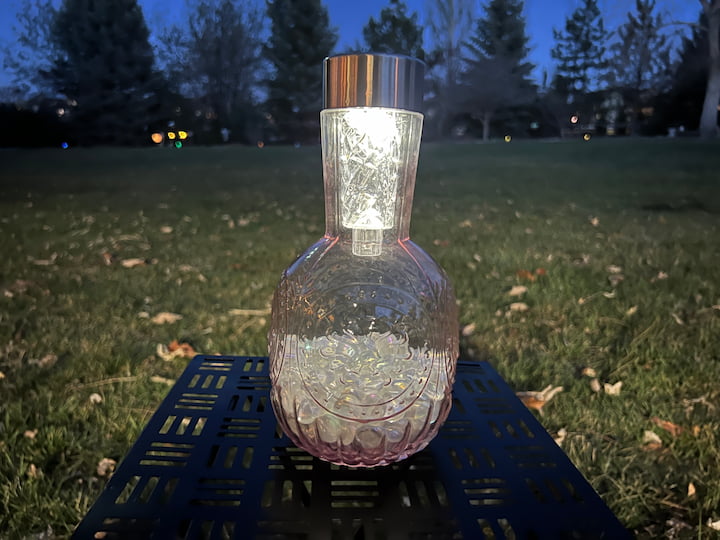
I found a simple glass vase and a solar light at the dollar store. I pulled the base off the solar light and stuck the top part into the vase. To add stability (and style), I filled the bottom with dollar store glass rocks to weigh it down. It looks like a high-end glass lantern at night!
Faux “Murano Glass” Lantern
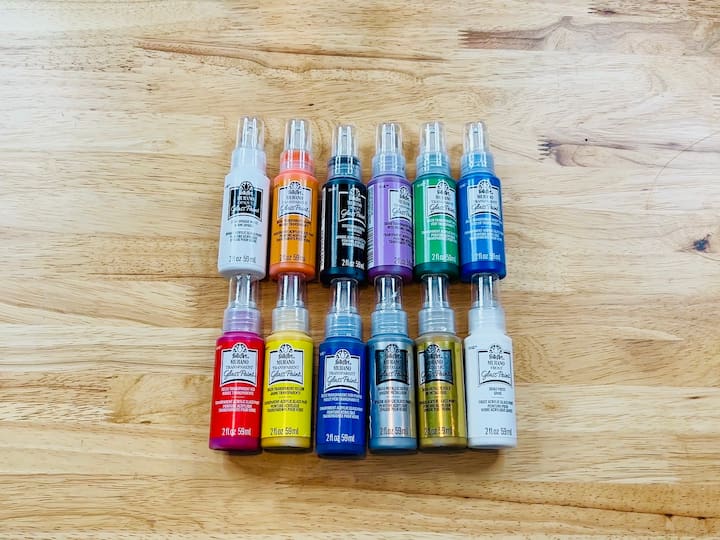
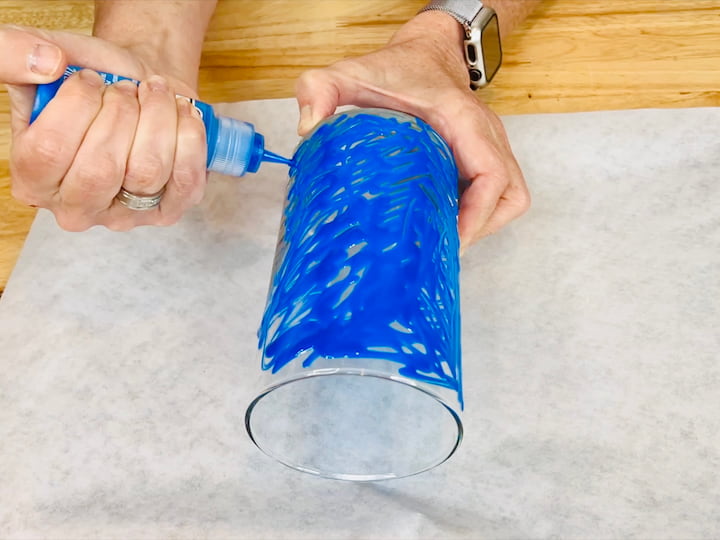
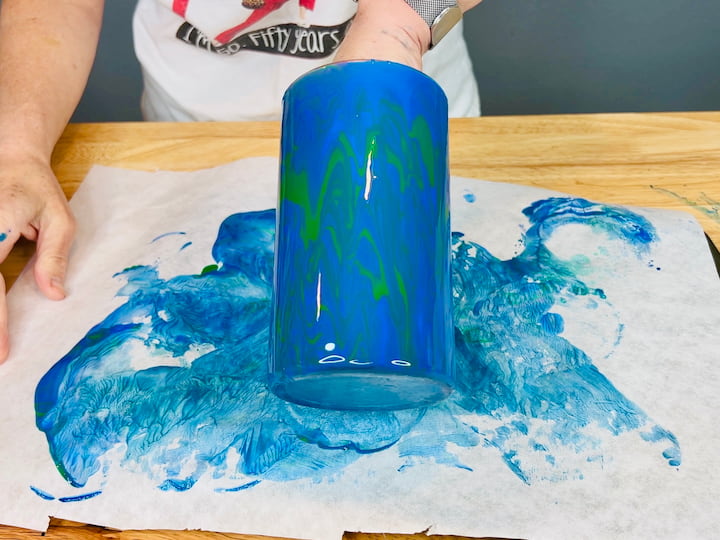
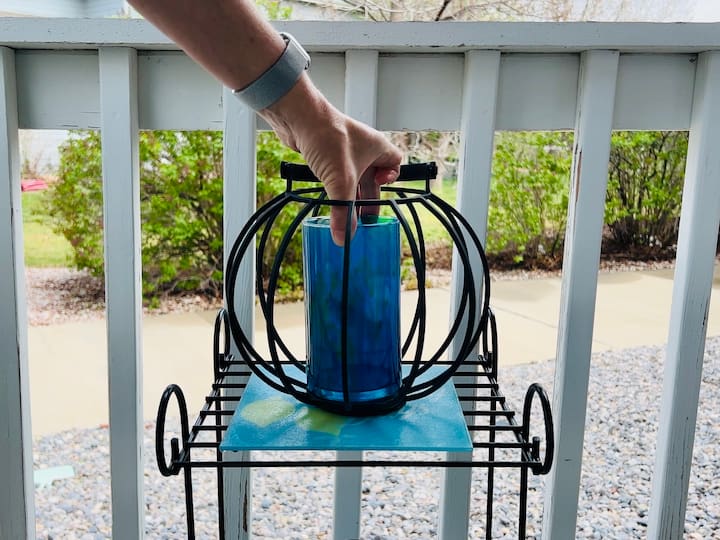
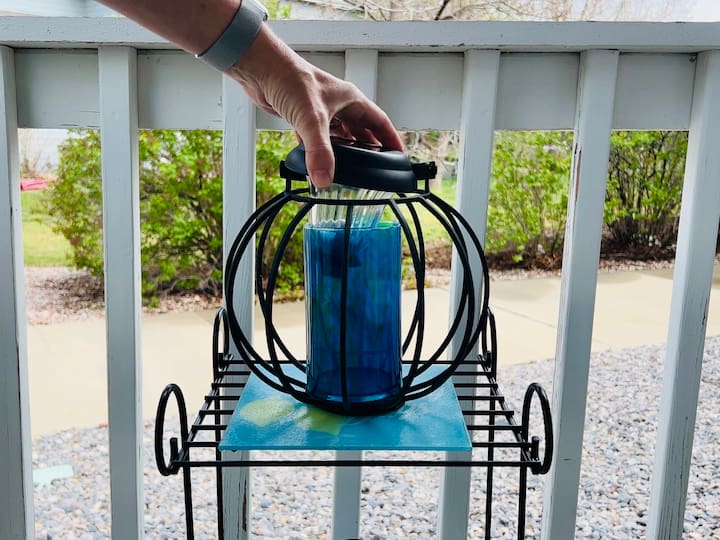
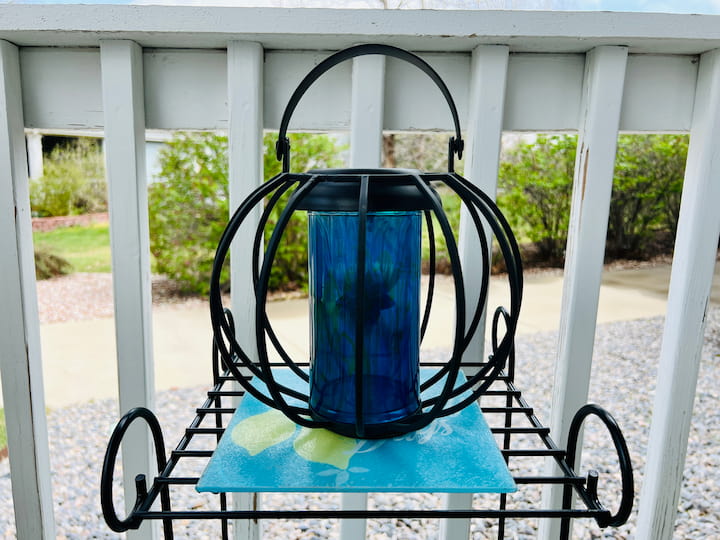
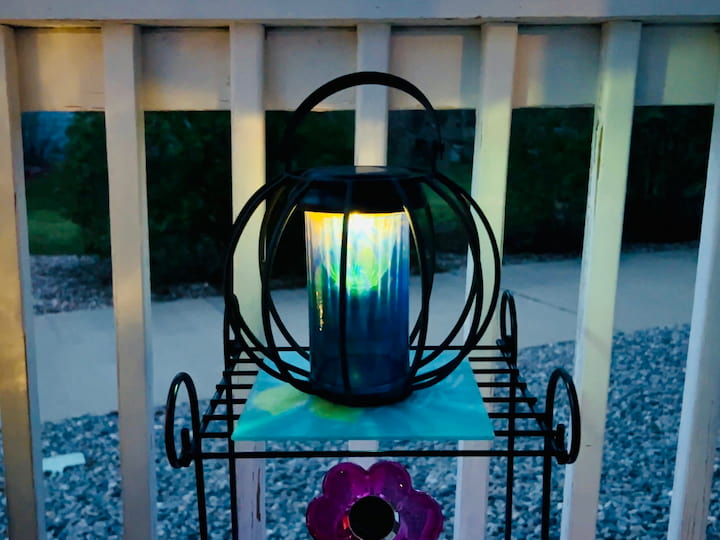
I wanted the look of expensive art glass without the price tag.
- The Paint: I used FolkArt Murano Glass Paint (Blue, Green, Purple) and squiggled it all over a plain dollar store vase. I tapped it to blend the colors for a tie-dye effect.
- The Base: Once dry (it takes 48 hours to cure), I placed it inside an old metal candle holder with a handle. It hangs on my porch and casts a colorful glow.
Part 3: The “Solarabra” (Solar Candelabras)
Why burn candles that blow out in the wind when you can have permanent solar flames?
The DIY Solarabra
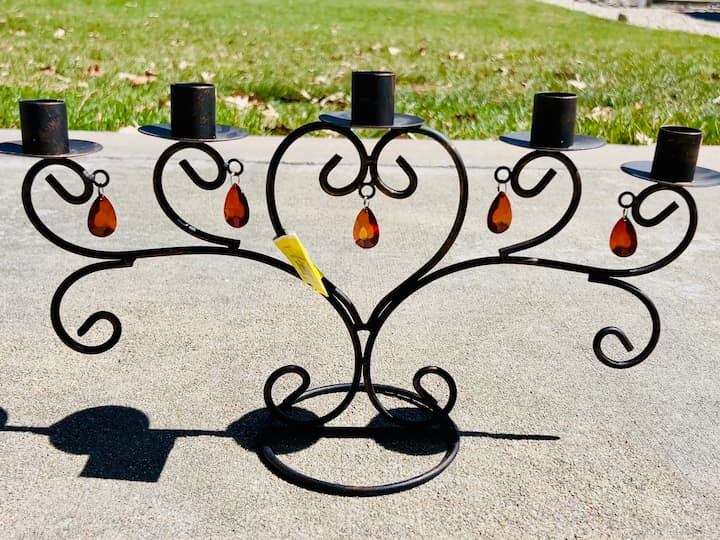
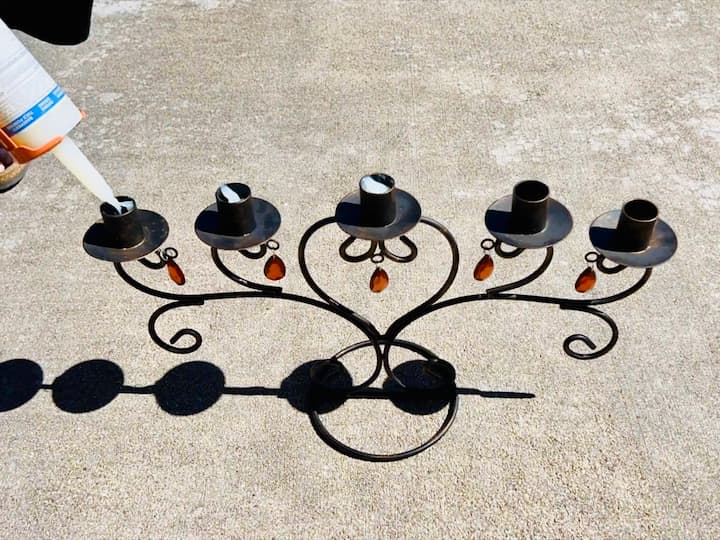
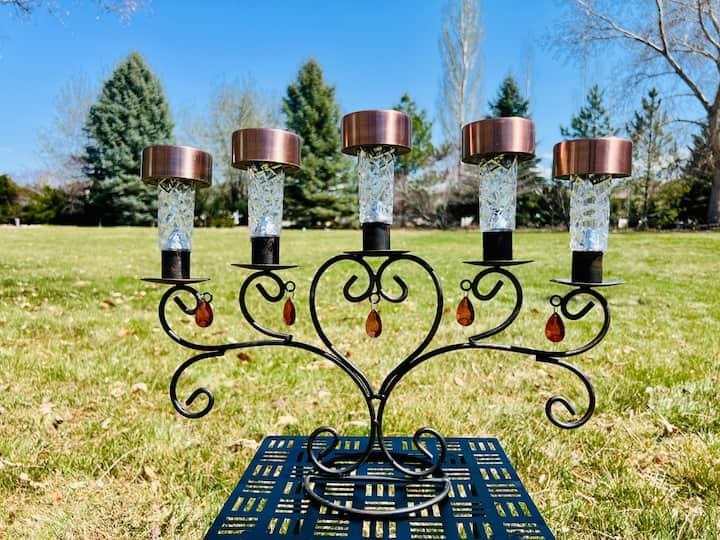
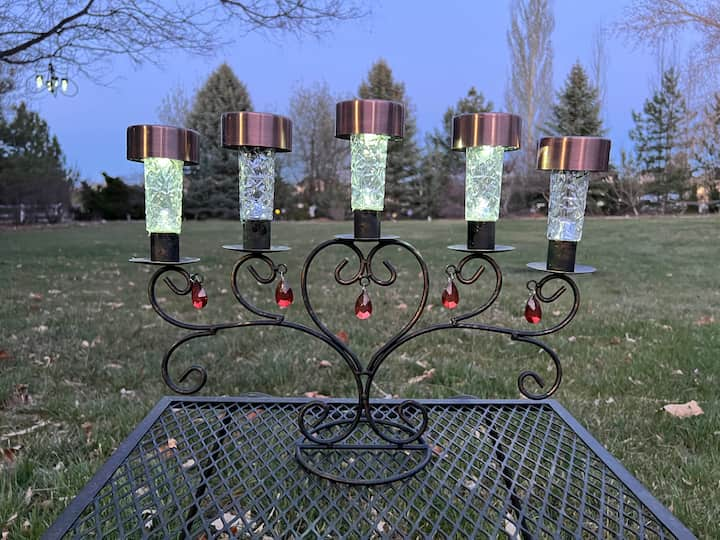
I grabbed a metal candelabra from a thrift store and five solar lights. I squeezed outdoor-grade silicone into the candle holder spots. Then, I pulled the stakes off the solar lights and pressed the tops into the silicone. Now I have a weatherproof centerpiece that glows every night automatically!
Large Thrift Store Candle Holder
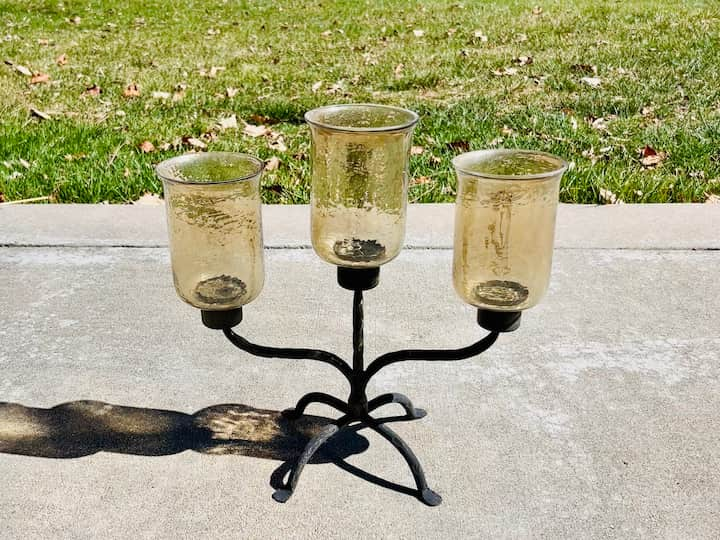
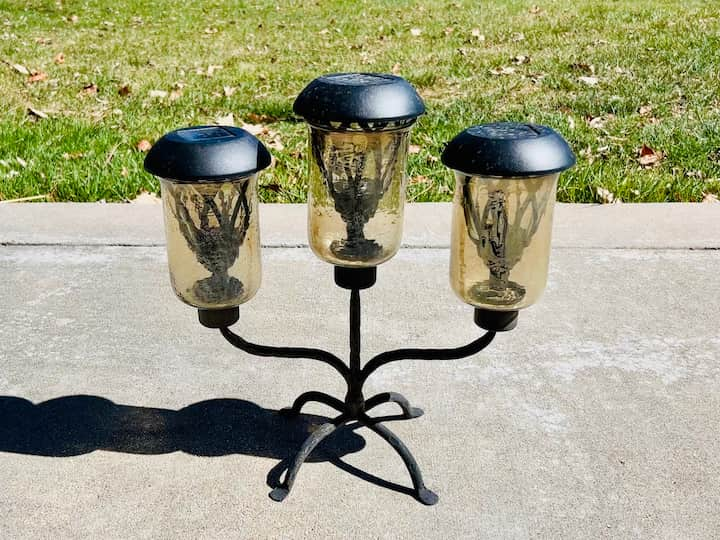
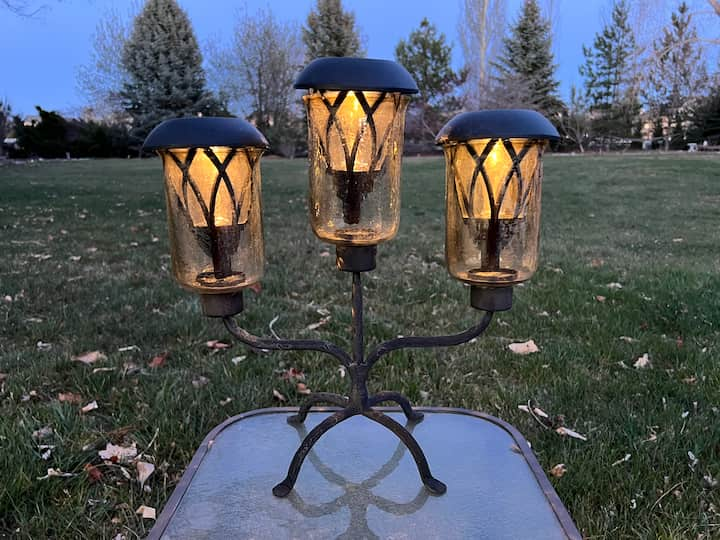
I found a larger, chunkier candle holder and did the exact same thing using larger solar lights. The solar light tops cover the opening perfectly, so no water can seep inside the metal tube.
Part 4: Upcycled Solar Chandeliers
Hanging lights add drama to trees and gazebos. Here is how I made mine without any electrical wiring.
The Flea Market Find (Missing Glass)


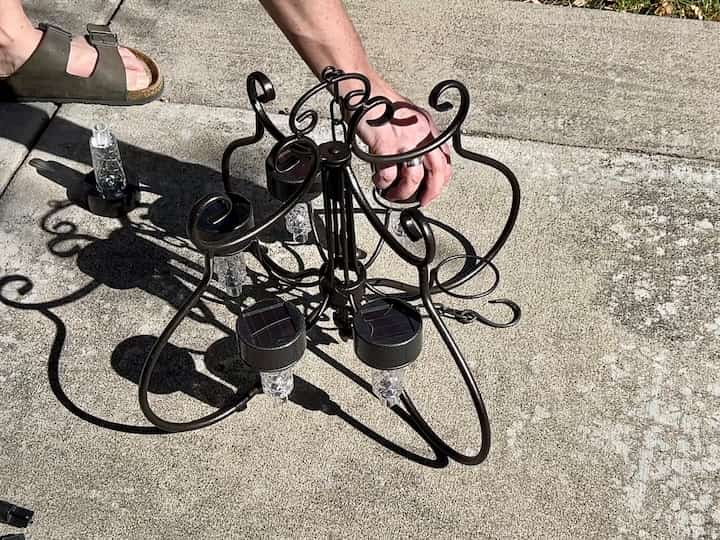

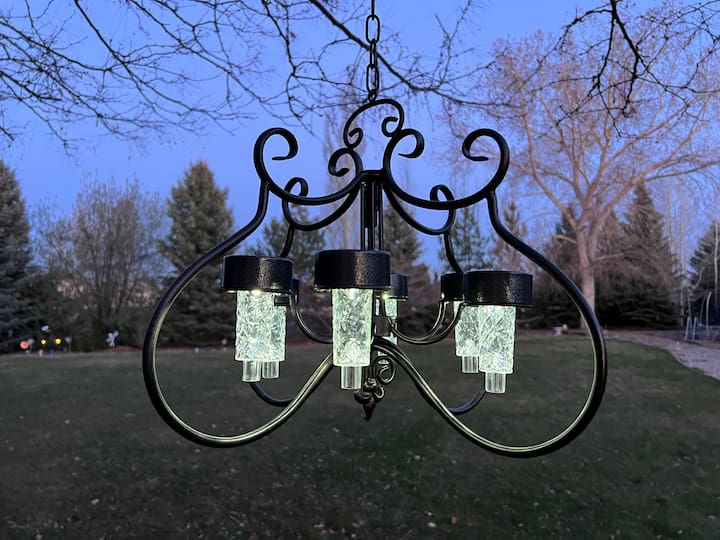
I found a chandelier that was missing all its glass globes. I spray painted the metal frame to freshen it up. Then, I pulled the bases off six solar lights and placed them into the empty holes. They fit right on top!
- Crucial Tip: I hung it in a tree, ensuring the chain was long enough so the solar panels aren’t blocked by leaves.
The Shepherd’s Hook Chandelier


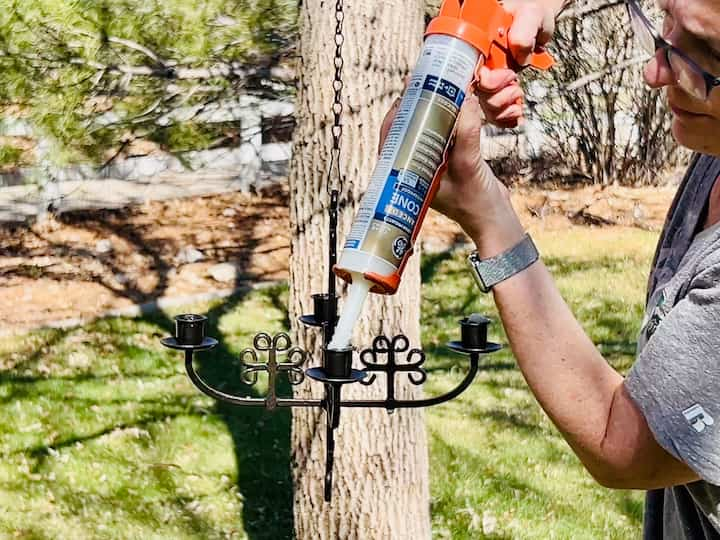
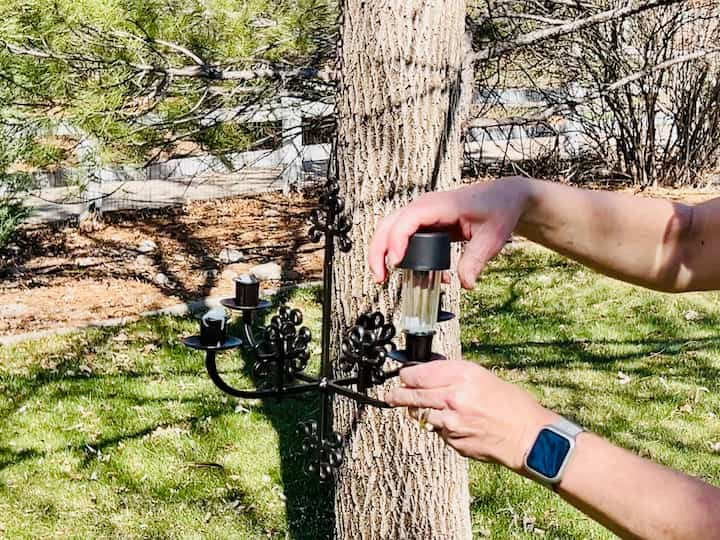
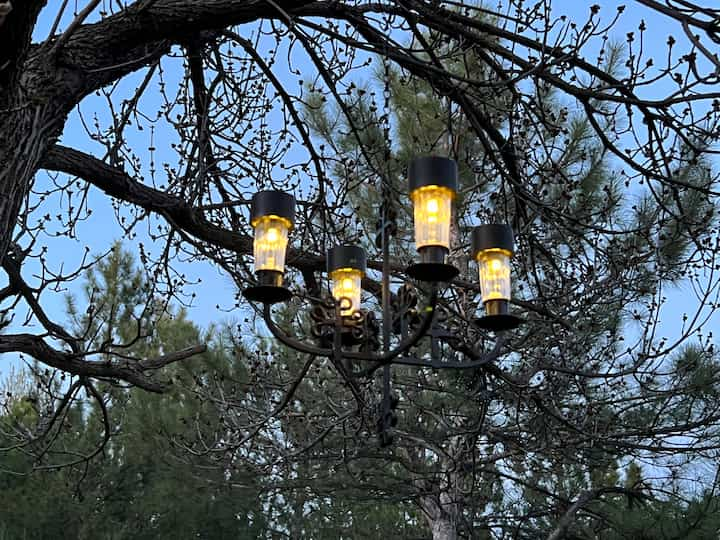
I found another metal frame at a thrift store. I filled the holes with silicone and used 98-cent solar lights from Walmart. I hung this one from a shepherd’s hook in the garden.
The Facebook Marketplace Makeover
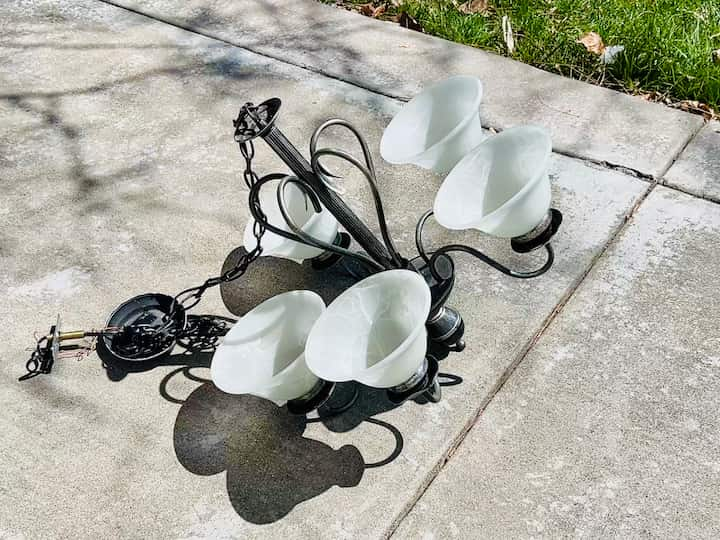
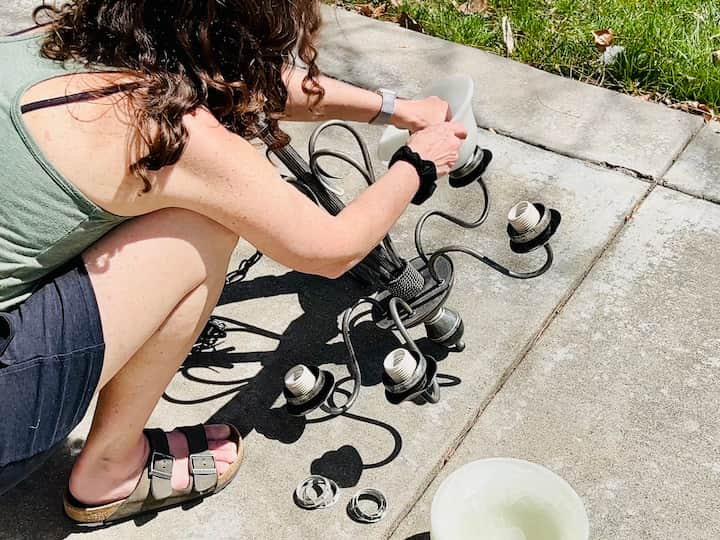
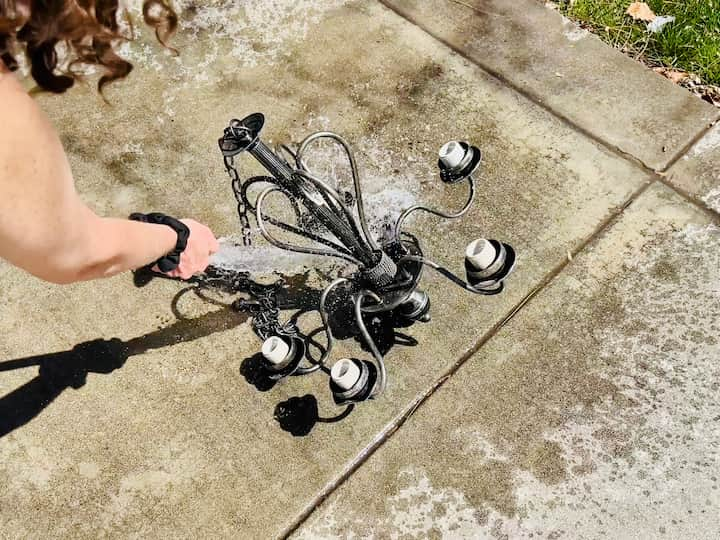

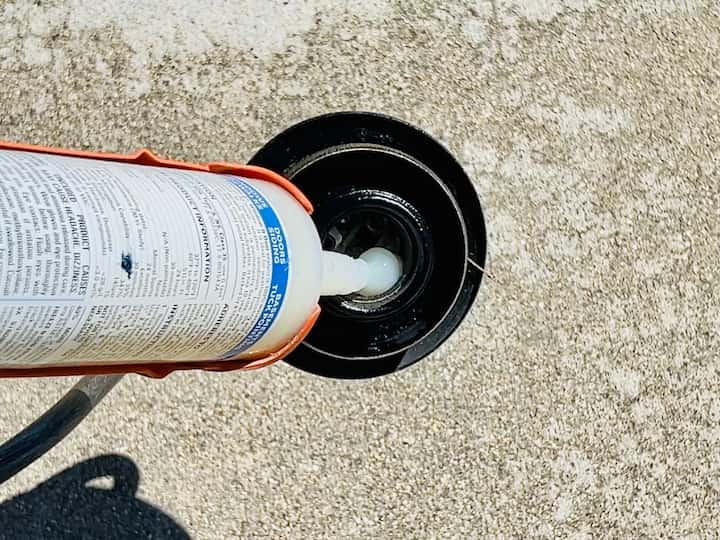
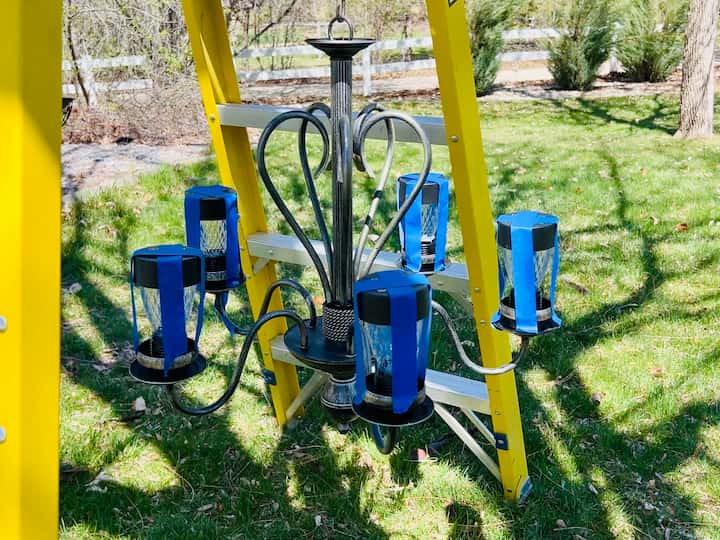

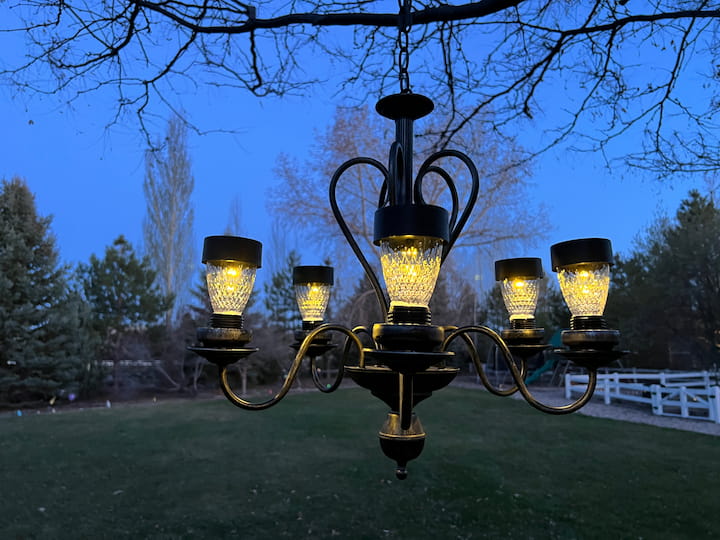
I scored a free chandelier on Marketplace! I removed all the old wiring so I wouldn’t have a messy cord hanging down. I taped off the sockets and spray painted the white plastic parts to blend in with the metal. Then, I used silicone to glue $3 Walmart solar lights into the sockets.
Part 5: Garden & Statement Pieces
If you want something that really stands out in the yard, try these larger projects.
The Solar Water Fountain
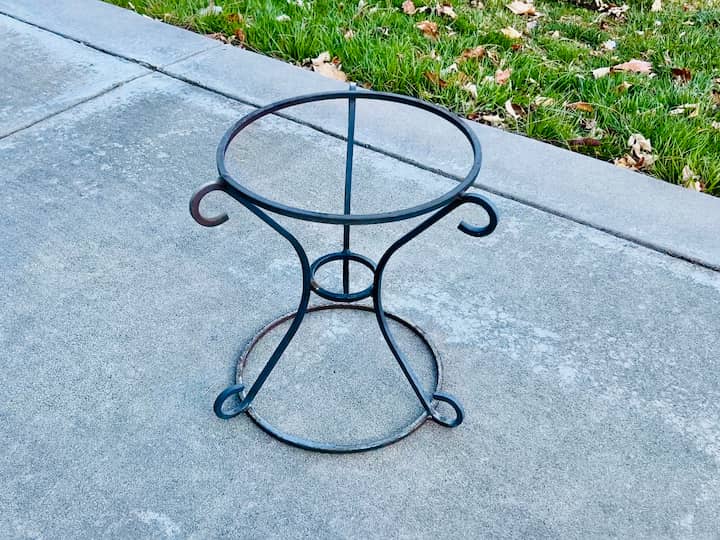
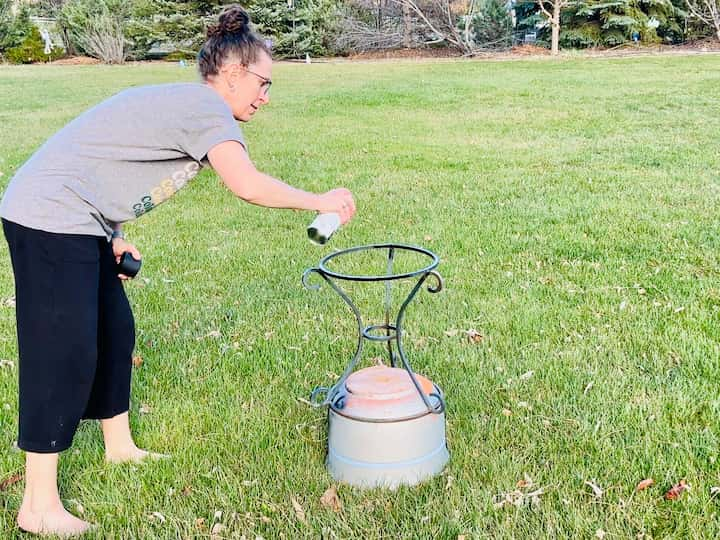
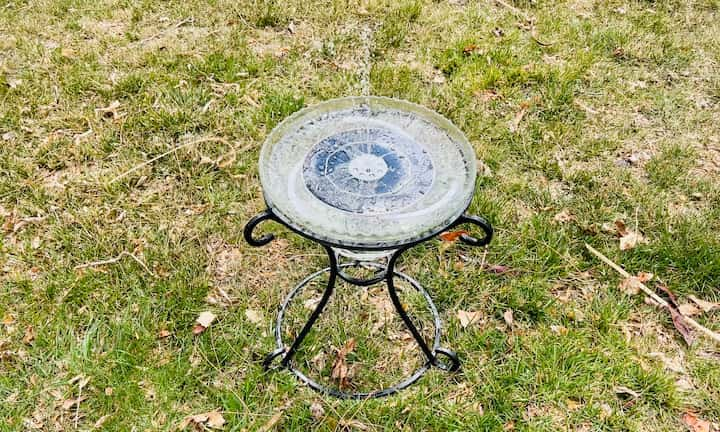
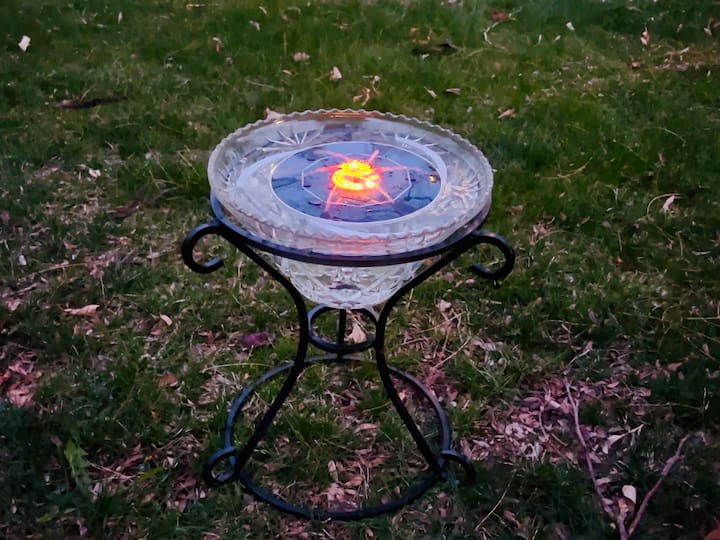
My father-in-law gave me an old metal plant stand, and I found a giant punch bowl at a thrift store that fit perfectly into the ring.
- The Magic: I bought a Solar Fountain Kit online. It floats in the water, runs off sun power, and even lights up and changes colors at night!
- [If you want to see more solar fountains Read the Full Tutorial: Cheap & Easy DIY Solar Fountain]
The Clay Pot Lighthouse
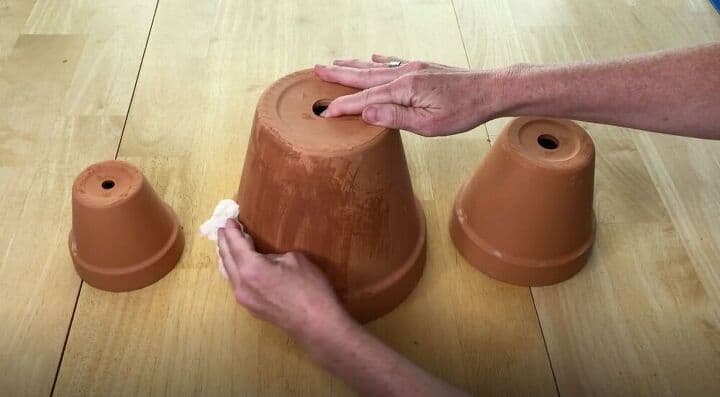
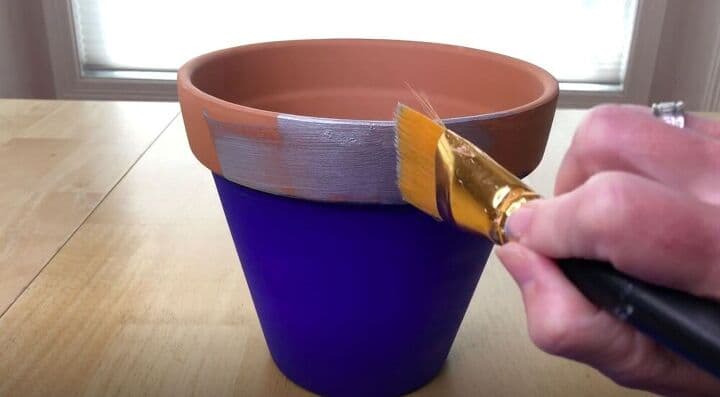
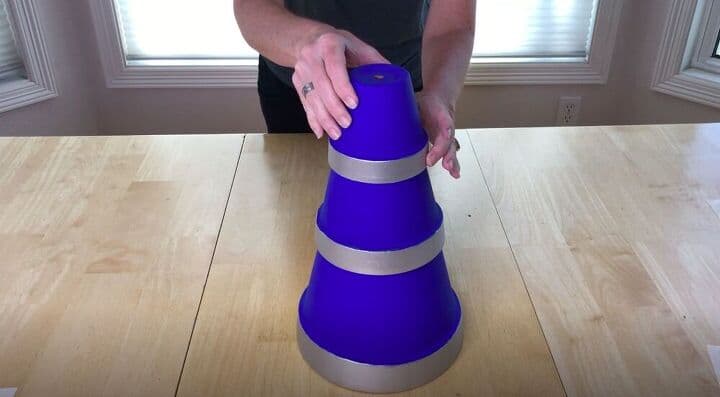
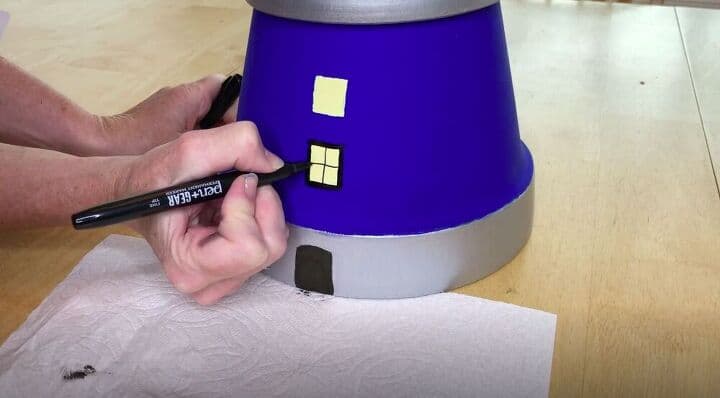
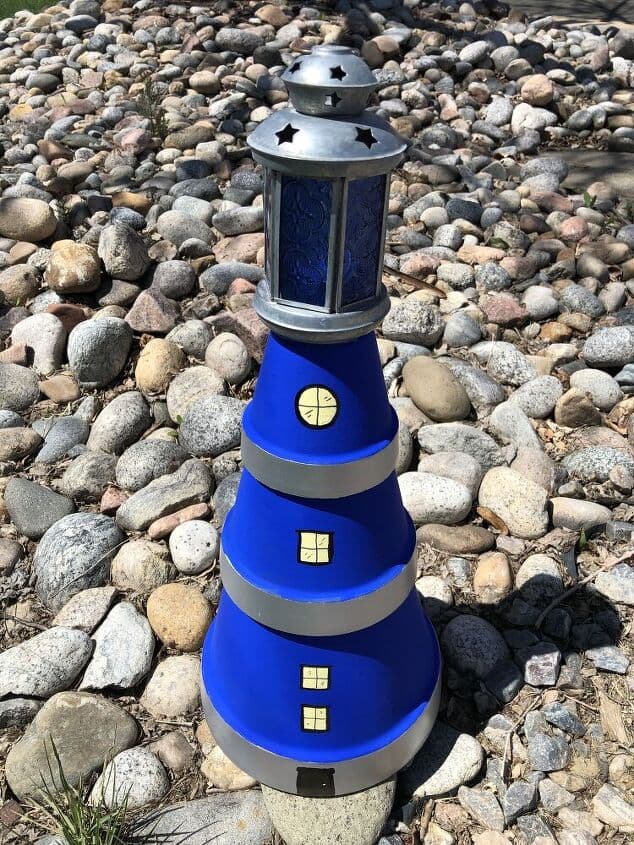
This is one of my most popular projects! I stacked three terra cotta pots upside down, painted them red and white, and glued a solar light on top as the “beacon.” It is adorable in a flower bed.[
The “Tuna Can” Torch

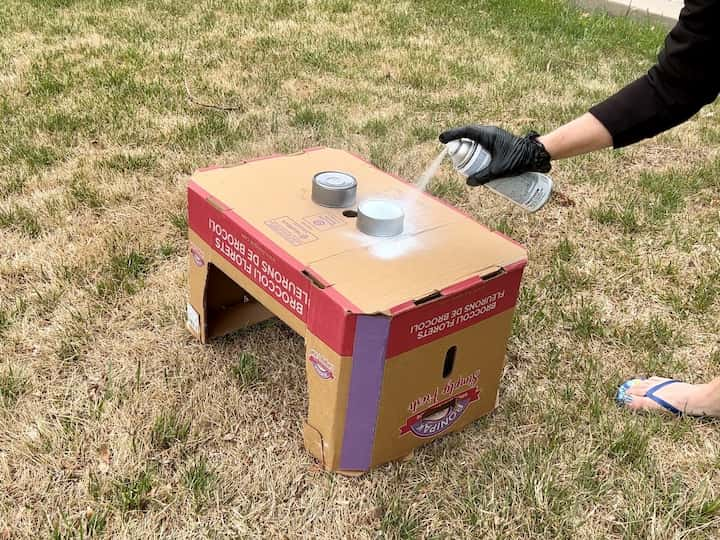
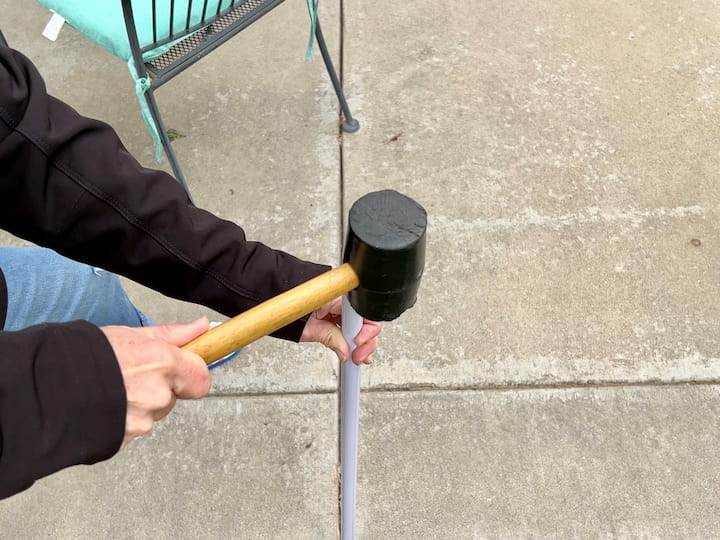
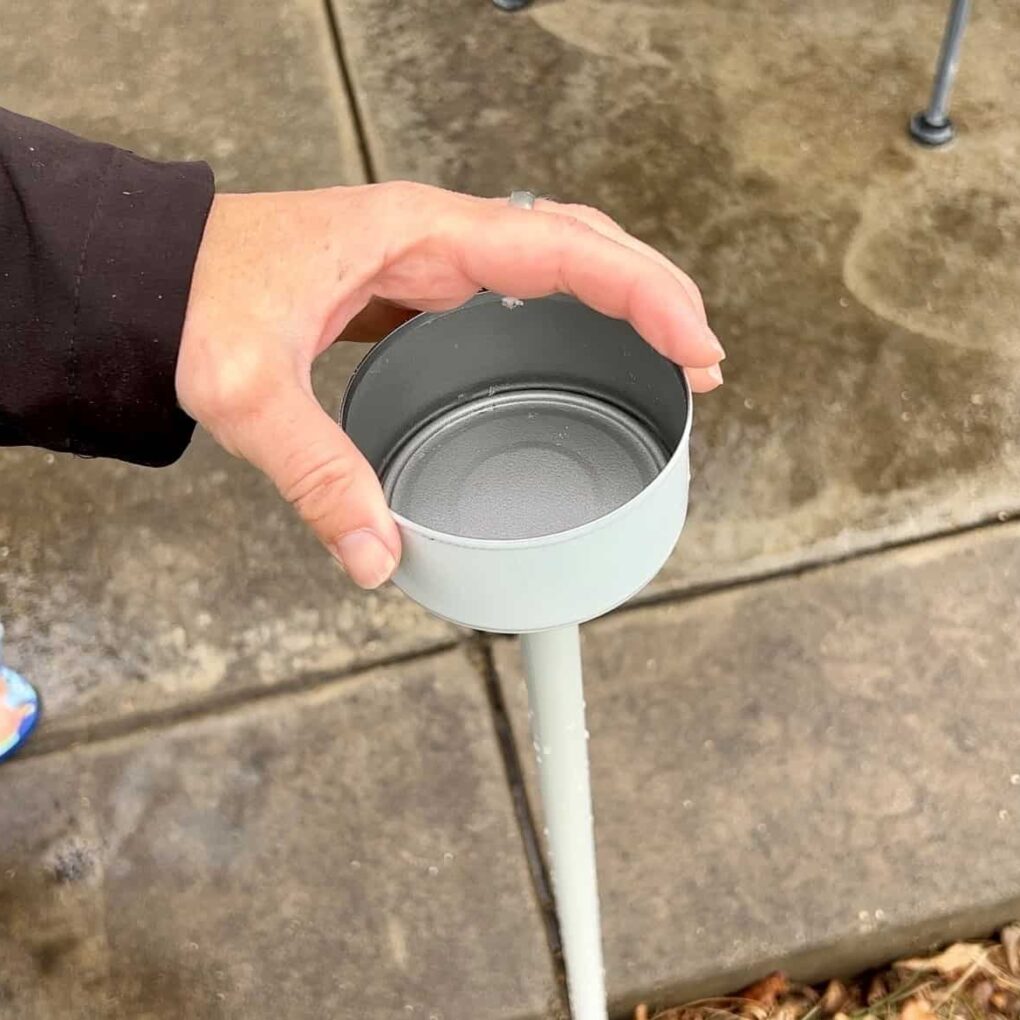
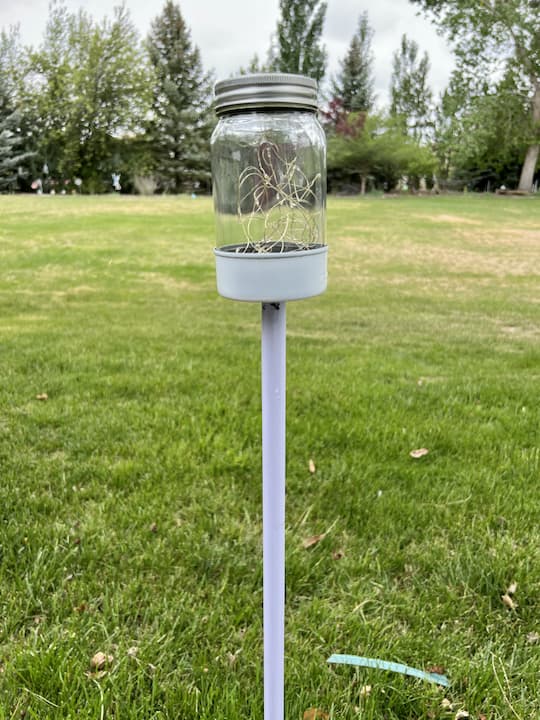
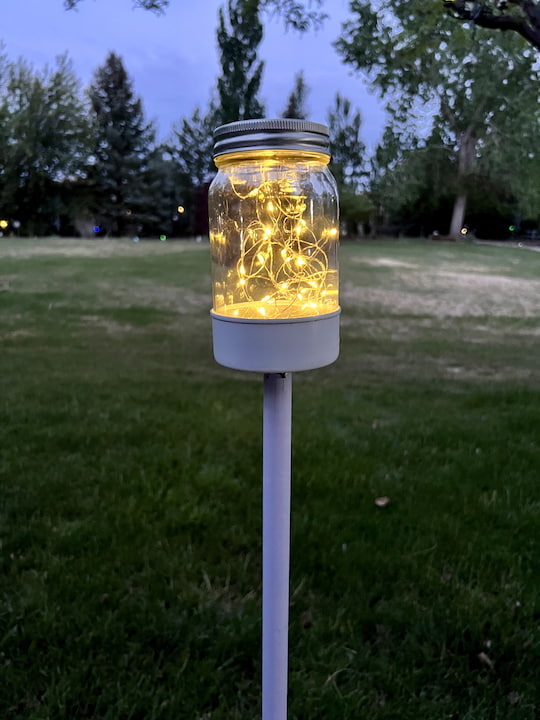
I took a broomstick handle, hammered it into the ground, and glued a painted tuna can to the top. A Mason jar fit perfectly inside the tuna can, and I added solar fairy lights.
Part 6: Walkway & Porch Decor
The Garage Sale Trio
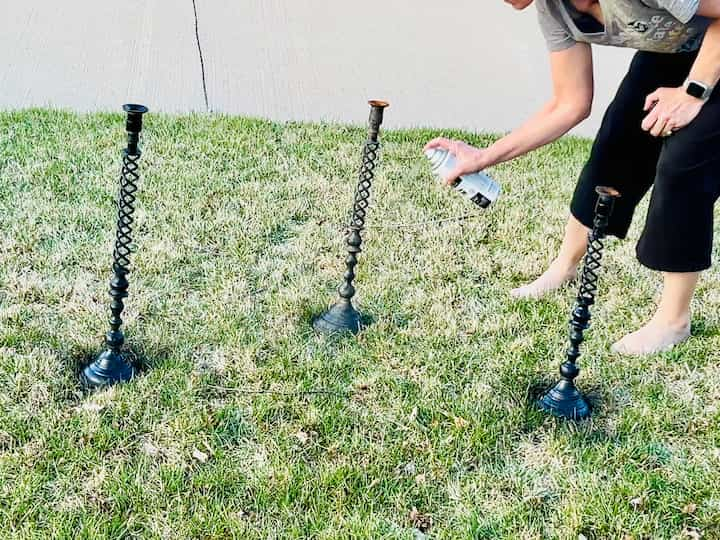
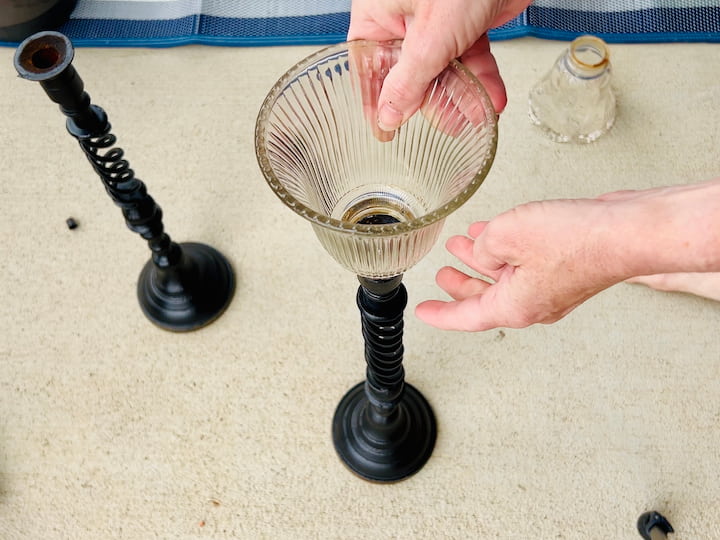
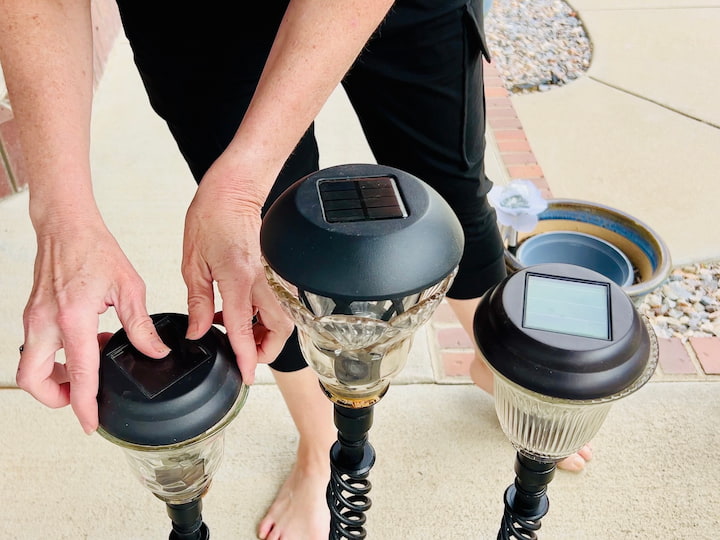
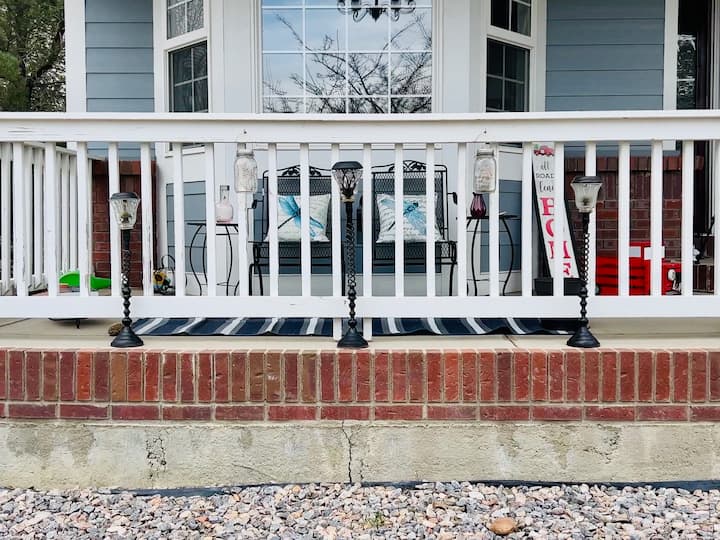

I found a set of three mismatched candle holders at a garage sale. I cleaned them and spray painted them all with Rust-Oleum Outdoor Paint so they looked like a matching set. I used Fix-All Super Glue (from Dollar Tree) to attach thrifted glass light fixtures to the top, then placed solar lights inside.
Mason Jar Walkway Lights
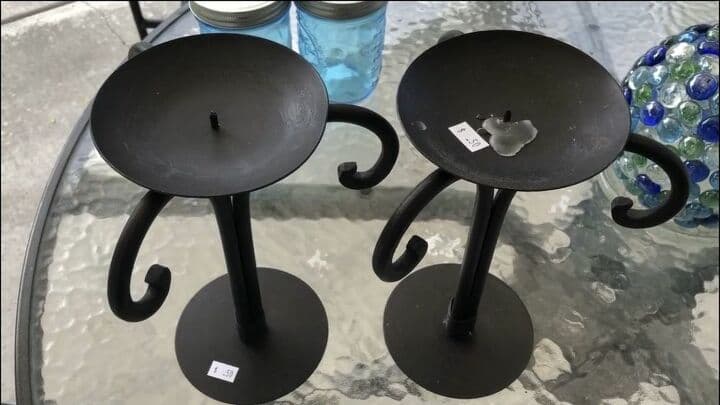
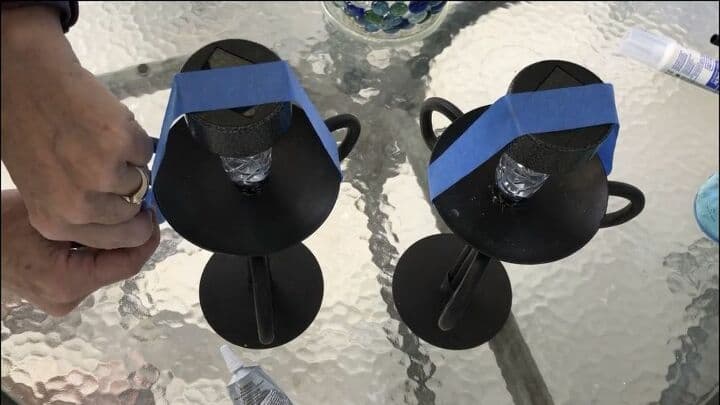
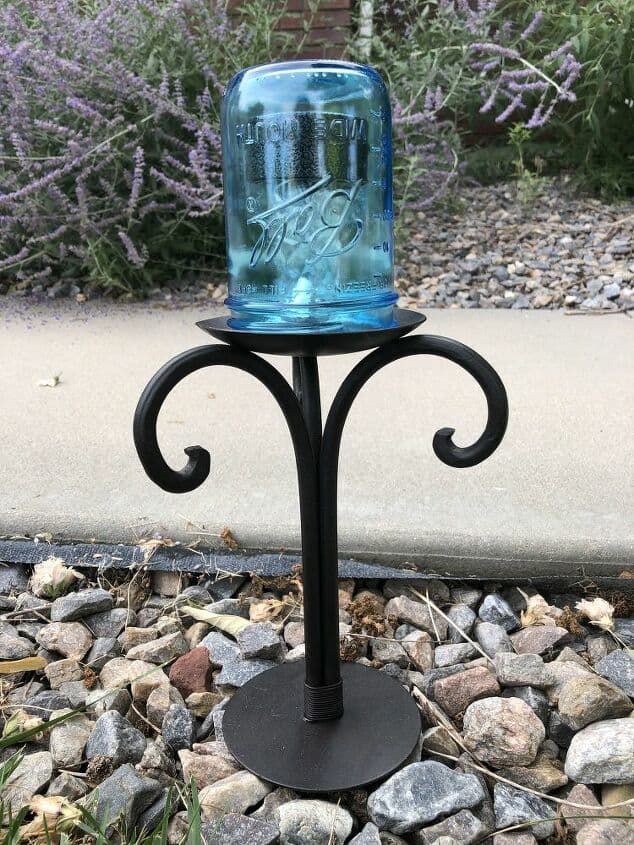
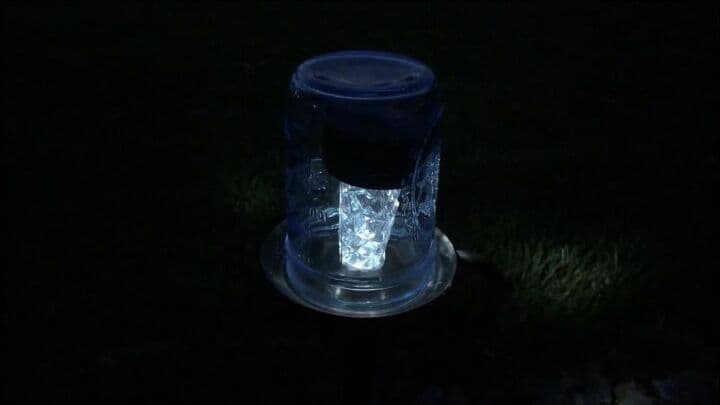
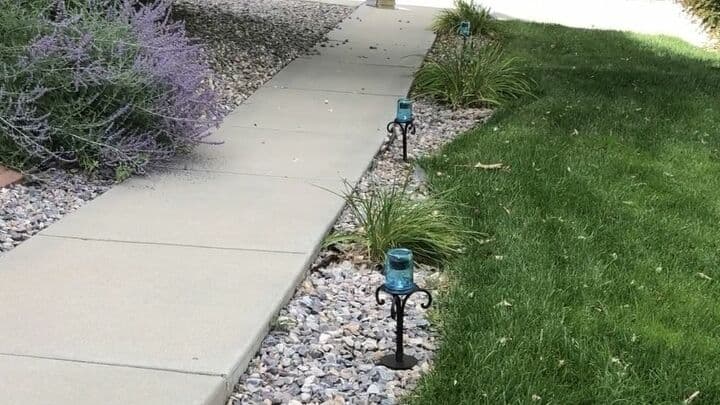
I used E6000 glue to attach dollar store solar lights to the top of thrifted candlesticks. Then, I placed blue Mason jars upside down over the lights. They line my walkway and glow beautifully at night.
Solar House Numbers
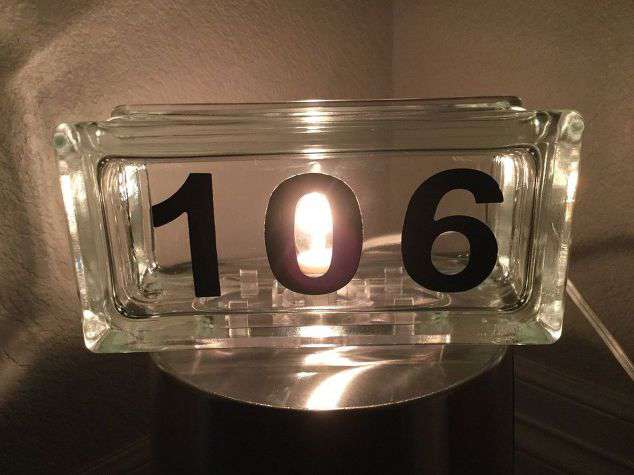
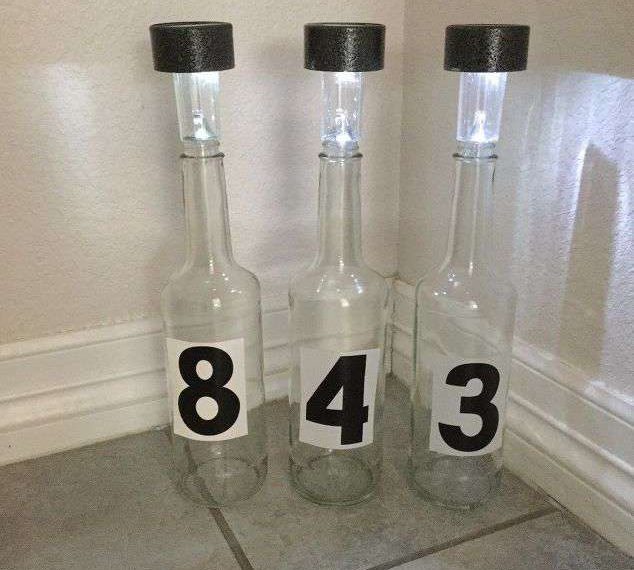
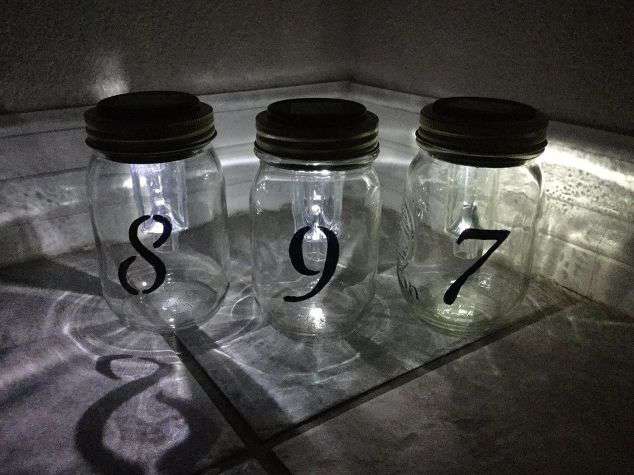
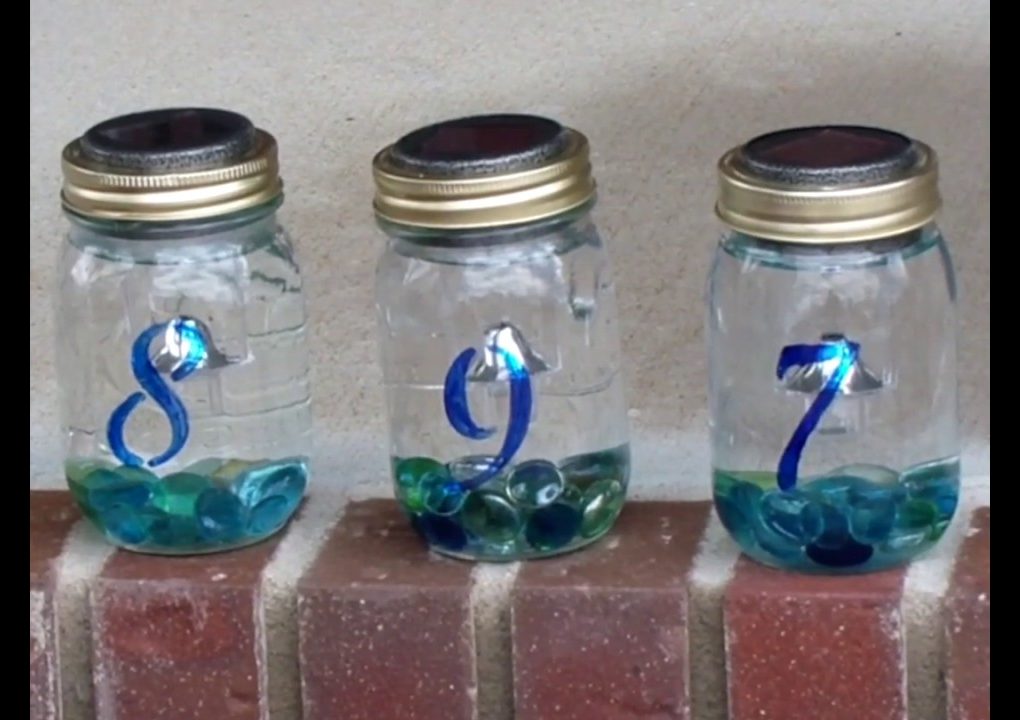
This is a practical project that adds instant curb appeal. I attached solar lights to a planter box (or a wooden plaque) so that my house numbers are illuminated at night. It makes it so much easier for guests (and delivery drivers!) to find my home.
DIY Solar Light Post
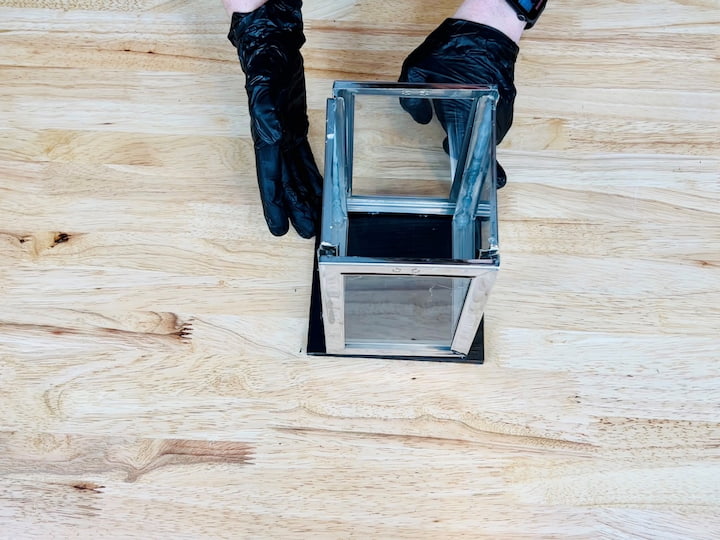
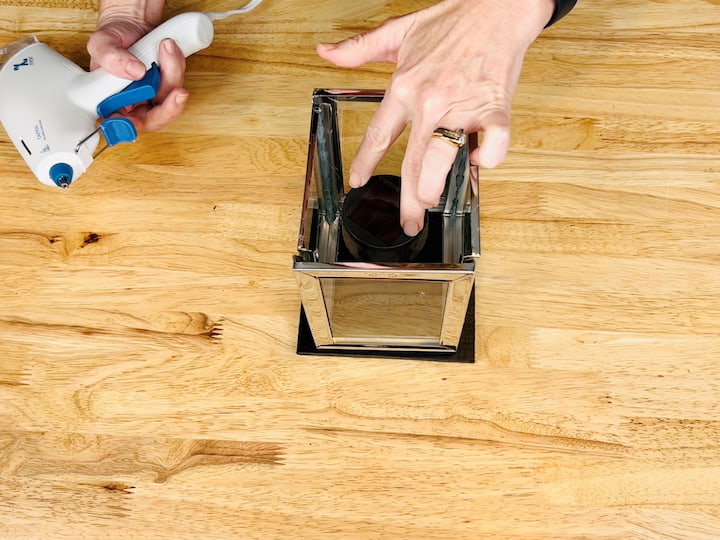
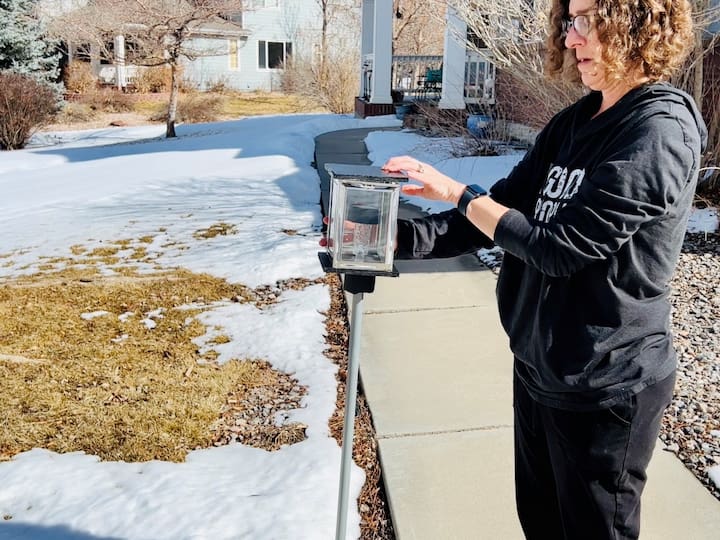
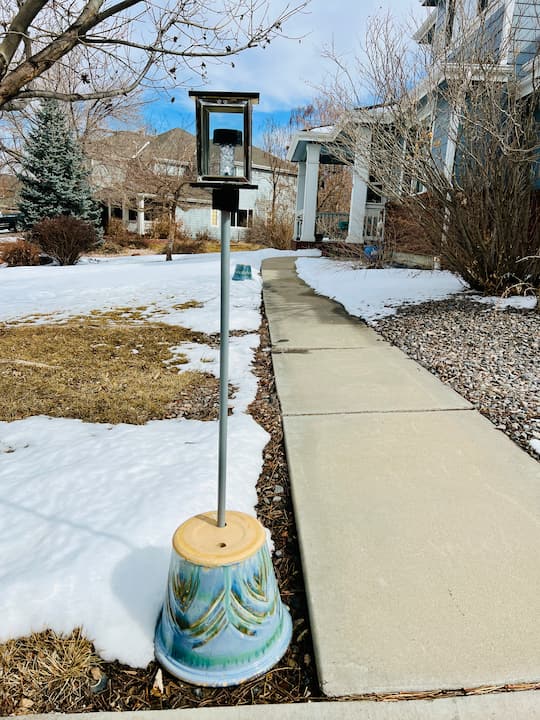
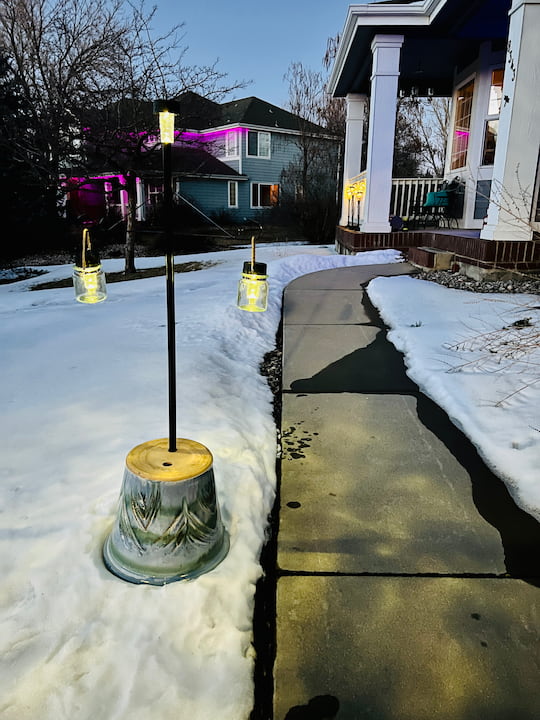
I wanted the look of a classic street lamp without the electrician bill. I used a wooden post, a shelf bracket, and a hanging solar lantern to create a stunning light post for my garden.
Part 7: Seasonal Solar Ideas
The Solar Mummy (Halloween)
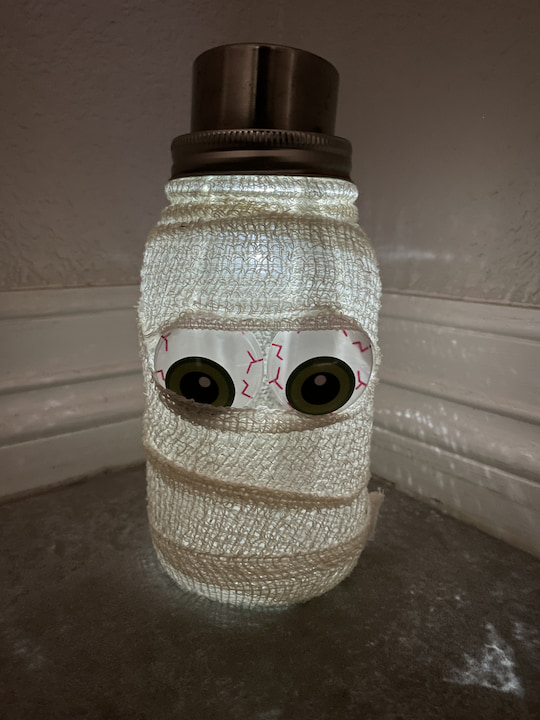
This is a fun, spooky project for October. I wrap a glass jar in gauze, hot glue on two large googly eyes, and place a solar light on top. It glows white through the gauze at night like a ghostly mummy!
Winter: The “Snowman” Effect
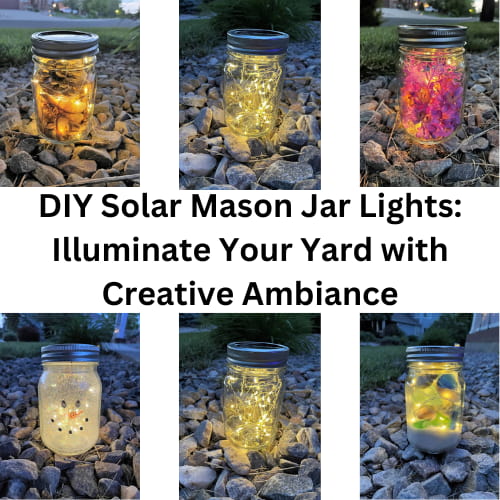
For winter, I wanted a snow globe look.
- The Trick: I swirled Pledge floor cleaner inside a jar, dumped it out, and poured in glitter. The glitter sticks to the glass perfectly!
- I drew a snowman face on the outside with a marker and added the solar lid.
Spring, Summer & Fall Variations
Using the same solar lid jars, I just swap the “filler”:
[See the Tutorial: DIY Solar Mason Jar Lights]
- Spring: I place faux flowers inside the jar so they light up at night.
- Summer: I fill the bottom with sand and sea glass for a coastal vibe.
- Fall: I fill them with pinecones and those “helicopter” seeds (maple seeds) I loved as a kid.
Frequently Asked Questions
Don’t throw them away! 90% of the time, the rechargeable battery inside just needs to be replaced. Twist off the top, open the compartment, and swap in a new rechargeable AA or AAA battery. [Read More: What to do if your solar lights stop working?]
I use Clear Silicone for filling gaps (like in the candelabras) because it is waterproof. For a rigid bond (like glass to metal), I use E6000 or Fix-All Super Glue.
If your project uses glass or ceramic (like the vases or the lighthouse), yes! Water can freeze inside cracks and shatter them. Metal and plastic projects are usually safe to stay out.
How to Make an Upcycled “Solarabra”
Materials
- 1 Thrift Store Candelabra or Candle Holder
- 4-6 Solar Stake Lights Stake removed
- Outdoor Clear Silicone
- Spray Paint Optional
Instructions
- Prep: Clean your thrift store candle holder thoroughly. If you want to change the color, spray paint it now and let it dry.
- Disassemble: Remove the long plastic stakes from your solar lights. You only need the top “head” (light and solar panel).
- Glue: Squeeze a generous amount of silicone into each candle cup on the holder.
- Assemble: Press the solar light head firmly into the silicone.
- Cure: Let the project sit undisturbed for 24 hours to allow the silicone to set waterproof.
- Enjoy: Place in a sunny spot on your patio table!
More Solar Light Ideas
Are you interested in more outdoor solar light ideas and solar light hacks? I have a few solar landscape lighting ideas for flower beds, pathways, walkways, and house address numbers.
Now that you’ve made all of these things, do you know what to do when you’re solar light stops working? Many of these I can buy a new one, twist off the old top and replace the new top. If you’re buying the inexpensive solar lights that might be the cheapest way to go. However, you can find more information in this article: What to do if your solar lights stop working?
Creative Solar Light Ideas Video





Love all your ideas! Super cute and creative. Thanks for sharing!
Thank you so much Kimberly