
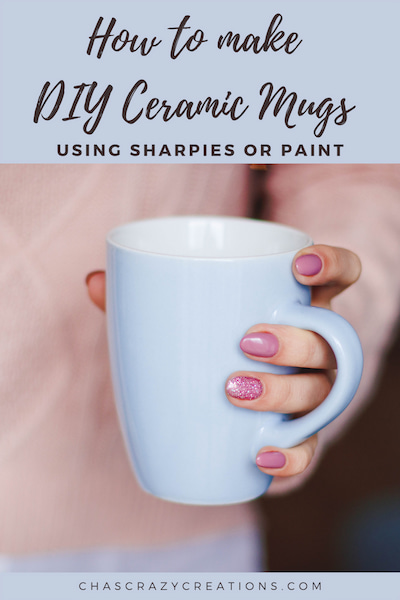
How to make DIY Ceramic Mugs Using Sharpies or Paint

Have you wanted to make a personalized Mug? Are you looking for an easy diy project or an idea for a personalized gift? I love having my morning cup of coffee in cute mugs. I have a few tips and tricks to share using Sharpies or the right kind of paint to make diy coffee mugs.

Here are the supplies you’ll need for a DIY Mug
- A ceramic mug. You can use any type of mug. Look at craft stores or a local thrift store or a dollar store for a cheap mug without any design.
- Sharpies, Paint markers, or multi-surface paint
- Rubbing Alcohol
- Optional – adhesive stencil
HERE ARE THE INSTRUCTIONS FOR A DIY SHARPIE MUG
- The first step is to wash the mug
- Clean the surface of the mug with a little rubbing alcohol
- Decorate a mug by drawing your design with regular sharpies, or a paint pen, or place your adhesive stencil onto the mug and color in the stencil or paint the stencil.
- If using a stencil, carefully remove the stencil from the glass immediately after painting.
- Cure the art for 1 day
- For best results place the mug into a cold oven, and set the oven to 350 degrees, once the oven reaches the temperature, set a timer for 30 minutes. When the timer goes off, turn off the oven but leave the mug in the oven until it completely cools. *If using multi-surface paint, read the package directions and follow its cure and bake instructions.
- Coat the design with Dishwasher Safe Mod Podge according to package instructions.
WHY A MUG DIY?
- It’s so fun to decorate your own mugs.
- You can make diy mugs for all sorts of special occasions including holiday gift mugs.
- DIY Mug Painting is such a great gift idea. Kids will love to make mugs as mother’s day gifts or father’s day gifts.
- DIY painted coffee mugs are a fun activity for the whole family. Have the kids put the date on the bottom of the mugs so you know when they made them.
- A DIY Painted Mug is a great party favor or party activity.
HERE ARE SOME CERAMIC MUGS TO DECORATE
DIY CERAMIC MUG OPTIONS
Decorating mugs is so easy and these are really inexpensive projects!!
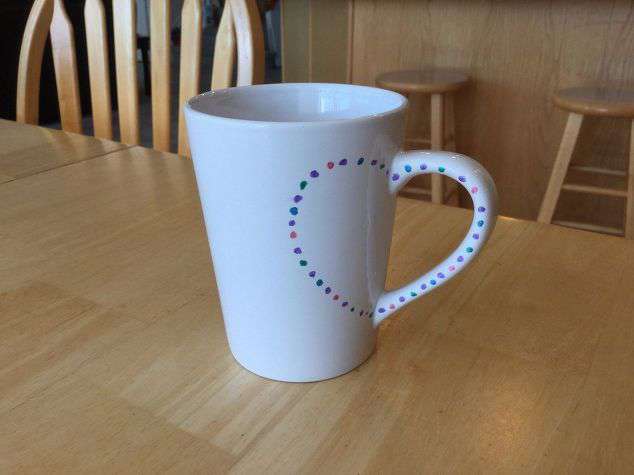
DECORATE YOUR MUG WITH A HEART
Homemade mug designs are easy and inexpensive and make a great gift, party favor, or craft night activity. You can find the full tutorial at DIY Mug Designs Heart
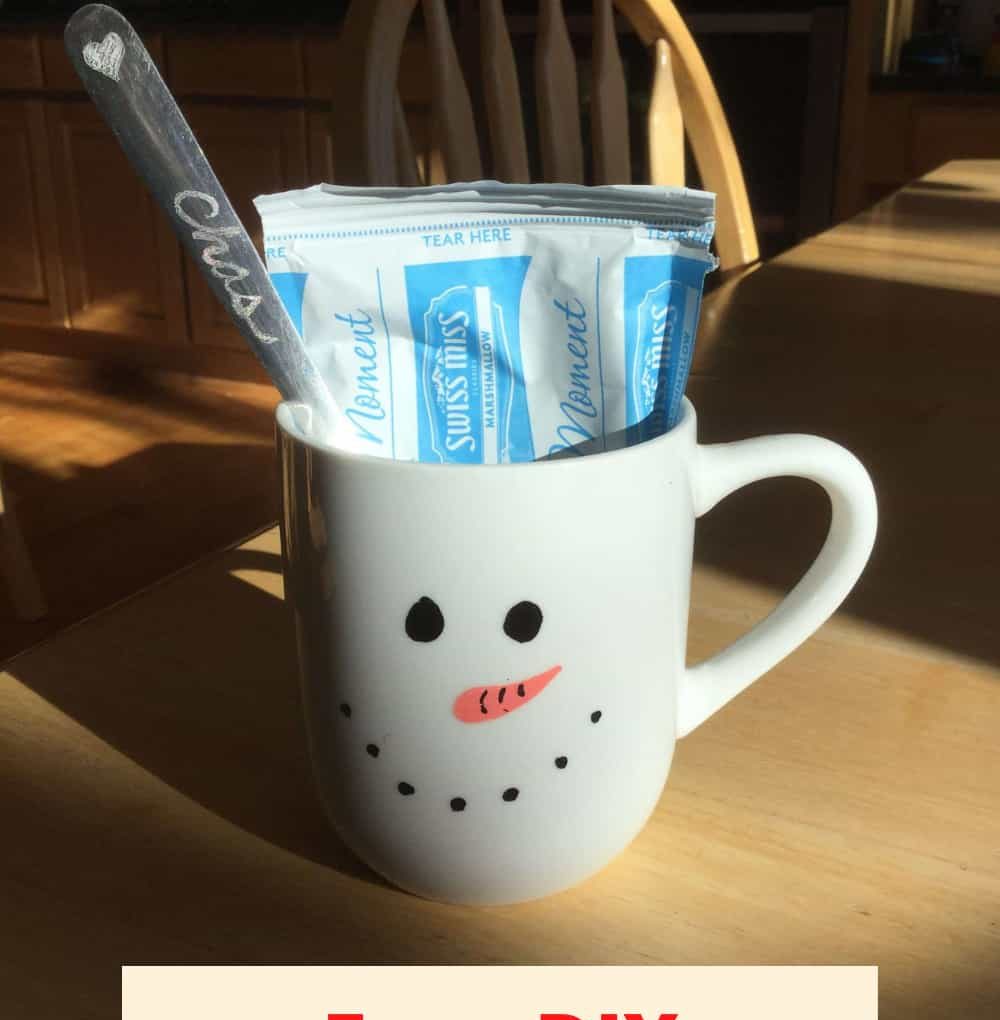
DECORATE YOUR OWN COFFEE MUG INTO A SNOWMAN MUG
How about homemade personalized mugs? I like making my own gifts for the holidays, and today I’m sharing my easy snowman mug with you. You can find the full tutorial at Decorating ceramic mugs, Easy DIY Snowman Mug

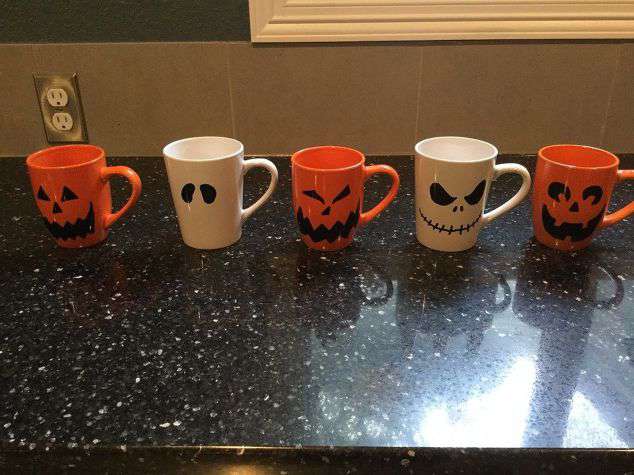
DECORATING MUGS FOR HOLIDAYS
Decorating mugs for different holidays and occasions. I decorate mugs for Halloween party favors, and then for my kid’s party, they decorated their own. You can find the tutorial on How to decorate a mug.
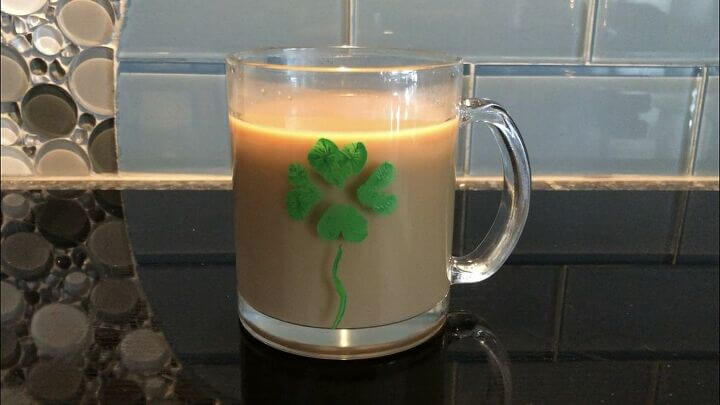
FINGERPRINT DIY DECORATED COFFEE MUGS
You can make DIY-painted mugs with a little paint and your fingers. The best part is you can enjoy the fingerprints for years to come. You can find the full tutorial at Fingerprint St. Patrick’s Day Mug
OTHER DIY CUP IDEAS
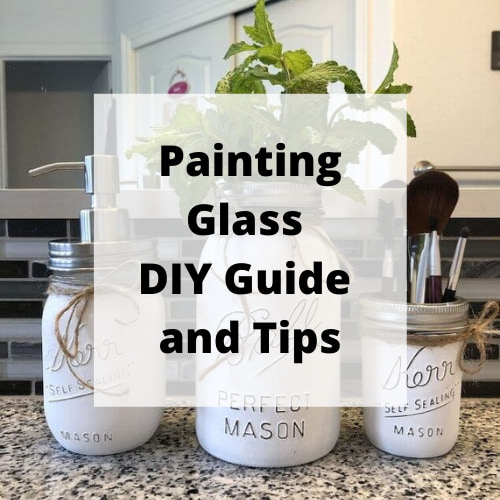
- Painting Glass DIY Guide and Tips
- Painting Aspen Trees To Make Easy and Stunning Wine Glasses
- Painting Glasses With Glass Paint
TIPS FOR DIY SHARPIE MUGS
- Make sure to clean the mug well before starting
- Let the image set for 1 day to ensure it’s dry
- Bake according to the above instructions
- Make sure to coat the design with Dishwasher Safe Mod Podge or most likely the design won’t stick.
- You can hand wash the ceramic mug DIY or place it on the top rack of your dishwasher.
Shop any of these stores and I receive a small commission at no cost to you.
 AmazonCommercial 12-Piece P…Shop on Amazon
 Sharpie S-Note Creative Mar…Shop on Amazon
 Decoart 6 Piece 1mm Brights…Shop on Amazon
, Colors may vary, 24") FolkArt PROMO830 Multi Sati…Shop on Amazon
FolkArt PROMO830 Multi Sati…Shop on Amazon, CS25139 Gloss | Mod Podge Paint Brush Applicator, 24960 2.25-Inch, Basic") Mod Podge Dishwasher Safe W…Shop on Amazon
Mod Podge Dishwasher Safe W…Shop on Amazon
How to make DIY Ceramic Mugs Using Sharpies or Paint
Equipment
- None
Materials
- A ceramic mug
- Sharpies Paint markers, or multi-surface paint
- Rubbing Alcohol
- Optional – adhesive stencil
Instructions
- Wash the mug
- Clean the mug with rubbing alcohol
- Decorate a mug by drawing your design on with a sharpie, paint pen, or place your adhesive stencil onto the mug and color in the stencil or paint the stencil.
- If using the stencil, carefully remove the stencil from the glass immediately after painting.
- Cure the art for 1 day
- Place the mug into a cold oven, set oven to 350 degrees, once the oven reaches the temperature, set a timer for 30 minutes. When the timer goes off, turn off the oven but leave the mug in the oven until it completely cools. *If using multi-surface paint, read the back of the bottle and follow it’s cure and bake instructions.
- Coat the design with Dishwasher Safe Mod Podge according to package instructions.

Don’t forget to link to ThriveCart – Book


This is a very nice, well organized blog. I am sure I will be in and out looking for things I want to do and need to know how to do it.
Thank you!
Sharon
Thank you so much Sharon!
I try and buy mugs and bowls at thrift stores or garage sales for maximum sustainable practices- and financial!
Great idea, thanks for sharing.