How Does Screen Printing Work: Beginners Guide
Are you wondering how does screen printing work? In this guide, we’ll show you a few different tutorials and show you just how easy it is!
Unlock the secrets of screen printing with our in-depth tutorial. From understanding the intricacies of the process to creating stunning projects, this guide will walk you through every step of the journey. Perfect for beginners and enthusiasts alike!
Welcome to our comprehensive guide on screen printing! Whether you’re a budding artist or a seasoned enthusiast, this tutorial is your gateway to mastering the art of screen printing. Join us as we unravel the mysteries behind this versatile printing technique and embark on a journey of creativity and exploration.
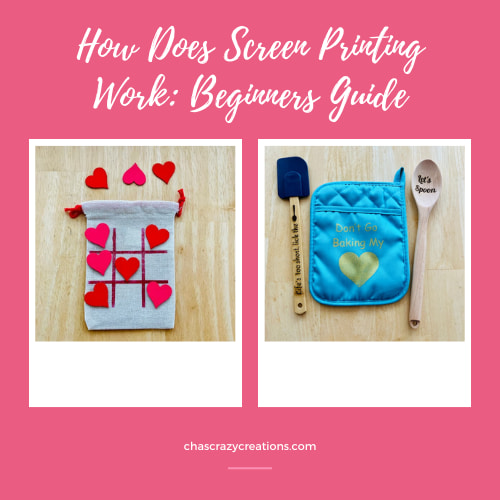
This post is in collaboration with xTool. All thoughts and opinions are my own. A big thanks to xTool for the S1 Laser Cutter & Screen Printer

Don’t forget to link to ThriveCart – Book
Introduction to Screen Printing
What is screen printing?
Traditional Screen printing, also known as silk-screen printing, is a versatile technique used across various industries, particularly in the textile industry, to imprint intricate designs onto fabrics and other substrates. At the heart of the screen printing process lies the screen frame, typically made of sturdy materials like aluminum or wood, which holds the stenciled mesh in place. To create the stencil, a light-reactive emulsion is applied to the mesh, covering all areas except those intended for printing. This transparency allows for precise control over the design’s placement and ensures that only the desired areas of the screen are exposed to the bright light during the exposure process.
Once the emulsion-coated screen is dry, a transparency of the design is placed on top of the screen, aligning it with the open areas of the stencil. The exposure unit, equipped with powerful bulbs, emits bright light onto the screen for a specific duration, effectively curing the emulsion in the exposed areas. This exposure time varies depending on factors such as the type of emulsion used, the wattage of the bulbs, and the desired level of detail in the final product.
After exposure, the screen is washed with water, revealing the stenciled mesh underneath. Any unexposed emulsion is washed away, leaving behind a clean stencil ready for printing. Multiple layers of ink are then applied to the screen using a rubber blade or squeegee, which forces the ink through the open areas of the stencil onto the printing board below. This process can be repeated with separate screens for each color in the design, allowing for precise registration and vibrant, multi-colored prints.
One of the key advantages of screen printing is its cost-effectiveness, especially for large-scale production runs. Unlike digital printing, which requires specialized equipment and consumables for each print, screen printing inks can be used across multiple projects with minimal waste. Additionally, the opaque nature of screen printing inks ensures excellent coverage on dark-colored textiles, making them ideal for creating bold and vibrant designs.
Screen printing offers numerous advantages, including versatility, durability, and the ability to print on a wide range of surfaces. From custom apparel and promotional merchandise to fine art prints and industrial labels, screen printing finds applications in various industries and creative endeavors.
Screen printing remains a popular choice for creating high-quality prints on textiles and other substrates. By harnessing the power of light-reactive emulsions, precise exposure techniques, and versatile screen printing methods, artists and manufacturers can produce stunning designs with ease and efficiency. Whether it’s a single-color imprint or a complex CMYK design, screen printing offers endless possibilities for bringing creative visions to life.
That’s a lot right? Well guess what, I’m going to share a super easy way to screen print with 2 xTool products! Let’s get started.
The Anatomy of Screen Printing
Screen printing involves several essential components, including the screen, frame, stencil, squeegee, ink, and substrate. Each component plays a crucial role in the printing process, contributing to the quality and precision of the final print.
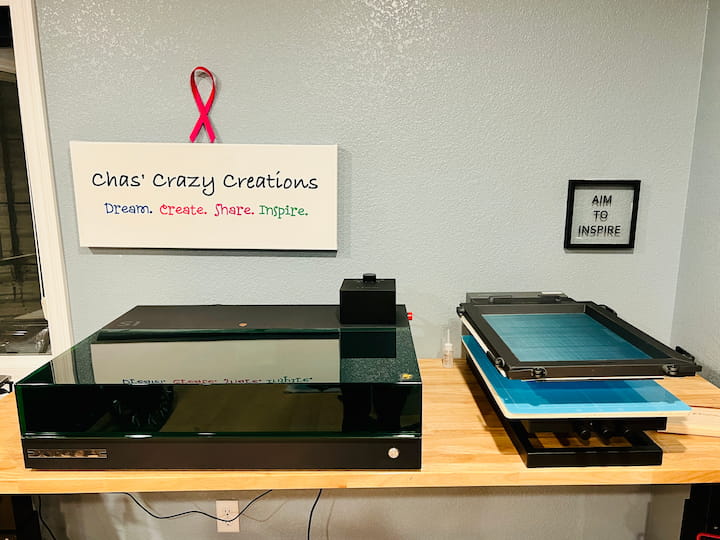
How Does Screen Printing Work Materials List:
Next, you can pick the materials that you want to print on. Screen printing is a versatile printing method that can be applied to a wide range of materials, allowing for diverse creative applications. Here are some common materials you can screen print on:
- Fabric: (t-shirt, hats, bags, etc) Cotton, Polyester, Blend fabrics (e.g., cotton-polyester blends), Nylon, Rayon, Linen
- Paper: Cardstock, Poster paper, Art paper, Newsprint, Kraft paper
- Plastics:
- PVC (Polyvinyl chloride), Acrylic, PET (Polyethylene terephthalate), Polycarbonate, Polypropylene
- Metal: Aluminum, Steel, Tin, Brass, Copper
- Wood: Plywood, MDF (Medium-density fiberboard), Hardwood (e.g., maple, birch)
- Glass: Bottles, Jars, Drinkware (e.g., glasses, mugs), Flat glass surfaces
- Ceramics: Tiles, Plates, Mugs, Bowls, Vases
- Leather and Leatherette: Leather jackets, Bags, Wallets ,Belts, Faux leather products
- Rubber: Rubber mats, Rubberized fabrics, Silicone products
- Vinyl: Vinyl banners, Vinyl decals, Vinyl stickers
- Other Materials:
- Cardboard
- Canvas
- Tote bags
- Umbrellas
- Textured surfaces (e.g., foam, mesh)
These are just a few examples of the many materials that can be screen printed on. With the right preparation and techniques, screen printing can be adapted to suit almost any surface, offering endless possibilities for creative expression and customization.
How Does Screen Printing Work Instructions:
For this first tutorial, I’ll be creating a tic-tac-toe travel game. This game is a great gift idea for anyone!

Preparing for Printing
I found this little pouch and knew it would be perfect for the game I was creating.
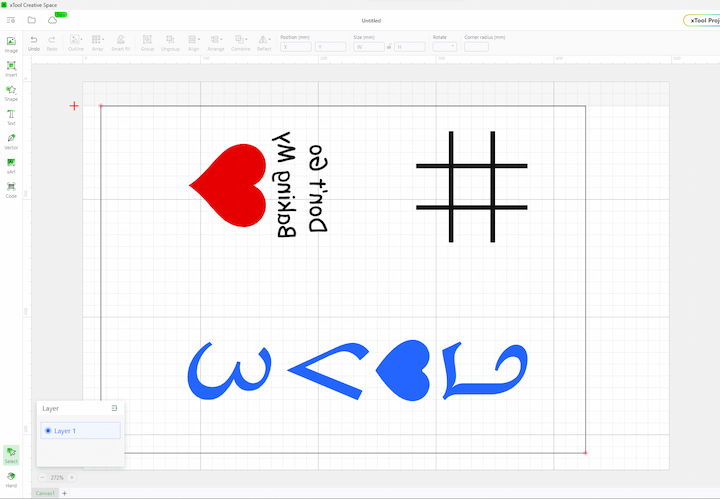
I used the xTool Creative Space to create the design on the pouch.
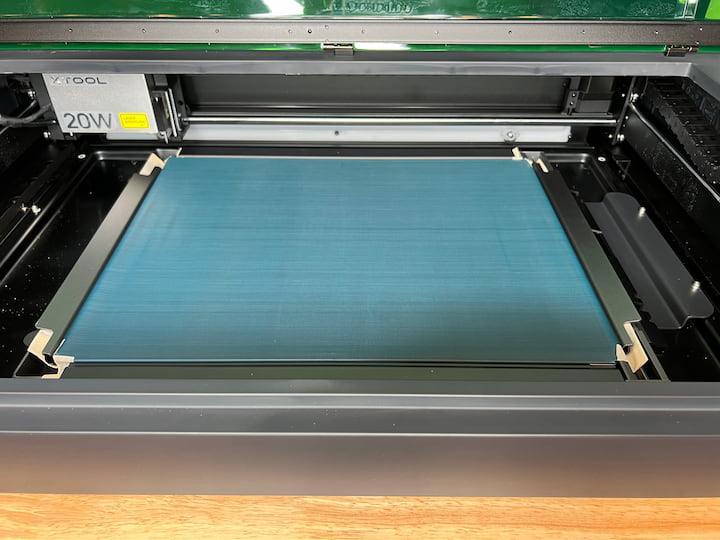
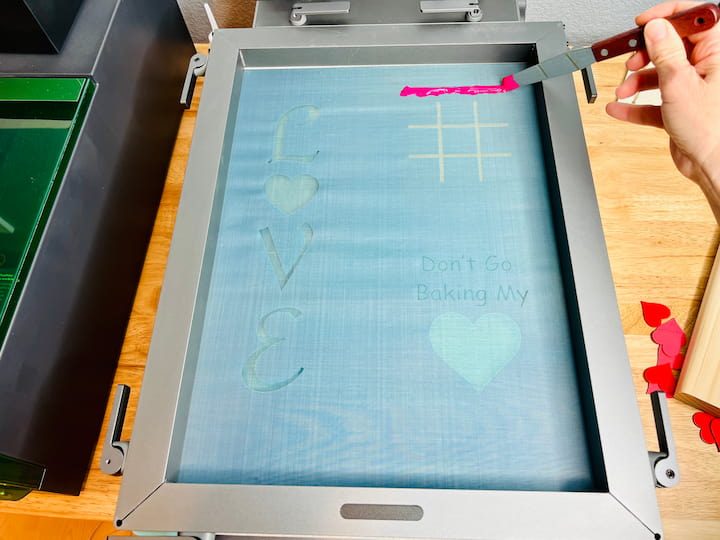
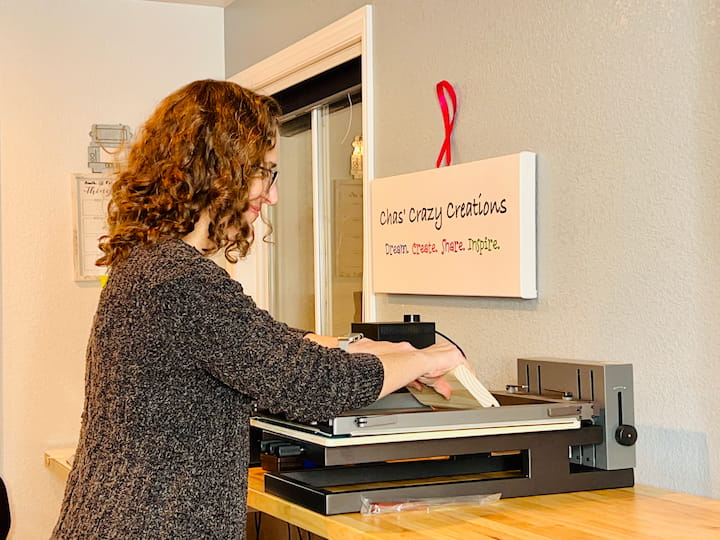
I followed the instructions and put together the xTool screen and placed it into the xTool s1.
You can find a great video tutorial on xTool’s Website for all of these steps!
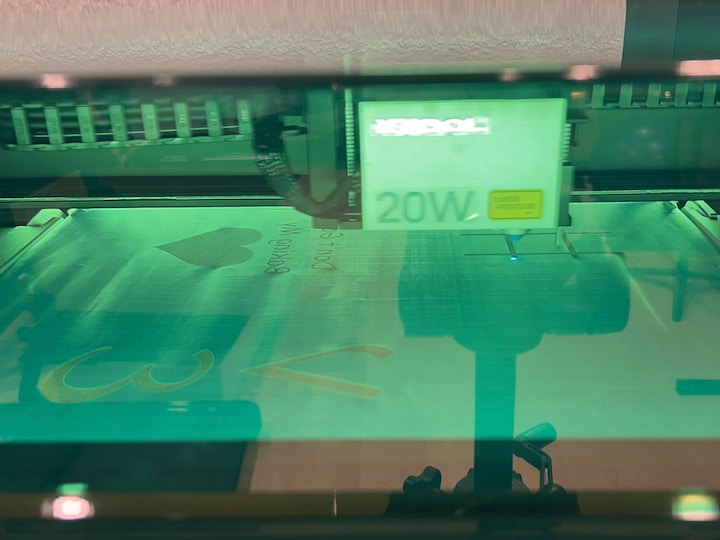
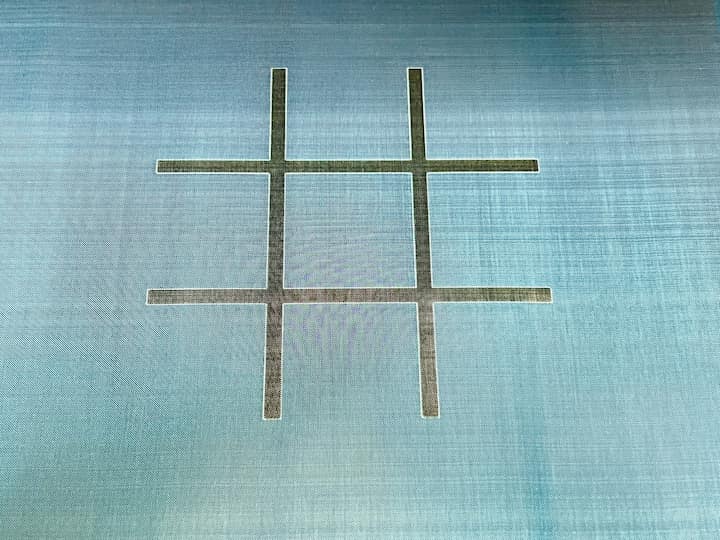
I ran the xTool and waited for it to reveal my design.
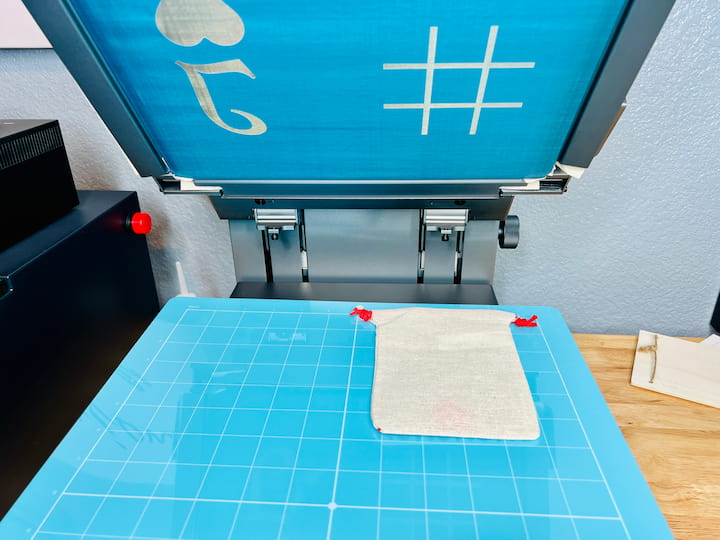
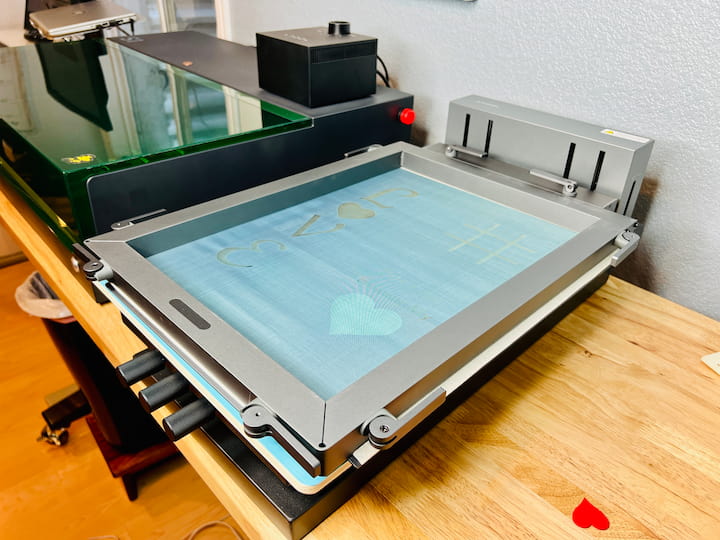
I assembled the xTool screen printer following the directions and placed my pouch under the design.
Printing Process
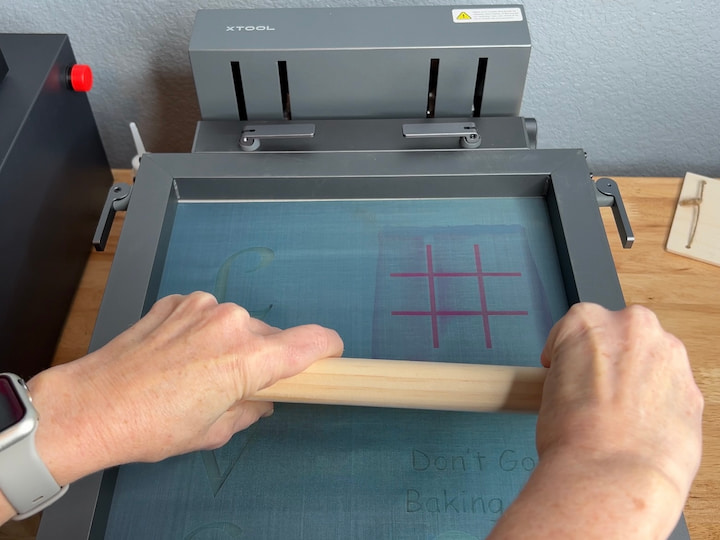
Applying ink to the screen and used the squeegee to pull the paint across the design.
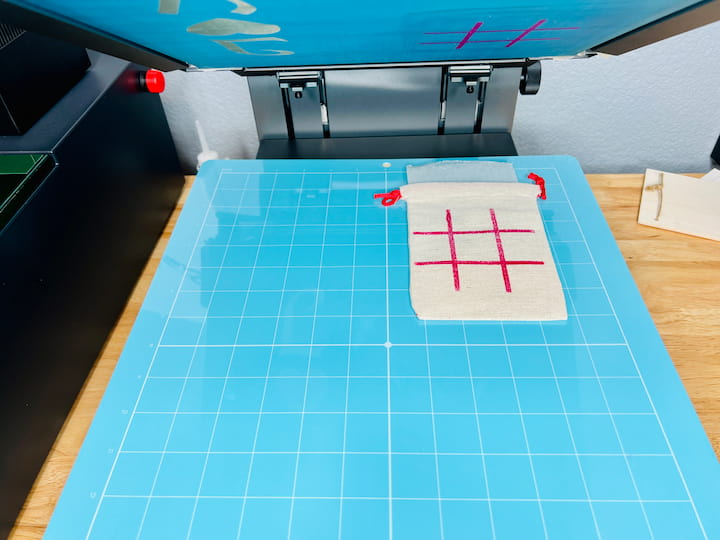
I opened up the screen printer to reveal my design.
Curing and Finishing
I waited for it to dry, and then I flipped it over and printed the other side.
Understand the importance of curing prints to ensure durability and washability. There are different curing methods, including heat press, conveyor dryer, and flash curing.
While it was drying, I was able to complete the rest of the game.
Creating the Game Pieces

I’m creating a game, so I started by creating the game pieces using the xTool Creative Space.
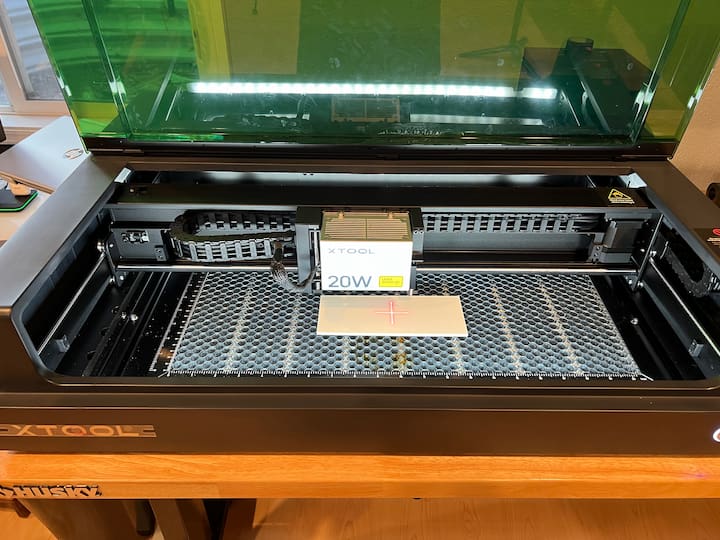

I set up the xTool with my wood piece, and the laser cut out my pieces.
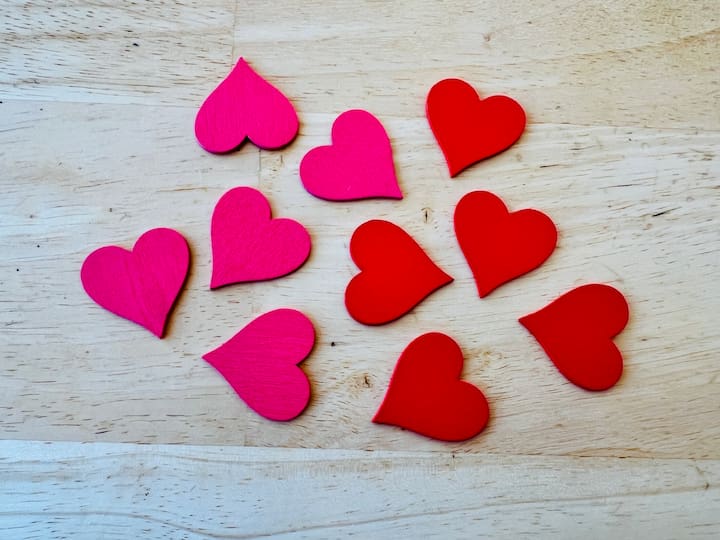
I painted the pieces with Folk Art Paint in the colors read and pink. I needed 5 pieces with each color, but it’s a good idea to always have some extras incase you loose pieces.

Here is a look at the 3 attempts I had for the screen printing. The first time, I had too much ink and got some bleed, the second time I didn’t have enough but when I tried again, it had moved so I got double lines, and the third time worked the best.
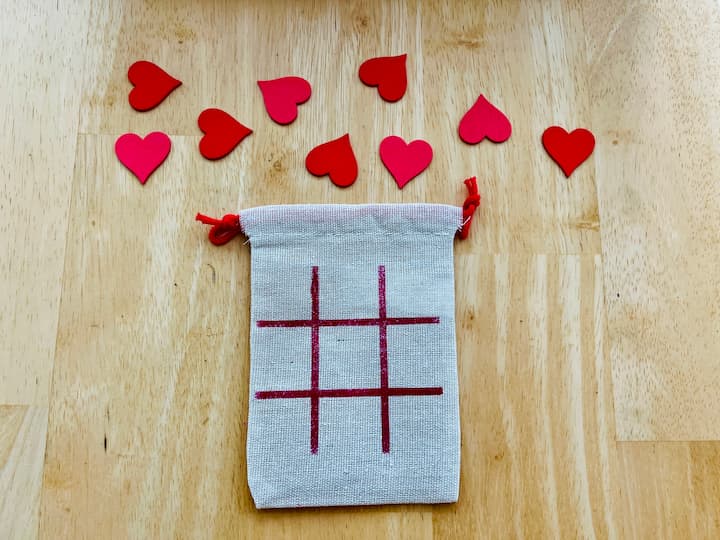
Assemble the Game
Place the pieces into the bag, and give it as a gift.
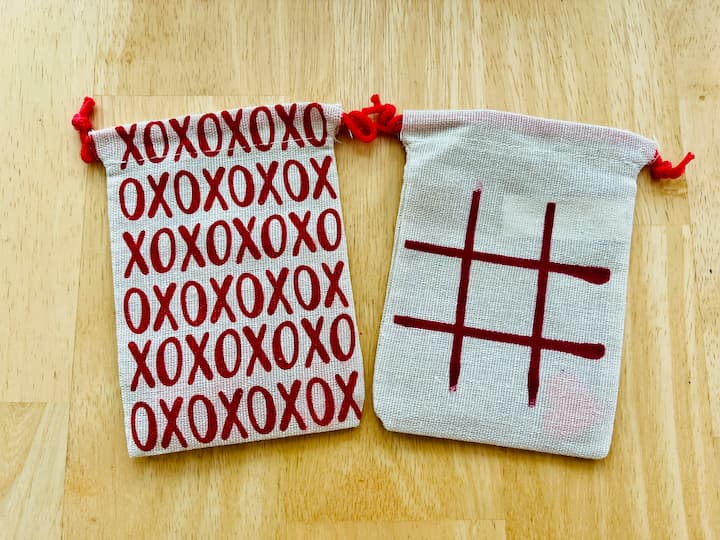
This particular bag had a print on the other side already, but I could have made this design with the xTool and Screen Printer.
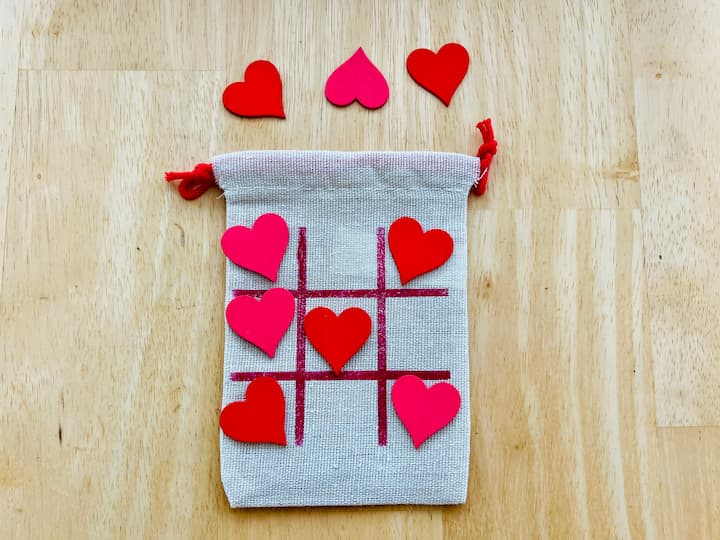
Play the Game
Pull the pieces out and play the game of tic-tac-toe. You can find the official rules at Tic Tac Toe – Brain Explorer – Exploratorium
How Does Screen Printing Work Q & A
In screen printing, the process begins with creating a stencil on a mesh screen. Next, the screen is placed over the item to be printed, and ink is spread over the screen while a squeegee is used to press the ink through the stencil onto the surface. This process is repeated for each color in the design, with precise alignment to create the final print. Finally, the ink is cured to set the print permanently.
Screen printing is a durable printing method, making it a great choice for long-lasting designs on various surfaces, including fabric, paper, and plastic. However, the permanence of screen printing ultimately depends on factors such as the quality of materials used and the care and maintenance of the printed item.
While screen printing offers vibrant and durable prints, it has some drawbacks. These include limitations on intricate details, higher setup costs for small runs, and the use of potentially harmful chemicals in the process. Additionally, screen printing may not be cost-effective for multi-colored designs with complex color gradients.
Screen printing, when done with high-quality materials and proper techniques, typically does not peel off. However, if the printing process or materials used are of poor quality, or if the printed item is not cared for properly, there is a possibility of peeling over time.
Screen printing is not typically designed to be removable. Once the ink is cured, it becomes a permanent part of the printed item. However, over time and with extensive wear, the print may fade or wear off, especially if the printing process or materials used are of low quality.
More Screen Printed Projects and Laser Gift Ideas


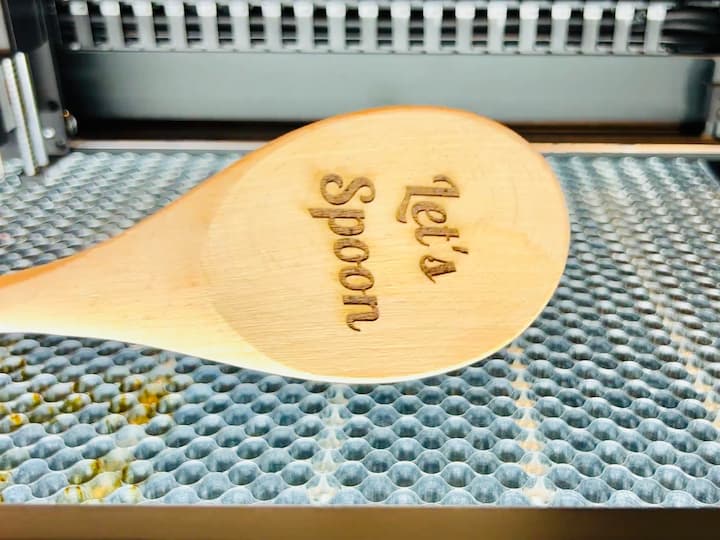
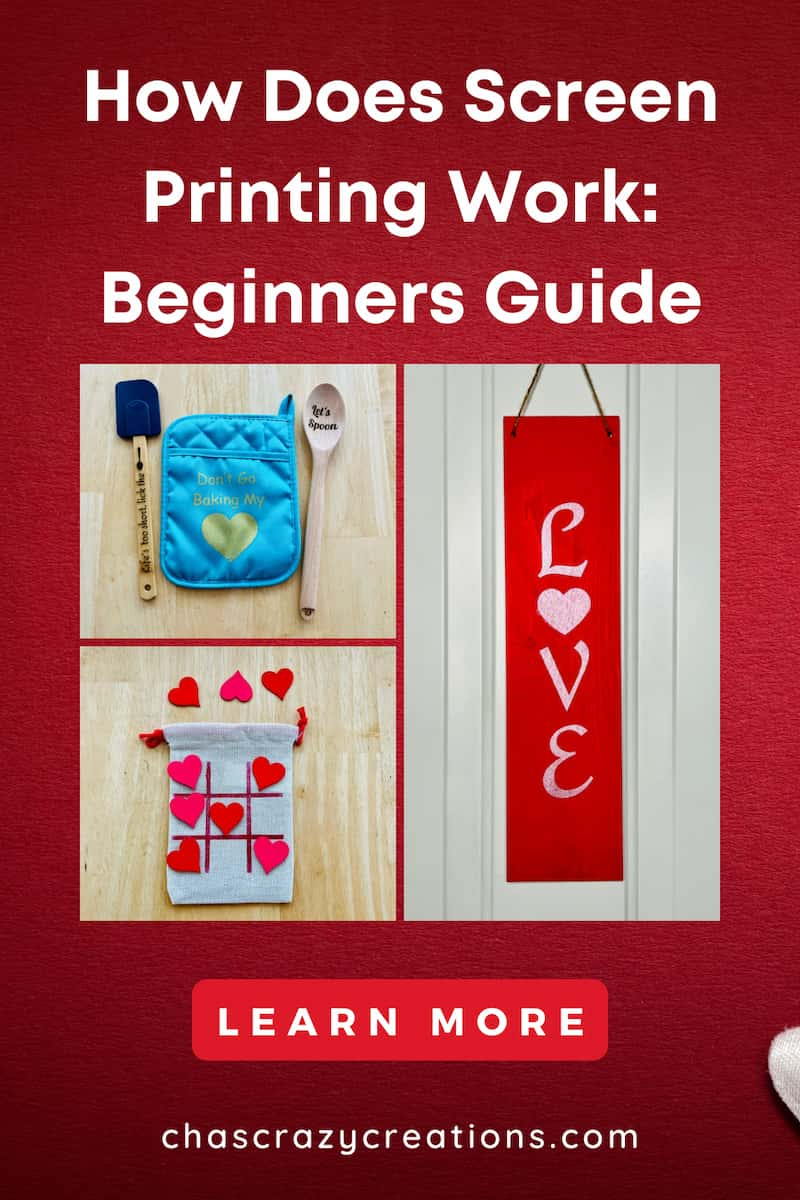
Custom Laser Utensils with Screen Printed Oven Mit
- I started by placing my wooden spoon into the xTool S1.
- I mapped it, and centered my design, and ran the laser tool.
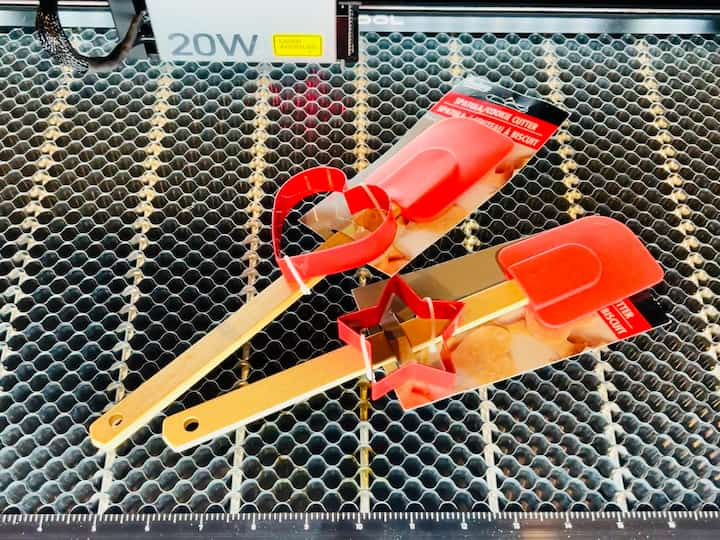

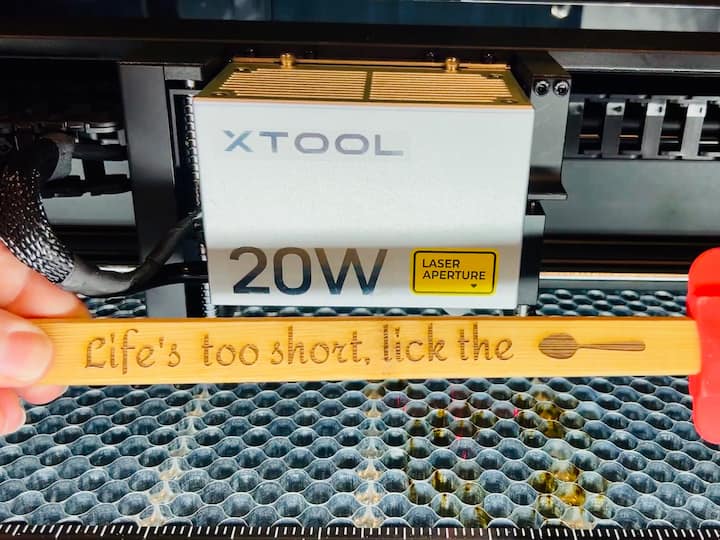
- I placed my spatchula into the xTool s1.
- I mapped it, centered my design, and ran the laser tool.
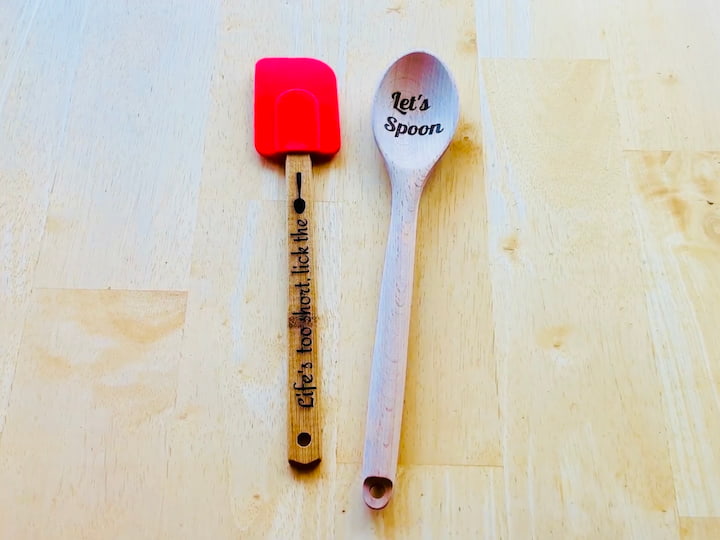
Here is a look at the utensils after they were finished.


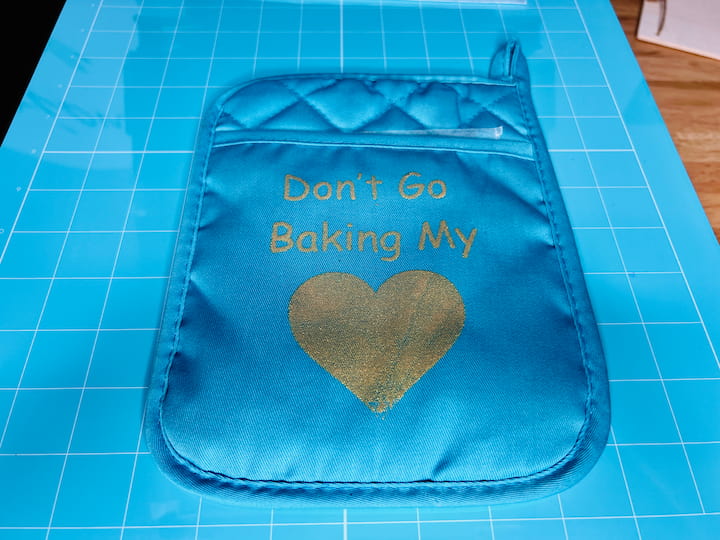
- I created a custom design in xTool Creative Space for my pot holder or oven mitt.
- I screen printed the design on the oven mitt
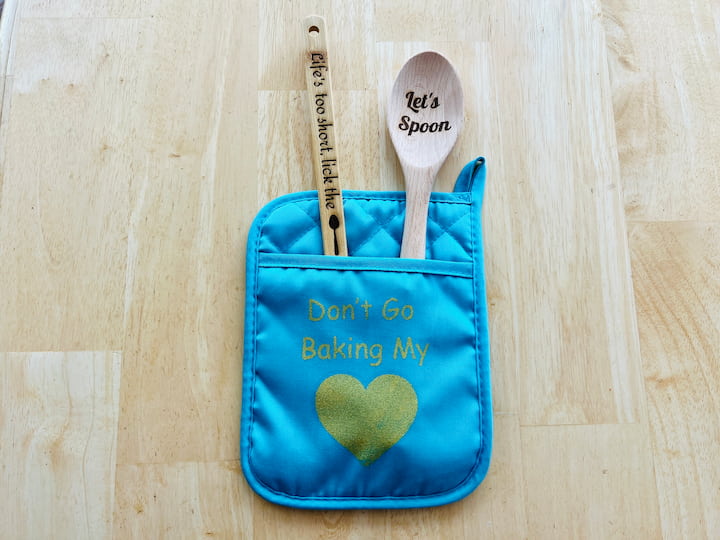
I slid in the custom utensils to make a gift I can give for any occasion and any time of year.
Custom Screen Printed Sign

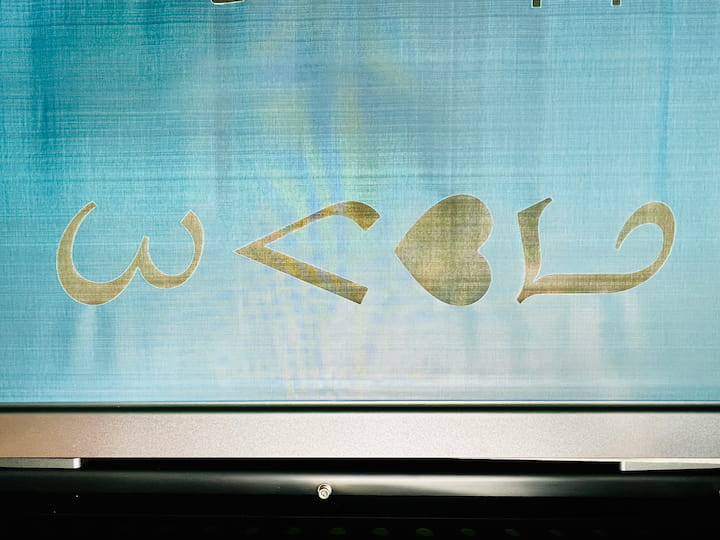
I created a custom design in xTool Creative Space for my sign.
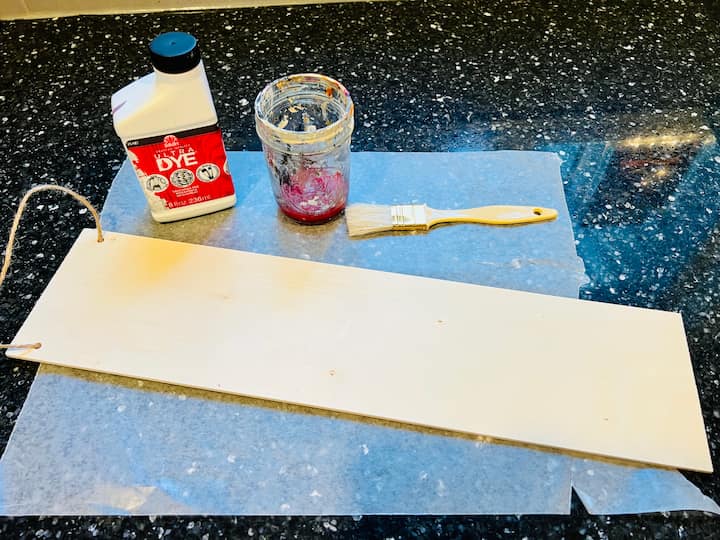
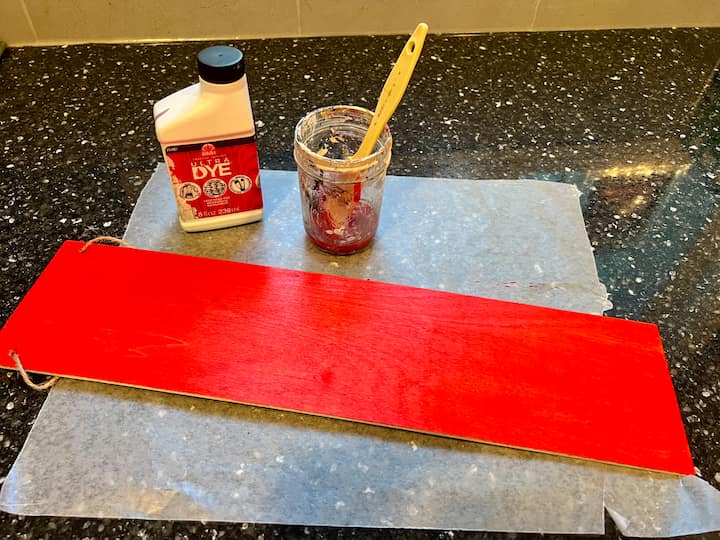
I painted the sign with Folk Art Ultra Dye, and let it dry.
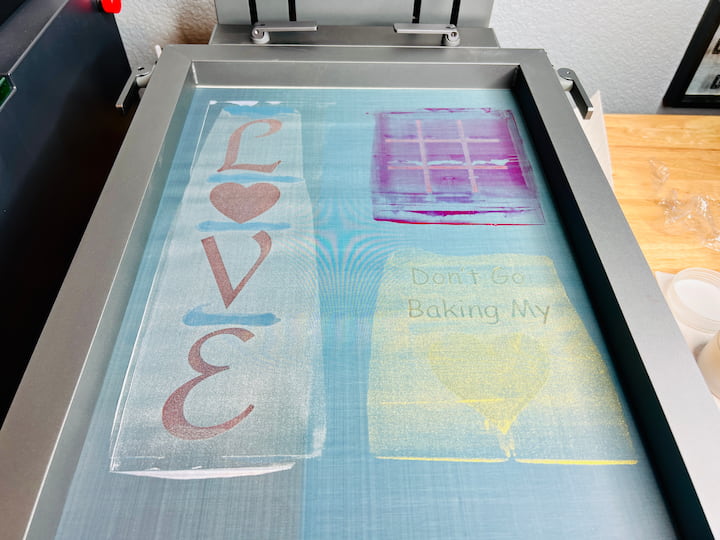
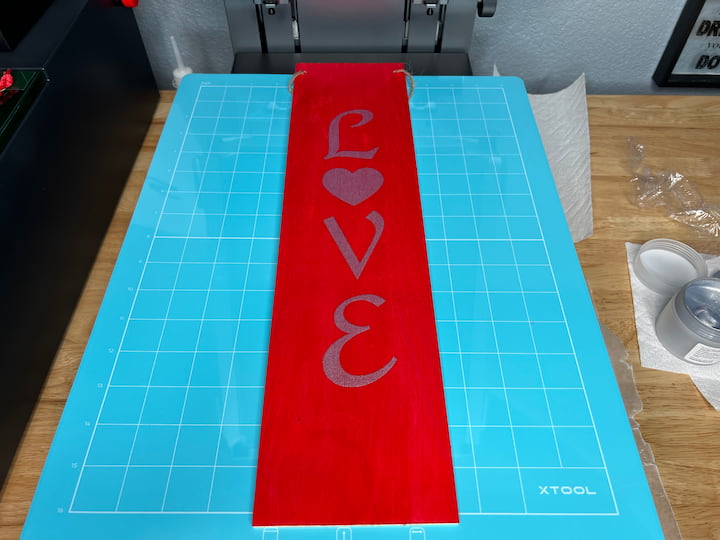
I screen printed the design on the sign.
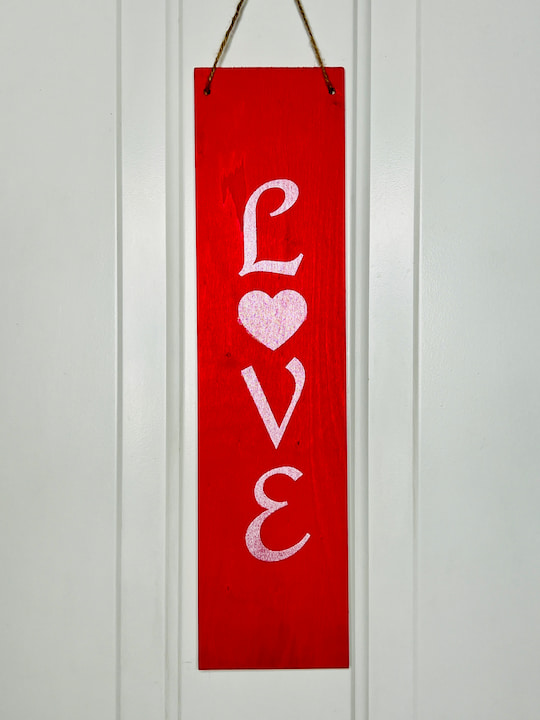
I hung the sign up, and we love it!
Shop any of these stores and I receive a small commission at no cost to you.

- Creative Laser Engraver Projects: Easy Beginner DIYs
- Using A Wood Burning Tool
- How To Engrave Metal: A Beginner’s Guide
- Engrave Glass To Create Easy and Stunning Gifts For Any Occasion
I hope you are inspired to create some amazing gift ideas of your own. The xTool and Screen Printer are amazing and I’m thinking of all of the possibilities. Just wait until you see what I make next! What would you make? Let me know in the comments below!





Wow! Such fun projects and the machine looks amazing!
Thank you so much Mona 🙂