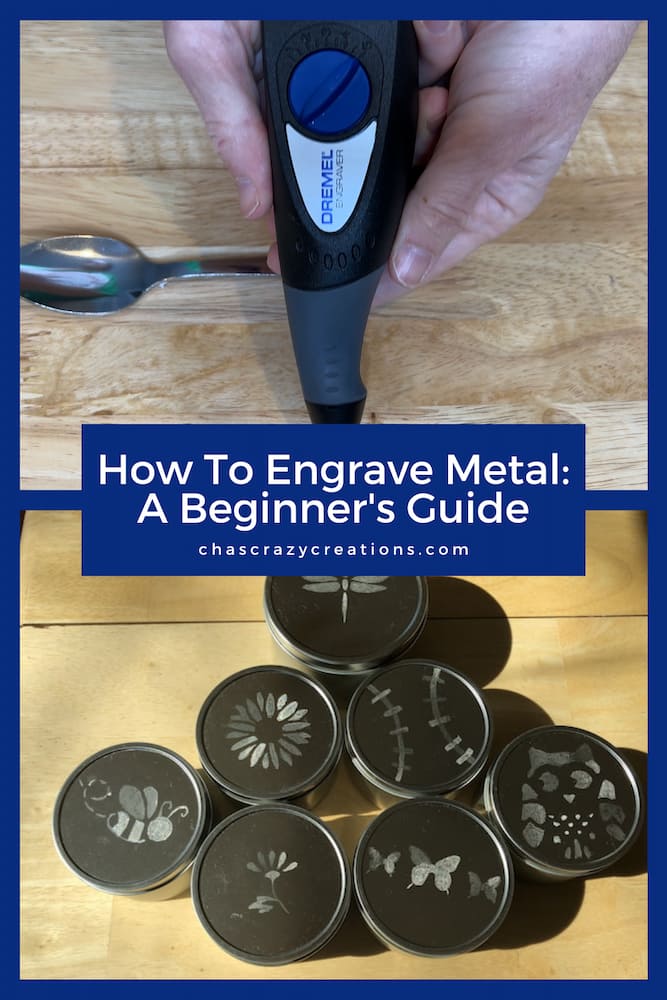
How To Engrave Metal: A Beginner’s Guide
Are you looking to engrave metal and create some custom gifts? I’m sharing how I use a metal engraving tool with ease. An engraved object is more than self-expression. Engraving permanent designs and words into metal can be a very lucrative business. Here’s my guide to making your first hand engraving. You may also be intrested in my post How to Get Started with Engraving: Beginner Projects You Can Try Today
metal engraving tool Materials
 Dremel 120-Volt Engraver Ro…Shop on Amazon
 Teaspoon Set,16 Piece 6.7" …Shop on Amazon
 Hulless 2 Pcs Metal Hinged …Shop on Amazon
 SUNWILL Travel Coffee Tumbl…Shop on Amazon
metal engraving tool Video
metal engraving tool instructions
Today we’re going to talk about a metal engraving tool let’s get started!
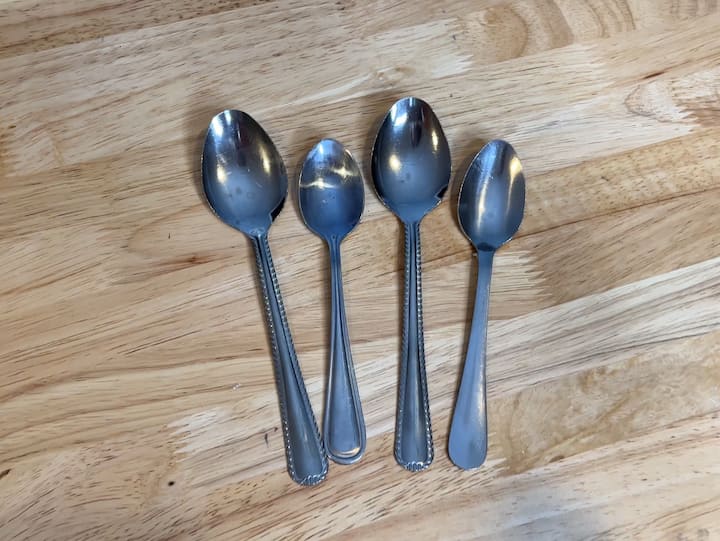
1. Pick your Metal Surface
For this first project, you’re going to need some spoons. Now you want to have a flat surface to work with and you’re going to want to clean it with some rubbing alcohol first.
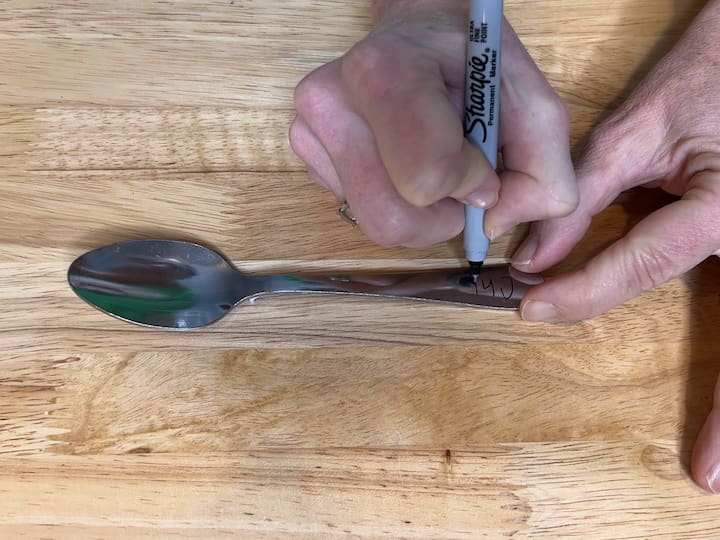
2. Write Your Design in Dry Erase Marker
Next, I’m going to take a sharpie and I’m going to write a person’s name on The Spoon this will make it customizable for whoever I’m giving this spoon or gift to. Instead of a name, you could easily make a design instead.

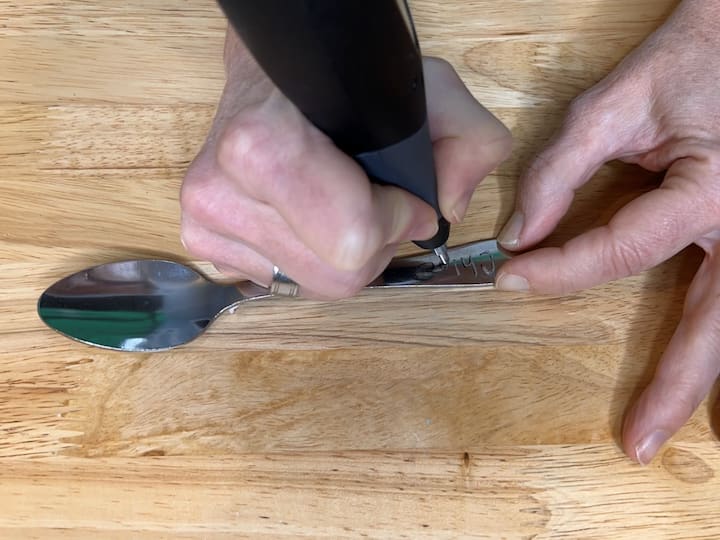
3. Use your Engraving Tool
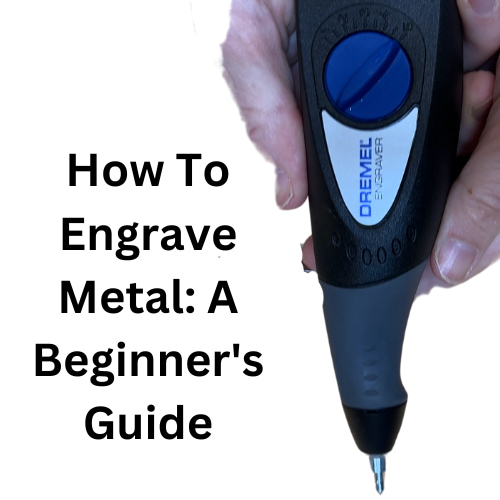
I’m going to be using my Dremel engraving tool these are very affordable tools and really easy to work with.
I’m going to take my spoon and set it down, turn my Dremel engraving tool on don’t forget to wear safety goggles and I’m going to just Trace over that handwriting.
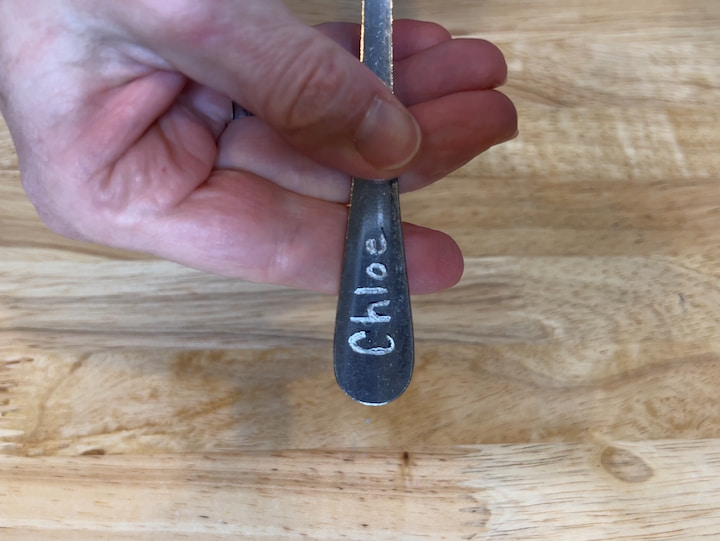
4. Clean Off Your Design
As you can see here it’s permanently etched into the spoon now I’m just going to take a rubbing alcohol prep pad and clean off the rest of the marker. This can easily be thrown into the dishwasher or anywhere you normally throw your silverware.
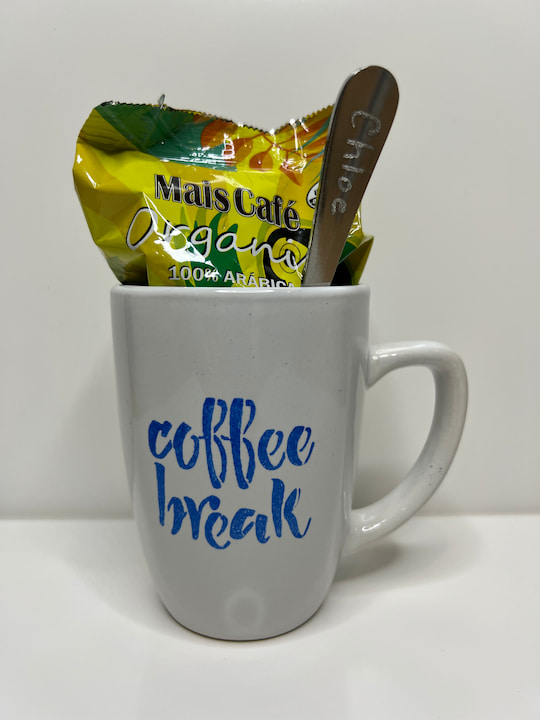
We’re going to be talking about some more ideas but let’s just show how this could be used in a gift idea so I’ve taken this Dollar Store mug and I stenciled it with some paint that was safe for glass follow the instructions. I can throw that in the dishwasher as well. I’m going to add a a little bit of coffee to it and then I’m going to stick the spoon in it as well, and now I have a great gift idea for anyone for any time of year.
How To Engrave Metal
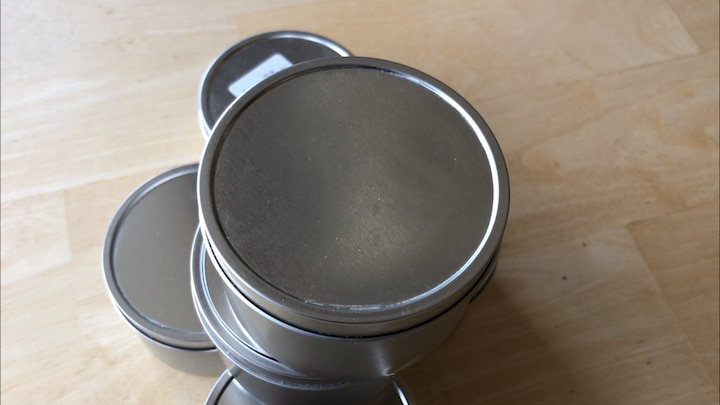
For this next project, I’m going to be using some reusable metal tea tins but you could use any metal objects or boxes or anything you want. This is just another example of how this works so I’ve removed the labels off of these and I’m using the Dremel engraver again.
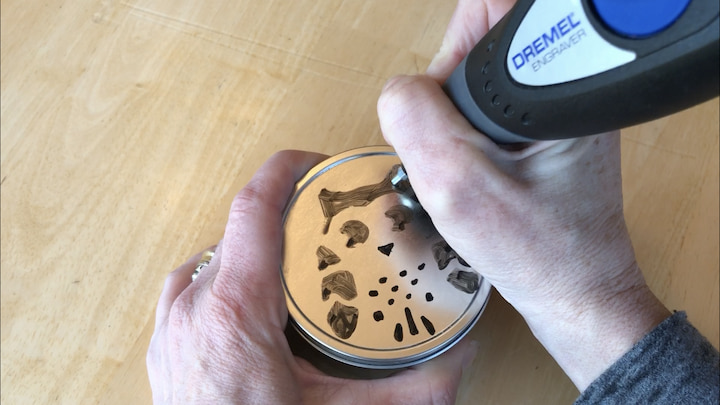
So for this one, I’m going to take a stencil that I found at the dollar store and I’m just going to color the stencil in with a dry-erase marker on my tin and this will just be a guide when I’m engraving it. Now that the stencil is ready I’m just going to take the engraver and trace over all of that dry-erase marker until I get the entire design etched into the metal with the engraving tool.
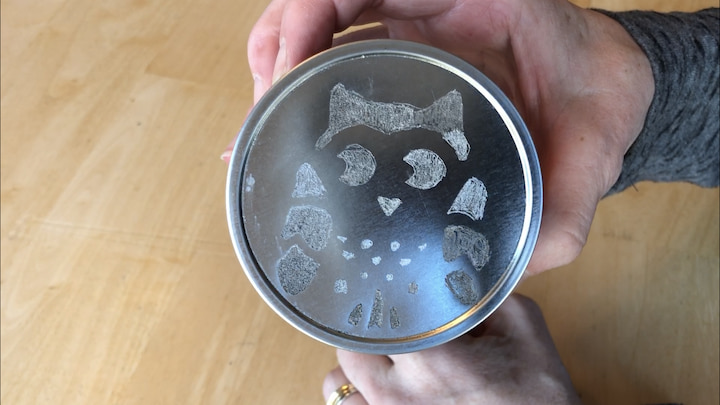
Here’s a quick look at the finished tin. I can use this as a reusable gift box or it could be a jewelry box for somebody or it could hold a variety of different things.
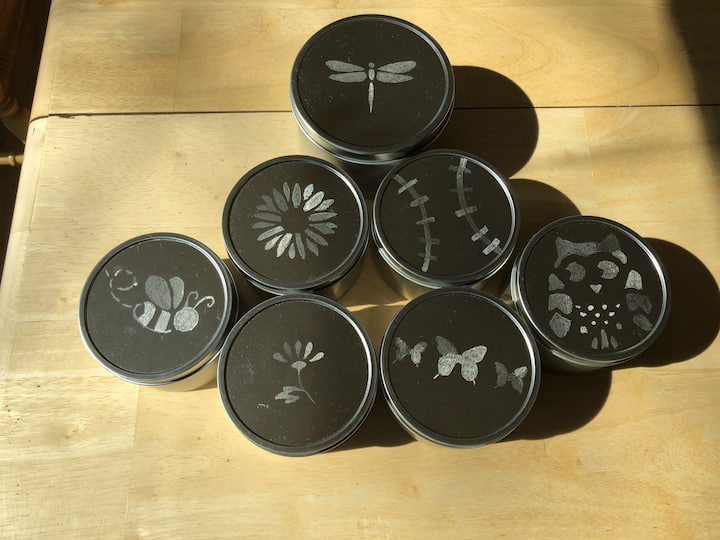
Here’s just a few more examples of some others that I made again just coloring the stencil in and then using the engraving tool to create the design on top and make great custom gift ideas.
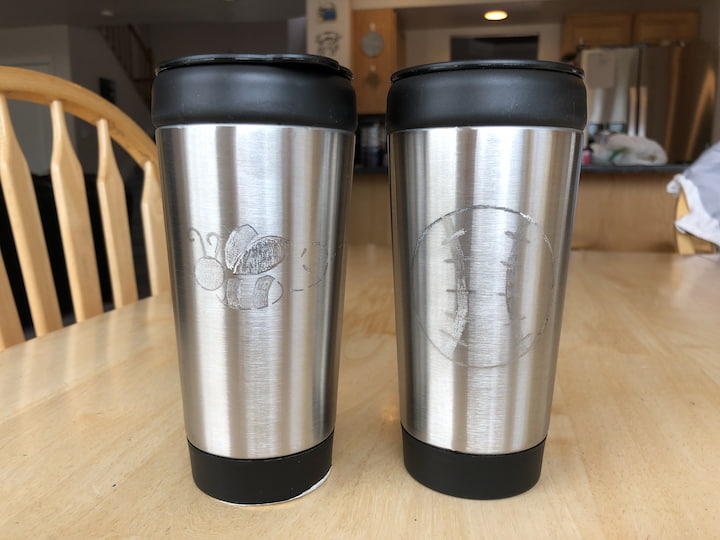
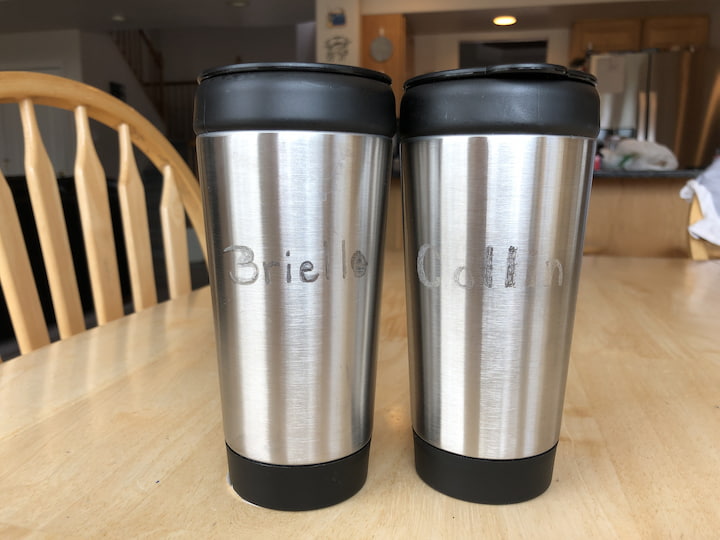
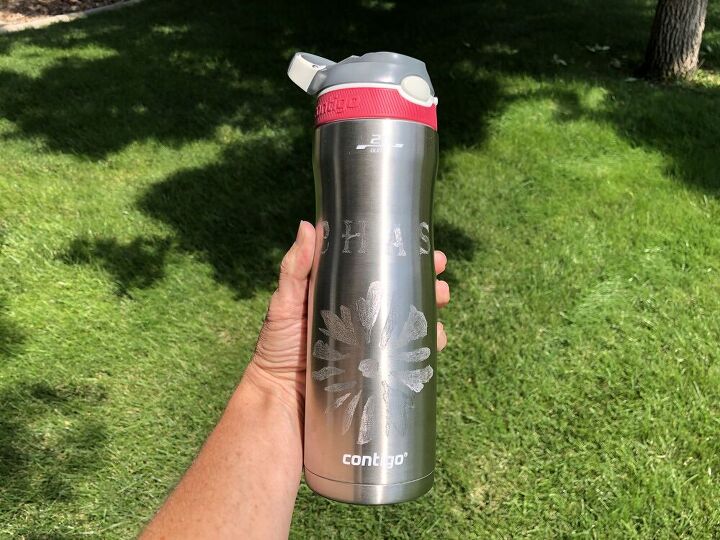
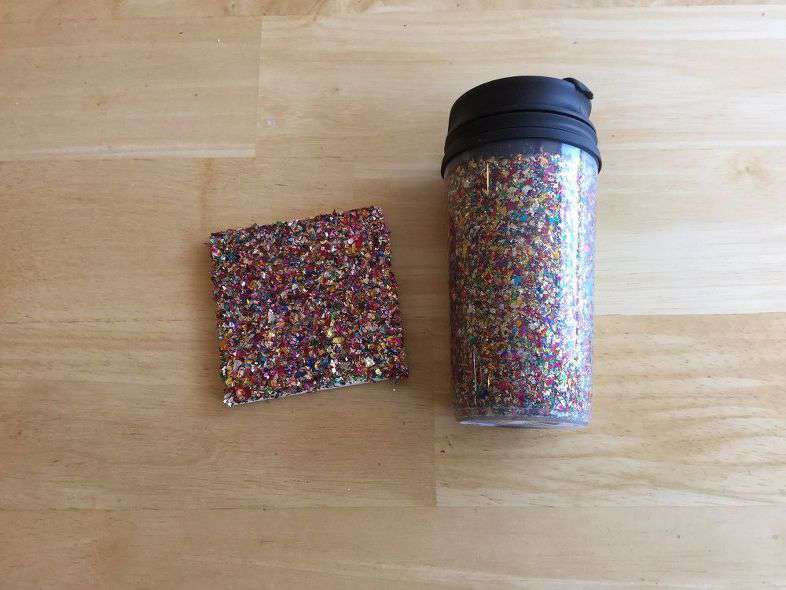
You can do the same idea with some stainless steel travel mugs these were from the dollar store and I used the stencil design on the front for my kids and then I wrote their names on the back. What great gift ideas
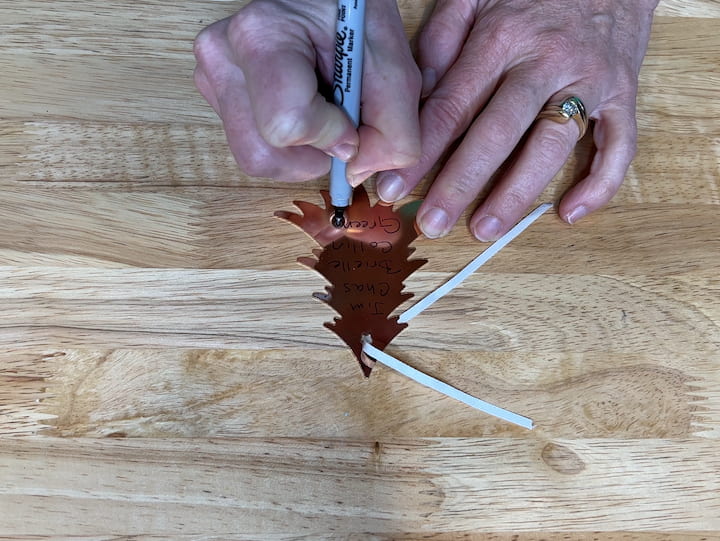
How To make custom ornaments
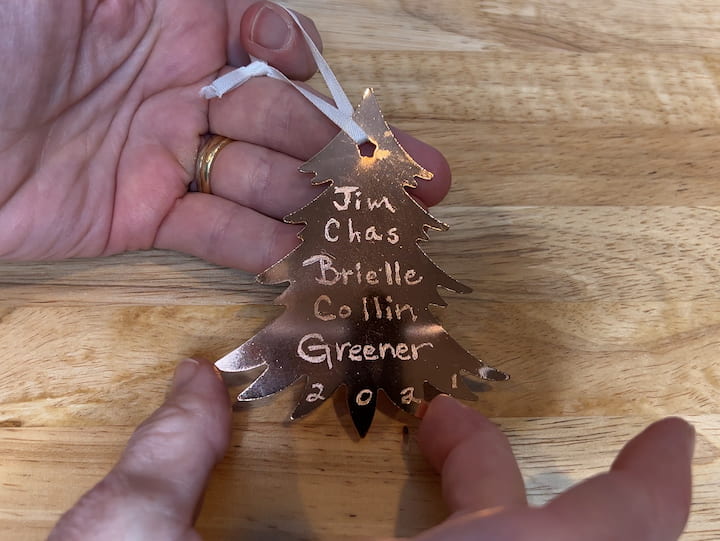
Now let’s move on to one more. Now if you are wondering how to make custom ornaments here’s one idea. These were just some gift tags actually, but I decided to turn them into ornaments. I wrote our names with dry erase marker on them.
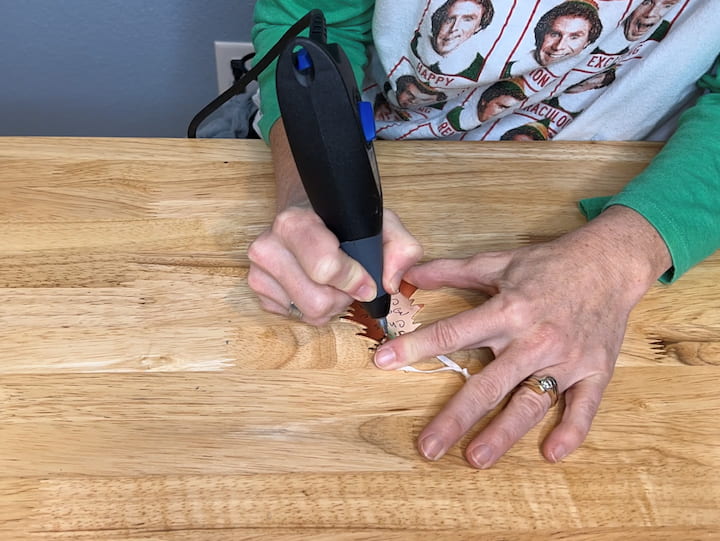
I used my Dremel engraving tool to etch them into it and now we have an heirloom ornament.
Again you could do this to ornaments or spoons or just anything that’s metal so the possibilities really become endless with this one idea. You could even make metal jewelry instead of having to go to jewelers.
There are other hand tools out there, and I love this one because the comfort of holding it is like a pen or pencil with a soft grip. You don’t have to worry about your angle of attack with these simple projects. You can adjust the numbers for depth, fine lines, vibration, friction, etc. for precision. If you have trouble holding something you could always use a vise to hold it in place. You can even get a template or stencils specifically for metal.
I hope this inspires you to try a metal engraving tool with endless possibilities. I’d love it if you’d subscribe to my YouTube channel and my blog. Thanks for watching and I’ll see you in my next video and don’t forget to like share and subscribe.
metal engraving tool Video
Shop any of these stores and I receive a small commission at no cost to you.
 MignonandMignon Personalize…Shop on Amazon
") TOPDesign Embroidery Initia…Shop on Amazon
TOPDesign Embroidery Initia…Shop on Amazon SUPHELPU Custom Bracelets w…Shop on Amazon
 EDSG Personalised Mens Brac…Shop on Amazon
 Shop on Amazon
Don’t forget to link to ThriveCart – Book