
Effective Homemade Disinfectant Spray: A DIY Guide for a Clean and Healthy Home
Explore the art of creating a potent homemade disinfectant spray to elevate your home cleaning routine. Learn easy DIY steps and ingredients for a natural and effective solution to keep your living spaces safe and germ-free.
Are you ready to throw that Lysol away and make some natural disinfectants? Let’s get started!
Homemade Disinfectant Spray Video
Homemade Disinfectant Spray Materials
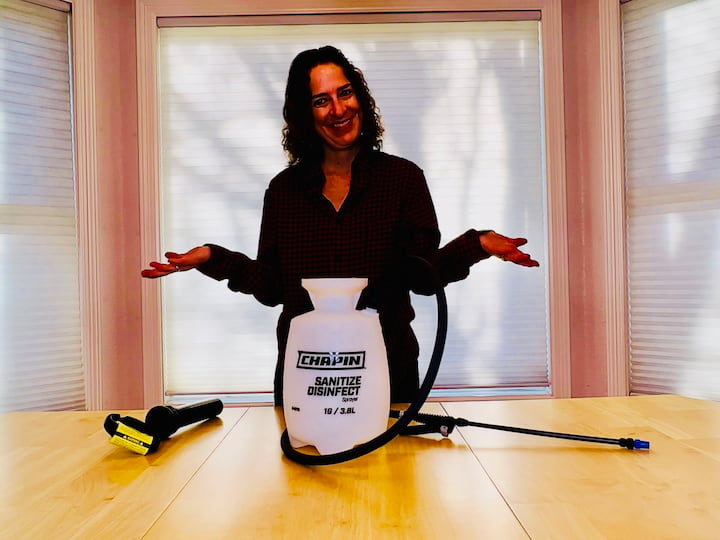
Oh my gosh, it has finally arrived and I can’t wait to show you what I’m going to do with this. Now, I just got this disinfecting and sanitizing sprayer and I’ll be using that. So the first step I need to do is put the entire unit together.
If you don’t have a sanitizing sprayer like this or don’t want one, you could also use a spray bottle with the same concept.
- Disinfecting and sanitizing sprayer or glass spray bottle
- White Vinegar
- Isopropyl alcohol
- Hydrogen peroxide
- Castile soap
- Water
- Essential oils (tea tree, peppermint, eucalyptus, lemongrass, lavender, or orange essential oil to name a few)
- Gloves
Creating the Homemade Disinfectant Recipes and Options:
There are a lot of things that you can use for a disinfectant spray. These include vinegar, rubbing alcohol, and hydrogen peroxide. or Castile soap. Vinegar and Castile soap are some of my favorites for the vinegar solution. Let’s make a DIY disinfectant spray!
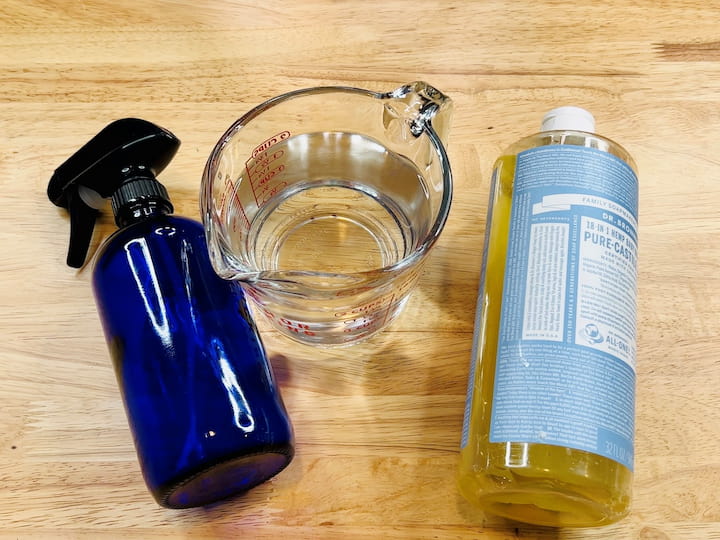
Castile Soap and Water Mixture:
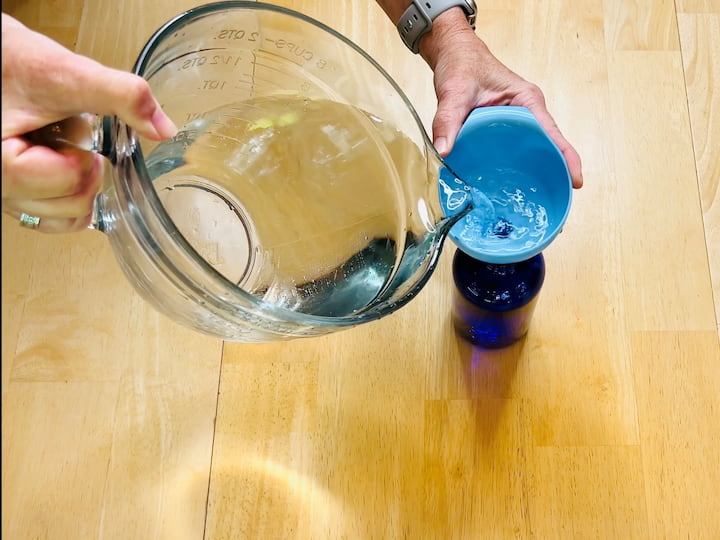
- Place 1 tablespoon Castile soap into a spray bottle.
- Fill it up with water and shake.
In a spray bottle and you would adjust to a larger size. Place one tablespoon Castile soap into a spray bottle. Fill it up with water and give it a shake once you’ve put the lid on.
Vinegar Solution:
- Place 1 and 3/4 cups water into a big bowl.
- Add 1/4 cup vinegar.
In a spray bottle, add 1 and 3/4 cups water, and 1/4 cup vinegar. Vinegar is a versatile and natural cleaning agent, but there are certain surfaces on which it is not recommended to use vinegar due to its acidic nature. Here are some examples of surfaces you should avoid using vinegar on:
- Natural Stone Countertops (Granite, Marble, Quartz):
- Vinegar’s acidity can damage the sealant and dull the surface of natural stone countertops.
- Eggshell or Unsealed Grout:
- Vinegar can erode and weaken grout, especially if it’s not properly sealed.
- Wood Furniture or Hardwood Floors:
- The acidity of vinegar may damage the finish on wood surfaces, leading to discoloration or deterioration.
- Electronics and Screens:
- Avoid using vinegar on electronic devices, computer screens, or delicate touchscreens, as it may cause damage.
- Cast Iron or Aluminum Cookware:
- Vinegar can react with the metal, leading to corrosion and negatively impacting the seasoning of cast iron.
- Some Appliances (Dishwashers and Washing Machines):
- While vinegar is often recommended for cleaning appliances, check the manufacturer’s guidelines as some appliances may be sensitive to vinegar. Avoid using it on stainless steel.
- Natural Fibers (Silk, Wool):
- Vinegar may damage delicate natural fibers, so it’s advisable to test in an inconspicuous area first.
- Some Stone Floor Tiles:
- Certain types of stone tiles may be sensitive to acidic solutions, so it’s recommended to check the manufacturer’s guidelines.
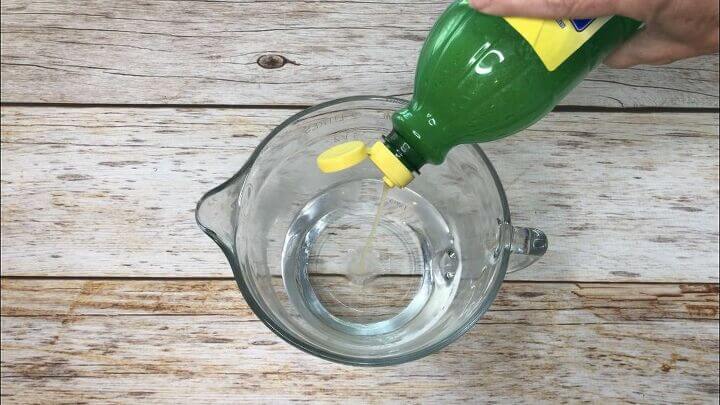
A lot of people add Dawn dish soap to a vinegar mixture but don’t do that. It cancels out the cleaning properties when you mix the ingredients.

Vinegar and Rubbing Alcohol Disinfectant Spray:
- Place 1 cup of water in a bowl.
- Add 1 cup of vinegar and 1 cup of rubbing alcohol.
- Do not add dish soap.
- Pour the mixture into a spray bottle using a funnel.
Place one cup of water in a bowl. Next, add one cup of vinegar. and one cup of rubbing alcohol. Do not add dish soap. Open up a spray bottle and pour the mixture into the spray bottle using a funnel.
You will see people suggest things like Everclear, Vodka, etc. This is because of the alcohol properties in it. You can easily save money by just using rubbing alcohol. Just pick a high strength.
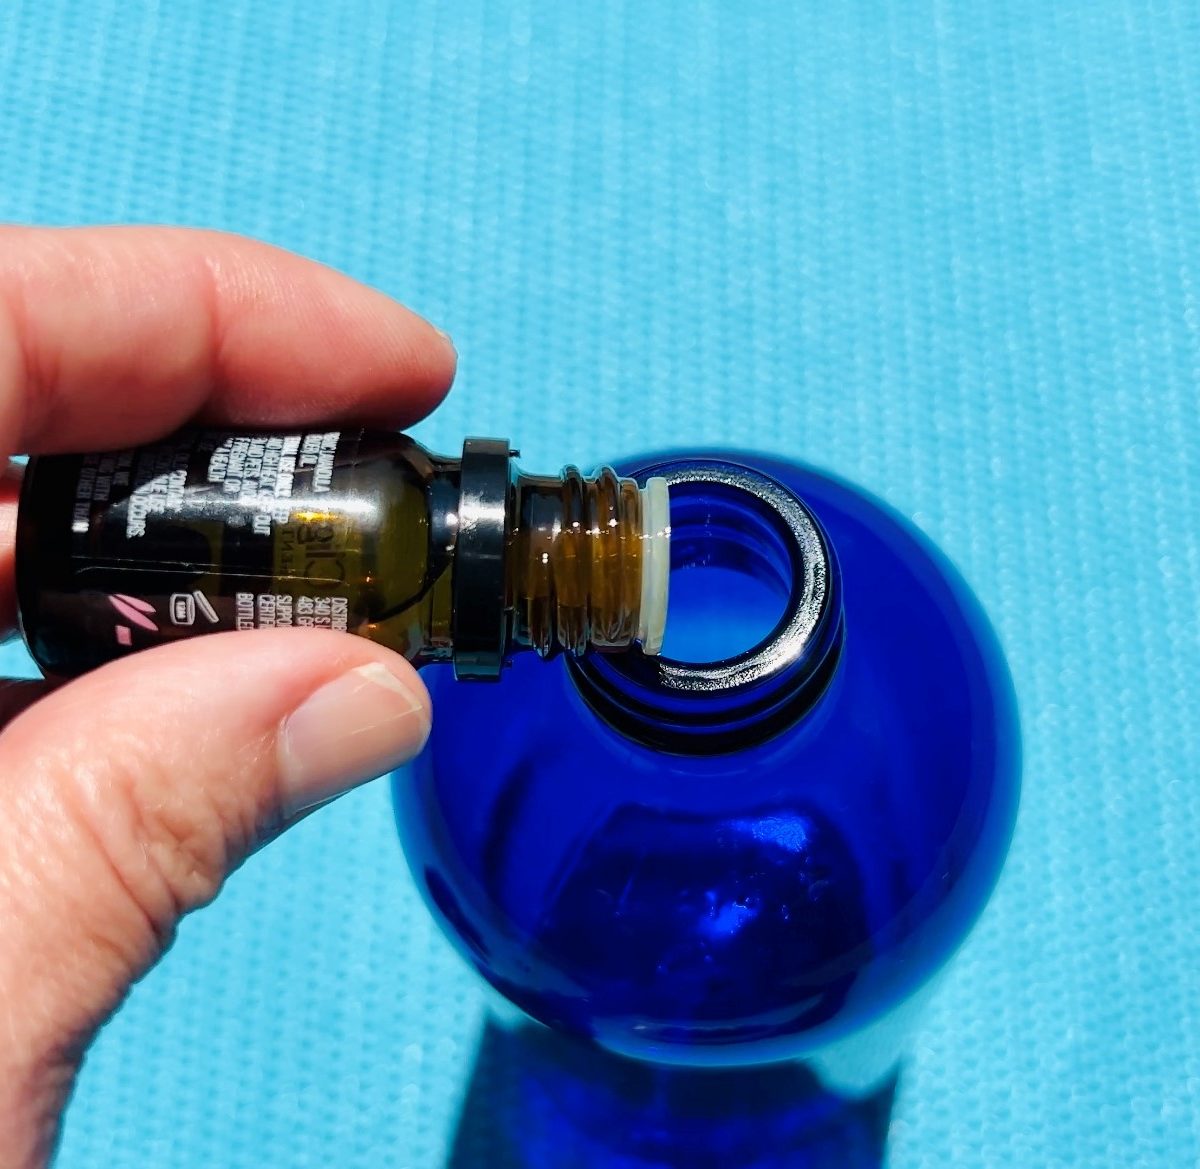
Adding A Scent To Your Natural Disinfectant Spray
If you want to add a pleasant scent to your cleaning solutions, you can include essential oils. Simply add a few drops of tea tree oil, peppermint, eucalyptus, lemongrass, lavender oil, or lemon essential oil to either the Castile soap and water mixture or rubbing alcohol mixture you’ll see below.
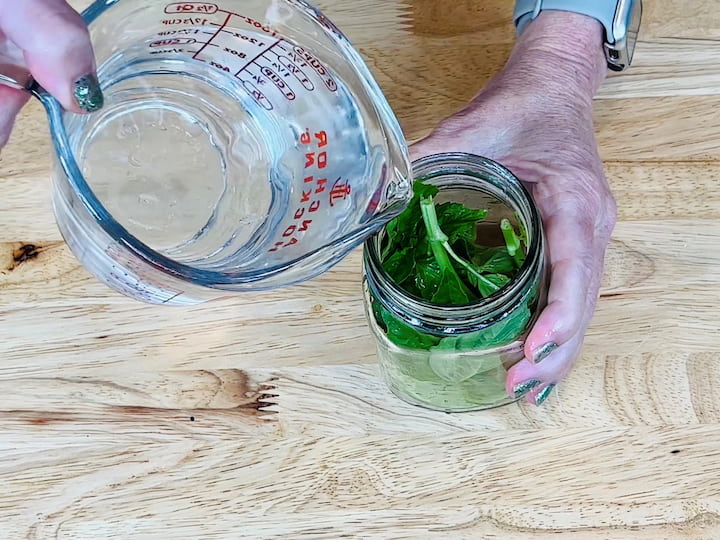
Odor-Removing Vinegar Spray:
- Fill a mason jar with vinegar.
- Add citrus peel (e.g., lime) and herbs (e.g., lavender, thyme, basil, rosemary, cinnamon, clove, etc.).
- Store for a week in the refrigerator.
- Strain the mixture into a spray bottle.
This next spray is another vinegar spray, but this is how you remove the odor from vinegar if you don’t like that smell. If you don’t like the smell of vinegar, this one’s for you. Put vinegar into a mason jar. Fill it all the way up. Grab any citrus with a peel. I’m using limes. Cut the lime up and peel off the peel.
Place the peel into the vinegar. Now you could stop there, but you can grab some herbs. I’m using lavender and place that into the mixture as well. Put the lid back on it and store it for a week in the refrigerator. After the week is up. Remove the lid, place a strainer over a funnel into your spray bottle, and pour the mixture in.
Which disinfectant spray would you use in which container? Let me know in the comments below.

Using the Homemade Disinfectant Spray Cleaner in Different Areas:
Now for this tutorial, I’ll be using Castile soap and water because this is safe on granite, wood, and any surface.
Bathroom:
So we’re going to start in the bathroom. I’m going to share a few ways you can use this sprayer in the bathroom.
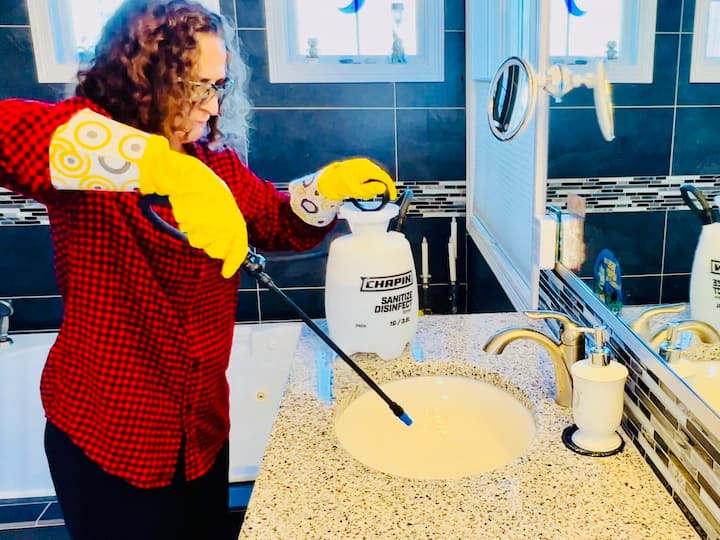
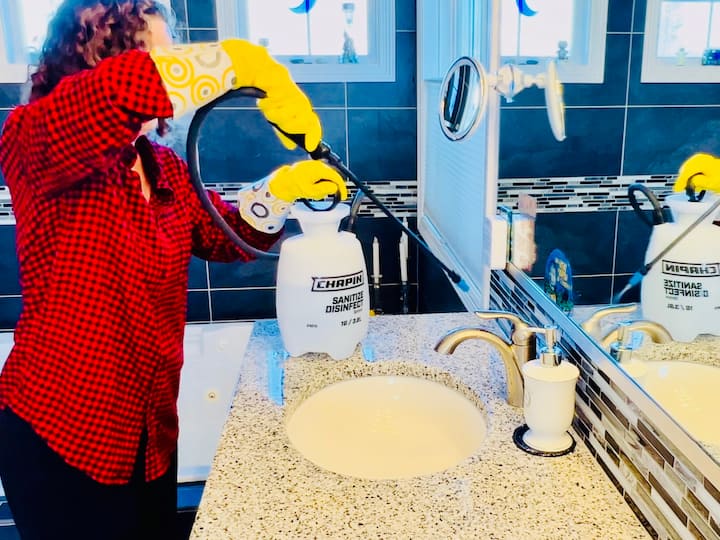
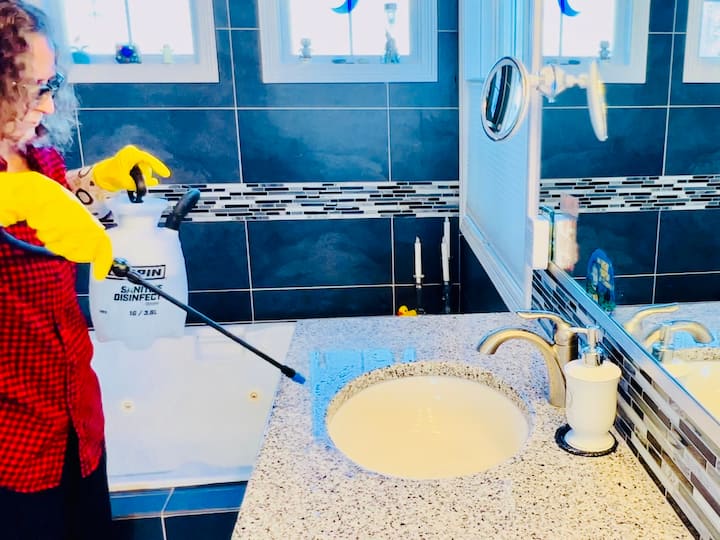
For my sprayer, I’m going to need to pump it up first so that it’s ready to spray. Now you can use this in your sink to disinfect your sink, as well as your faucet, your soap dispensers, and your counters.
Anything you put your hands on, you’ll want to spray with this disinfecting spray. Now you can just spray it and get the worst of it off and walk away and let it air dry. Or you can use a clean microfiber cloth and wipe it all down.

Use it to spray down your bathtubs. This will disinfect those bathtubs and if you have trouble bending over, it’ll be nice and easy for you to just spray that disinfectant spray all over your tub to get it clean.
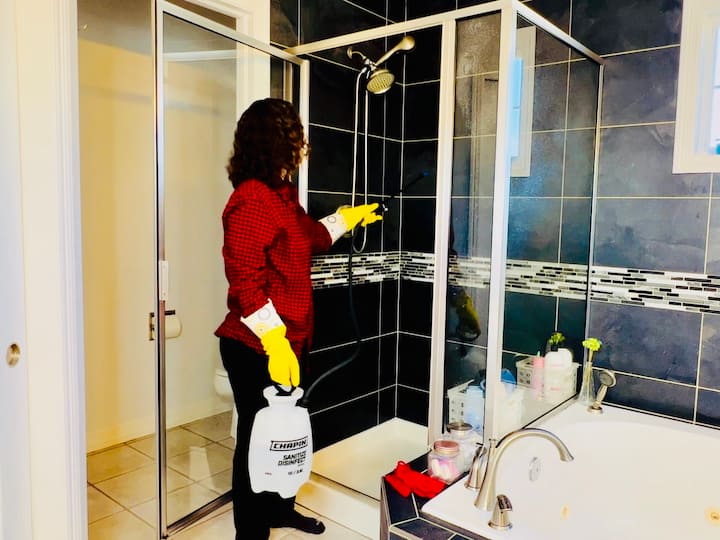
Use this to disinfect your showers. Make sure you hit your doors, your handles, all of the glass, all of the tile, your faucets and your shower heads. What’s great about this is once again, if you have trouble bending over or reaching up high, you can use these sprayers to get in all of those creases and crevices without breaking your back.
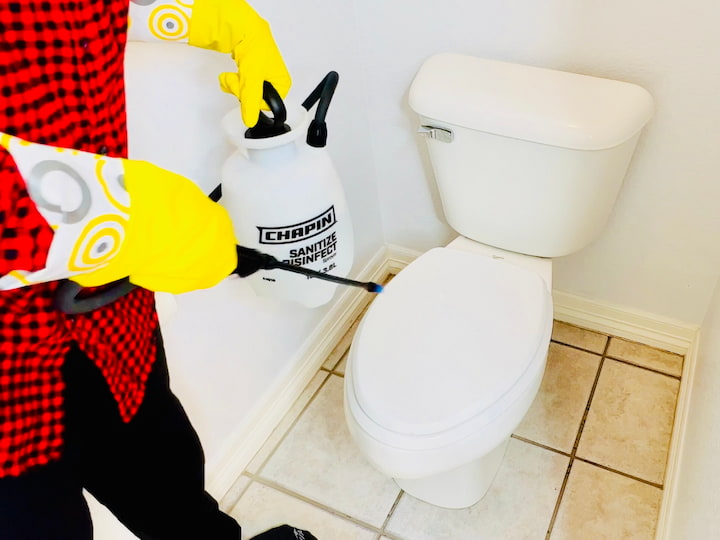
And, of course, there’s the toilet. This is one of my favorite things about using this disinfectant spray and this sprayer. I can stand back at a distance, spray the whole thing down from top to bottom, get all the way around the bottom and the base, those hard to reach areas around your toilet, and then, in addition to that, I also spray the entire tile surface around it, disinfecting the floor as well.
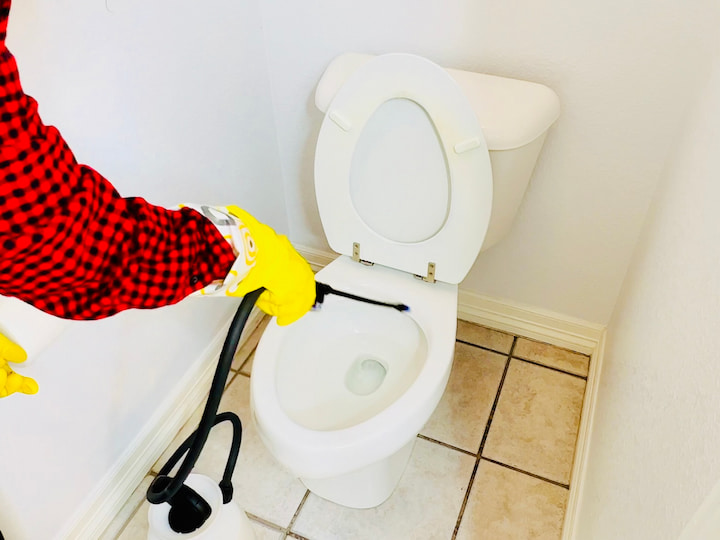
Once I get done with that, I go ahead and hit the inside as well. Now, once again, you can use paper towels to wipe it down and throw it away. or let it air dry once you’ve sanitized it appropriately.
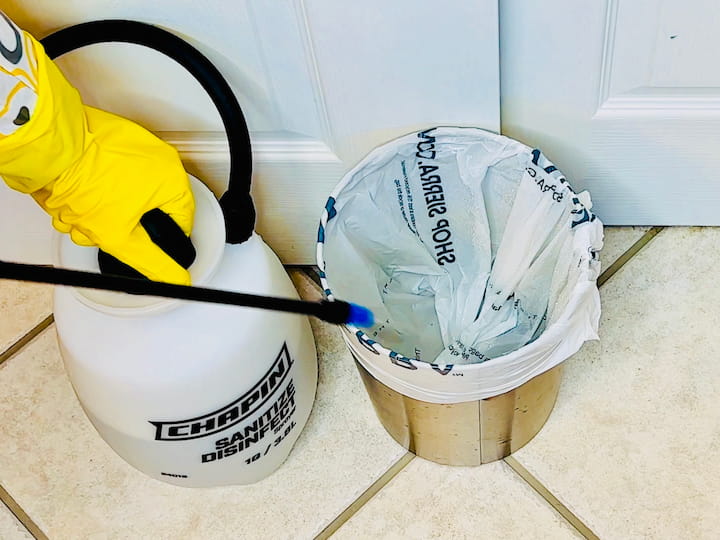
Here’s another tip. Don’t forget your garbage cans. They’re very germy as well. So spray the outside, the inside, even when the bag isn’t inside, go ahead and spray that too.
Kitchen:
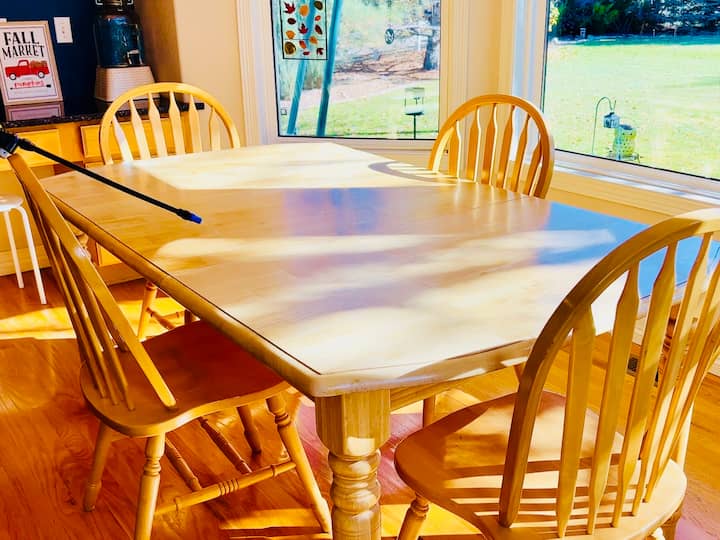
Now we’re going to go ahead and move into the kitchen and you can start by spraying the kitchen table. Make sure to get all of those surface. We collect a lot of germs on that. In addition to that, you can always hit all of your chairs.
We grab those chairs and pull them in and out with our dirty hands all the time. So hit all of the furniture. Everything, every surface. So easy to use. You also want to hit any bar stools that you have.
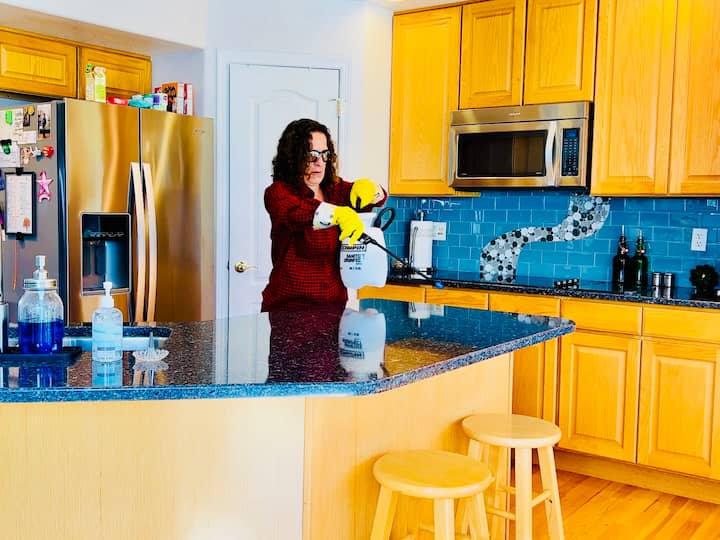
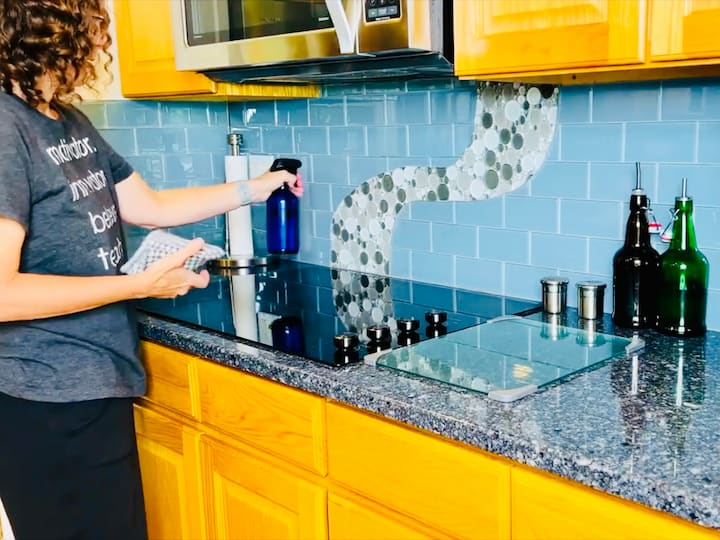
And then once you’re done with those, go ahead and hit all of your counters. Hit all of the kitchen counter surfaces.
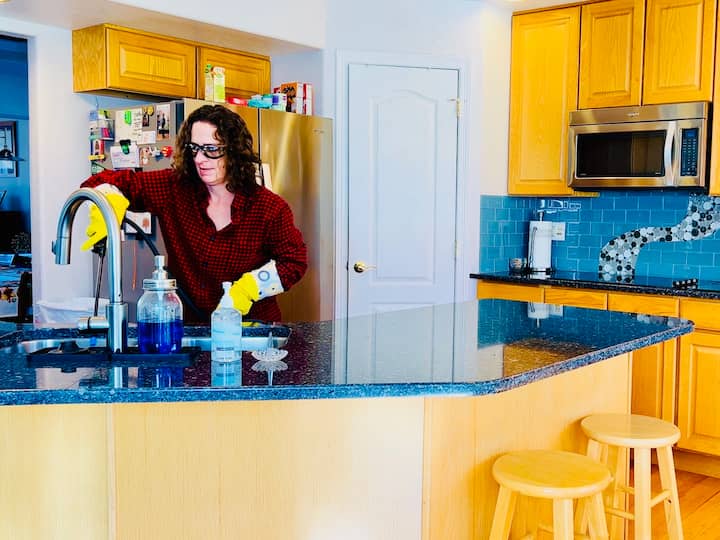
Hit your faucet. Hit your sink. Don’t forget about your soap dispensers. Anything that you touch, go ahead and spray that down and clean that up.
Once I’m done with the front counter, I make sure to hit the other counter as well.
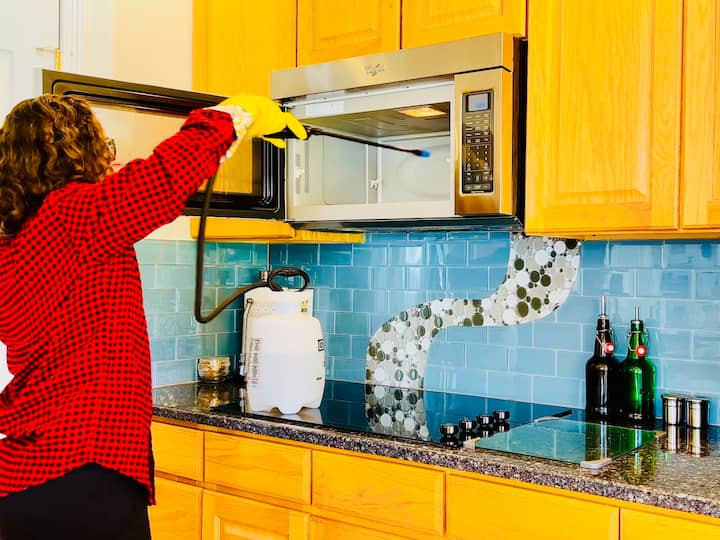
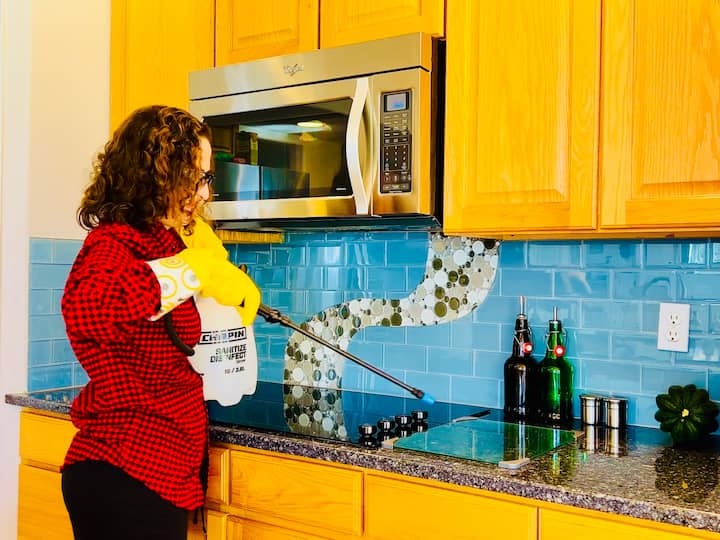
I spray the entire counter down with that disinfectant spray, and I make sure to get the cooktop good, the handles on the cooktop good, the backsplash, my microwave is right above that, so I make sure to spray that too on the front, the inside, the door, and especially the keypad and the handle where everybody’s touching it.
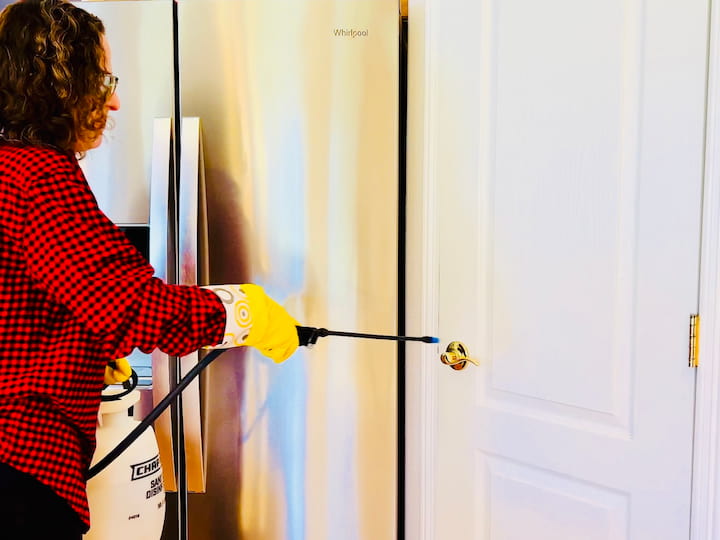
While I’m in my kitchen, I make sure that I sanitize my door handle to my pantry, as well as my refrigerator door handles. This is a very germy place, and so I make sure to disinfect those as well as the water dispenser.
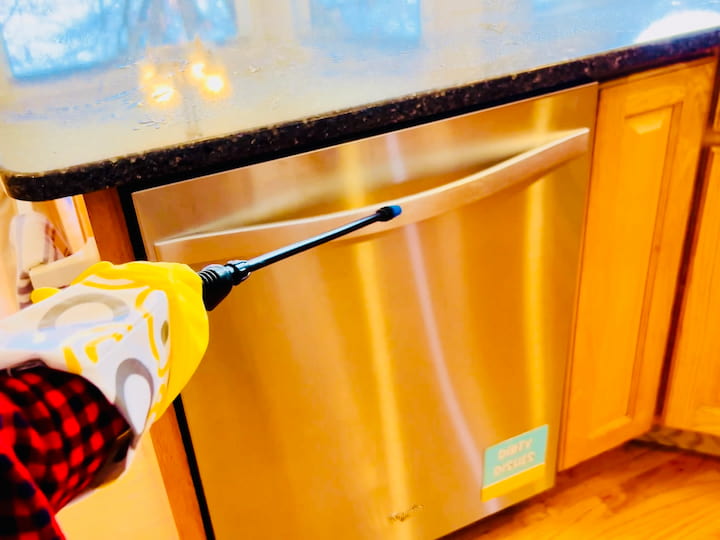
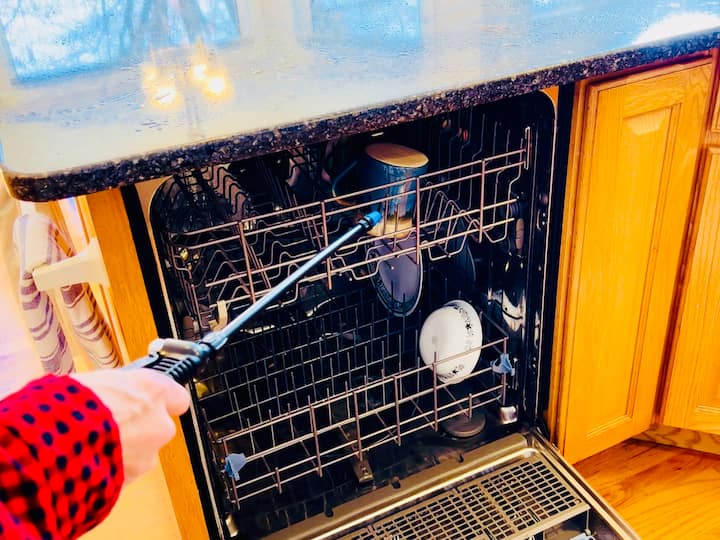
And don’t forget to use it on your dishwasher. You can spray the outside of the dishwasher with a disinfectant spray, but you can also open it up and spray the inside, hitting all of those areas that sometimes collect those nasty smells.
General Home Use:
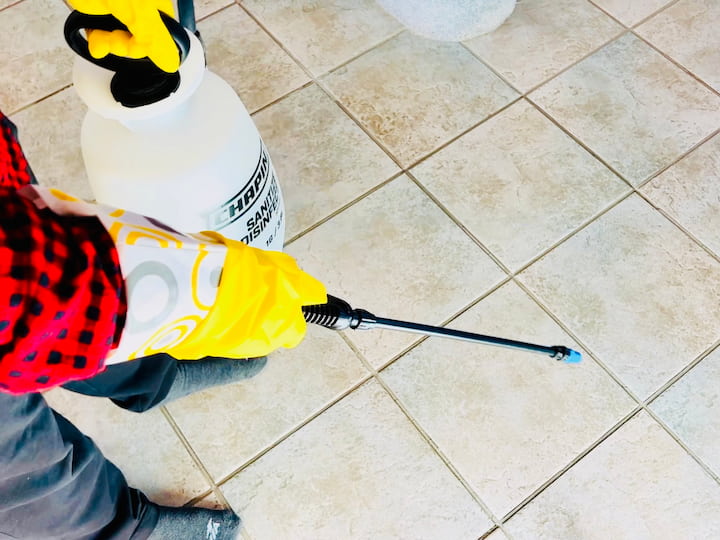
You can even use this to sanitize and disinfect your floors. So just spray this mixture onto your flooring. Now, if you’re using vinegar, that’s great for tile. The soapy water mixture is good for tile and wood floors. I would not use the vinegar on your wood floors.
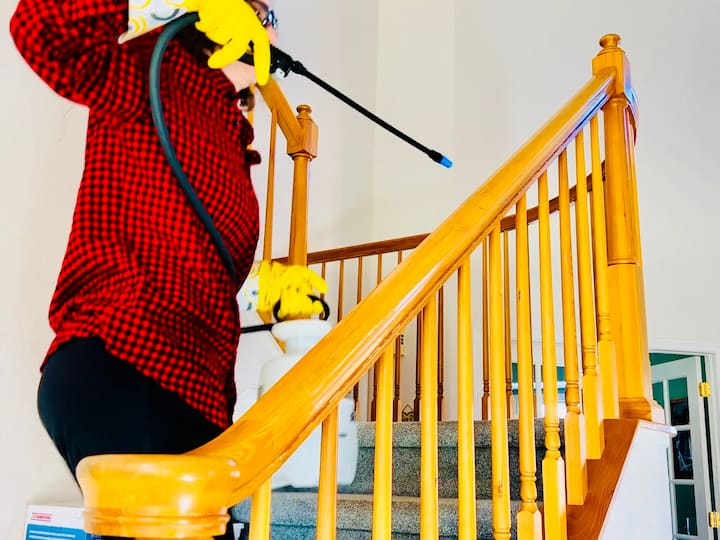
Use this disinfectant spray on your railings and light switches too.
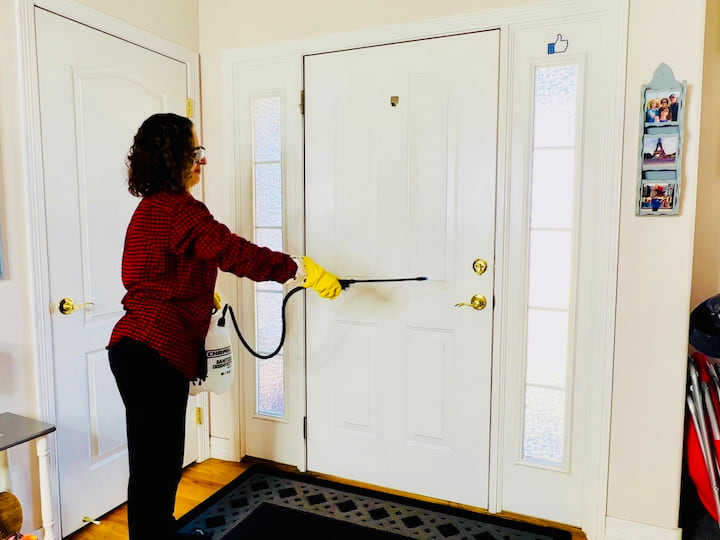
Remove all of those germs. You can even spray any doorway. I’m using it here to spray my front doorway. And in addition to that, I make sure to hit the locks and the doorknobs as well.
Homemade and Natural Disinfectant Spray Video
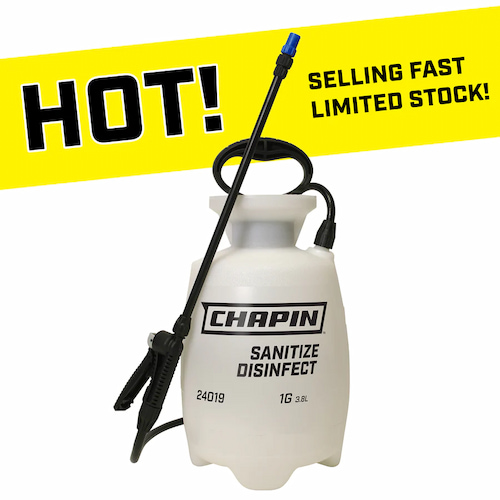
If you’re interested in the disinfectant sprayer Click Here To Get Yours Today
Homemade & Natural Disinfectant Spray Q & A
The best homemade disinfectant is a solution of 70% isopropyl alcohol and water. This mixture effectively kills germs and bacteria on surfaces.
The best natural disinfectant is vinegar, which is not only effective but also eco-friendly.
When it comes to powerful disinfectants, bleach is often considered the most potent option. However, it’s important to use it carefully and in well-ventilated areas.
To naturally sanitize your house, you can use ingredients like vinegar, hydrogen peroxide, or tea tree oil. These are effective and safe alternatives to chemical sanitizers.
What is the best homemade all purpose cleaner recipe?
It’s time to switch to the world of DIY all-purpose cleaners! Not only are these solutions effective, but they’re also kind to your wallet and the environment. In this blog post, we’ll walk you through some fantastic DIY all-purpose cleaner recipes that you can whip up using basic supplies from Dollar Tree. You can find all of my favorite all purpose cleaners at: DIY All Purpose Cleaners: Budget and Eco Friendly Cleaning Solutions
Organic Cleaning – DIY Recipes and Tips To Clean the Chemical-Free and Natural Way
When cleaning your home there are amazing ways to be efficient with your time as well as minimize the chemicals in your home. In this book you’ll learn what natural and organic products to use, the recipes to create, how to use the cleaners in your home, tips and tricks, and how inexpensive it is to clean naturally. So what are you waiting for? Start cleaning organically and naturally today!
You can get your copy today through Amazon!
Are you ready to ditch the harsh chemicals, save money from those store-bought disinfectants, and use a natural disinfectant spray?
And I hope this inspires you to make a homemade disinfectant spray of your own. I’d love it if you’d subscribe to my YouTube channel and my blog at chascrazycreations.com. Thanks for watching, and I’ll see you in my next video. And don’t forget to like, share, and subscribe. Want 21 sensible home hacks to make you a smarter homeowner? Look for the link in the description below.

These are such great tips!!!
You are so sweet Kristin, thank you!