
Using A Wood Burning Tool
I love my wood burning tool kit and you can create some amazing pieces for your home that also make great gift ideas. Once you learn how to use it, the possibilities are endless.
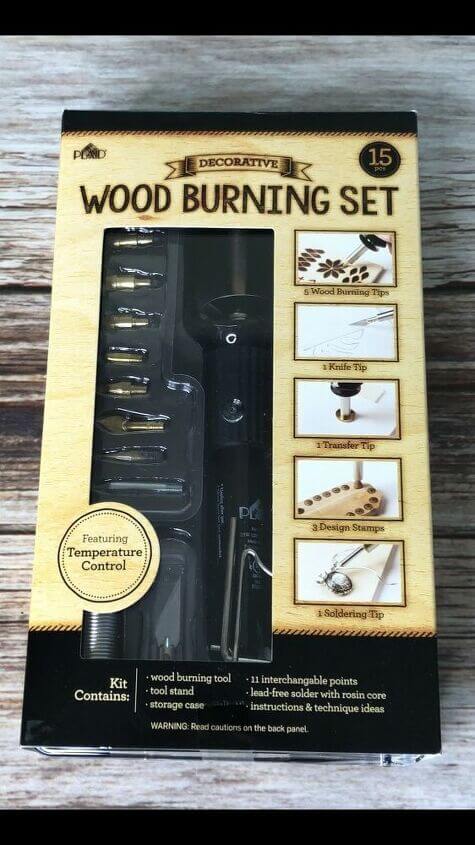
I have a Plaid Wood Burning Tool Kit for my projects and it comes with the wood burning tool, plus accessories for a variety of ways to wood burn.
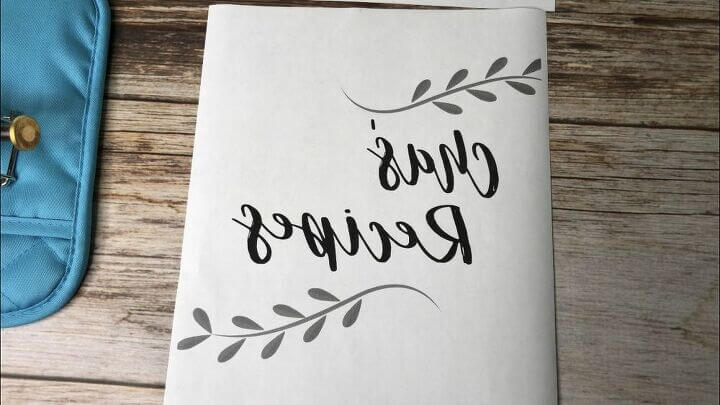
First I printed out a design I wanted on a laser printer. The laser printer is important for transferring the image. If your design has words, remember to flip them so they’re backwards.
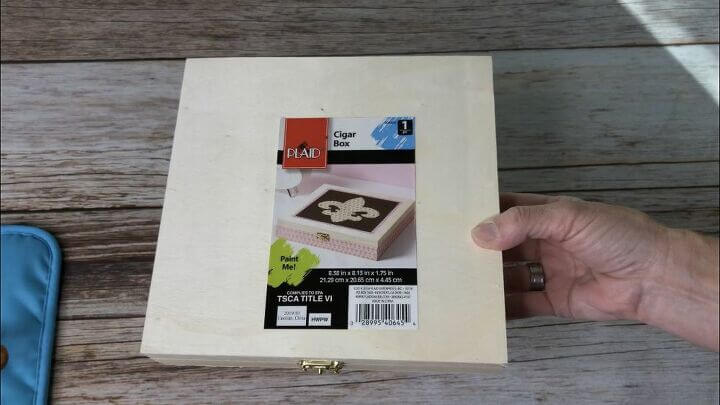
I’m using a wooden box I picked up at Walmart that is by Plaid.
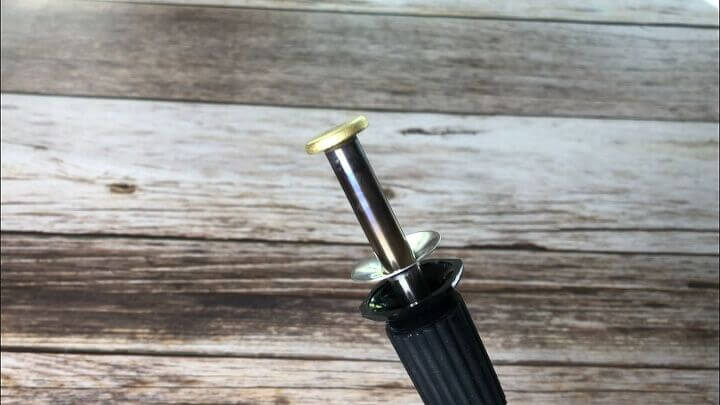
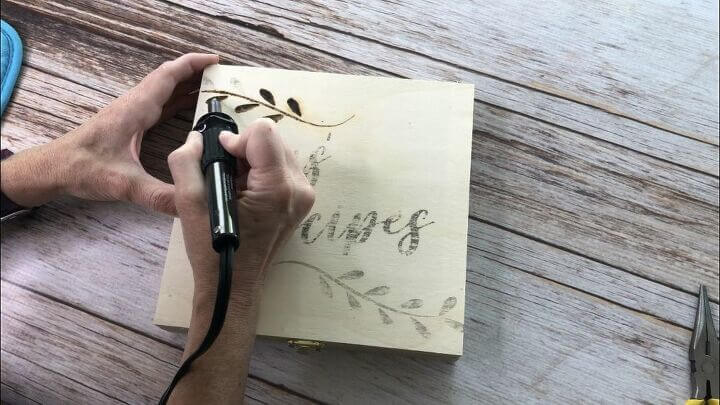
I put on the transfer tool which is the flat tool head. I turned the wood burning tool onto high and waited for it to heat up.
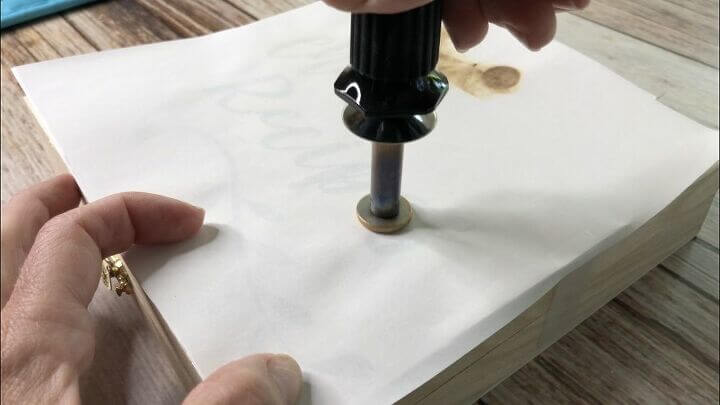
I placed the image ink side down onto the wood and secured it in place with some tape. I then used the wood burning tool with the transfer head and “ironed” over the paper to transfer the ink onto the wood. Take your time, and check once and a while to see how it’s transferring.
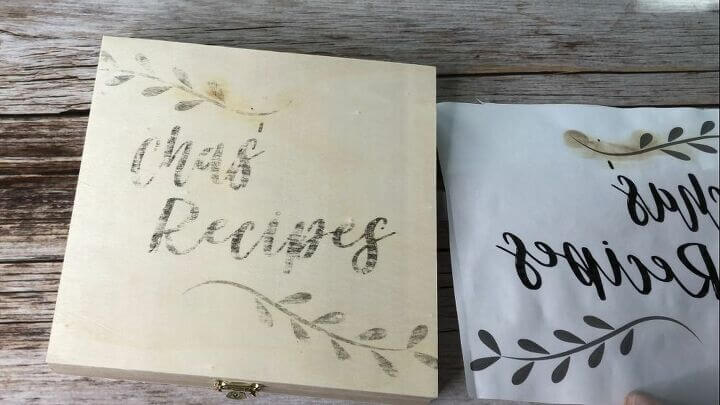
When you’re ready, carefully peel the paper back and you’ll see that the ink has transferred.
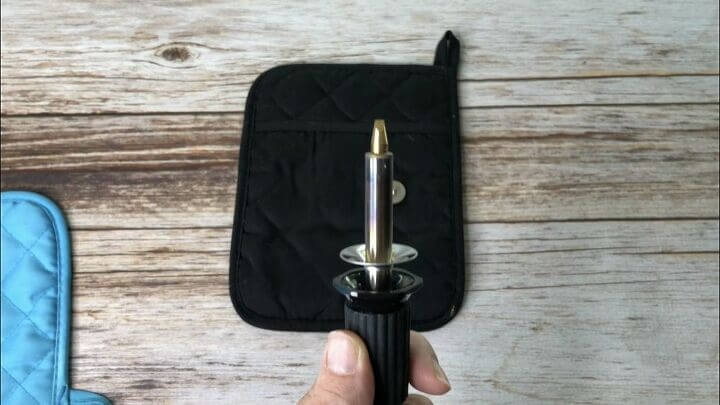
I turned off the wood burning tool and let it cool. Then I switched to a tip that has both a flat and pointed edge so I can do fine and wide work. I turned it back on high and let it heat up.
I then began using the tool to trace over the design. Its slow work but easy to do.
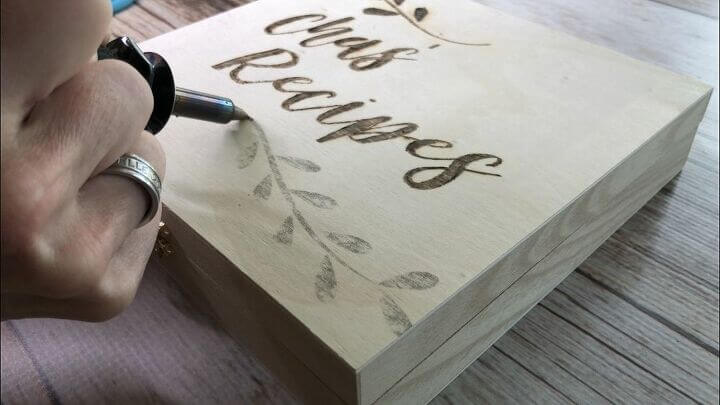
You can use the wider edge to fill in the wider spaces and the fine tip to do the detailed work. There are other heads to work with too so you can pick the one you’re comfortable working with.
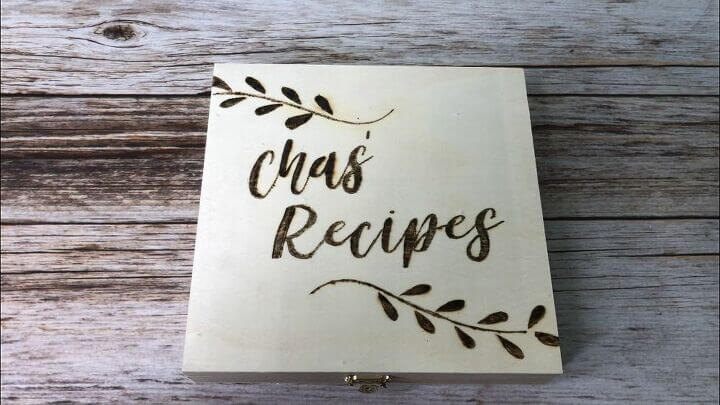
Here is the completed box, and I love how it turned out. You can leave it as is, or you can stain/varnish the box.
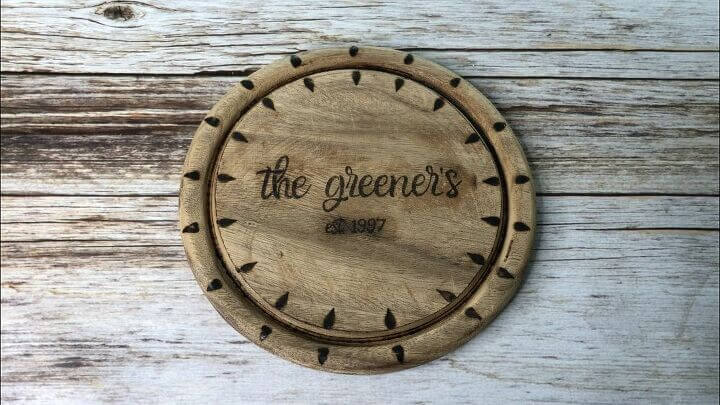
Using the same technique I created this cutting board. For the leaves to create a wreath look I used the leave tool and held it into place to burn in that shape.
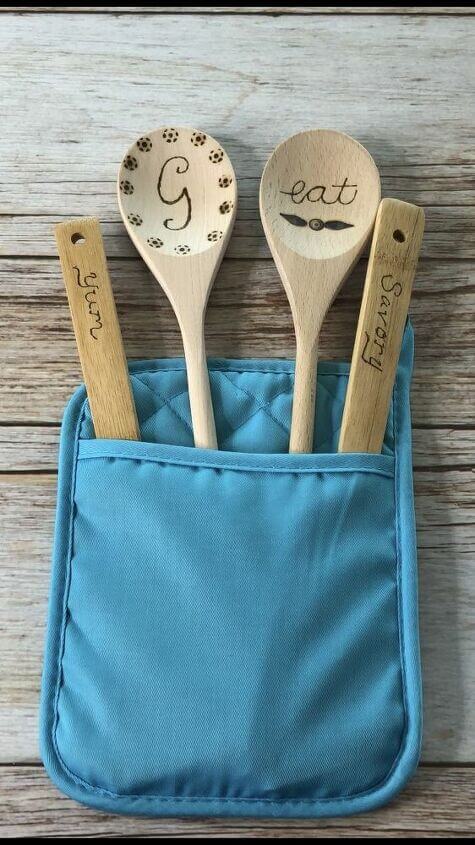
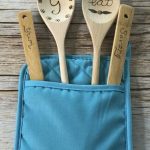
I have also wood burned wooden utensils. These are great for when you bring utensils to a pot luck and they make great gifts.
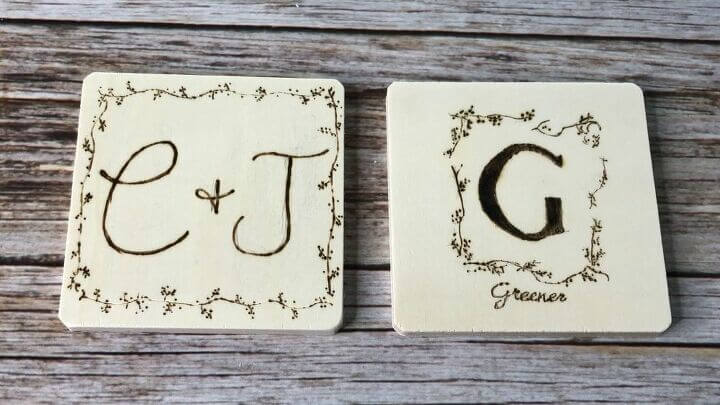
I have also made coasters. Once you get started the possibilities are endless – anything that’s wood.
 Plaid Decorative 15 pc. Woo…Shop on Amazon
 Plaid wood burning and sten…Shop on Amazon
 Plaid Craft Surfaces Unpain…Shop on Amazon
 ROYAL CRAFT WOOD Wooden Cut…Shop on Amazon
 Caydo 72 Pieces Unfinished …Shop on Amazon
 NAYAHOSE Wooden Spoons for …Shop on Amazon
To see me create this in my video with Hometalk click below…
EASY & AWESOME DIY GIFTS ON A BUDGET TO MAKE AND SELL Ebook
Do you love to make gifts for friends and family members? Would you like to personalize your gifts too? This book is for you! Over 30 DIYs gifts on a budget plus extra tips, tricks, eco-friendly gift wrapping ideas, and more!
So what are you waiting for?!!! Get your copy today and start creating!
Don’t forget to link to ThriveCart – Book

Thank you for sharing at #OverTheMoon. Pinned and shared. Have a lovely week. I hope to see you at next week’s party too!
Thank you for sharing and pinning Marilyn. Have a great weekend.
Thank you for sharing at #ThursdayFavoriteThings. Pinned and shared. Have a lovely week. I hope to see you at next week’s party too!
Thank you so much Marilyn and I hope you have a wonderful week too!
The box turned out really well. I like the utensils too. Very cool!
Thank you so much Michelle
Ok, now you have me wanting to do another hobby! I just love how it turned out! I remember having a wood burning kit when I was young,(but I’m not sure I really knew how to use it), and now I’d like to get one again to make something beautiful like this. Thanks so much for sharing at Thursday Favorite Things!
Thank you so much Pam and it’s so fun – once you get started you start thinking of more and more ideas.
My husband got me a set last Christmas and I have only used it a few times! Need to pull it out again!
chezmireillefashiontravelmom.com
Thank you so much for sharing and they are so fun to work with. You can think of so many ideas once you get started.
Nice skills! I have yet to try this out myself but I’ve been wanting to since we started doing upcycle pallet projects at home. Thanks for linking up with at #OMGHWW
Thank you Alice, and once you get started it opens so many doors and possibilities.
I am always in awe of wood burned projects – I just love the look! I have one of these kits on my wish list.
Thank you Alexandra and I hope you get one. They are so much and the possibilities once you get started are endless.
Great project, wood burning is on my list of projects to do one day. I burn the hell out of my fingers with a hot glue gun don’t know if I can be trusted with a wood burner.
Thank you Anita, and I’m thrilled you want to give it a try. I totally get the hot glue gun, have done that myself a few times.
We bought wood burning kits for our sons as they became old enough. They had a lot of fun with creative projects.
Thank you Michele, and I love that your sons had fun with the tool. Thanks for sharing.
Fantastic post! Love wood burning, your projects are so cute! Thanks for sharing. ?
Thank you so very much Naomie, that tool is so fun to work with…. so many possibilities I can’t keep up with everything in my head 😉
FRIST time to coment comment on your blog. Love your ideas for wood burning art. Looking forward to your next postings.
Welcome, thank you for your kind words and I hope you continue to enjoy the posts. Feel free to email me any time.