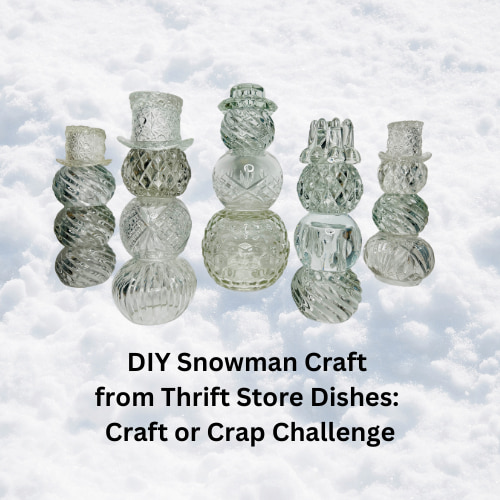
Creative DIY Snowflakes: Step-by-Step Tutorials with Video
How to DIY snowflakes? Welcome to our step-by-step tutorial on creating unique and charming DIY snowflakes. These easy-to-follow instructions will guide you through various techniques using everyday items, turning simple materials into beautiful winter decorations. I love that these don’t just have to be Christmas decorations, they can be used all winter long.
In these tutorials, you won’t need a ruler or protractor, and you’ll find several fun ways to make a variety of seasonal and holiday decor.
Let’s dive into the world of creativity and make your own personalized snowflakes!

DIY Snowflakes Materials:
- For the first two snowflake variations: Printer paper or construction paper, scissors, pencil, plate (optional)
- For the coffee filter snowflake: Coffee filter, scissors
- For the doily snowflake: Doily from the dollar store, scissors, glue
- For the giant doily snowflake: Six doilies (for the first one) or eight lunch bags (for the second one), hot glue gun, scissors
- For the hanger snowflake: Eight hangers, hot glue gun or zip ties, embellishments (optional)
- For the puzzle piece snowflake: Puzzle pieces, magnet, white paint, glitter
- For the window clings and snow-covered snowflakes: Printout of snowflakes, parchment paper or wax paper, fabric paint or glitter glue, plain glue, fake snow, Mod Podge
What can I use to make snowflakes?
Who needs paper when you can create mesmerizing snowflakes using everyday items like coffee filters, doilies, or even old window clings! Let your imagination run wild and embrace the joy of DIY snowflake crafting. In this post we’ll make several different kinds of snowflakes and use a variety of materials.
DIY Snowflake Video Tutorial
How do you make your own snowflake?
What are the steps to make a paper snowflake?
DIY Snowflakes Instructions:
Materials:
Basic Paper Snowflake
Instructions:
How do you fold paper to make a snowflake?
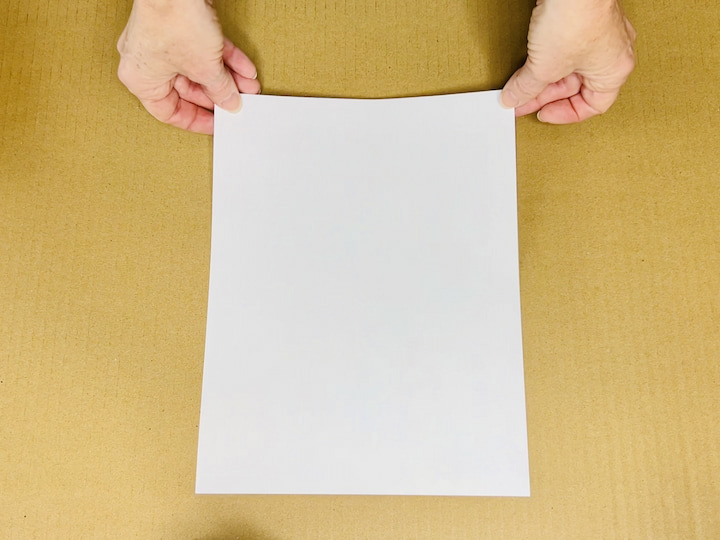
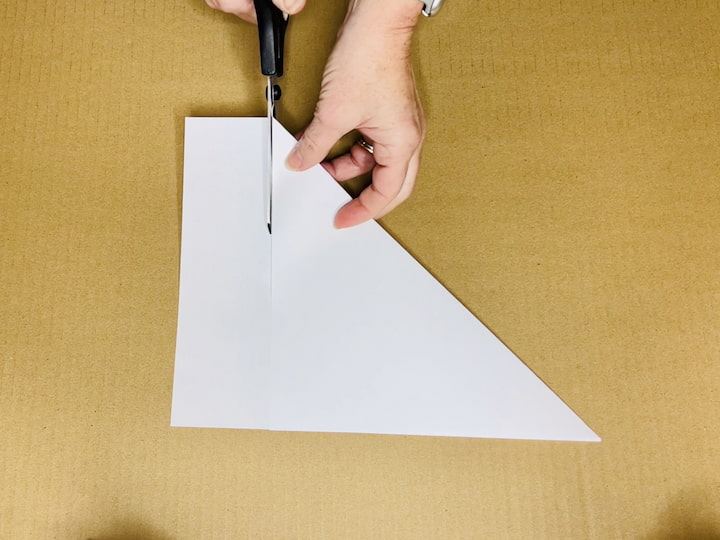
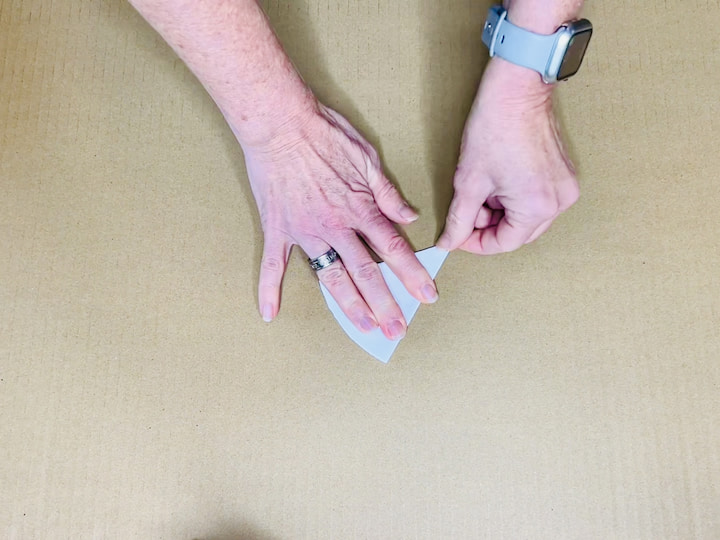
Fold Diagonally: Take a regular sheet of printer white paper. Fold the paper diagonally across to form a paper triangle.
Trim Excess Paper: Cut off the excess piece of paper, leaving you with a square piece of paper.
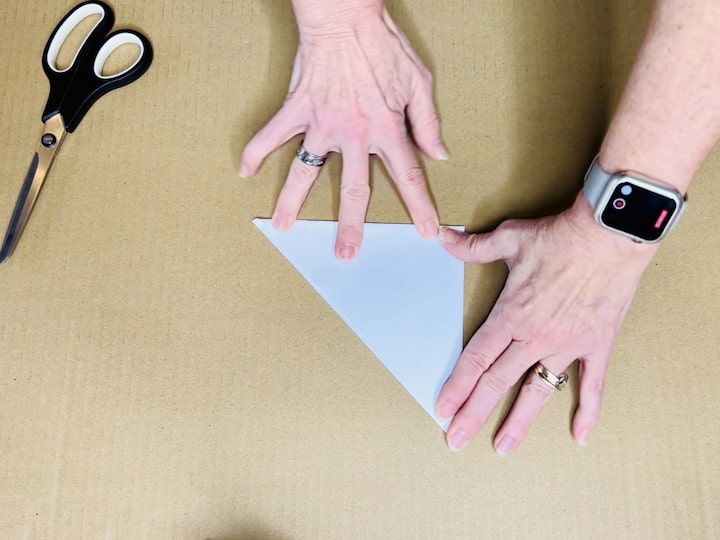
Fold Triangle:
- Fold the square sheet of paper back into a triangle.
- Fold the triangle in half, creating a smaller triangle.
- Fold it in half again.

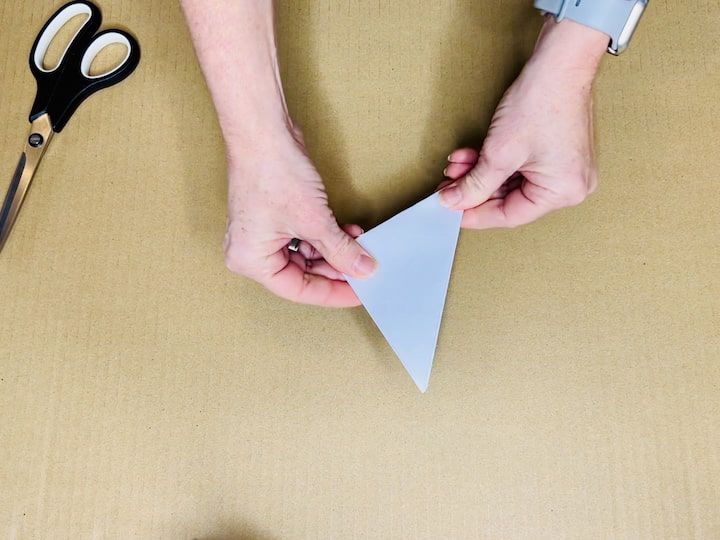
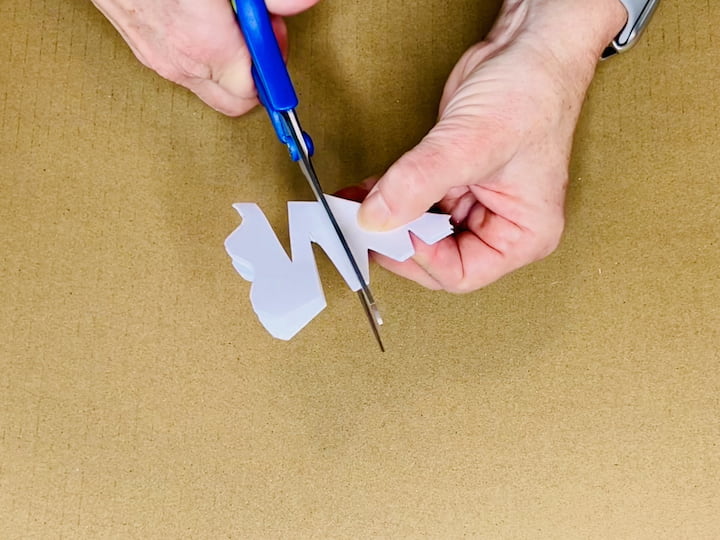
Shape Cutting: Channel your creativity: recall the childhood joy of cutting shapes.
Use scissors to cut shapes from the folded paper. Feel free to cut off corners, create triangles, incorporate curvy lines, or experiment with different shapes.
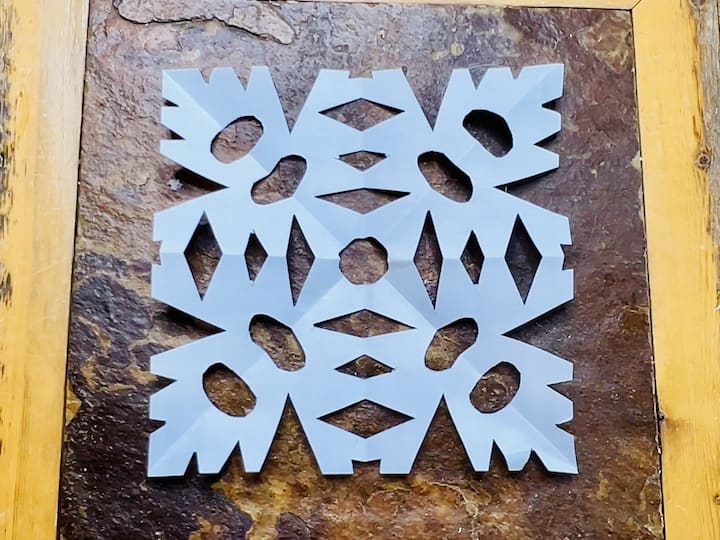
Unfold and Reveal: Once cutting is complete, unfold the paper to reveal your unique snowflake. The folding in this shape will result in a square or diamond-shaped snowflake.
Admire Uniqueness: Embrace the charm of imperfection; each snowflake will be unique and different, just like real snowflakes.
Repeat or Customize: If you want to create more snowflakes, repeat the process.
Experiment with various shapes and designs to add diversity to your collection.
Display Your Creation: Open up the snowflake and appreciate the beauty of your handmade creation.
Consider hanging them on windows, walls, or creating a winter-themed display.
Remember, the magic lies in the spontaneity and individuality of each snowflake. Let your scissors dance across the paper, and enjoy the process of crafting beautiful, one-of-a-kind snowflakes.
*Pro Tip – Hang your snowflakes with fishing line to give the illusion they’re floating. You can also hang with a piece of twine, or use a command hook.
Creative Circle Snowflake
Materials:
Instructions:
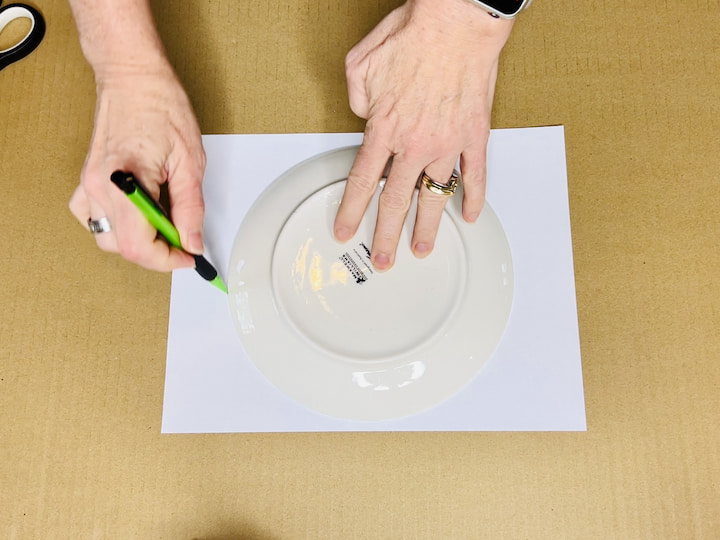
Choose Your Paper: Select a plain piece of paper or construction paper for this circle snowflake.
Trace a Circle: Place a plate on the paper and trace around it with a pencil. This will create a perfect circle as the base for your snowflake.
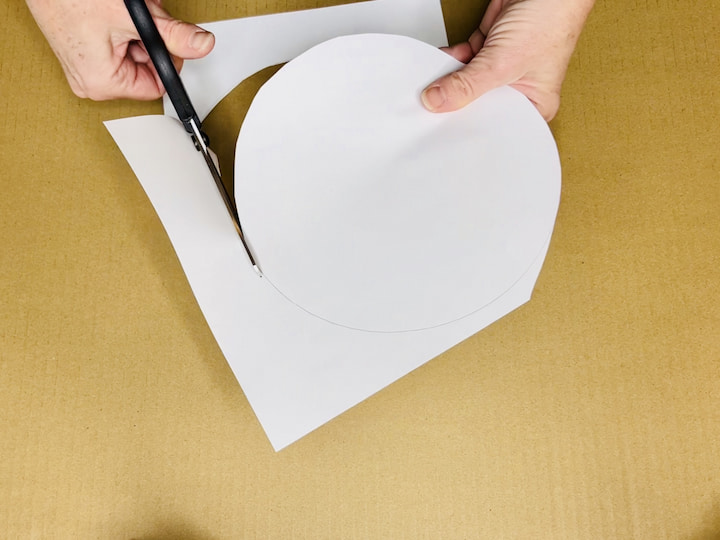
Cut Out the Circle: Use scissors to carefully cut out the entire circle, following the traced outline.
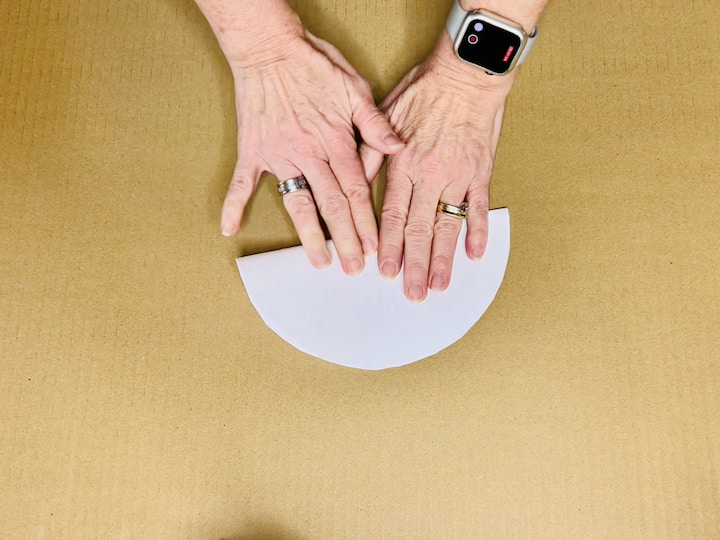
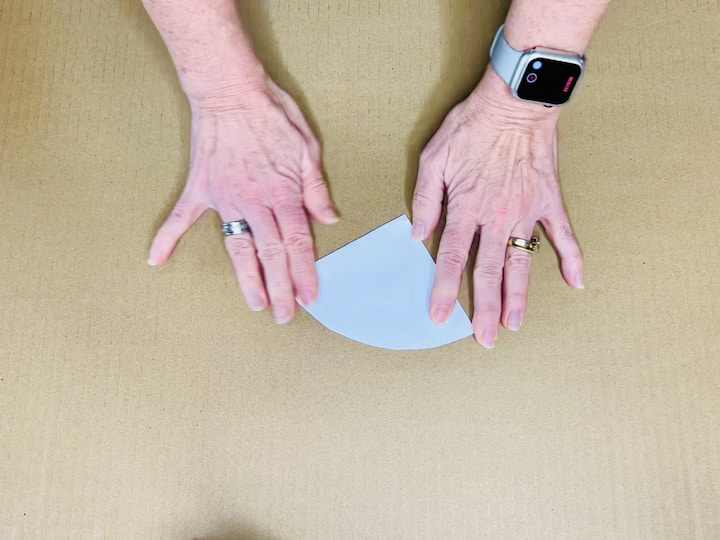
Fold the Circle:
- Fold the circle in half, creating a semi-circle.
- Repeat the folding process, halving the semi-circle again, and then once more.
- You should have a total of three folds.
Carve Creative Shapes: With your scissors, start carving away at the edges, sides, etc in a variety of shapes. Get creative! Consider adding a curvy end on the bottom and cutting different shapes along the sides and top. Every snowflake should be a little different and unique. Feel free to experiment with various shapes and patterns.
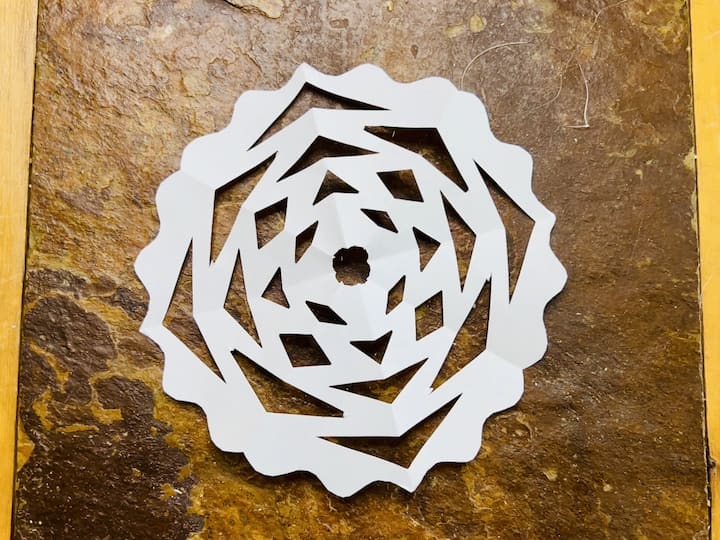
Reveal Your Creation: Unfold the paper to reveal your circle snowflake. Take a moment to appreciate the distinctiveness of your creation compared to the first snowflake.
Personalize and Experiment: If you’re feeling adventurous, try different variations. Experiment with the size of the circle, the number of folds, or the shapes you carve.
Embrace Creativity: While tutorials for specific snowflake designs exist, relish the joy of pure creativity. Let your imagination guide your scissor strokes.
Display Your Unique Snowflakes: Unleash your circle snowflakes as decorative elements. Hang them around your home, creating a winter wonderland that reflects your artistic touch. You will make a different snowflake everytime with this technique and enjoy the creative journey of making these beautiful, personalized circle snowflakes.
If you’re looking for a snowflake template or paper snowflake pattern because you don’t want to just create your own, you can find some online.
Delicate Coffee Filter Snowflakes
Materials:
Instructions:
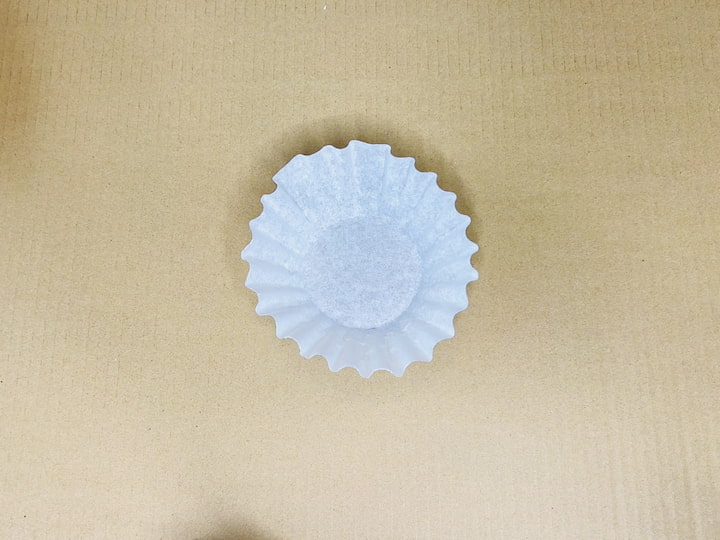
Select a Coffee Filter: Choose a coffee filter for creating delicate and translucent snowflakes.
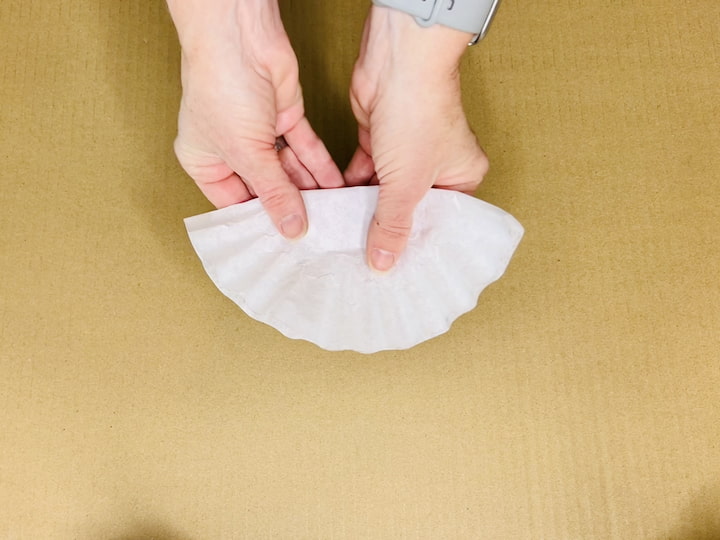
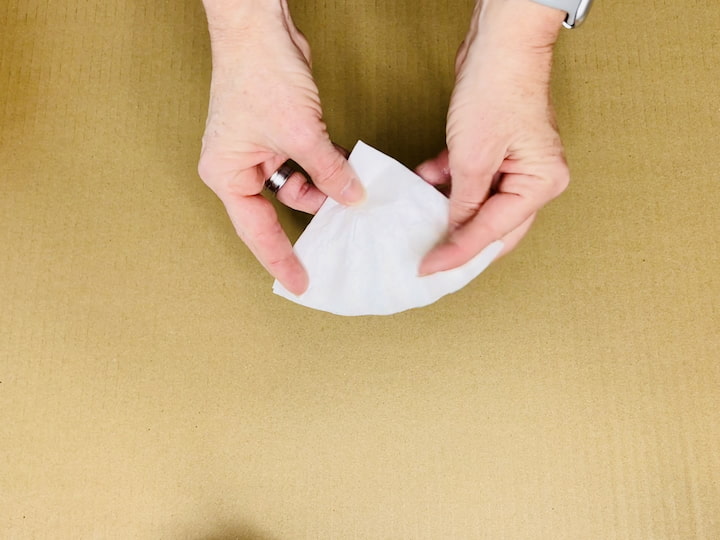

Fold the Coffee Filter:
- Begin by folding the coffee filter in half.
- Repeat the folding process two more times, for a total of three folds.
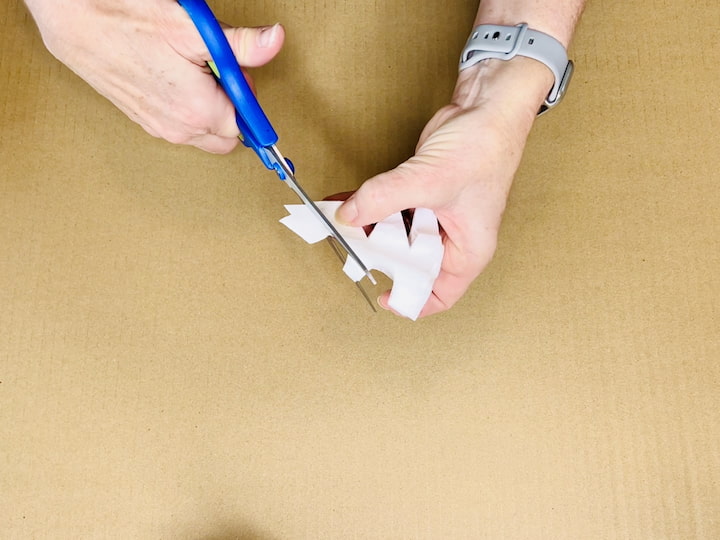
Start Cutting: Using scissors, start cutting away at the edges, sides, and top of the folded coffee filter. Feel free to cut in any manner you prefer, experimenting with different shapes and patterns.
Kid-Friendly Activity: This activity is perfect for involving young kids due to the ease of cutting coffee filters. Encourage them to explore their creativity by making unique snowflake designs.
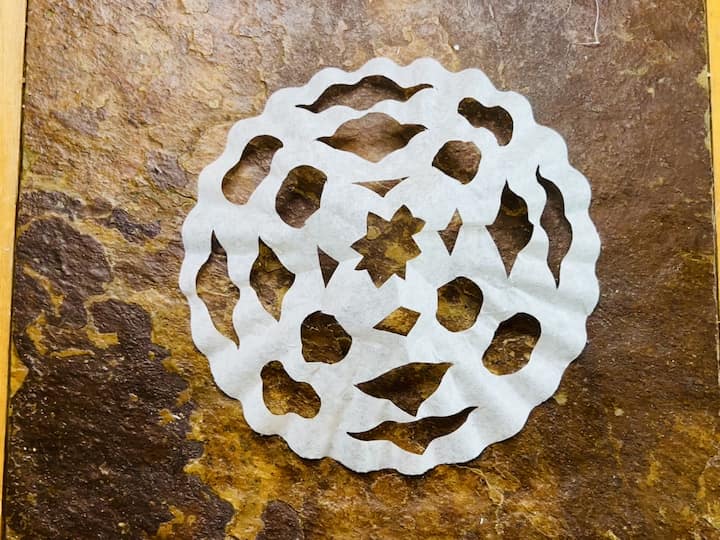
Unfold to Reveal: Open up the folded coffee filter to unveil the intricate snowflake pattern you’ve created. Notice the translucent quality of the coffee filter, adding a unique texture to the snowflake.
Appreciate the Texture: Embrace the texture created by the folds in the coffee filter, giving the snowflake a distinctive appearance.
Experiment with Variations: Consider creating multiple coffee filter snowflakes with different shapes and sizes. Experiment with various folding techniques for diverse designs.
Display Your Translucent Snowflakes: Hang your coffee filter snowflakes in windows or other well-lit areas to showcase their translucent beauty.
Share the Craft: Encourage others to try this simple and delightful craft, sharing the joy of making coffee filter snowflakes. Enjoy the beauty and simplicity of crafting these delicate coffee filter snowflakes, and let the unique texture and translucency add a touch of elegance to your winter decor.
Elegant Paper Doilies Snowflakes
Materials:
Instructions:
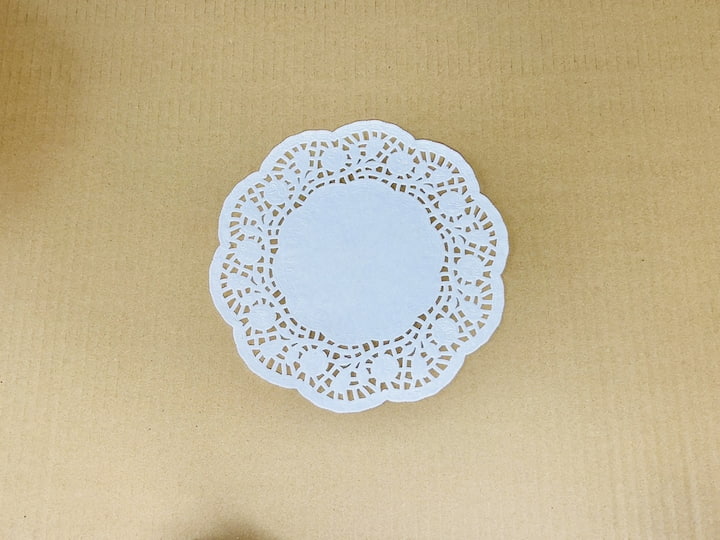
Select a Doily: Choose a doily from the dollar store for an elegant touch to your snowflakes.
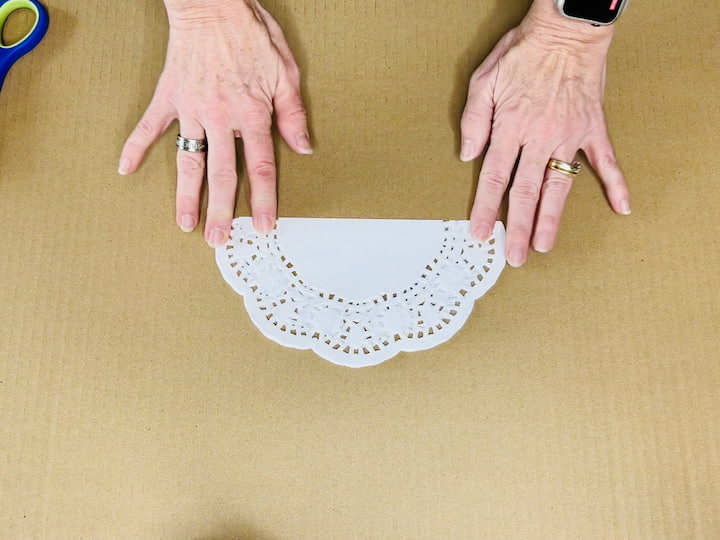
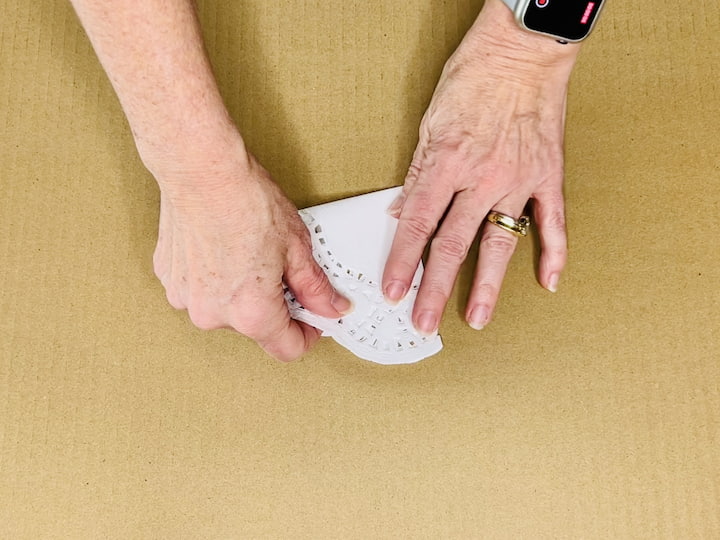
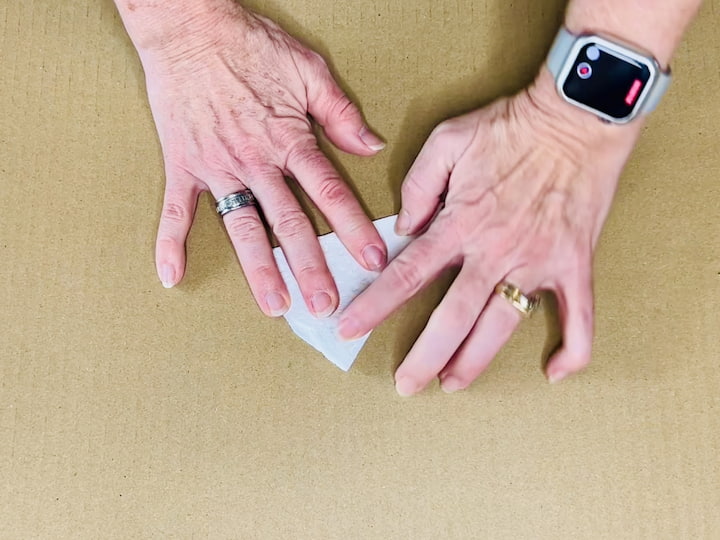
Fold the Doily:
- Begin by folding the doily in half.
- Repeat the folding process two more times, for a total of three folds.
Choose the Focused Half: Since the bottom half of the doily is lacy, decide whether you want to keep it intact for added texture or cut it for a different effect. For this demonstration, we’ll focus on the solid plain upper half.
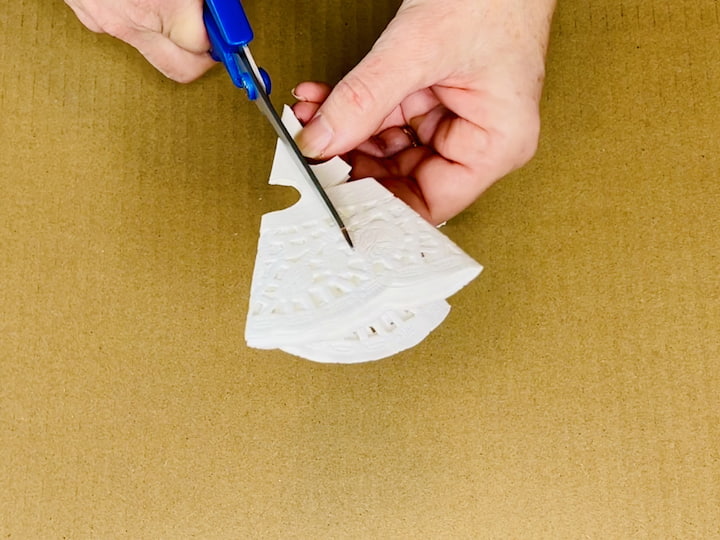
Cut Shapes: With the folded doily in hand, start cutting shapes from both sides and the top. Take advantage of the doily’s intricate patterns to create a unique snowflake design.
Simplify Cutting: Using doilies simplifies the cutting process as there is less cutting involved compared to paper. The doilies are easy to cut, making them a great material for various age groups.
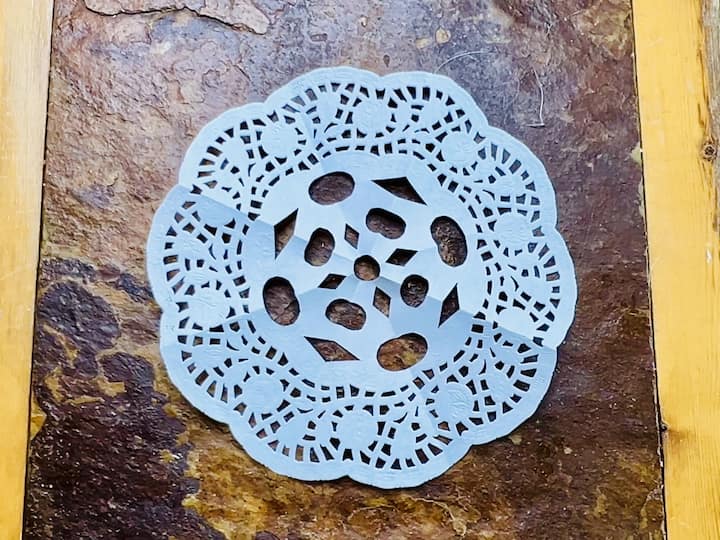
Unfold to Reveal: Open up the doily to reveal the intricately cut snowflake. Admire the unique design and notice how the lace adds a delicate touch to the overall appearance.
Appreciate the Lace Detail: Appreciate the lace detailing on the bottom half of the doily, which enhances the snowflake’s resemblance to real snowflakes.
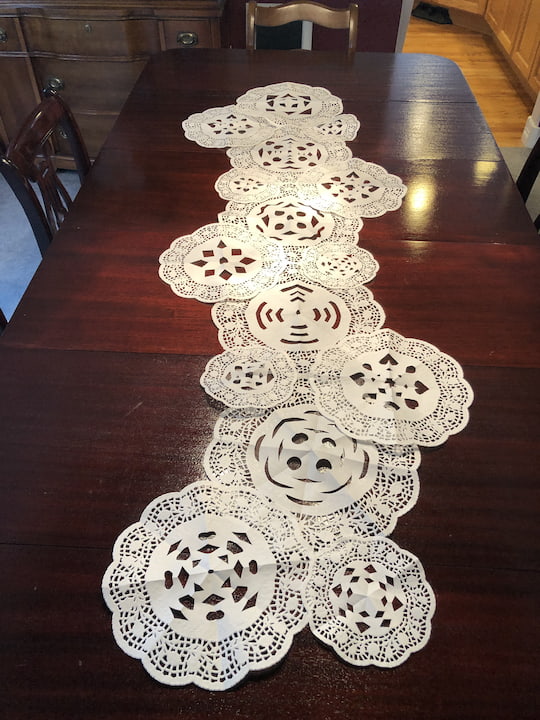
Consider Gluing Multiple Snowflakes: If you wish, glue multiple doily snowflakes together to create a larger decorative piece. For example, glue several doilies together to make a stunning table runner for your home. Gluing can be done with a hot glue gun or glue sticks. You can find this full tutorial and more doily decorations at Super Easy Dollar Tree Doily Crafts: Great for Kids and Adults
Experiment with Combinations: Try combining doilies of different sizes or patterns to add variety to your snowflake collection.
Display Your Elegant Snowflakes: Display your doily snowflakes on windows, walls, or as part of your winter decor for a touch of elegance.
Create a series of these elegant doily snowflakes to elevate your winter decor, and experiment with different folding techniques and combinations for a personalized touch.
How do you make 3D snowflakes for kids?
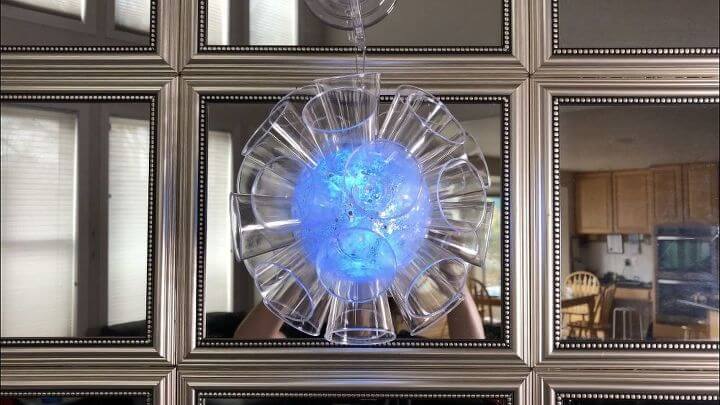
Grand DIY Giant Doily 3D Snowflake
Materials:
- Six large doilies
- Hot glue gun or stapler and staples
Instructions:
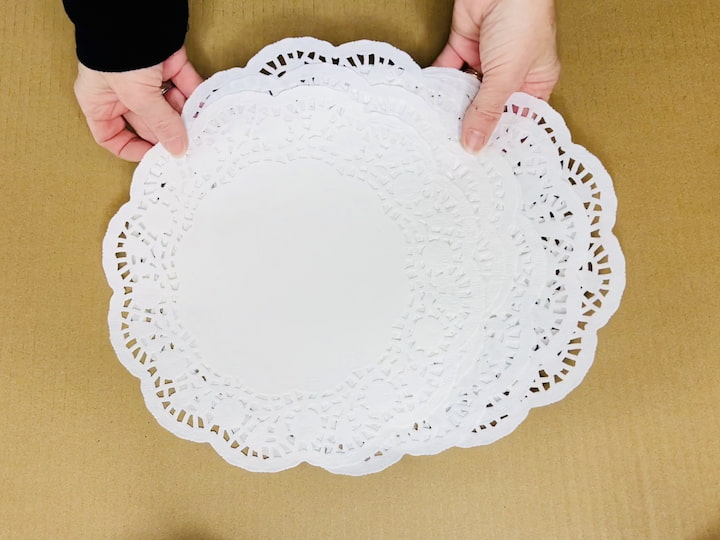
Select Doilies: Choose six large doilies for creating a grand and impressive giant snowflake.
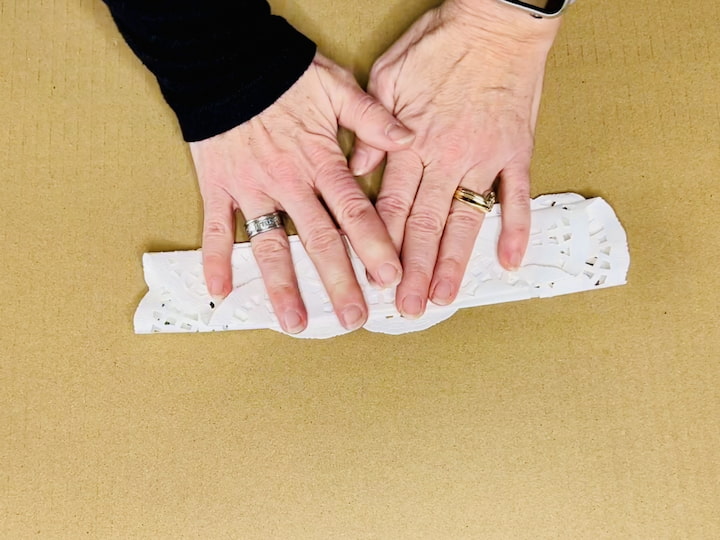
Accordion Folding: Take one doily, preferably the largest size, and fold it like an accordion. Fold it back and forth until the entire doily is neatly folded.
Repeat for All Six: Repeat the accordion folding process for the remaining five doilies.
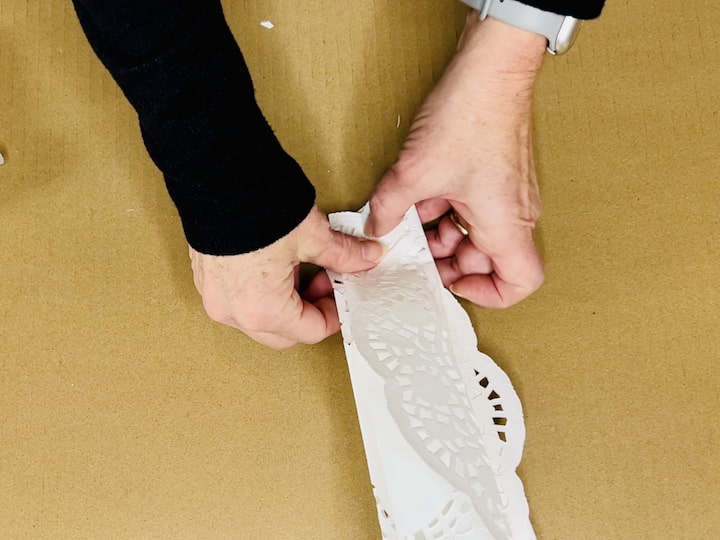
Assemble the Giant Snowflake: Prepare to assemble the giant snowflake by applying hot glue (or using a stapler) to the bottom of one folded doily.
Stacking Doilies: Press another folded doily onto the glued bottom, ensuring they are stacked evenly. Continue stacking the doilies in this manner.

Attach Centers: Add hot glue to the edges of the doilies’ centers, attaching them together. This creates a central point for the snowflake.
Repeat the Gluing Process: peat the gluing process for all six doilies, starting from the bottom. Attach the sides, then the bottom, and continue until you reach the last set of sides.
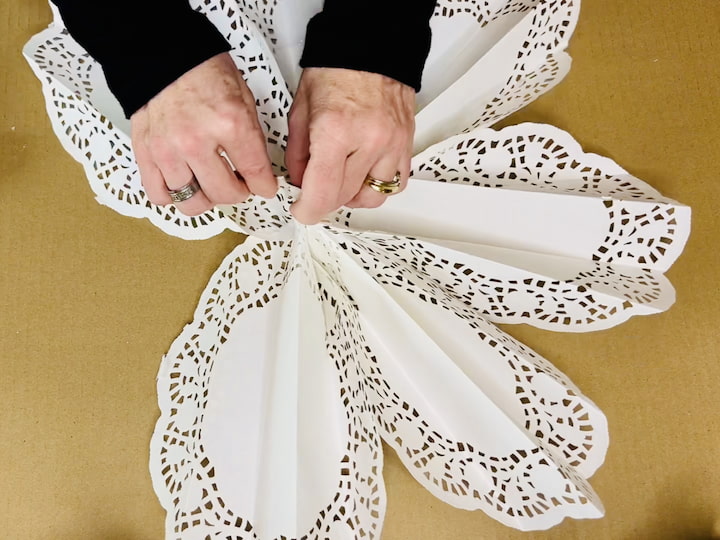
Attach Last Set of Sides: When attaching the last set of sides, secure them to each other to complete the circular shape of the snowflake.
Adjustments and Mistakes: If a mistake occurs during the gluing process, gently pull the doilies apart and make the necessary adjustments. Hot glue allows for flexibility in fixing any errors.
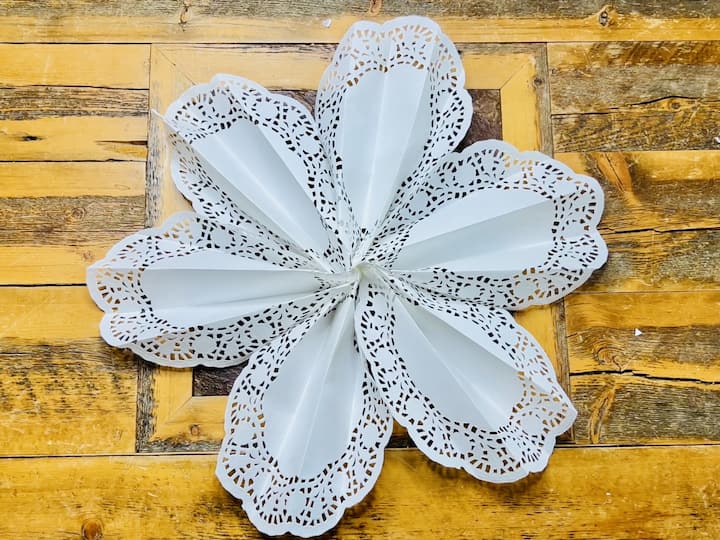
Quick Look at the Finished Product: Once all six doilies are securely attached, step back and admire your finished giant snowflake. Revel in the intricate design and impressive size of your DIY creation.
Optional: Add Decorative Touches: Consider adding additional embellishments or decorations to enhance the beauty of your giant snowflake.
Display Your Masterpiece: ind a prominent place to display your grand DIY giant doily snowflake, whether it’s on a wall, ceiling, or as a centerpiece.
Create a stunning winter focal point with this grand doily snowflake, and experiment with different sizes or colors for a customized touch. Enjoy the process of assembling this impressive decoration for your home.
How do you make a paper snowflake out of a paper bag?
Majestic DIY Paper Bag Snowflakes
Materials:
- Eight lunch bags (brown or white paper lunch bags)
- Hot glue gun
- Scissors
Instructions:
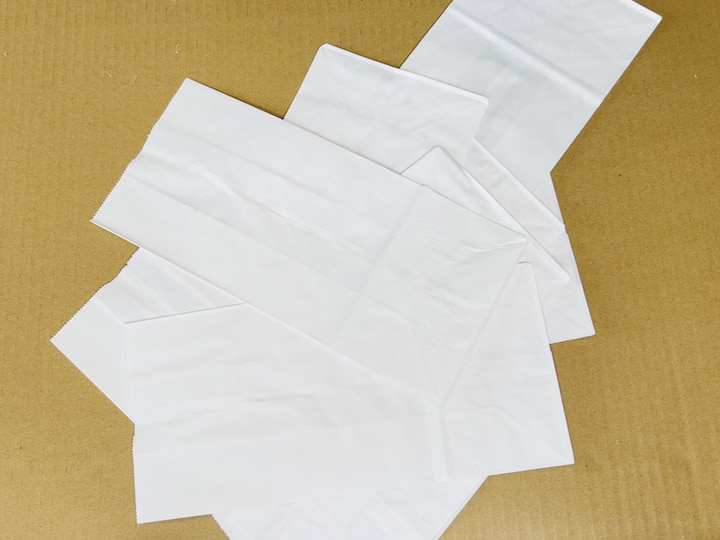
Gather Lunch Bags: Collect eight lunch bags of your choice, whether brown or white.
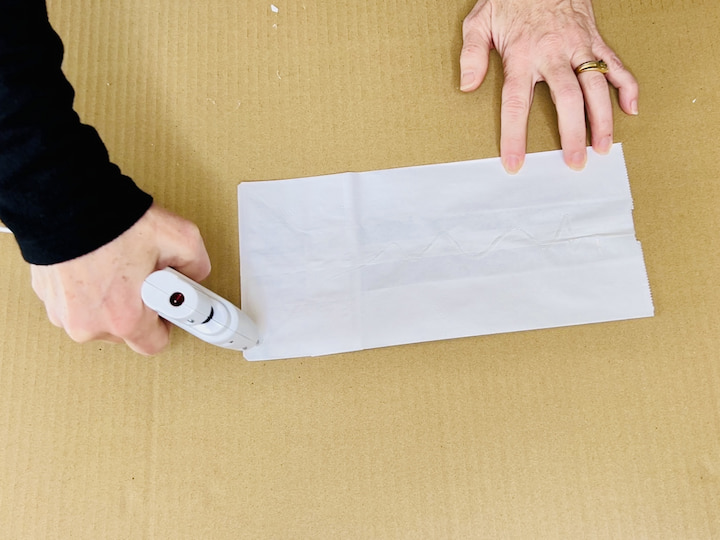
Prepare the First Bag: Start with the side of the bag that doesn’t have the fold. Use the hot glue gun to create a squiggly line down the center of the bag. Make another line across the bottom.
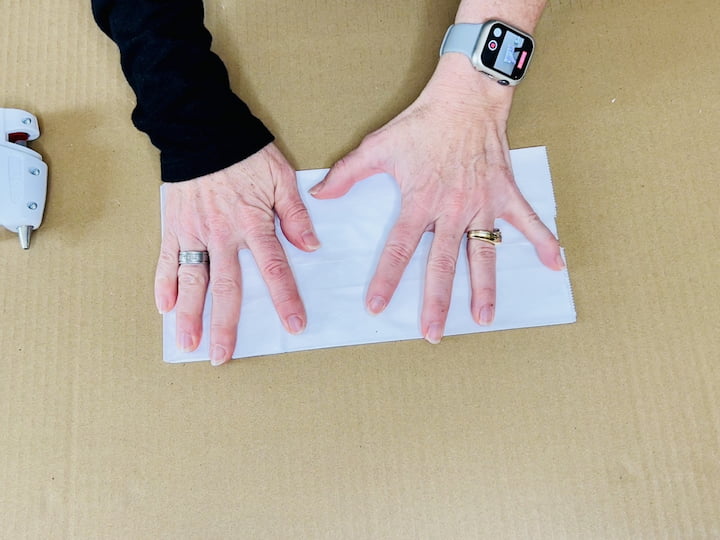
Layer the Bags: Take another lunch bag and place it on top of the first one, ensuring that the folded side is at the bottom. Press down to secure it firmly. Repeat the process of gluing down the center and across the bottom.
Continue Layering: Repeat the layering process with the remaining bags, adding hot glue down the center and across the bottom. Continue until you have used all eight bags.
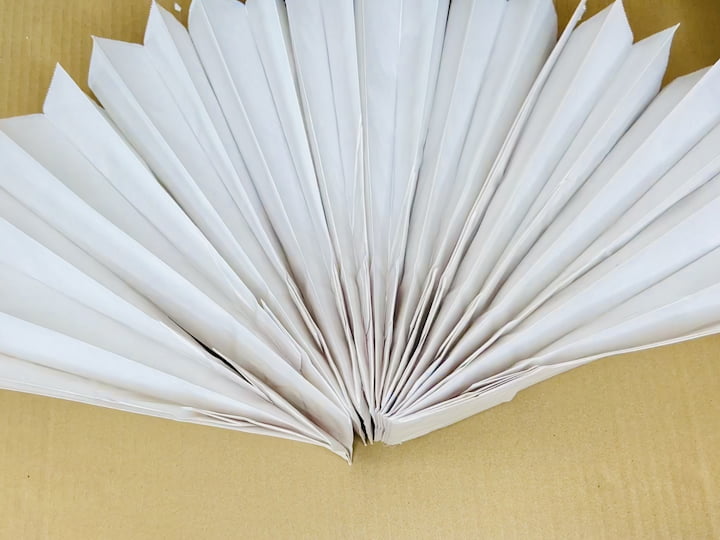
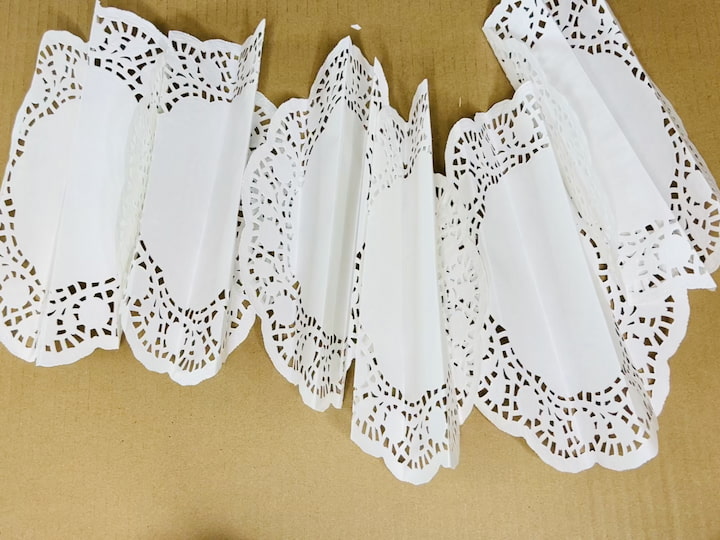
Create an Accordion Shape: Once all eight bags are glued together, open the arrangement like a fan or accordion.
Prepare for Cutting: Close the accordion back up in preparation for cutting.
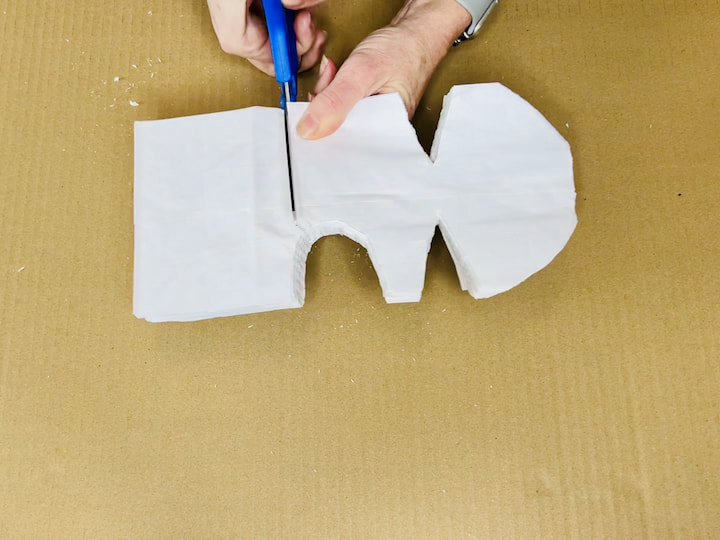
Cutting the Top: Decide whether to leave the top plain or add a decorative touch. If desired, cut a curve off the top.
Cutting the Sides: Use scissors to cut the sides of the folded bags. Cut above the fold spot down below, leaving room for glue to keep the center solid.
Maintain Symmetry: Whatever you cut on one side, match it on the other to maintain symmetry. This will make the sides of the paper bags the same

Create Fan Shape: Open the accordion to reveal a circular, fan-like shape. Pull it across until it reaches the other side.
Prepare for Gluing: Open up the fan slightly to prepare for gluing.
Glue the Base and Fold: Start by gluing the base folds together. Glue the fold of the last bag to ensure it stays closed. Apply glue to the entire bottom on both sides, sticking them together.
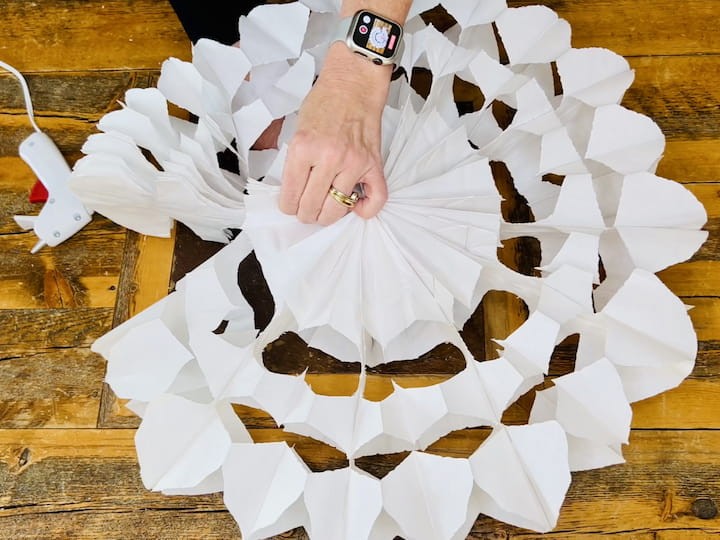
Gradually Glue Upwards: Work your way up towards the top, applying glue to each section until the entire structure is securely glued together.
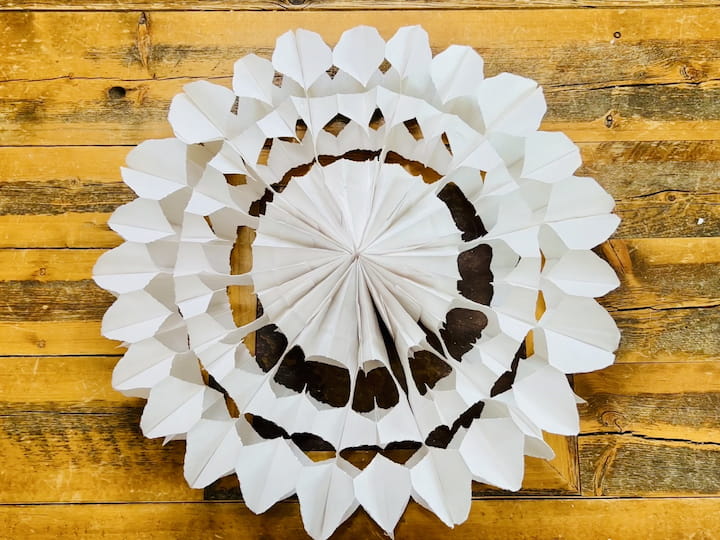
Admire the Completed Snowflake: Stand back and admire your completed DIY giant snowflake, showcasing its impressive size and intricate design.
Optional: Add Decorations: If desired, enhance the snowflake’s appearance by adding decorative elements or embellishments.
Display Your Masterpiece: Find a suitable place to display your majestic DIY giant snowflake, whether hanging from the ceiling or adorning a wall.
Create a stunning focal point with this large paper bag snowflake, and experiment with variations to suit your decor. Enjoy the crafting process and proudly showcase your impressive winter creation.
Other DIY Snowflakes You Can Make:
DIY Hanger Snowflakes
Materials:
- Plastic hangers (8)
- Hot glue gun
- Zip ties
- Embellishments (optional)
Instructions:
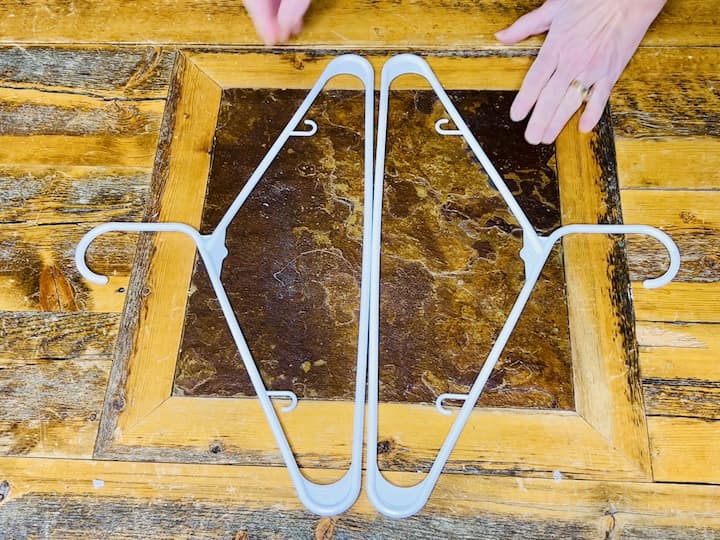
Create Sets of Two: Pair the hangers together to form sets of two.
Secure Sets with Hot Glue or Zip Ties: Decide whether to use hot glue or zip ties to secure each set of hangers together. Apply hot glue to the contact points or use zip ties to firmly hold the hangers in the desired snowflake shape.
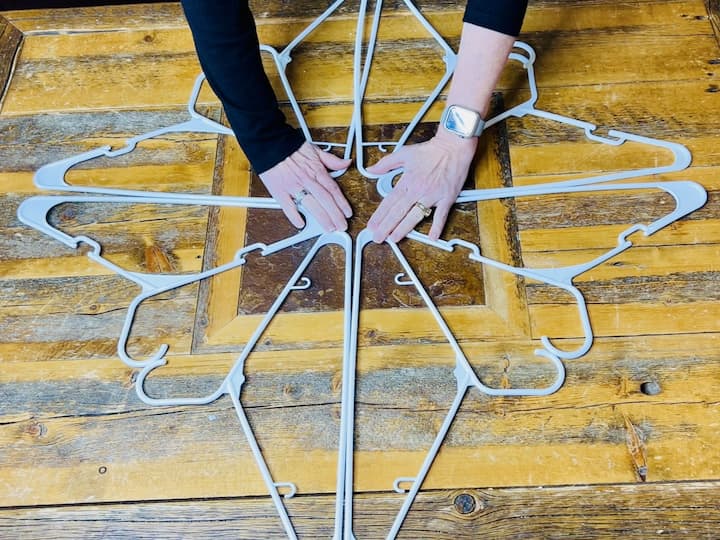
Combine Sets to Form a Snowflake: Take all the sets of two and arrange them to create a snowflake shape. Each set of two forms one arm of the snowflake.
Reinforce with Hot Glue or Zip Ties: Secure the points where the sets meet to reinforce the overall structure. Apply additional hot glue or use zip ties as needed to make the snowflake stable.
Add Embellishments (Optional): Enhance the appearance of the hanger snowflake by adding optional embellishments. Consider using glitter, beads, or other decorative elements to customize each section.
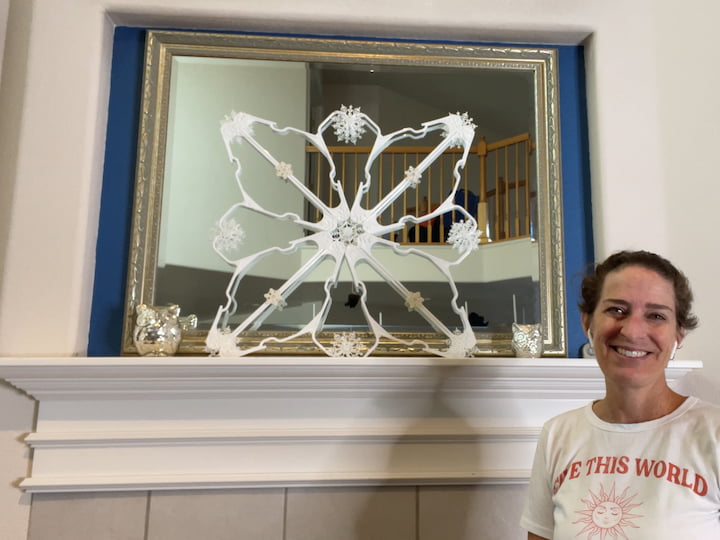
Hang and Display: Once the hanger snowflake is complete, find a suitable place to display it. Hang it from a hook, attach it to the wall, or incorporate it into your festive decor.
Experiment with Sizes and Shapes: Feel free to experiment with different hanger sizes or shapes to create unique and varied snowflakes.
Personalize Your Snowflake: Make each hanger snowflake your own by adding your favorite embellishments or by choosing a specific color scheme.
Admire Your Handmade Snowflake: Step back and admire the beauty of your DIY hanger snowflake. Revel in the simple elegance of this handmade winter decoration.
Create a stunning focal point with these hanger snowflakes and enjoy the process of crafting your own unique winter decor.
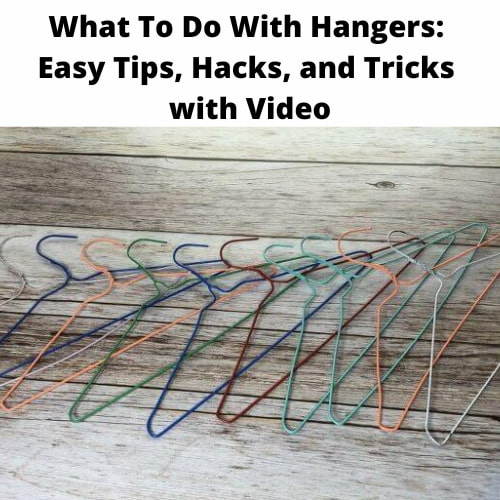
You might also enjoy my other hanger projects:
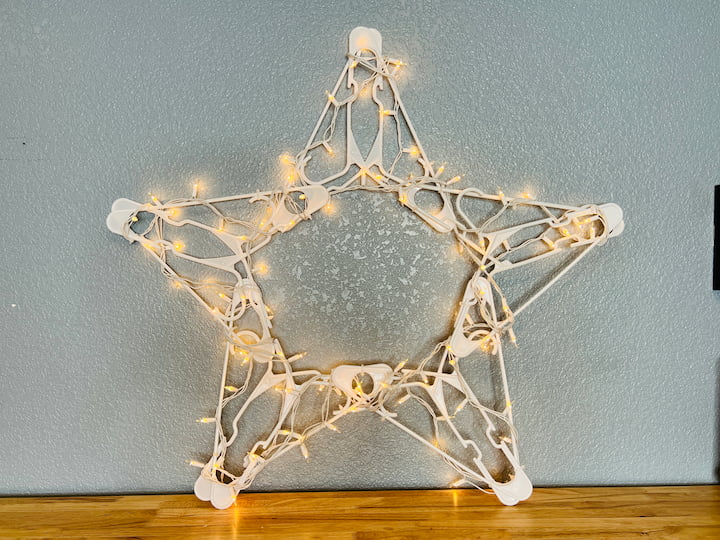
- Easy Dollar Tree DIY Plastic Hanger Star
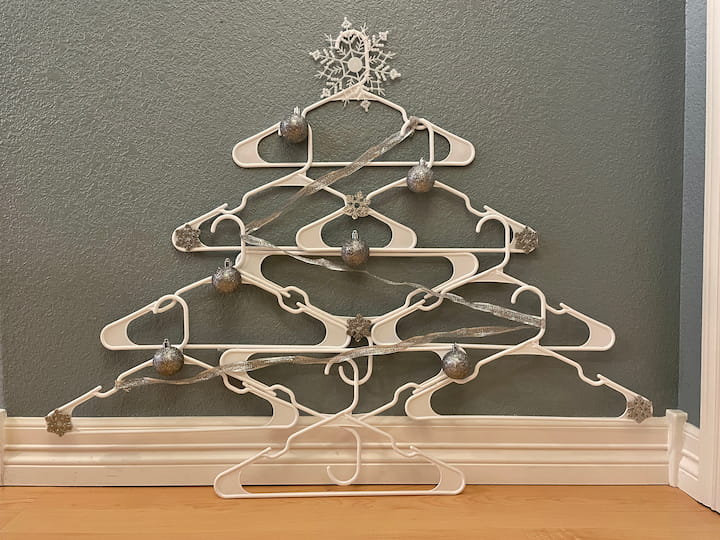
- Easy and Space Saving Christmas Tree Craft with Hangers
- Creative Home Hacks for Using Hangers Around the House
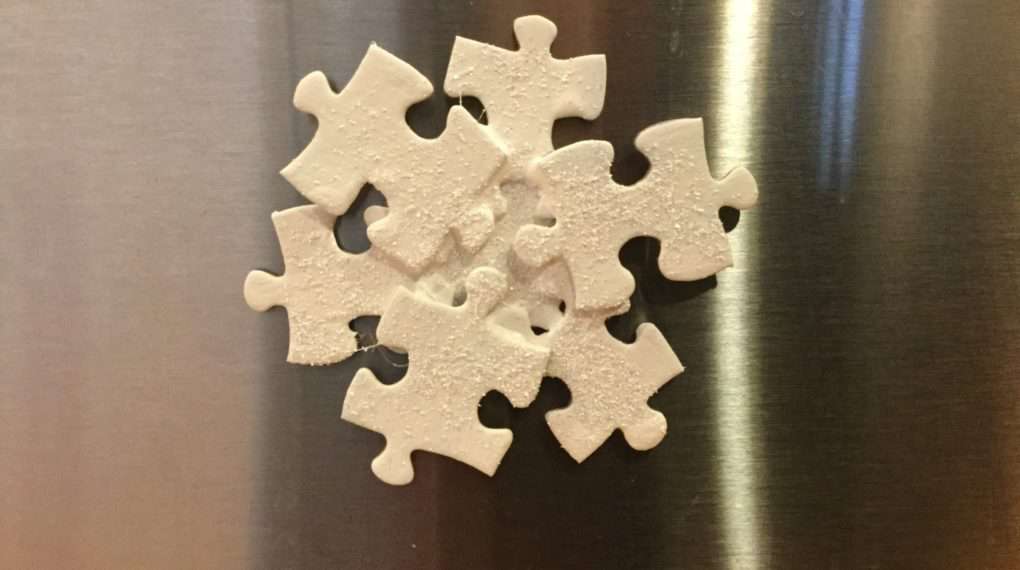
Puzzle Piece Snowflake
- Glue puzzle pieces together in a snowflake shape.
- Attach a magnet to the back and paint the snowflake white, adding glitter for sparkle.
You can find the full tutorial at Beautiful Snowflake From Puzzle Pieces
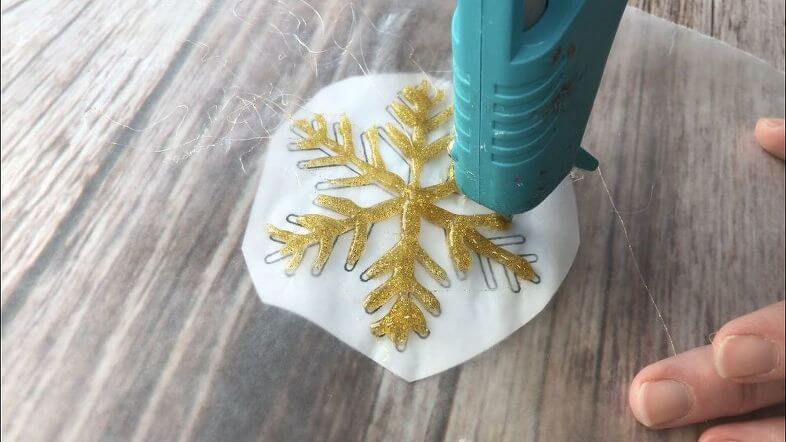
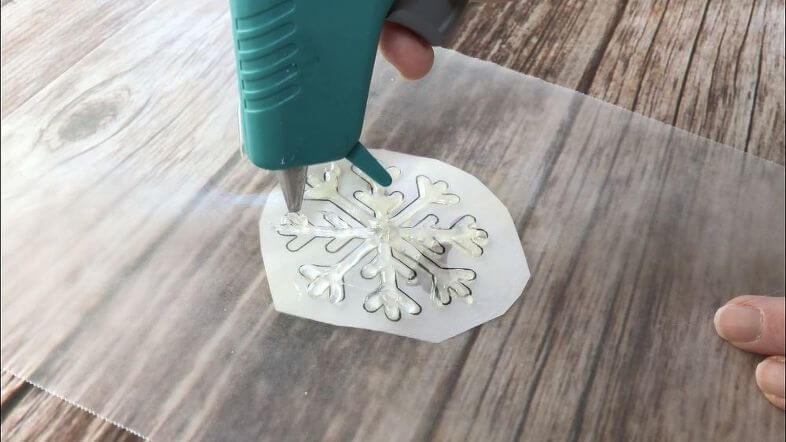

DIY Snowflake Window Clings and Snowflakes made with Glue
How do you make snowflakes with glue?
- Print and cut out snowflakes.
- Place parchment or wax paper over the printout.
- Use fabric paint or hot glitter glue to trace the snowflakes, creating window clings.
- Alternatively, coat snowflakes with plain glue, add fake snow, and hang them in your window.
You can find the full tutorial at Hot Glue & Fabric Paint Snowflakes plus Bonus Window Wax Stencil
DIY Snowflakes Video:
Shop any of these stores and I receive a small commission at no cost to you.
Click the image below to shop my holiday favorites!

What can I do with DIY Snowflakes?
Once you’ve created your DIY snowflakes, there are numerous creative and festive ways to use them. Here are some ideas:
- Window Decorations:
- Hang your snowflakes in windows to create a winter wonderland effect. The natural light will highlight their intricate designs.
- Ceiling or Wall Decor:
- String together multiple snowflakes to create a decorative garland. Hang it from the ceiling or on a wall for a whimsical touch.
- Table Centerpiece:
- Arrange a cluster of snowflakes in the center of your dining or coffee table. Place them in a decorative bowl or on a tray for a festive centerpiece.
- Winter Party Decor:
- Use the snowflakes as part of your winter party decorations. Hang them around the party area to set a joyful and seasonal atmosphere.
- Gift Toppers:
- Attach a snowflake to a ribbon and use it as a unique and personalized gift topper. It adds a special touch to your wrapped presents.
- DIY Snowflake Wreath:
- Glue or tie several snowflakes together to form a wreath. Hang it on your front door or inside your home for a welcoming winter accent.
- Table Runner:
- Glue multiple snowflakes together to create a beautiful table runner. This can add a touch of elegance to your dining or coffee table.
- String Lights Integration:
- Combine your snowflakes with string lights to create a magical display. Hang them along with fairy lights for an enchanting effect.
- Window Clings:
- If you’ve used materials like coffee filters, consider turning them into window clings. Paint or decorate them, and they’ll stick to windows, mirrors, or glass surfaces.
- Seasonal Mobile:
- Hang snowflakes at varying lengths from a circular hoop or a tree branch to create a seasonal mobile. Hang it in a corner for a delightful decorative touch.
- Photobooth Backdrop:
- If you’re hosting a winter-themed party, use the snowflakes as a backdrop for a DIY photobooth. Your guests will love taking pictures against a snowy backdrop.
- Classroom or Office Decor:
- Brighten up your classroom or office space with snowflake decorations. Hang them from the ceiling or arrange them on bulletin boards.
- Garland for Staircase Railings:
- String snowflakes together and drape them along your staircase railing for a charming and festive look.
- DIY Snowflake Ornaments:
- Attach a string or ribbon to individual snowflakes and use them as ornaments for your Christmas tree.
- Create a Winter Wonderland:
- Combine your snowflakes with other winter-themed decorations to create an entire winter wonderland in your home.
Get creative and explore different ways to incorporate your DIY snowflakes into your home decor. The beauty of handmade decorations lies in their uniqueness and the personal touch they bring to your space.
Further Reading
- Snowy Pictures with Epsom Salt Painting
- Super Easy DIY Snowman Crafts You Can Make In One Day
- Snowman Craft Ideas: You Won’t Believe These Easy Dollar Tree DIYs
- Snowy Windows and Mirrors (and more)

Conclusion: Get creative and crafty this winter with these DIY snowflake ideas! Whether you prefer traditional paper snowflakes or want to experiment with unique materials, these step-by-step instructions will help you make beautiful decorations for the season. Share your favorite snowflake in the comments and enjoy your crafting journey! Don’t forget to subscribe for more inspiring DIY projects.