Easy Awesome and DIY Spooky Halloween Ghosts on a Budget
Are you looking for some DIY Halloween Ghosts? These DIY ghosts are easy to create with an awesome and spooky glow.
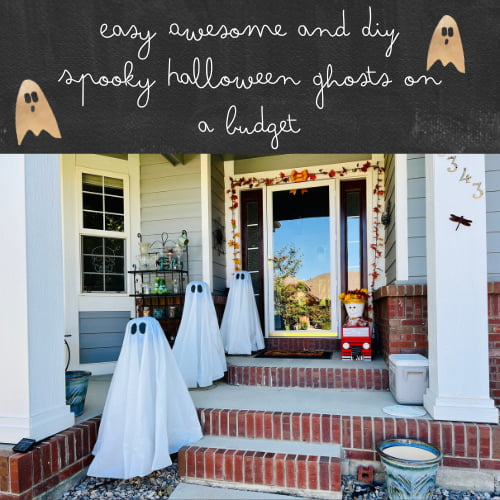
Today I will show you how to make a Halloween ghost. This little ghost is so easy to make and is the perfect addition to all your Halloween decorations. You can make a happy Halloween ghost, or a family of ghosts, to greet the neighborhood kids on Halloween night. You can also use them to usher in your guests for a Halloween party or Halloween celebrations during this spooky season.
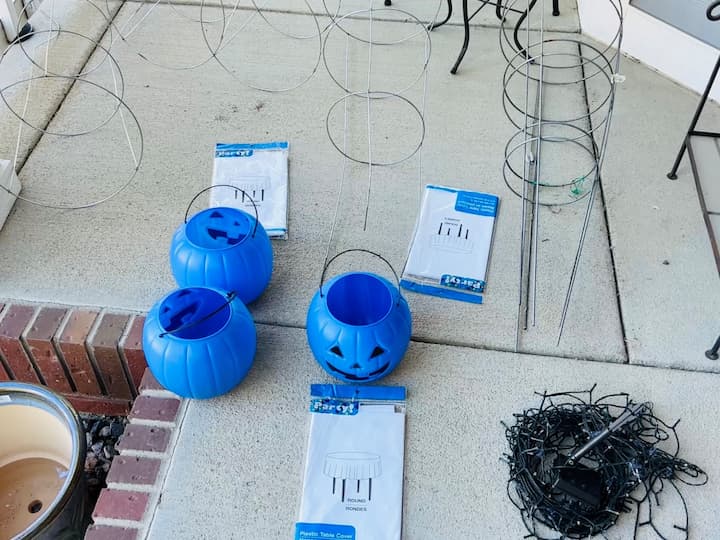
Halloween Ghosts Materials
For this project, you’re going to need some plastic tablecloths (you can use white sheets if your ghosts will be protected from the elements), plastic pumpkin pails, tomato cages, and lights
 LEOBRO Tomato Cage, 2 PCS P...Shop on Amazon
 Halloween Pumpkin Jack O' L...Shop on Amazon
 D&Z Plastic Table Cloth Dis...Shop on Amazon
 2 Pack 480 LED Solar String...Shop on Amazon
 Gaffer Power Proudly Made i...Shop on Amazon
Halloween Ghosts Video
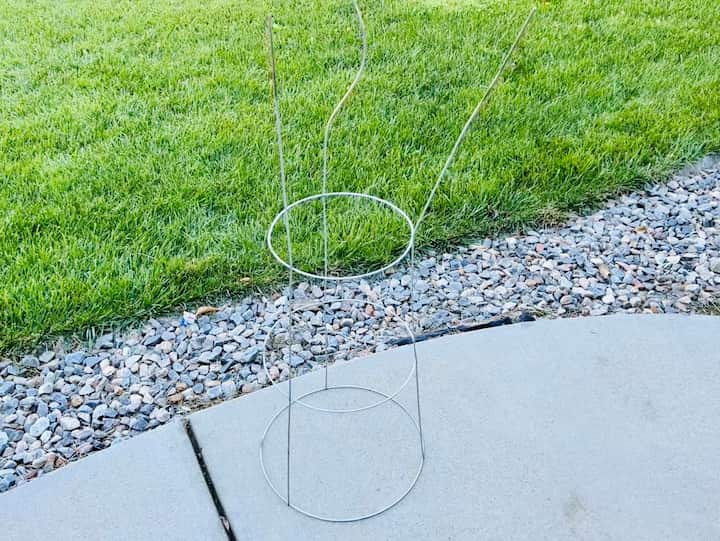
Halloween Ghosts instructions
1. Create the ghost form
I started by placing the tomato cage upside down so the top circle is the base of our ghost form. I bent the prongs of the tomato cage in the center.

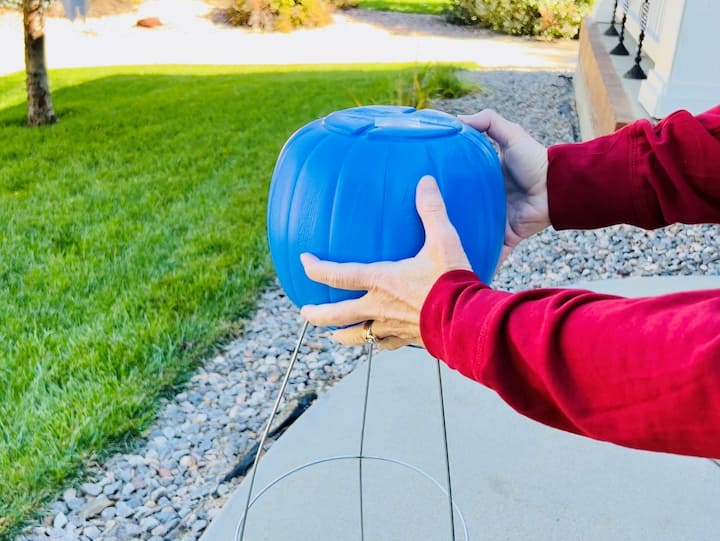
2. create the ghost head
I placed a pumpkin pail upside down onto the tomato cage prongs to create a head shape. You could use a foam ball instead if you prefer.
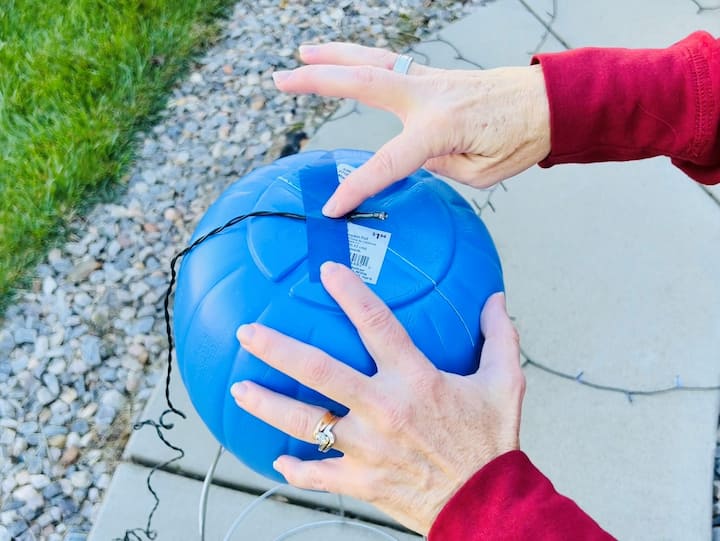
3. Add lights to the ghost form
I’ve taken some painter’s tape and taped the lights to the top of the bucket.
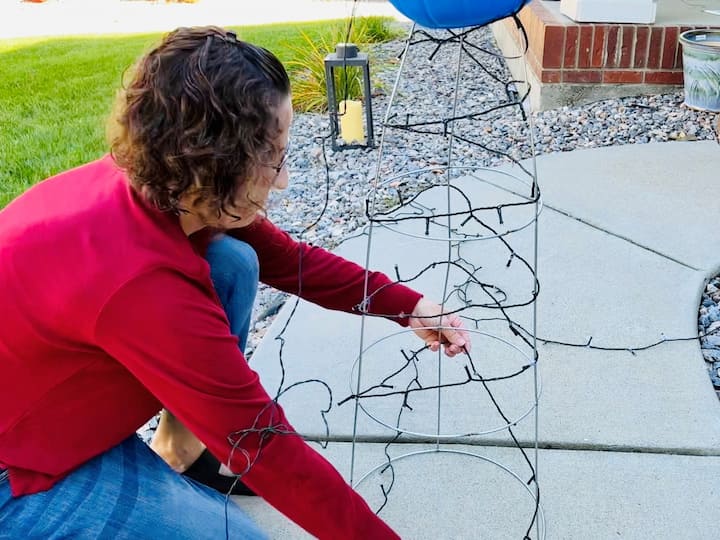
Next I’m going to take the lights and I’m going to wrap them around the tomato cage
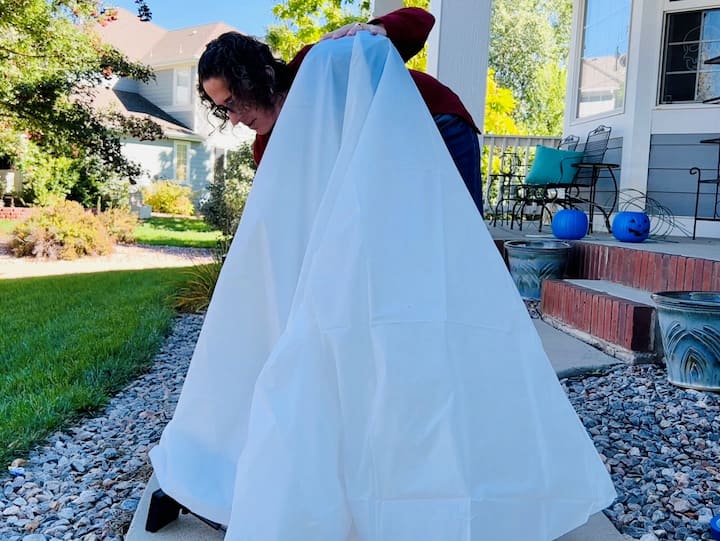
4. place the table cloth over the tomato cage
Next I’ll be using a round tablecloth. I throw it over the top and give it my ghost shake.
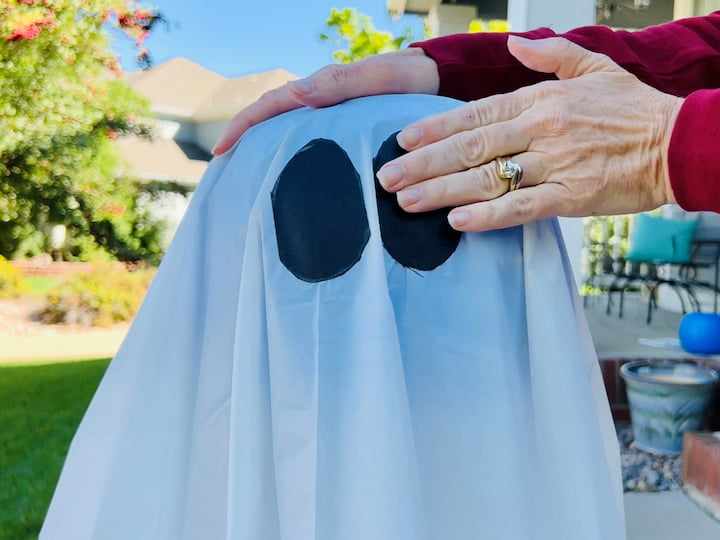
5. Create the ghost eyes
This is gaffer’s tape and I made a template out of a piece of paper to help cut out eyes for the head of the ghost. I’m taking a piece of chalk and tracing the eyes, that way when I remove this template I know where to cut. I’m going to use my scissors to cut it out. Be careful not to let it stick to itself. I will place the eye on the tablecloth, and then I will rub the chalk off. The reason I picked tape is so it will hold up in the elements. I’m placing the first eye and I will go ahead and repeat the process with the second eye. You could use black felt if you prefer.
You could easily stop with one ghost but I’m gonna make a few more.
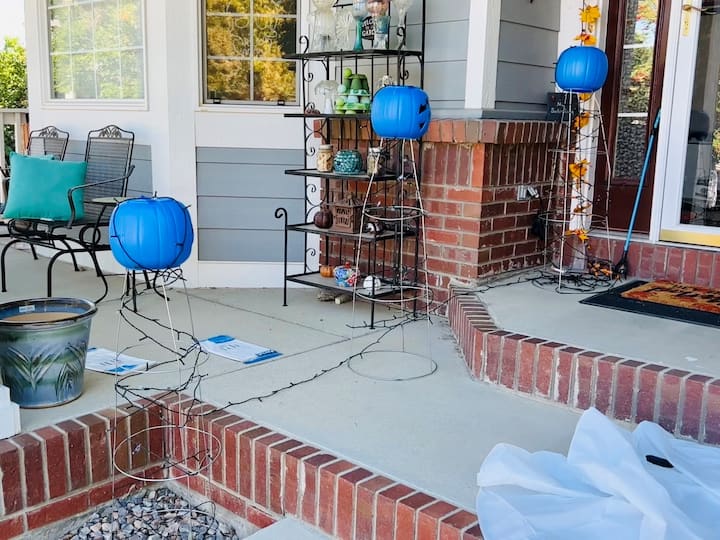
I’ve made three of them. The first is connected to the second one, which is then connected to the third one. You can see here how the framework is laid out for all of these ghosts. as kids walk up the stairs
I placed the tablecloth back onto this first one and I’ll be repeating it with the other two.
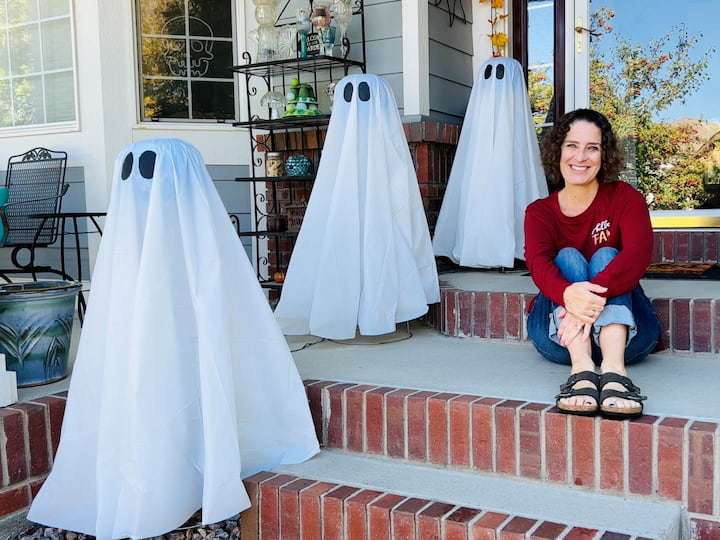
Here are all three ghosts lined up and waiting for my trick-or-treaters on Halloween
I hope this inspires you to create some ghosts of your own. I’d love it if you’d subscribe to my YouTube channel and my blog. Thanks for watching and I’ll see you in my next video and don’t forget to like, share and subscribe.
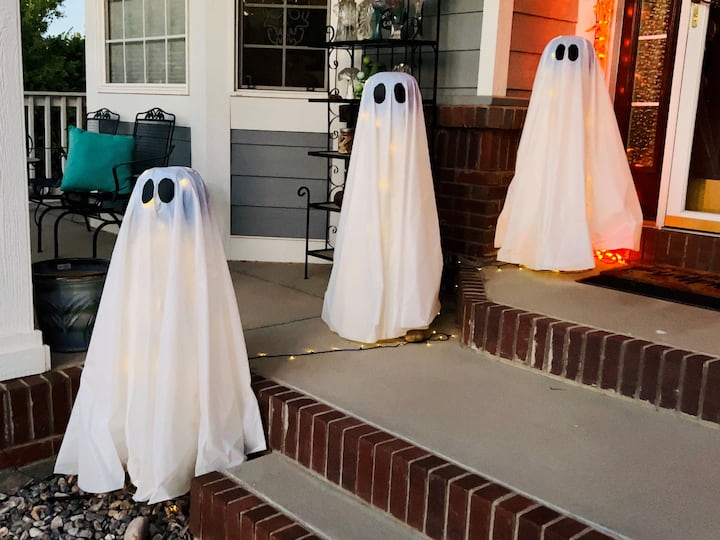
Halloween Ghosts Video
You could place your ghosts around a scary tree. If you’re going to put them in your yard you’ll want to use some garden stakes to hold them in place. It helps to put them in the right place like if they have a dark background to stand out.
Shop any of these stores and I receive a small commission at no cost to you.
 32 inches Giant Halloween D...Shop on Amazon
 3PCS 43 Inch Halloween Ligh...Shop on Amazon
 Roald Dahl's Book of Ghost ...Shop on Amazon
 HOCUS POCUSShop on Amazon
 Ghostbusters / Ghostbusters...Shop on Amazon
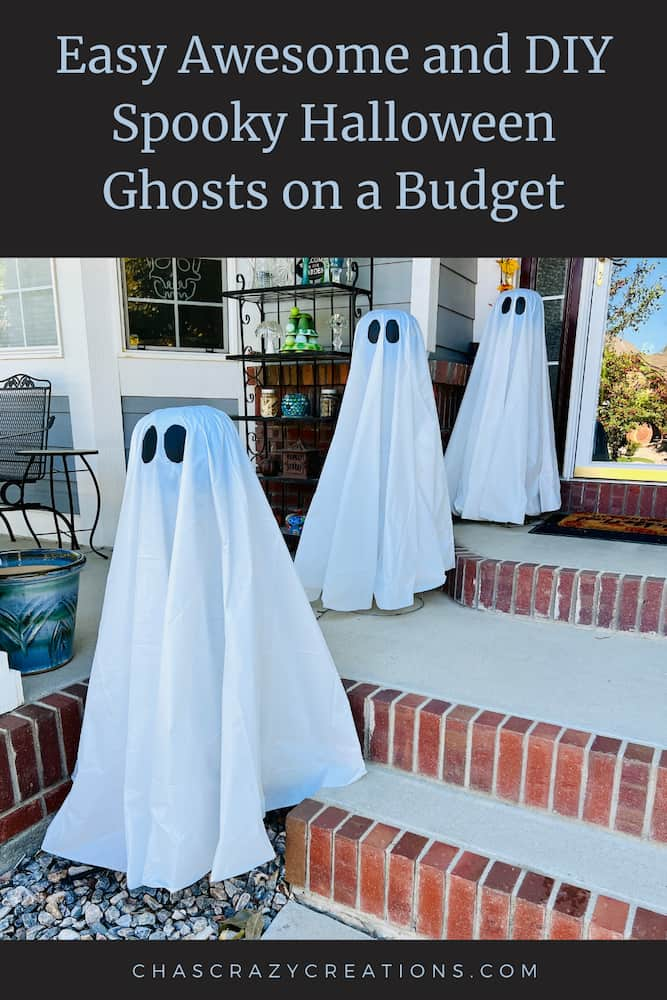
Check out some of my other ghost projects!


