Easy DIY Cardboard Halloween Decorations
Learn how to make spooky and sustainable cardboard Halloween decorations with these easy DIY projects. Perfect for adding an eco-friendly touch to your Halloween decor.
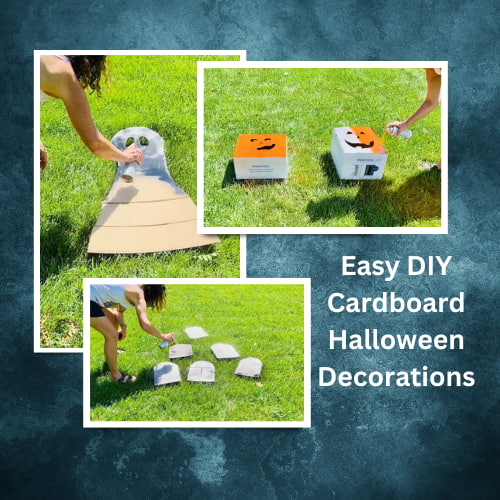
Hey there, crafty friends! Today we’re diving into one of my favorite holiday crafting challenges: making Halloween decorations out of cardboard! I’m teaming up with Mona from Craft Klatch.
We are doing our craft challenge called “Craft or Crap.” You decide! That’s right, we’re turning trash into treasure with some seriously spooky DIY cardboard Halloween decorations. So grab those empty cereal boxes and let’s get crafting on some cardboard cutouts!
Video: How to make cardboard Halloween decorations
Halloween Cardboard Decorations Craft or Crap Rules:
- You have to include cardboard in your project.
- It has to have a Halloween theme.
- It has to include some school supplies.
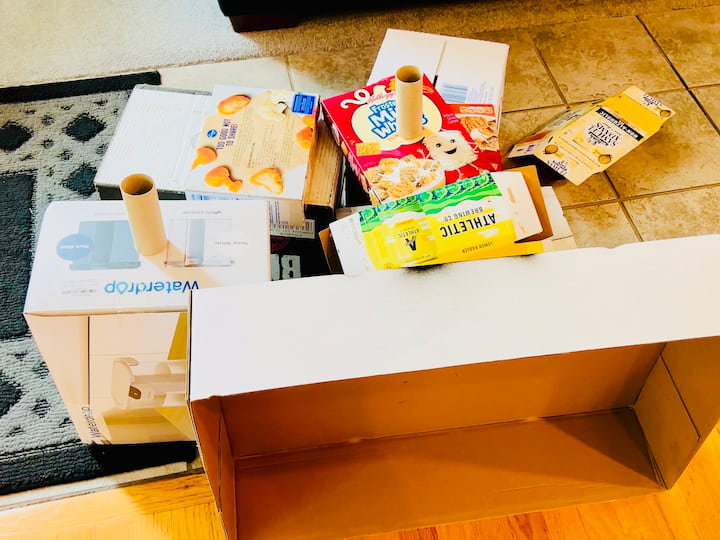
DIY Cardboard Halloween Decorations Materials List:
- Cardboard boxes (cereal boxes, shipping boxes, etc.)
- Contact paper
- Ryobi Cutting Tool
- Spray paint (metallic silver, black, white, and orange)
- Acrylic paint (red)
- Mod Podge
- Markers, crayons, and colored pencils
- Wooden skewers & Metal Skewers
- Fairy lights
- Tape
- Scissors
- Puck lights (optional)
- Solar spotlight (optional)
Cardboard Halloween Decorations Instructions
Boarded-Up Windows (or “Fake Haunted, Real Fun”)
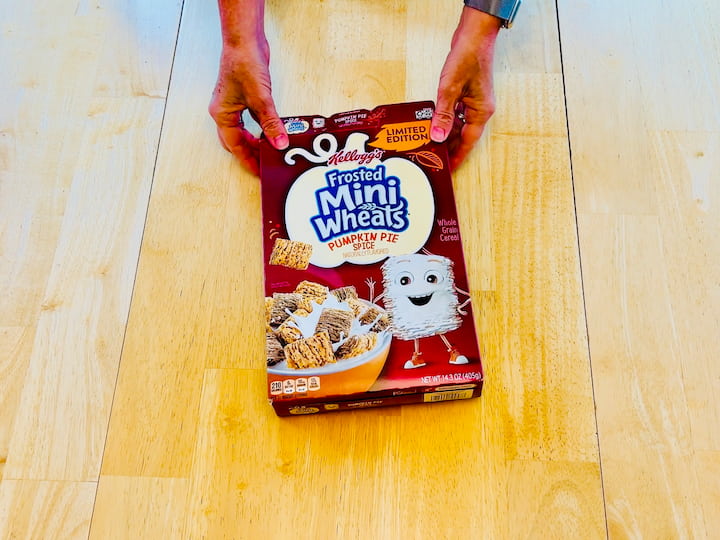
I’m starting with some cereal boxes that I had. I started by opening the box and then cutting the box up.
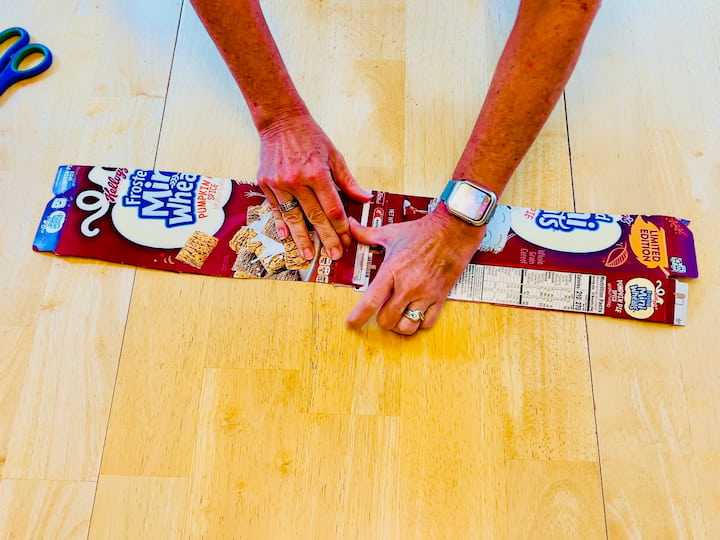
I took two long strips of the box and taped them together and I repeated that process with the other pieces as well.
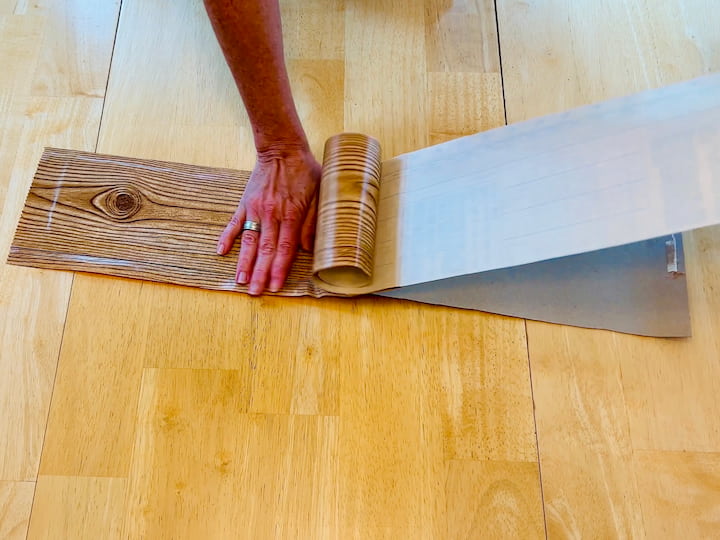
I got some contact paper from Dollar Tree and then I measured my piece of cardboard against it and cut it to size. Then I peeled off the back of the contact paper and then placed it onto the cardboard box.
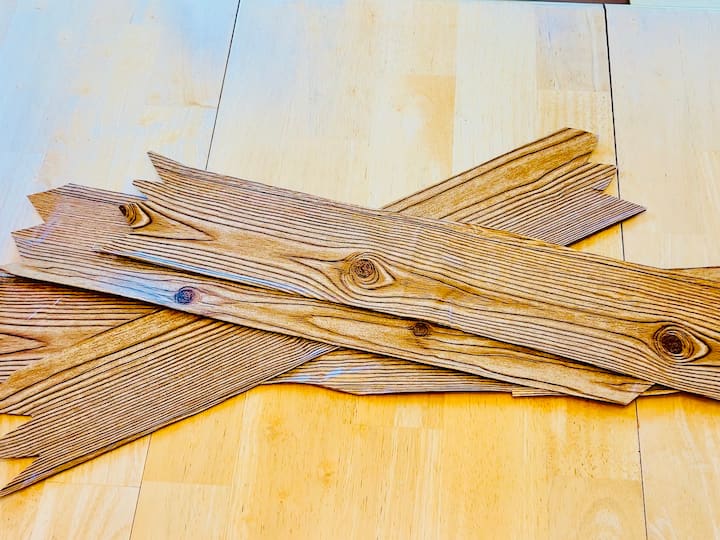
I didn’t worry about it being perfect. And then I flipped it back over and stuck the extra onto the back of the cardboard. And then I took some scissors and I cut out a zigzag pattern on either side of the cardboard strip. I ended up using two cereal boxes and I made a total of four of these little strips.
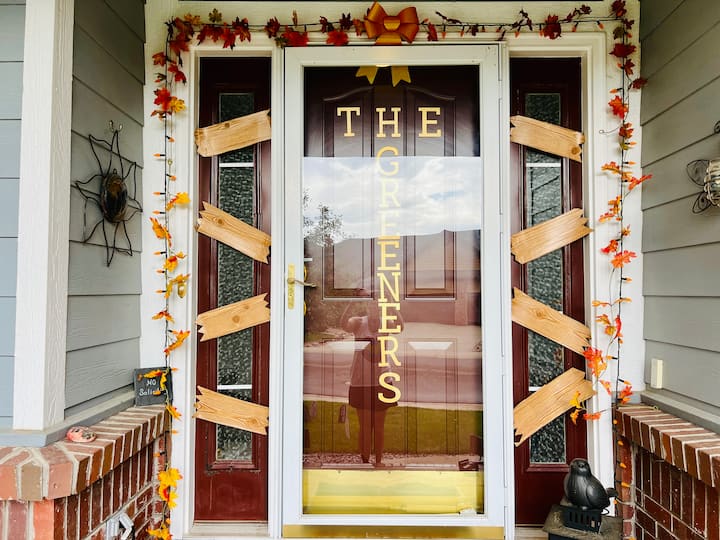
Now, I initially thought I was going to put my little boards up on different windows, but I changed my mind. So I cut all of the boards in half, adding more zigzags to the ends. And I placed these boards on the side windows by my entryway door. I thought this would be a cuter way to see them visually for all the trick or treaters when they come up. So I added four boards to each side of my doorway. Let me know what you think in the comments below.
Creepy Cardboard Tombstones (or as I like to call them, “RIP-roaring Fun”)
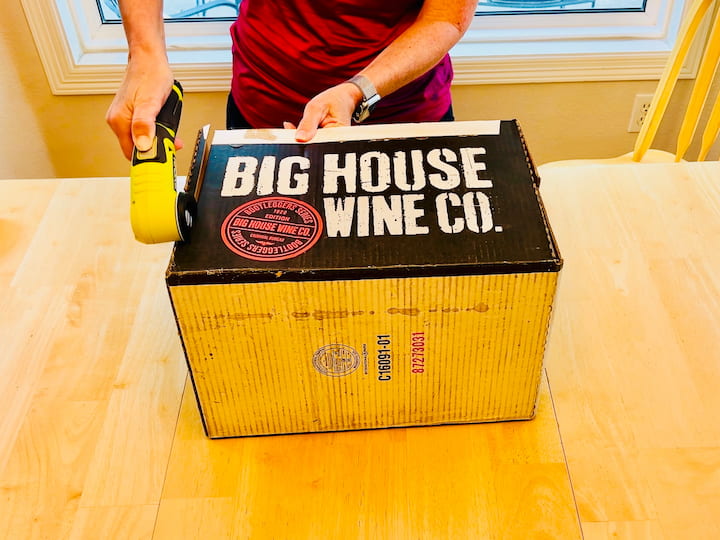
For this next step, I’m using my Ryobi cordless cutting tool. I have a giant box and what I’m doing is using this cutting tool to easily cut the box open.
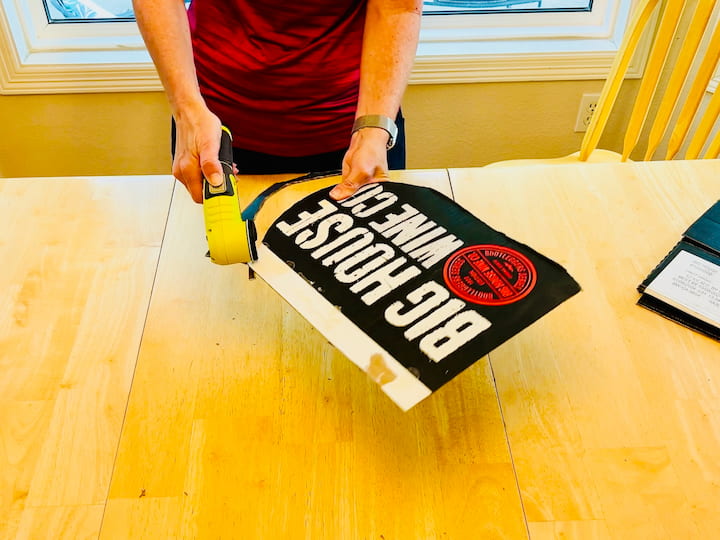
So I cut all three of the big sides apart and then I also kept the ends. I made a curved edge on the top of all of the tall pieces. I love this tool because it makes it so easy and I’ll leave a link to it in the description below.
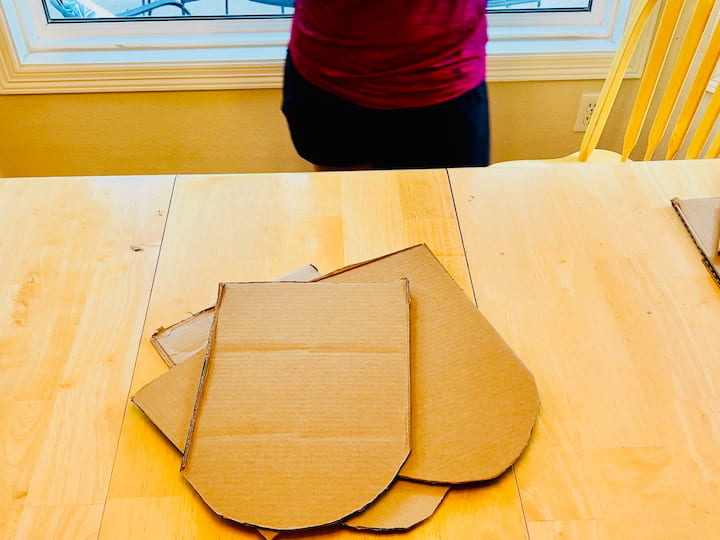
I ended up with two of these boxes so I ended up with six of these curved pieces of cardboard but
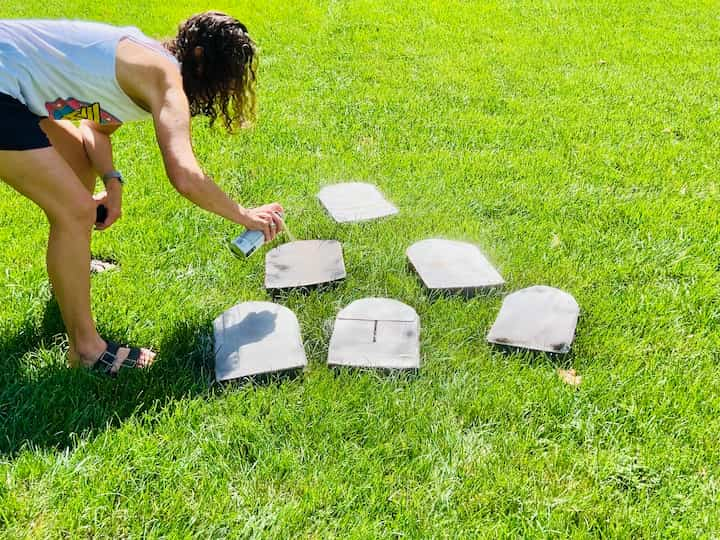
I took my pieces outside and I started to try to paint them with some concrete spray paint But that just didn’t do it. So next I tried some metallic silver spray paint and that worked much better So I gave everything a coat of that And then I just started messing around. I added some black spray paint, more metallic, more concrete. I just kept playing around with them till I got the look I wanted.

I’m going to start with some apple barrel red paint, and I’m going to start by using the RIP for Rest in Peace on this one. I’m going to be adding some names to the other ones.
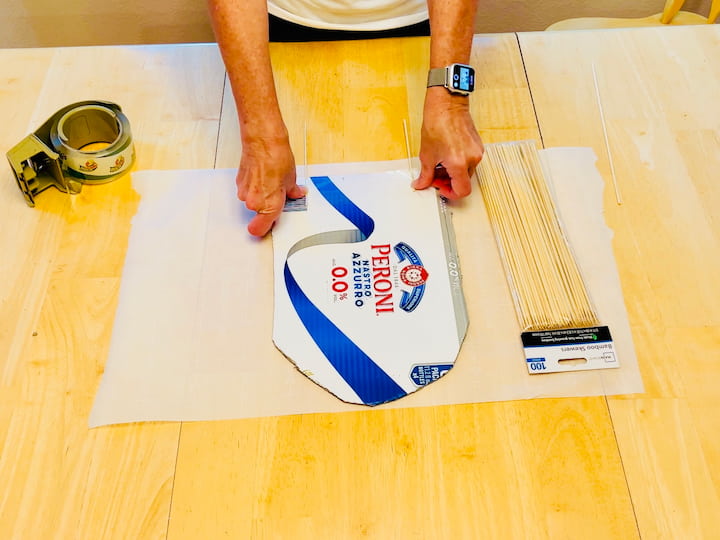
For the tombstones, I had some skewers. I went ahead and broke the skewers in half and then I taped them to the back of the cardboard. Now if you have thicker cardboard you might be able to stick them in between the cardboard on the bottom. And I repeated the process to all of the tombstones.
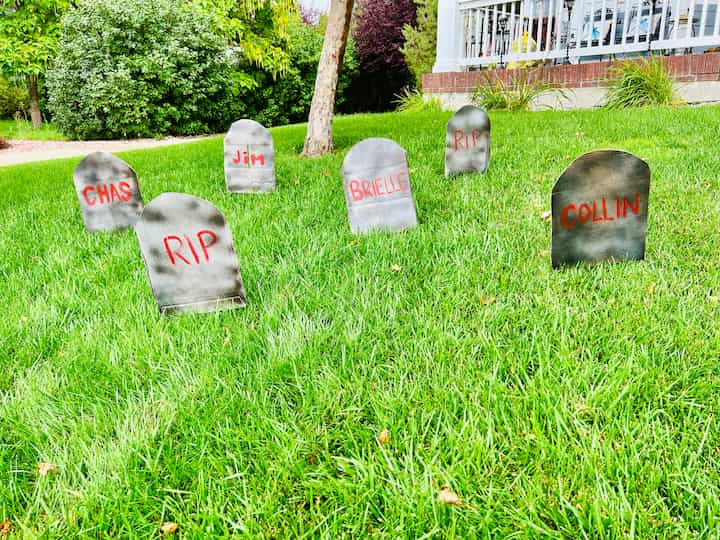
I placed the tombstones in my yard to create a little graveyard.
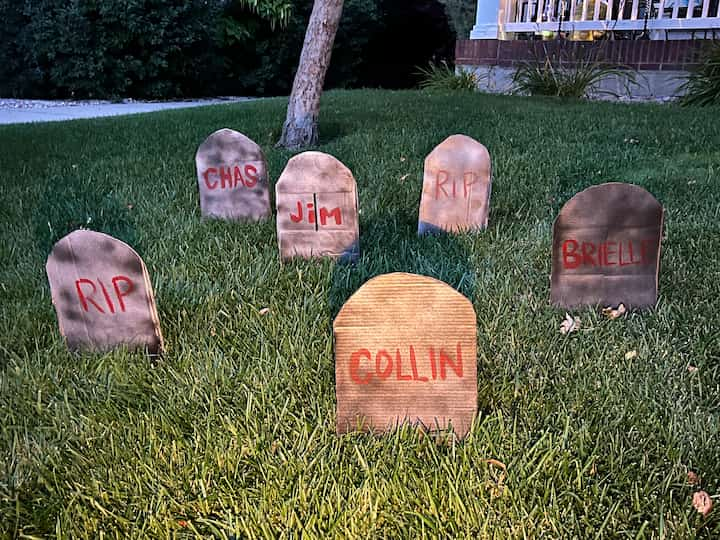
And I’ll be using a solar spotlight to help me light these up in the evenings.
Spooky Warning Signs (Two Ways!)
Cardboard Signs with Printed Graphics (AKA “The Digital Phantom”)
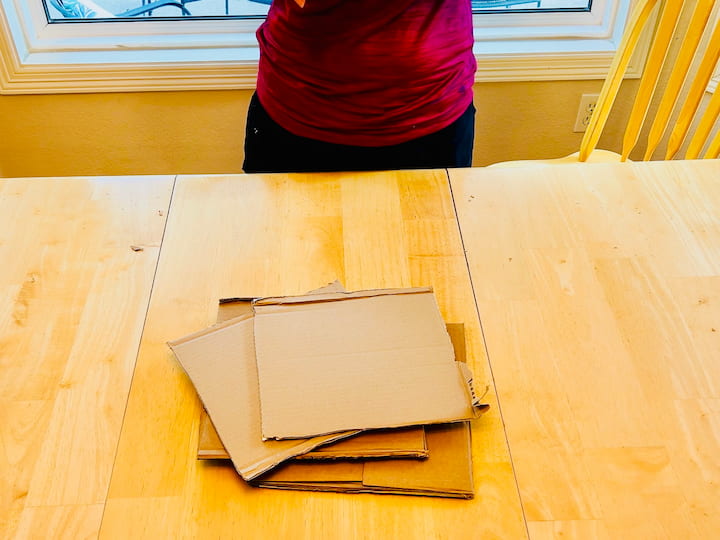
I saved the ends from all of the boxes that became the tombstones.
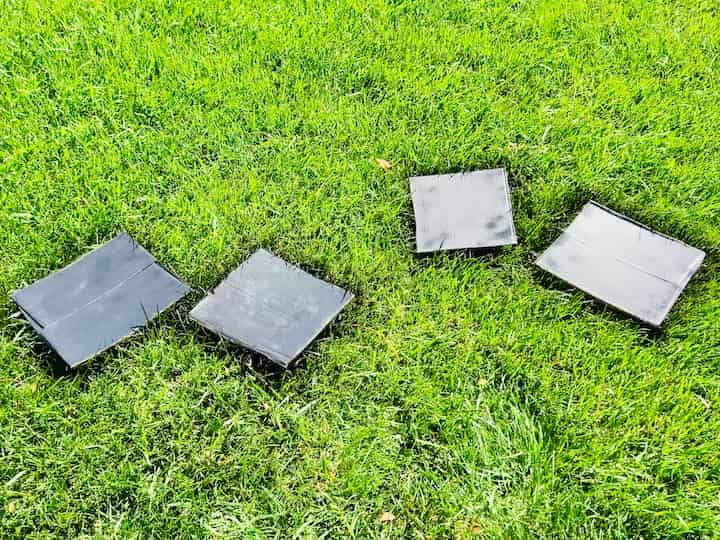
I spray painted them black and let them dry.
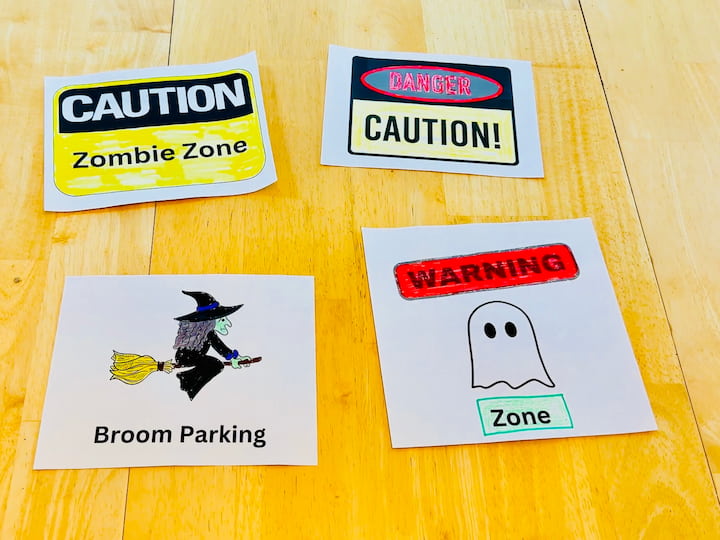
I use the free software Canva to create some signs. I cut them out and trimmed them to the size that I needed. Now I could have printed these out in color, but to stay in the spirit of using back to school items, instead I use my markers and my crayons and my colored pencils to color these all in.
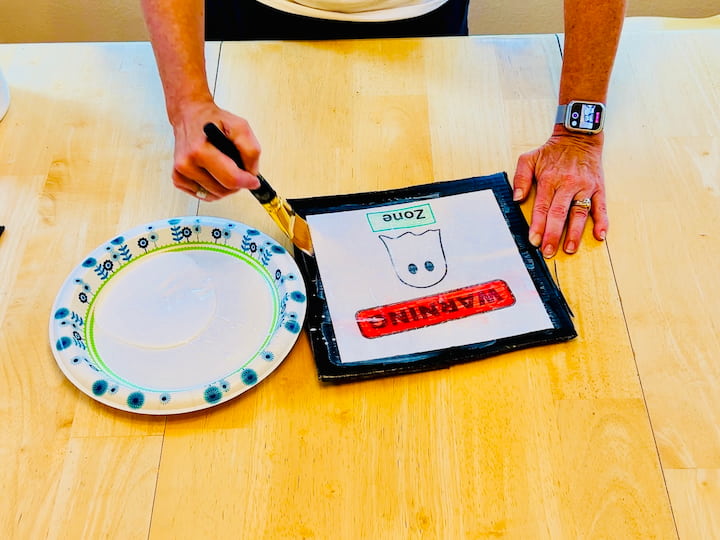
Now for this next step, I’ll be using some Mod Podge and I started by painting the Mod Podge onto the cardboard box squares that I had saved and painted black. Next, I place the sign onto the Mod Podge and then I put another layer of Mod Podge over the top of the signs. Mod Podge is like glue, and it goes on white but then dries clear.
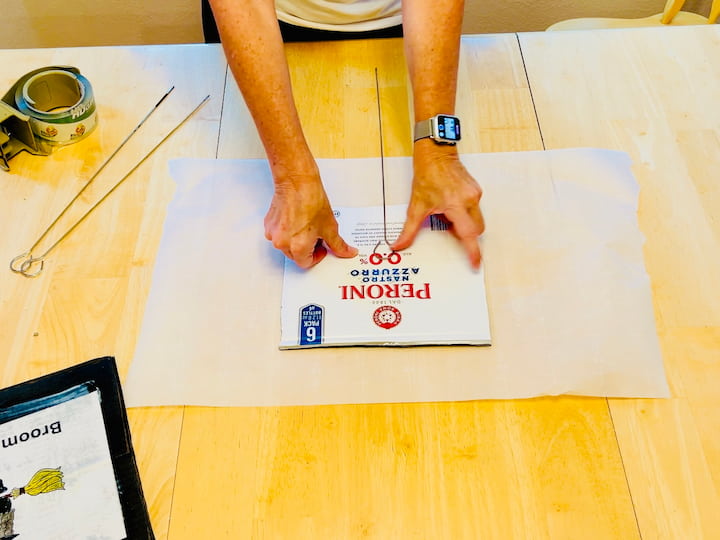
These skewers are from one of my other Craft or Crap challenges and now the season is done so I can reuse them for this step. So I use some packing tape and I tape the skewers to the back of each of the signs.
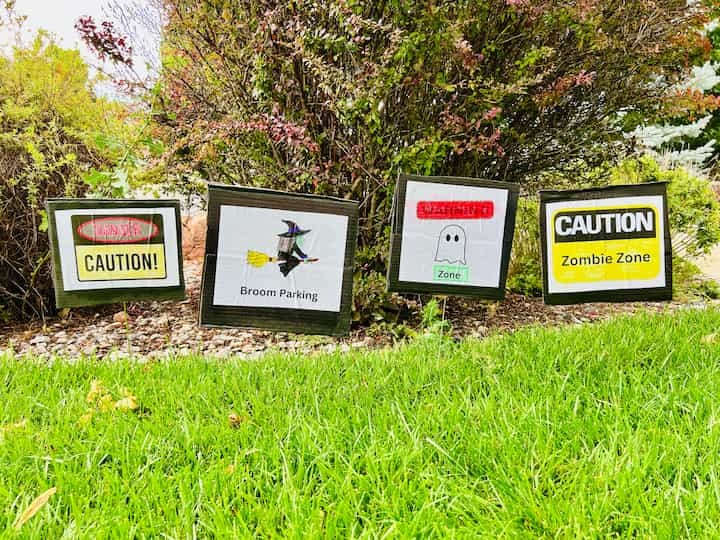
These are the completed signs, and I’ll be putting them along the walkway. As kid’s walk up to the house they’ll see them. I think I’ll add some solar lights pointing to them as it gets darker so you can see them. Let me know what you think in the comments.
Classic White and Red Signs (AKA “The Scream Queen”)
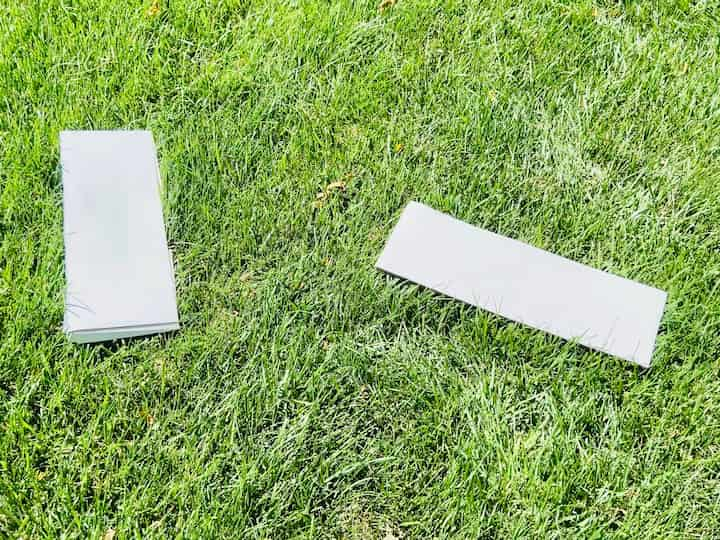
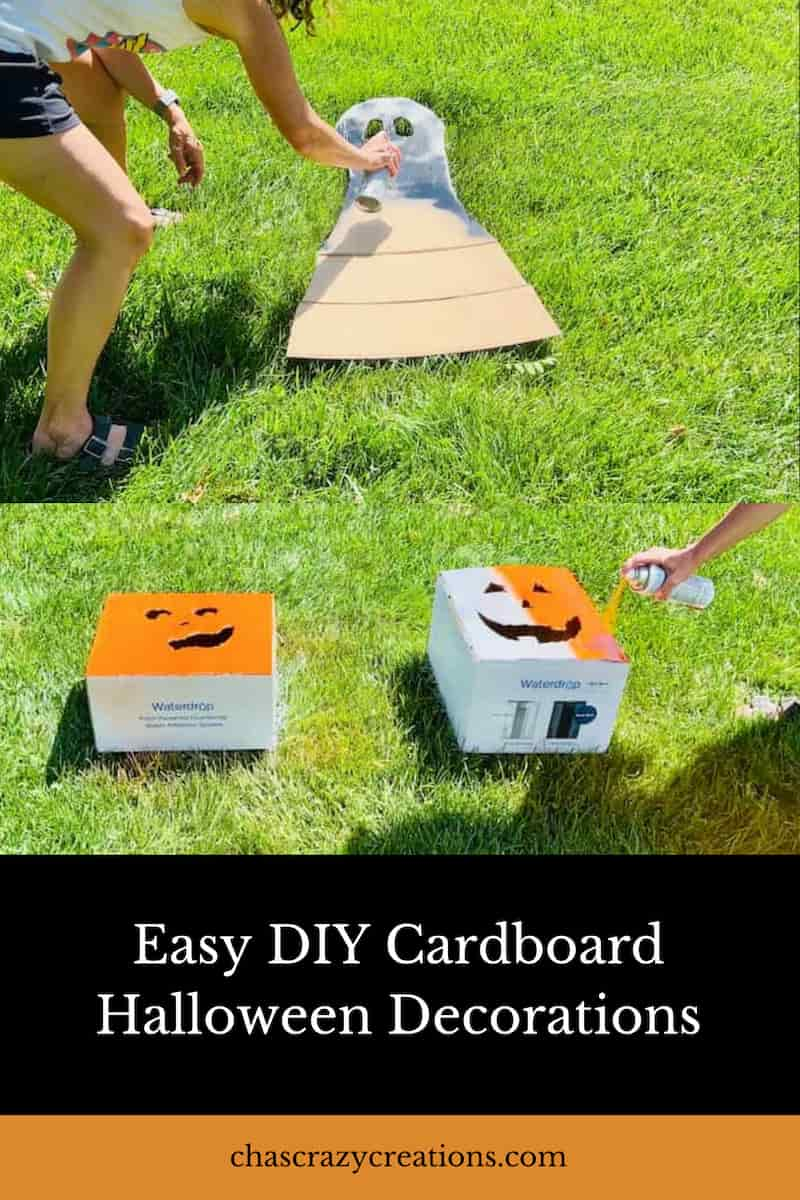
I had two edges to the big box that was the ghost (you’ll see that one next), and all I had to do was spray paint over some words on that, but I’m leaving that alone. For all of the little squares that were left, I painted those with some black spray paint and let them dry.
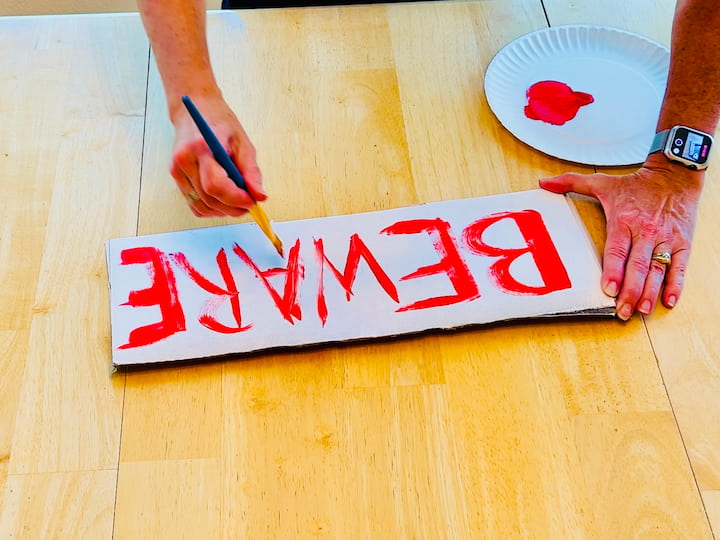
I’m going to start with some apple barrel red paint. And I used my paintbrush to write a word on the sign. I used the words beware and danger on mine.
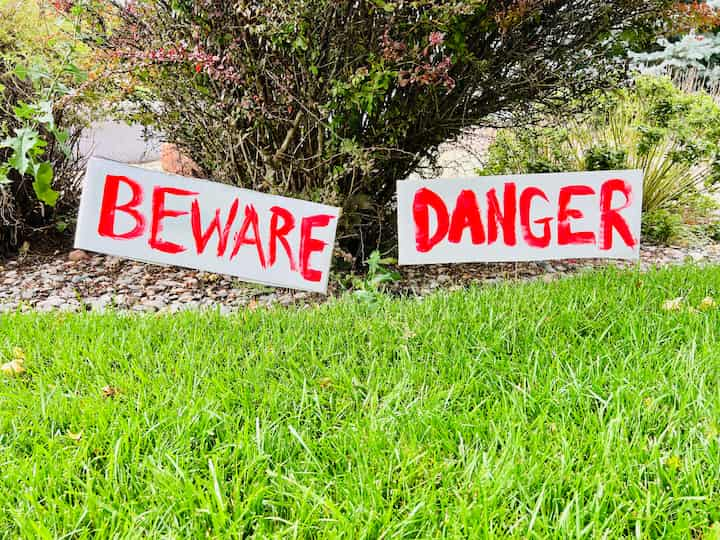
I realized later I could have used my fingers and done some finger painting and maybe that could have been even more creepy. I taped skewers to the back of these as well. What would you put on your signs?
The Window Ghost (AKA “Boo With a View”)
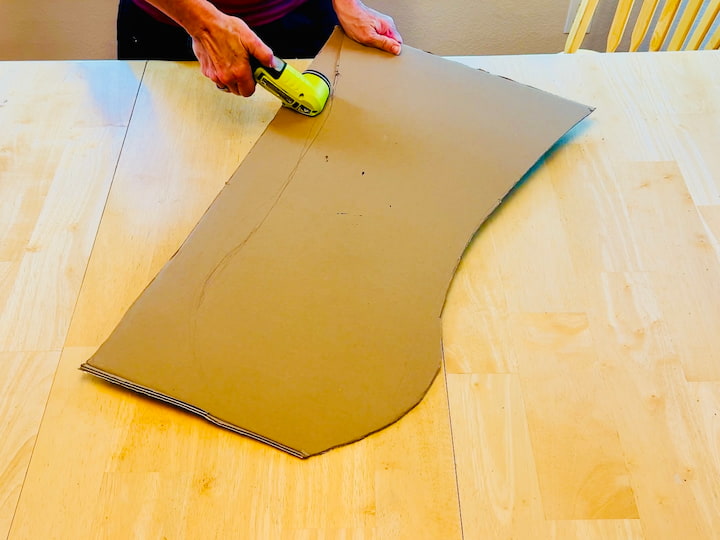
This was part of a lid of a tall box that I had and I started by tracing the design that I wanted. And once again, I used the cutting tool to cut out my design.
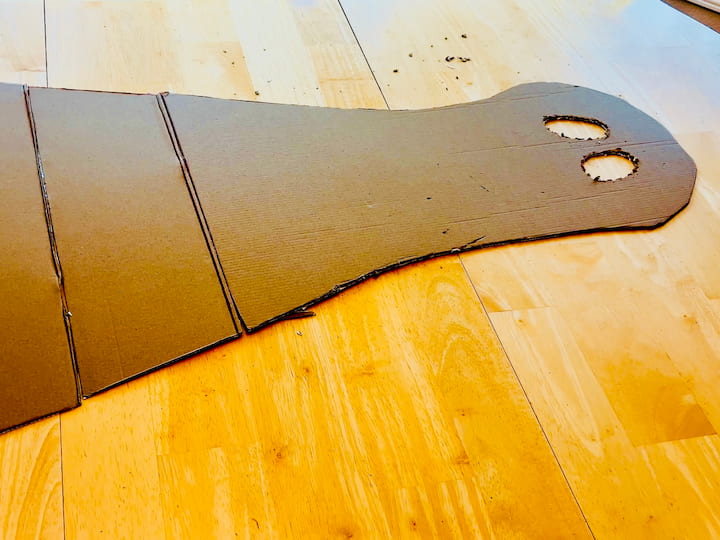
Now I needed some extra cardboard on the bottom, so I traced out what I needed and then I cut it with the cutting tool. Then I added some tape to add the additional sections.
I used my pencil to draw some additional shapes. I used my scissors to cut out the shapes. Now I made a ghost because it was super easy, and you could make different shapes like a witch and her cauldron.
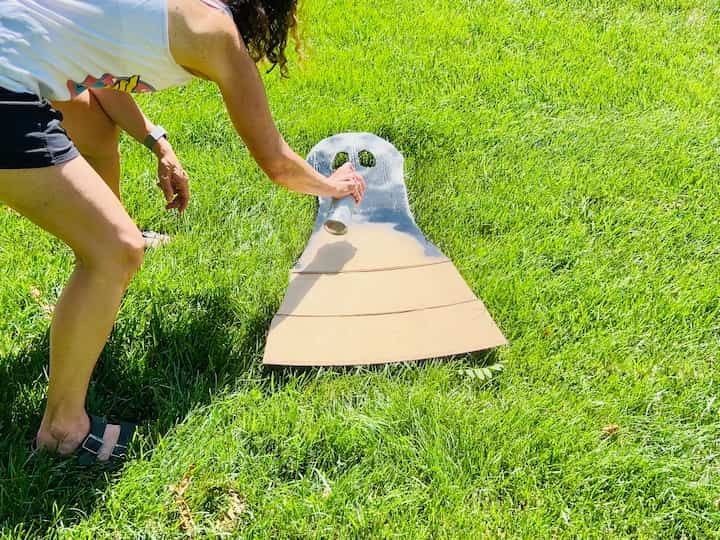
For the ghost I didn’t want him to be white. I wanted him to be black so I used black spray paint and gave him a couple coats of black spray paint.
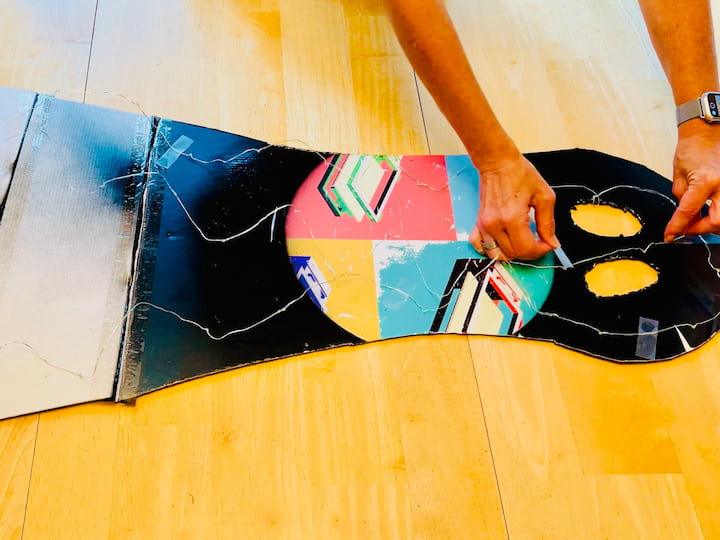
I had some fairy lights and on the back of the ghost I used some scotch tape to tape the lights to the back.
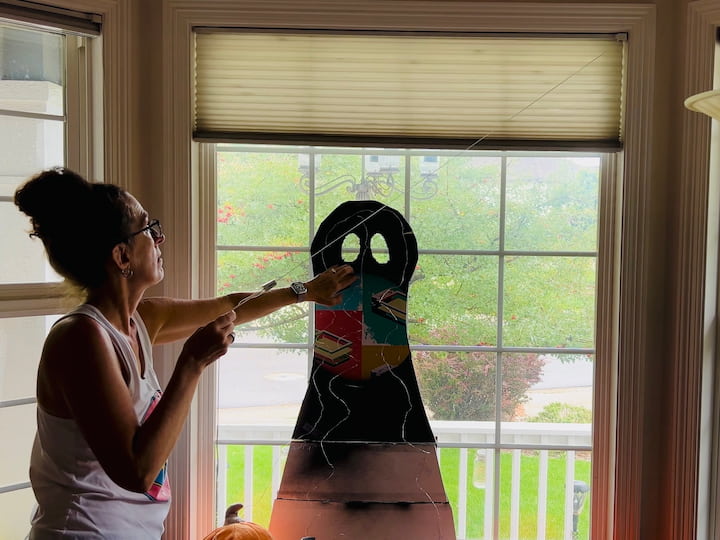
I wanted them near the edge and I went all the way around the ghost. Now that pretty much everything is ready, let’s set it up. So for the ghost, you’ll want to place it inside of your window. I’m using my front window, and then I’m going to put the shade down behind it.
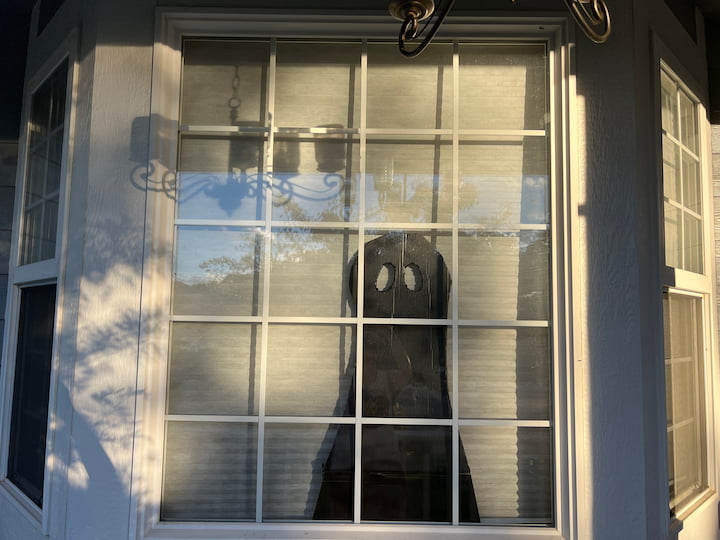
By day you’ll see the ghost as it contrasts the white blind.
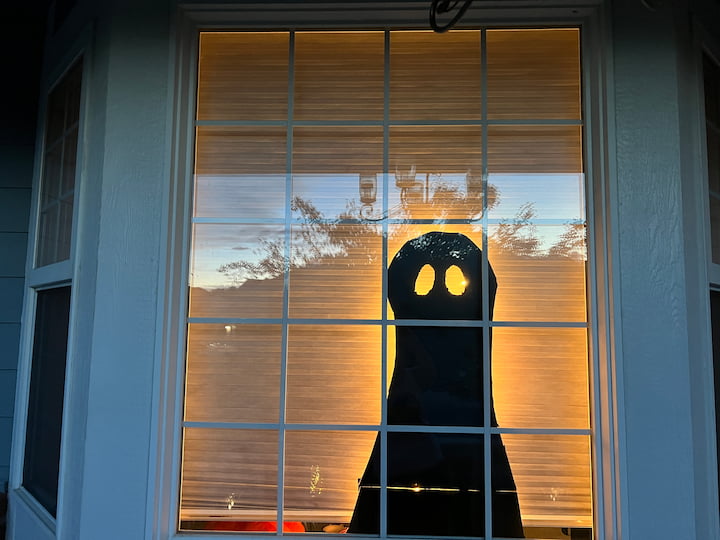
By night, you’ll see the ghosts glowing silhouette.
Jack-o’-Lantern Boxes (or “Cardboard Pumpkin Patch”)
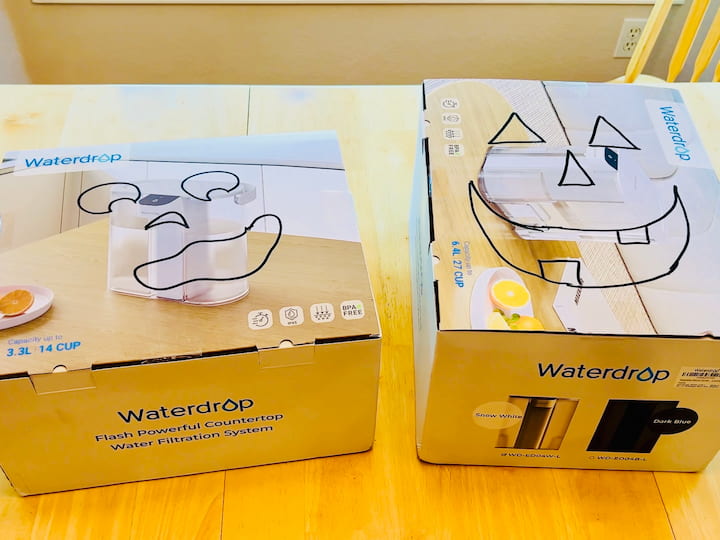
I had two other boxes that were lying around, and on these boxes, I used a permanent marker and I drew two jack-o-lantern faces. Then I grabbed my scissors, and yes, I got started on those jack-o-lanterns. You might like to use a utility knife instead.
Now, this cardboard box was a little easier and thinner, so it wasn’t as hard to cut through. Okay, I have to admit after cutting all of this my hands were pretty tired So I took a little break.
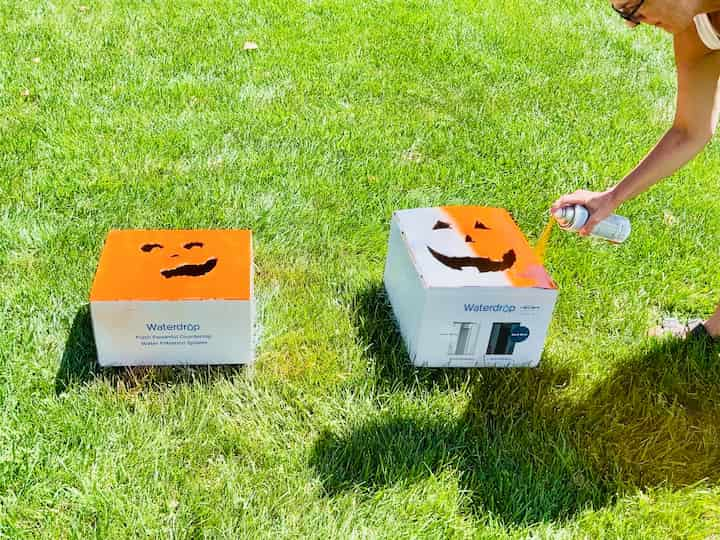
For my jack-o-lantern boxes, I thought I could just use my orange spray paint with primer in it, but I found out that you could still see the writing through it, so that just wasn’t gonna work. So I ended up using a white spray paint with primer and I painted the entire boxes except for the bottoms because that won’t matter, but everything to cover up all the writing first.
Once all the white had dried, then I was able to take the orange spray paint and coat them with that. So I painted the faces, but I also painted the top and the sides. I didn’t worry about the back or the bottom. However, depending upon where you’d put it, you might want to paint the back too. Anything that’s going to be exposed to who might see it.
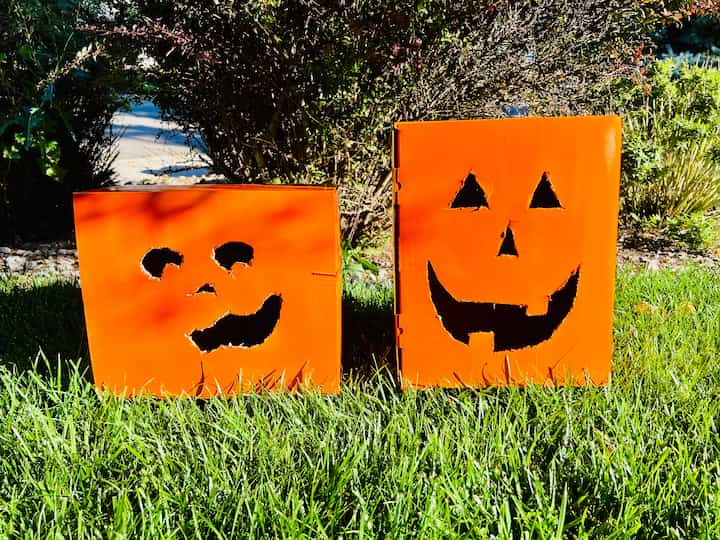
And here’s a look at the jack-o-lantern boxes. And I placed them on our front porch. So as they walk up the steps, you’d be able to see the pumpkins.
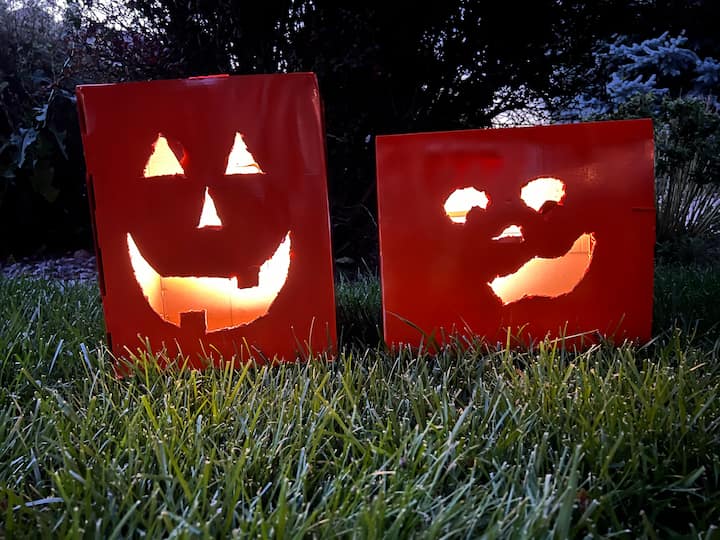
I also am going to be adding some puck lights from the dollar store into the boxes.
Cardboard Halloween Decorations: Putting It All Together (The Grand Finale!)
So as kids walk up to our home first, they’ll spot the graveyard. And as I mentioned before, I added a solar spotlight to this graveyard. So during the evening, it’ll have a nice glow to it and will still light up.
Next, the kids will walk up to the front door, seeing the little signs along the way.

They’ll follow that up with the beware and danger signs. The jack-o-lantern boxes, and the boarded up windows.
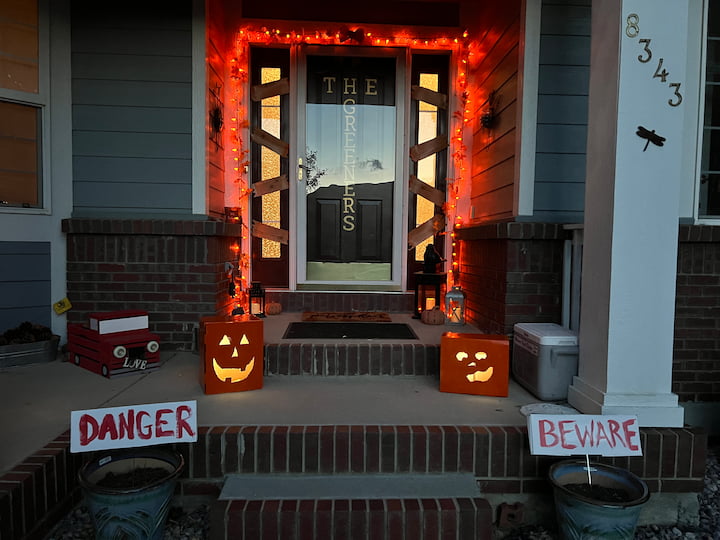
And then they’d see the danger and beware signs, the jack-o-lantern boxes, and the boarded-up windows. Now, this is what it looks like in the dark, but I generally leave the lights on for the kids for safety and just to let people know we welcome trick-or-treaters.

So here’s a look at what that would look like with the lights on as they walk up to the front door.

Andwe can’t forget the ghosts. Now he’ll be hanging out in the window, so during the day you see him like this, but in the evening when I turn the lights on, you’ll see him glow.
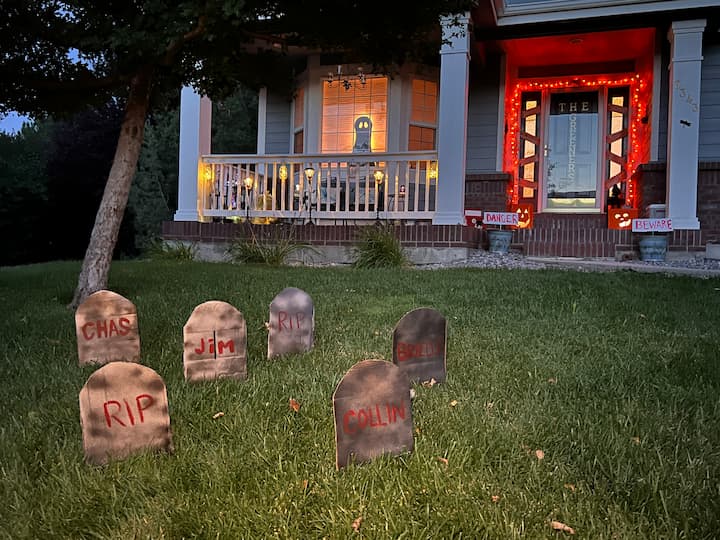
Now let’s back it up so you can take a look at the entire front yard. Now remember, everything was made out of cardboard boxes. I want to know what you think.
What do you think of all of my spooky shapes? Is it craft or crap? You get to decide. Let me know in the comments below.
Video: How to make cardboard Halloween decorations
Be sure to hop on over to Mona from Craft Klatch’s project. See what her project is and let us know what you think. You get to decide: is it craft or crap? We want to know what you think.
We hope that you will participate in our Craft or Crap Challenge. If you do, we’d love to see your projects.
- So you can share it on Instagram with the hashtag #craftorcrap and tag @craftklatch or @chascrazycreations.
- Join and share it in our Facebook group at Craft or Crap.
- Or email us and send in your photos. chas(at)chascrazycreations(dot)com & mona(at)craftklatch(dot)com
More Decorations and Crafts from Cardboard Boxes
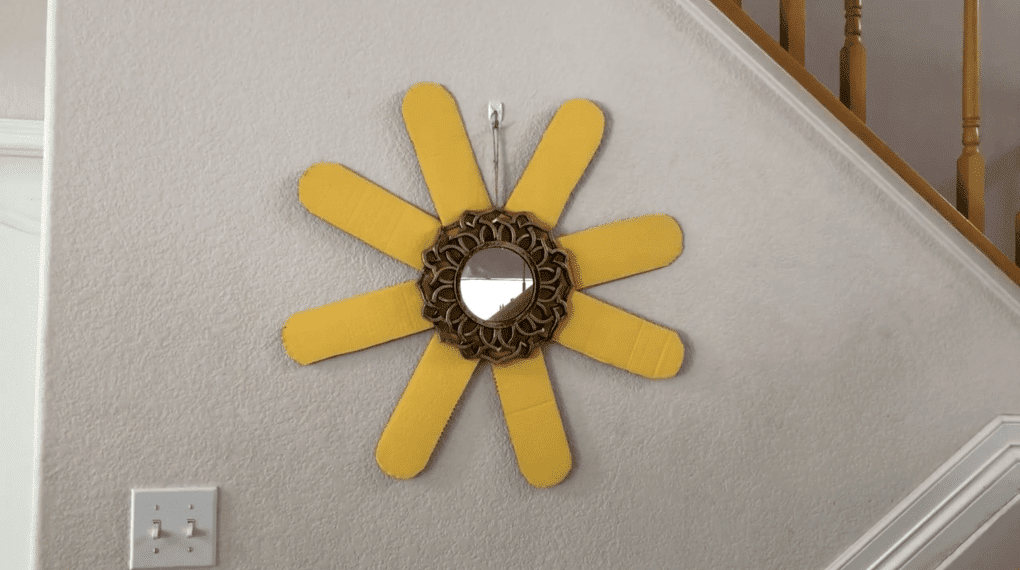
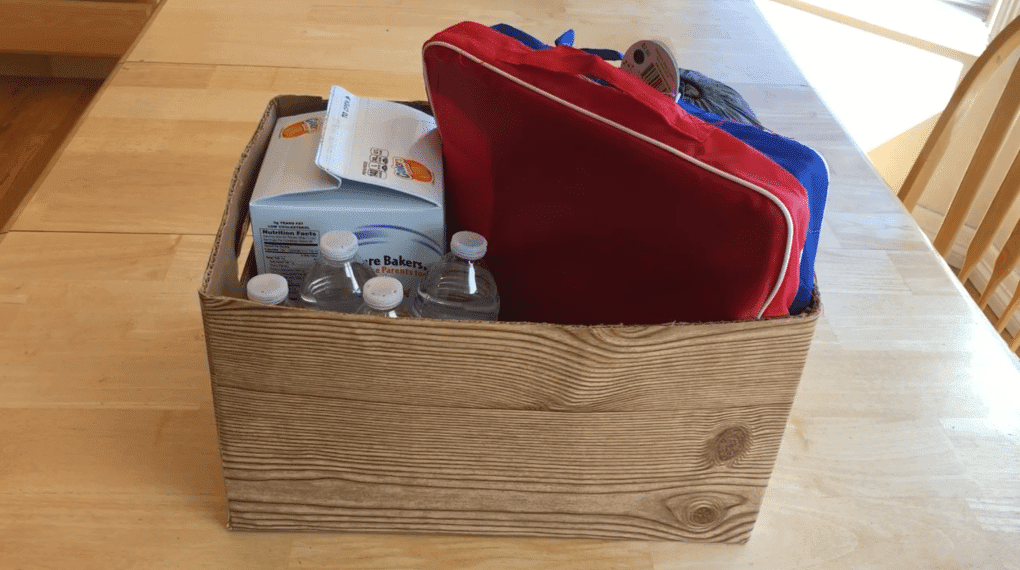
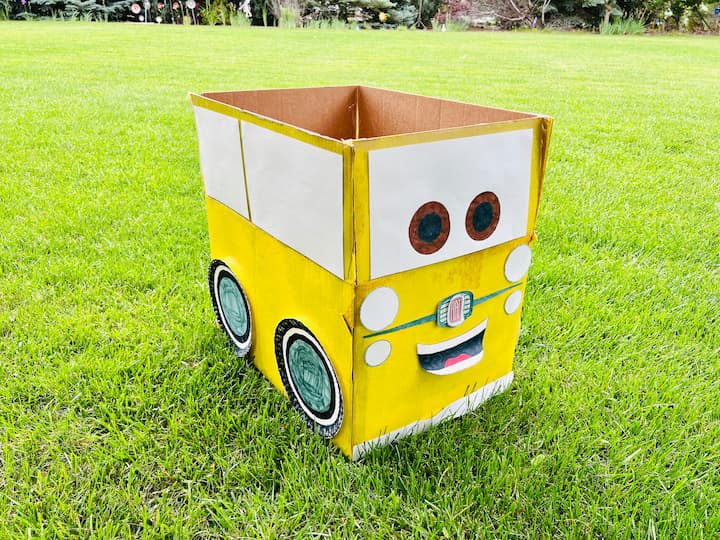
You might like all of these cardboard decorations I made and you can find them in my post Things to Make with Cardboard: Ingenious Ideas
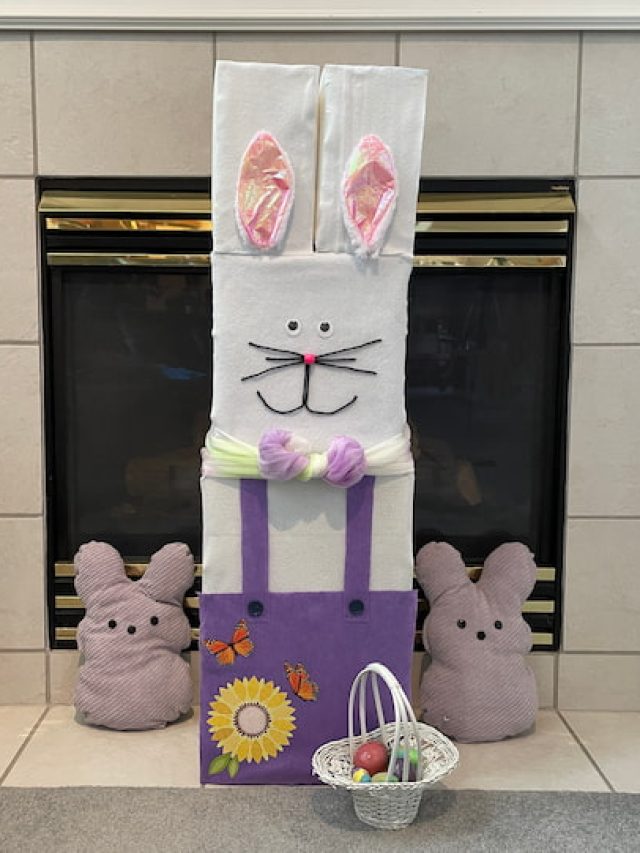
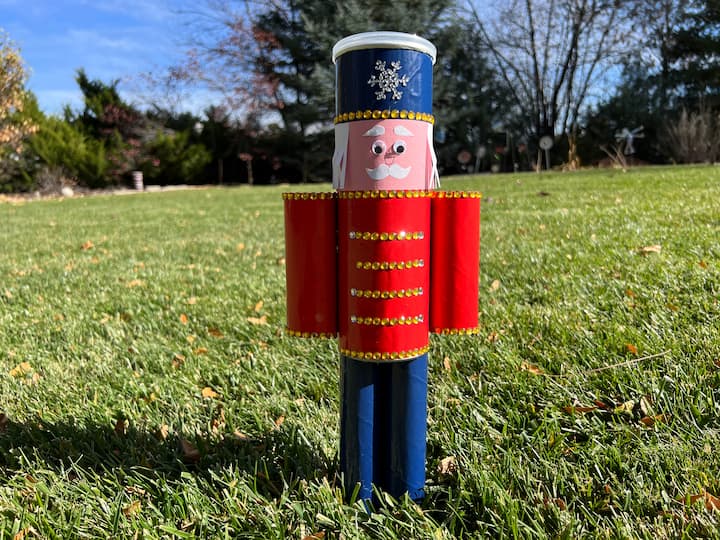
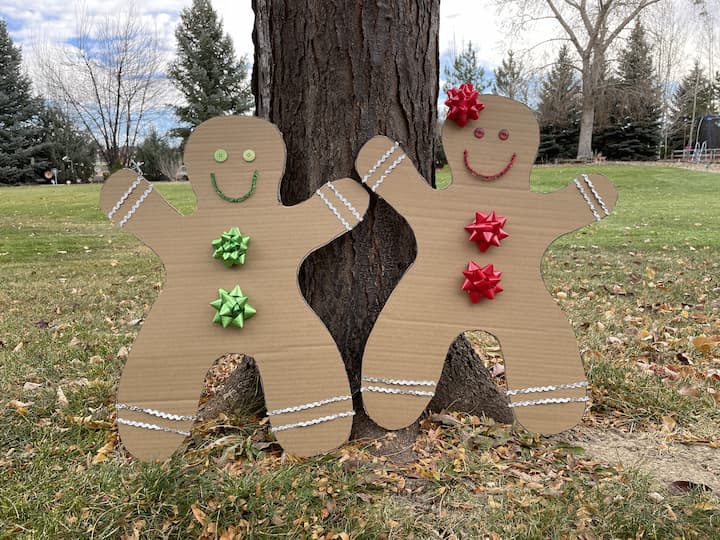
You also might like these tutorials with cardboard:
- Super Cute and Easy DIY Giant Gingerbread Man Decorations
- Toilet Paper Roll Christmas Crafts: Easy and Creative DIYs
- Super Easy DIY Bunny Craft with Video
And I hope this inspires you to create some cardboard projects for Halloween of your own. I’d love it if you’d subscribe to my YouTube channel and my blog.
Thanks for watching and I’ll see you in my next video. And don’t forget to like, share, and subscribe.
Want to see more craft or crap challenges?
- DIY Tiered Tray: Craft or Crap Challenge
- DIY Snowman Craft from Thrift Store Dishes: Craft or Crap Challenge
- Easy DIY Fall Gnome Craft: Craft or Crap Challenge
- DIY Easter Painting Ideas: Easy And Fun
- Stunning Patriotic Wreath: An Easy and Unexpected DIY
- DIY Garden Decor: Epic Yard Art Showdown
- Easy DIY Sock Snowman Craft: Winter Decor and Gift IdeaHalloween Mantel Ideas: Easy DIY Spooky Decor Practically Free!
- Easy DIY Cardboard Halloween Decorations
- Delightful Easy Flower Crafts with Video
- Super Easy DIY Dollar Tree Valentine Ideas with Video
