How to Store Christmas Decorations: 15+ Easy & Cheap Holiday Storage Ideas
Oh, that bittersweet sigh when it’s finally time to take down the holiday magic. If you’re anything like me, you know the yearly battle: tangled lights, cracked ornaments, and boxes that mysteriously attract dust. I’m Chas, and after years of managing seasonal chaos (yes, I’ve tried all the expensive systems!), I’ve refined my method into a set of truly easy and cheap holiday storage hacks.
This isn’t just about throwing your seasonal decorations and decor items in a bin; this is my personal, proven system for achieving next-level organization that saves you time, money, and sanity. As your fellow crazy creator, I’m sharing how to use those everyday, affordable items—like Dollar Tree finds and packaging materials you already own—to ensure your decorations are protected and ready for next year!
What you’ll get from this post
- Practical packing & storage methods for every holiday item (ornaments, trees, wreaths, ribbons, string lights, garlands, linens)
- Budget and no-cost options using things you already have + Dollar Tree finds
- Labeling, cataloging (QR code method), and checklist to make next year easy
How To Store Christmas Decorations Video
1. The Foundation: Digital Organization & Smart Labeling
The first step in my system is a storage strategy that works: knowing exactly what’s inside every bin without opening it. This is a game-changer for efficiency.

The Game-Changing Digital Inventory Hack
You need to know what’s where, especially if you have multiple bins labeled “Christmas.”
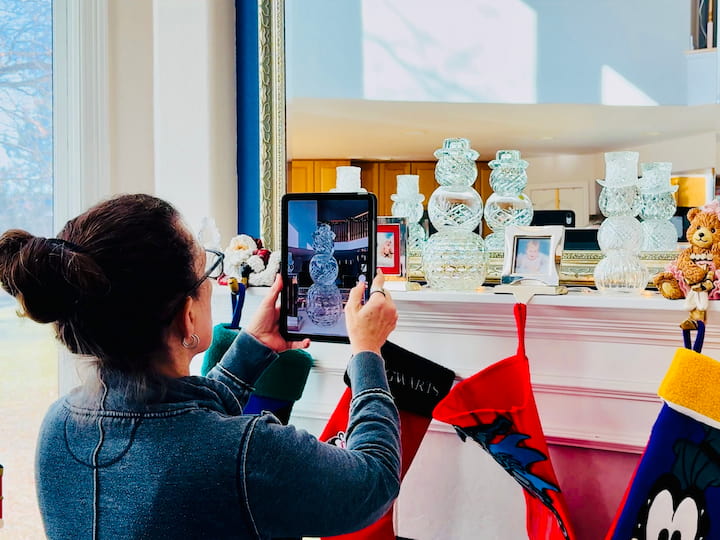
- Snap & Catalogue: As you pack a bin, take a photo of the contents before sealing it. Create a digital file of these photos, organized by tub or bin.
- QR Code Magic: This is the ultimate “Crazy Creations” hack! Print a piece of paper with a QR code that links directly to your digital photos/files.
- Ready for Next Year: You can also place a piece of paper with a list of everything inside the bin in a page protector and tape it securely to the box. This system helps you be efficient when placing your decor out in the home again, as you know exactly what is in each container!
Smart Labeling for Quick Retrieval
- Location & Type: Clearly label all bins so you know what holiday they are for. Be specific: label them as fragile, ornaments vs garland vs decor, etc. I love a good label maker for this, too!
2. Cheap & Easy Storage Solutions for Fragile Items
The key to keeping your ornaments safe is creating structure and utilizing cost-free, upcycled padding. These hacks save money and protect your treasures.
How to Store Christmas Ornaments Using Dollar Store Finds
Forget the pricey specialized containers; we’re using Dollar Tree ingenuity!
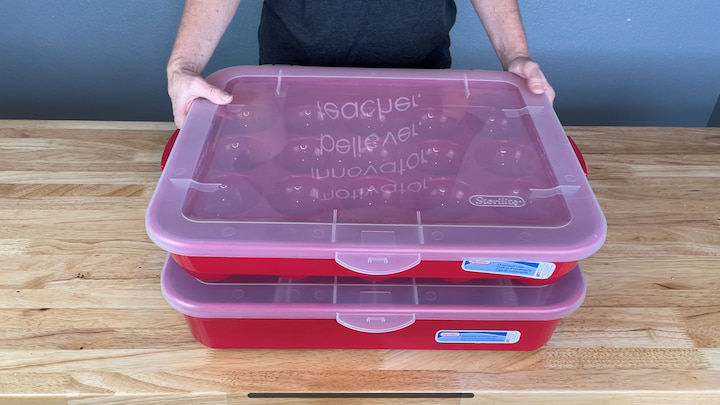
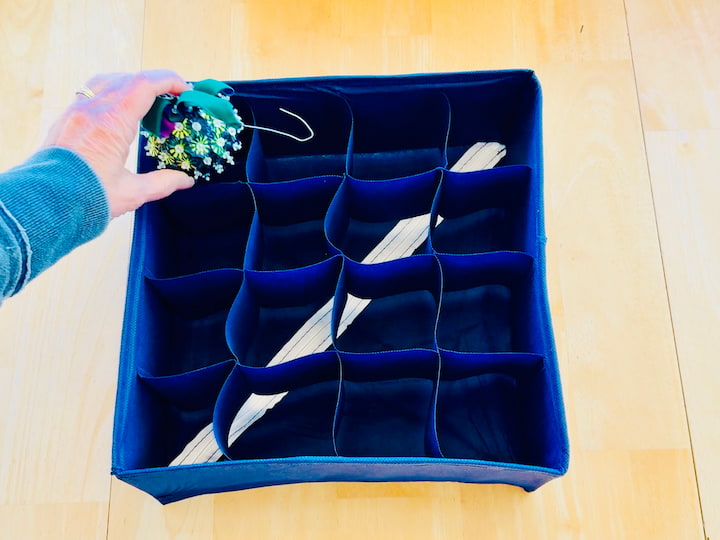
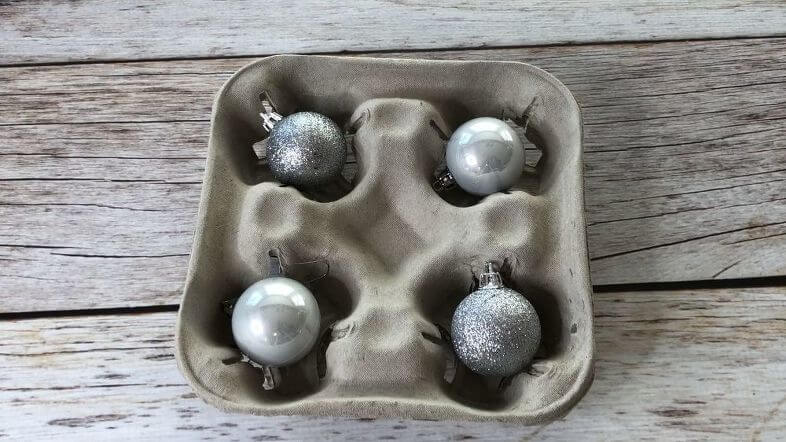
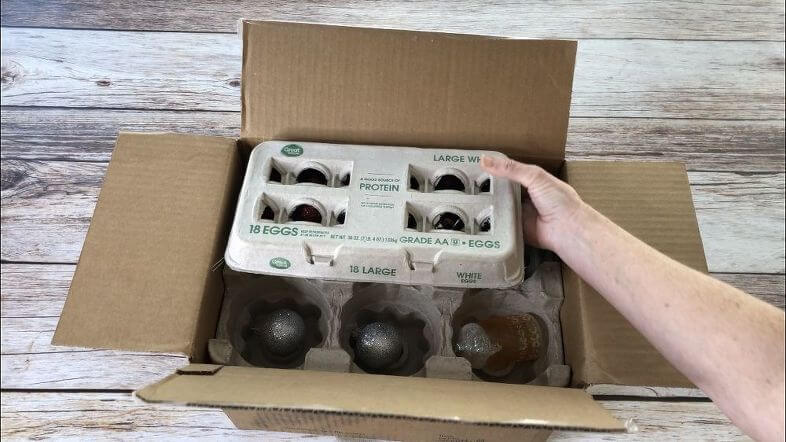
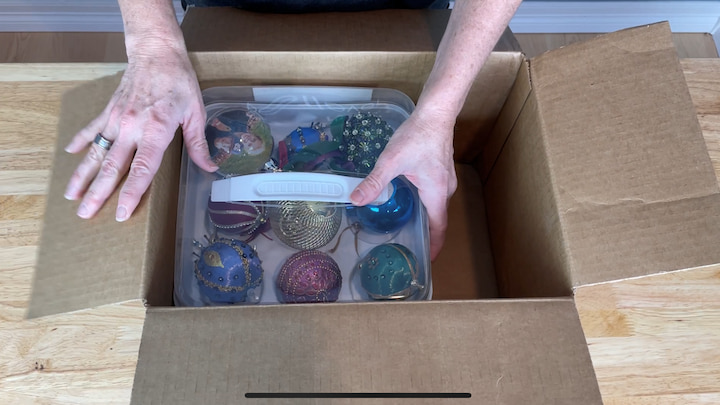
- The Drawer Organizer Stack: Use those inexpensive plastic drawer organizers from the Dollar Tree. You can place ornaments in them and they stack nicely within a larger plastic bin/container, maximizing vertical space and providing solid structure!
- Repurpose What You Have:
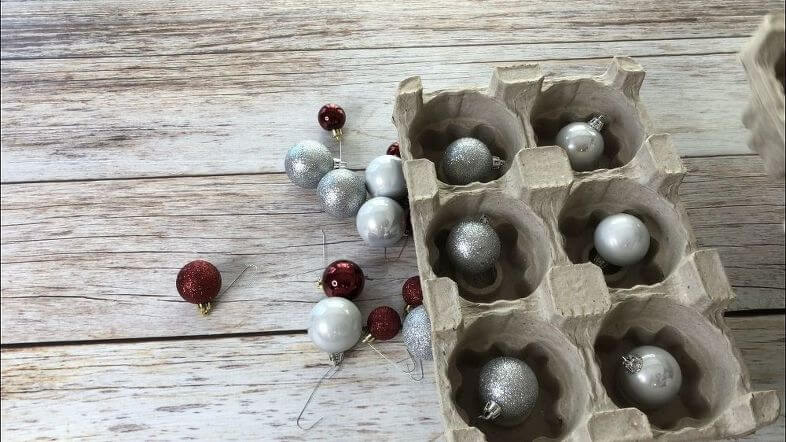
- Egg cartons are wonderful to hold smaller ornaments.
- Drink carriers stack nicely and are great for larger ornaments.
- Cupcake holders work great for round ornaments.
- Keep sturdy containers, like those from Yankee Candle orders, as they are fantastic for holding larger and odd-sized pieces.
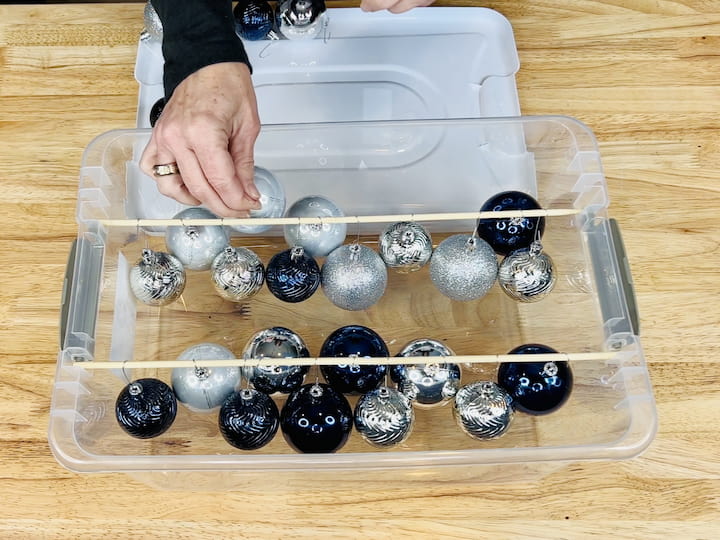
- Hanging Ornaments: You can even use a dowel or giant skewers from Dollar Tree to create a hanging system inside a bin to keep your ornaments safe and untangled.
- I also use ornament storage boxes, they protect and stack nicely.
Holiday Decorations: The Ultimate Upcycled Wrap Bundle
When packing fragile items, stop buying new bubble wrap! This is the most eco-friendly, budget-friendly hack I use:
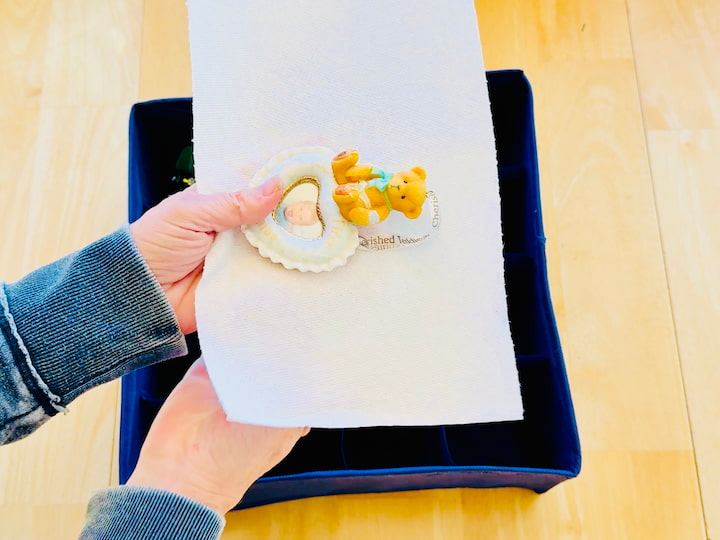
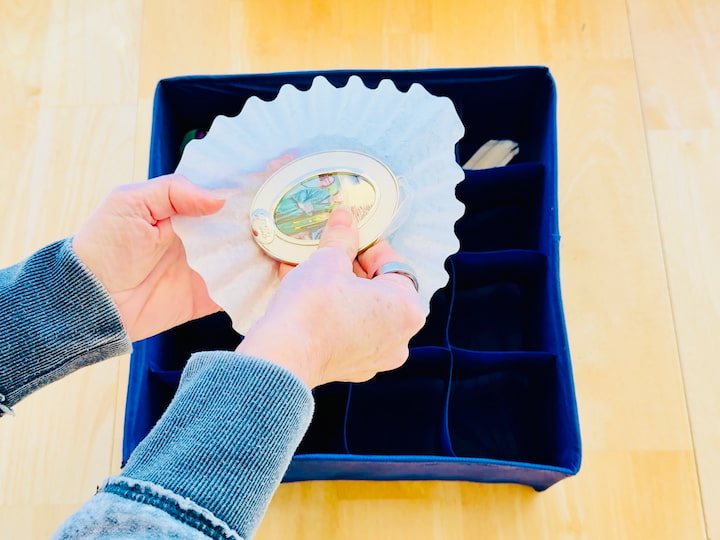
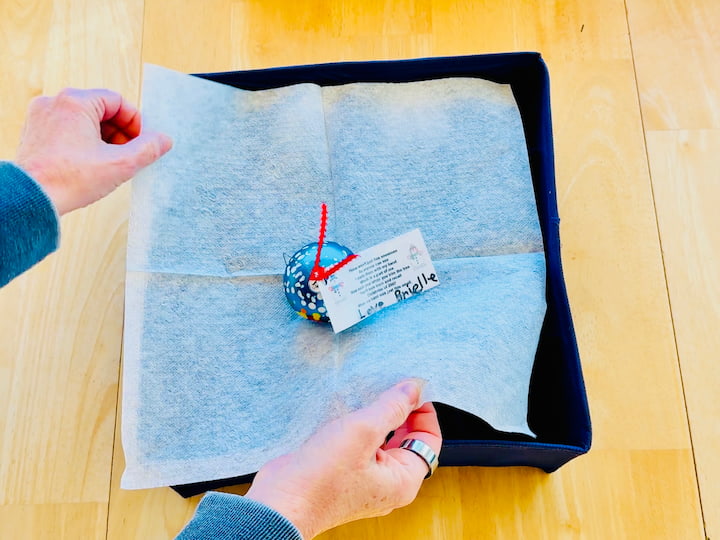
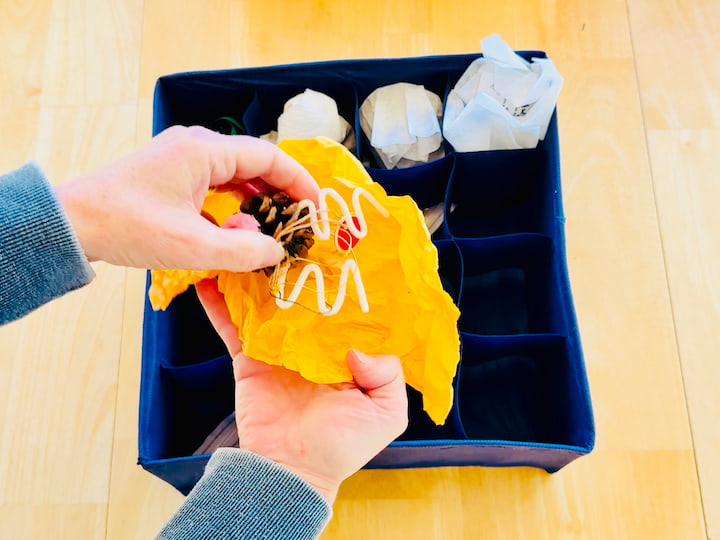
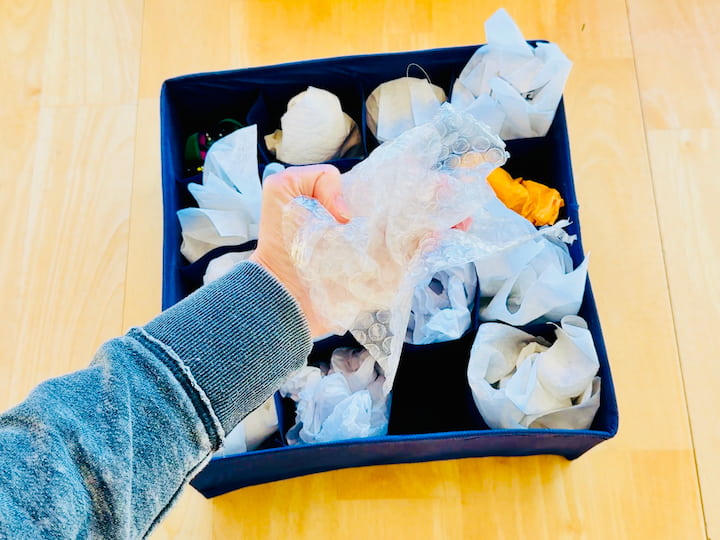
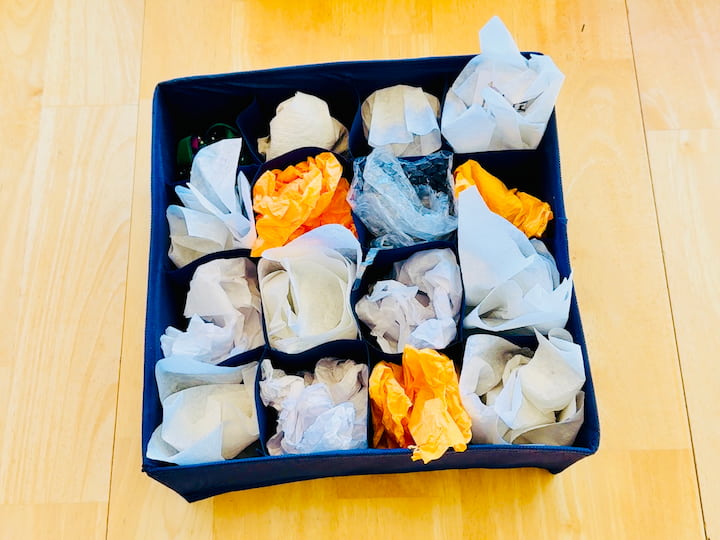

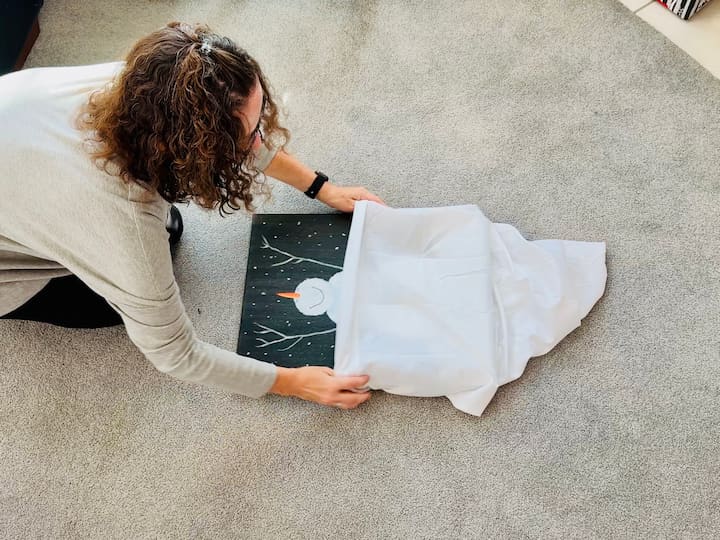
- Soft Padding: Wrap your fragile items with materials you already have on hand: paper towels, coffee filters, napkins, or tissue paper.
- Shipped Wrap: For extra cushioning, reuse the bubble and packing wrap from previous things shipped to you. You can use these materials again and again! I also save packing peanuts and air pockets from shipments for this purpose.
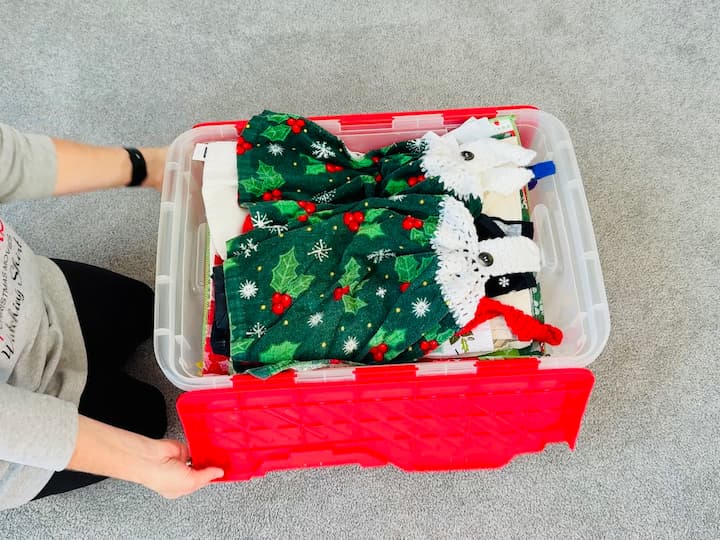
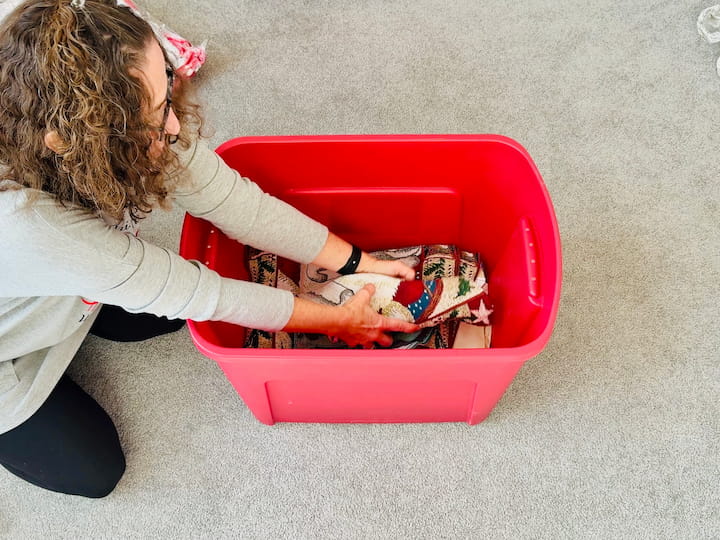
- The “Pack Flat” Principle: Utilize decorative textiles that leave a big impact but pack flat! I use placemats, blankets, pillow covers, and table runners to wrap large, fragile items (like figurines) and simultaneously store the textile item for next year.
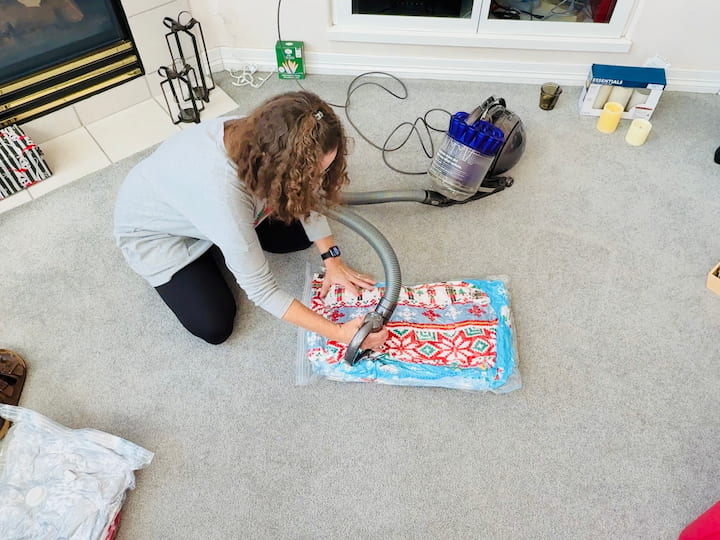
- Vacuum Seal Bags: I place my blankets, pillow covers, pillow cases, etc in vacuum seal bags, and it really helps with space savings inside a box.
3. Protecting Trees, Wreaths, and Lights
We’ve got the know-how to stop dust damage and tangled messes before they start.
Artificial Christmas Tree Storage Hacks
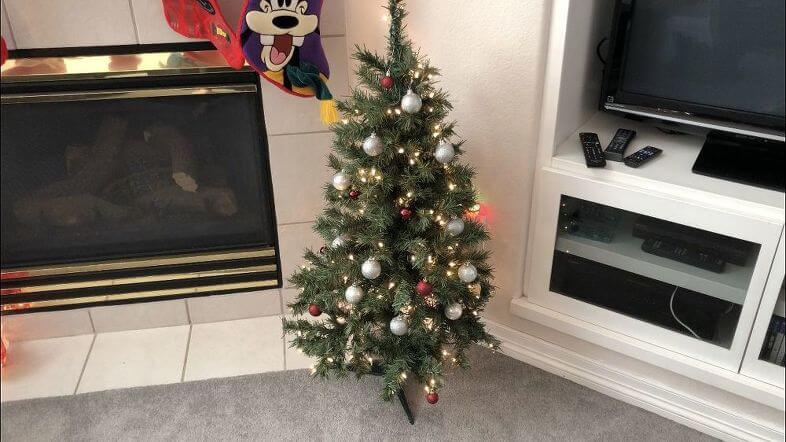
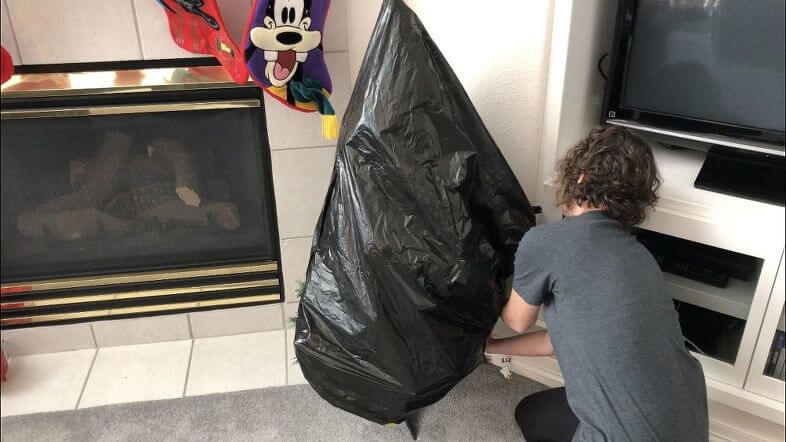
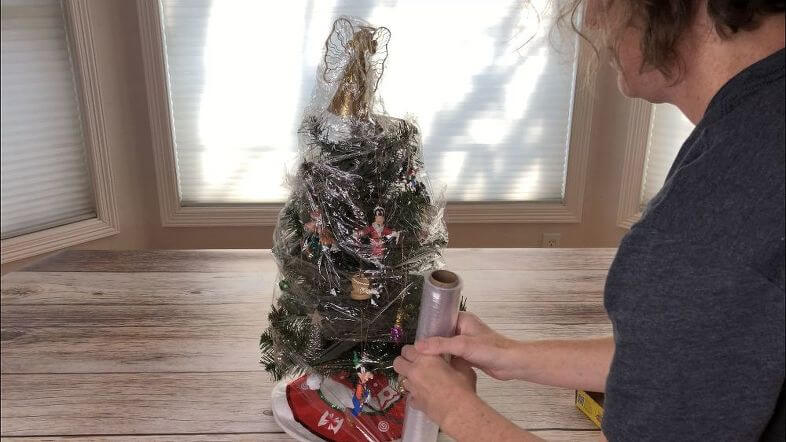
- The Garbage Bag Shield: Cover your artificial tree (even large ones) with a large garbage/yard bag to protect it from dust and dirt. This works for my 3-foot tree and can work for larger sectional trees, too.
- The Saran Wrap Time Saver: For small trees (like the little ones my kids have, or my small room tree), wrap the entire thing—ornaments, lights, and all—with plastic wrap, Saran Wrap, bubble wrap, or packing tape (it seals to itself). Next year, you simply unwrap it or cut it off, and your tree will be ready to go!
Other options include:
- Tree storage bag (canvas or heavy-duty plastic) — the best long-term option.
- Tall plastic tote / tube — if you have a smaller artificial tree, a tall tube keeps branches safe.
- Cardboard box + heavy tape — inexpensive option; keep in dry area.
- If you’re disposing of a real tree, then purchase a Christmas tree bag.
Wreath Storage: Keeping the Shape
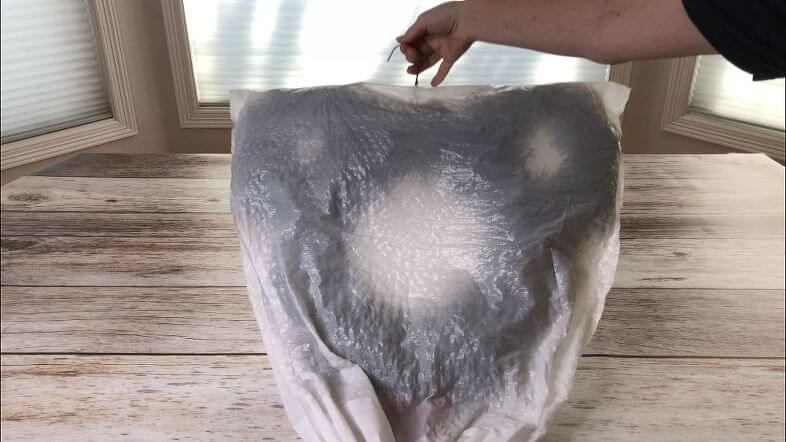
- The Hanger Wreath Protector: Hang your wreath on a clothing hanger. Pull a kitchen trash bag over the wreath. Make a small hole for the hanger hook to poke through the bottom of the bag (which is now the top of the wreath). Cinch the opening closed. This allows your wreath to hang up, stay nice, and keep the dust off.
Other options:
- Wreath storage box or wreath containers (round, hard plastic) — best for fragile bows/decor.
- Large tote with support ring — hang the wreath on a hook or on the lip of the bin to keep its shape.
Holiday Lights & Garland: Tangle-Free Organization
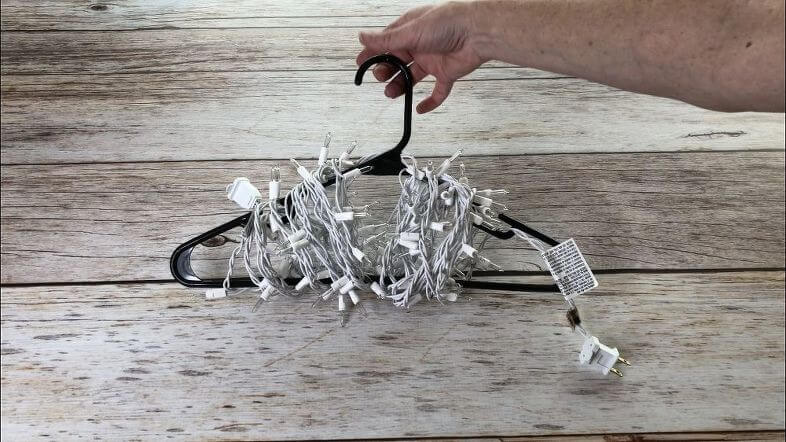
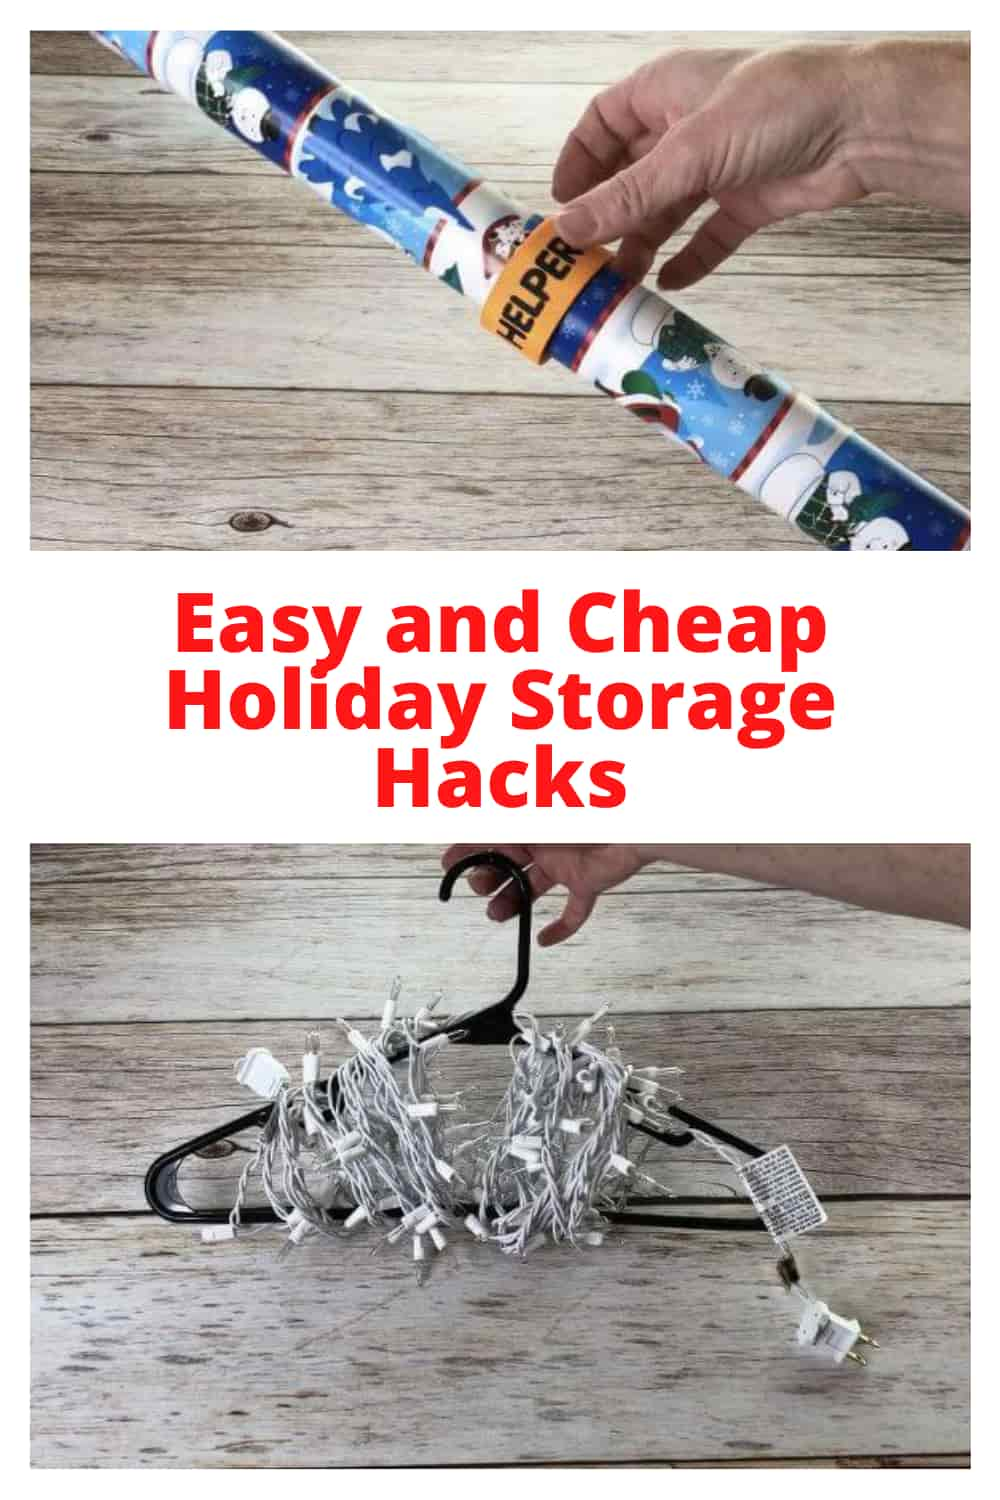
- The Coat Hanger Wind-Up: Use a sturdy coat hanger to wind your light strands. Wind the light strand around the hanger, plug one end into the other to hold it. Hang them up until next year—they unwind perfectly!
- Cardboard Solutions: You can also cut a piece of cardboard from a box and wrap light strands around it. You can also find cord winders at stores like Walmart and Target if you don’t want to buy anything at all.
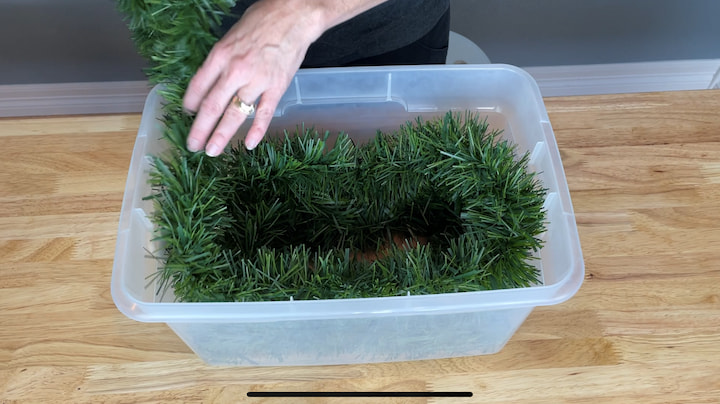
- Garland Storage: I use a cord winders for thin garland. For thicker garland, I wind it neatly around inside a large storage container/bin until the entire length fits. I often press down and place the lights in with it too.
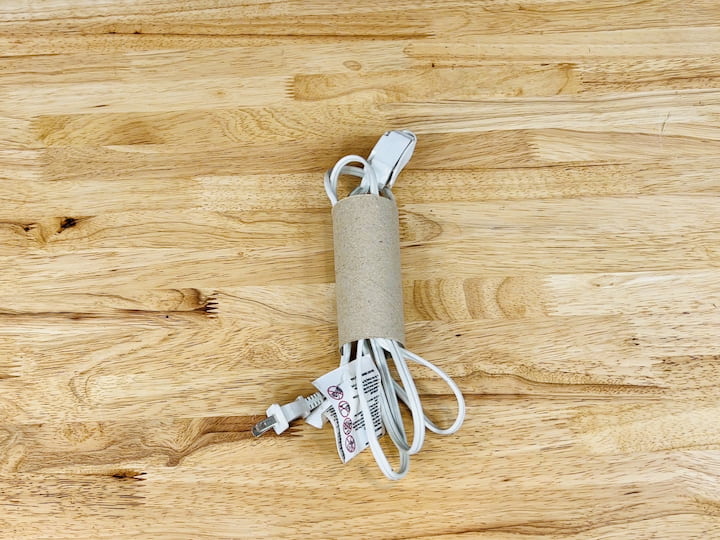
- Cord Organization: Avoid tangled extension cords and knots by using a cardboard tube (cut in half) to insert your cords and keep them organized.
Other ideas include:
- Cardboard rectangle wrap — cut a rectangle from cardboard and wrap lights around it.
- DIY spools — use an empty paper towel roll or the packaging around new lights as a reel.
- Plastic cord reels / light organizers — purchased or repurpose empty tape spool.
- Zip ties / Velcro straps — secure coiled lights so they don’t unravel.
4. Storing the Extras: Gift Wrap, Ribbons, Bags, and Tags
Organizing all the accessories ensures you save money and time next year!
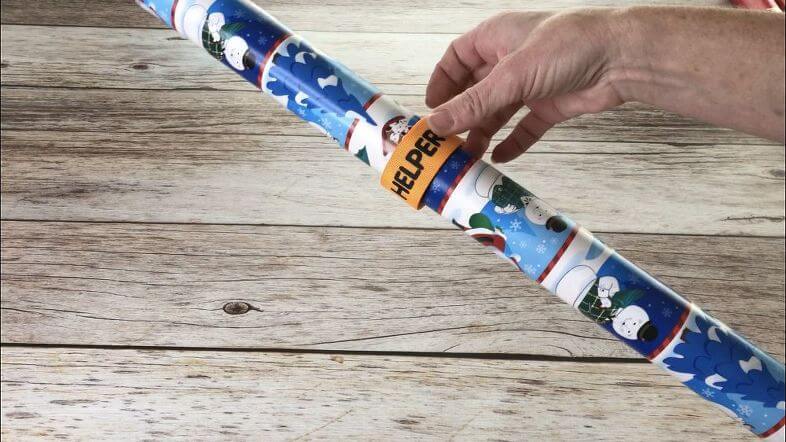
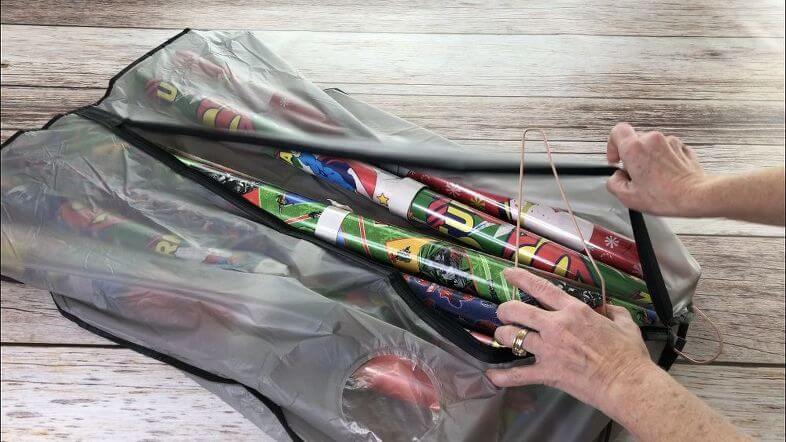
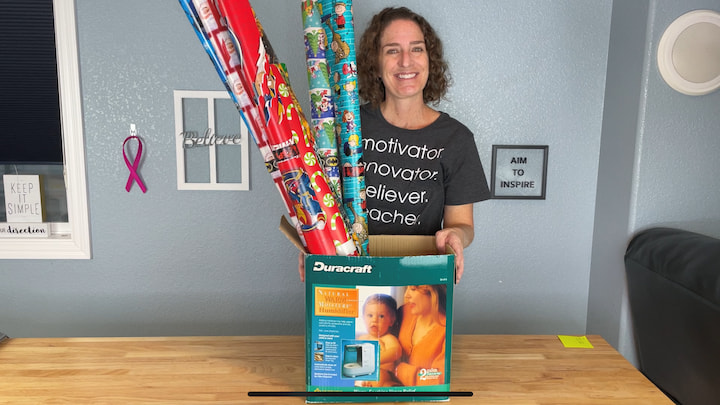
- Slap Bracelet Gift Wrap Organizer: I use “slap bracelets” to hold my rolls of wrapping paper together so they don’t catch edges or unravel.
- Vertical Storage for Rolls: Place your slap-bracelet-secured rolls upright in a hanging shirt garment bag (using a hanger to hang it) or an old box with the lid torn off. Slide a garbage bag over the top of the entire thing for dust protection.
Organizing Ribbon, Bows, Bags, and Tags
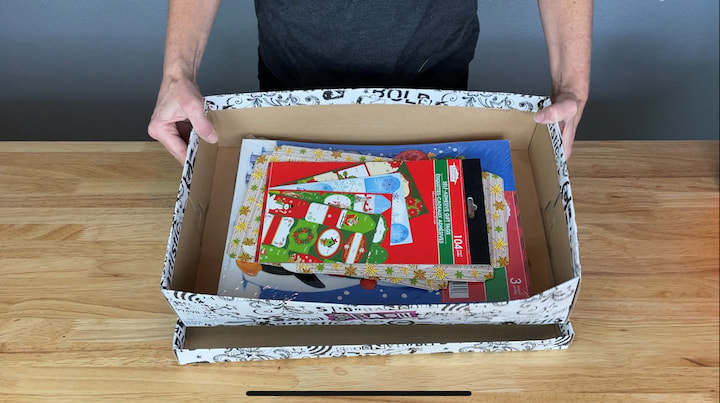
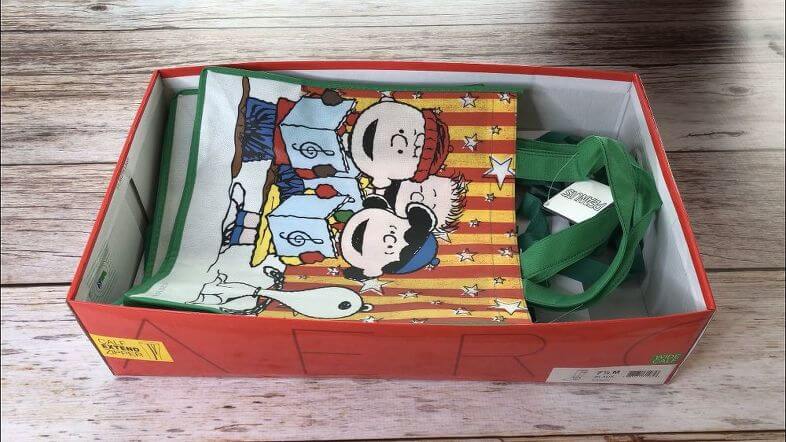
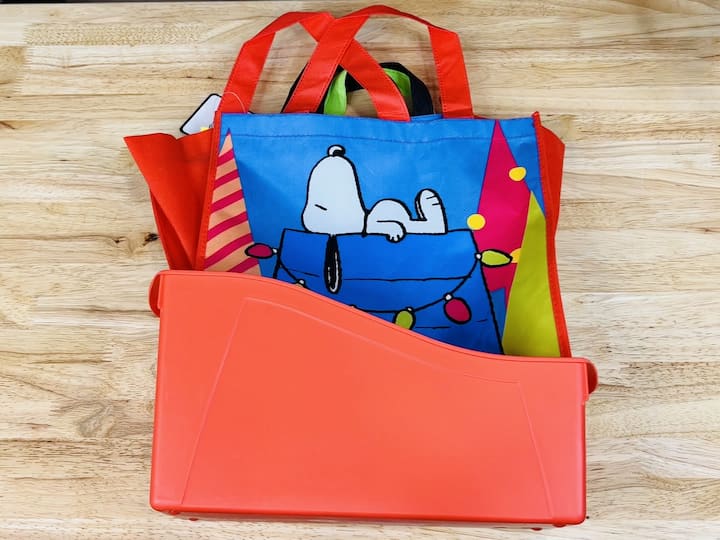
- Bags and Tissue Paper: To keep gift bags and tissue paper flat and neat, store them pressed together in the bottom of a large container designated for wrapping supplies, or you can place them in a book or magazine container.
- Bows: I like to put mine in an old popcorn tin, but any box works great to keep them from getting crushed.
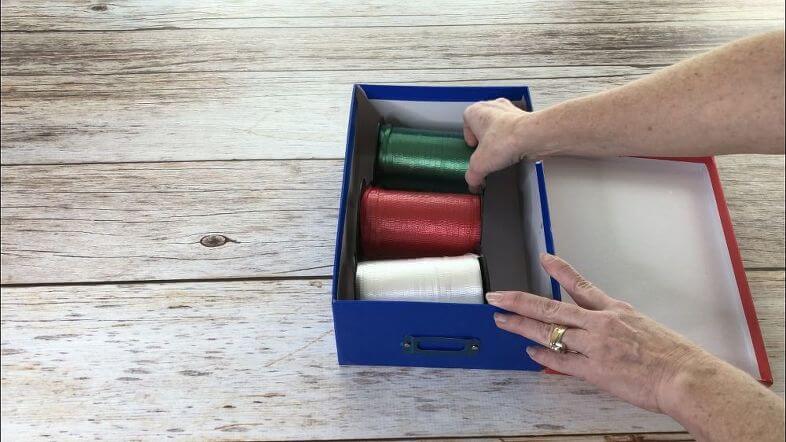
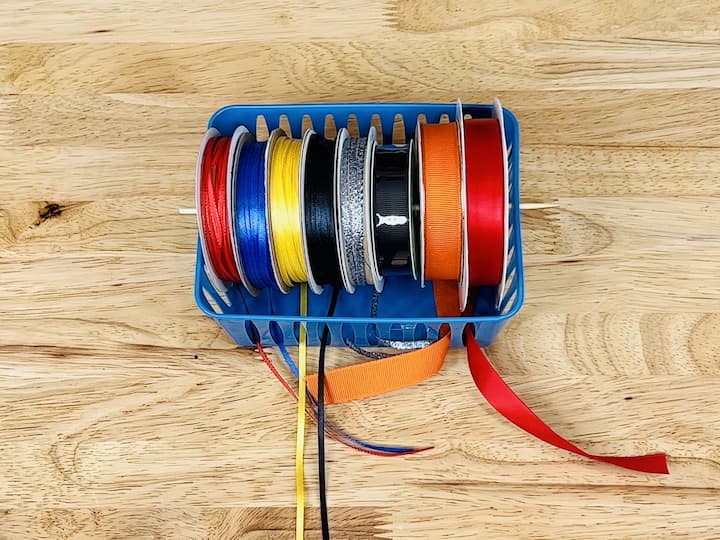
- Ribbon: can go in a box, or use a dollar store bin, pull the ribbon through the slots, and use a dowel down the middle to hold the ribbon in place..
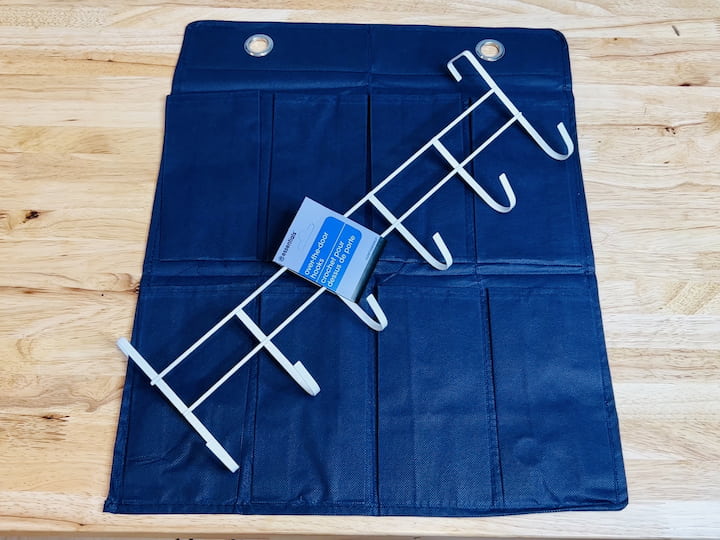
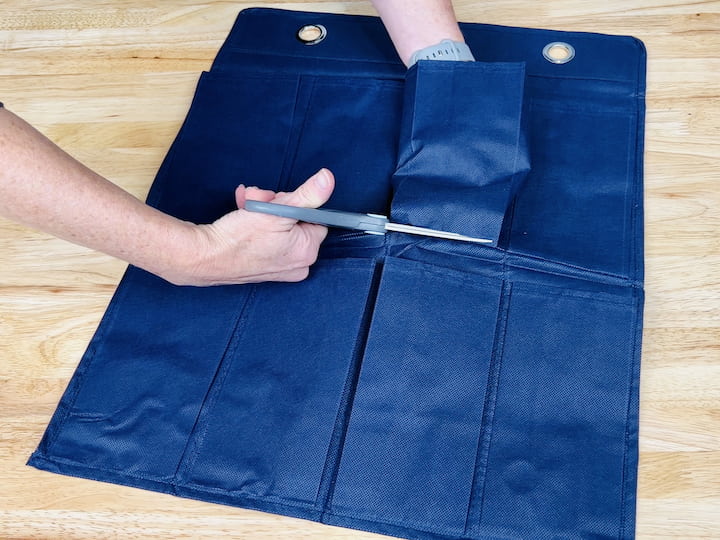
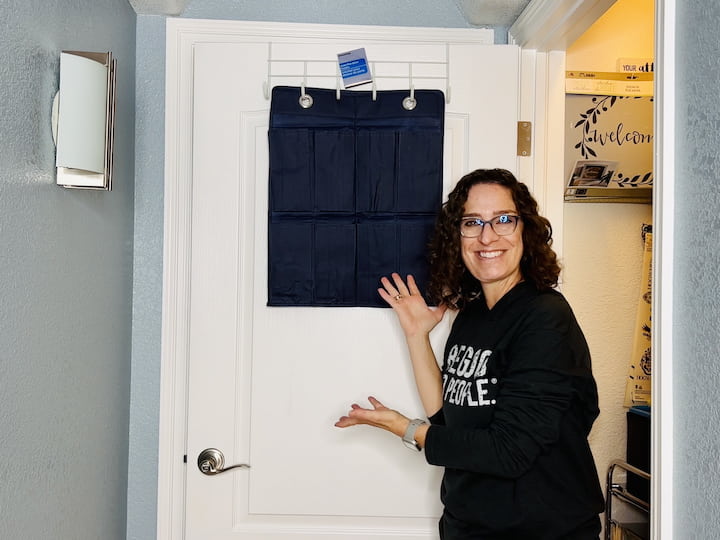
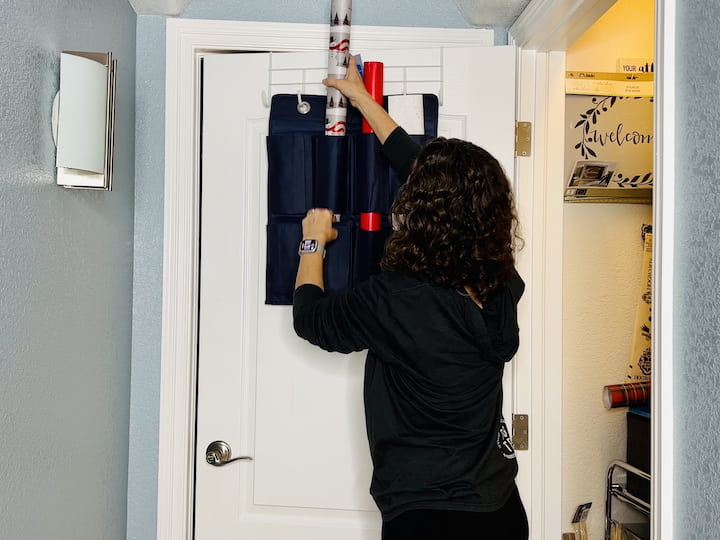
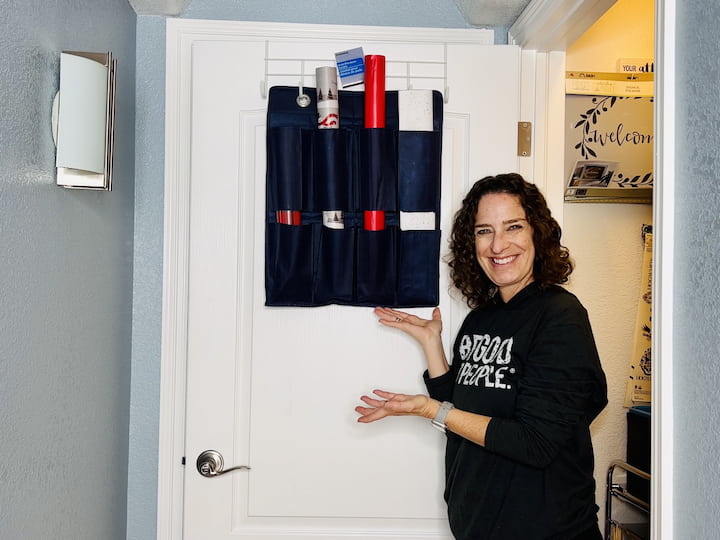
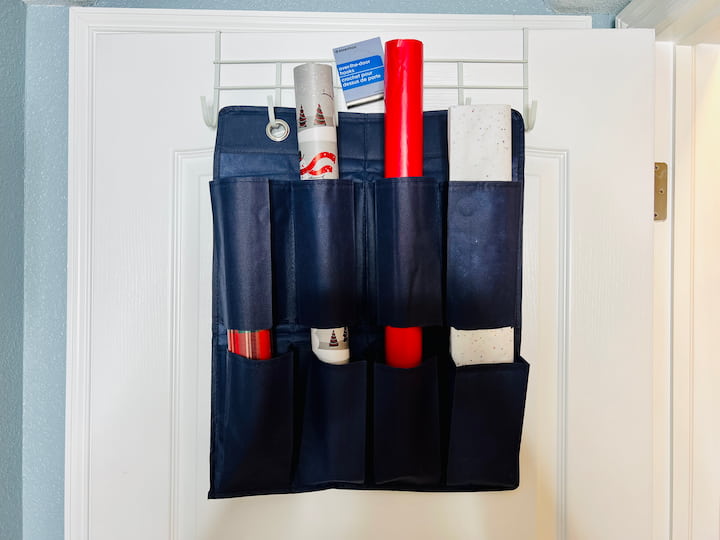
- Over-the-door shoe organizer — each pocket holds ribbon spools or bows (keeps them visible).
If you find yourself needing more pockets, consider opting for a larger shoe organizer or a 20-pocket organizer for an even more comprehensive storage solution. You might also enjoy my tutorial on 20 Easy and Unexpected Ways To Use A Hanging Shoe Organizer
DIY Gift Wrapping Station (Perfect for my Crazy Creators!)
This DIY project makes me feel like a true organization pro!
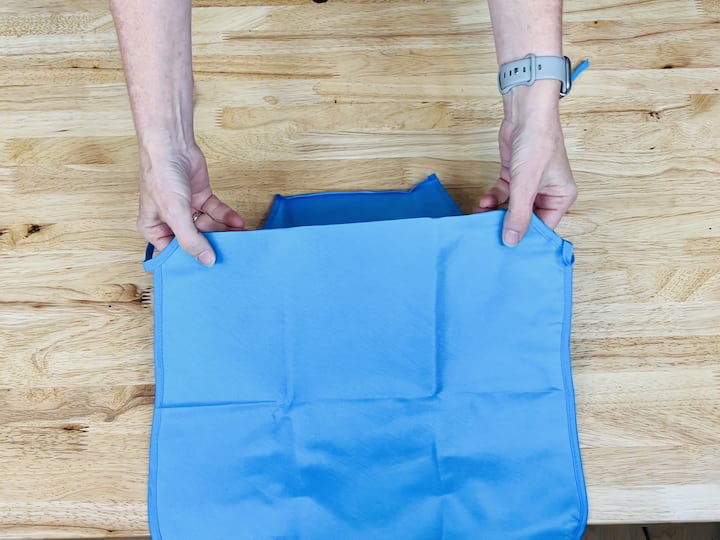
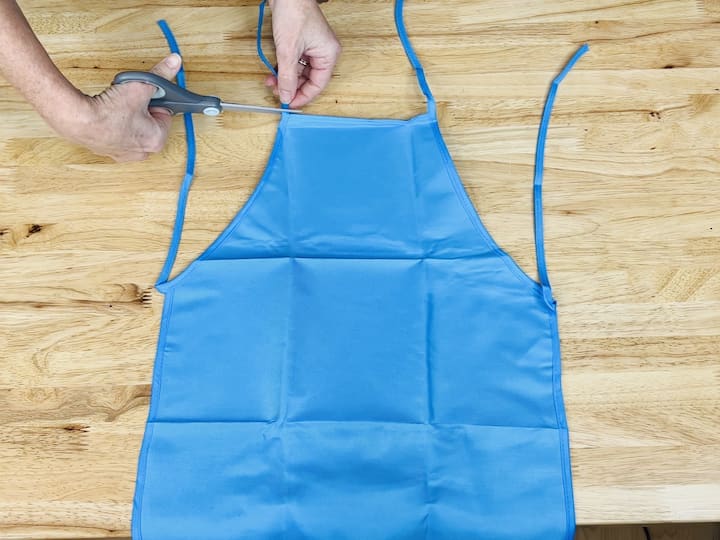
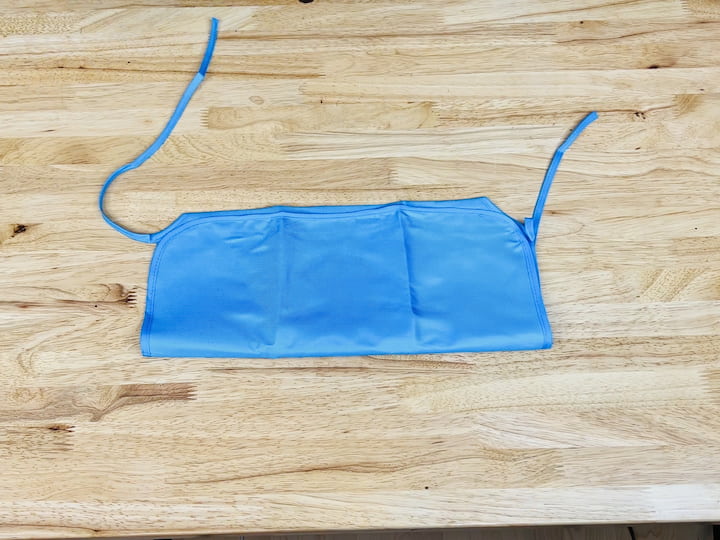
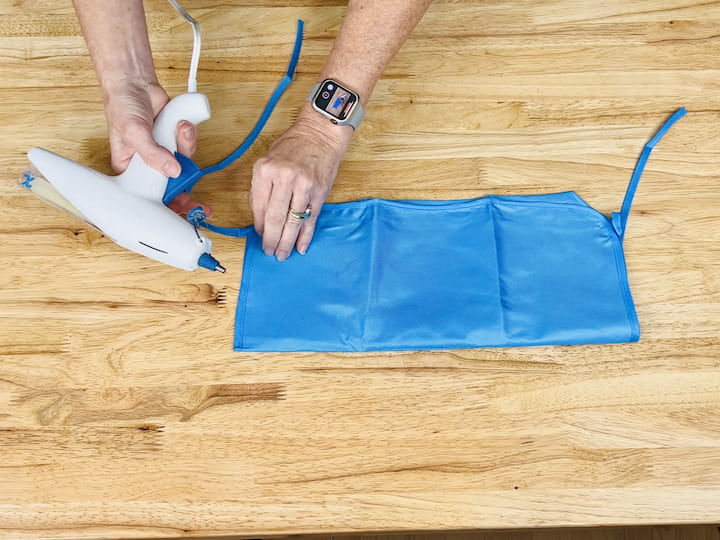
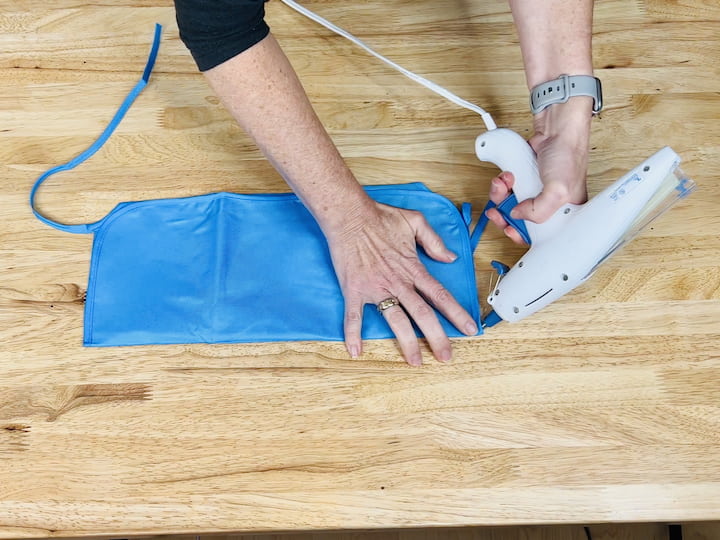
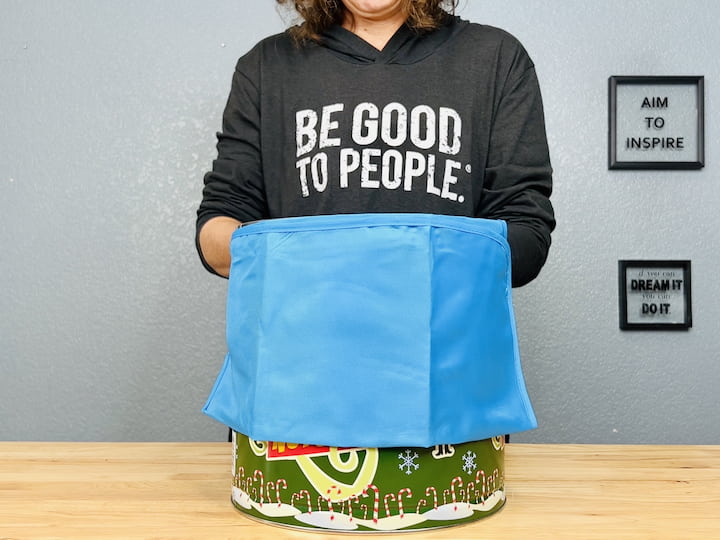
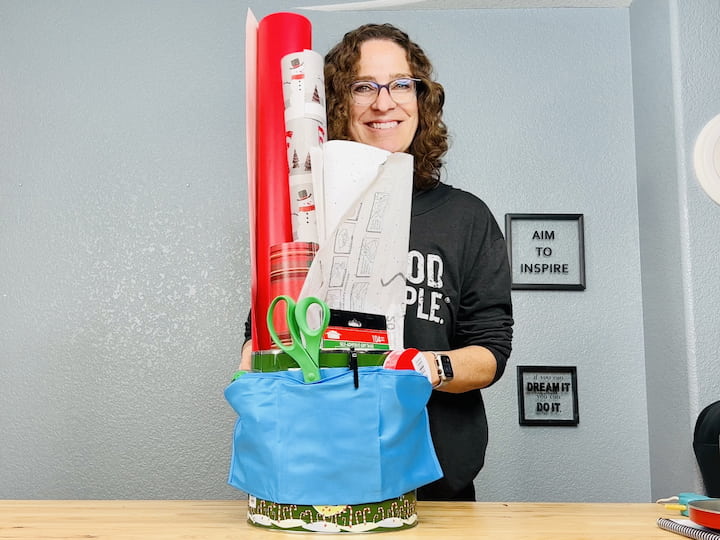
- The Apron Organizer: Head over to Dollar Tree and snag one of their aprons. Cut off the neckties, fold and use a hot glue gun to secure the sides and create pockets.
- The Bucket: Choose any bucket you like (I opted for an old popcorn bucket). Wrap the apron around the bucket, and fill the pockets with tape, scissors, markers, and tags. Now you have a portable, organized wrapping station!
5. Storage Checklist
We want your decorations to last for generations. Storing items in extreme conditions requires extra care, which is why I use this checklist:
The Short Answer: Yes, as long as you take precautions!
Containers: Use sturdy, high-quality, airtight plastic containers with tight-fitting lids to protect decorations from dust, moisture, and pests. Clear containers are always best!
Climate Control: Be mindful of the climate. Extreme temperatures (uninsulated attics, sheds) can damage sensitive items (electronics, wax, glass). Consider avoiding storage in areas prone to extreme temperature fluctuations.
Elevate & Protect: Always place your containers on shelves or a raised platform to prevent potential water damage in case of leaks or flooding.
Rodent Prevention: Take measures to prevent rodents by sealing any gaps or openings in storage areas.
Test them first, then wind them onto cardboard, a spool, or coil in a figure-eight and secure with Velcro or zip ties. Store in a labeled bin with a small plug bag.
Both work. Flat in a wide, shallow bin with cushioning is safe; hanging is great if you have wall space and want to preserve shape. Use wreath storage boxes for fragile/garlanded wreaths.
Wrap ribbon on paper towel tubes or spool them; store in shallow bins or an over-the-door shoe organizer for visibility.
Coffee filters, napkins, tissue paper, and soft textiles like pillow covers or placemats are great eco-friendly substitutes.
Storing Christmas decorations properly ensures that they remain in good condition and are easily accessible for the next holiday season. Here are some tips on how best to store Christmas decorations:
Organize by Category: Sort your decorations by category, such as lights, ornaments, wreaths, and figurines. This makes it easier to locate specific items when needed.
Use Sturdy Containers: Invest in high-quality, airtight containers with tight-fitting lids to protect decorations from dust, moisture, and pests. Clear containers allow you to see the contents without opening each box.
Label Each Container: Clearly label each container with its contents. This step is crucial for quick identification and retrieval during the decorating season.
Protect Fragile Items: Wrap fragile items like glass ornaments in bubble wrap, tissue paper, or specialized ornament storage containers. This helps prevent breakage during storage.
Store Lights Properly: Wrap Christmas lights around spools or pieces of cardboard to prevent tangling. Consider using specialized storage solutions for lights that keep them untangled and in good condition.
Disassemble Artificial Trees: If you have an artificial Christmas tree, disassemble it and store it in a sturdy container or bag. This protects the tree from dust and pests and ensures it stays in good shape for the next use.
Elevate Items: If possible, place containers on shelves or raised platforms to prevent potential water damage in case of leaks or flooding.
Climate Control: Be mindful of the storage location’s climate. Extreme temperatures, whether hot or cold, can affect certain decorations. Consider avoiding storage in areas prone to extreme temperature fluctuations.
Rodent Prevention: Take measures to prevent rodents by sealing any gaps or openings in storage areas. Consider using rodent repellents or traps if necessary.
Regular Inspection: Periodically check stored items to ensure they are in good condition. This helps you identify any potential issues, such as pests or damage, before they escalate.
Garage or Attic Organization: If storing in the garage or attic, designate a specific area for Christmas decorations, keeping them separate from other items. This helps maintain organization and accessibility.
Utilize Storage Solutions:Explore specialized storage solutions such as ornament organizers, wreath storage bags, and wrapping paper containers. These can help protect specific items and make storage more efficient.
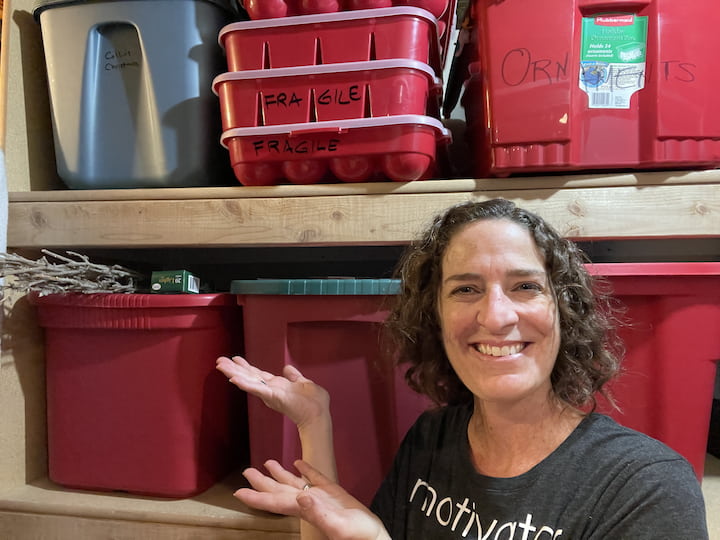
I use a storage tote (or plastic totes) for my stockings, stocking hangers, decor, etc. Here’s a quick look at my storage space. I put all of my storage options on a shelf or two. As you celebrate the new year, I hope this helps the end of the season go smoothly when packing up your items. I also hope it helps for the next holiday season when pulling things back out as well. Where do you store your holiday décor? The garage, attic, or basement? Do you have a DIY solution you want to share? Please do so in the comments below.
I hope this inspires you to try some of these storage ideas of your own. I’d love it if you’d subscribe to my YouTube channel and my blog. Thanks for watching, and I’ll see you in my next video. And don’t forget to like, share, and subscribe
Check out some of my other hacks!
- Recycled Plastic Containers: Make Your Life Easier with These Awesome Hacks
- What To Do With Hangers: Easy Tips, Hacks, and Tricks with Video
- Super Easy and Useful Pool Noodle Hacks You Wish You Knew Sooner
How To Store Christmas Decorations Video
Shop any of these stores and I receive a small commission at no cost to you.
 ZOBER 9 Ft Large Christmas ...Shop on Amazon
  HOMZ 3-Pack 24 Inch Seasona...Shop on Amazon
 Whitmor 6044-4924 Clear Gif...Shop on Amazon
 Handy Laundry, Christmas Or...Shop on Amazon
 IRIS USA 3-Piece Holiday Ri...Shop on Amazon
By following these tips and tailoring them to your specific decorations and storage space, you can ensure that your Christmas decorations stay in excellent condition and are ready to bring festive cheer when the holiday season rolls around again.


Amazing ideas, like the slap bracelets..one question? When you use hot glue outside, does it ever pop off? I’ve had things fall off of a wreath, due to the cold weather..thanks for the ideas
So many excellent ideas here! I use the popcorn tins to store my smaller supplies in (like strands of beads and bags of buttons), but excellent for bows and tags too! I also love the slap bracelet idea – genius!
Thank you so much Alexandrea, and thank you for sharing I love those ideas 🙂
Such great ideas, Chas! I particularly like the egg cartons for small ornaments. Thank you for sharing, and for being a part of the Hearth and Soul Link Party. Hope to see you again this week. Have a great week ahead!
Thank you so much April and thanks for the great party.
So many great ideas. I do a few similar things already with our decorations but the slap bracelet idea is a new one on me. Such a good idea.
Thank you so much Julie and I love that we think alike 🙂 Glad you like the slap bracelet idea, thanks.
I especially like the tip to wrap lights around a hanger. I find they can be especially tangle-prone!
(Visiting from the Hearth & Soul link party).
Thank you so much Pauline and I hope it helps you as much as it has helped me.
So many great ideas on how to reuse simple, everyday items that we often think of throwing out! I love the idea of using egg cartons for ornaments. It looks like a great way to store and keep them organized. I’ll definitely be using that as a future organizing tip!
Thank you so much Brooke and I’m thrilled you like these ideas and might use them for the future 🙂
It is so hard to pack away for the season. I had to pack it really good as we are moving this summer. Wish I had seen this before. #trafficjam
Thank you Tracy. I totally understand and sometimes I think I would pay someone to do the work of packing it well. Thanks for stopping by.
Lots of good tips, Chas. I started using egg cartons about 5 years ago and it has made storing our ornaments so easy. 🙂 Thanks for sharing all of your ideas!
Thanks so much Linda and thanks for sharing your experiences as well. 🙂
I hope I can remember this for next year! Great ideas!
Thank you so much Michele 🙂
These are great storage ideas for all those christmas items everyone has. Found you on Simple Homestead Blog Hop.
Thank you so much Candy and thanks for stopping by.
Awesome hacks! I’m always looking for new ways to organize my xmas decor! Thanks
Thank you so much Tina, I hope this helps you as much as it helps me.