Super Cute and Easy $4 Bunny Dollar Tree Easter Wreath
Do you want to make a Dollar Tree Easter wreath? I love making Easter decorations and had a great idea for an adorable Easter wreath using dollar tree items. This super easy bunny wreath project takes only about $4 in materials, and the entire wreath only took about an hour to make!
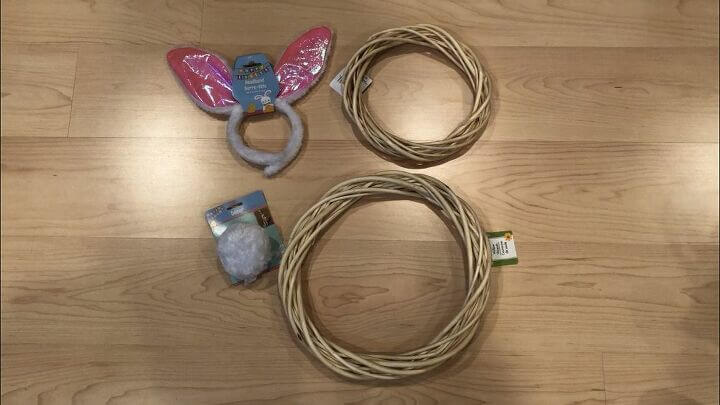
Dollar Tree Supplies
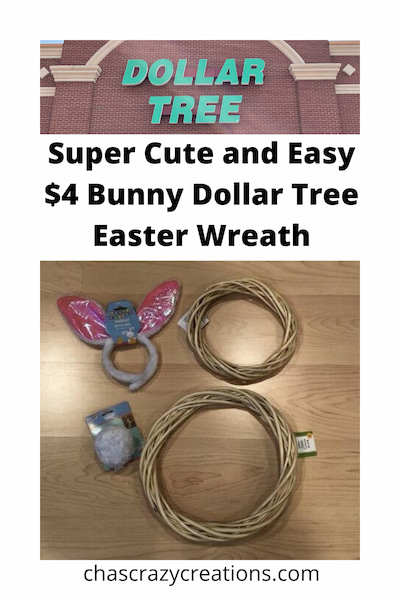
- 2 different wreath sizes. I chose to use a grapevine wreath but you can use any wreath frame.
- A bunny ears headband
- A bunny clip-on tail (or cotton)
- Fishing line (or string of your choice)
- White paint
- Hot glue gun
Super Cute and Easy $4 Bunny Dollar Tree Easter Wreath Video
Easy Dollar Tree Easter Wreath Instructions
How do you make an Easter Bunny Wreath?
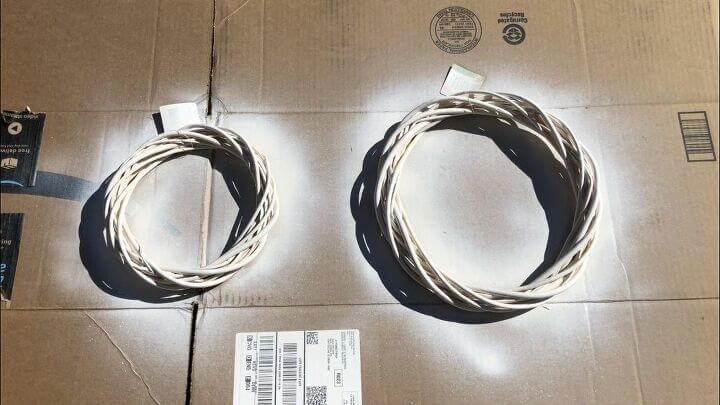
I took my 2 wreaths outside and sprayed them with Rustoleum satin white spray paint. I only sprayed one side of the wreath for this project, but you could do both sides if you prefer.
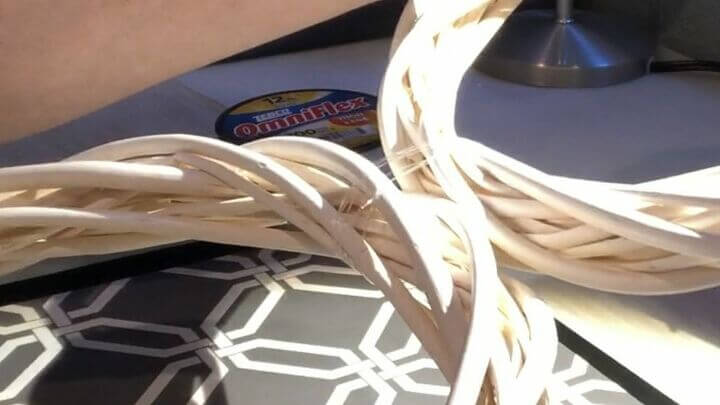
Once that was completely dry, I tied the 2 wreaths together with fishing line. I went with the fishing line because it’s strong and clear. You could also use hot glue or another adhesive of your choice.
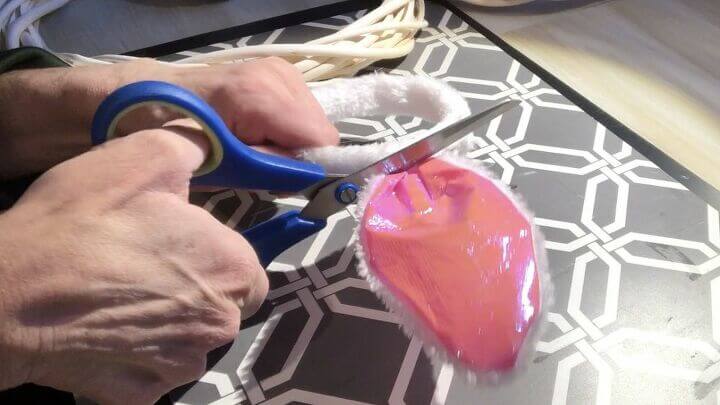
How do you make rabbit ears for wreaths?
I cut the two ears off the bunny headband that I purchased at my local Dollar Tree.
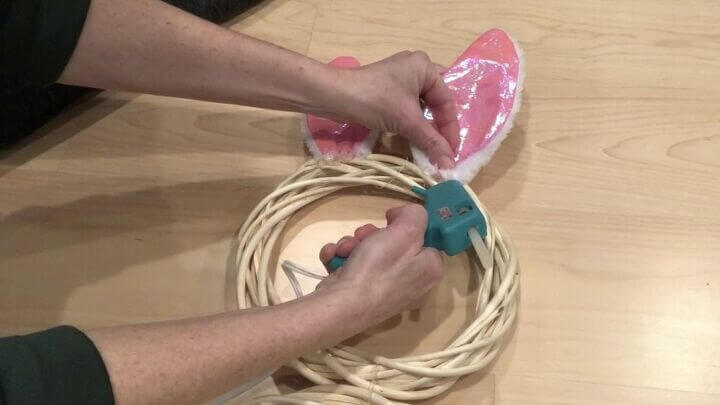
I hot glued the bunny ears onto the top of the smaller wreath mold. I hot glued the ears with the front-facing the non-painted side. The painted side would be the front and the non-painted side would be the back of the wreath. You can add a pop of color by adding a cute bow between the bunny ears.
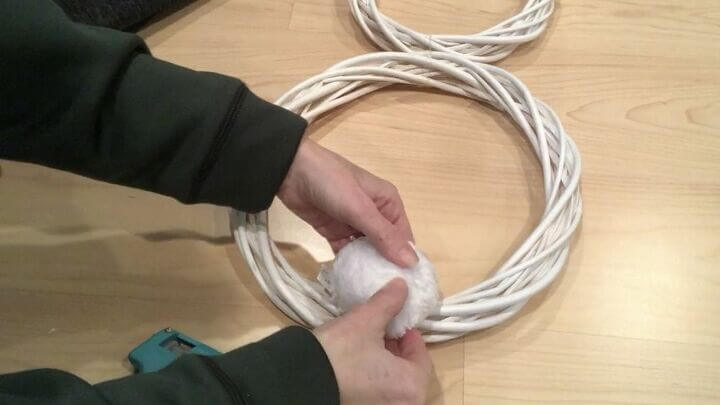
I hot-glued the bunny tail onto the bottom of the larger wreath form. You can use different color cotton balls for the bunny tails.
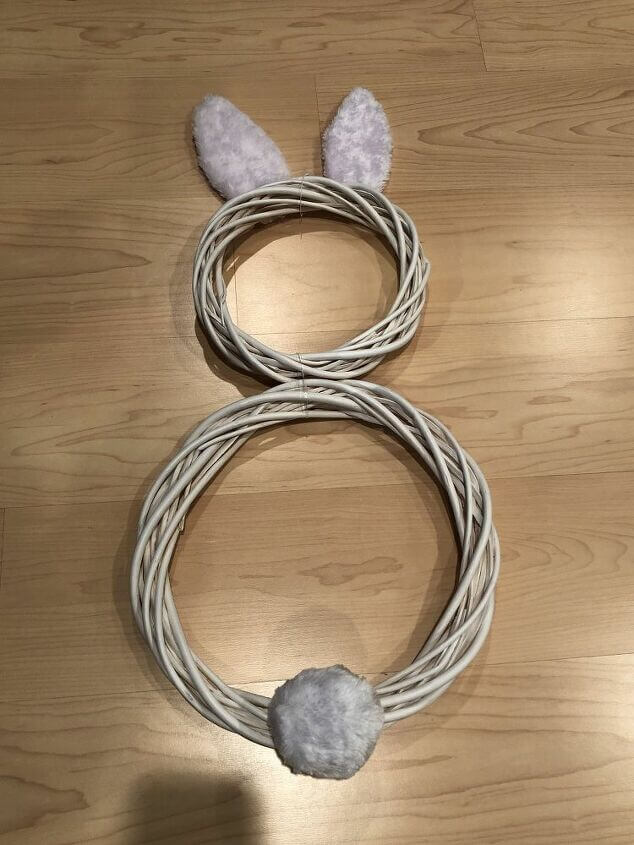
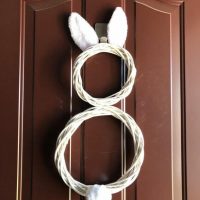
My bunny wreath is finished and ready to be hung on the front door just in time for spring! You’ll see there are several other options at Dollar Tree, but I love this bunny wreath.
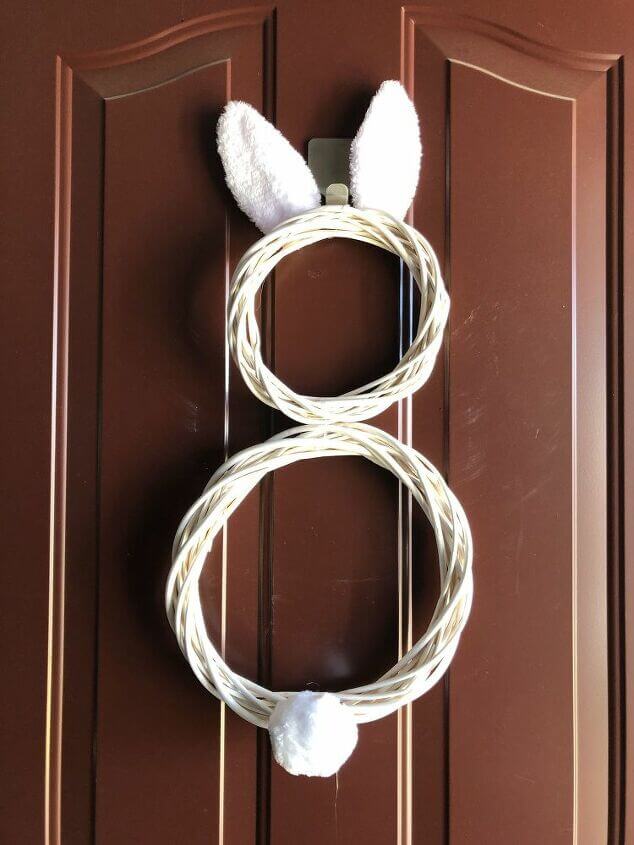
I hope you have fun making your own diy easter wreath to usher in this Easter season.
Super Cute and Easy $4 Bunny Dollar Tree Easter Wreath
Learn more about “Creating Seasonal Decor for Your Home” to create seasonal decor that doesn’t cost an arm and a leg.
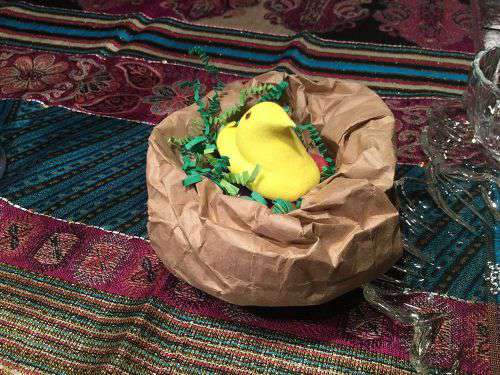
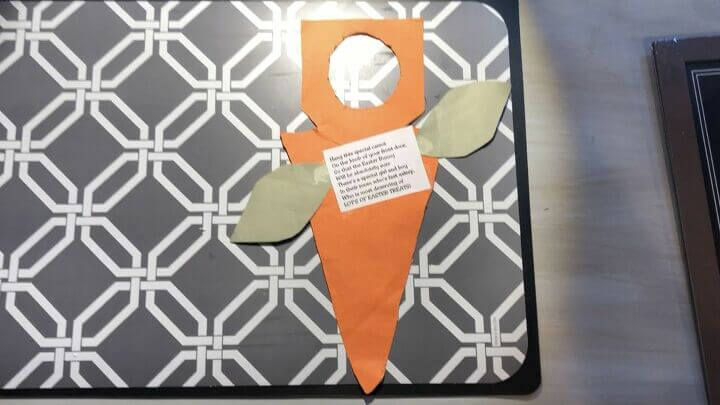
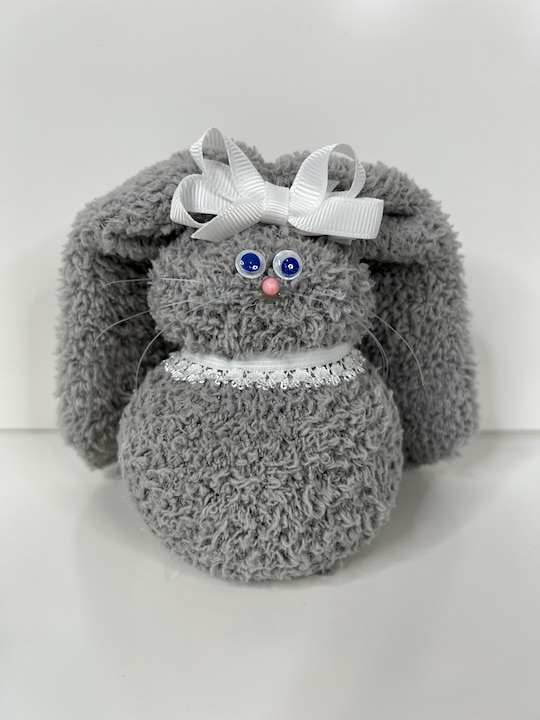
Check out some of my other Easter posts!
- Spring & Easter Goody Nest
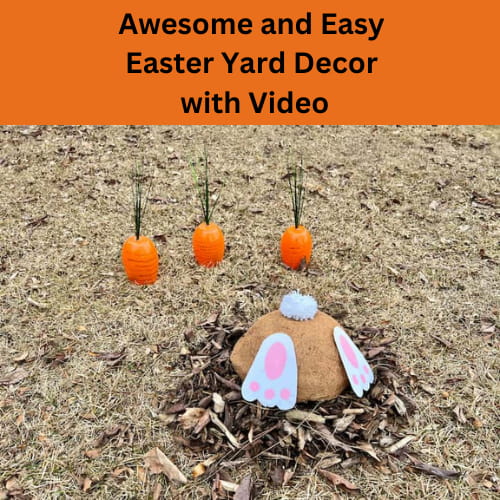
- Easy and Cute Easter Bunny Stop Here Sign with Video
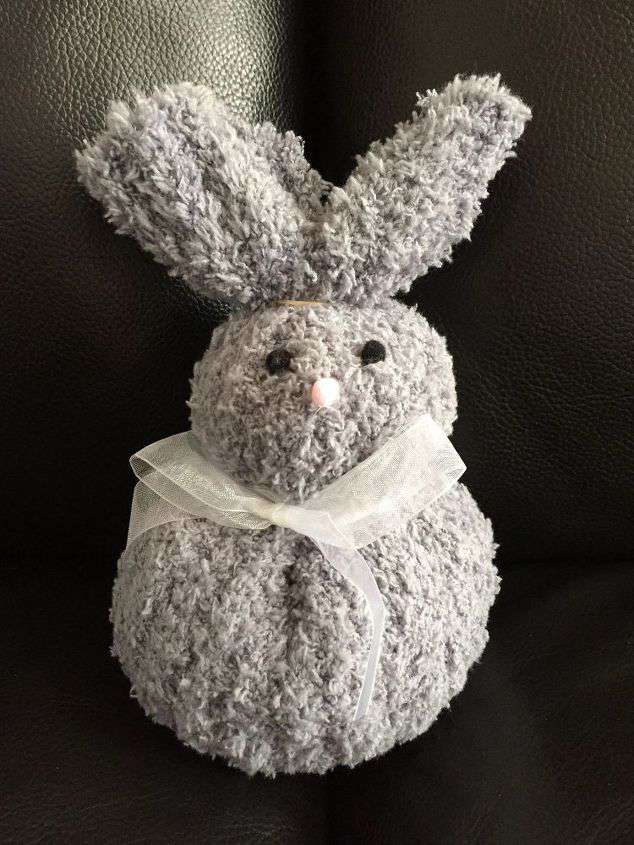
- Cute and Easy Easter Sock Bunny Hack Anyone Can Make
Shop any of these stores and I receive a small commission at no cost to you.
 Valery Madelyn Pre-Lit 24" ...Shop on Amazon
 HOMKO Decorative Mason Jar ...Shop on Amazon
 Kate Aspen, Distressed Meta...Shop on Amazon
 TRM Easter Bunny Cottontail...Shop on Amazon
 Fun Express Spring Bunny Ta...Shop on Amazon
Super Cute and Easy $4 Bunny Dollar Tree Easter Wreath
Equipment
- Hot Glue Gun
Materials
- 2 different wreath sizes
- A bunny ears headband
- A bunny clip on tail or cotton
- Fishing line or string of your choice
- White paint
Instructions
- I took my 2 wreaths outside and sprayed them with Rustoleum satin white spray paint. I only sprayed one side of the wreath for this project, and you could do both sides if you prefer.
- Once that was completely dry, I tied the 2 wreaths together with the fishing line. I went with the fishing line because it’s strong and clear. You could also use hot glue or another adhesive of your choice.
- I cut the two ears off the bunny headband that I purchased at Dollar Tree.
- I hot glued the bunny ears onto the top of the smaller wreath form. I hot glued the ears with the front-facing the non-painted side. The painted side would be the front and the non-painted side would be the back.
- I hot glued the bunny tail onto the bottom of the larger wreath.
- My bunny wreath is finished and ready to be hung up just in time for spring!
Video




I’m forced to repeat myself – again – you are SO CREATIVE!! I can’t get over the fun and beautiful things you make out of such normal items! This is just darling Chas! Way to go my friend, and Happy Spring!
You are just so sweet Barbara, thank you so much
What a cute idea and great instructions…a craft even I could handle! Thanks for linking up to Best of the Weekend. You were one of my features! Enjoy your weekend!
Shelley
Thank you so much and I’m thrilled you liked it. Thanks for the feature and thanks for hosting a wonderful party! See you at the next one.
Thank you for sharing at #OverTheMoon. Pinned and shared.
Thank you Marilyn, so nice of you to Pin and share 🙂
That’s very sweet and I love the price point too!!
It would be a fun thing that kids could get involved with too.
Thank you Julie and you’re totally right – great activity for the kids to do.
So cute and so simple! Nice little Easter project! Thanks for sharing at Celebrate Your Story!
Thank you so much Chloe, and can’t wait to see what you’re making for the holiday. Thanks for the great party.
Hey!! That’s even something I could do!! How creative.
XOXO
Jodie
#seniorsalon
Thank you so much Jodie, we sure are enjoying this simple wreath 🙂
This is adorable, and I already have most of the needed items at home! I may have my daughter help me make one and hang it on her door for the season. She’ll love it! Thanks for sharing at Sweet Inspiration!
Thank you so much Amy and I love that you want to make it with your daughter. So much fun creating together.
This is s super cute idea! #trafficjam
Thank you so much Tracy 🙂
So funny that I saw your bunny wreath this morning. I made one yesterday using the same materials but my grandson wanted to put the color side of the ears on the front.
How ironic Sharon, great minds think alike 🙂 I’d love to see a picture please.
Cute and so simple! I may have to try to make this before Easter!
Thank you so very much Mireille, and please send me pictures if you do 🙂
That is such a cute wreath! So clever to use wreaths and bunny ears!! Love it!
Thank you so much Candice 🙂
So cute and so easy. Just an adorable little bunny hangin’ around the neighborhood. 😉
Thank you so much Linda, he was so fun to make. Gotta love the dollar store!
Love the Bunny Wreath.. Just below your craft pictures was a Bunny like yours for $47.50 from Amazon.. I love when you make things that are so inexpensive and just as beautiful as anything you could buy in a store.. You are my go to for ideas.. I subscribe and look forward to your emails.. I love the household tips as well.. Im from Ontario Canada
Thank you so very much Gail and I’m so excited you’re enjoying the ideas and are a subscriber. I’m sending hugs to you in Canada 🙂
Hi Chas, This is such a clever idea and so inexpensive. I appreciate that you include the directions for making it and photos of the final project. Looks as if, when I get home from our current road trip, there will be a bunny in my future! Have a great week, Cheryl
Thank you so much Cheryl and I’m so thrilled you like it 🙂 Thank you for the feedback and I’m so excited you might give this one a try.
Very cute! May I tell you that I prefer the grey bunny than the white one? #EsmeSalon
Thank you Silvia. I love the idea of a grey one, it’s one of my favorite colors.