
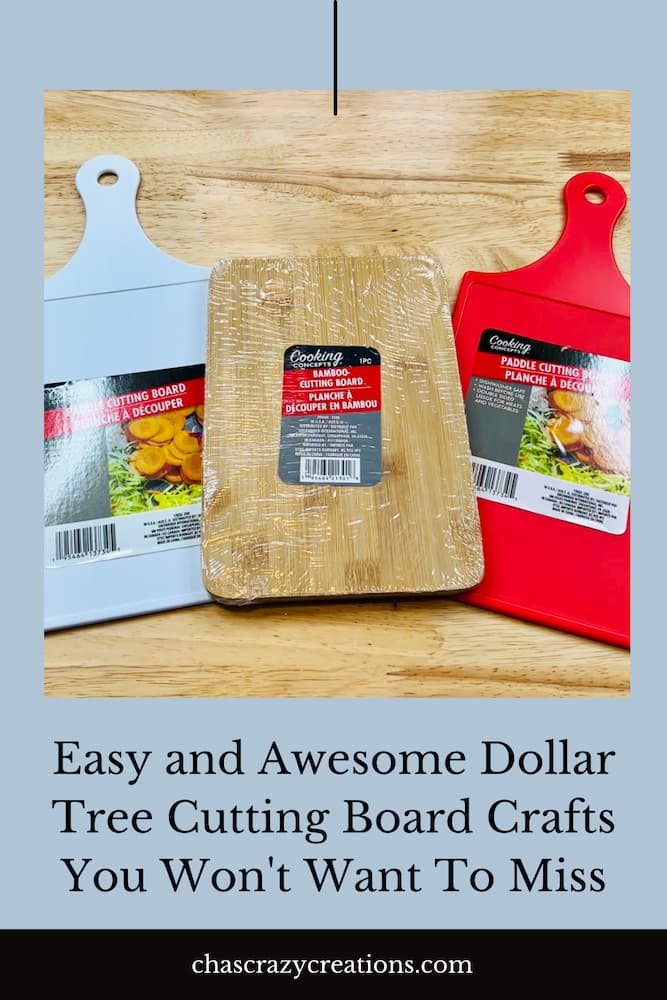
Easy and Awesome Dollar Tree Cutting Board Crafts You Won’t Want To Miss
Are you looking for Dollar Tree cutting board crafts? These ideas can be adjusted to any holiday, or occasion, and make a great gift.
Today we’re going to make some projects with Dollar Tree cutting boards. As you all know I love my local dollar tree, hobby lobby, and local dollar store. I am always on the hunt for items to add to my craft stash. Today we have several dollar store craft ideas that will make great gifts. All these easy crafts will be made using small cutting boards in different ways. I have a video tutorial with step-by-step instructions, so let’s get started.
Dollar Tree Cutting Board Crafts Supply List
Shop on Amazon") VNDUEEY 20 Pack Fridge Magn…Shop on Amazon
VNDUEEY 20 Pack Fridge Magn…Shop on Amazon, Walnut") FolkArt Home Decor Wood Tin…Shop on Amazon
FolkArt Home Decor Wood Tin…Shop on Amazon
Dollar Tree Cutting Board Crafts Video
Dollar Tree Cutting Board Crafts instructions
1. Dollar Tree Cutting Board Photo Frame
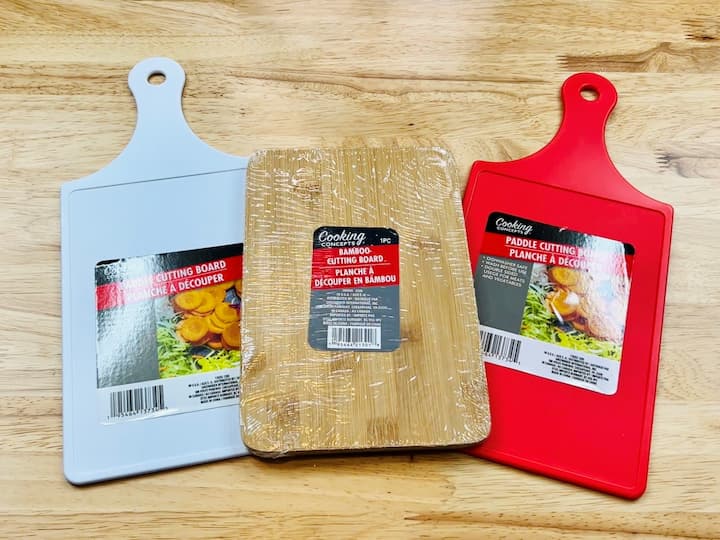
For this first easy project, you’re going to need a white cutting board, some magnet clips, and folk art home decor wood tint. Start by removing the label.
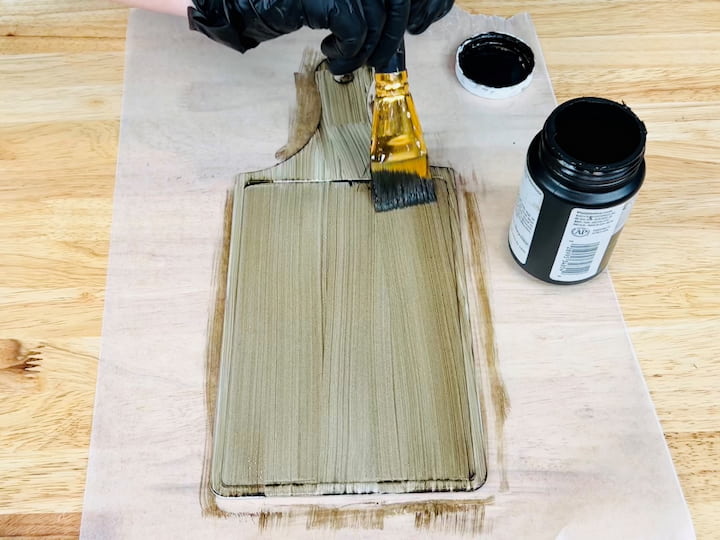
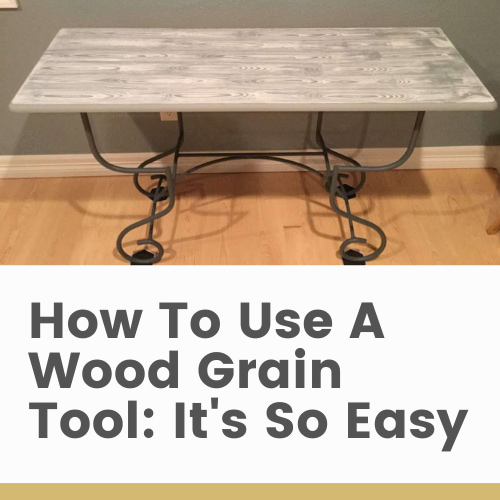
Next, you’re going to use the folk art home decor wood tint in the color Walnut and you’ll paint the surface of the cutting board. You want this to look grainy to resemble actual wood. Once you get the desired look you’re going to let it dry completely.

For the next step, I added some hot glue and placed a magnetic clip onto the hot glue. I hot-glued a red bow and some greenery that I had left over from another project. I placed it on the clip which is magnetic, so it stuck, but you could use hot glue to reinforce it.
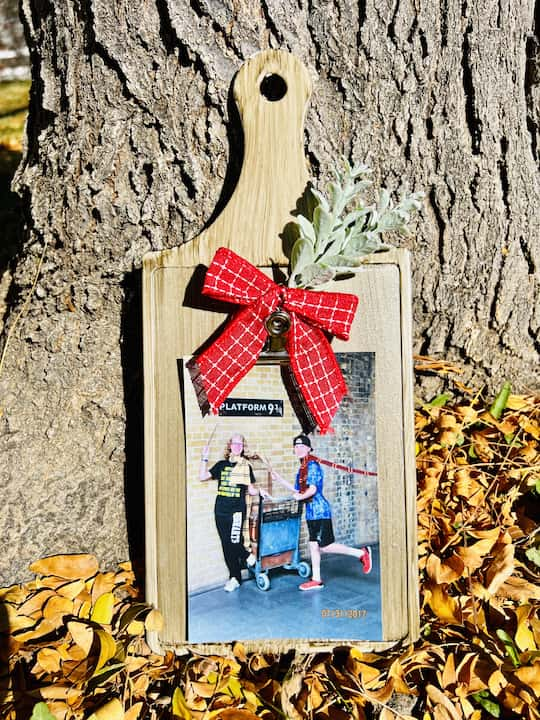
Next, I added a photo of my kids. This is such a simple project and a fun way to make a photo holder. The best part is you can personalize this with any photo, especially if this is a gift for others. This could easily be adjusted for any occasion.

Cutting Board REcipe Heirloom Art
For this next cutting board craft, I’m using a red cutting board. Start by removing the label. I’ve printed out a recipe and trimmed it to fit the cutting board. This is the perfect craft to preserve a family heirloom recipe.
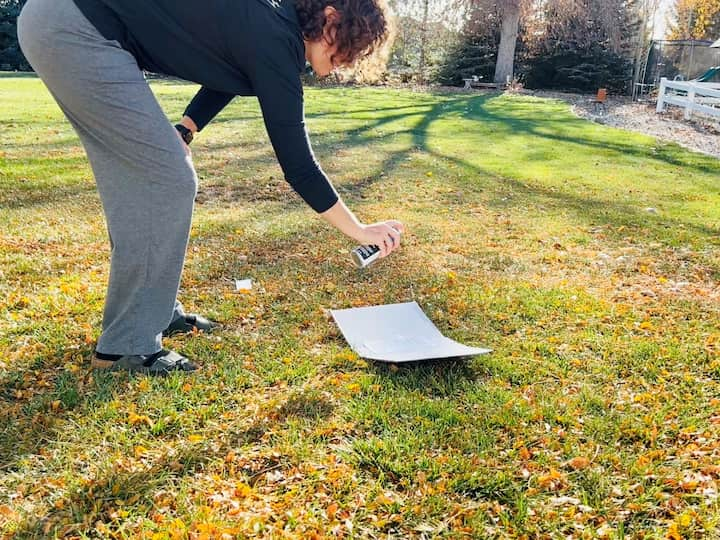
I wanted to give it a sealer coat so I used some acrylic sealer and lightly spray-painted the recipe. You could also seal it with a top coat of mod podge.
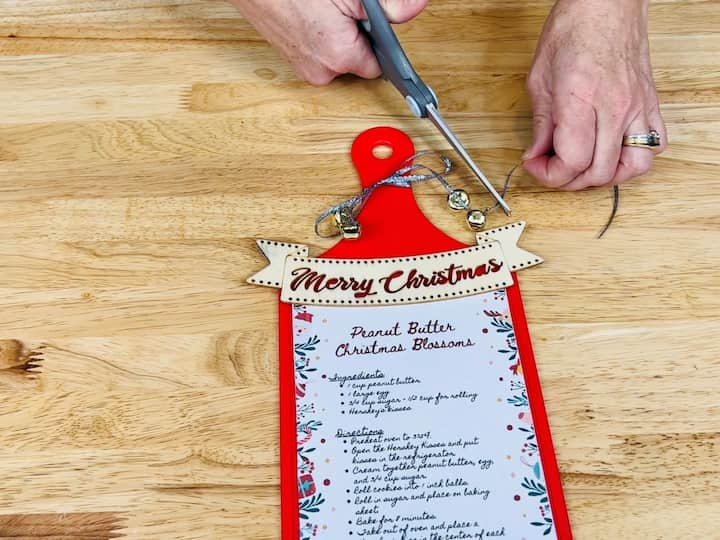
After it was completely dry I hot glued it to the cutting board. You can any glue you like such as E6000 or glue dots. I added some embellishments with a wooden Merry Christmas sign I found at the Dollar Tree. I could have painted it but I couldn’t find a color I liked. I secured it with hot glue and then went on to add silver ribbon. I tied the ribbon around the end of the cutting board and slid a couple of jingle bells on either side then placed a knot at the bottom so they wouldn’t slide off. I thought this would give it a little extra flair.
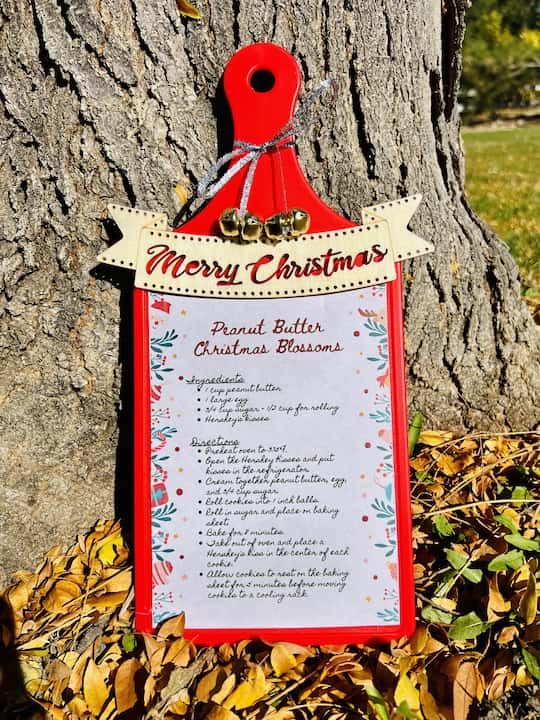
You can easily adjust this for any holiday or occasion.
Cutting Board Caddy
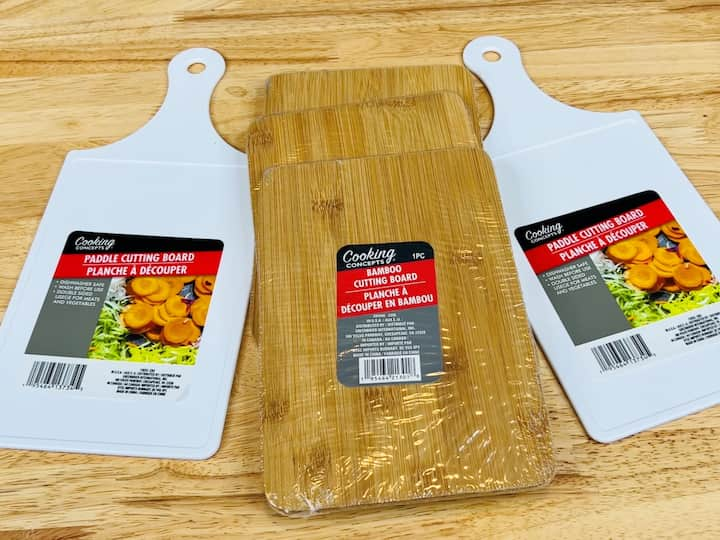
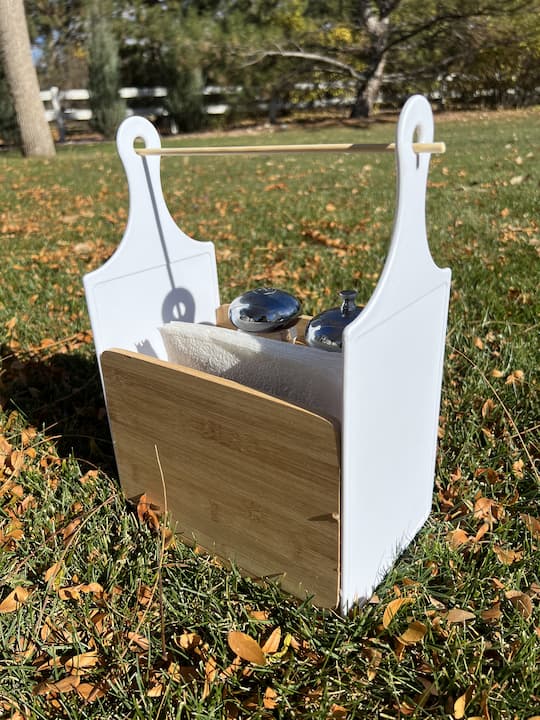
For the next project, you’re going to need two white cutting boards and three bamboo cutting boards.
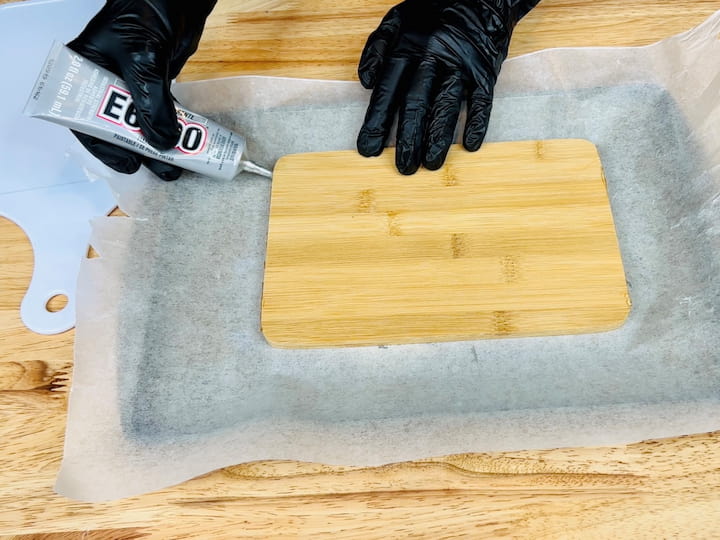
I started with E6000 glue and I put it on the narrow ends of each side of one of the bamboo boards. You could use a different adhesive if you choose, I just like E6000 because I know it’s nice and strong.
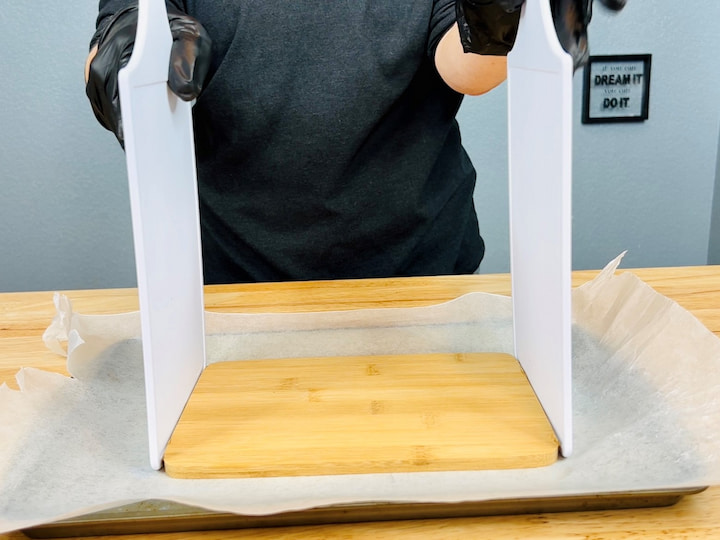
I attached the white cutting boards to the glue on either side of the bamboo cutting board. You will need to find a way to hold this in place until the glue dries. I like to use blue painter’s tape to hold things into place while I’m waiting for them to dry.
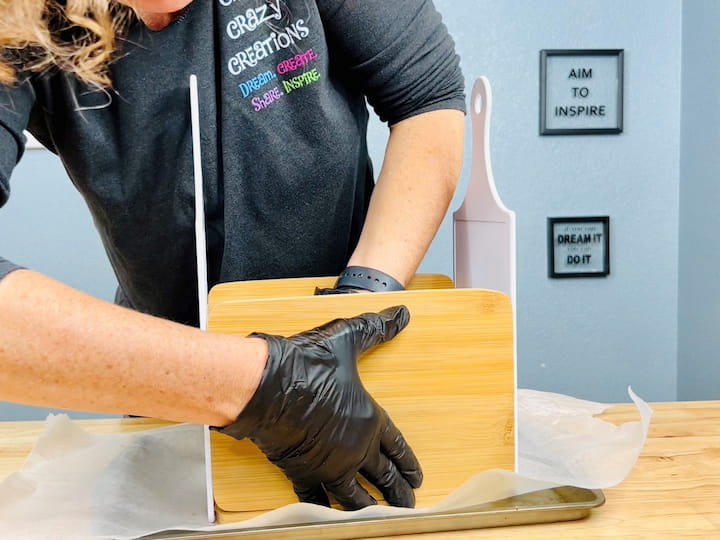
Next, I added E6000 to three sides of another bamboo board and slid this into place to be one of the sides in our box. I repeated this process with the other bamboo board and now I have a nice carrying box. I waited for this all to dry completely before I moved on to the next step.
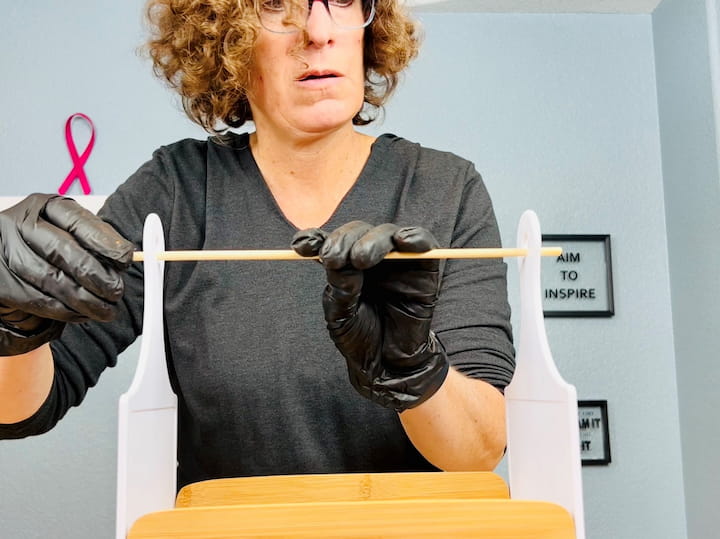
Now that all the pieces were dry I added a little more E6000 glue to the holes in the top of the white cutting boards and placed a dowel through the top. In hind site I could have used a thicker dowel, so you might want to take that into consideration.
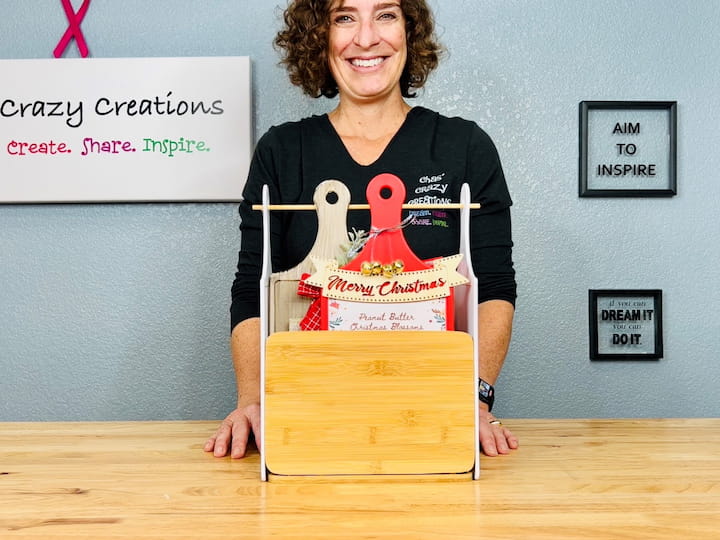
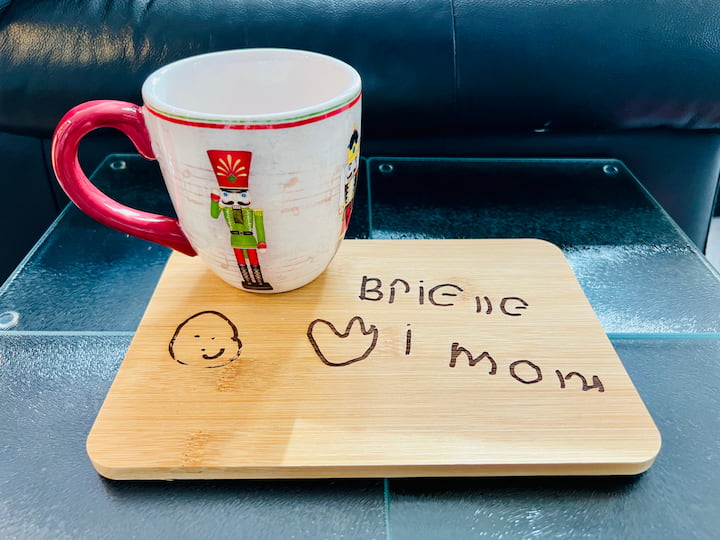
So we’ve got our gift box and now I’m just going to go ahead and fill it with the things that we’ve made. I’m going to start with the photo frame and place that inside and then I will add the recipe. You can add other things like maybe a rubber scraper and a cookie cutter or any kitchen items to go with the recipe or maybe you want to make other things. Do you remember this wood-burn cutting board that I made with a wood-burning tool? I transferred my son’s writing on one side and my daughter’s handwriting on the other.
This will make a great addition to our gift box. These items would be perfect housewarming gifts to match really any kitchen decor.
You might want to check out my other Dollar Tree crafts. They’re the perfect addition to any home and are a great way to save money while making gifts for others.
Other tips:
- I always place a plastic bag, plastic wrap, or wax paper under my projects when working with E6000 to protect my surface.
- If your local Dollar Tree doesn’t have something in stock, check your local craft stores or thrift store.
- Dollar Tree glass cutting boards are also great for crafts.
- You can add rub-on transfers to Dollar Tree cutting boards.
- You can use a foam brush if you prefer instead of a chip brush.
- If you need something to dry faster you can use a heat gun.
- You can glue the cutting board onto a picture frame to help it stand on its own. You can even make a tablet holder this way.
- These cutting boards can be turned into great chalkboards by adding a little chalkboard paint.
I hope this inspires you to make something with Dollar Store cutting boards of your own. Happy Crafting!
I’d love it if you’d subscribe to my YouTube channel and my blog. Thanks for watching and I’ll see you in my next video don’t forget to like, share and subscribe.
Dollar Tree Cutting Board Crafts Video
Shop any of these stores and I receive a small commission at no cost to you.
 BIIB Fathers Day Gift for H…Shop on Amazon
 ORSEN 8.5 Inch LCD Doodle B…Shop on Amazon
 Charcuterie Boards Gift Set…Shop on Amazon
 Body Restore Shower Steamer…Shop on Amazon
") How the Grinch Stole Christ…Shop on Amazon
How the Grinch Stole Christ…Shop on Amazon Nutty Toys Fidget Spinner -…Shop on Amazon
More Dollar Tree Cutting Board Crafts
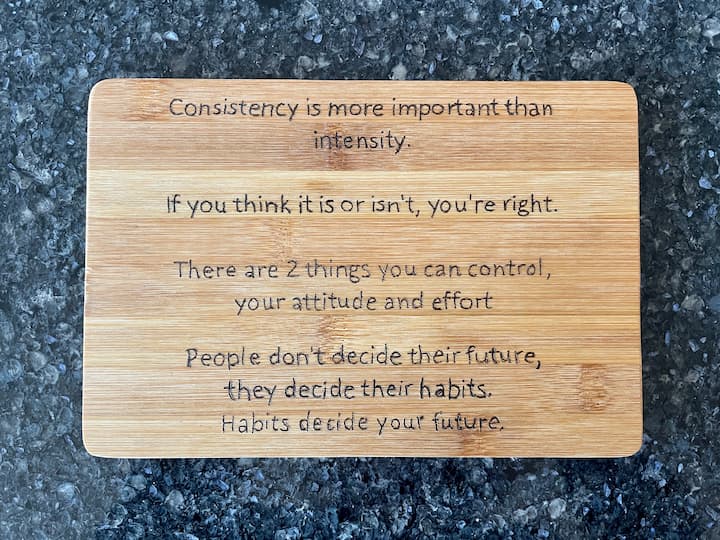
Laser Engraved Cuttin Board
I captured my daughter’s handwriting and loaded it into some software for my laser cutter. The laser cutting tool ran over the pattern to create this fun board for me. You can see the full tutorial on my blog post (with video) Creative Laser Engraver Projects: Easy Beginner DIYs
Wood Burned Cutting Board DIY
I printed out one of my friend’s favorite poems, and I used transfer paper to transfer the design onto the cutting board. I used my wood burning tool to trace over the letters to create a personalized cutting board. You can see the full tutorial on my blog post Easy Dollar Tree Personalized Cutting Board
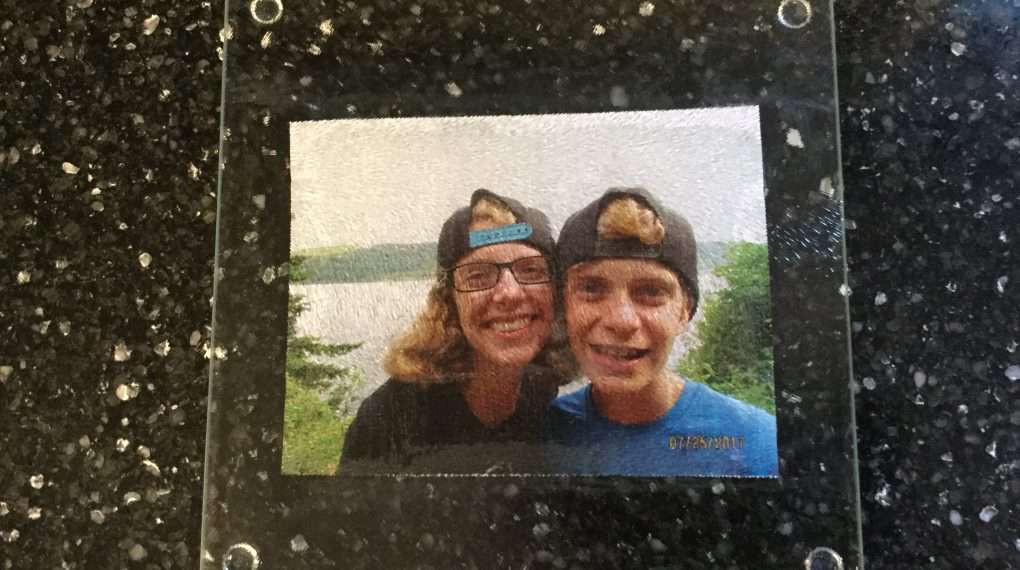
Photo Cutting Board
I took a photo and printed it on paper. I Mod Podged the photo to the underside of a Dollar Tree cutting board. I gave it a top coat of Mod Podge to seal it. You can find this full tutorial in my blog post Easy Dollar Tree Personalized Cutting Board
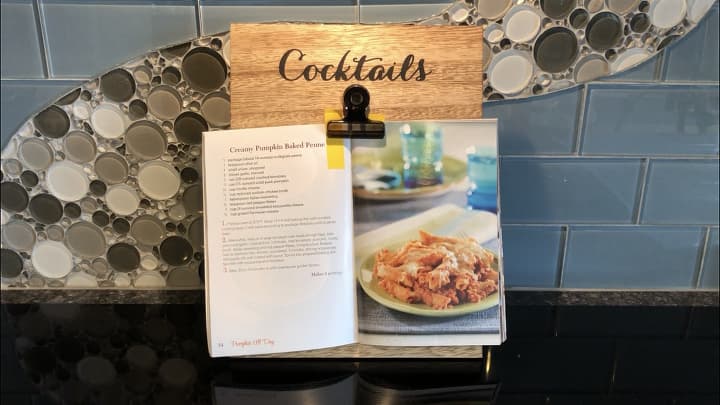
Easy Recipe Holder
I found this cheap wooden board, and I glued on a magnet clip to it. The board came with a stand on the back so it would stand up. You can find the full tutorial for this one in my post Easy Recipe Holder


I don’t remember seeing this before. Really great gift idea with the recipe! Thanks. Makes a great gift for a hostess too.
Thank you so much