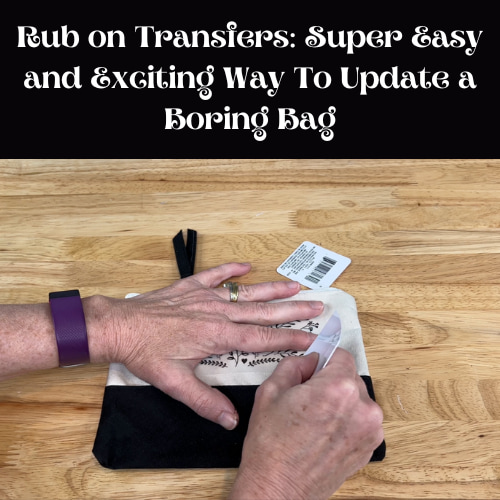
Rub on Transfers: Super Easy and Exciting Way To Update a Boring Bag
Are you looking for an easy way to update a boring bag? Look no further! Update that bag with rub on transfers and go from boring to WOW
In this video, I’m going to show you an easy way to take an old bag and bring it new life. Today we are going to do dry transfers and I will show you how to use transfer papers on a variety of smooth surfaces. You can find a great selection of image transfers at your local craft supplies store.
Rub on Transfers Materials
 Legigo Blank DIY Craft Canv…Shop on Amazon
  Redesign with Prima – Garde…Shop on Amazon
Rub on Transfers Video
Rub on Transfers Instructions
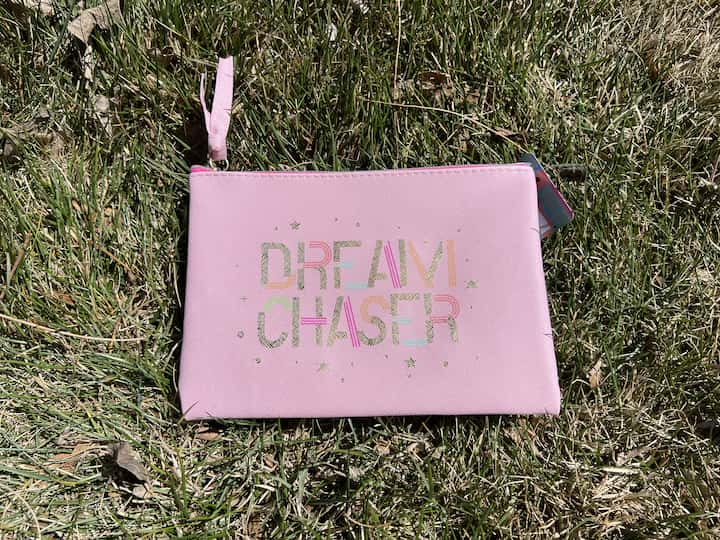
For my first project, I will transform this makeup bag. This bag can be used in so many ways, for your purse or different carry-ons. This one is made of vinyl it says dream chaser on the front.
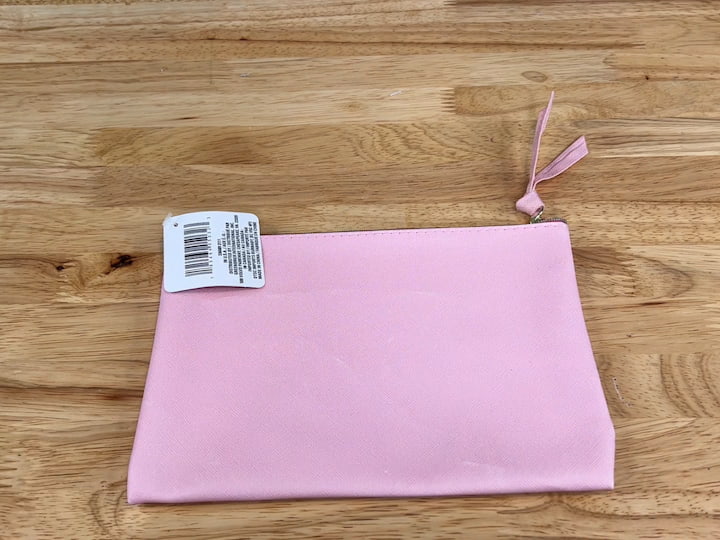
1. Start with a clean blank surface
I am going to be flipping it over to decorate the back with a dry rub transfer that says dream until your dreams come true.
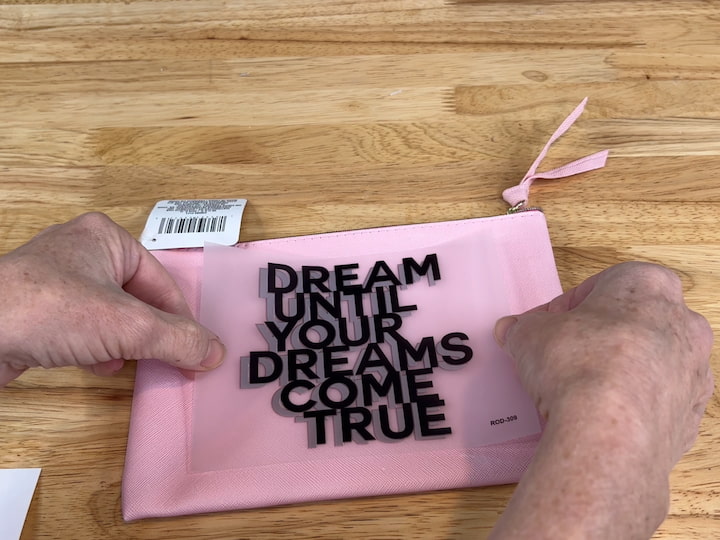
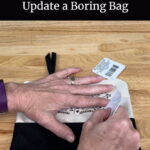
2. Peel off the rub on transfer backing and place the sticky side down onto your surface
Remove the backing of the transfer and placing it on the bag where you want it to go.
Next, I will press firmly to hold it in place. If you’re worried at all that it’s going to move you can use painter’s tape, stencil tape, or transfer tape to hold it in place however it should be a little sticky so it should hold in place.
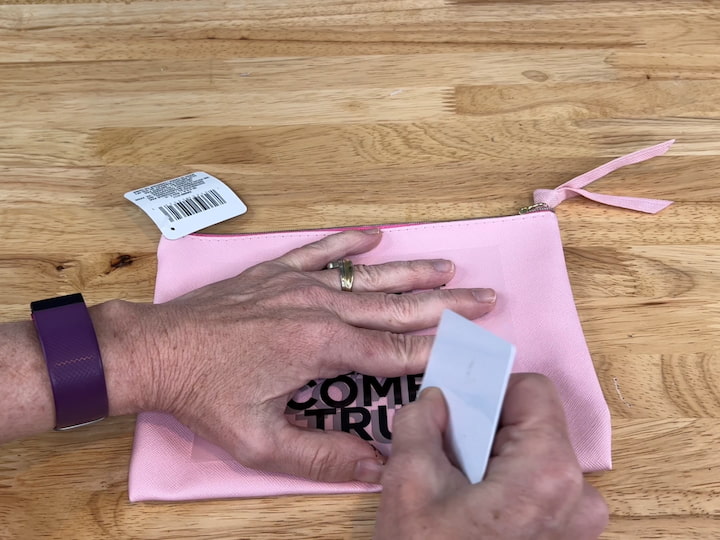
3. Rub the transfer using a card
Next you’re going to need a credit card or my mod podge card to transfer the image. Just going to go ahead and start scratching over the transfer and you’ll see the color shift as the image transfers to the bag.
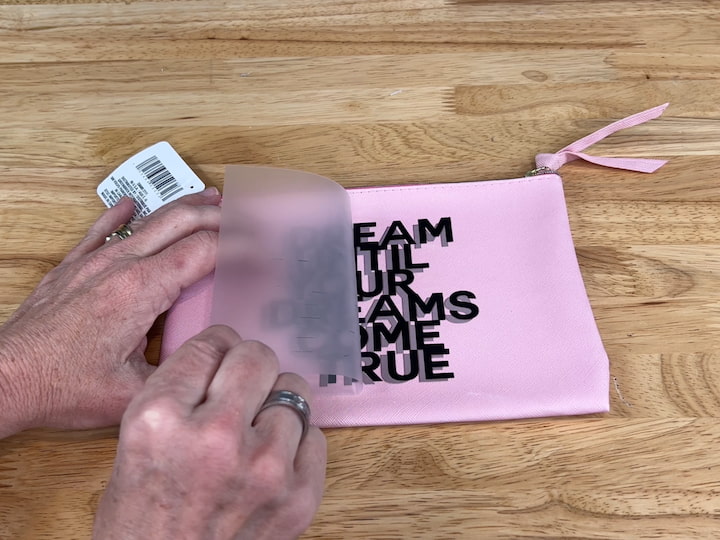
4. Peel off the traNSFER PAPER
Once I’ve gotten the whole thing done start to peel it up. If you notice something doesn’t transfer, stop, put it back down and scratch over that part. As I peel it off you see the front side has the original dream chaser and the back says dream until your dreams come true.
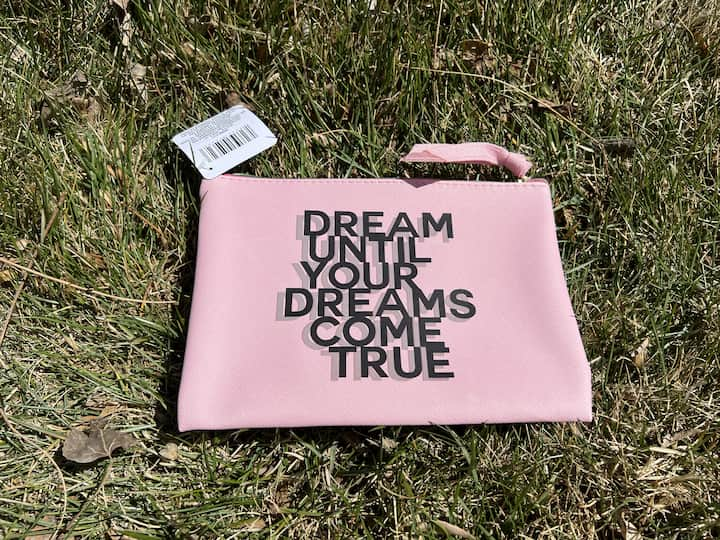
I have taken the back side that was plain and made it lovely. You could do this with a plain bag as well and these are so versatile, they make great gifts.
mORE RUB ON TRANSFER EXAMPLES
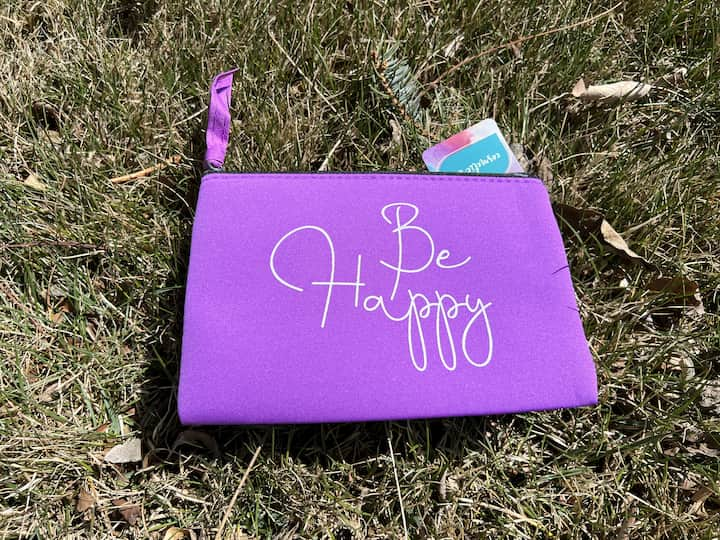
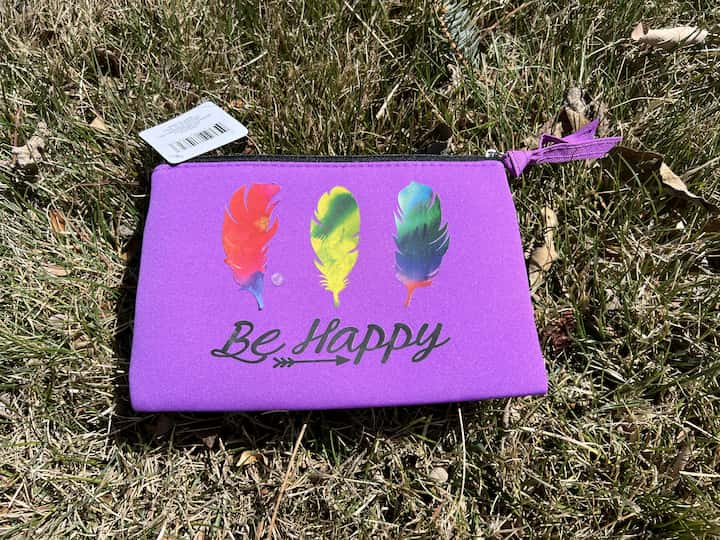
For this next project, I’ll be using a bag that can be used in your purse or travel bag. It is fabric and says be happy on one side but the back side is plain. I found a transfer sheet that says be happy.
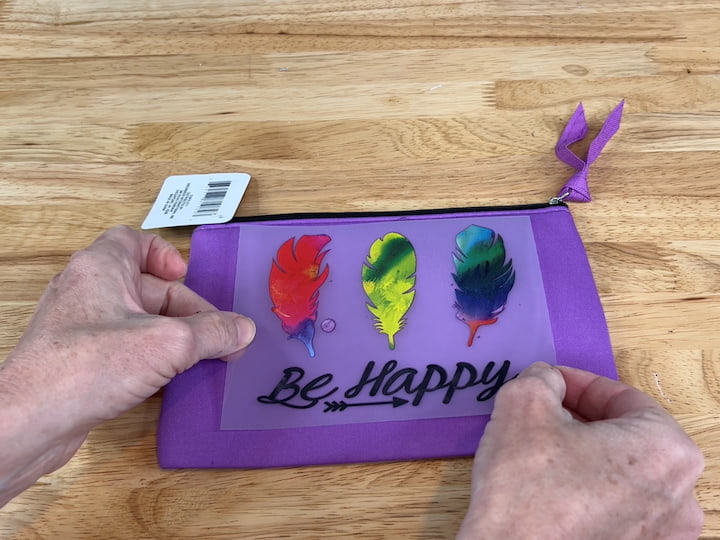
The first thing I do is remove the backing and place the transfer sticker centered on the back of the bag. Again, if you are worried about the transfer moving you can use painters tape to hold it in place while you do this
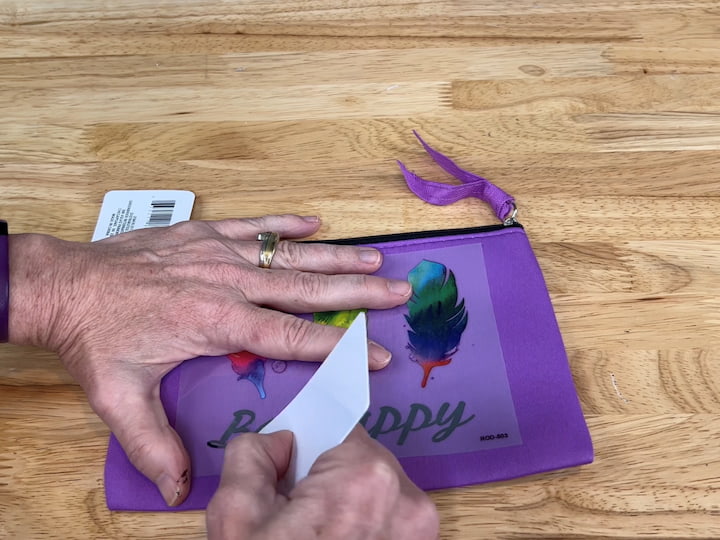
Next you’ll need a credit card or mod podge card. Just rub back and forth on the transfer and you will notice the color changes as the design transfers.
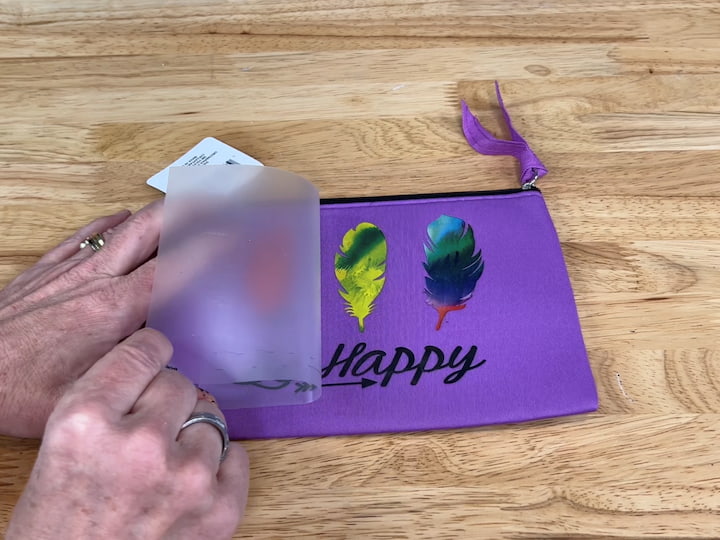
Once the entire design is transferred I’m going to peel it up. If some part of the transfer doesn’t come off easily stop, place it back down and scratch over it again.
So now I have be happy on the front and back. You could do this with any tote or bag and these make amazing gifts
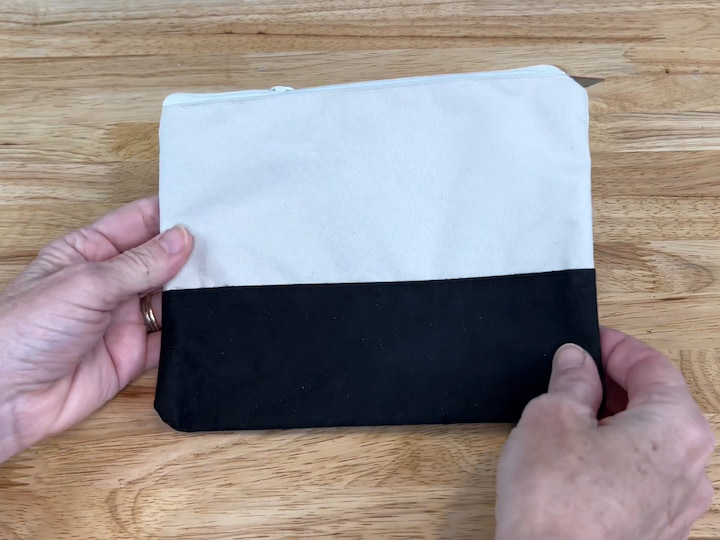
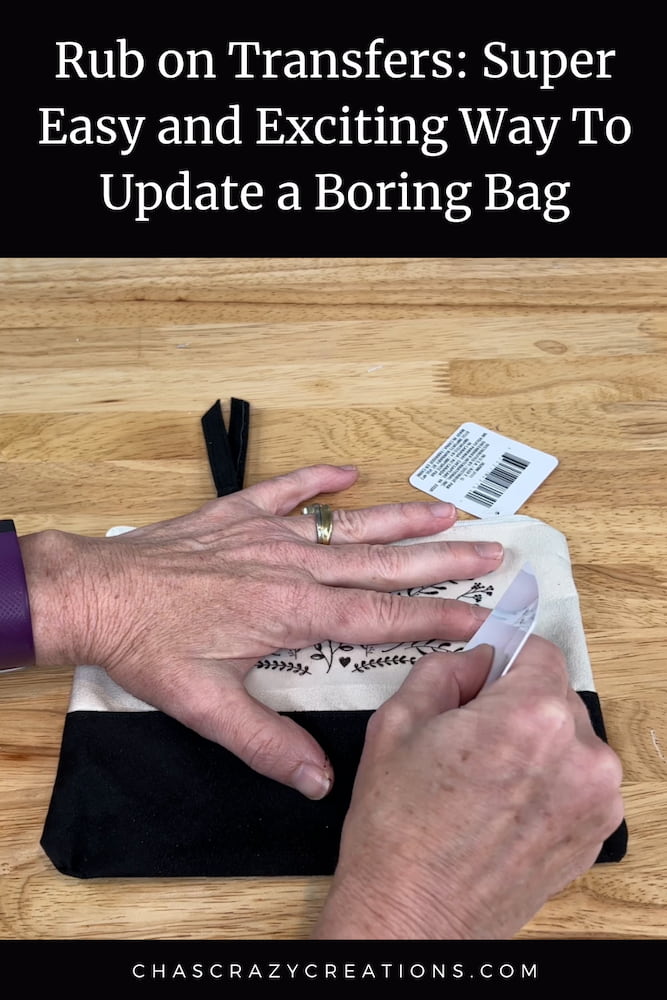
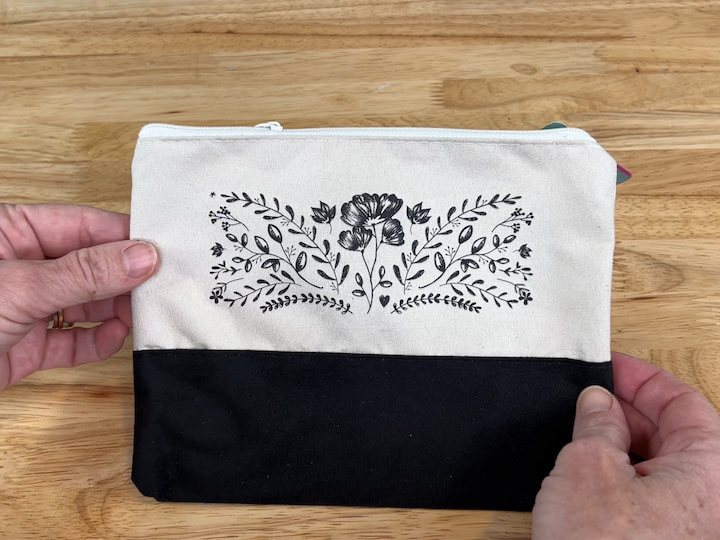
This is a really nice plain bag with no design on either side. It is a suede-feeling cloth material and I found this ribbon transfer. I don’t want to use this entire transfer, I want to use just parts of it, I’m going to start with this piece down here.
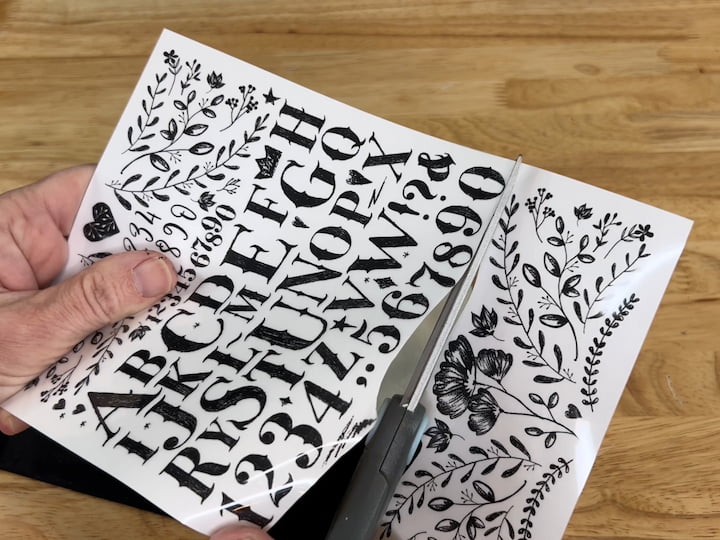
The first thing I want to do is cut out the small details I want and avoid the pieces I don’t want. I have this piece right here and I think it would look really nice up here.

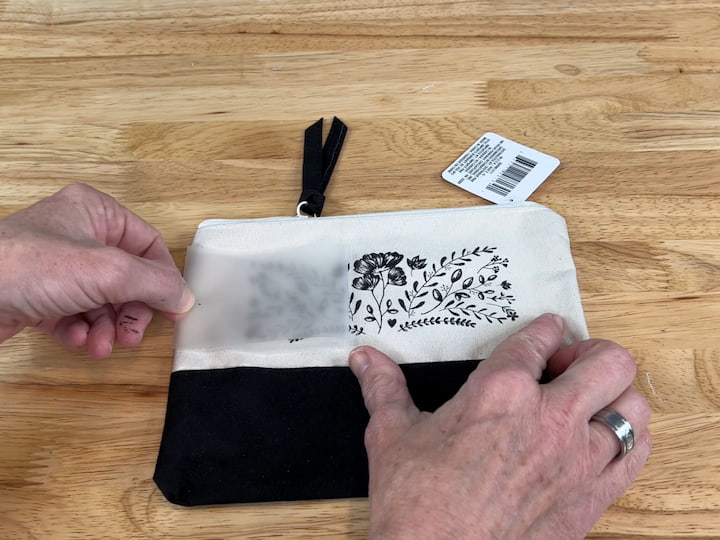
Once again I’m going to start by peeling the back off the transfer and then I’m going to place it where I think I want it. Next, I’m going to go ahead and press down, and again if you are not comfortable with the stickiness that’s on the back you can always use some painters tape or stencil tape to hold it in place temporarily
Now that I’ve got it in place I’m going to use my mod podge card or credit card to slowly go over the transfer. It’s important when they’re detailed like this to go over all the small details. Take breaks if you need to because sometimes your arm can get tired. Again, the color will change as the image is transferred.
Now that I think I’ve gotten the whole design transferred I’m going to carefully peel it up. If I find that I’m missing a spot I just simply lay it back down and scratch over that part again. As you see I have a nice design on this very plain bag. I could leave it with just one or I could put something on the back side as well
I hope this inspires you to update some bags of your own, I would love it if you’d subscribe to my youtube channel and my blog.
Rub on Transfers Video
Thanks for watching and I’ll see you in my next video, and don’t forget to like, share and subscribe.
Shop any of these stores and I receive a small commission at no cost to you.
") Meiyuuo Makeup Bag Large Co…Shop on Amazon
Meiyuuo Makeup Bag Large Co…Shop on Amazon Hanes womens Slub Jersey fa…Shop on Amazon
 IWOLLENCE Women's Waffle Kn…Shop on Amazon
 Qearal Womens Tshirts Long …Shop on Amazon
") Neineiwu Women's Summer Cas…Shop on Amazon
Neineiwu Women's Summer Cas…Shop on Amazon