
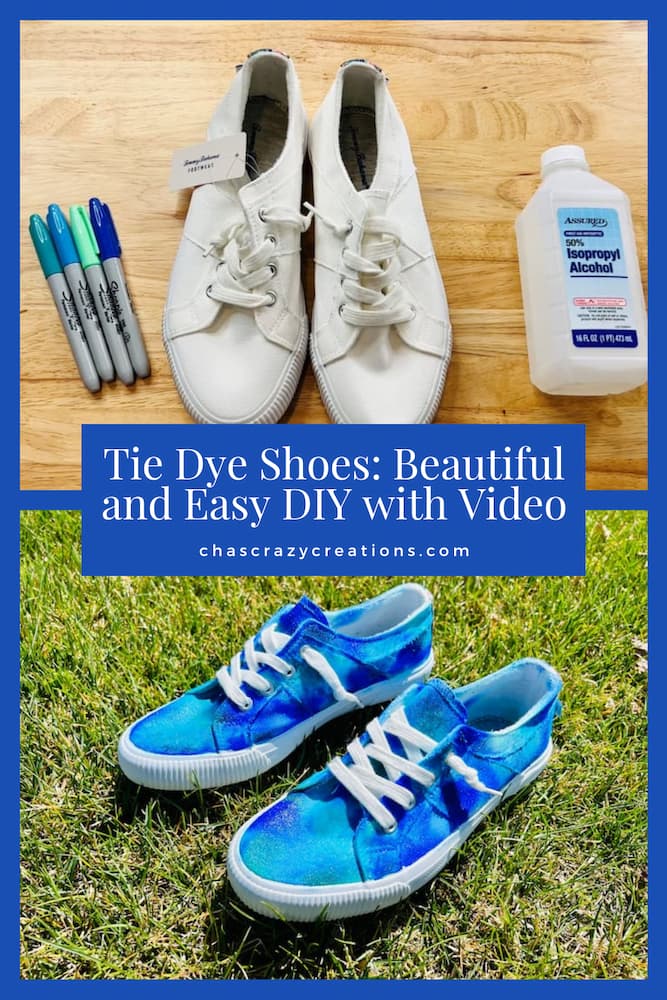
Tie Dye Shoes: Beautiful and Easy DIY with Video

Do you want to tie dye shoes? I have a super easy DIY that uses only Sharpies and rubbing alcohol to create this beautiful effect.
Have you ever wanted to create your own tie-dye sneakers? Well, now you can with just a few simple materials and a little creativity. In this tutorial, I will show you how to make your own custom tie-dye shoes using Sharpies. Just wait till you see what I did with some Sharpies and shoes!
Tie Dye Shoes Materials
- A pair of canvas shoes
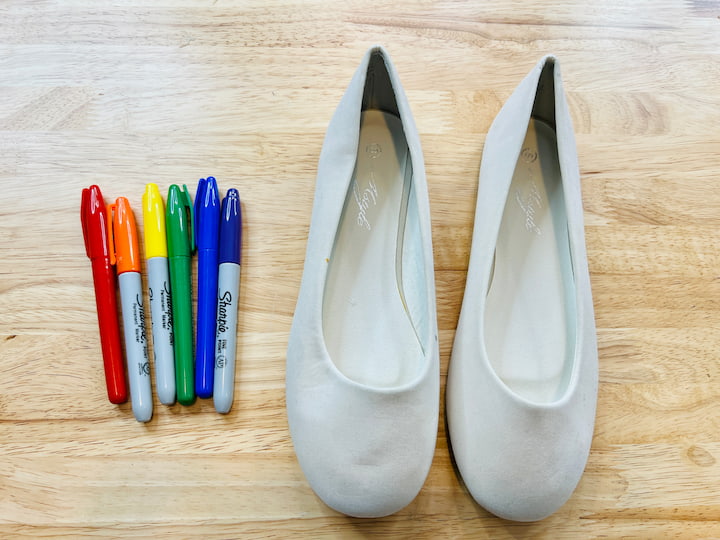
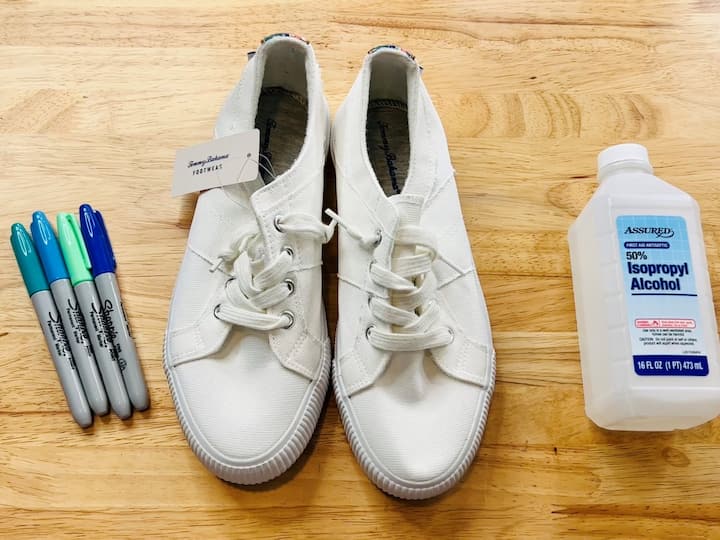
- Sharpies in a variety of colors
- Rubbing alcohol
- Squirt bottle
- Gloves
- Alcohol prep pads
- Fabric Mod Podge
Tie Dye Shoes Video
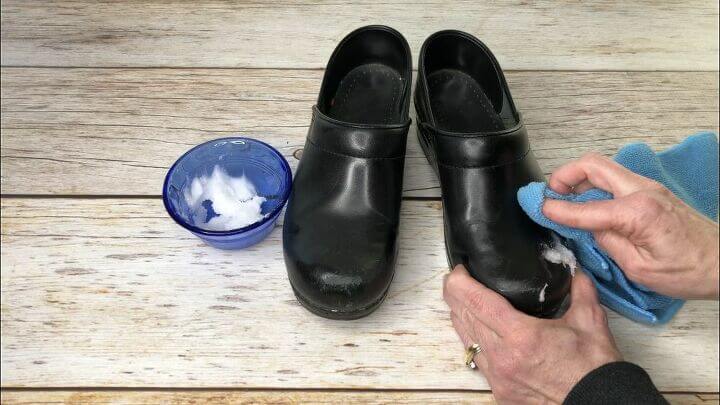
I’ll be sharing the journey of 2 pairs of shoes. The first set was a dress shoe that I found at the dollar store. This was my prototype shoe for my practice run. I mean, who can go wrong with practicing on a dollar pair of shoes? The second pair of shoes was a white canvas shoe. I was really excited about these canvas sneakers and it was interesting how the tie dyed effect changed in this craft.
Tie Dye Shoes Instructions
Step 1: Prep your shoes
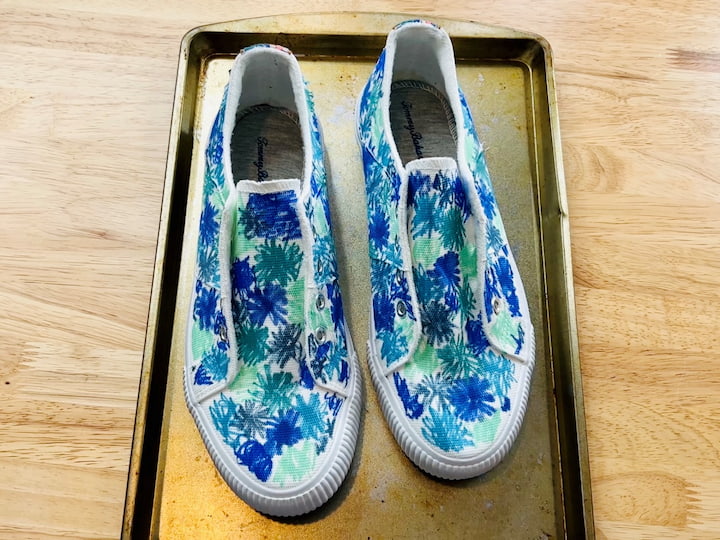
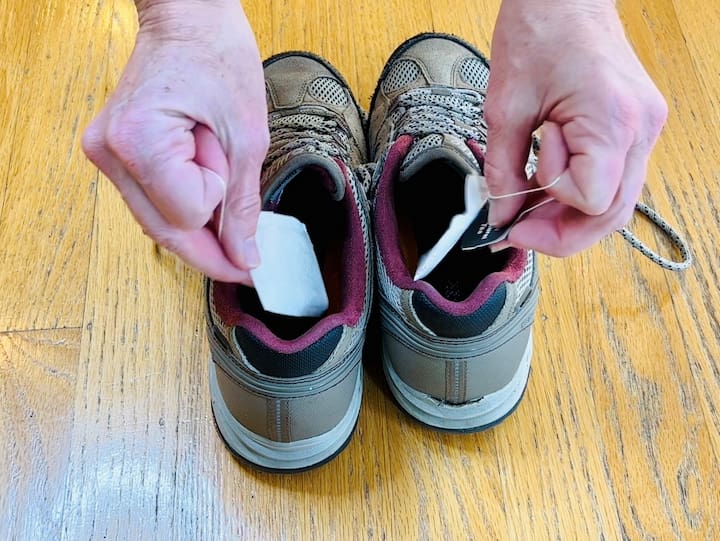
Remove the laces from your shoes to make them easier to work with. Then, place them on a baking sheet to protect your work surface.
Step 2: Color your shoes
Pick a variety of Sharpie colors and start coloring your shoes in circles or blotches. Make sure to cover the entire surface of the shoes with ink.
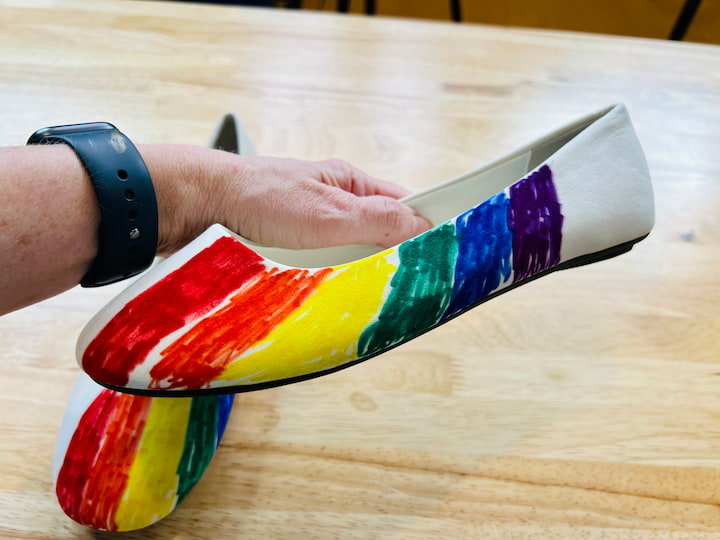
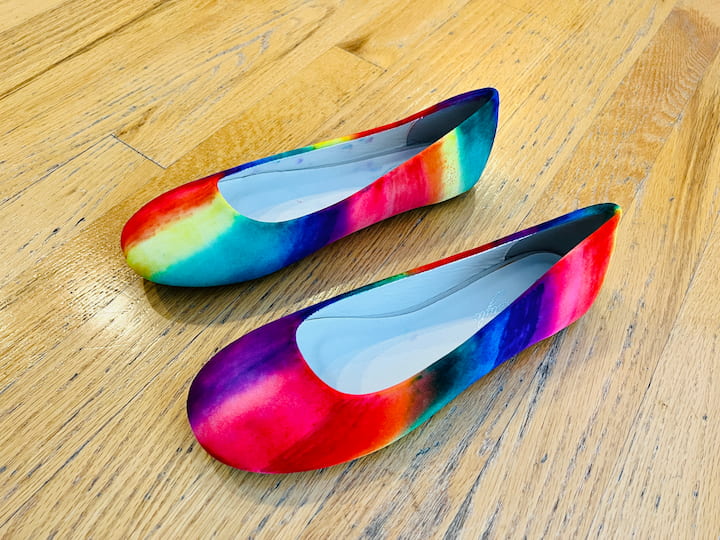
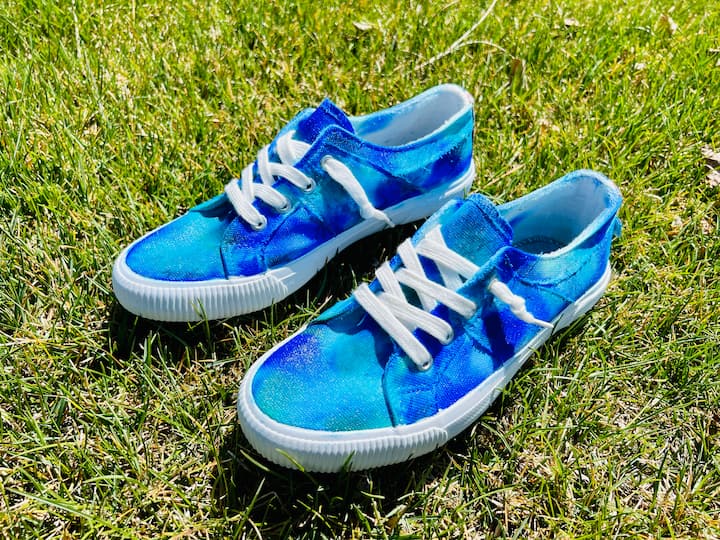
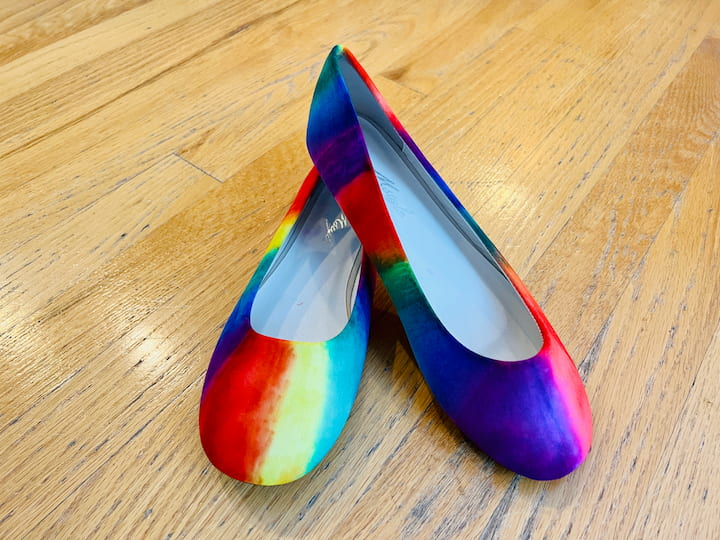
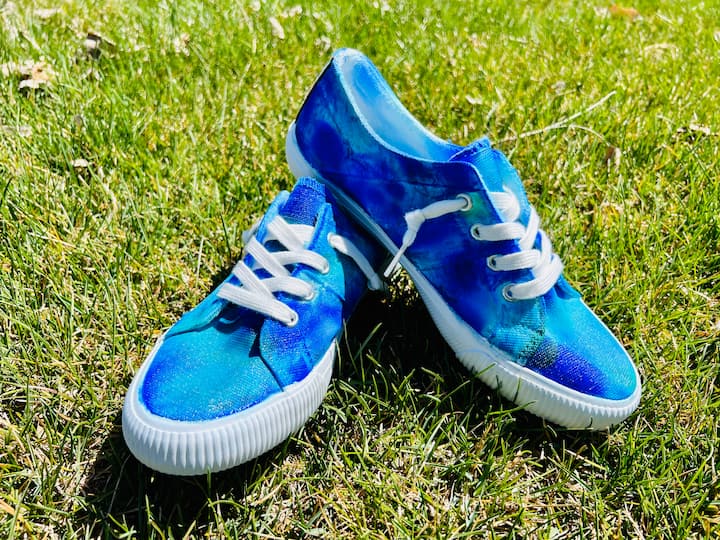
With one pair I used all of the colors of the rainbow – red, blue, purple, yellow, orange, etc. With the second pair I focused on a variety of shades of blues and greens. You can go with any colors you like from light colors, to bright colors, to dark colors, etc.
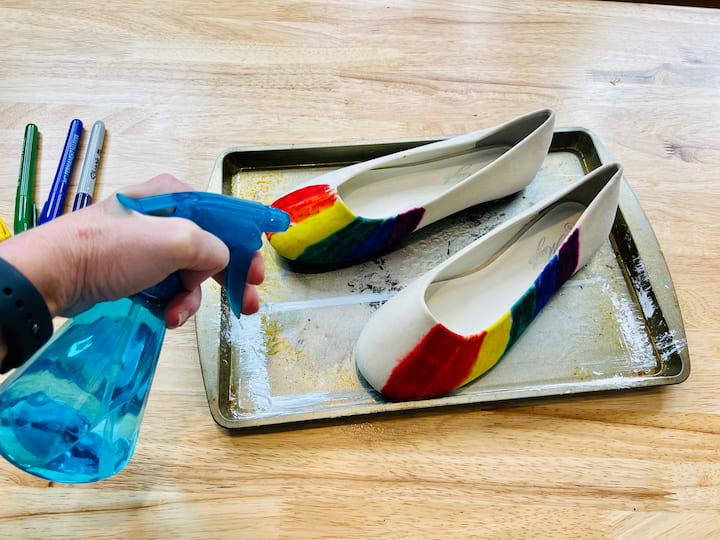
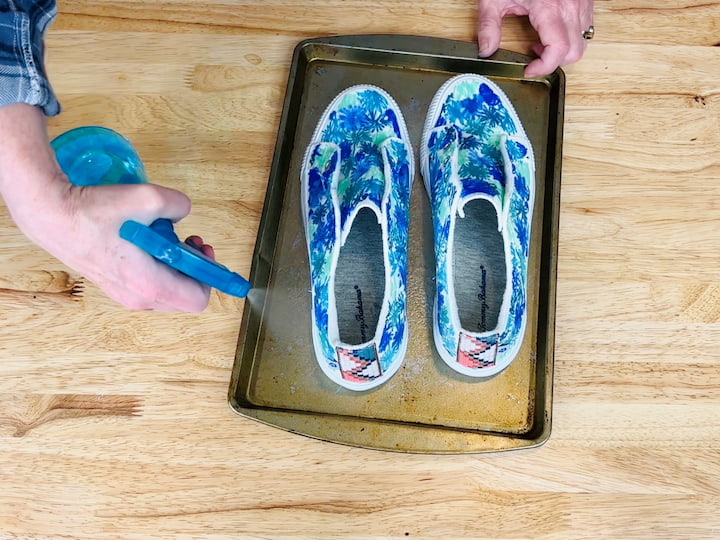
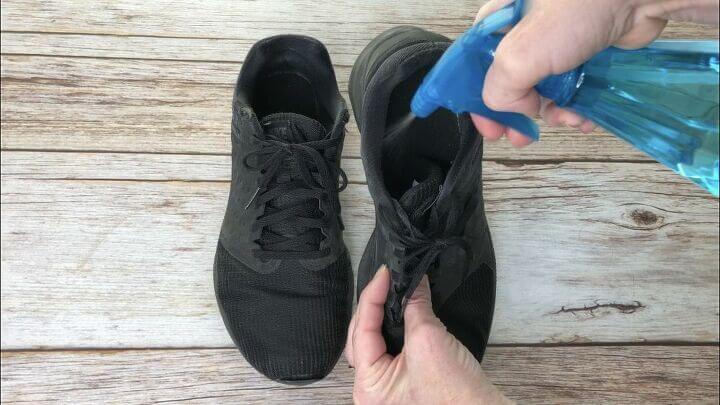
Step 3: Add rubbing alcohol
Fill a squirt or spray bottle with rubbing alcohol and start squirting it all over the shoes. The rubbing alcohol will help the colors blend together and create a tie-dye effect.
Step 4: Blend the colors
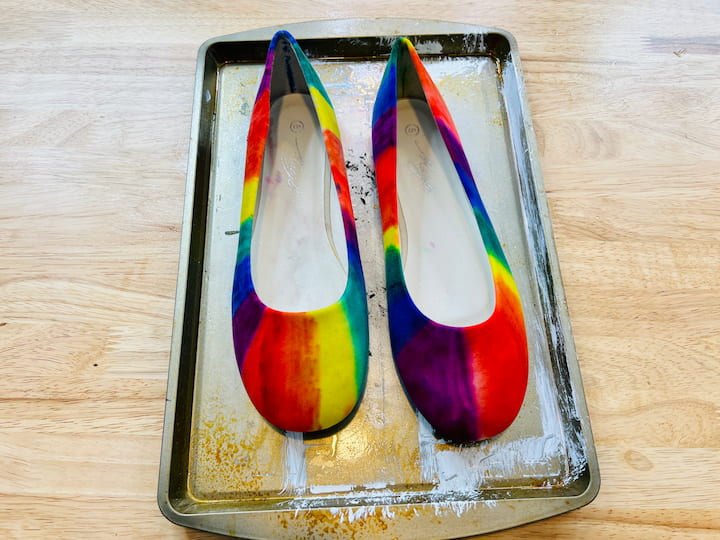
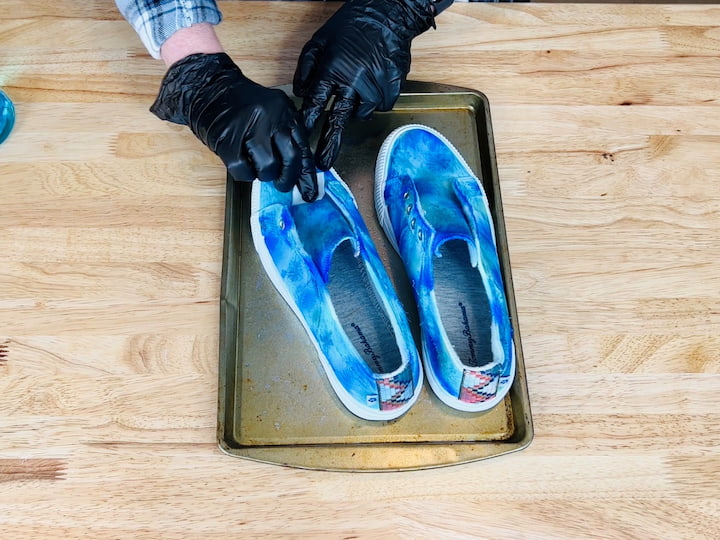
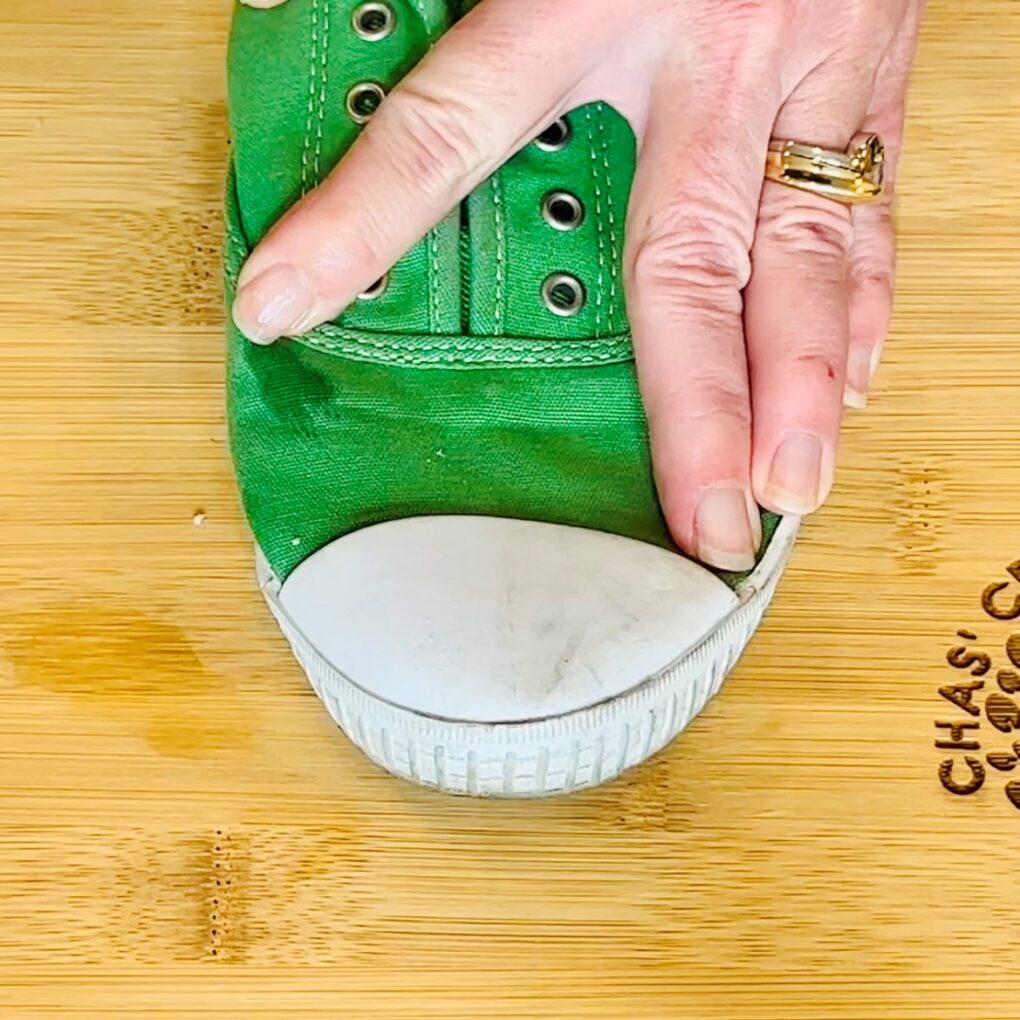
Now my rainbow shoes where made of polyester and the fabric, marker, and rubbing alcohol mixture blended easily and nicely. My canvas pair on the other hand didn’t so I needed to do some blending with the following technique.
Use alcohol prep pads and gloves to gently rub the ink in a circular motion. This will help blend the colors together and create a smoother look. Don’t be afraid to leave some white space if you like that look better. You could also use a foam brush or paintbrush that is damp with warm water or rubbing alcohol.
Step 5: Protect your shoes
Once you’re happy with the tie-dye effect, use fabric Mod Podge to seal the colors and protect your shoes. Give them a coat and let them dry completely.
After the dry time, you can easily place them in your washing machine for a light wash once and a while.
Step 6: Admire your work
Congratulations, you’ve just tie-dyed your shoes with Sharpies! Enjoy your new colorful kicks and show them off to your friends.
Tie Die Shoes Video
Shop any of these stores and I receive a small commission at no cost to you.
Shop on Amazon Blowfish Malibu Women's Pla…Shop on Amazon
 Tulip One Step Tie Dye Kit:…Shop on Amazon
 Tulip One-Step Tie-Dye Part…Shop on Amazon
Tie Die Shoes Q&A Section
How do you tie dye shoes?
Tie-dyeing shoes is a fun and creative way to transform an old pair of shoes or add some unique style to a new pair. Here are the steps to tie-dye shoes:
Materials:
- Shoes (white or light-colored)
- Tie-dye kit
- Plastic bags
- Rubber bands
- Paper towels
- Spray bottle
- Plastic wrap
- Soda ash mixture
- Bowl
- Warm water
- Paintbrush
- White paint
- Fabric Mod Podge
Instructions:
- Pre-wash the shoes in cold water to remove any dirt or residue.
- Mix the soda ash mixture according to the package instructions and soak the shoes in it for 20 minutes. Rinse the shoes with warm water and wring them out.
- Prepare the tie-dye kit according to the package instructions. Fill the spray bottle with the dye mixture.
- Stuff the shoes with paper towels to prevent the dye from bleeding through to the soles.
- Use rubber bands to create a tie-dye pattern on the shoes. You can create different patterns such as stripes, spirals, or crumpled designs.
- Spray the dye onto the shoes in your desired pattern. Use lighter colors for a subtle look or darker colors for a bold statement. Be sure to saturate the shoes with the dye.
- Cover the shoes with plastic wrap and let them sit for several hours, depending on the dye kit instructions. The longer you let them sit, the more vibrant the colors will be.
- Rinse the shoes with cold water until the water runs clear. Remove the rubber bands and squeeze out any excess water.
- Apply a mixture of white paint and Fabric Mod Podge to the soles of the shoes to protect them from the dye. Use a paintbrush to apply the mixture and let it dry completely.
- Wear socks and try on the shoes to ensure a comfortable fit. Enjoy your new tie-dye shoes!
Note: It’s important to follow the instructions on the tie-dye kit carefully, as different kits may have different instructions and dyeing techniques. Additionally, make sure to work in a well-ventilated area and wear gloves to protect your hands from the dye.
When it comes to tie-dyeing shoes, it is best to choose shoes made of natural fibers, such as cotton, canvas, or hemp, as they will absorb the dye better. White or light-colored shoes are also ideal for tie-dyeing because they provide a blank canvas for the colors to pop. Sneakers or canvas shoes are great options for tie-dyeing as they are versatile and can be dressed up or down. However, it is important to note that the texture of the fabric can also affect the final result, so it’s always a good idea to do a small test before starting the full project.
It is recommended to tie-dye shoes while they are damp, not completely wet or completely dry. This will allow the dye to better penetrate the fibers of the shoe and result in more vibrant and even colors. To dampen the shoes, you can lightly mist them with water using a spray bottle or soak them in a basin of warm water for a few minutes before tie-dyeing.
Yes, you can definitely tie-dye shoes. The process is similar to tie-dyeing any other fabric. It’s a fun and creative way to customize your shoes and give them a unique look. Just make sure to choose shoes made of a natural fabric like canvas, and be prepared for some experimentation to get the desired effect.
There are several types of dyes that can be used to dye shoes. The most common types of dyes used for tie-dyeing shoes are fabric dyes such as Rit dye, Tulip dye, and Jacquard dye. These dyes are specially formulated for fabric and can be used to dye a variety of materials including cotton, canvas, and other natural fibers.
It’s important to read the instructions on the dye package carefully to ensure that the dye is suitable for the material your shoes are made of. Additionally, some dyes require the use of a fixative or mordant to ensure that the color stays vibrant and doesn’t fade over time. So make sure to read the instructions carefully and follow the recommended steps for best results.
The length of time you let tie-dye shoes sit can vary depending on the dye and technique you are using. In general, most tie-dye instructions recommend letting the dye sit on the fabric for 6 to 8 hours. However, some dyes may require longer or shorter periods of time. It’s best to follow the specific instructions on the dye package or the tutorial you are following to get the best results. After the dye has set for the recommended time, the shoes should be rinsed thoroughly and then washed to remove any excess dye.
Tie Dye Shoe Tips:
- If you want to dye your shoelaces, you could consider that so they blend in with your white shoes after they are tie dyed.
- I didn’t cover my soles, but you could if you want to. I found that the sharpie came off when I wiped the sole with a rubbing alcohol prep pad right away.
- Because these shoes are dyed with sharpies, if your shoes get wet it could dye your socks, so keep that in mind.
- If you are using a tie-dye kit, be sure to follow the instructions for mixing the soda ash mixture and dye.
- For best results, use white shoes and lighter colors.
- You can use plastic bags or plastic wrap to wrap your shoes after applying the alcohol to keep the colors from blending too much.
- When rinsing your shoes, use cold water to prevent the colors from fading.
- Use paper towels to stuff your shoes and keep the colors from bleeding onto the soles.
- Kids can also participate in this fun DIY project with adult supervision.

- 4 Creative and Fun Ways To Decorate Shoes
- 20 Easy and Unexpected Ways To Use A Hanging Shoe Organizer
- Awesome Dryer Sheet Hacks You Need To Know
- 15 Ways To Use Rubbing Alcohol
- Easy DIY Magic Eraser Hacks To Use Now with Video
- 12 Awesome and Easy Coconut Oil Cleaning Hacks
Are you ready to make your own sharpe tie dye shoes? Tie-dyeing your shoes with Sharpies and rubbing alcohol is a fun and easy way to add a pop of color to your wardrobe. With a little experimentation, you can create a variety of tie-dye effects and make each pair of shoes unique. So, what are you waiting for? Grab some Sharpies and start tie-dyeing your shoes today! And don’t forget to subscribe to my YouTube channel and blog for more DIY inspiration.


Does it have to be “sharpie”? Or can it be any permanent marker?
I have only tried it with Sharpies so far, but I believe you might be able to do it with any marker… I recommend testing it first on a piece of fabric similar to your shoes.