DIY Tiered Tray: Craft or Crap Challenge
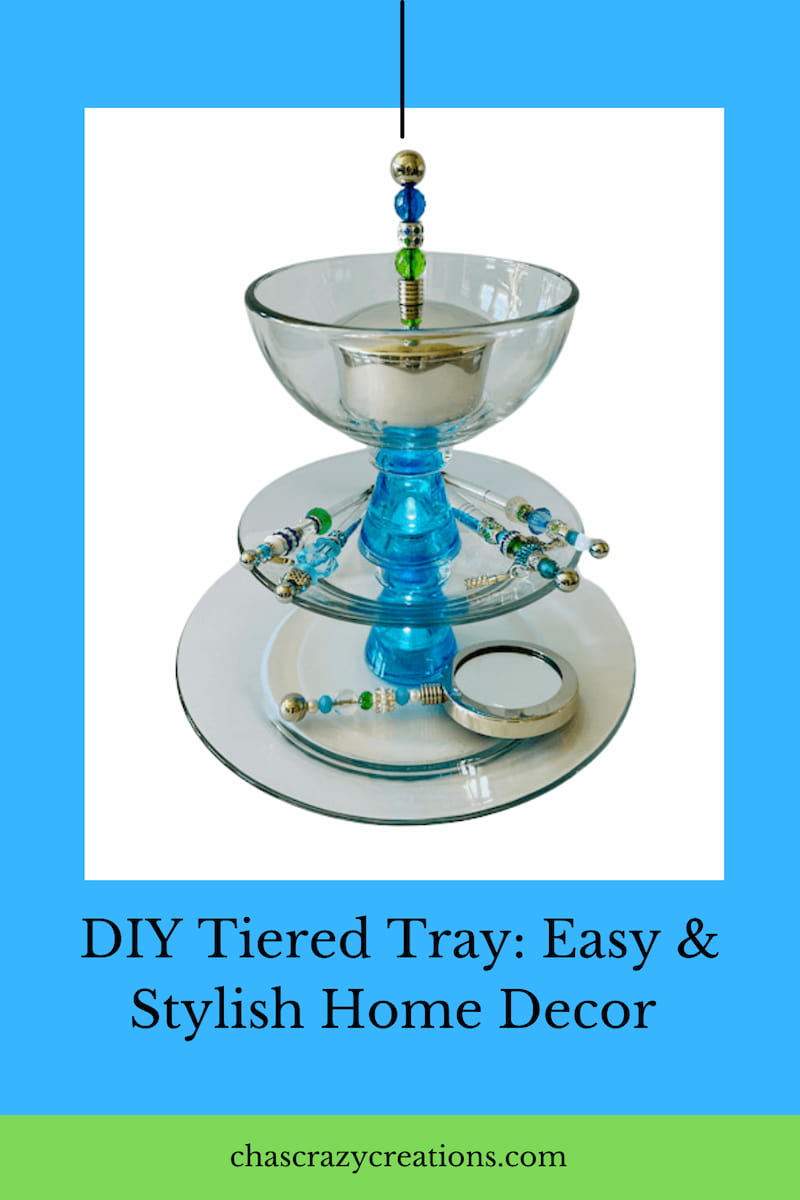
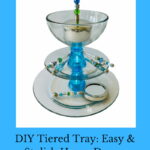
Learn how to make a beautiful DIY tiered tray in just a few simple steps! Perfect for organizing and decorating your home. Get creative with this fun and easy project that will add a touch of elegance to any room. Watch now and start crafting!
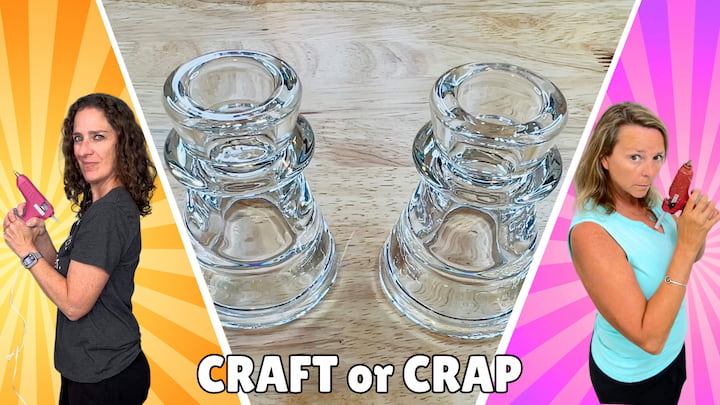
Here is another craft challenge. I’m teaming up with Mona from Craft Klatch. We are doing our craft challenge called “Craft or Crap.” You decide! Be sure to read to the end because there’s a giveaway.

This post is in collaboration with Karen Thomas Designs. All thoughts and opinions are my own. A big thanks to Karen Thomas Designs for the DIY Add A Bead Products. Plus stick around to the end for an amazing Giveaway by Karen Thomas Design.
Here are the basic rules and instructions for our DIY projects:
- It has to light up.
- It has to include something repurposed.
DIY Tiered Tray Video
DIY Tiered Tray Instructions
See how I made my craft challenge with items I mainly already had. Here are a few craft supplies you may own or need to purchase.
Here is a Materials List:
- Repurposed items (from home, flea market or thrift store)
- LED lights
- Battery operated tealights
- superglue: Fix-All or E6000
- disposable cups: mini and standard size
- food coloring
- glue
- Mod Podge
- painter’s tape
- gloves
- wooden craft stick
Prepare Your Repurposed Item
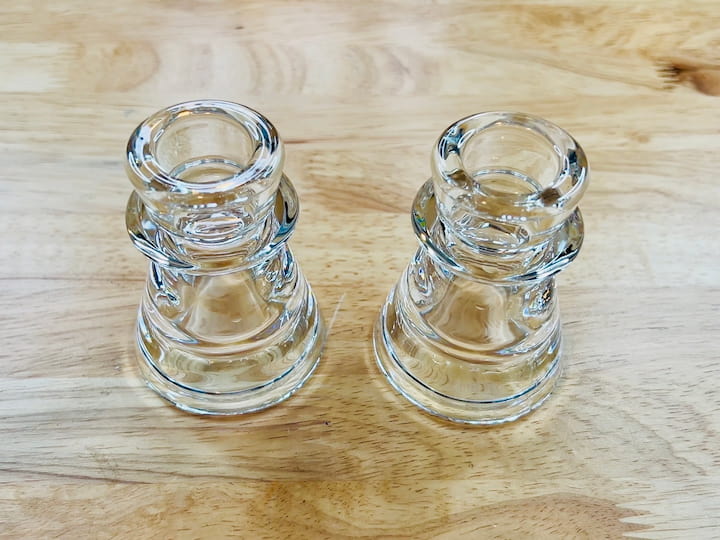
I’m starting with these candle holders that I’ll be repurposing.
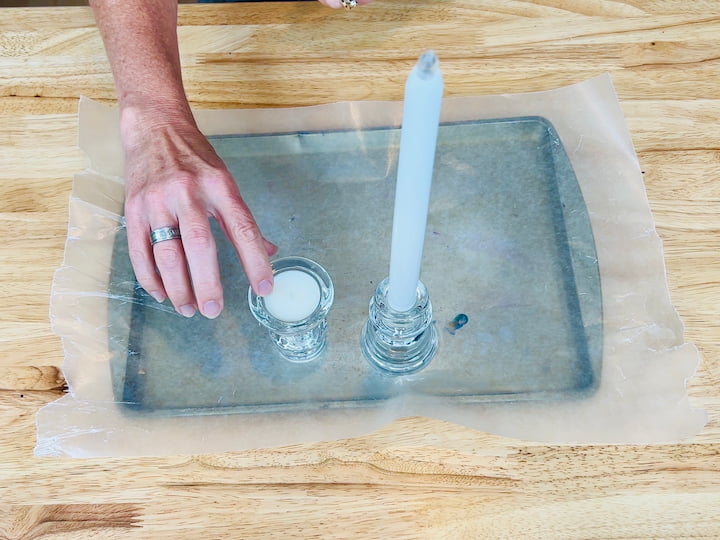
I’m going to use an old baking sheet to protect my surface and add a piece of wax paper to the top of it. Then I’m placing my candle holders on top.
I have to show you something kind of cool about these candle holders. They hold taper candles. We would obviously know that part. What you maybe didn’t know about these is when you flip them upside down, the other side holds a tealight. (That’s not why I’m using the candle holders.)
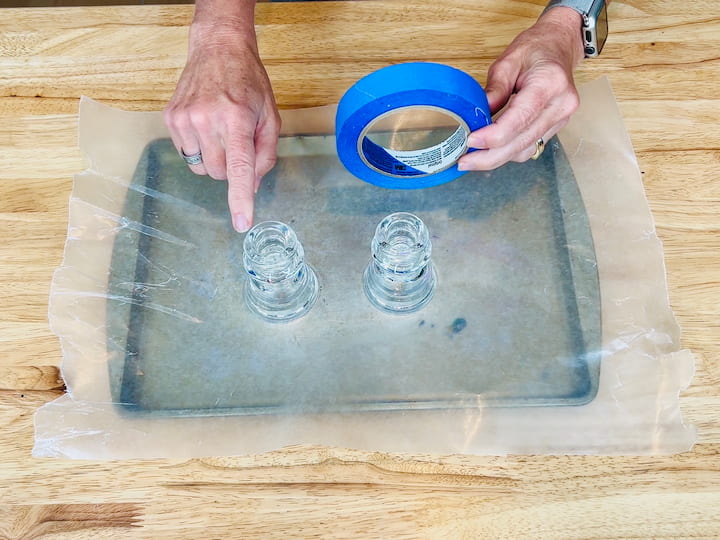
You could decorate the inside of your candle holder or the outside. If you went on the outside, you’d want to use some painter’s tape on the outside edges.
Prepare Glue
For this next step, you could use Elmer’s glue or clear school glue. Elmer’s glue will give you a translucent effect. Clear glue will give you a transparent effect.
I’m going to grab a little dish and place it on my tray. I’ll be using Mod Podge for my project. I’m going to pour the Mod Podge in the dish. The amount depends upon the size of the project you’re working on.
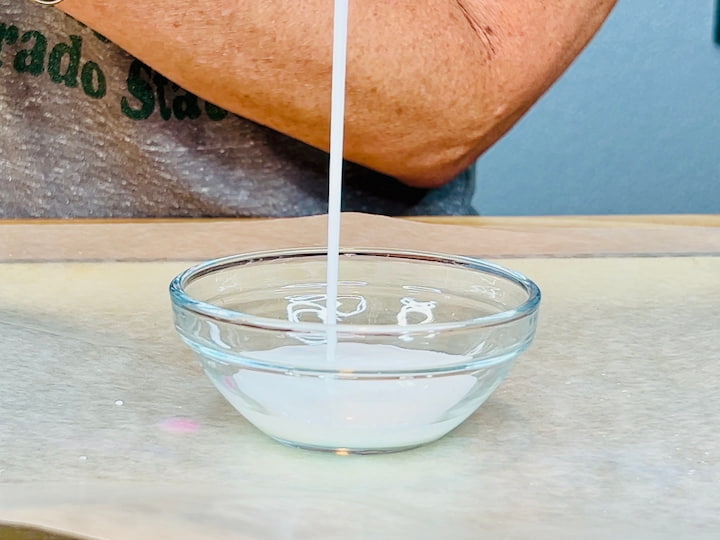
I’m going to use some gloves to protect my hands for this next step.
You’re going to be using food coloring. I get mine from the dollar store. You can use any color that you want, or mix and match to make the perfect color for you. I’m going to be using blue for mine. I just dropped several drops into the glue.
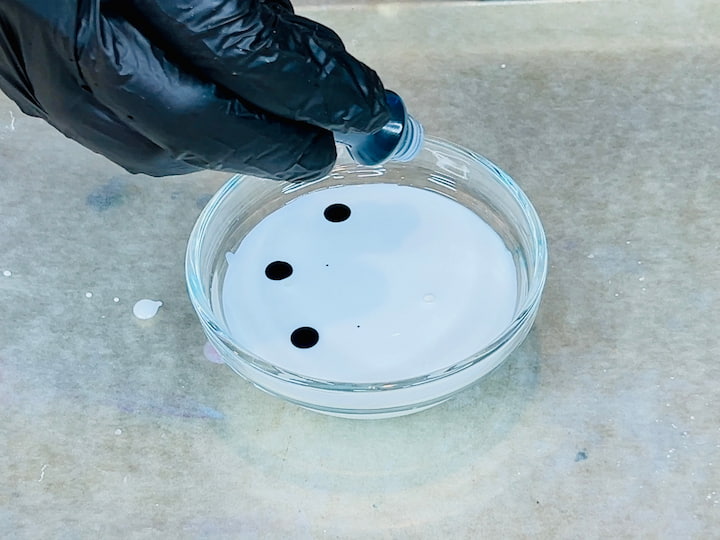
Now, the more drops you have, the more colorful it is; the less drops, the lighter. Now I’ll take a craft stick and mix it all together. I want to mix it together until it is smooth and consistent.
This is another reason why I’m wearing gloves. The food coloring would dye your hands. It would wash off eventually, but you would have some stained hands for a while.
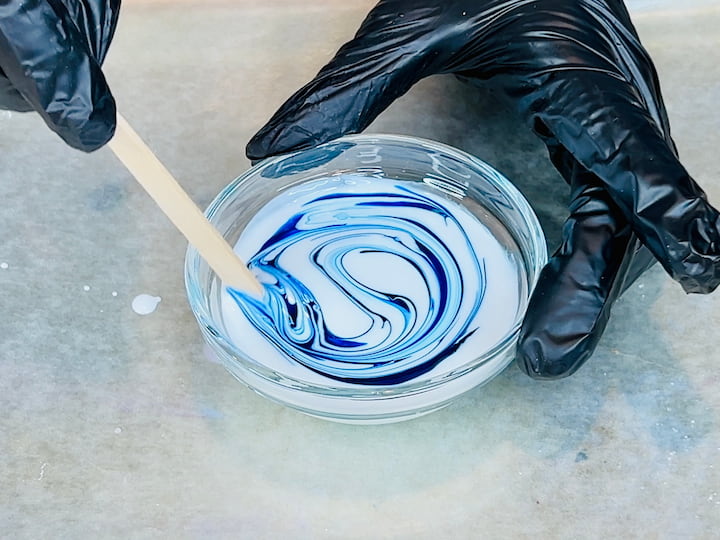
Add Coloring to Candle Holder
Now that the Mod Podge and food coloring are mixed together, I’m going to tip the candle holder upside down and pour the glue inside the candle holder. I want to make sure that it coats the entire inside of the candle holder.
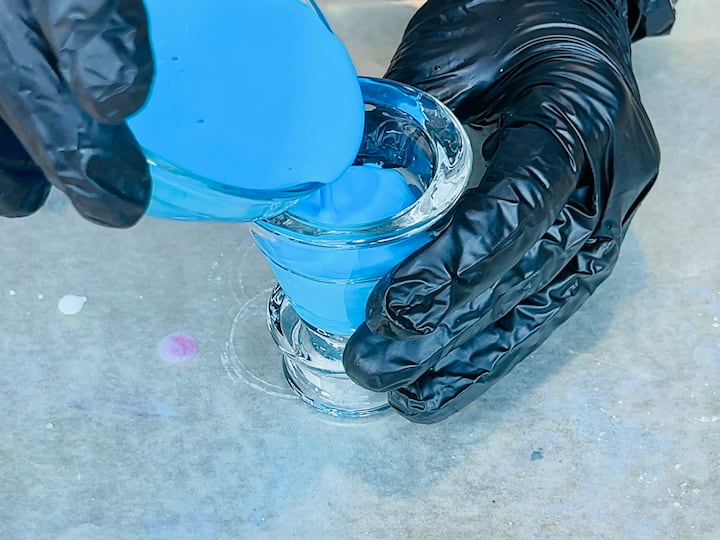
Now I’m going to take the candle holder and I’m going to rotate it around again to make sure that it coats all of the interior edges of the candle holder. I’m going to dump it back into the original dish.
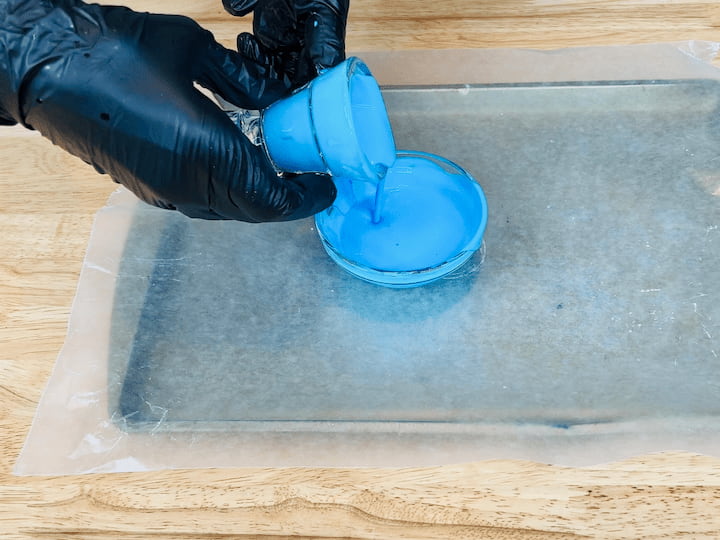
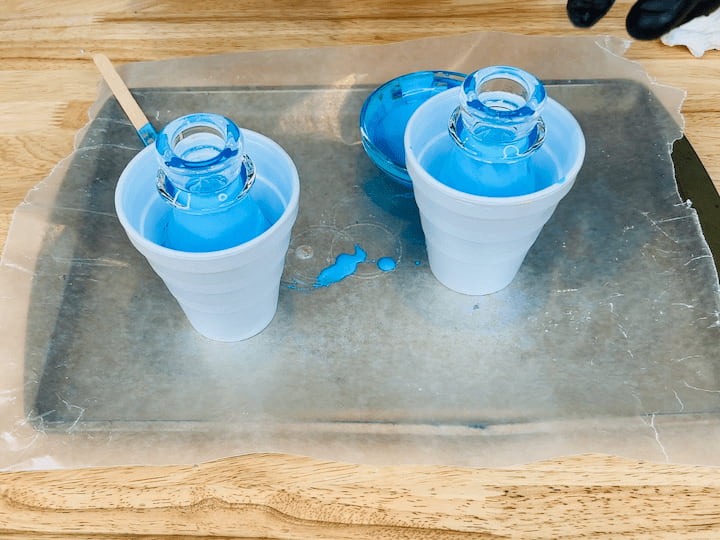
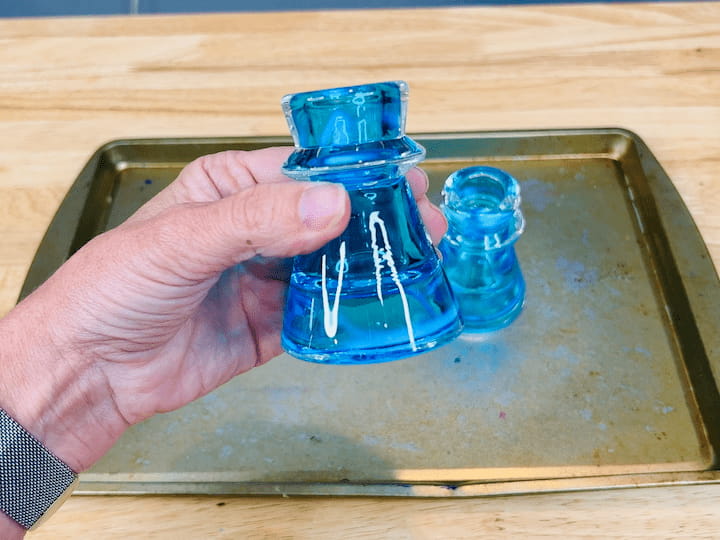
The majority of the Mod Podge mixture is out of the glass. I’m going to tip it upside down in a cup so that it can continue to run out but not make a mess everywhere. I’m going to repeat that process to the other candle holder.
Dump it in, swirl it around, make sure that it coats everything, dump the excess out, and then place it upside down in a styrofoam cup.
Let Candle Holders Dry
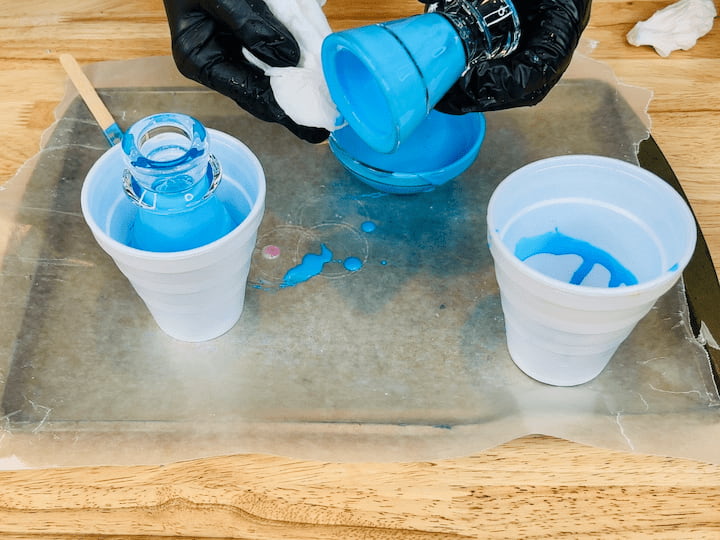
I let these set for about 10 minutes. I came back with a damp paper towel and just wiped the outside edges off. I wanted to remove the colored Mod Podge from the glass on the outside. Then I placed them back inside the cups and continued to let them drip and air dry.
Soon I’m going to need more Mod Podge to do the tops. I placed this Mod Podge in a baggie so that I could keep it to do the tops later. Be sure to save the Mod Podge mixture.
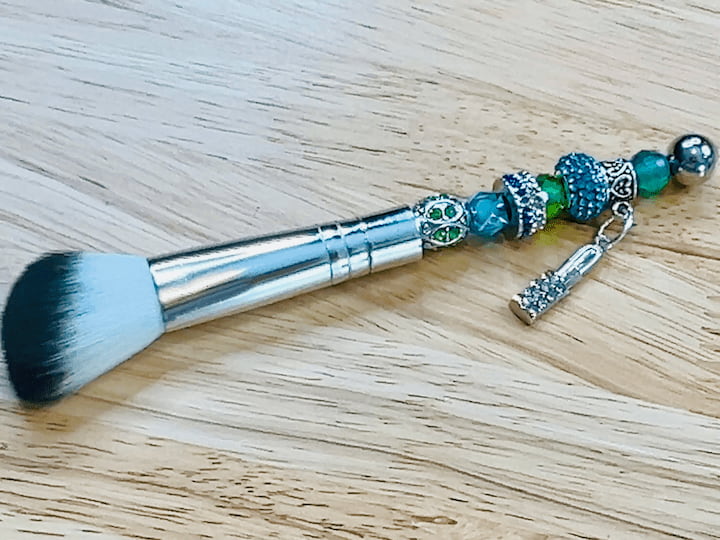
While that was drying, I grabbed some of my Karen Thomas designs DIY add-a-bead products and started putting them together. This is the makeup brush. I started adding the beads to the handle. There are lovely beads to choose from—lampwork beads, crystal, acrylic, metal, rubber, and natural stone.
Add Coloring to The Other Side of the Candle Holder
These aren’t necessarily dry yet, but they’re not dripping anymore. I’m going to grab my Mod Podge that I put in my plastic wrap, and we’re going to use it to do the other side.
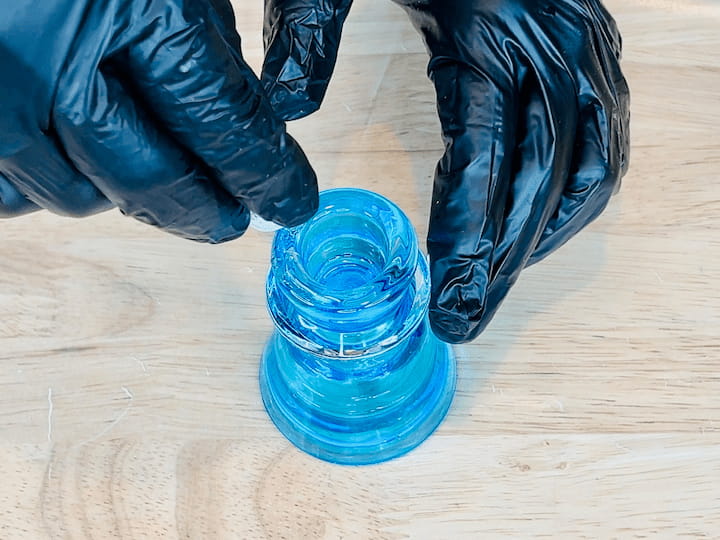
Just like before, I’m going to scoop some of the Mod Podge into the top. I’m going to fill it all the way up. I’m going to do that to both of the candle holders. You can see below I filled this all the way up. It won’t be hard to make sure that all the edges are covered.
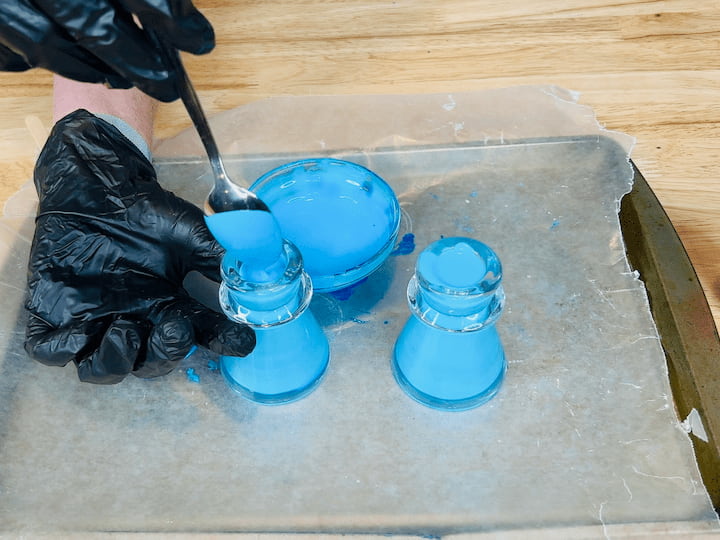
I’m just going to simply dump the excess out. Give it a little swirl just to make sure that all of the edges are covered.
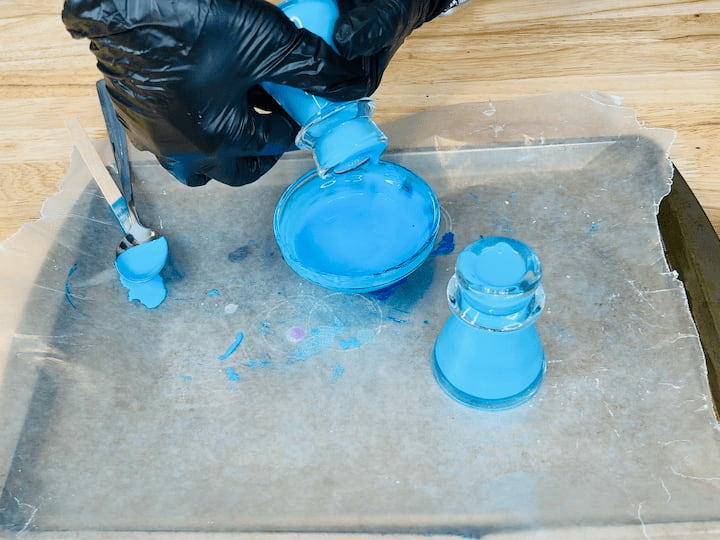
Let Other Side Dry
I have these little mini cups that are perfect for the drainage. I set the candle holder upside down to drain in the little cup. And just like before, after about 10 minutes, I flipped them over.
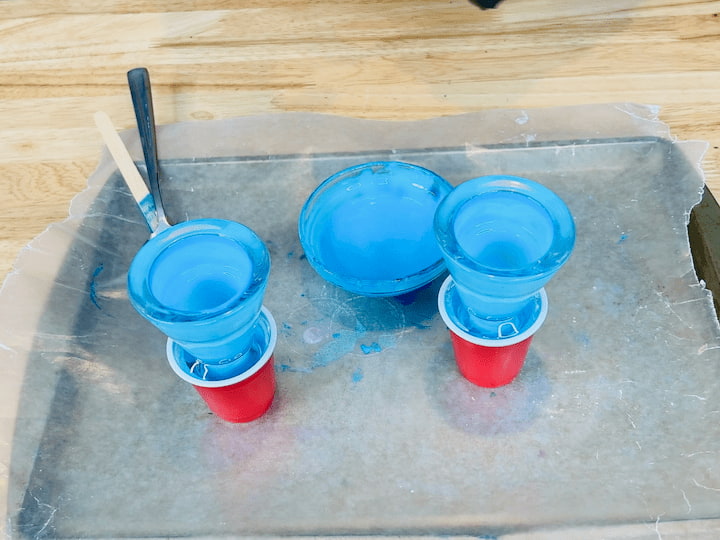
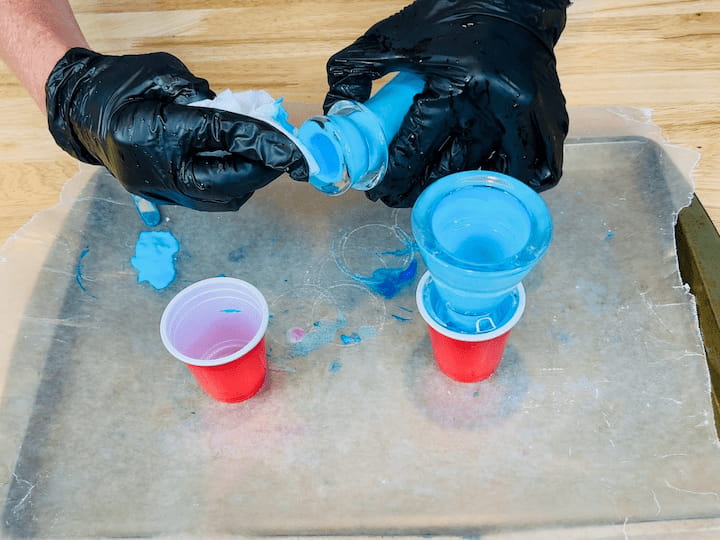
I just wiped off some of the excess so that it is free of all of the Mod Podge around the exterior edge.
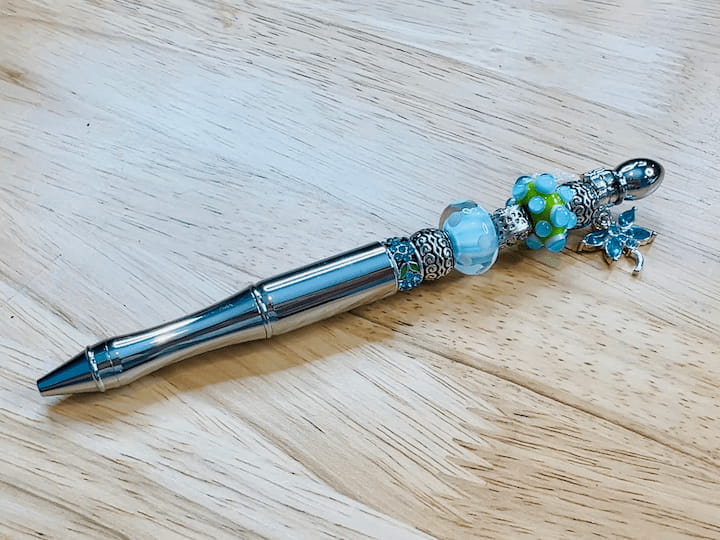
While that was drying, I grabbed some more of my Karen Thomas designs DIY add-a-bead products and got to work. This one is a pen. It’s so high quality. I added a little dragonfly charm. It’s so much fun!
Here they are pretty much dry. See how now they are pretty much transparent. The little bit of cloudy you see is what still has left to dry.
Assemble Tiers and Glue
This next step, you’re going to need an adhesive of your choice. I like using E6000 or Fix-All Superglue.
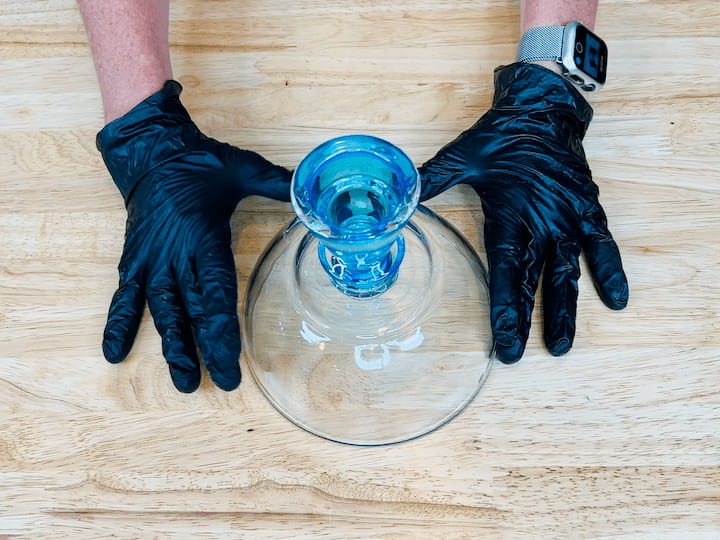
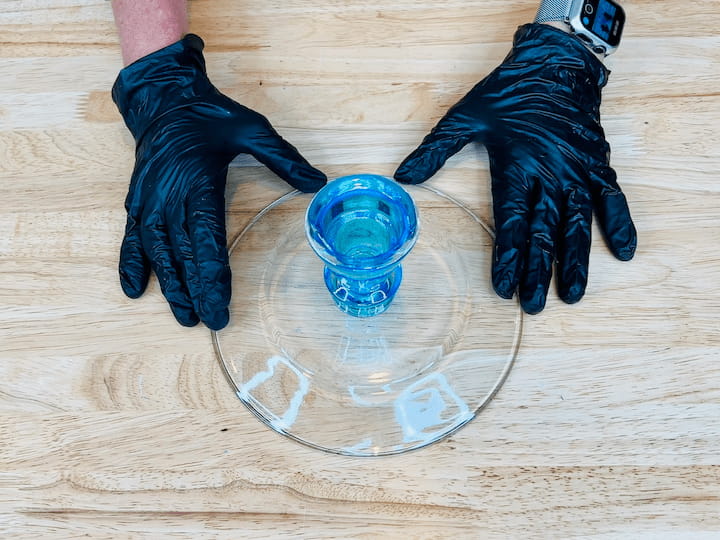
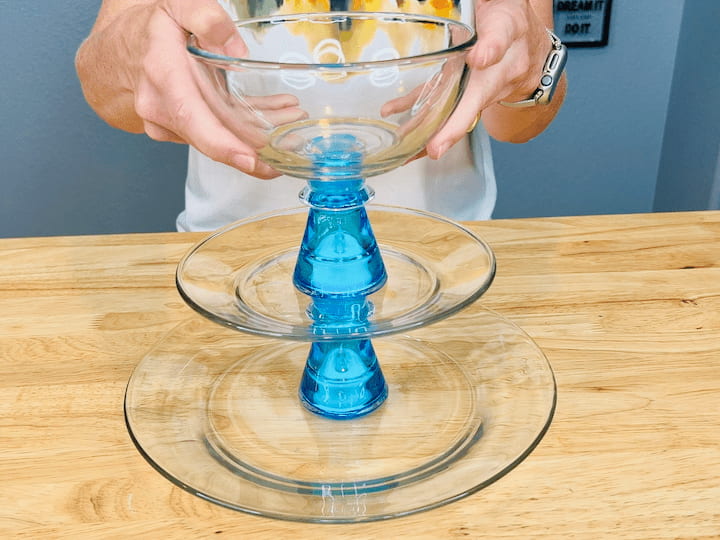
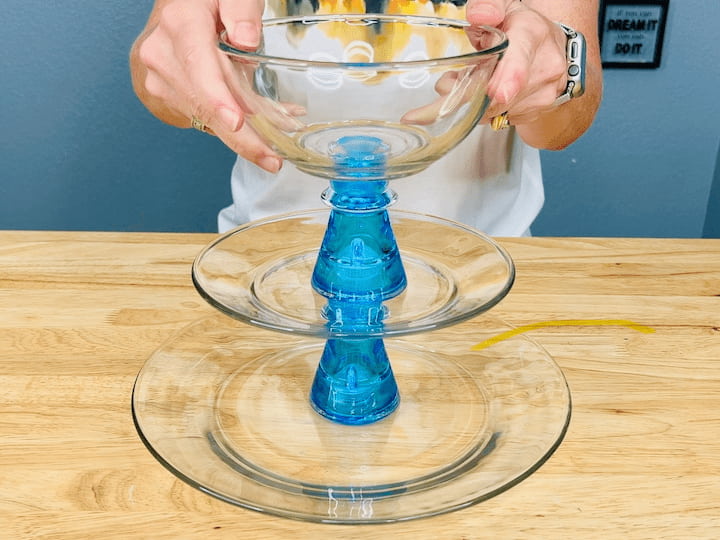
I’m going to repurpose this bowl in next image for the top tray. I’m going to start by turning it upside down. I’ll be using Fix-All, and I’ll place a layer of Fix-All around the top of the candle holder.
I place the candle holder upside down onto the bowl. I’m going to let that set for 24 hours.
I have a smaller clear glass plate for a middle tier. I’m going to flip that upside down as well. I added Fix-All super glue from Dollar Tree to the top of this one just like before. Then I placed the glued side down on the bottom of the plate. Make sure the candle holders are centered in the middle of your plates. I’m going to let this one dry for 24 hours as well.
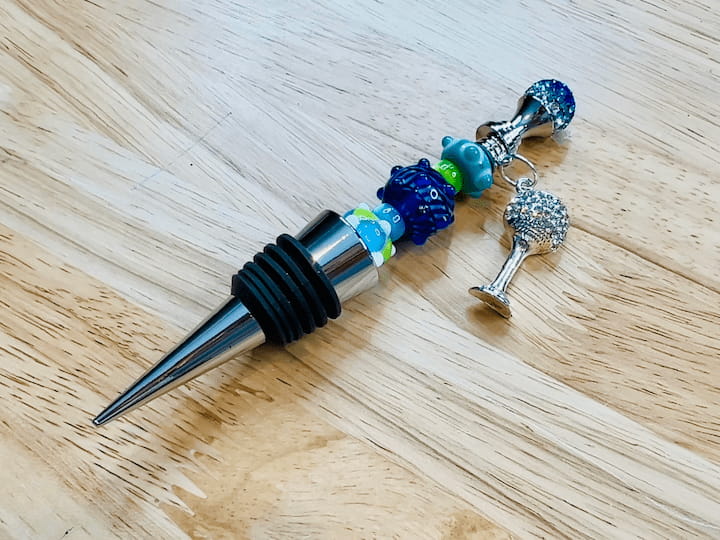
While these were drying, I went back to my Karen Thomas design add-a-bead products and started building. This time, I made a wine stopper. I added the beads to it. You can see some of the beautiful lampwork beads as well as the metal beads. I added a fun charm. I found these fun crystal caps, so I swapped out the regular cap and put one of those on.
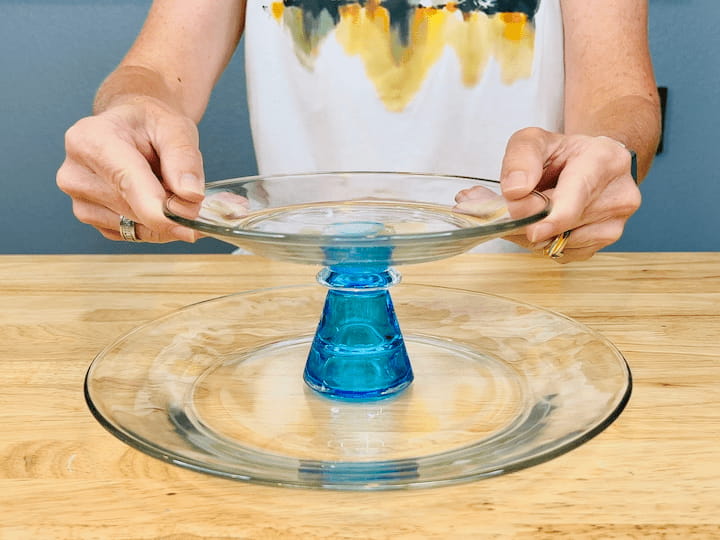
Once it’s been 24 hours, so I’m going to place a large glass plate on my tabletop for the bottom tier. Below is the solid piece with a bottom glass plate. You could glue the bottom of this if you want to make this permanent. For now, I’m not going to. I’m going to place this plate on top of the largest plate.
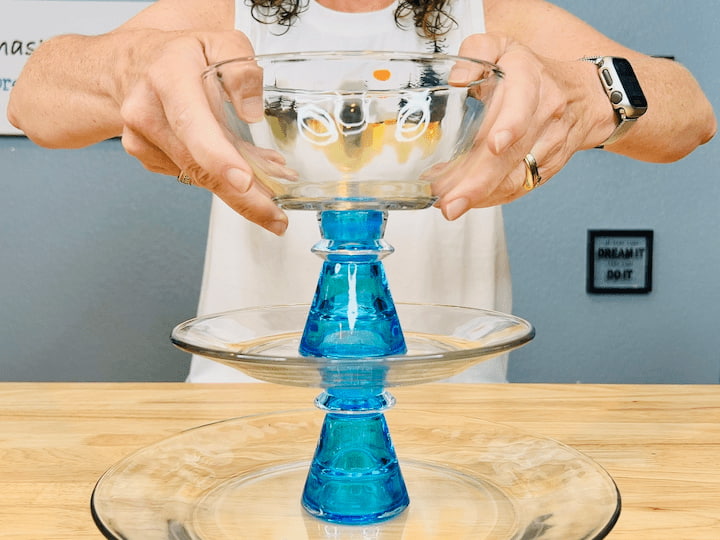
Next, I’m going to grab the bowl with the candle holder on the bottom for the top tier. I’m going to place that on top of the other plate.
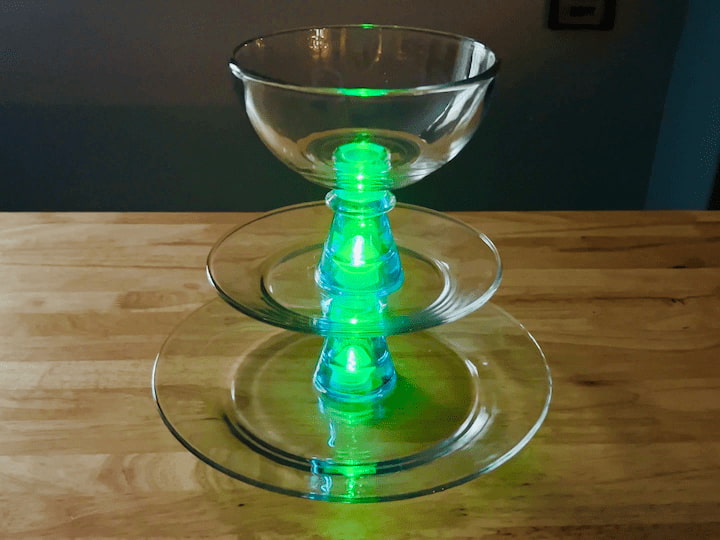
There are a lot of options to light these up. You can use a battery-operated tealight, you can use an LED light that is white, or you can use a color-changing LED. Some of these even come with remotes.
I’m going to show you each of these. Which light would you choose? Let me know in the comments below.
Add lights
Let’s put these together with the lights. Add the tealight to the bottom and then to the center piece. It creates this warm, flickering glow.
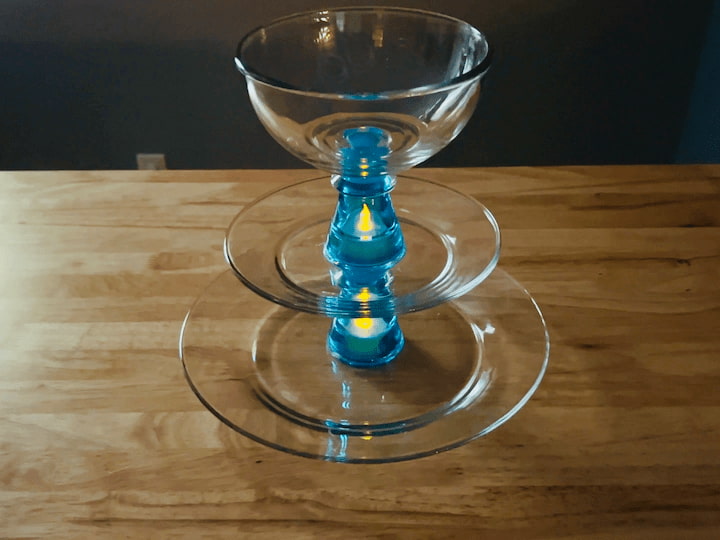
This time I’m assembling the whole thing with a bright white LED light.
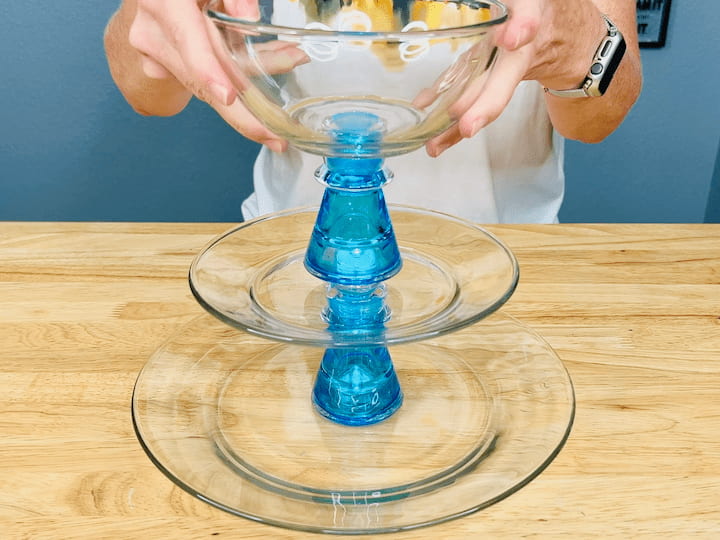
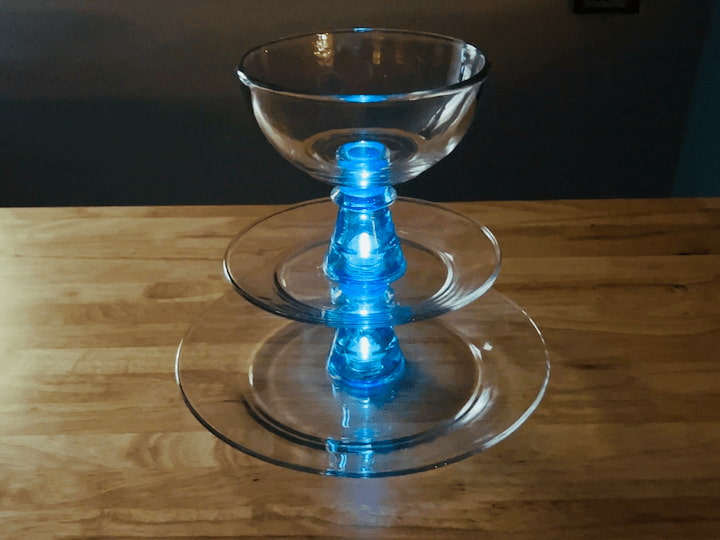
Here I’m using a color-changing LED light.
End Result for Display
I love how useful these are in the bathroom, office, and kitchen. I love to use these pedestals for storage when shelves are not an option. Plus, they are a nice addition to your home decor and display your add-a-bead products beautifully.
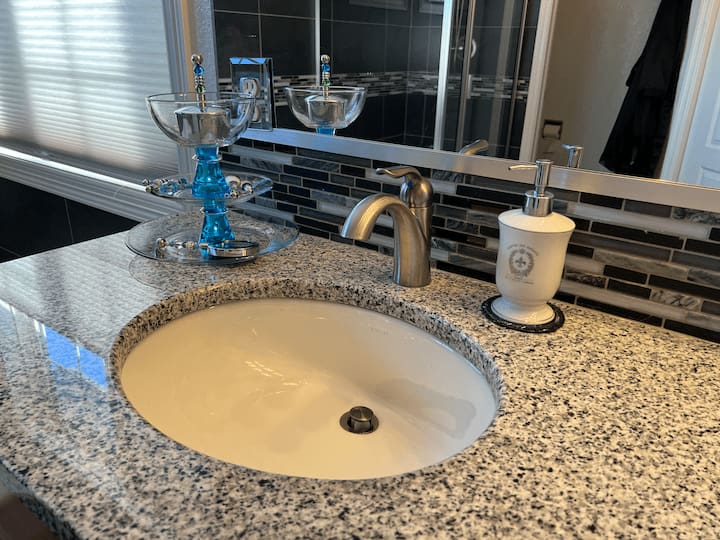
Tiered Tray Bathroom Organzier
Here’s a quick overview of all my Karen ThomasDIY add-a-bead products for the bathroom: makeup brushes, a trinket box, and a mirror.
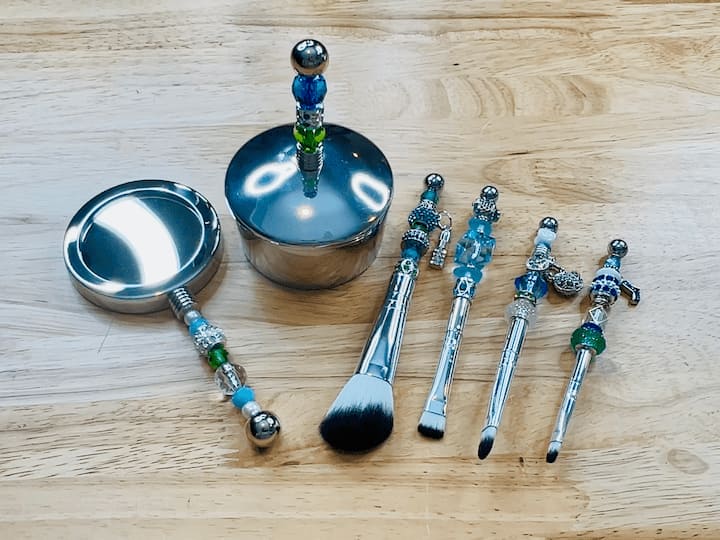
I assembled my tray in the bathroom with the bright white LED lights. I placed my Karen Thomas Designs in it.
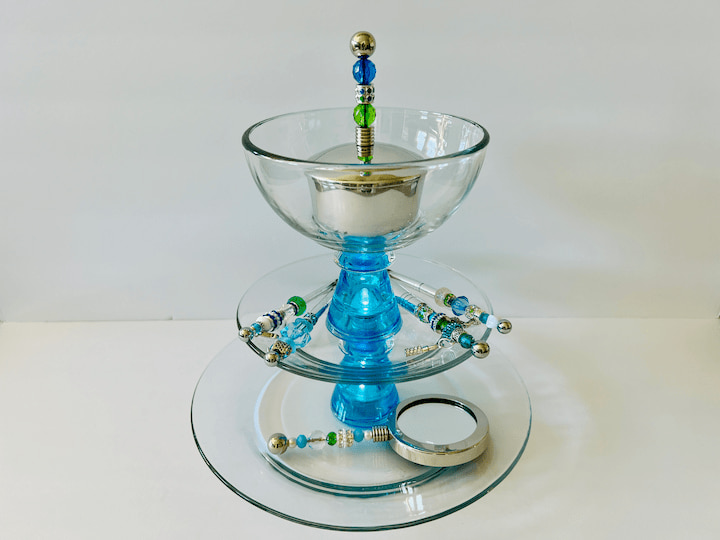
I love how it turned out. Let me know what you think.
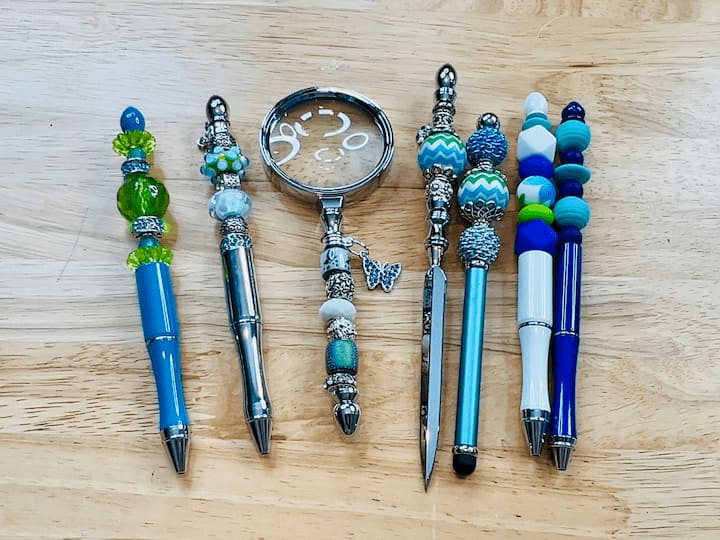
Tiered Tray Office Organizer
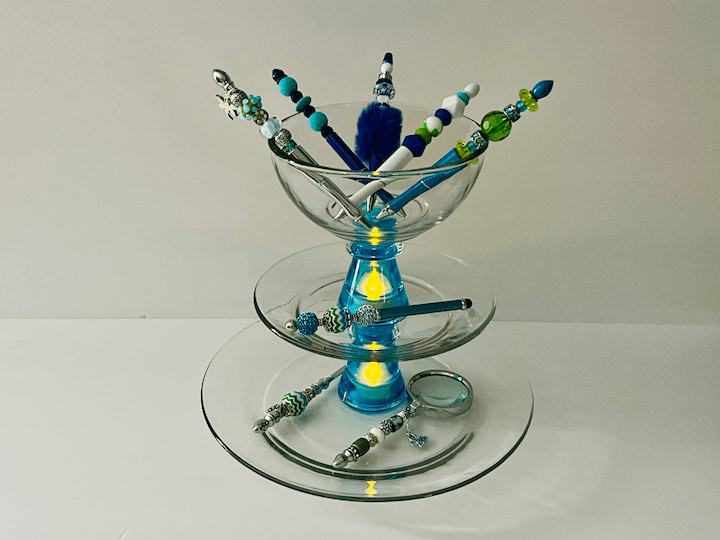
For the office, I made a spyglass, a letter opener, a stylus, and some pens.
This time I assembled my tray with the battery-operated tea lights.
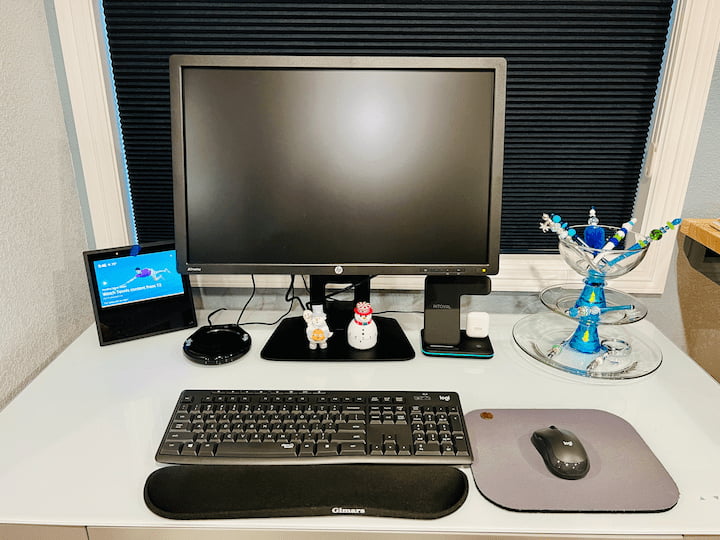
It is placed on my desk. It’s going to be so useful here.
Tiered Tray Kitchen Organizer
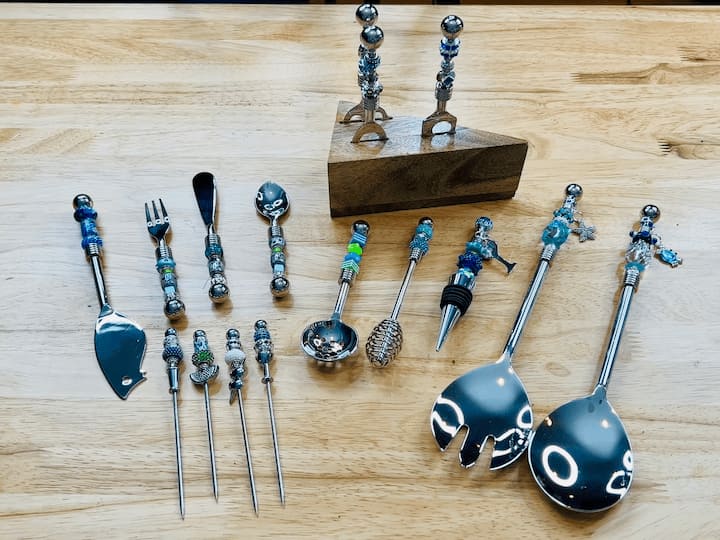
Look at all of these items for your kitchen and entertaining: salad tongs, wine stoppers, honey and olive scoop, items for appetizers, cheese cutters, and other serving utensils.
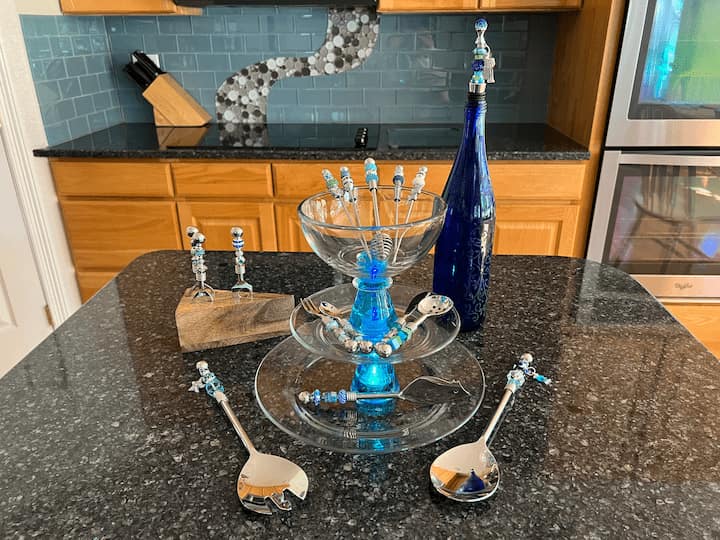
This time I assembled the tray with the color-changing LED lights.
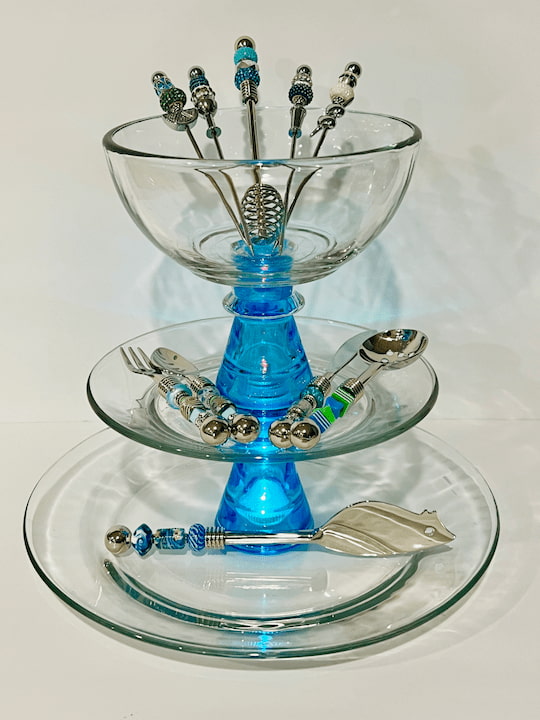
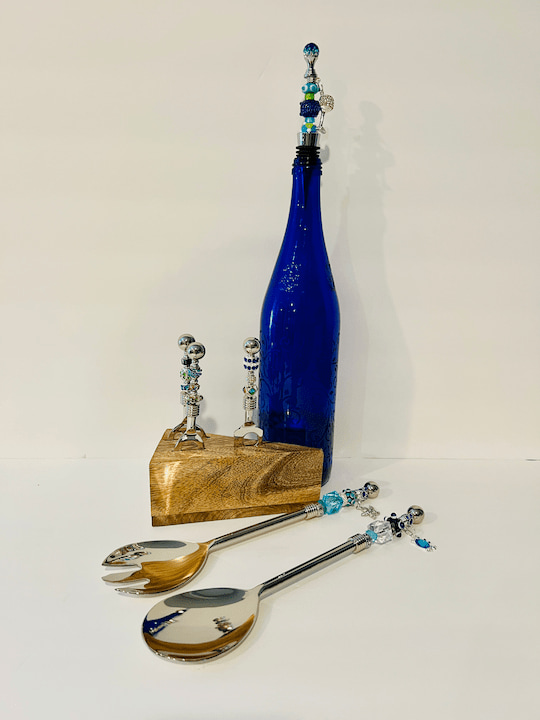
I think this would be great for a get-together or a party. You could also make this a dessert display and serve cookies and cupcakes from the tiered trays.
DIY Tiered Tray Video

Be sure to hop on over to Mona from Craft Klatch’s project. See what her project is and let us know what you think. You get to decide: is it craft or crap? We want to know what you think.
Now for the giveaway.

This post is in collaboration with Karen Thomas Designs. All thoughts and opinions are my own. A big thanks to Karen Thomas Designs for the DIY Add A Bead Products
- Comment below if my project is craft or crap.
- Head to Mona’s project and let her know if her project is craft or crap
- Go to Karen Thomas Designs, and then email here at [email protected] to let her know what you’d pick for your Mystery Box! Don’t forget, there’s a $10 coupon code CRAFT10 for $10 off a $50 order. And you get a $10 gift bag of beads with your first order too!
MORE INFO ABOUT THE GIVEAWAY
- This is open to the US only. If you are under the age of 18, you will need to get your parent’s permission before entering.
- Winner will be contacted by Karen from Karen Thomas Designs.
- Once announced, the winner will have 48 hours to respond, otherwise a new winner will be chosen. The gift card will be emailed to the winner.
- KAREN WILL ONLY CONTACT YOU BY EMAIL AND WE WILL NOT ASK FOR ANY PERSONAL OR FINANCIAL INFORMATION
- **If anyone asks you for any personal information and/or financial information, it is a scam. Karen will only reach out via the email you provide. Scammers are clever, so if you are contacted by a Facebook, YouTube, or Instagram account that looks like Chas or Mona and they tell you you have won, it is NOT us. It is a scam. We will NOT contact you via Facebook, YouTube, or Instagram. We will ONLY contact you by the email you provide in the giveaway form.

We hope that you will participate in our Craft or Crap Challenge. If you do, we’d love to see your projects.
- So you can share it on Instagram with the hashtag #craftorcrap and tag @craftklatch or @chascrazycreations.
- Join and share it in our Facebook group at Craft or Crap.
- Or email us and send in your photos. chas(at)chascrazycreations(dot)com & mona(at)craftklatch(dot)com
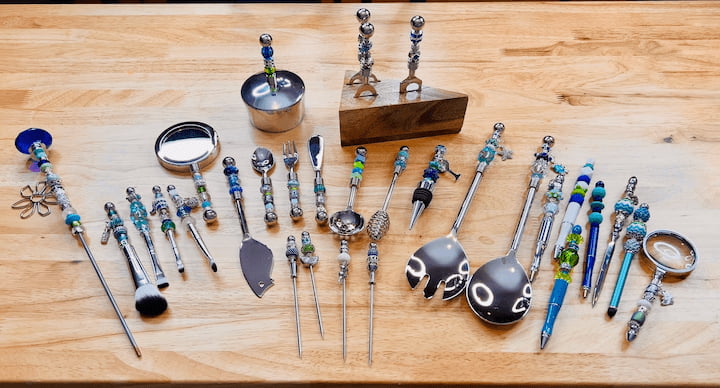
This “Craft or Crap” challenge is sponsored by Karen Thomas Designs. We both were sent a box. The items inside this box are so cool. Karen Thomas Designs has 150 DIY add-a-bead products. These boxes are a great kit for the DIYer so that we can make our own stuff or make it to give it as a gift to someone else. If you don’t want to make it, they have a beaded boutique so you can just buy it all ready to go.

This is their garden art stick. It was super easy to put together. Just simply slide on the beads and add the nut to the bottom. I can add it to my last month’s “Craft or Crap” challenge. If you missed it, see it here: DIY Garden Decor: Epic Yard Art Showdown.

I hope this serves as inspiration for you to make your own set of tiered tray decor and to check out Karen Thomas Designs for amazing DIY add-a-bead products.
DIY Tiered Tray More Options
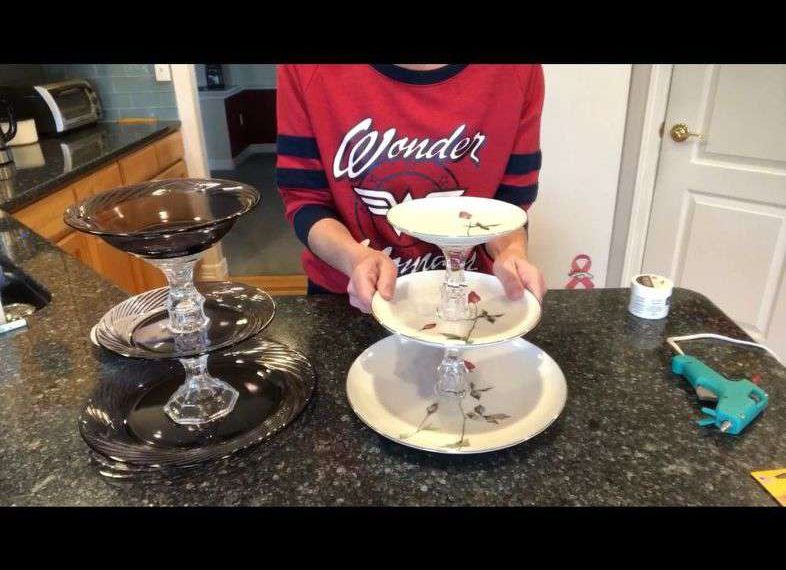
Easy and Beautiful DIY 3 Tiered Stand For Your Home
Do you have a special occasion coming or do you need something decorative to store things on in your home? A 3 tiered stand is easy and inexpensive to make, and looks beautiful! You can find these tutorials at Easy and Beautiful DIY 3 Tiered Stand For Your Home
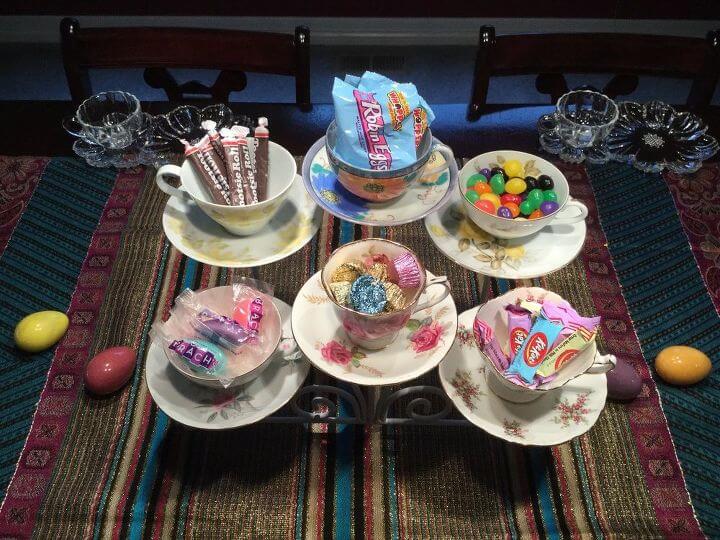
Easy & Awesome Easter Tiered Tray Ideas
If you’re looking for Tiered Tray ideas, look no further. I have a unique and versatile idea to share with you. I have a variety of tea cups and as many of you know I like to use things or create something useful with them. With a quick stop at the thrift store, a little spray paint, and my tea cups, I made a serving centerpiece! You can find the full tutorial at Easy & Awesome Tiered Tray Ideas
You might also like my post on 9 Things To Do With Tea Cups
Want to see more craft or crap challenges?
- DIY Tiered Tray: Craft or Crap Challenge
- DIY Snowman Craft from Thrift Store Dishes: Craft or Crap Challenge
- Easy DIY Fall Gnome Craft: Craft or Crap Challenge
- DIY Easter Painting Ideas: Easy And Fun
- Stunning Patriotic Wreath: An Easy and Unexpected DIY
- DIY Garden Decor: Epic Yard Art Showdown
- Easy DIY Sock Snowman Craft: Winter Decor and Gift IdeaHalloween Mantel Ideas: Easy DIY Spooky Decor Practically Free!
- Easy DIY Cardboard Halloween Decorations
- Delightful Easy Flower Crafts with Video
- Super Easy DIY Dollar Tree Valentine Ideas with Video



Gorgeous craft! Unique and functional!
Thank you so much
I think they are all keepers. They are awesome crafts. Love the beads and charms.
Thank you so much Ellen