
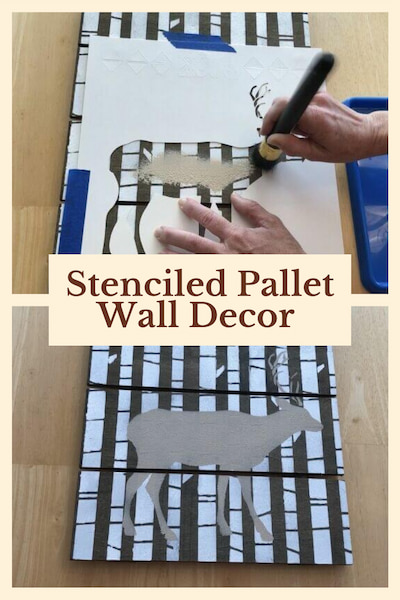
Stenciled Pallet Wall Decor with Video
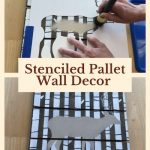
Do you love pallet wall decor? With a Plaid Pallet and some Folk Art Stencils, you can create easy and beautiful art for your home.
Materials Needed for Wood Pallet Art
- Wood Pallet
- Folk Art Home Decor Wood Tint
- Folk Art Home Decor Chalk Paint
- Folk Art Stencils
- Stencil Brush
Stenciled Pallet Wall Decor Video
How do you make pallet wood wall art?
Here are the instructions to make your own Wood Pallet Art
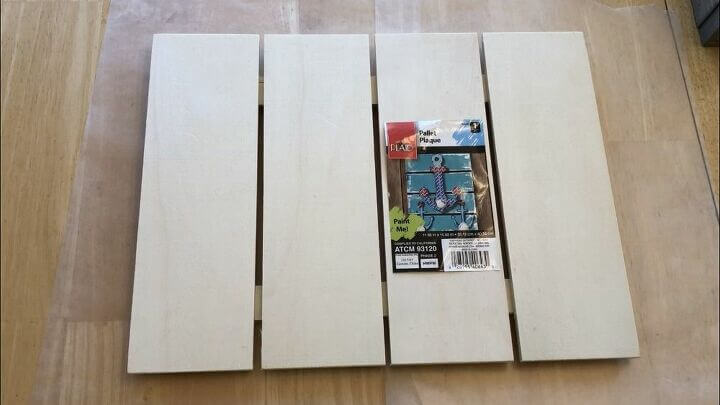
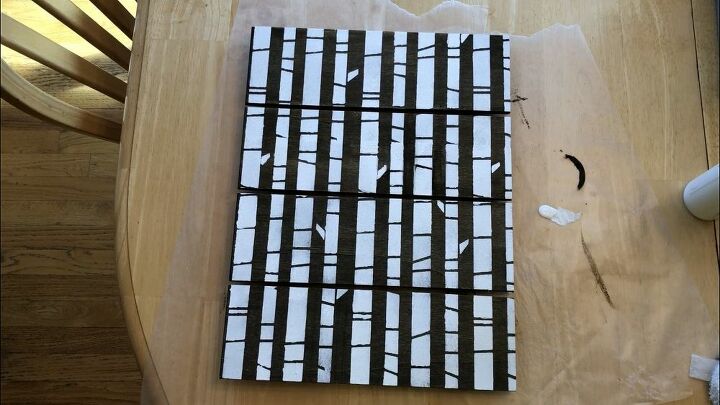
I bought this Plaid pallet plaque from Walmart for just a few dollars.

I painted the entire pallet with Folk Art Wood Tint in the color Walnut. I let it soak in for a couple minutes, then wiped off the excess. I let that dry completely.
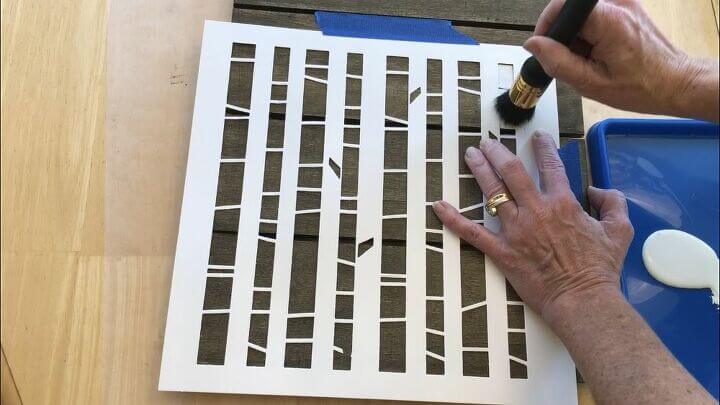
I used Folk Art tree stencil from the Woodland pack. I used Apple Barrel White Paint and my stencil brush to paint onto the pallet. To do this you put a little paint on your stencil brush and then tap it to get most the paint back off. This will prevent smudging. Next you tap the brush up and down over the stencil and onto the plaque to leave the paint on the plaque.
I carefully took off the stencil and let it dry completely.
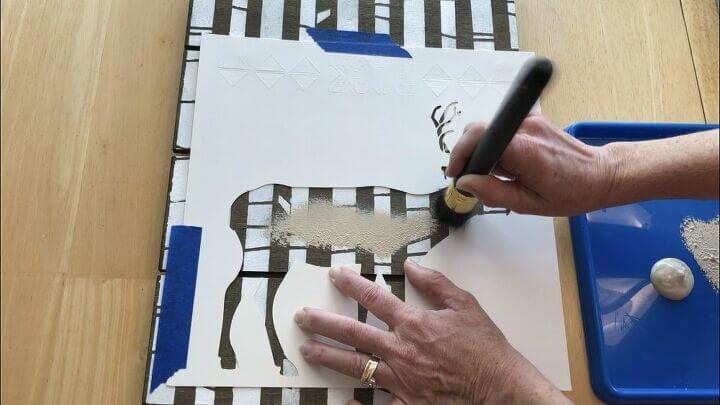
I then added my buck stencil from the same pack. I used Apple Barrel Warm Buff paint to stencil on the buck.
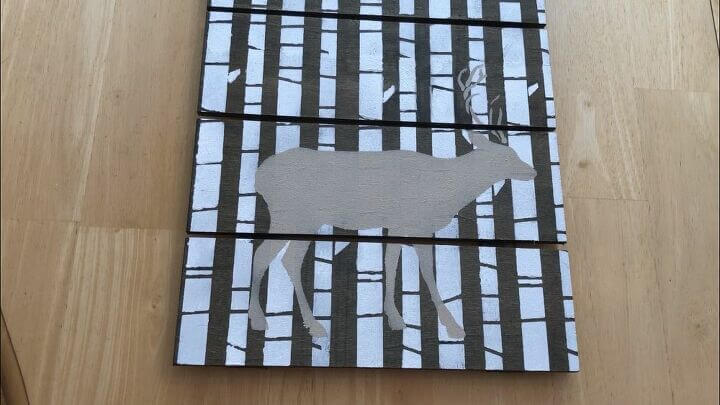
Once it was dry, it was ready to be displayed.
Stenciled Pallet Wall Decor Video
Shop any of these stores and I receive a small commission at no cost to you.
 Plaid Wdn Pallet 15.9"X11.8…Shop on Amazon
, 12\" x 12\"") FolkArt Die Cut Paper, Wood…Shop on Amazon
FolkArt Die Cut Paper, Wood…Shop on Amazon, Walnut") FolkArt Home Decor Wood Tin…Shop on Amazon
FolkArt Home Decor Wood Tin…Shop on Amazon Apple Barrel Acrylic Craft …Shop on Amazon
Stenciled Pallet Wall Decor with Video
Equipment
- None
Materials
- Wood Pallet
- Folk Art Home Decor Wood Tint
- Folk Art Home Decor Chalk Paint
- Folk Art Stencils
- Stencil Brush
Instructions
- I bought this Plaid pallet plaque from Walmart for just a few dollars.
- I painted the entire pallet with Folk Art Wood Tint in the color Walnut. I let it soak in for a couple of minutes, then wiped off the excess. I let that dry completely.
- I used Folk Art tree stencil from the Woodland pack. I used Apple Barrel White Paint and my stencil brush to paint onto the pallet. To do this you put a little paint on your stencil brush and then tap it to get most of the paint back off. This will prevent smudging. Next, you tap the brush up and down over the stencil and onto the plaque to leave the paint on the plaque.
- I carefully took off the stencil and let it dry completely.
- I then added my buck stencil from the same pack. I used Apple Barrel Warm Buff paint to stencil on the buck.
- Once it was dry, it was ready to be displayed.
Video
Check out some of my other wall art!
This is so pretty, and perfect art for your neck of the woods! (yes…pun intended!)
Thank you so much Chloe 🙂
This turned out so pretty! I love it for a cabin. Looks expensive, but easy. Great tutorial
Thank you so much, Andrea, and you guessed it, it’s hanging at our place in Grand Lake.
Thank you for sharing at #OverTheMoon. Pinned and shared. Have a lovely week. I hope to see you at next week’s party too!
Thank you so much Marilyn, and I hope you are having a wonderful weekend.
This is awesome! Really looks so easy to do – now I want to try my own! Thank you for sharing.
Thank you so much Alexandra, It was easy and I’m looking forward to doing more. If you make one, please send me pictures – I’d love to see how it turns out.
Thank you for sharing at #ThursdayFavoriteThings. Pinned and shared. Have a lovely week. I hope to see you at next week’s party too!
Thank you so much for the Pin and sharing. Thanks for hosting and I’ll see you at the next party.
Ooh – just too fabulous… looks great on the end product and didn’t look difficult at all.
Awesome! May have to get my crafty side working again.
Thank you so much Deborah
This is adorable! Love the stencil!
Thank you so much Christina
Oh my gosh! This is really cute and it looks relatively easy to do!
You’re so sweet, thank you Sylvia
Looks like a fun project! Thanks for linking up to Creative Compulsions!
Thank you Michelle and thanks for the great party
What a great idea for using stencils!
Thank you Daphne
You’re welcome! I enjoyed learning how you did this.
That came out amazing!!
Thank you Tamar
That looks fabulous, Chas! I love what you do. 🙂
You’re so very sweet Linda, thank you so much.
How fun is this!?! I love this idea. I am not super artistic but I think that I could handle this art project!
Thank you Amy, and I hope you give it a try. It was a lot of fun to do.
This is a great winter art project! I am going to give it a try.
Happy Fall!
Hugs,
Kippi
Thank you so much Kippi and I’d love to see yours when it’s done 🙂