Easy DIY Sock Snowman Craft: Winter Decor and Gift Idea
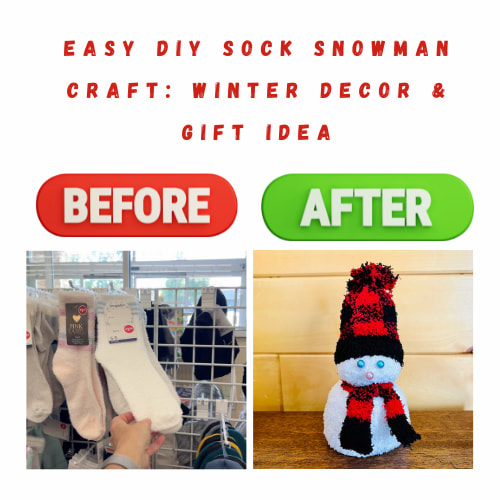
Looking for a fun and easy winter craft? This DIY sock snowman craft is the perfect project! Not only is it a cute addition to your winter decor, but it’s also an adorable handmade gift idea. In this tutorial, I’ll show you how to transform a simple sock into a snowman with just a few materials—no sewing required! This craft is great for kids and adults alike, making it an ideal holiday activity. Let’s get crafting and bring some cozy, winter charm into your home!
Sock Snowman Craft Video
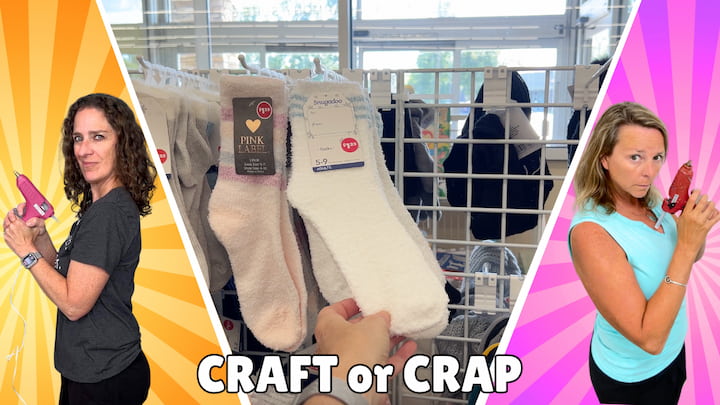
It’s time for another Craft or Crap Challenge! Today, I’m collaborating with Mona from Craft Klatch to bring you a fun and festive DIY project—a sock snowman made with dollar store items! ☃️🧦
Here’s how the challenge works:
1️⃣ The craft must include a snowman that can stay up all season long.
2️⃣ It must feature fabric.
3️⃣ All materials must come from the dollar store!
Join us as we transform simple socks and other budget finds into a cute winter decoration. Will it be a craft… or a total crap? You decide! Comment below and let us know what you think! Plus, check out Mona’s version of this challenge over on her blog, Craft Klatch, for even more DIY fun.

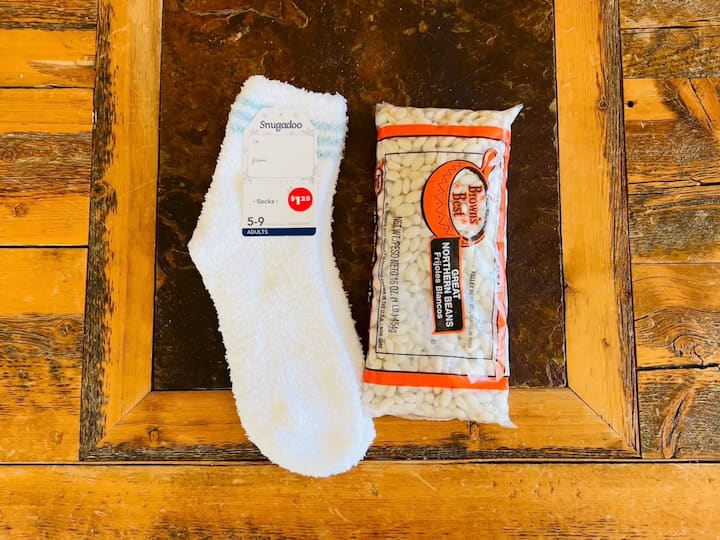
Snowman Sock Craft Materials:
- Fuzzy Socks
- Beans or Rice
- Rubber Bands
- Scissors
- Extra Pair of Socks
- Beads
- Hot Glue Gun
- Optional: Scotch Tape
- Sewing Pins
- Jewels or Pom Poms
- Fleece Fabric
Snowman Sock Craft Instructions
Prepare the Sock and Fill
For this project, I use a pair of fuzzy socks and some beans.
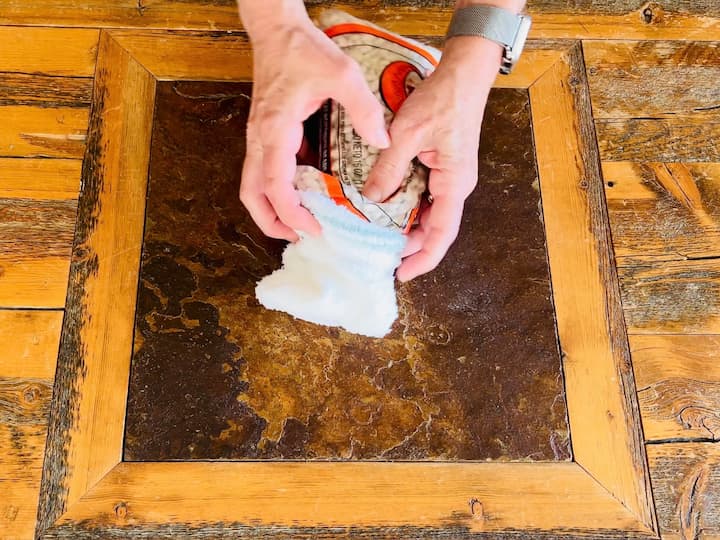
You could use any socks you like, and you could use rice if you prefer. Now, I do recommend using the scissors to remove the tag, especially on fuzzy socks, or you could end up with a snag and have it frayed. Now there are a couple of ways you can do this, but I just took my scissors and cut a little corner out of the bag of beans.
I opened the sock up, and then I placed the corner that I cut off the bean bag into the sock. Now, as I was dumping these out, they were coming out kind of slowly, and then I learned that I could pull the sock around the entire bag, which I could then cut more of the bag open to dump the entire bag of beans into this sock.
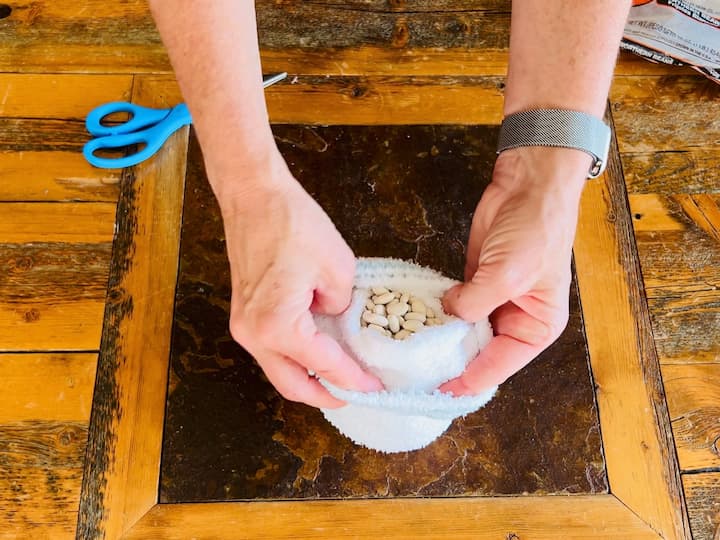
Now, if you’re using rice, you can use a funnel, and if you’re using beans, you could also use a toilet paper or paper towel tube to help guide the beans into the sock a little easier.
Now, I don’t recommend rice with the fuzzy socks, as it might poke through and start to leak out. I’ll show you how I used rice in another version down below. You could also use left over plastic bags, polyfill, etc.
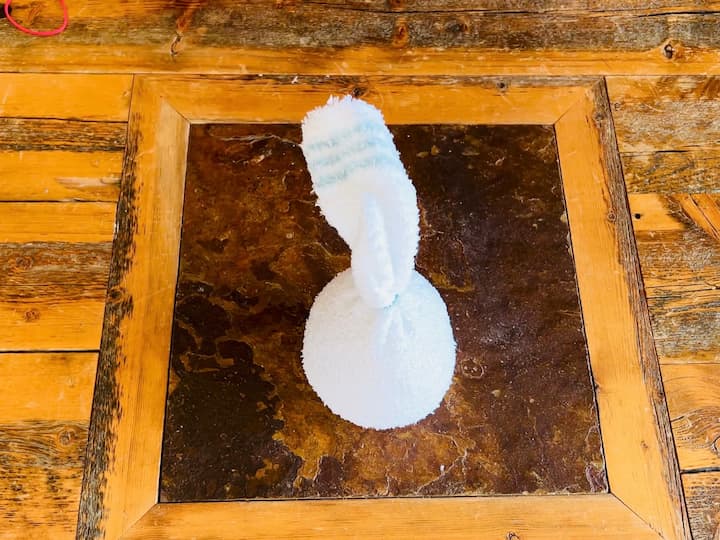
Now, you can make these as big or as small as you want, but I put the whole bag of beans into this sock.
Shape the Snowman with Rubber Bands
For this next step I’m using some rubber bands and I got these from Dollar Tree as well. Now I’m looking for where the heel is of the sock and then I’m going to squeeze right above the heel and place a rubber band right at the top of the sock to hold the whole thing shut.
Now I’m going to start making the snowman body shape. Starting with the snowman’s head. So I’m going to go ahead and give the sock a little squeeze part way down and I’m going to take a little bit bigger rubber band and I’m going to wind it around that space to hold it.
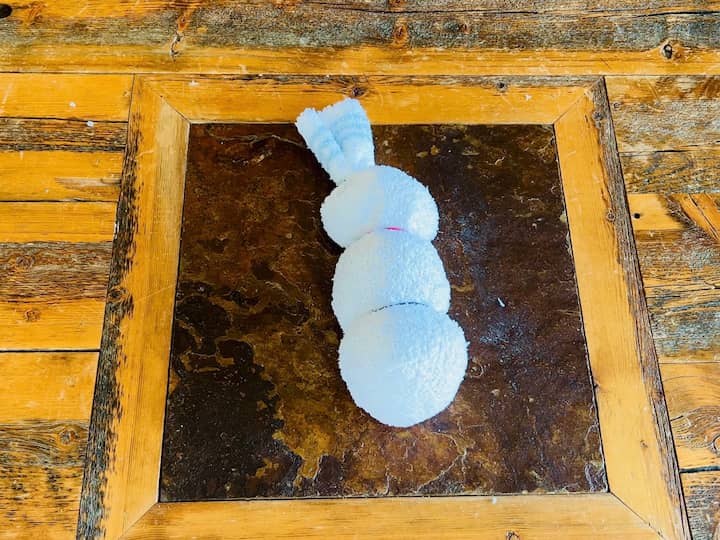
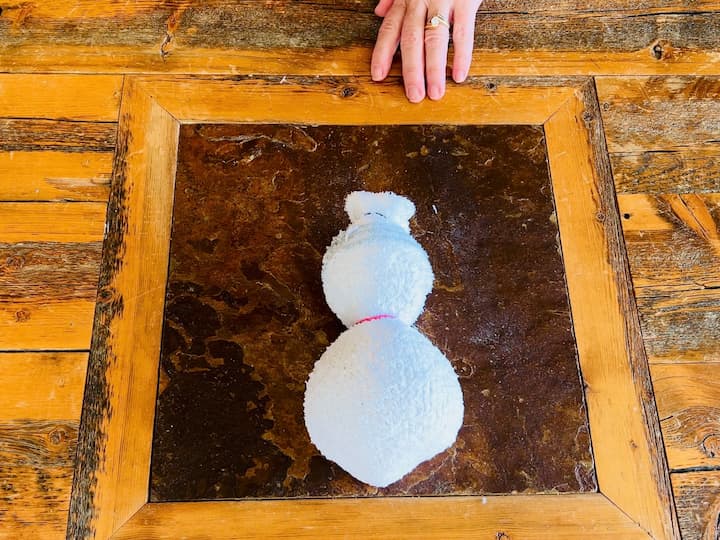
So another option for the snowman would be to take an additional rubber band, give the bottom a squeeze, and then add it. It really just depends upon how many lumps you want your snowman to have. You could adjust those snowballs to any size, but I have decided I’m going to go with a two, one smaller on the bottom, and a littler one on the top.
Create the Hat
Now, before I move on, I want to show you a little trick. So I could take the top of this sock and fold it down to make a hat. And then I would grab another little rubber band and wind it around the top to make the little puffball. For me, I didn’t feel like this hat had enough contrast. So I’m going to go ahead and pull this all apart. The other thing that you could consider doing would be to grab scissors and cut off the excess, but I’m going to be using this as a little bit of stuffing down the road.
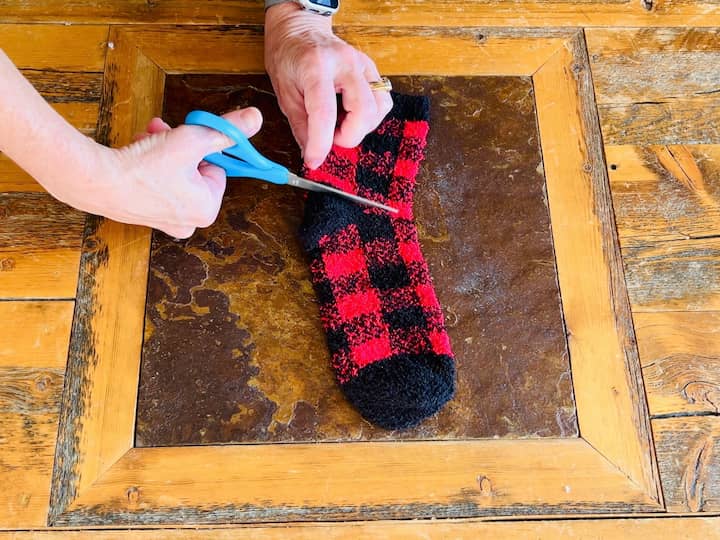
For this next step, you’re going to need another pair of socks. Now, I could use the single sock, or I could use these double, but I decided I kind of wanted to go with the fuzzy socks, and I’m only going to need one to Now the great thing about this pair of socks is it has lines so I’ll be sure I can cut straight.
So I’m going to grab my scissors and cut along this line right here and make sure that you have a nice and sharp pair of scissors so it can cut through the fabric easily. Otherwise, you’ll have a mess.
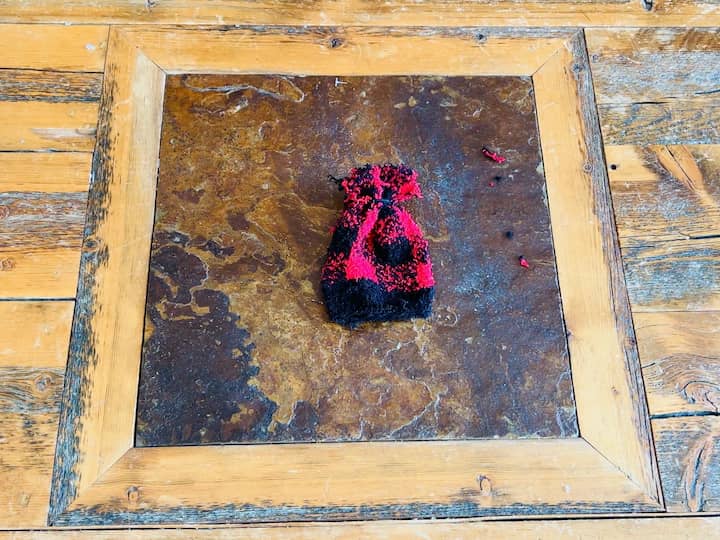
Now I’m grabbing a small rubber band and I’m going to grab the top and just pinch it together and wrap that rubber band around the top. Now you could leave it as is or you could cut little slits in the top of that sock end to make a little tassel.
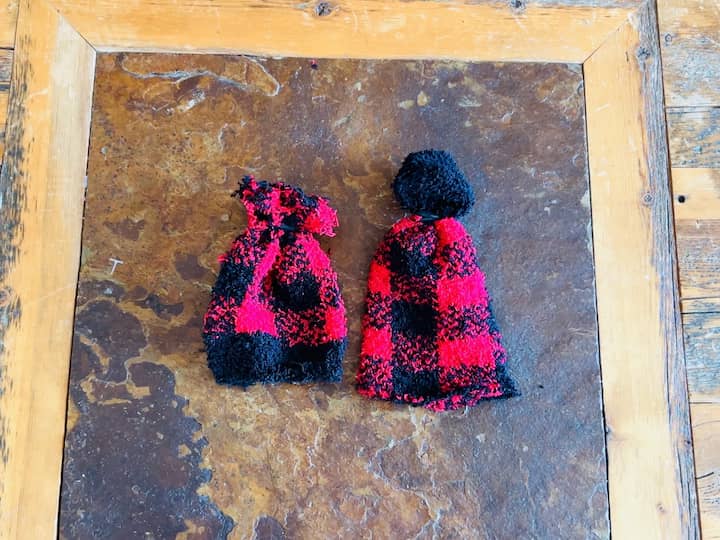
I’m going to show you another way to make a hat. So I’m going to grab the end of the sock or the toe part, and I’m going to grab another rubber band and wind it around that to make a little puffball.
Now I need the bottom to be even. So I’m going to grab my scissors again and just cut off that heel and follow the line. And here are the two hats side by side. One is tassel y and one is the puff ball. Which is your favorite? Let me know in the comments below. Another option is that you could fold up the bottoms.
So with the little poof ball hat you could fold up the bottom to give it a little bit of a texture layer And you could do the same with the tassel one. Although I feel like the tassel one because it’s squeezy. I’m gonna leave it down What would you do? Would you fold them or leave them unfolded? Let me know.
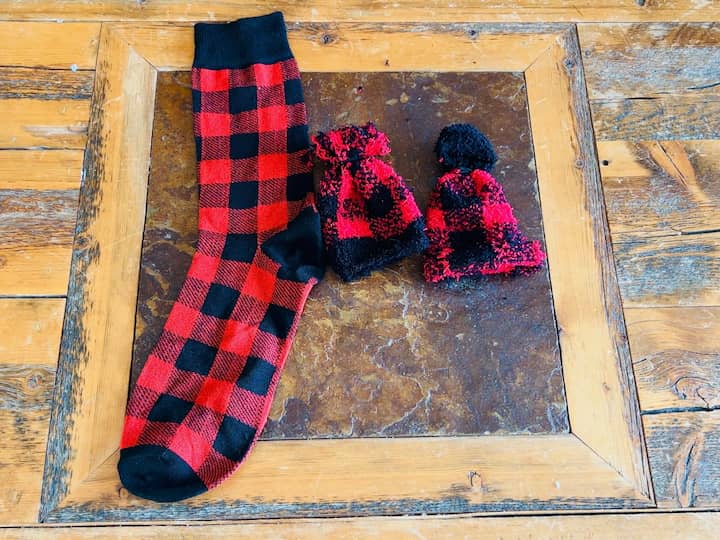
Now I’m going to bring this other sock back for a minute because I want to point something out. As I’ve cut these fuzzy socks, they’re starting to shred. So that’s something to keep in mind and you might want to go with these other socks instead.
Make the Scarf
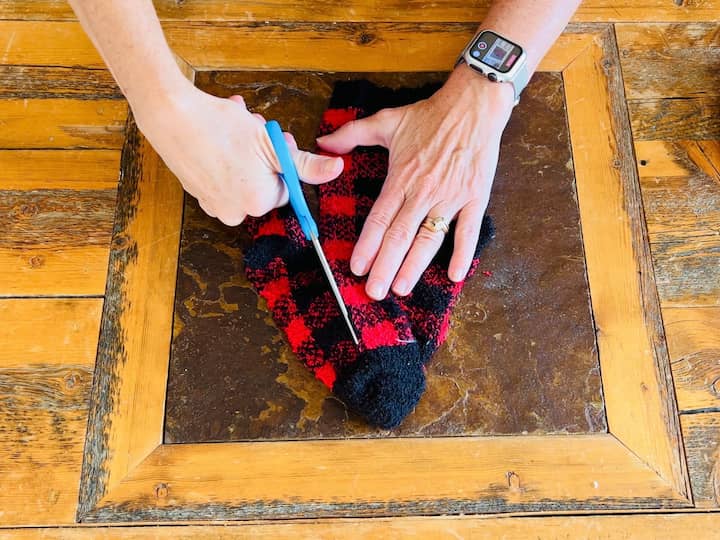
Now I need the second sock. So I’m going to go ahead and I’m going to cut the bottom open of this sock.
So the center part of the sock is actually the top part of the sock, or it was, and I’m going to follow one line on one side of the sock and cut all the way down to the end. Then I’d rather have too much room than not enough. So I’m going to go two squares over and cut the same straight line down to the end of the sock again.
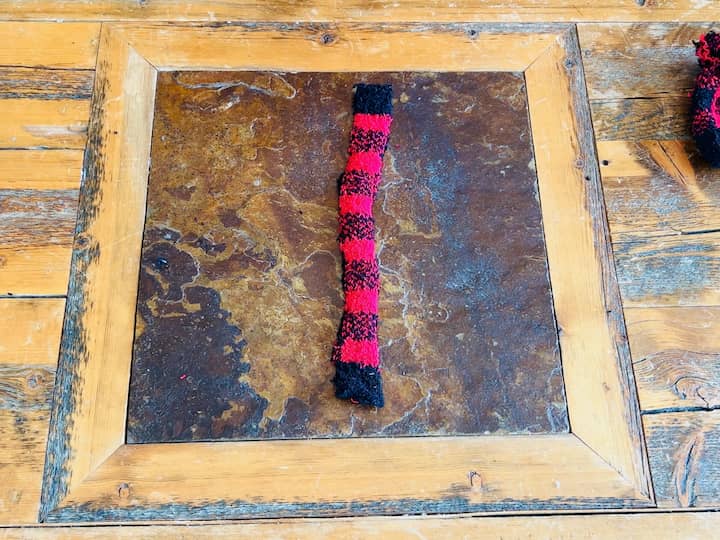
And this is the strip of fabric that you’ll end up with. After doing a little measuring, I’ve realized that I just need one strip. So I’m going to go ahead and cut down to the end of these. Now, if you wanted to, you could cut little slits on the end for your scarf, but I’m going to leave them solid. And as you can see this one sock would make plenty of scarves.
Add The Hat and Scarf To the Snowman
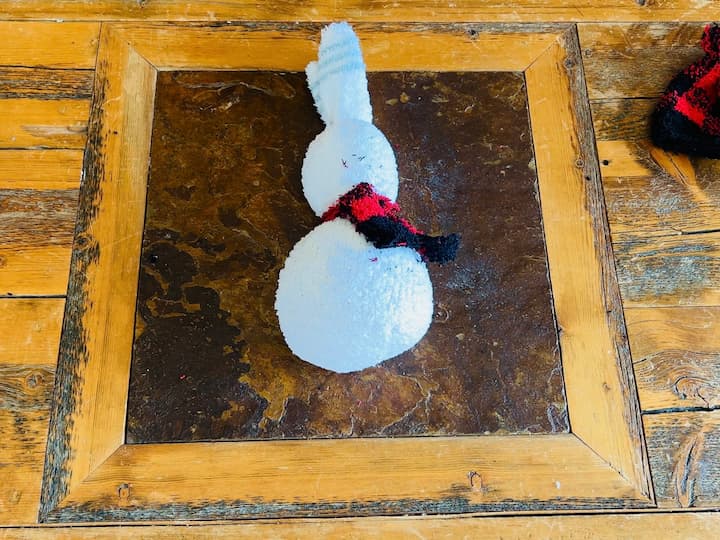
Okay. And now we’re going to do some assembling. So I’m going to turn the scarf sideways and I’m going to place the snowman on top. And then I’m going to tie the scarf around my snowman’s neck. You can tie it in the center. You can tie it off to the side. It’s really up to you where you want his scarf to land.
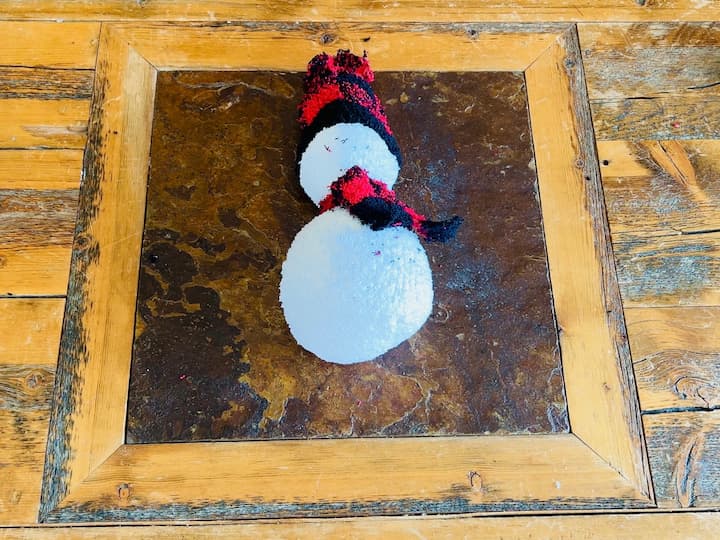
Now I’m going to add his hat and I’m going to utilize this extra part of the sock to stuff and fluff up the hat. So it’s actually a little more than I’d like, but it fills the hat out. And so it pokes up nice, which I like. And I went with a tassel hat. And as you can see here, he’s starting to shed quite a bit.
Again, maybe why you’d want to use the other sock. One thing I’ve learned that’s a little tip for cleaning this up is grab a piece of scotch tape and it’ll come right up if you just dab it onto that snowman.
Add the Face and Final Details
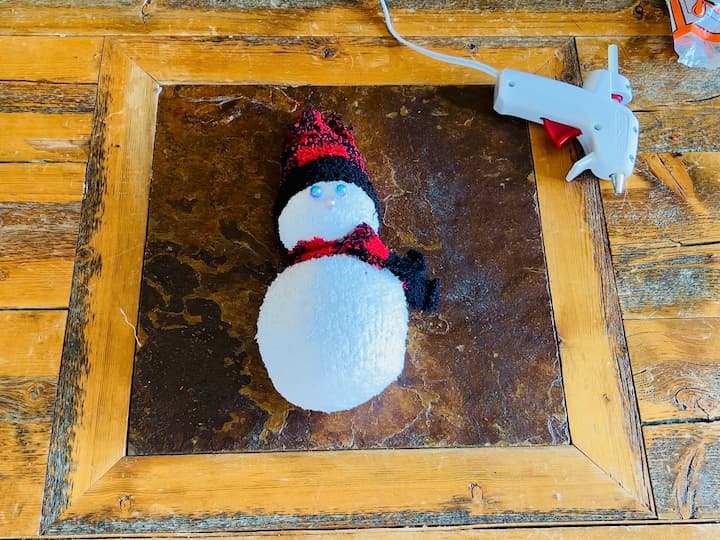
Now, I had some beads and yes, these came from the dollar store, so I’m going to be using these for the next step.
I put a little dab of hot glue in the center of the top circle, and I’m adding a little bead, and this will become the snowman’s nose. Now you can use any color you want. I’m using the beads I had on hand, so this nose is pink. And I got to remove those hot glue strings. Now you could use a different kind of glue if you want, perhaps fabric glue, or something else if you’re making this with kids.
And now I’m adding the eyes to my snowman, and I’m using the little blue beads for the eyes. If you’d rather use black beads or something else like buttons or other craft supplies – go for it!
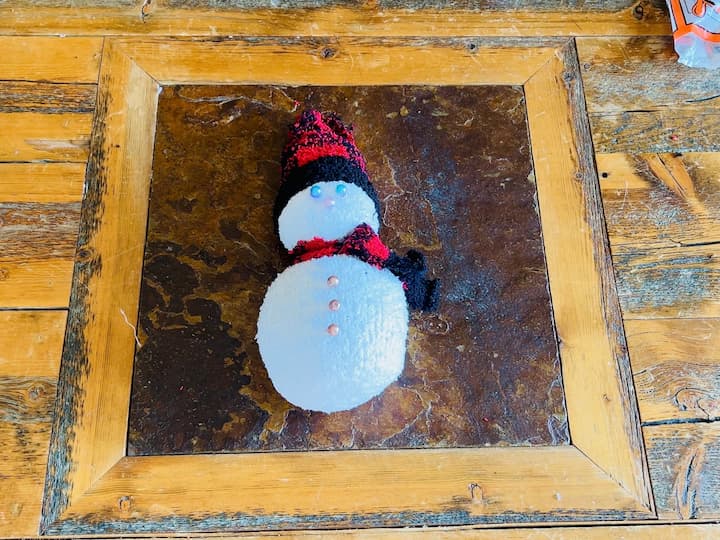
Now you can continue adding additional pieces to him if you’d like. Perhaps you want to add some beads as some buttons down his stomach. You could also use black buttons instead of beads. It’s really up to you what your choice is.
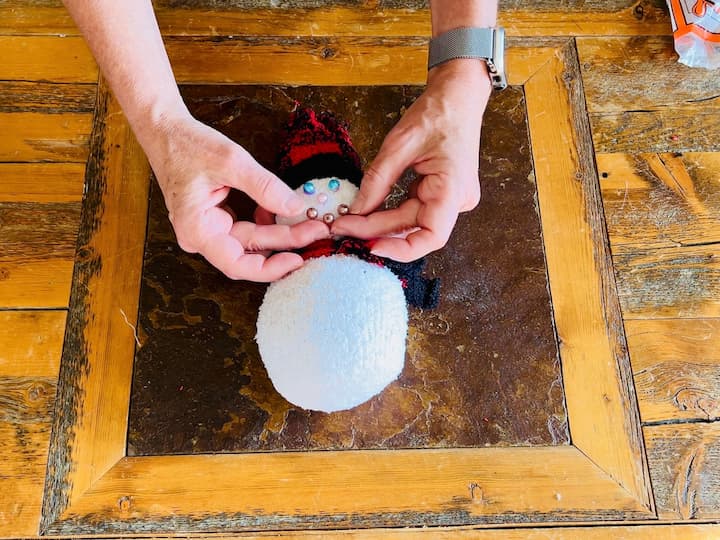
You might want to add a mouth. So here’s an example of using some of these beads as a mouth if you prefer to do that. You could also use yarn. There are a lot of choices of what you could use, but I’m going to leave mine plain. I’m just going to use the eyes and the nose for mine. What would you do? Let me know in the comments below.
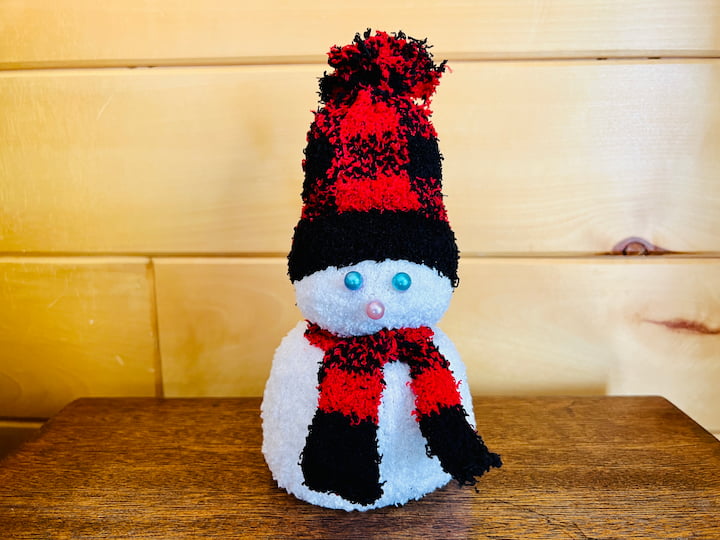
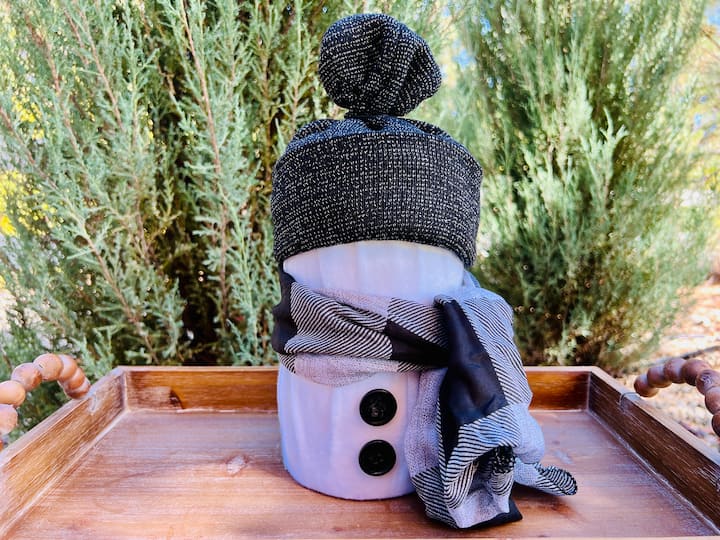
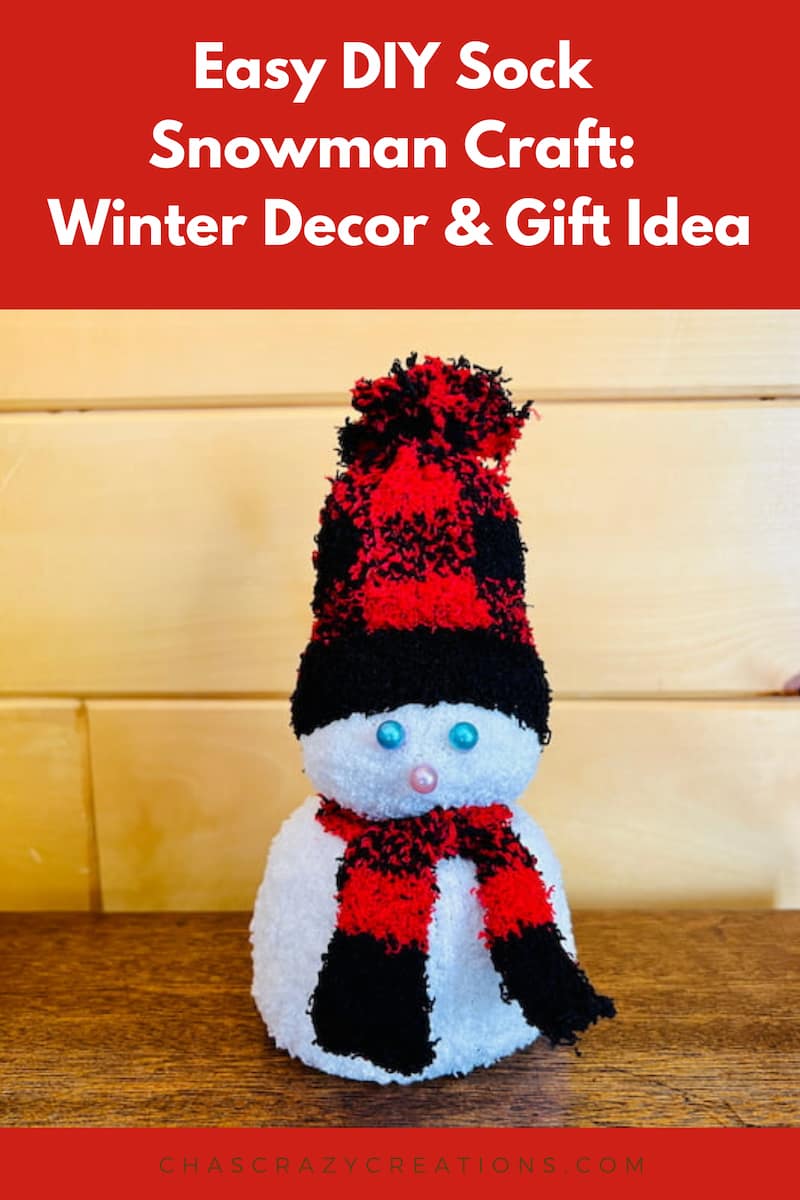
And here’s my completed DIY sock snowman. I think he turned out so cute.
Optional: Alternative Sock Snowman Craft Design
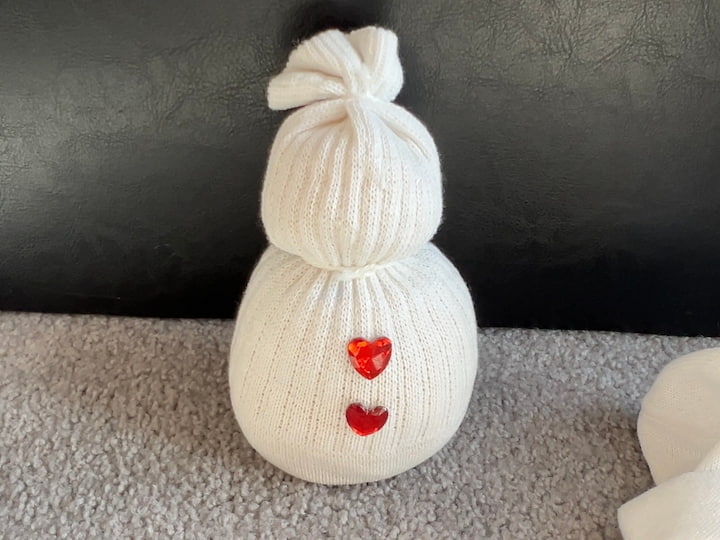
But that’s not all I have for you. I want to share another little snowman option. So this DIY sock snowman is actually made with a kid’s plain white socks. So I filled one of the socks up with rice all the way to the top and tied it close with some string. You can use yarn, twine, whatever you have on hand.
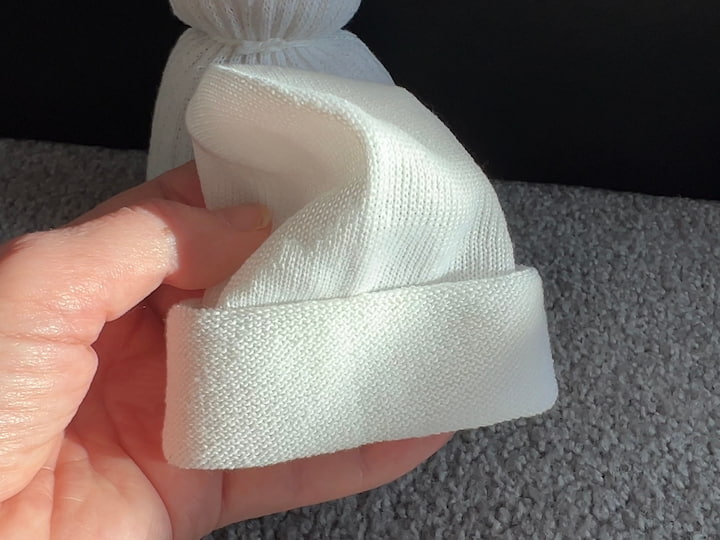
Then I took another sock and I cut it in half and folded it up to become the hat.
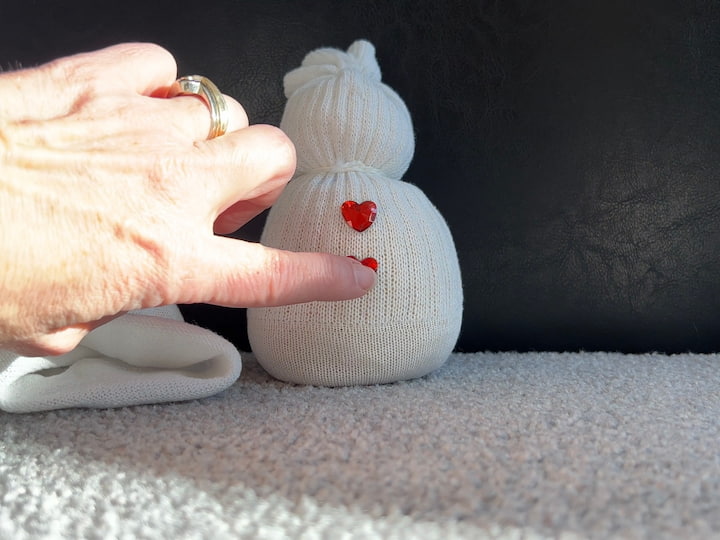
I added two jewels.
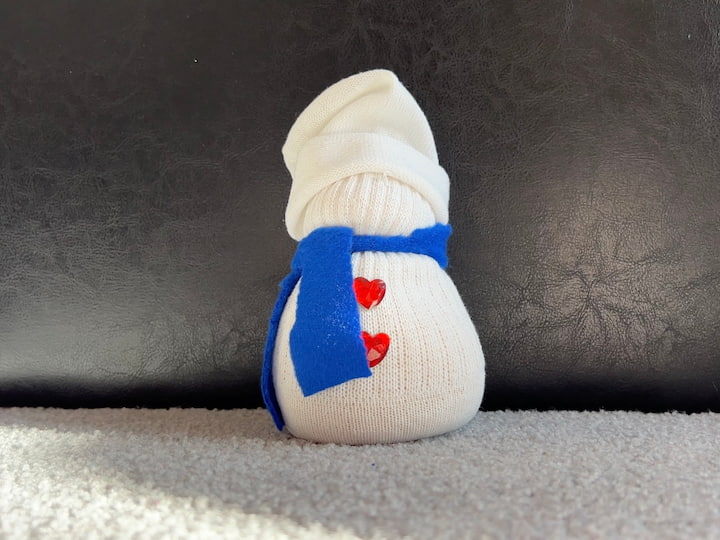
And now I’m going to place the hat on top of my snowman now. This gives a totally different look and I love how this one looks.
I had a piece of fabric (fleece) on hand. So I cut a little scarf out of some fleece and now I’m tying it onto the snowman Again, you can tie it in the center or off to the side this one because he has little jewels I’m going to tie it off to the side. You could use ribbon, or a piece of yarn if you prefer. So many options.
You could cut some slits into that fleece if you want for your scarf.
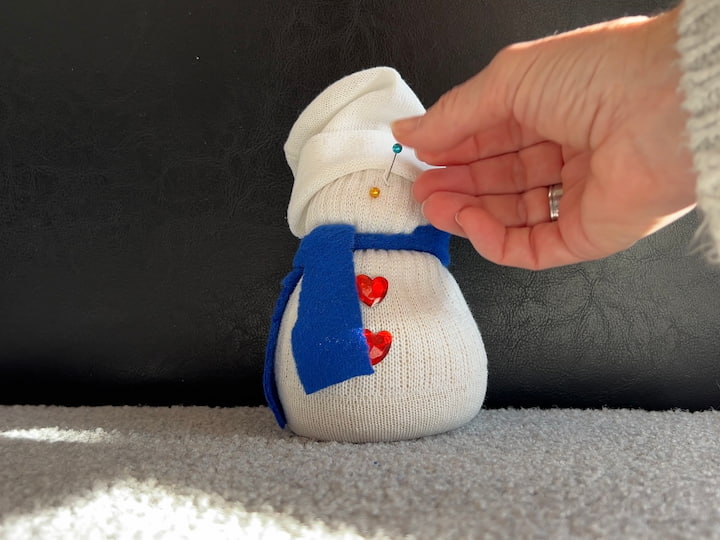
Now for the face, you could add pom poms, googly eyes, draw them on with a Sharpie, whatever you want.
But I’m actually grabbing some sewing pins to place into him. So I grabbed one for the nose and then two more for his eyes. Now this is not to be played with and I’m going to be setting him somewhere it will not be picked up again, and I will remove those pins first But I love how easy this was and he turned out super cute.
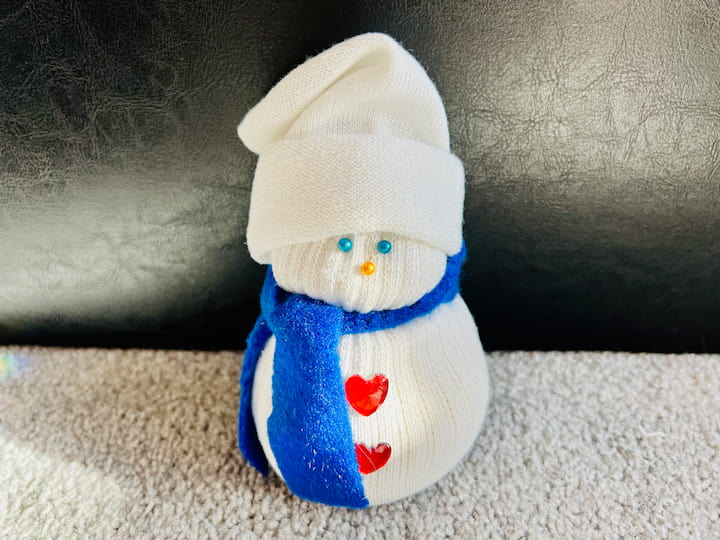
And here is the completed sock snowman. He turned out so cute. What do you think of my adorable sock snowman? I’d love to know which sock snowman is your favorite. Is it the fuzzy one or the kid socks snowman? And let me know, is this project craft or crap? You decide.
I love that this doesn’t have to just be for Christmas, you can leave this up for a whole season!
Sock Snowman Craft Video Tutorial
Be sure to hop on over to Mona from Craft Klatch’s project. See what her project is and let us know what you think. You get to decide: is it craft or crap? We want to know what you think.
We hope that you will participate in our Craft or Crap Challenge. If you do, we’d love to see your projects.
- So you can share it on Instagram with the hashtag #craftorcrap and tag @craftklatch or @chascrazycreations.
- Join and share it in our Facebook group at Craft or Crap.
- Or email us and send in your photos. chas(at)chascrazycreations(dot)com & mona(at)craftklatch(dot)com
More Snowman Crafts
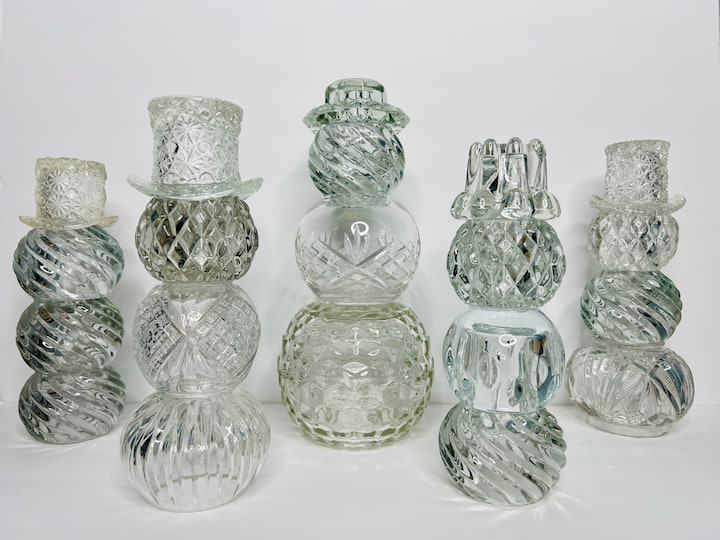
DIY Snowman Craft from Thrift Store Dishes: Craft or Crap Challenge
Toilet Paper Roll Christmas Crafts: Easy and Creative DIYs
I will also share several easy peasy, fun snowman crafts for the holiday season. Let’s get started. After the placemats, I have several other snowman craft ideas to share with you. Find all 10 easy DIY snowman crafts at Snowman Craft Ideas: You Won’t Believe These Easy Dollar Tree DIYs
Are you looking for easy snowman crafts? I have several to share with you and the best part is that you can make them all in one day. Find all 6 easy Snowman crafts at Super Easy DIY Snowman Crafts You Can Make In One Day
Want to see more craft or crap challenges?
- DIY Tiered Tray: Craft or Crap Challenge
- DIY Snowman Craft from Thrift Store Dishes: Craft or Crap Challenge
- Easy DIY Fall Gnome Craft: Craft or Crap Challenge
- DIY Easter Painting Ideas: Easy And Fun
- Stunning Patriotic Wreath: An Easy and Unexpected DIY
- DIY Garden Decor: Epic Yard Art Showdown
- Easy DIY Sock Snowman Craft: Winter Decor and Gift IdeaHalloween Mantel Ideas: Easy DIY Spooky Decor Practically Free!
- Easy DIY Cardboard Halloween Decorations
- Delightful Easy Flower Crafts with Video
- Super Easy DIY Dollar Tree Valentine Ideas with Video


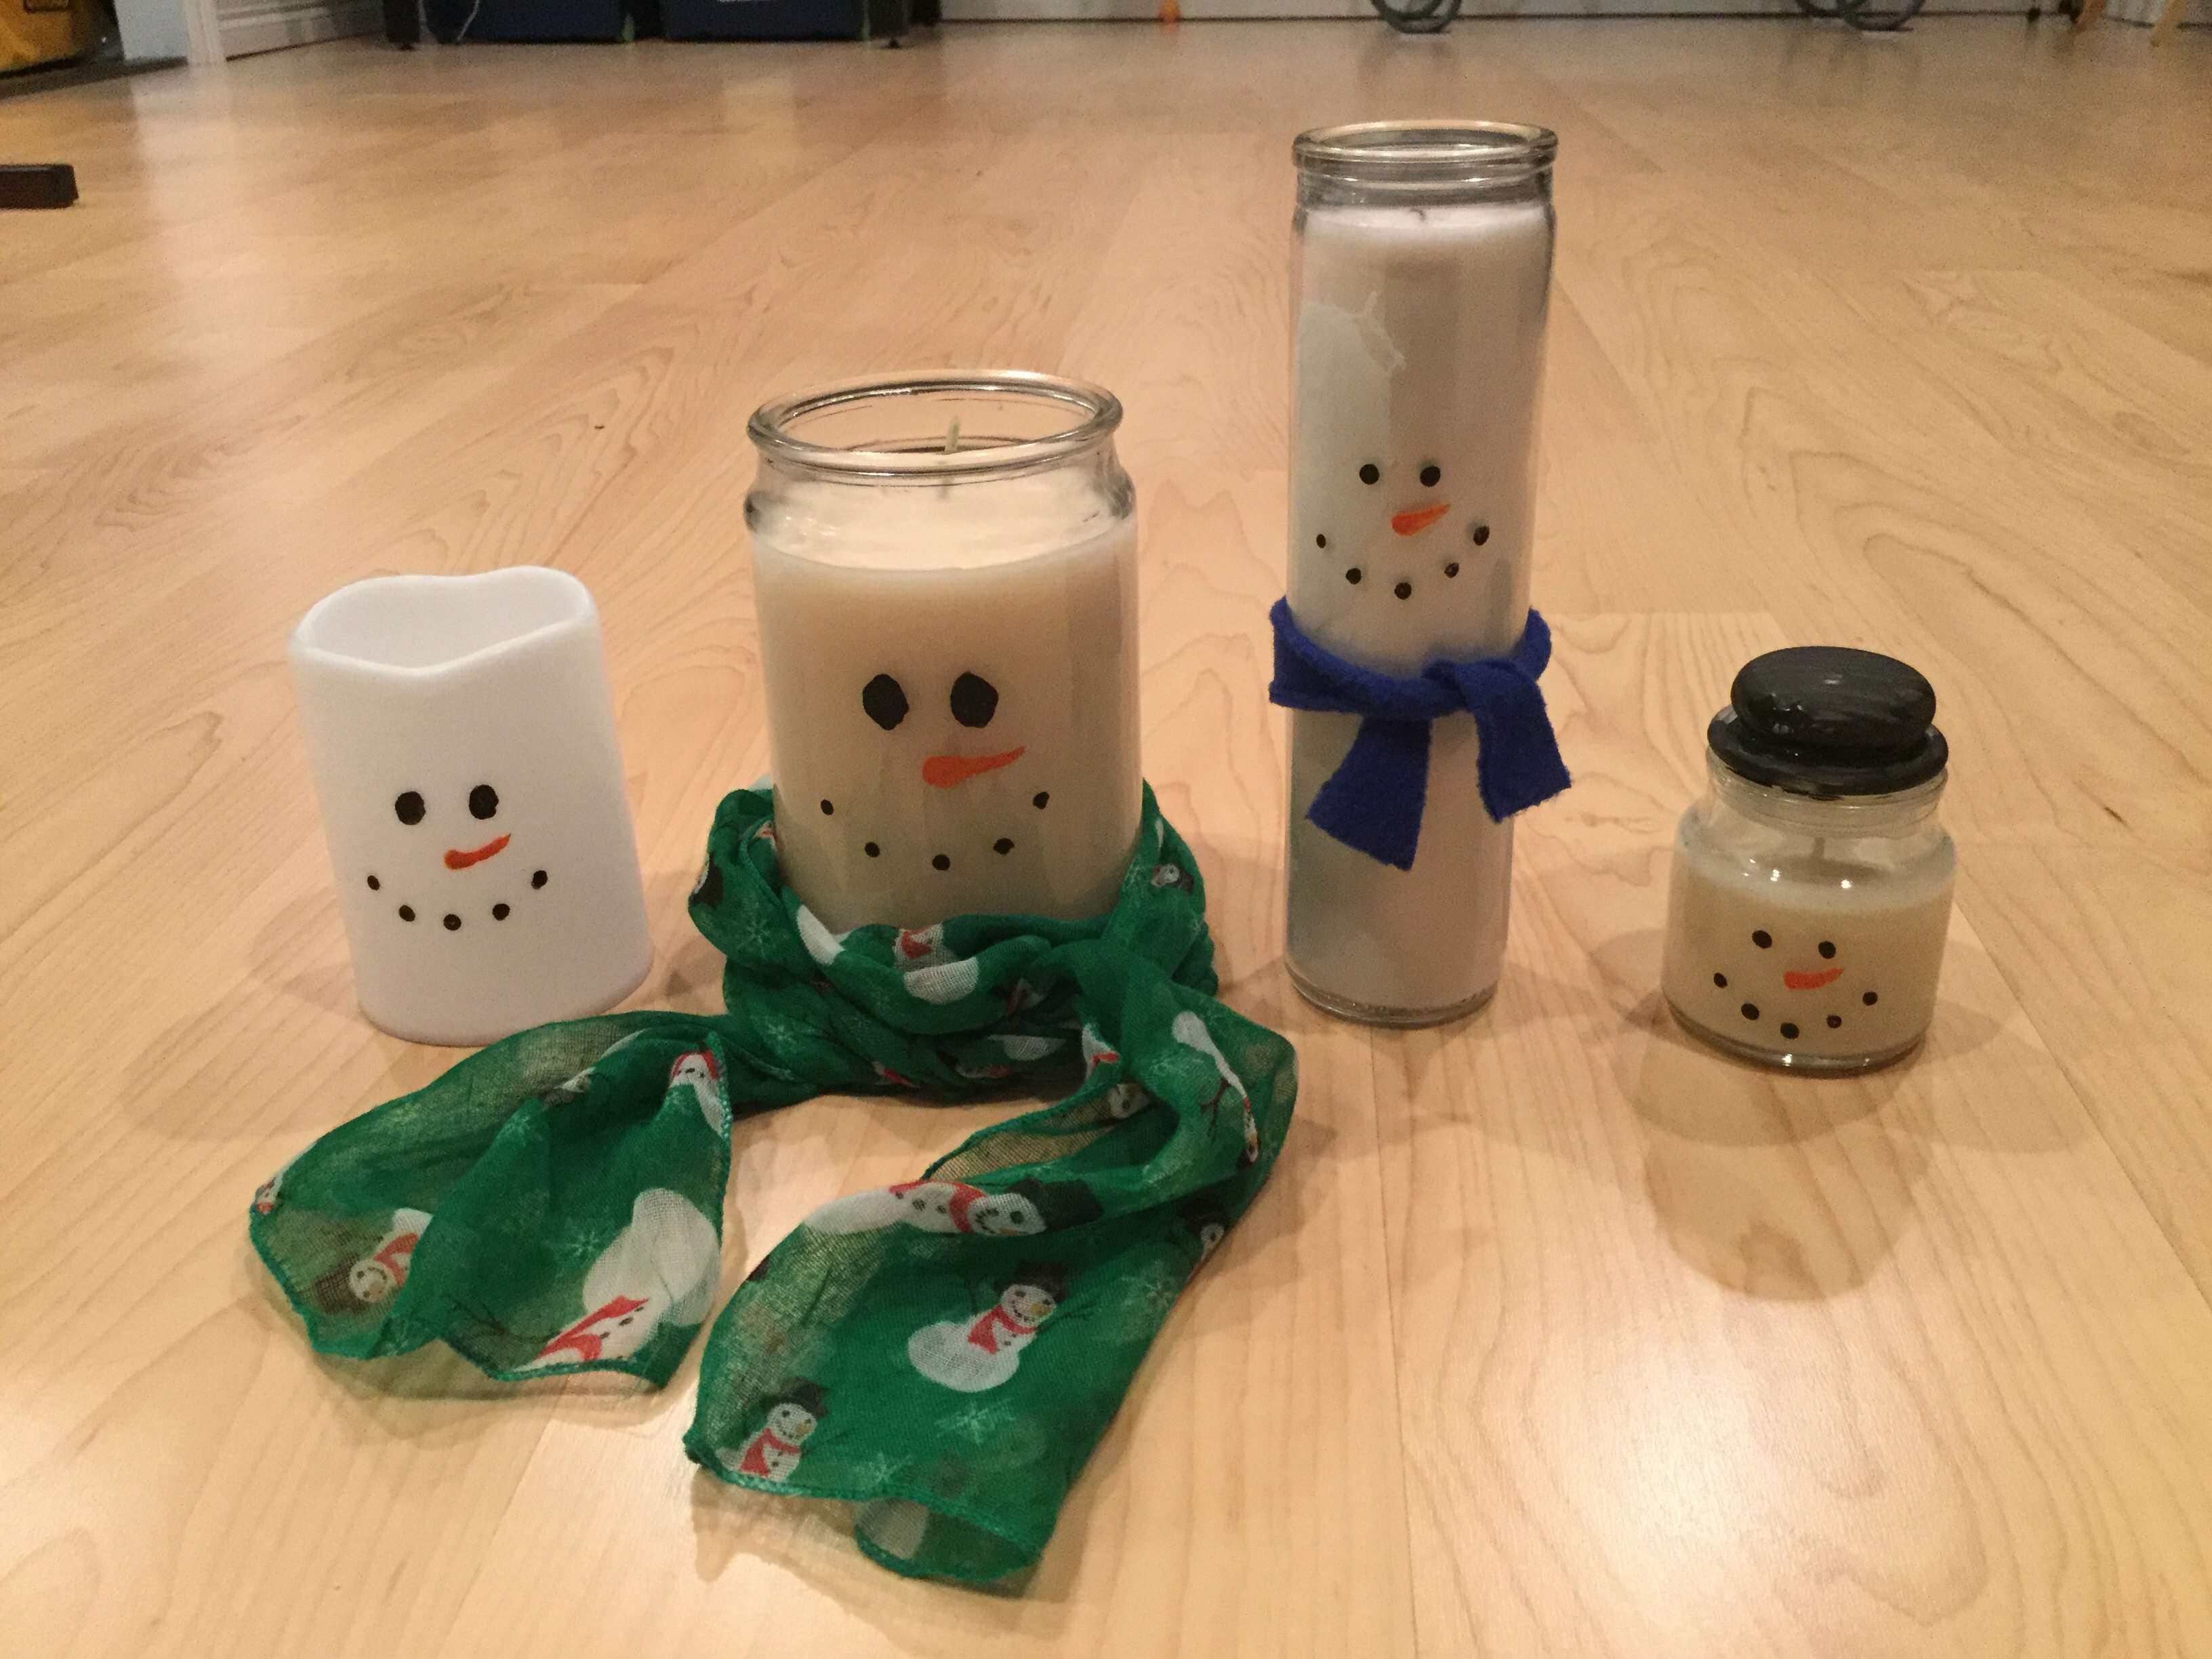


I’m loving these cute snowmen, Chas!! Definitely CRAFT for the holiday and beyond! ❤️ So creative!
Thank you so much Mona, always fun crafting with you!