Easy Dollar Tree DIY Fall Sign That Can Be Adjusted For Any Season
Do you want a DIY fall sign? Here is one using a few items from Dollar Tree that can be customized and adjusted for any season or holiday.
Today we’re going to show you an easy project. We will make some easy diy chalkboard signs. They are a great way to add to your outdoor fall decorations. I will show you how adjustable they are for just about any occasion in your home.
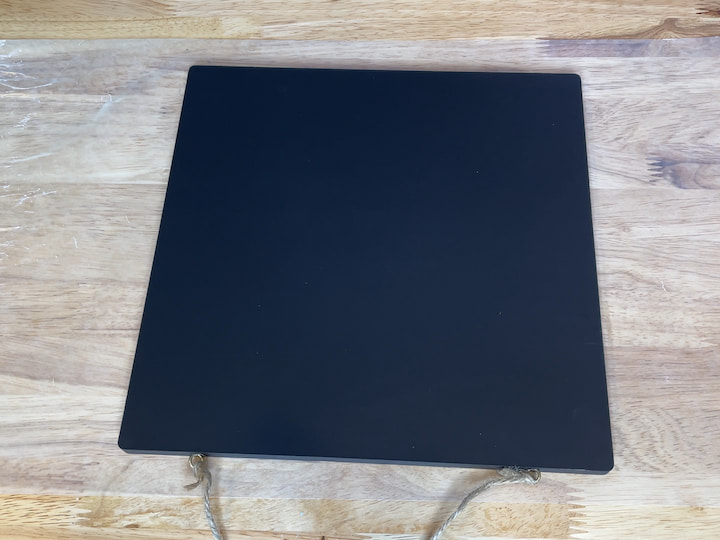
Diy Fall Sign Materials
 Plaid Double Sided Framed C...Shop on Amazon
 MyGift Wall Mounted Shabby ...Shop on Amazon
 24 Pcs Fall Stencils 3x3 in...Shop on Amazon
 Crayola Chalk 12ctShop on Amazon
Diy Fall Sign Video
DIY Fall Sign instructions
1. Season the Chalkboard
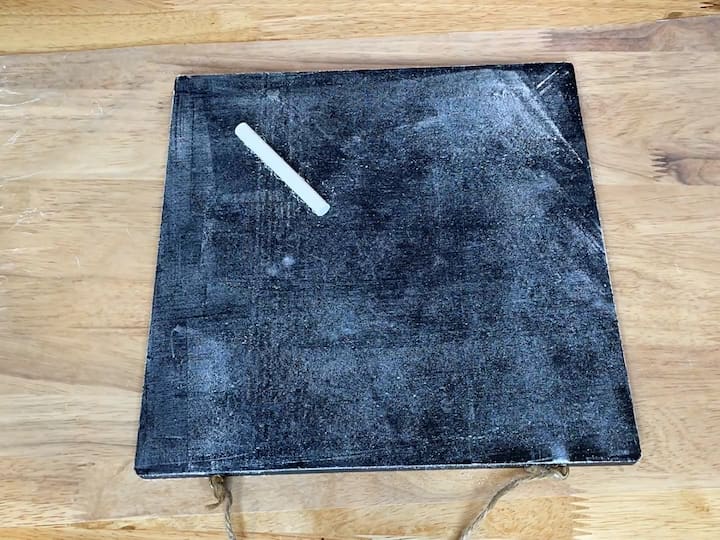
I got this chalkboard at the target dollar spot for three dollars, but any chalkboard will do. The first thing you need to do with any chalkboard is to season it and you start by rubbing chalk all over this chalkboard. Seasoning the chalkboard makes it more erasable, otherwise whatever you write will not come off the board. To do this you just start rubbing the chalk in every direction.
Now that the chalkboard is good and seasoned I just simply erase it. This makes the chalkboard much more usable. If you ever wash a chalkboard off with water you’ll just need to season it again. Obviously, we have lots of things we can do with this chalkboard. You can make memo boards, message boards, or menu boards, but today we are going to do something different.
2. Place your stencil on the chalkboard and color it in.
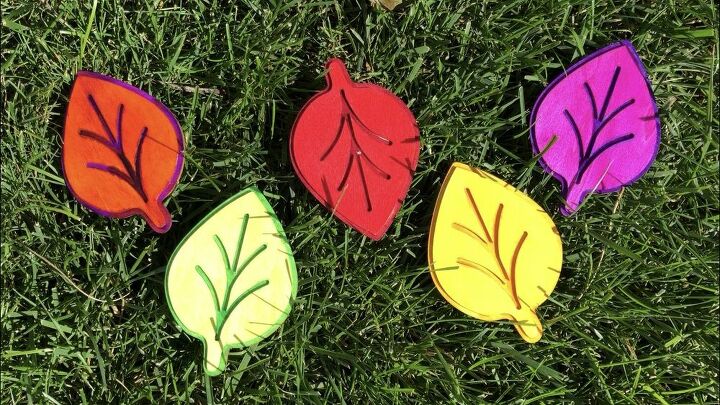
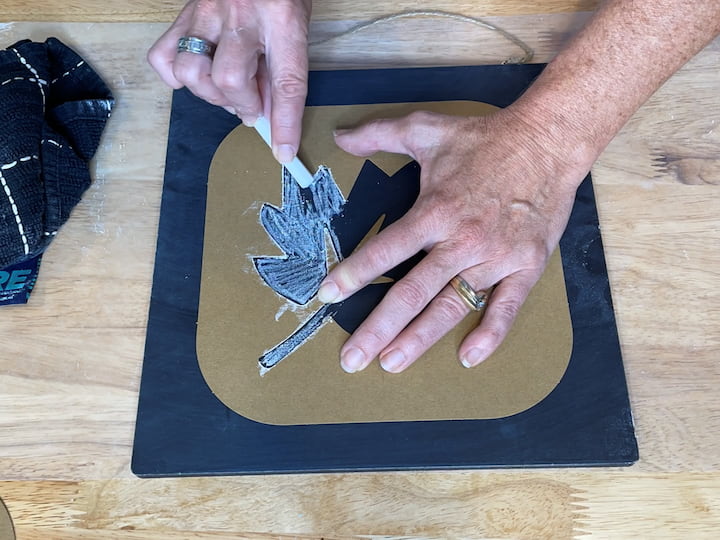
I am going to place a stencil on top of this chalkboard and then use the chalk to color it in. Obviously, this is a fall stencil but the best part is this would work for pretty much any occasion. This is an easy craft project that you can change to match your seasonal decor. You could make a sign for any holiday, special occasion, birthday, or seasonal signs to adorn your front porch or front door. You just need to find an appropriate stencil. They usually have a good selection at your local craft store.
Now that it’s all covered up I just lift it and blow off the chalk. I can clean it up a little bit if I want and that’s pretty much all there is to it. Some stencils are a little harder to work with. This one was a little more challenging because it’s paper. I just wanted to soften this up a little bit so I’m just using my finger to rub that in and that’s going make a shadow in the background.
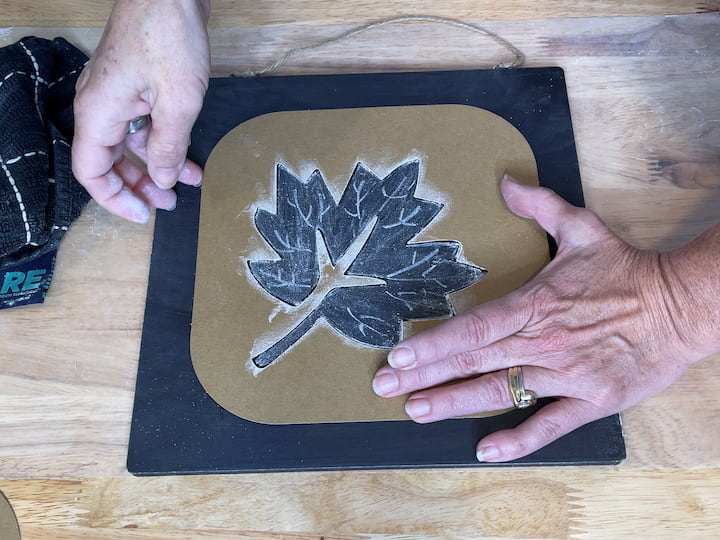
3. remove the stencil
I could write over the top of that and give it some layers. The other thing that iI could do is draw in if I wanted to add some more lines to create dimension. I can give it more of a maple leaf shape and create more lines so there are lots of layers. We’ll peel it up in a second and see the finished product. I could make this into a happy fall sign, or whatever I want.
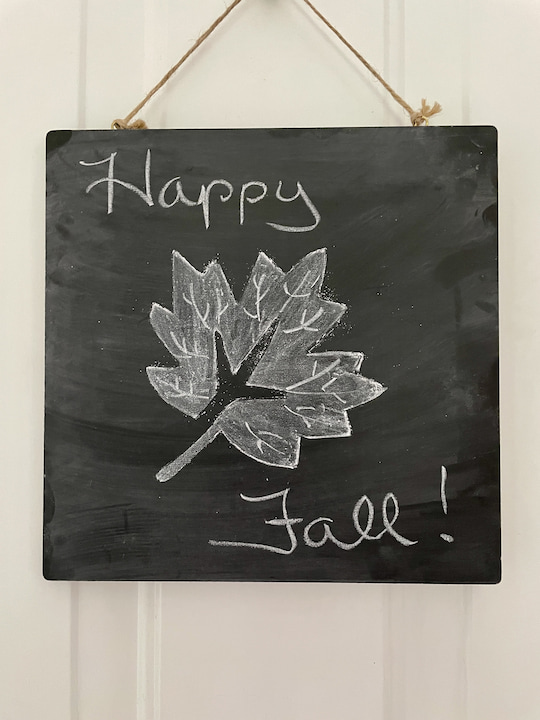
This is the perfect project to use your creative ideas. It is lots of fun and the best part is the whole thing is completely customizable. When I’m done with it I just simply erase it and do the next one, easy peasy.
I have one more project to show you.
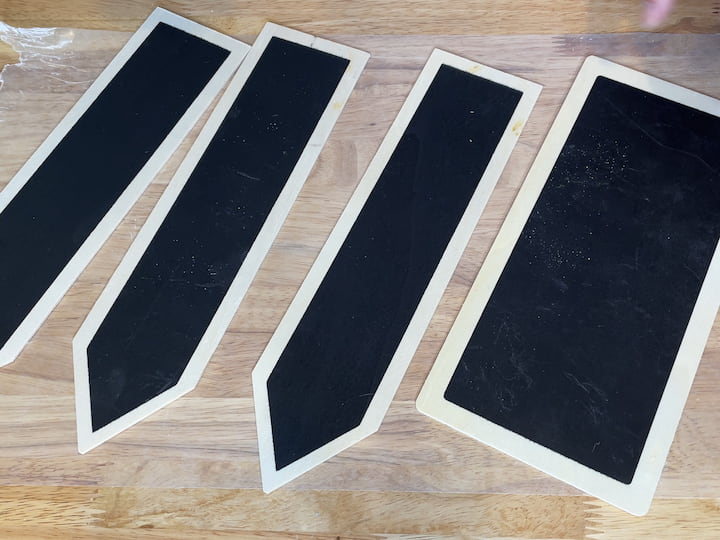
Another DIY Fall Sign Option
I have these other signs I got from Dollar Tree.
1. Season the chalkboards
I will need to season these as well. After they are seasoned I will erase the excess chalk, making them user-friendly.
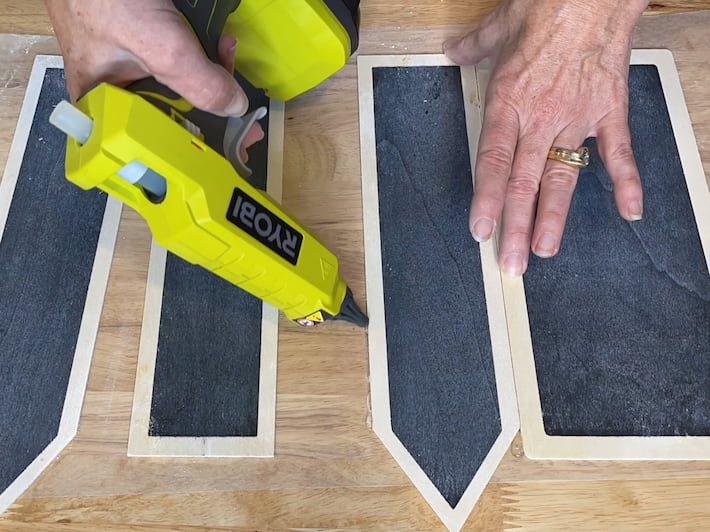
2. Glue the chalkboards together
For this project, I am going to use my hot glue gun and glue them all together. I want the arrows to point in different directions. After they are glued together set them aside to cool. You can add twine if you want to hang your sign or glue a paint stick on the back to use as a stake or simply lean the signs against the front step or front porch.
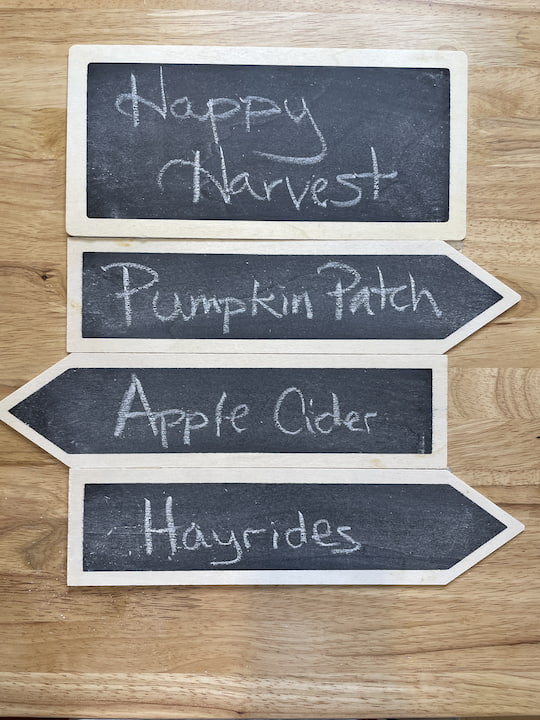
3. Write fun sayings on each chalkboard
Let’s talk about what we can do with these fun signs. For fall decor ideas you could happily fall with arrows pointing to perhaps a pumpkin patch, apple cider, and hay rides. You can come up with your own great ideas for any season.
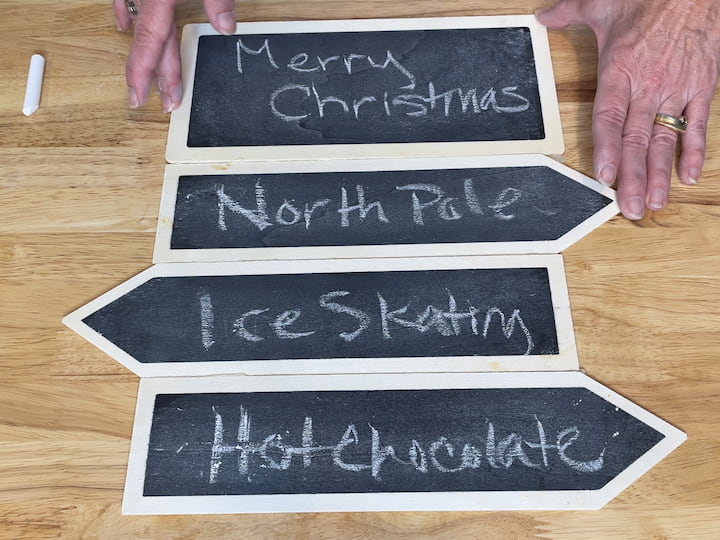
For example, for Christmas, you can write happy holidays with arrows pointing to the north pole ice skating, and hot chocolate. For valentine’s day, you can have a kissing booth and some candles. For springtime or Easter, you can have the Easter bunny and egg dyeing. For summer you can have ice cream and the beach.
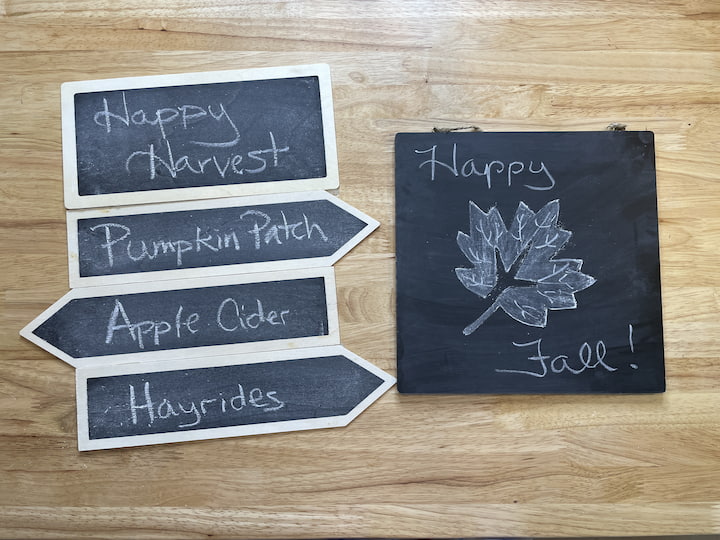
The fun part is you can make your own version of these chalkboard signs. They are the perfect addition for any season and they can be made easily without spending much money.

You could also make a fun wooden sign out of scrap wood and chalk paint. I have done this before and made my kids custom fall wood signs with orange chalk paint. You can pick up inexpensive autumn signs at the dollar store and make your own DIY fall wood sign by just adding a little bright orange, white paint, or black acrylic paint to make your own porch sign. Add some fresh pumpkins, and some straw bales and you give your front porch that home feel.
DIY fall decor doesn’t have to cost an arm and a leg. You can easily create your own beautiful fall decor by putting some autumn leaves in mason jars, make a pumpkin sign and place it by a real pumpkin. One other tip, make reversible fall home decor and get more bang for your buck. Take that wooden fall sign and make it for fall on one side and winter on the other.
DIY Fall Sign Video
I would love it if you’d subscribe to my youtube channel and my blog. I hope this inspires you to make some chalkboard creations of your own. Thanks for watching and don’t forget to like share and subscribe
Shop any of these stores and I receive a small commission at no cost to you.
 Interchangeable Seasonal We...Shop on Amazon
 Kithomer Fall Decor Pillow ...Shop on Amazon
 Rustic Wall Sconces Mason J...Shop on Amazon
 KIBAGA Farmhouse Wall Decor...Shop on Amazon
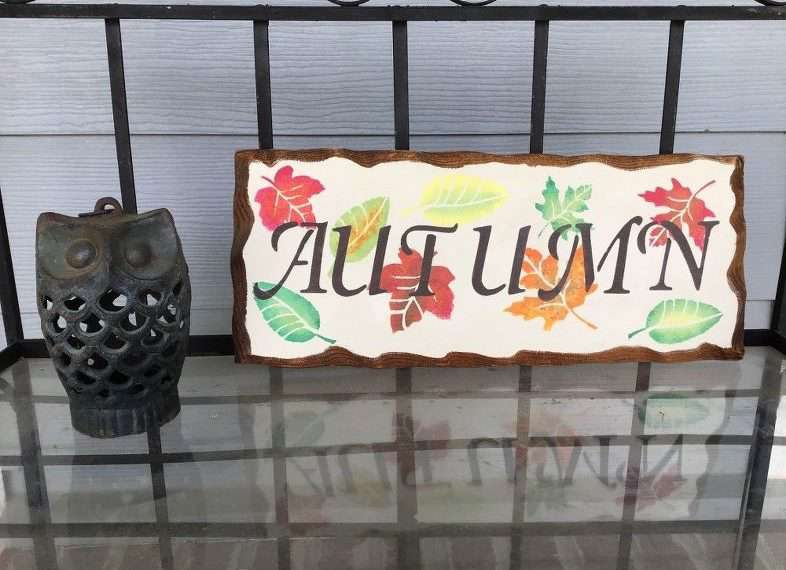
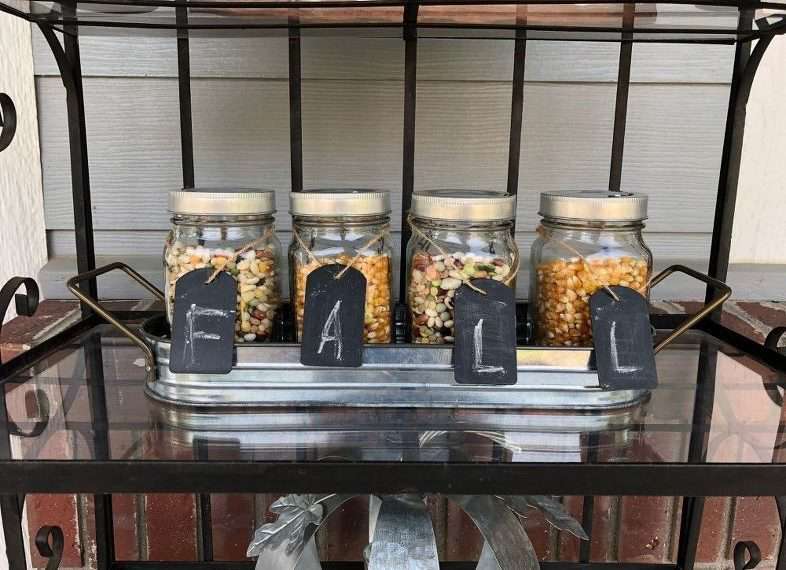
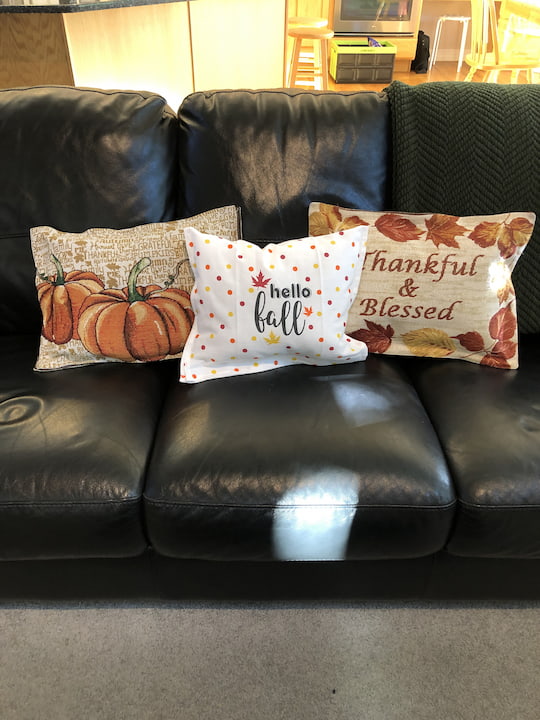
Check out some of my other fall decor!
