
Easy Heavy Duty Garage DIY Shelf
How to make a simple garage DIY shelf? In this post, you’ll learn how to make an easy heavy-duty DIY garage shelf for your home and we will share easy step-by-step instructions for installation.
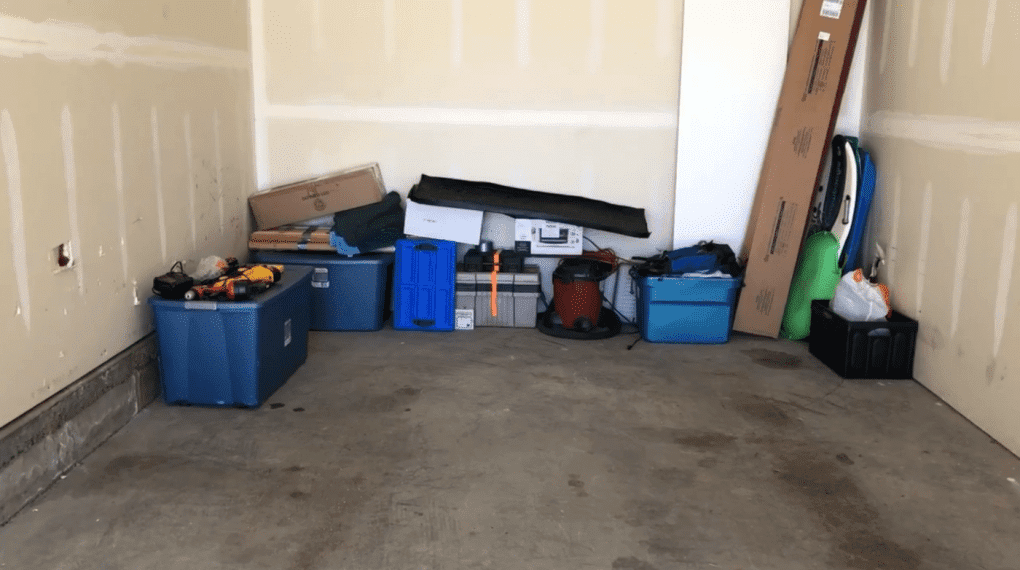
For our 20th anniversary, we bought a small condo in the mountains in the town we were married. It came with a small single-car garage and we needed to build a shelf to help with storage space. This is an extra deep & heavy-duty shelf. You can build one or more with this concept and personalize your garage to suit your needs and space. These diy wall shelves would also be perfect storage shelves in an unfinished basement
Easy Heavy Duty DIY Garage Shelf Video
We used a tape measure to determine how long we wanted our shelf to be. We then bought a 97″ x 23 3/4″ Melamine Board from Home Depot along with extra large shelf brackets. Most hardware stores carry similar items. If you have spare wooden planks you could use these for the shelf’s top.
Jim mapped out the shelving and how he wanted it to go up. You can see the white lines on the drywall – those are the wall studs where you want to screw the shelf brackets in for support. We didn’t need anchors since we were securing the brackets to studs.

He measured how high he wanted the shelf to be (we can actually put a second one above it or stack tall things).
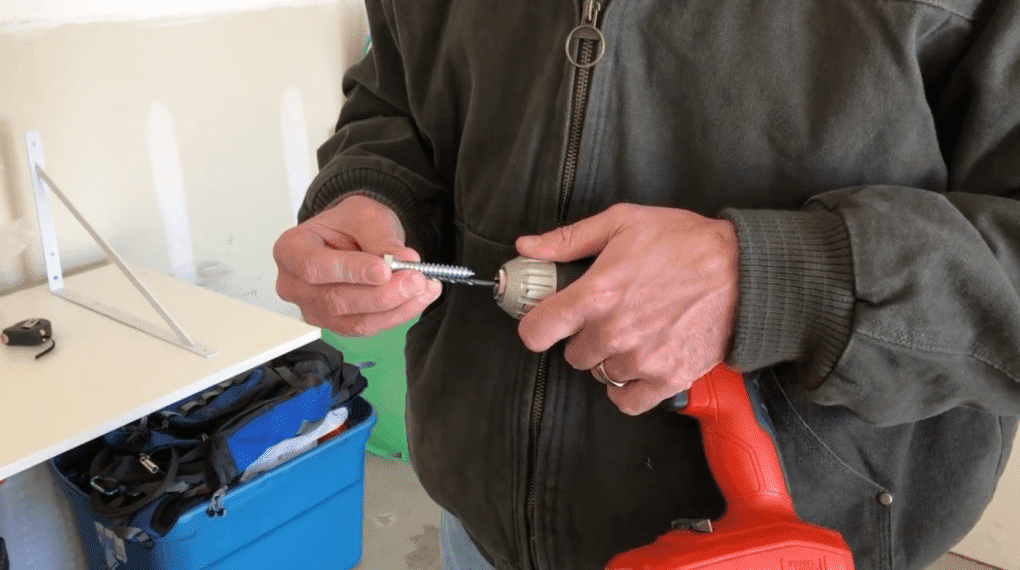
He used 1/2″ x 3″ bolts to put the shelf holder into the wall. He measured the screw against the bit to decide which size to use.
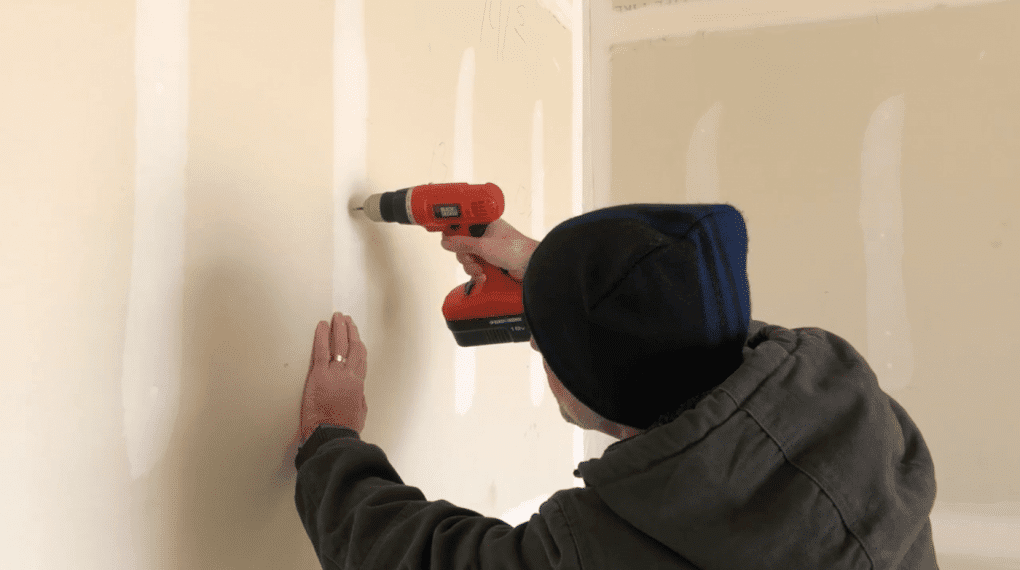
He used the drill to make pocket holes where the screws would go.
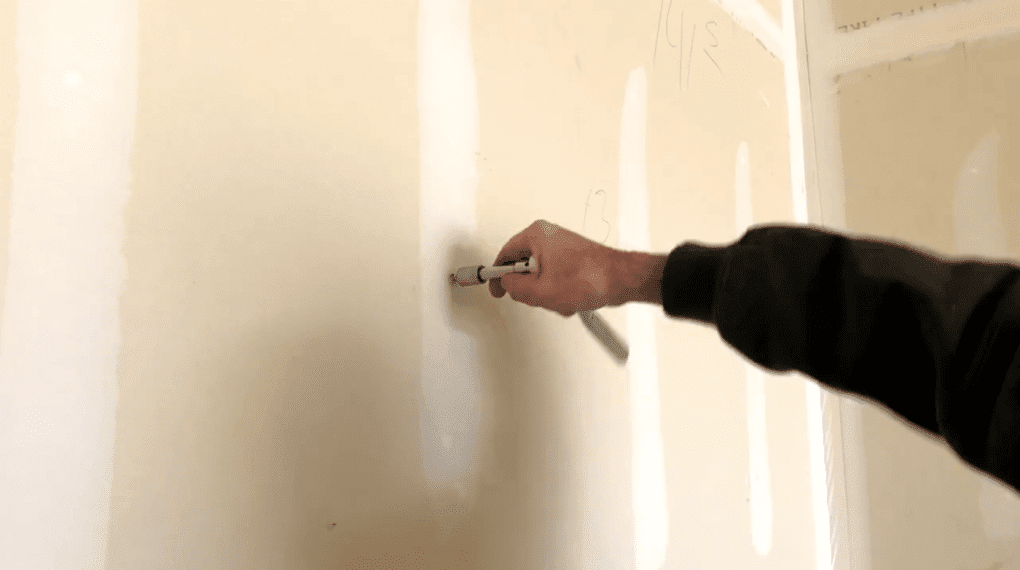
Next he used a socket wrench to screw in the screw to make it easier to thread when he screwed in the bracket.
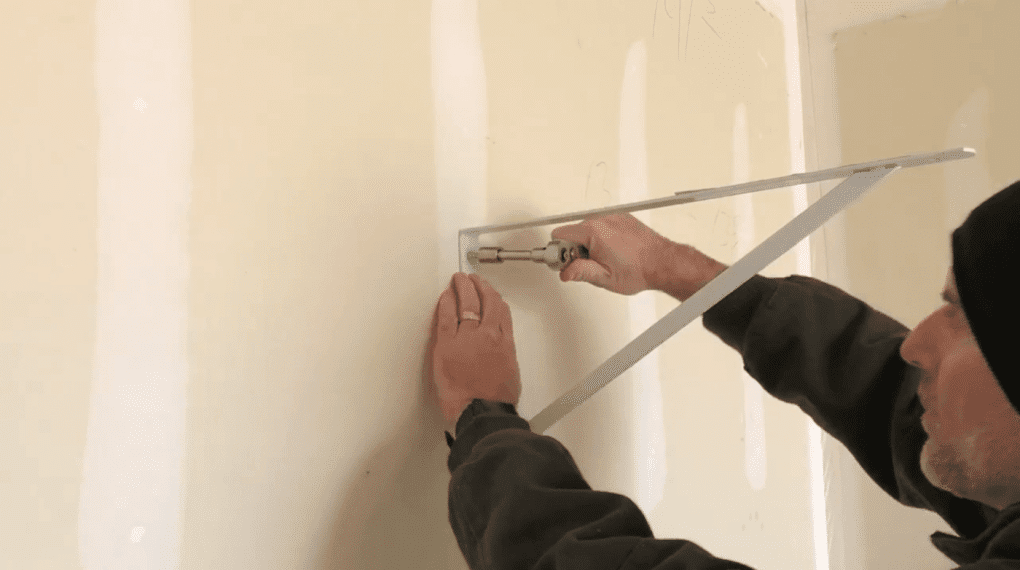
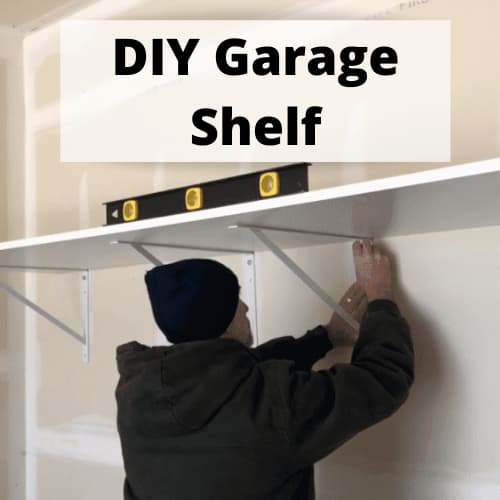
He set the bracket onto the wall and screwed in the bracket.
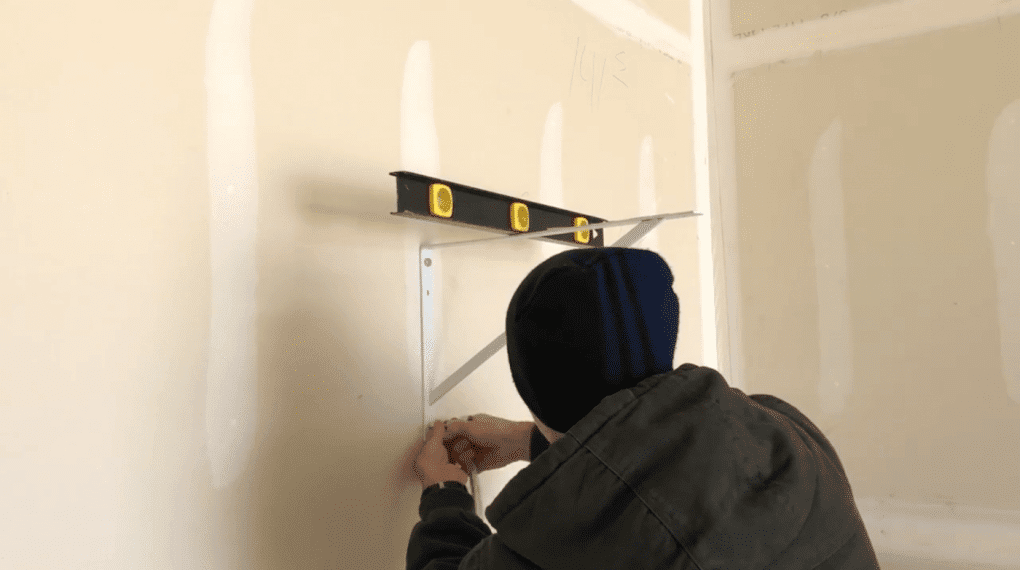
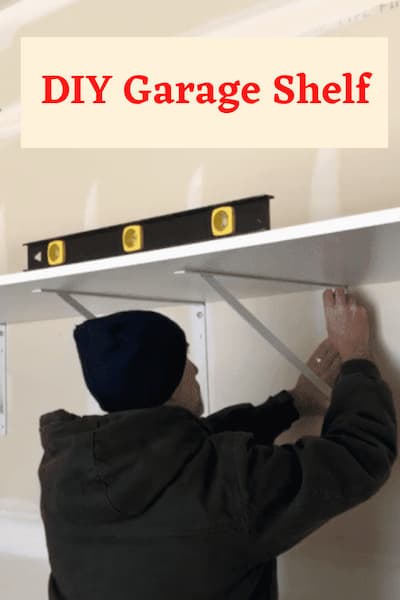
He used a level to make sure the bracket was straight before placing the bottom screw into the bracket.
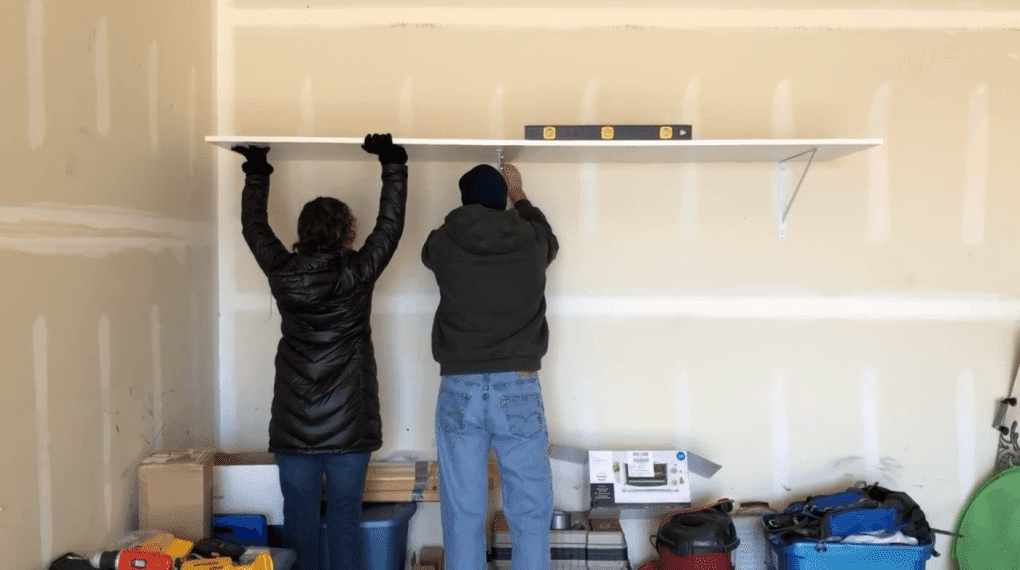
To make sure he put the rest of the brackets in straight so that the shelf would be level, we set the board on the first bracket and marked out where the other brackets would go with a level. This may require a ladder if your diy shelving is high or you are putting one shelf above another
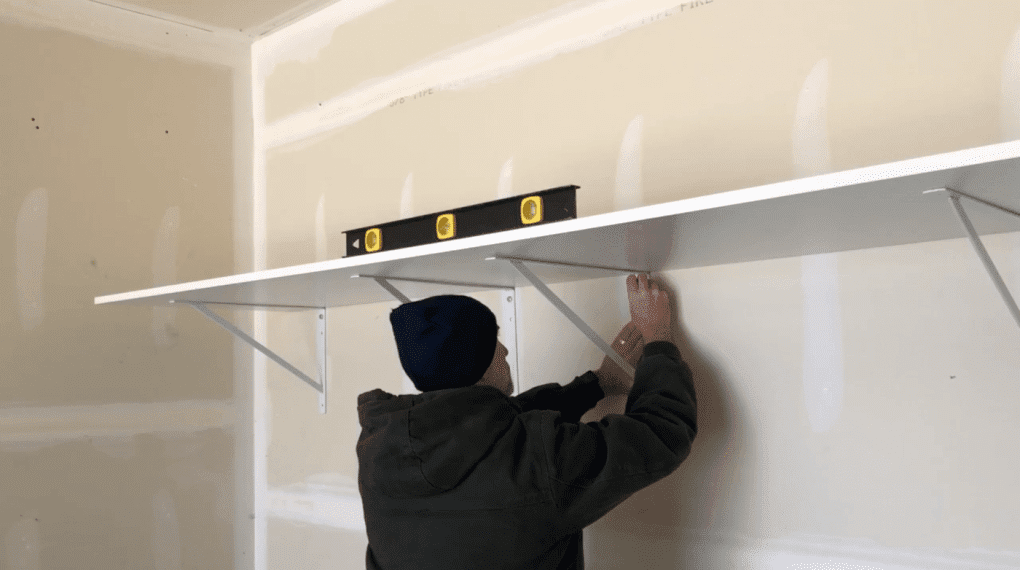
We took the board down and he screwed in all the other brackets. We placed the board back up once the brackets were in and made sure the shelf was level.
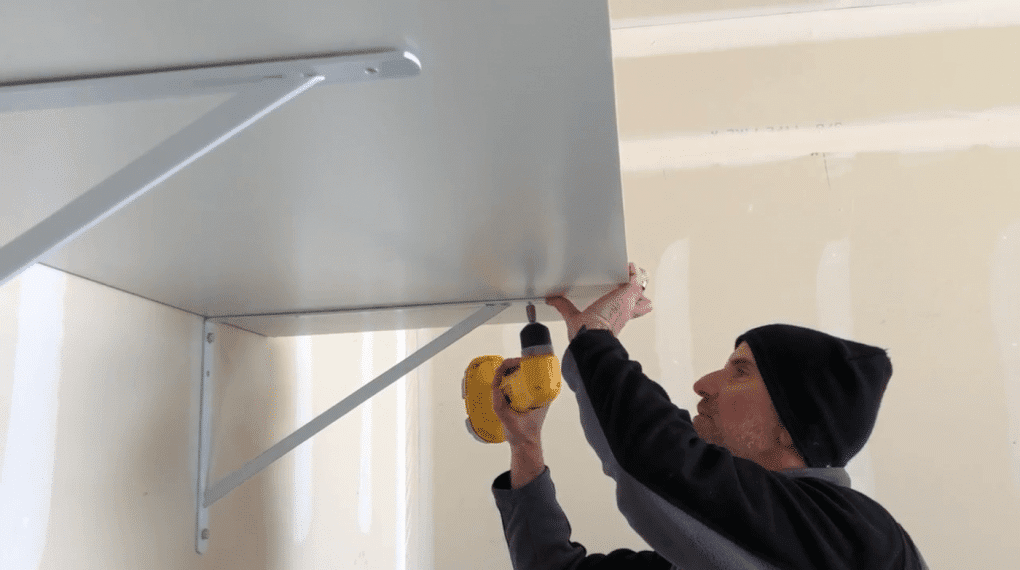
Next, he screwed in #10 x 1/2 screws to secure the shelf to the board in 2 locations.

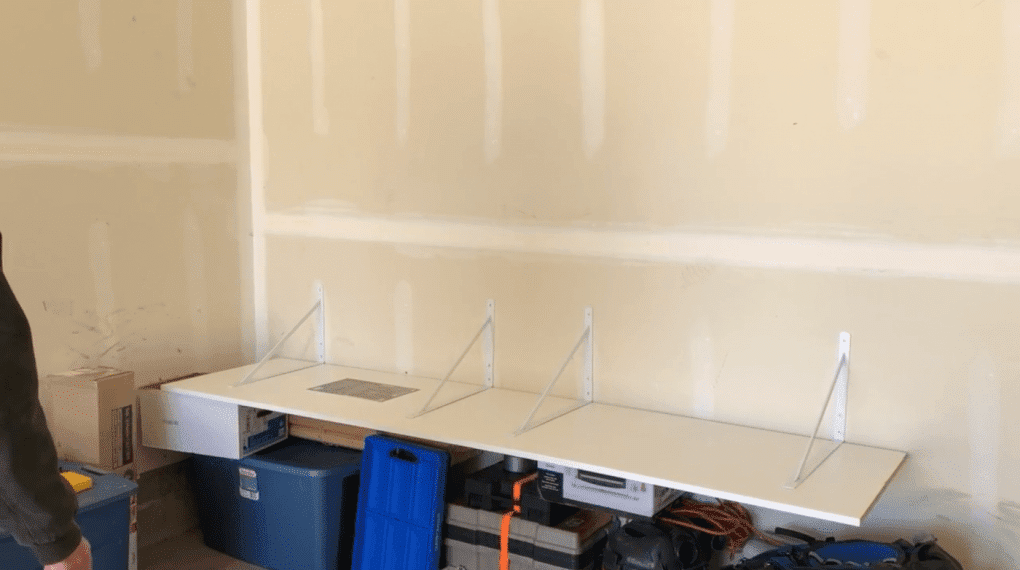
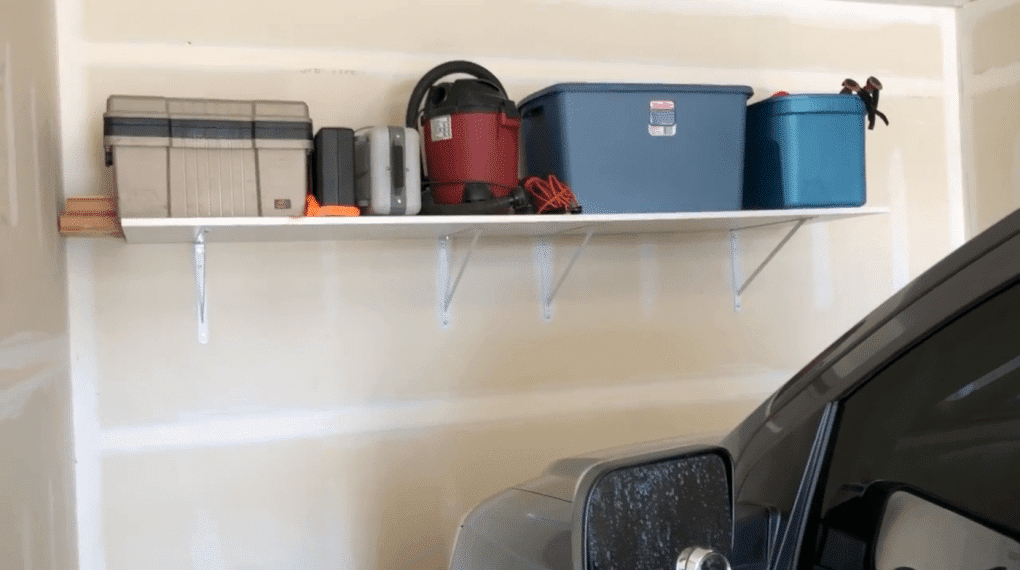
Our shelf was done!
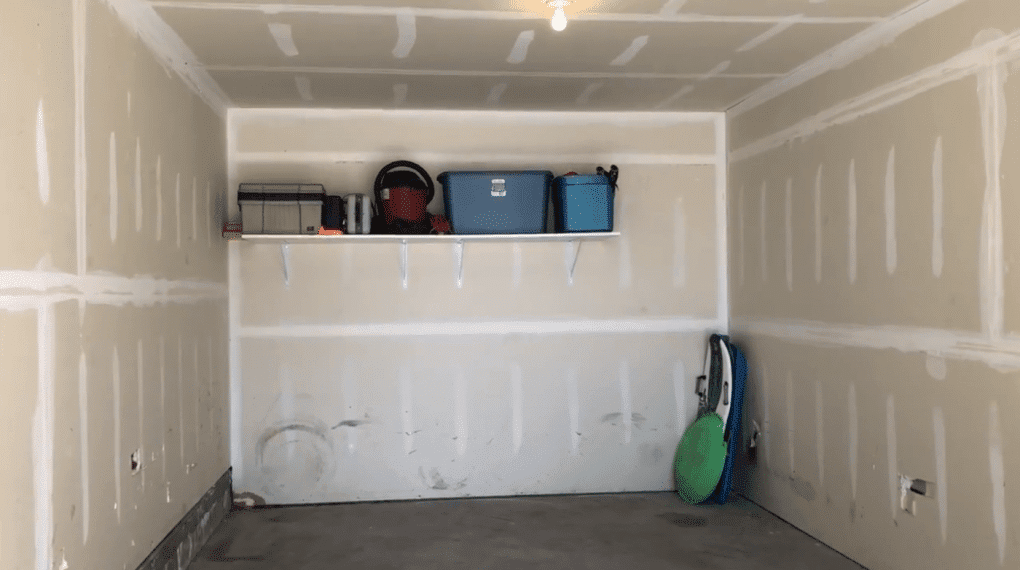
As you can see there is plenty of room to add a bottom shelf, or whatever we will need in the future.
Easy Heavy-Duty DIY Garage Shelf Video
Shop any of these stores and I receive a small commission at no cost to you.
 FLEXIMOUNTS 2-Pack 2x6ft Ga…Shop on Amazon
 FLEXIMOUNTS 4×8 Overhead Ga…Shop on Amazon
 Amazon Basics 5-Shelf Adjus…Shop on Amazon
 LYNK® Garage Sports Equipm…Shop on AmazonShop on Amazon
Other helpful DIY Shelf Ideas
- Floating shelf
- open shelving or cubby for your bathroom
- Turn pallets into pallet shelves
DIY Shelf accessories, Supplies, and Tool Options
- stud finder
- wood stain
- nails and wood screws
- wood glue
- circular saw or miter saw
- brad nailer
- kreg jig
More DIY projects
- Easy and Inexpensive Small Laundry Room Hacks with Video
- Easy and Awesome DIY Dollar Tree Lazy Susan with Video
- Easy Dollar Tree Organization To Make Your Life Easier
- Mini DIY Ladder Shelf: Putting the HYCHIKA Cordless Drill to the Test
Learn more about “Why to Deep Clean and Organize Your Home” to save money, function better, and keep your sanity.


What an amazing anniversary gift!!! Open shelving is key to my house! We have such little storage, and this is a great way to maximize space! Can’t wait to see more of your condo!
Thank you so much Danielle! We sure are enjoying it
Looks great, Chas! We just did something similar in our attic, and I am loving all the organized storage space I have now. You can never go wrong with extra storage. 🙂
Thank you so much Amy, and I’d love to see your attic. Love homes that have that available.
Turned out great Chas! Going vertical with storage is always amazing with just HOW MUCH it can help! Great hopping with you!
Thank you so much Tarah, you are so very right and great hopping with you friend.
Great project for extra storage! I love organized storage shelves.
Have a great day,
Kippi
You have given me something to think about Chas. I really want to add some shelving to my carport. So fun hopping with you ladies.
Thanks Kim, and what a great project as I’m sure there are many people who would love some shelves with their carport as well.
Chas, the garage is going to be our Spring project so I KNOW this post will definitely come in handy for organizing that space. Love the step by step tutorial and I am envious you have such a clean garage!Fun hopping with you, my friend!
Thanks Mary, and to be honest this was a clean slate to work with. Our garage at home…. well that’s another story lol
This looks great. I could use a whole wall of these. Just curious, can you explain how to find the studs? And about how much your budget was?
Thanks Andrea, those are great questions and I’ll need to add that to the post. We used a stud finder to help us find the studs. I’ll check with my husband on the budget for this and check back in 🙂
Andrea, Stud finders start around $20. The cost increases for options of stud center, wire sensors, etc.
Even though it’s a one car garage, it was so smart for you to gain extra space on that wall. You have lots of room to add more, too.
Happy Sunday!
Niky @ The House on Silverado
Thank you so much Niky and we do have room to grow which is fantastic.
need a few of these in my storage area. They look so super helpful
come see us at https://shopannies.blogspot.com
Thank you Angie, I hope this can be helpful for you too.
These look great, storage is so important in spaces like this.
Thank you Julie, and I agree – we all need all the space we can get 🙂
Going vertical is always a good idea when looking for extra storage space. Nice work! Thanks for showing us how to get it done.
Stopping by today from the Simple Homestead blog hop 🙂
Thank you Linda, I know when I built my first set of shelves in our first home as a surprise for my husband – first thing he said was – “they’re crooked and not level” – lol. I made him help me with these 🙂