DIY Halloween Decorations Outdoor: Fun and Easy Ideas on a Budget
Discover creative DIY Halloween decorations for your outdoor space! Transform your yard with these budget-friendly projects, perfect for a spooky atmosphere this Halloween.
This post may contain affiliate links, I earn from qualifying purchases at no extra cost to you. Click here for my disclosure policy
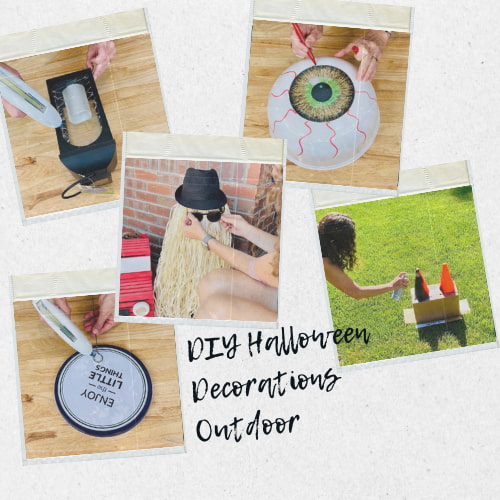
Head over to Dollar Tree, grab some of these supplies for easy and fun DIY Halloween yard decorations on a budget. We are going to make front porch decor, front door decorations, and many other DIY outdoor Halloween decorations. Let’s get started.
DIY Halloween Decorations Outdoor Video
Table of Contents
- 1 DIY Halloween Decorations Outdoor Video
- 1.1 How to Create a Spooky Shrub Monster
- 1.2 How to make a pumpkin light?
- 1.3 How To Make Cousin It From A Hula Skirt
- 1.4 DIY Halloween Lanterns
- 1.5 DIY Halloween Characters (DIY Ghost, Pumpkin, Monster)
- 1.6 How To Make A Witch Hat
- 1.7 DIY Light Up Ghosts
- 1.8 How to make a light up Halloween bucket?
- 1.9 DIY Pumpkin Bucket Topiary with Lights
- 2 DIY Halloween Decorations Outdoor: More Ideas
- 2.1 Giant Witch Hat
- 2.2 How To Make A Giant Spiderweb
- 2.3 Easy and Fantastic Halloween Luminaries To Light The Walkway
- 2.4 How To Make A Tomato Cage Ghost
- 2.5 Easy Awesome DIY Halloween Porch Decorating Ideas on a Budget
- 2.6 Easy Awesome DIY Halloween Porch Decorating Ideas on a Budget
- 2.7 How To Make Floating Ghosts
- 2.8 How To Decorate A Door For Halloween Cheap and Easy
- 2.9 How To Make A Tomato Cage Witch
- 2.10 How To Make Skeleton Cages
- 3 DIY Halloween Decorations Outdoor Video
- 4 More DIY Halloween Outdoor Decorations
How to Create a Spooky Shrub Monster
Materials Needed:
- Giant googly eyes
- White bowls
- Red permanent marker
- Puck lights
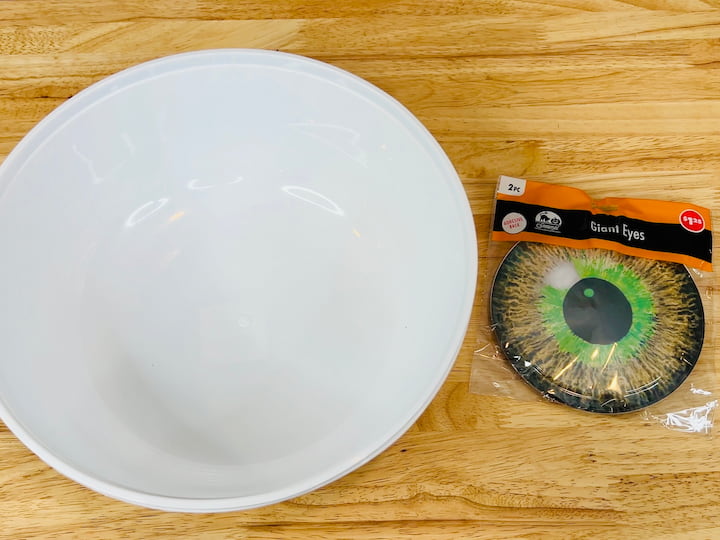
For this project you’re going to need a set of giant eyes and a couple of bowls.
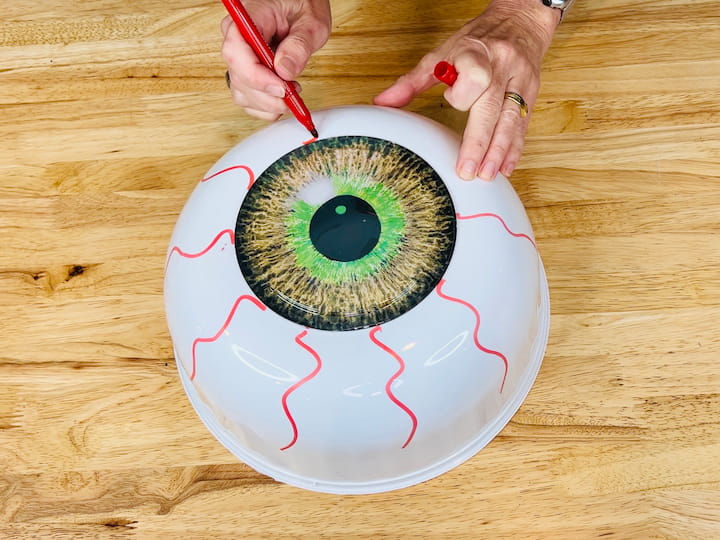
I started by hot gluing the eyes onto the bottom of the white bowls. And then I took a red permanent marker and made squiggle lines all along the white bowl to make the eyeball. And I made two of these.

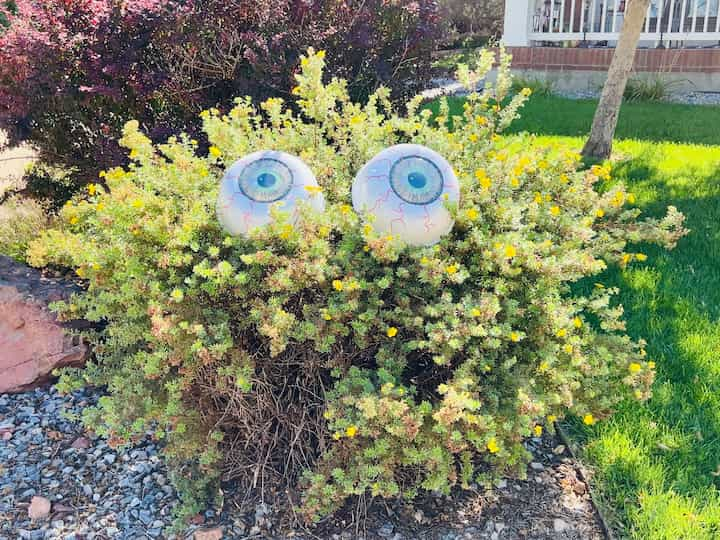
I took them outside and then I placed it into one of the bushes in my front yard. Now I have a spooky shrub monster. You can see him by day.
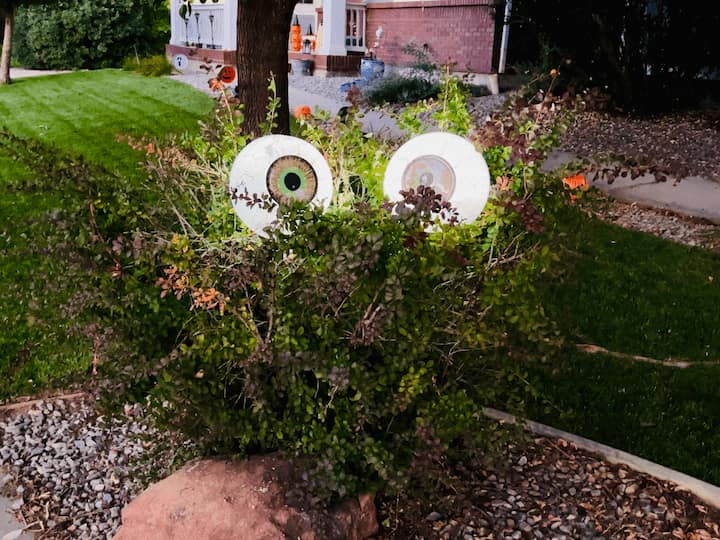
And I added some puck lights so the eyes would glow in the evenings.
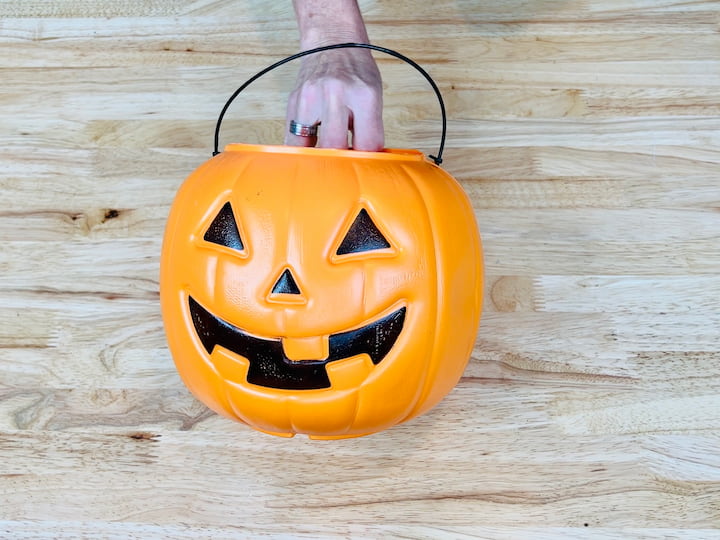
How to make a pumpkin light?
Materials List
- Pumpkin bucket
- Wood burning tool or hot knife
For this project, you’re gonna need a pumpkin bucket.
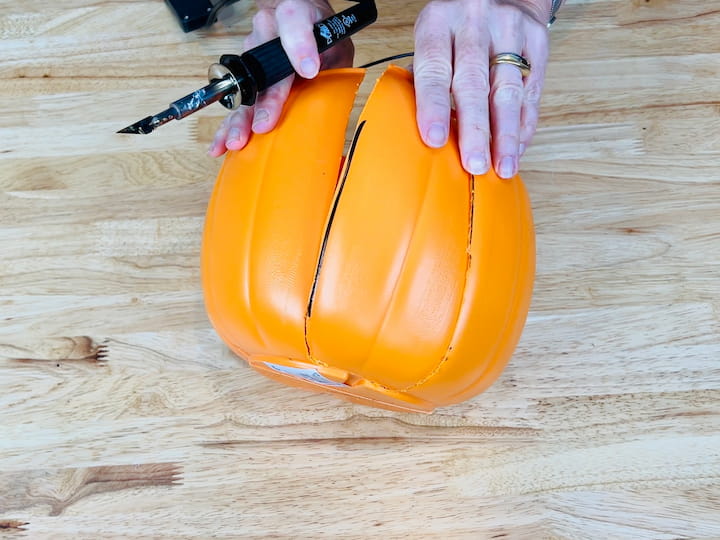
I marked two lines on either side of the back of the pumpkin so I’d know where I needed to cut next. I placed the hot knife tip onto my plaid wood burning tool, and then I was able to cut the back right off.
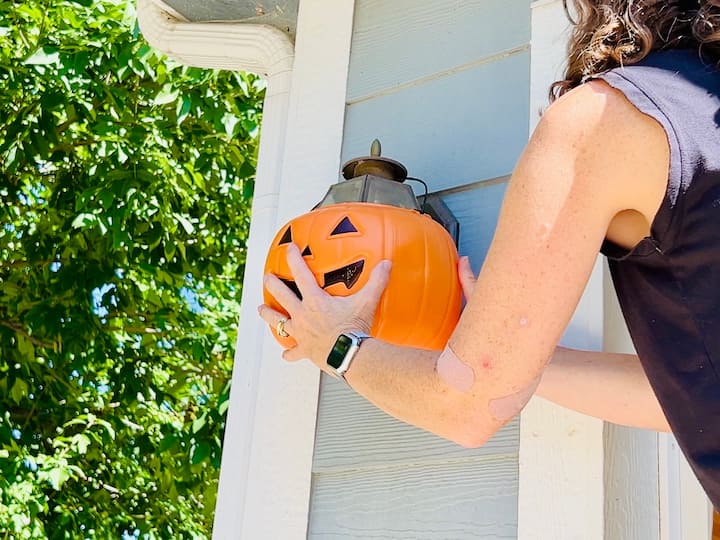
In addition to that, I cut off the bottom and I placed this on the light fixture outside our garage.
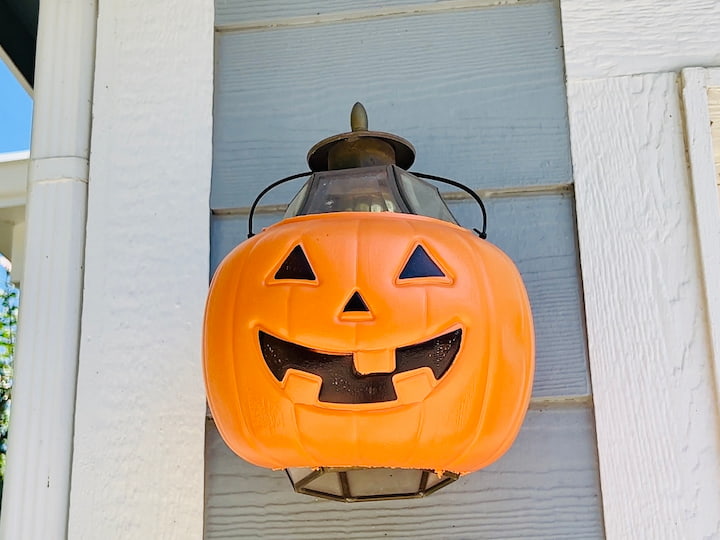
Here’s what it looks like by day.
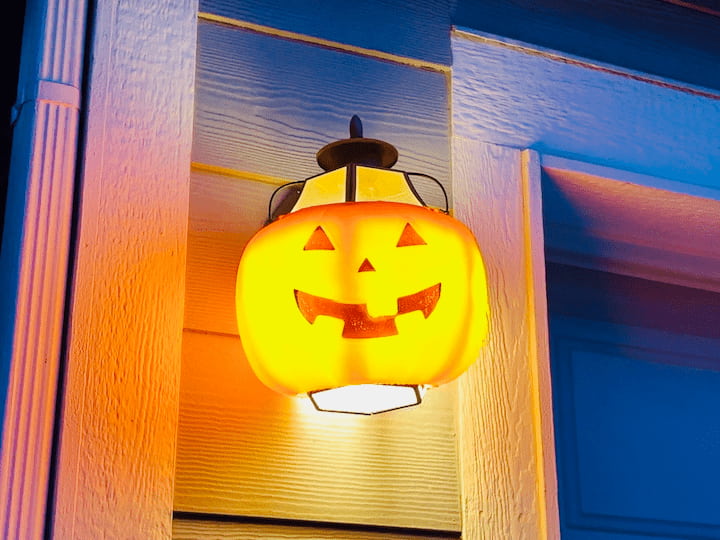
And here’s how it glows in the evenings.
How To Make Cousin It From A Hula Skirt
Materials List
- Hula skirt
- Old candle holder
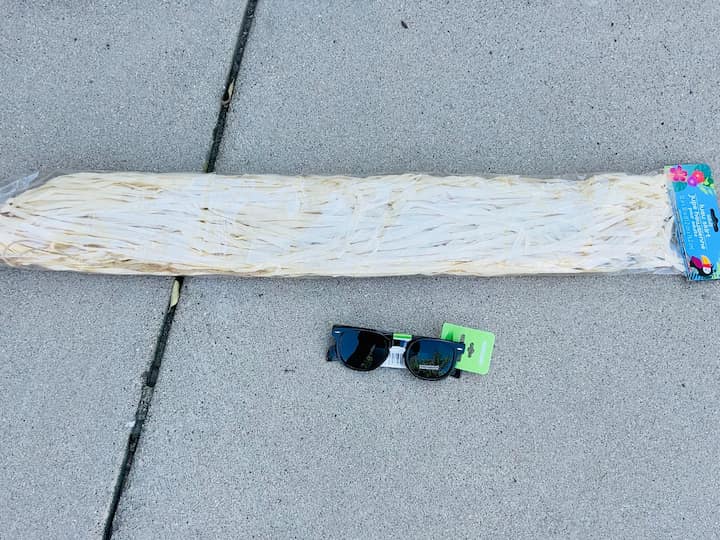
For this project, you’re going to need a hula skirt and some glasses.
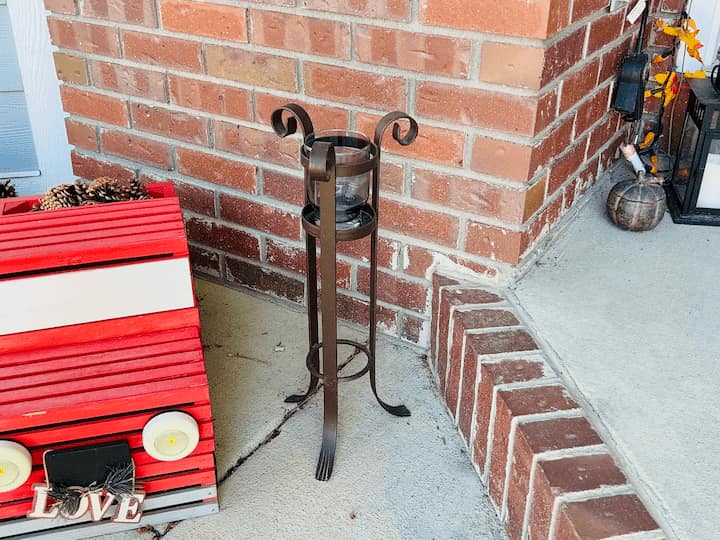
For the base, I’m using this old candle holder that I picked up at a thrift store.
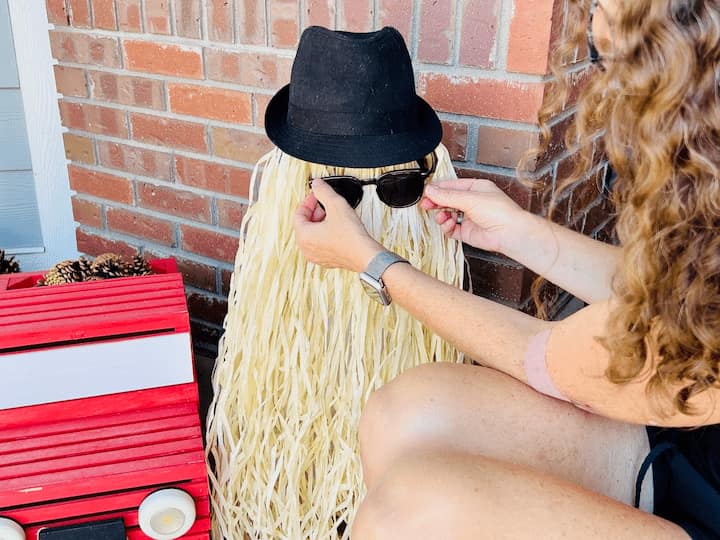
And I took my hula skirt and I wrapped it around the candle holder base. I added a hat and I added some glasses.
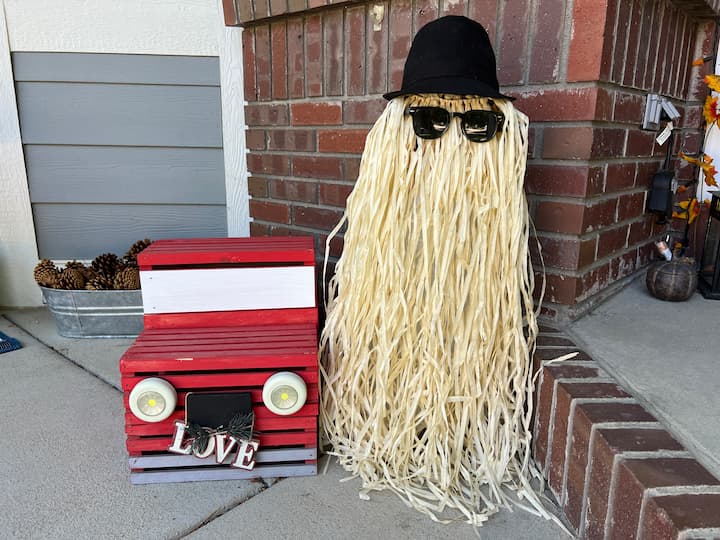
And you have your own Cousin It. Let me know what you think in the comments below.
DIY Halloween Lanterns
Materials List
- Solar lanterns
- Glue gun
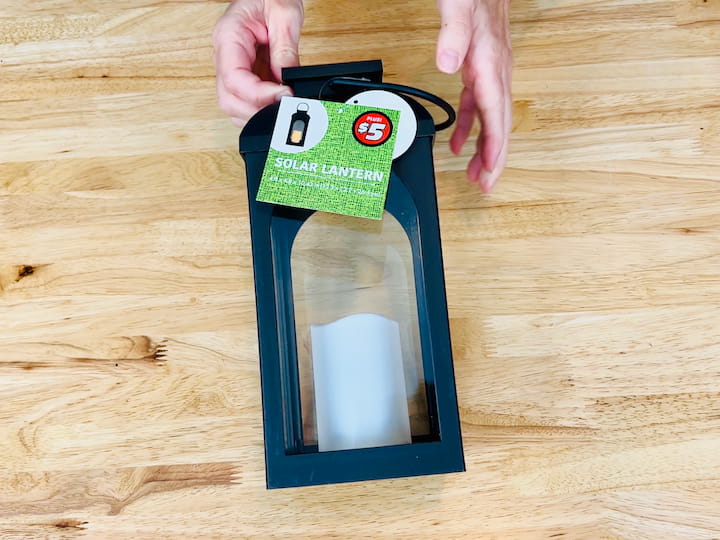
For this project, you’re going to need some solar lanterns.
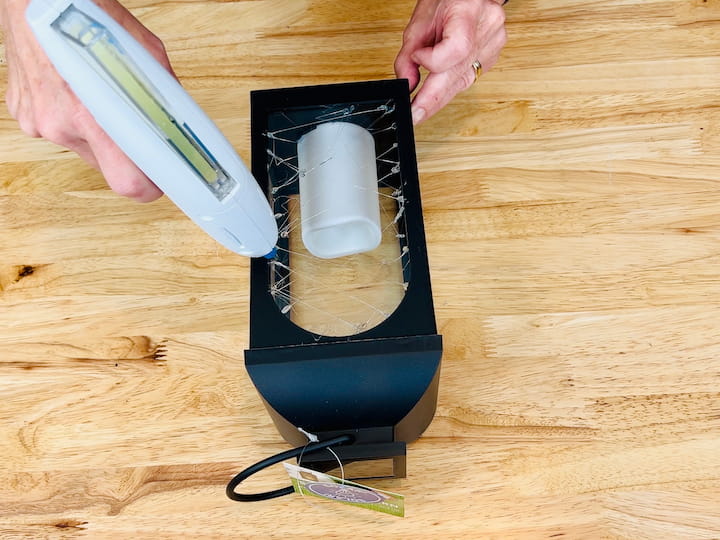
I heated up my glue gun so it was nice and hot, and then I just started making those extra gluey stringy lines and just added them all over both of the lanterns. What I was doing was creating a bunch of cobwebs all over the surface.
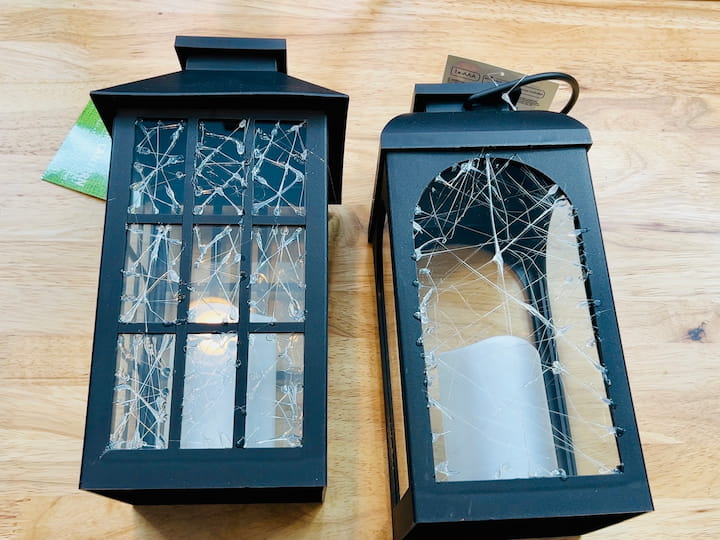
These will be easy to pull off later down the road when I want the lanterns just to be plain again. And here’s a quick look at the gluey webs.
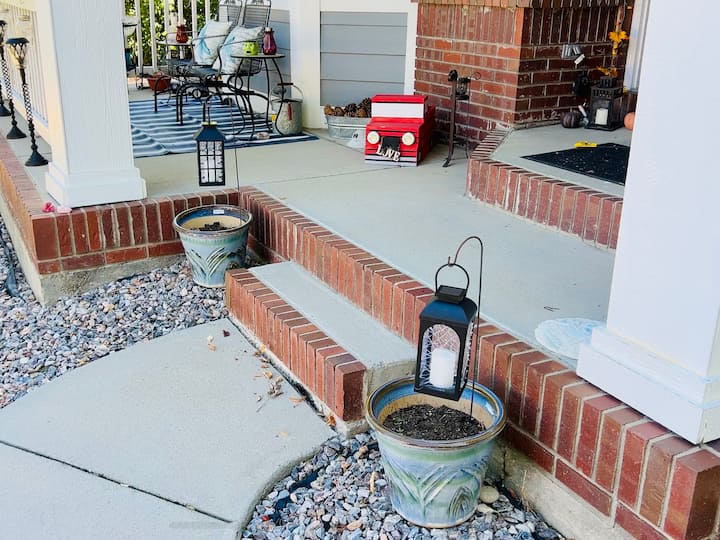
I grabbed some smaller shepherd’s hooks and placed them into my flower pots in my front yard, and then I placed the lanterns on the shepherd’s hooks. You can see the cobwebs on the lanterns during the day.
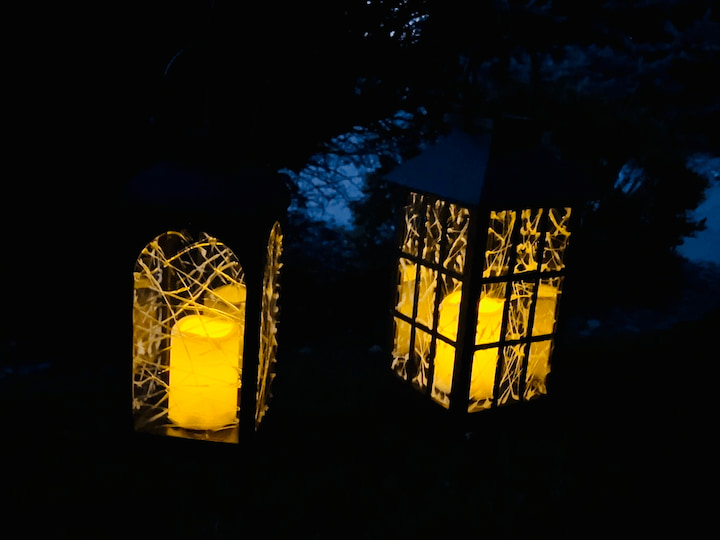
And here’s a look at how they glow in the night. I love the flicker.
DIY Halloween Characters (DIY Ghost, Pumpkin, Monster)
Materials List:
- Burner covers
- Spray paint (orange and green)
- Permanent marker
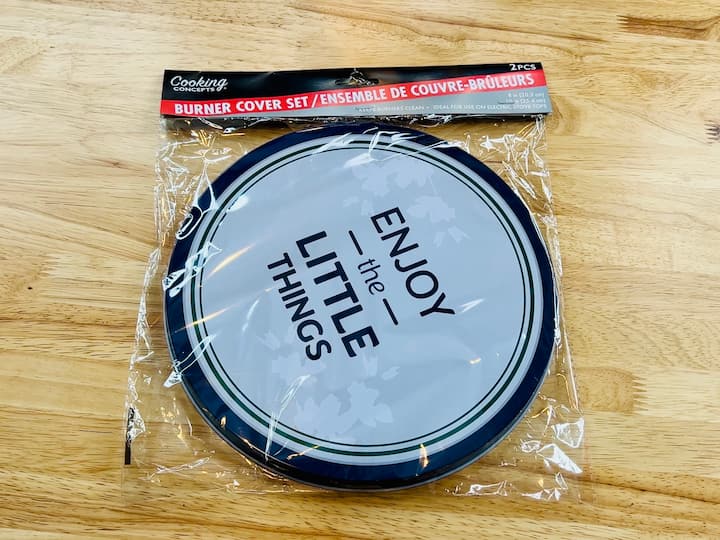
For this project, you’re going to need some burner covers.
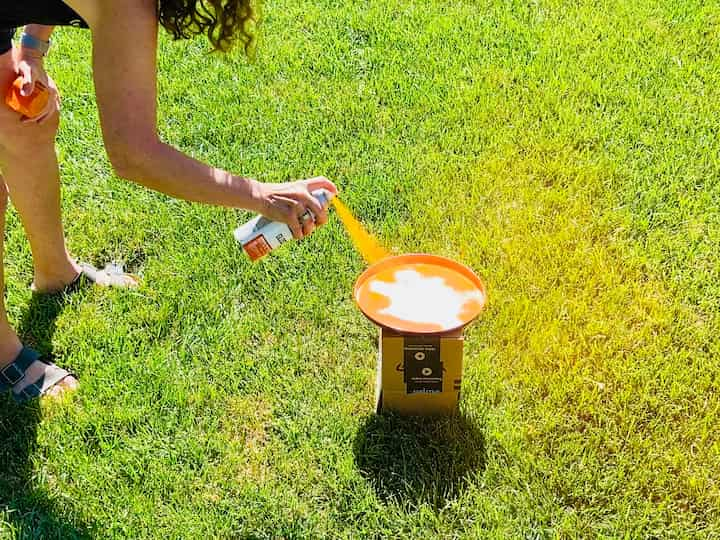
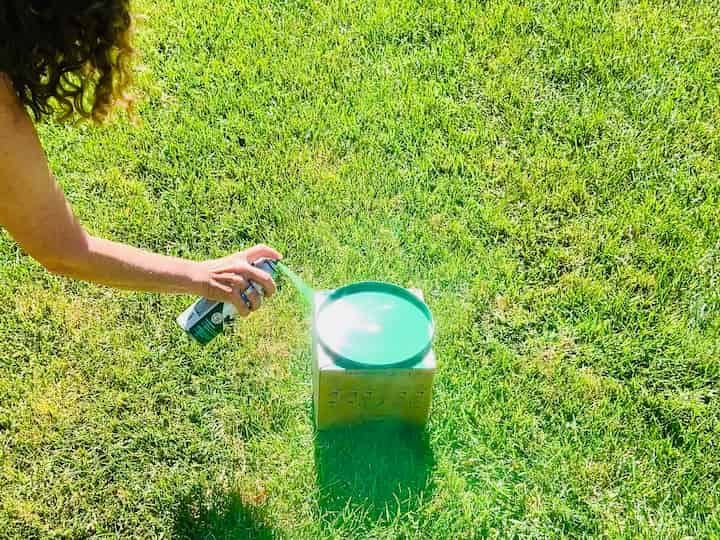
I took two of the burner covers outside, and I spray painted one orange, and the second one I spray painted with green spray paint.
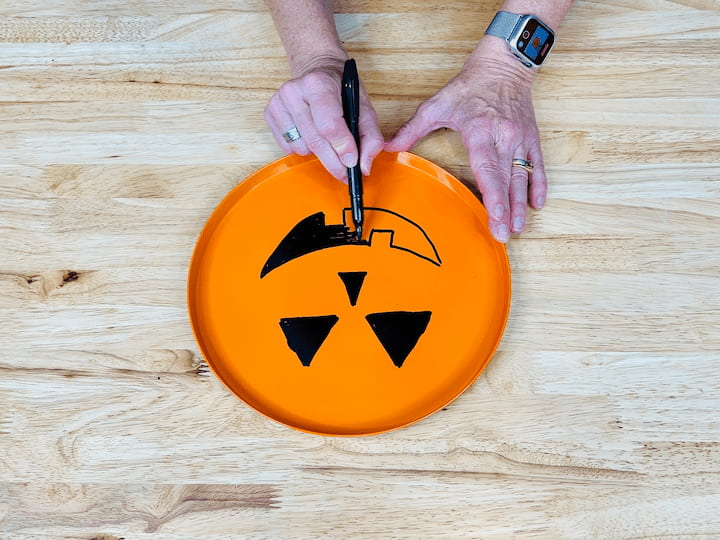
And I let both of those pans dry completely. Once they were dry, I brought them inside and I used a permanent marker to draw on a jack o lantern face on the orange one.
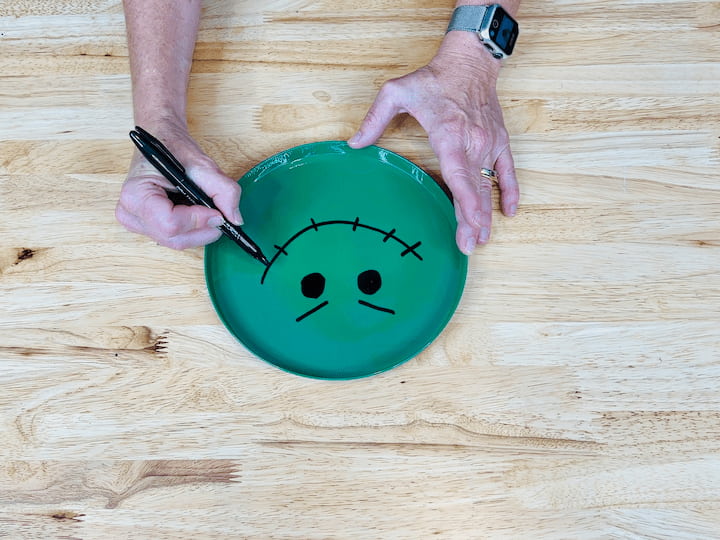
And on the green one, I used my permanent marker to draw on a monster face.

I grabbed the second set and for this one I’m leaving it white and I’m using the permanent marker to draw on a ghost face.
I have one left. What should I do with it? Let me know in the comments below.

I flipped all of these pans back over and I took a skewer and I hot glued it, I mean I used a lot of hot glue, on the skewer to secure it to the top of the burner pans.
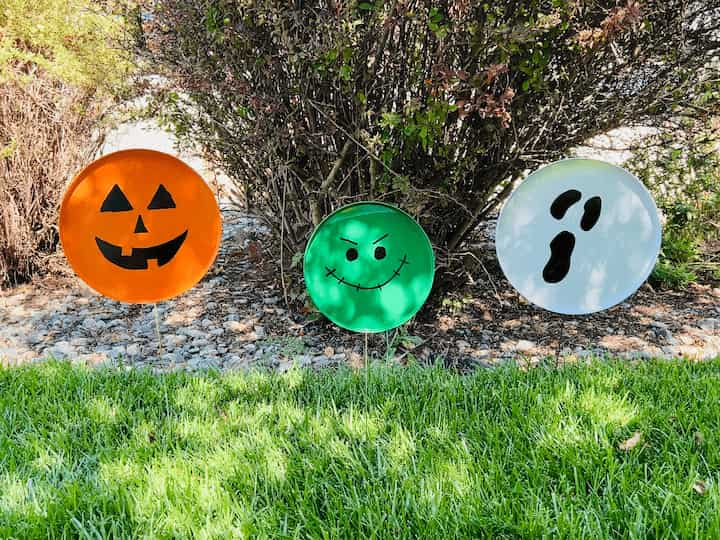
I took all of these burner pans outside and I stuck them into the ground. I think they make a cute display. Let me know what you think in the comments below. And here you can see them by day.
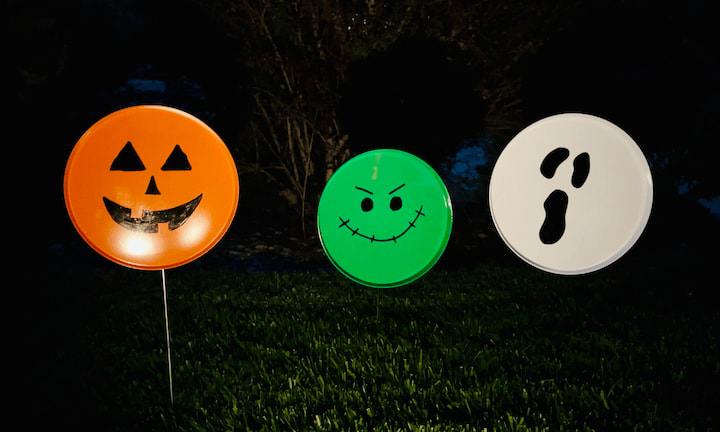
And I’ll be using a solar spotlight to help them glow in the evenings.
How To Make A Witch Hat
Materials List
- Black plastic plates
- Cones
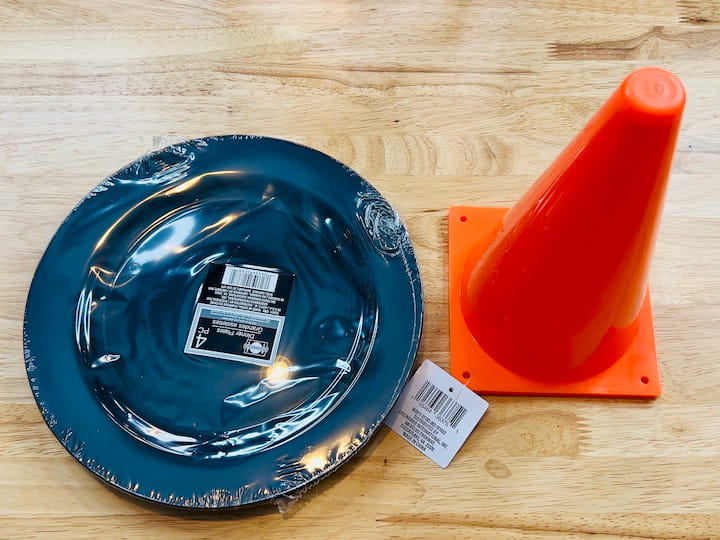
For this project you’re going to need some black plastic plates and some cones.
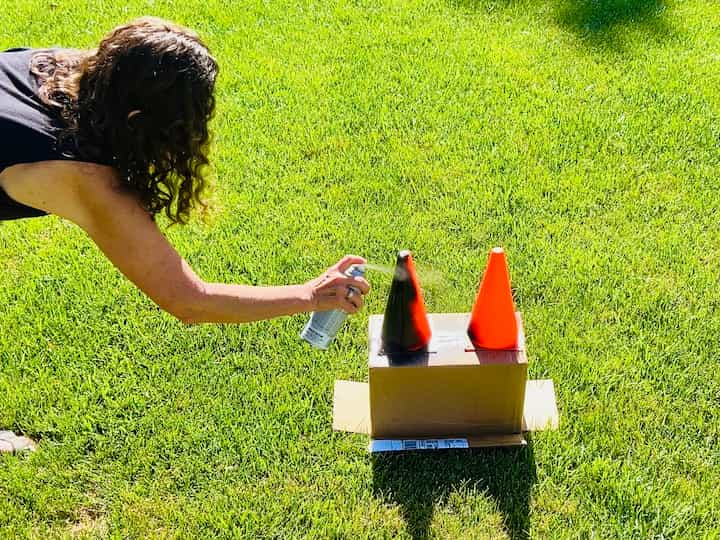
I took the two cones outside and I gave them a coat of black spray paint.
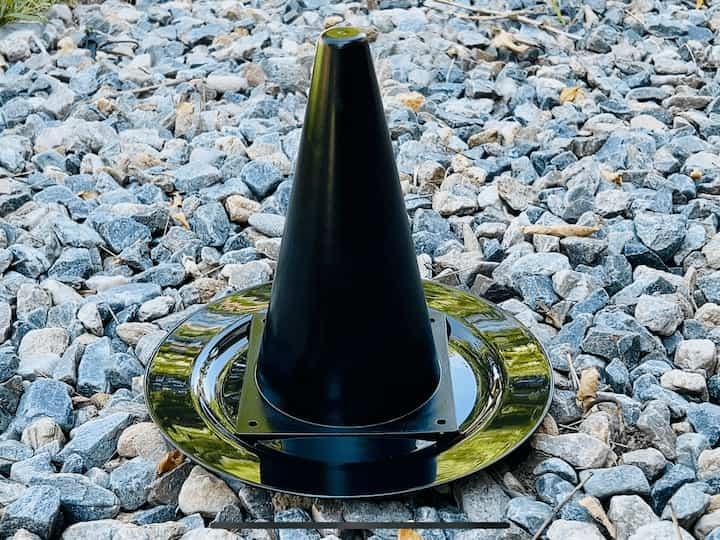
And I let that dry completely. I took the plate and placed it on the ground. Then I placed the cone on top and now I have a super cute witch’s hat. Although I feel like it’s missing something. Let me know what you think in the comments below.
DIY Light Up Ghosts
Materials List
- Glass lampshades
- Permanent marker
- Solar lights
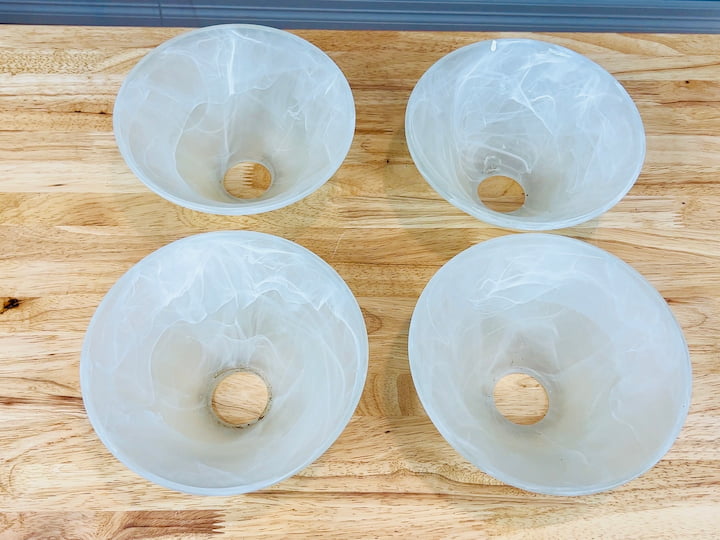
For this project I found three glass lampshades.
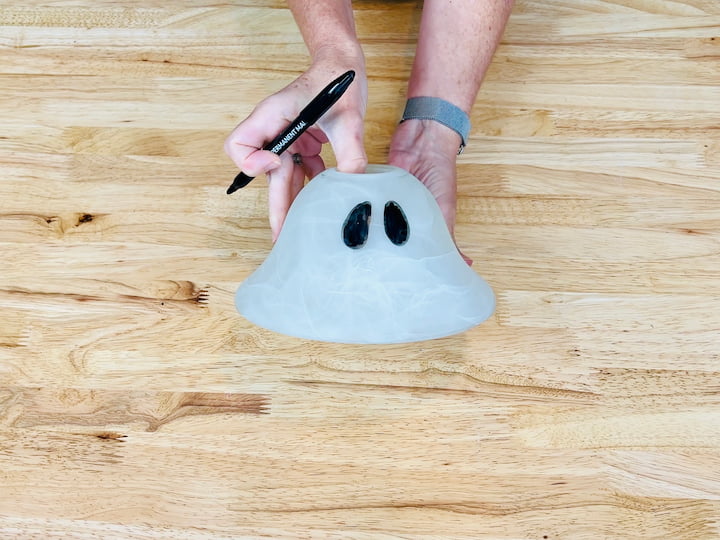
I took my permanent marker and I drew two eyes on them to make the ghosts.
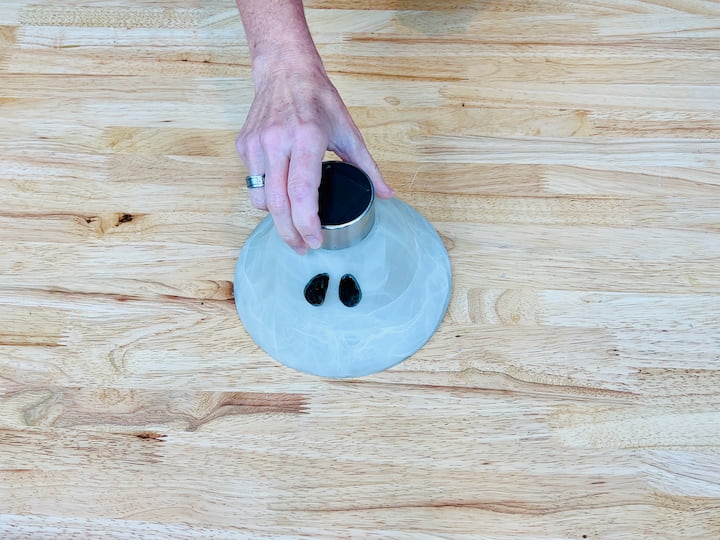
I took a solar light and I pulled off the base and pulled out the little tab. And then I placed the solar light into the top of the lampshade.
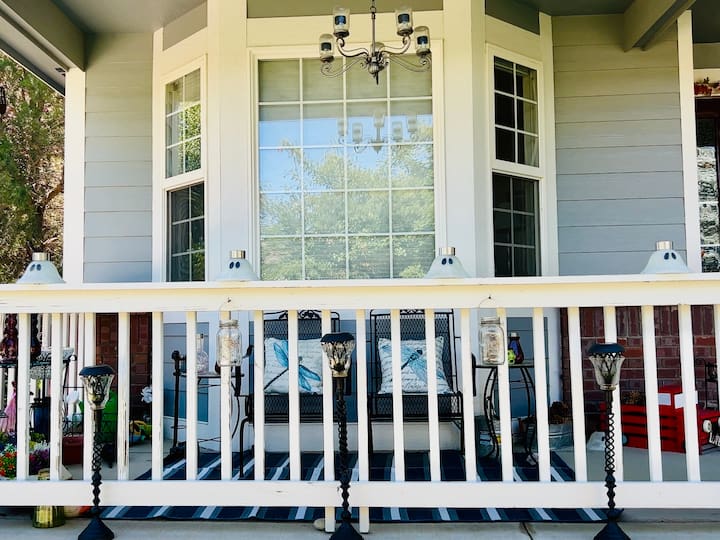
I placed this on my railing and I placed all four of them there. Where would you put yours? Let me know in the comments below.
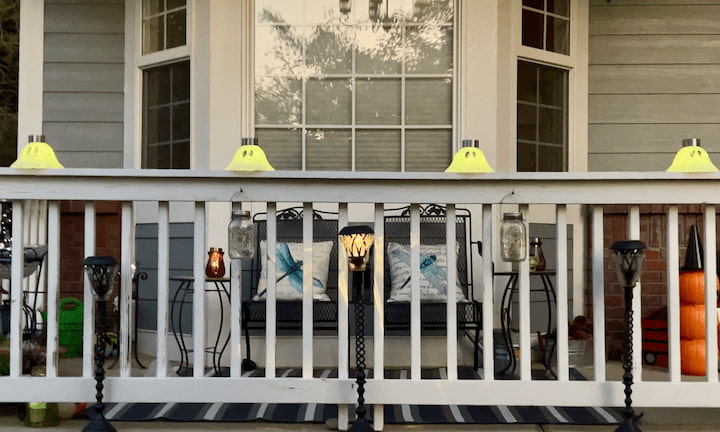
And here’s a look at the ghost starting to light up in the evening.

How to make a light up Halloween bucket?
Materials List
- Pumpkin buckets
- LED lights
Grab those orange pumpkins! Here’s another pumpkin bucket idea.
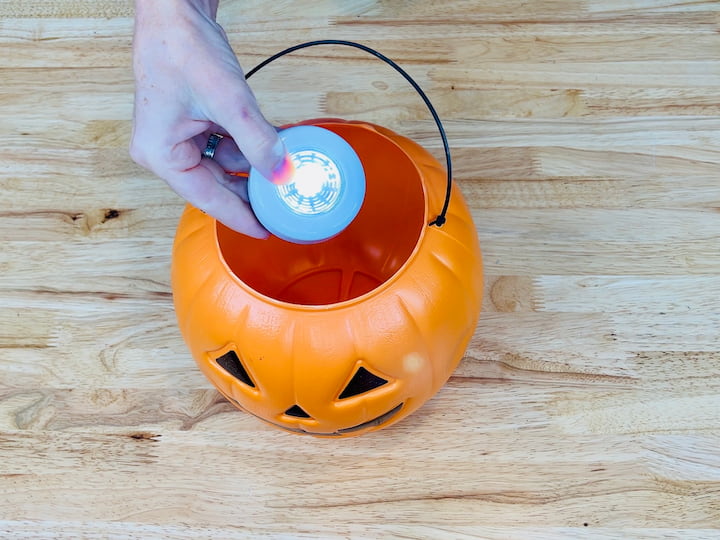
I placed a pop light into my bucket and then I placed them along my walkway.
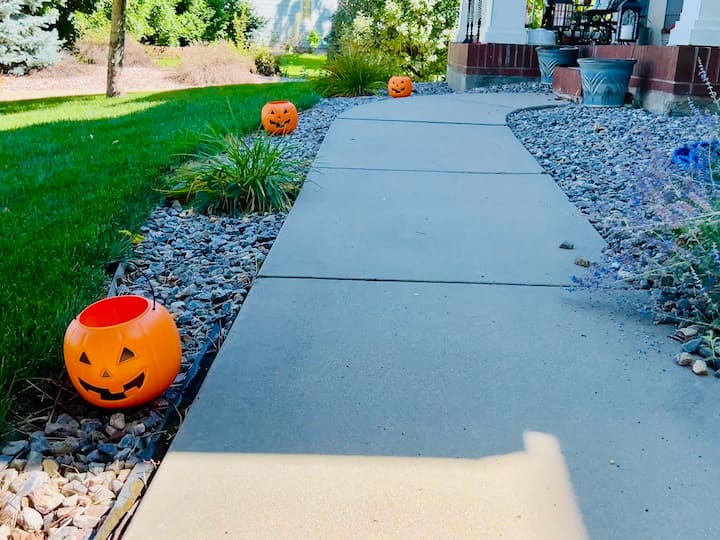
And then you can place these lights along the walkway for kids to walk up when they trick or treat on Halloween night. You can see them by day.
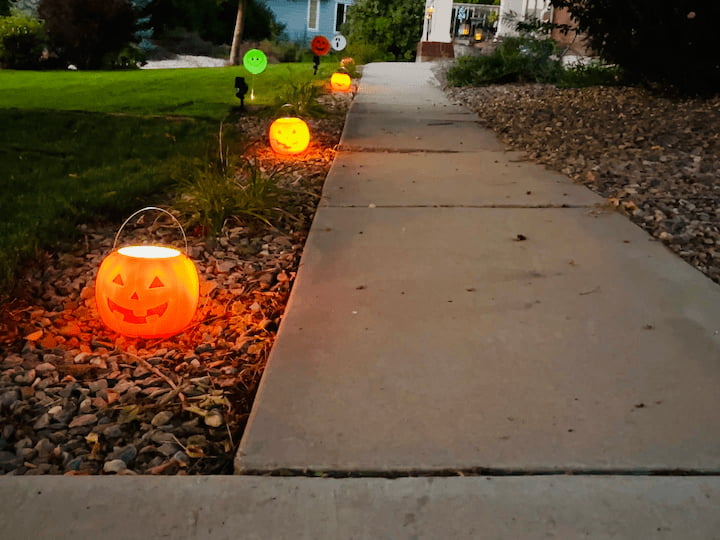
And here you can see how those pumpkins light up the walkway.
And you can also see those oven stove top burners as well and how they’re lit up with the solar lights. Easy DIY outdoor decoration, right?
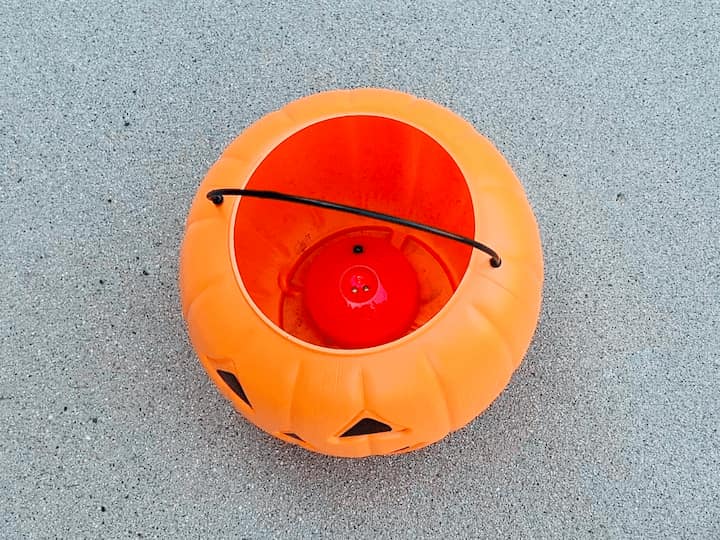
DIY Pumpkin Bucket Topiary with Lights
And you can take these buckets and do this as well. This time I’m using a flashing light that goes inside regular pumpkins.
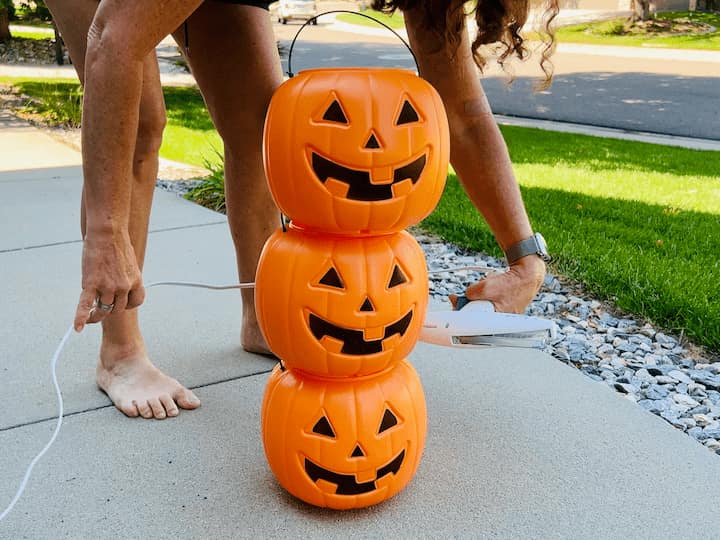
I started by stacking all the pumpkins on top of each other and then I hot glued them into place.
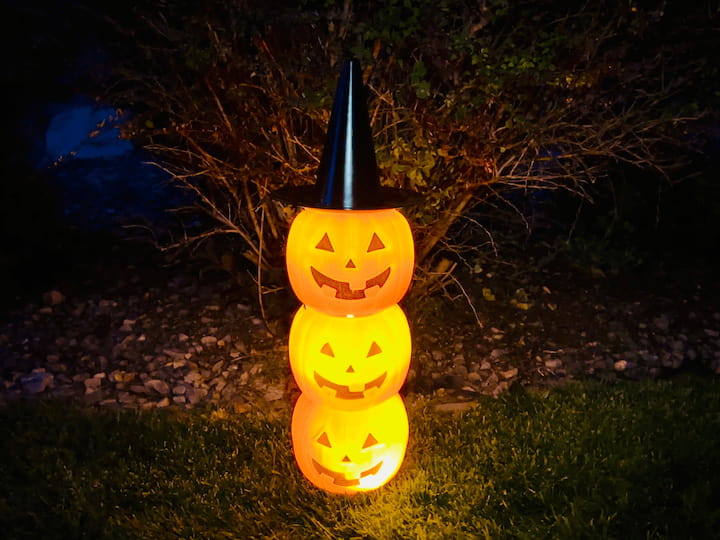
I turned them on and I decided to add one of those witch hats to the top of my topiary.
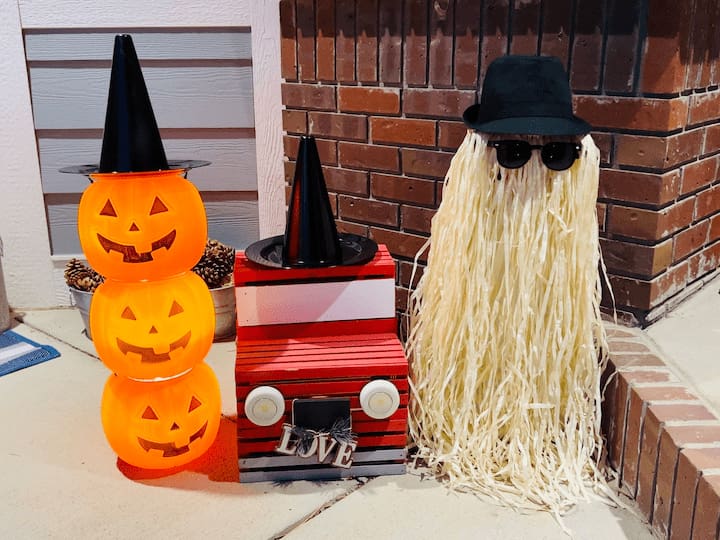
I decided to add this next to my little red truck and added the other witch hat to it and put it all by Cousin It for a fun display.
DIY Halloween Decorations Outdoor: More Ideas
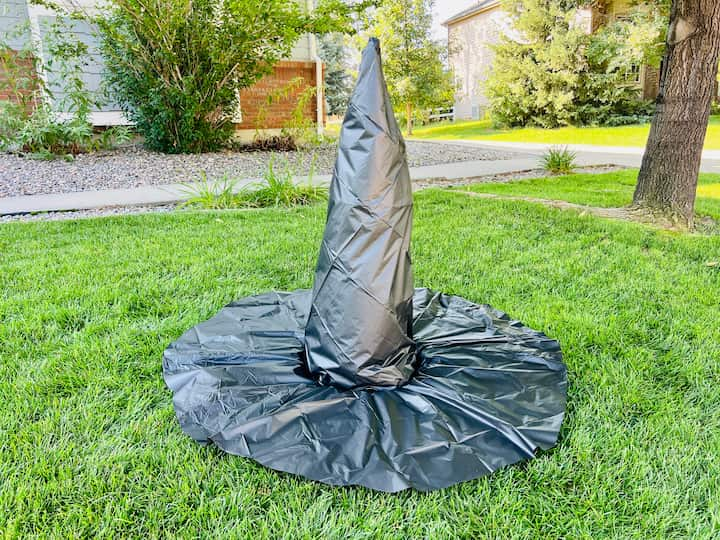
Giant Witch Hat
Create an eye-catching giant witch hat using a tomato cage wrapped in tablecloths and adorned with solar lights. This striking decoration can serve as a centerpiece in your yard, looking fabulous both during the day and glowing beautifully at night. You can find the full tutorial at Easy and Fun DIY Halloween Yard Decorations on a Budget
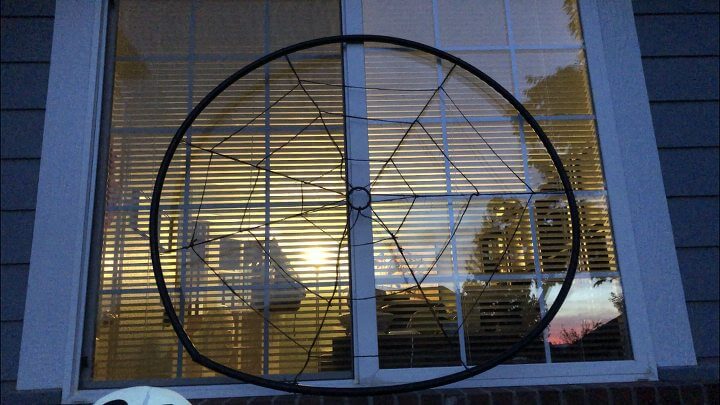
How To Make A Giant Spiderweb
Weave a giant spiderweb using a hula hoop and twine, and spray paint it for added effect. This fun decoration can be hung indoors or outdoors, making a bold statement for your Halloween decor while being easy to make. You can find the full tutorial at Easy and Fun DIY Halloween Yard Decorations on a Budget
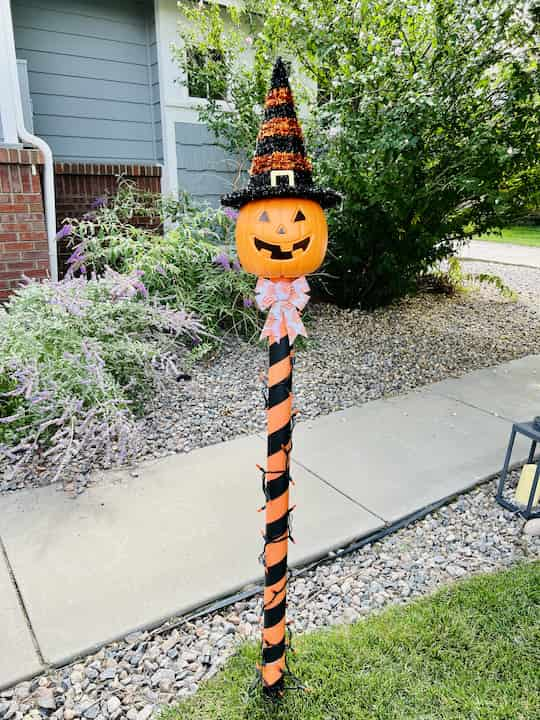
Easy and Fantastic Halloween Luminaries To Light The Walkway
Create a fun light-up witch using a broom handle, a pool noodle, a pumpkin pail, and some lights! Secure the broom handle into the ground and wrap the pool noodle in black gaffer’s tape before attaching it to the top. Place LED lights in the pumpkin pail and glue on a witch hat and a bow. This whimsical decoration will brighten up your walkway both day and night! You can find the tutorial at: Easy and Fantastic Halloween Luminaries To Light The Walkway
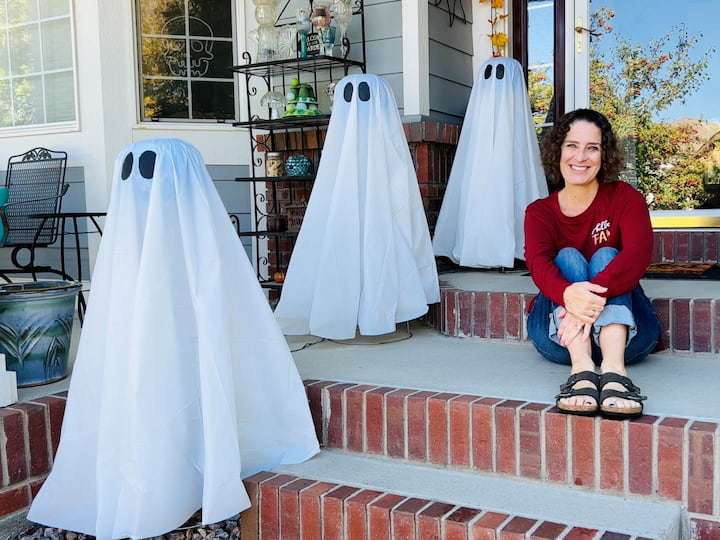
How To Make A Tomato Cage Ghost
Transform pumpkin pails into ghostly lanterns with this easy project. Place an upside-down tomato cage on top of a pumpkin pail, wrap it with solar lights, and drape tablecloths over the top. Cut eye shapes from gaff tape and stick them on for a spooky touch. These lanterns will illuminate your pathway, making them perfect for Halloween night! You can find the full tutorial at Easy Spooky Glowing DIY Halloween Ghosts for Indoor or Outdoor

Easy Awesome DIY Halloween Porch Decorating Ideas on a Budget
Craft eye-catching Frankenstein and mummy decorations to greet trick-or-treaters! Wrap columns in colorful tablecloth strips, adding faces with gaff tape and markers. This project is simple and allows you to customize each character for a unique Halloween display that looks great during the day and glows at night. You can find the full tutorial at Easy Awesome DIY Halloween Porch Decorating Ideas on a Budget
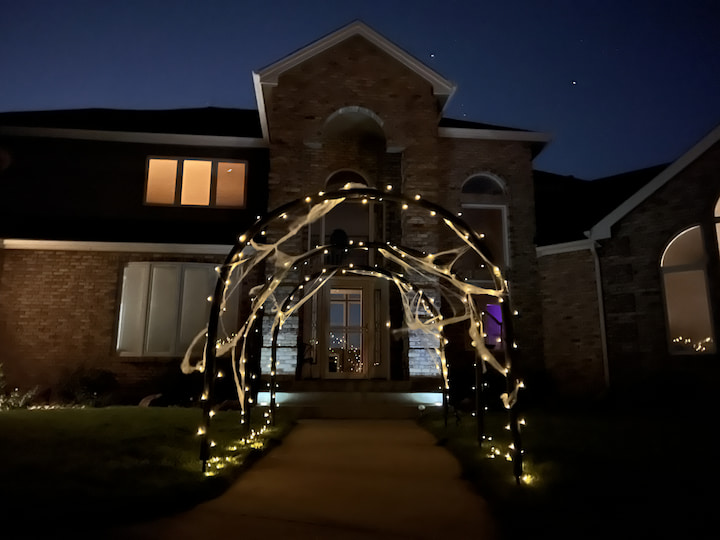
Easy Awesome DIY Halloween Porch Decorating Ideas on a Budget
Build a striking archway to welcome guests to your Halloween festivities! Use broom handles and black-painted pool noodles to form an arch, then wrap it in solar string lights and cobwebs. This enchanting decoration will look fantastic during the day and shine brightly at night, adding a festive touch to your home. You can find the full tutorial at Easy Spooky and Fabulous Halloween Archway You Can Make In A Day
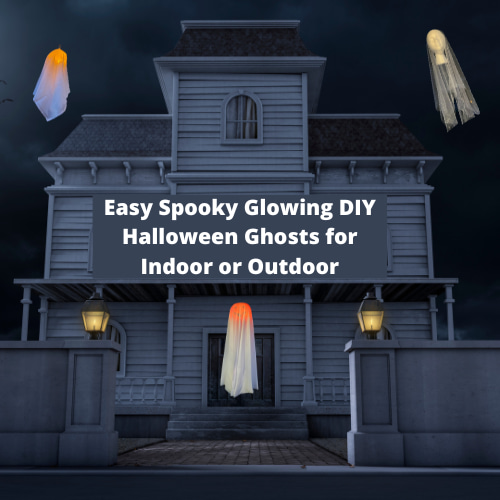
How To Make Floating Ghosts
Not all ghosts need cheesecloth! Bring a playful spirit to your Halloween decor by making hanging ghosts! Use foam heads, a dish towel, and fishing line to create these charming figures. Place LED lights in a pumpkin bucket covered with a tablecloth for a glowing effect. Hang these adorable ghosts outside, and watch them shine both day and night! You can find the full tutorial at Easy Spooky Glowing DIY Halloween Ghosts for Indoor or Outdoor
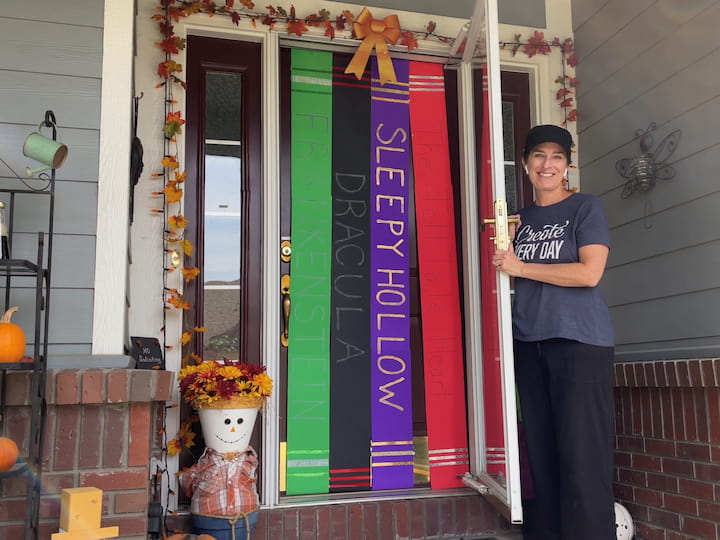
How To Decorate A Door For Halloween Cheap and Easy
Title: DIY Colorful Book Banner for Halloween
Description: Create a whimsical book banner to greet your Halloween guests! Cut strips from colorful poster board, glue them together, and add ribbon and titles to each book. This fun decoration can be displayed on your door, adding a festive and creative touch to your Halloween festivities. You can find the full tutorial at How To Decorate A Door For Halloween Cheap and Easy
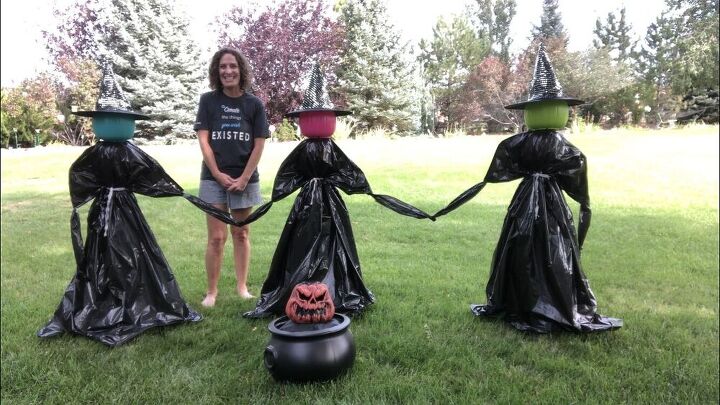
How To Make A Tomato Cage Witch
Make a delightful witch figure using trash bags and a pumpkin bucket for the head. This whimsical decoration can be placed along your walkway or in your yard, creating a friendly yet festive atmosphere for your Halloween celebrations. You can find the full tutorial at How To Make An Easy Halloween Witch
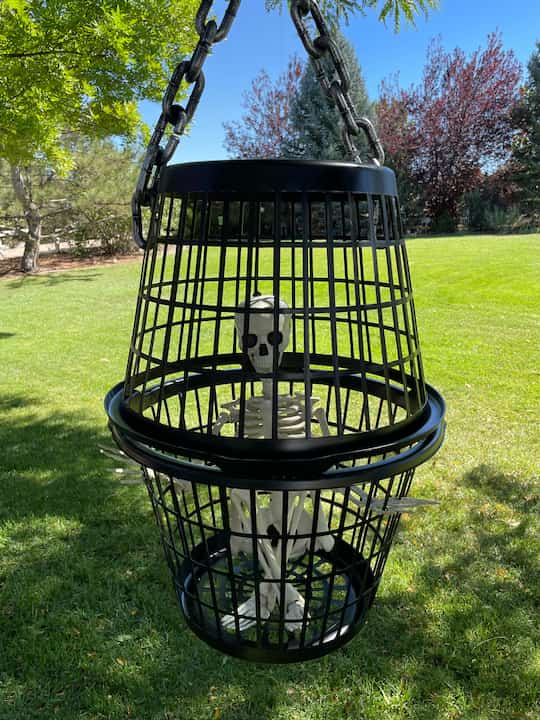
How To Make Skeleton Cages
Construct a spooky skeleton cage with two trash cans and a mini skeleton. This eerie decoration can be hung up outside to surprise your trick-or-treaters. With a bit of creativity, you can even create different versions to suit your Halloween theme. You can find the full tutorial at Easy and Fun DIY Halloween Yard Decorations on a Budget
DIY Halloween Decorations Outdoor Video
More DIY Halloween Outdoor Decorations
- See my milk jug ghosts in this post
- See my easy cobweb wreaths with plastic spiders
- Make smoking cauldrons with witch legs
- Make cobwebs out of black trash bags
- Make glowing skulls with solar lights
- DIY Halloween Decorations Outdoor: Fun and Easy Ideas on a Budget
And I hope this inspires you to create some DIY outdoor Halloween yard decor of your own. I’d love it if you’d subscribe to my YouTube channel and my blog at chascrazycreations. com. Thanks for watching, and I’ll see you in my next video. And don’t forget to like, share, and subscribe.


