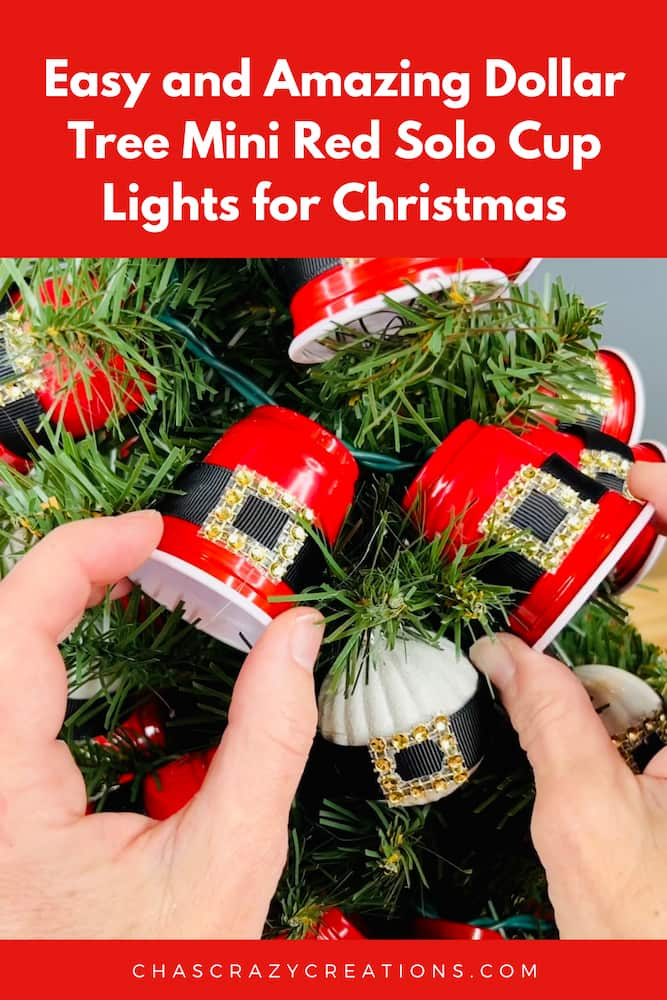
Easy and Amazing Dollar Tree Mini Red Solo Cup Lights for Christmas
Do you want to make mini red solo cup lights? This is a super easy DIY with just a few supplies from Dollar Tree.
This post may contain affiliate links, I earn from qualifying purchases at no extra cost to you. Click here for my disclosure policy
Today we are going to make red party cup string lights. This is a fun way to use disposable cups and light sets to make unique covers for Christmas lights. Let’s get started with our fun red party cup lights!
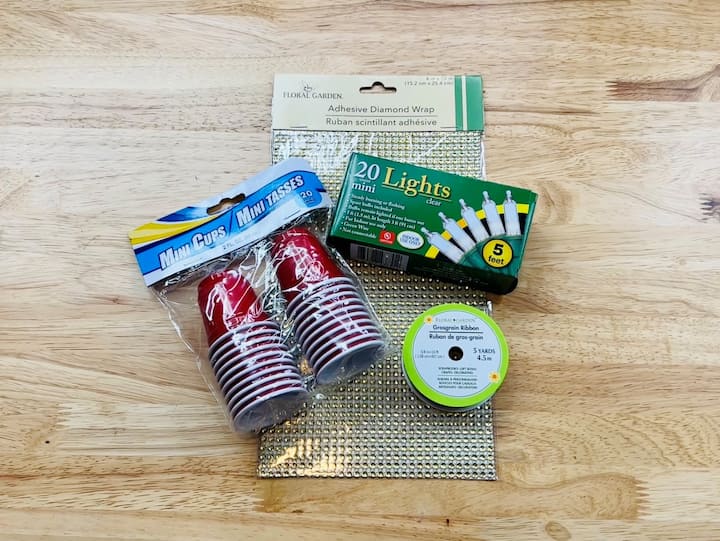
Mini Red Solo Cup Lights Materials
Once again I’m off to Dollar Tree and this time I grabbed a light strand with 20 light bulbs, diamond adhesive wrap, mini red Solo plastic cups and some black ribbon.
 HAOZAN 100ct 2oz. Mini Red ...Shop on Amazon
 612 Vermont 100 Clear Chris...Shop on Amazon
 LEEQE Black Double Face Sat...Shop on Amazon
 Super Z Outlet Sparkling Rh...Shop on Amazon
  INTERNET'S BEST Premium Uti...Shop on Amazon
Mini Red Solo Cup Lights Video
Mini Red Solo Cup Lights instructions
1. Cut the diamond adhesive wrap
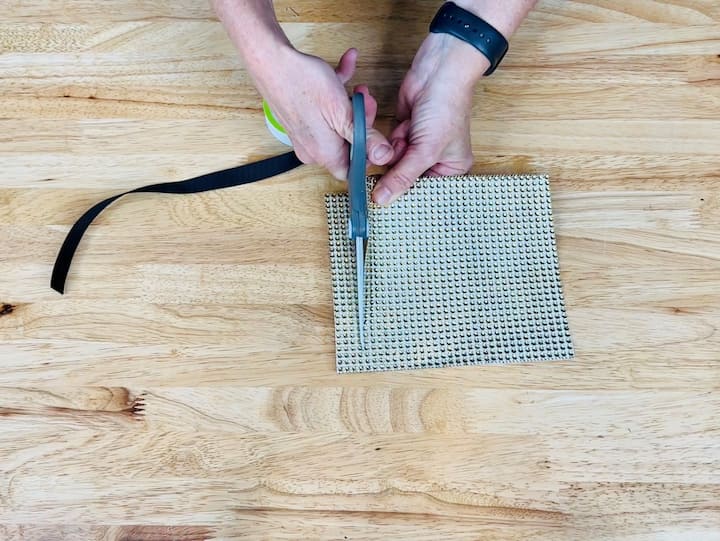
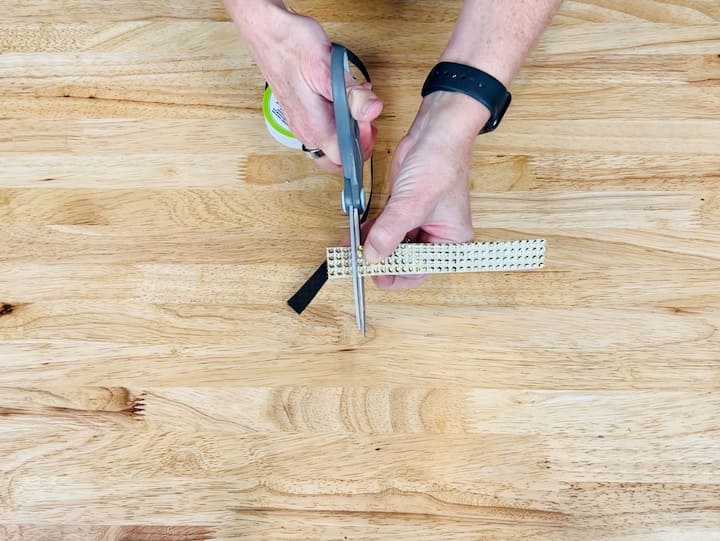
I took my black ribbon and measured the width and depth to correspond with the diamond adhesive wrap. I cut several strips for the width and then I also cut for the depth of the ribbon.

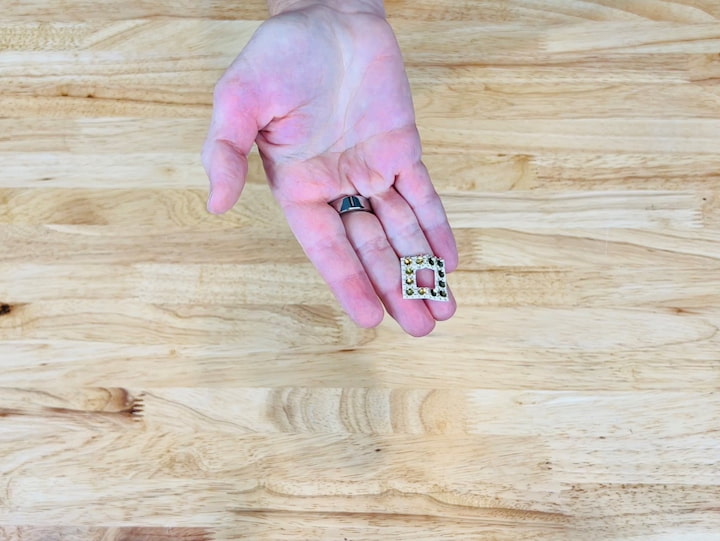
Next, I took the piece of diamond wrap and folded it in half I cut a small square out of the center so that it would be a square on the outside and a small square hole on the inside, like a belt buckle. You will need to cut as many of these as the number of Solo cups and lights you are using. I’m using 20 lights so I’ll be using 20 Solo cups and 20 squares of the adhesive wrap.
2. Cut the black ribbon
Next, I grabbed one of the mini cups. You can also use large Solo cups if you prefer. and you can use large Solo cups if you prefer. I took my black ribbon and measured around the Solo cup, then cut the strips of ribbon to the correct length. Again, you will need as many strips of ribbon as the number of Solo cups you plan to use. I’m using 20 so I cut 20 strips of ribbon.
3. hot glue the ribbon onto the solo cup
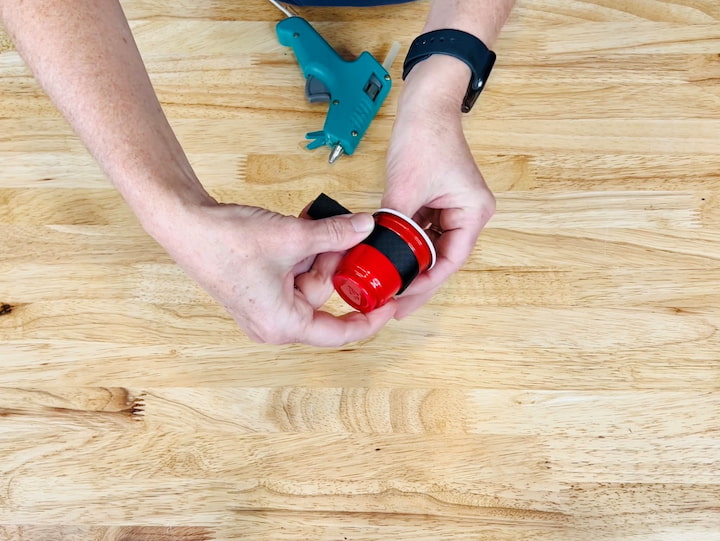
Now it’s time to assemble them. Start by adding a little dot of hot glue and place the ribbon in it. Once that is in place I made a strip of hot glue around the cup and secured the ribbon around the cup. It’s important that the ribbon sticks to the Solo Cup securely otherwise you’ll end up with gaps. Once I got to the end I added a little dab of glue and closed off the ribbon. This will be the belt.
4. Add the diamond wrap buckle
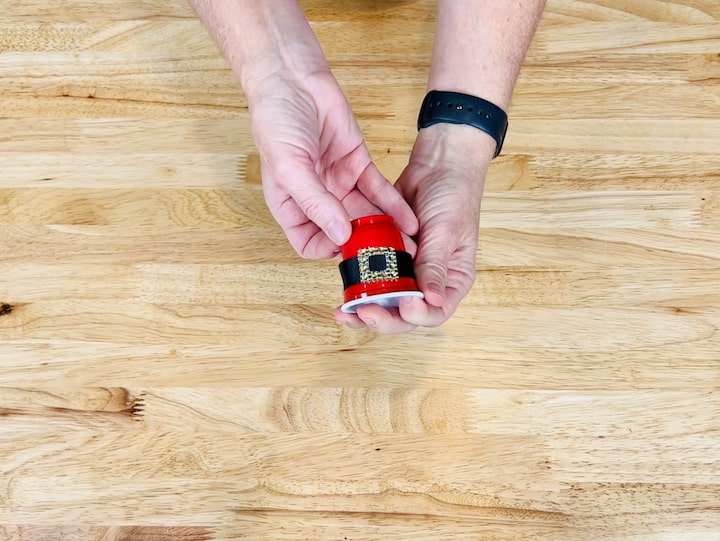
Next, I added the diamond adhesive squares to my ribbon. I peeled off the backing and stuck it into place on the Santa belt. Sometimes this can be a little tricky so make sure you get the adhesive off.
5. Cut the bottom of the red solo cup
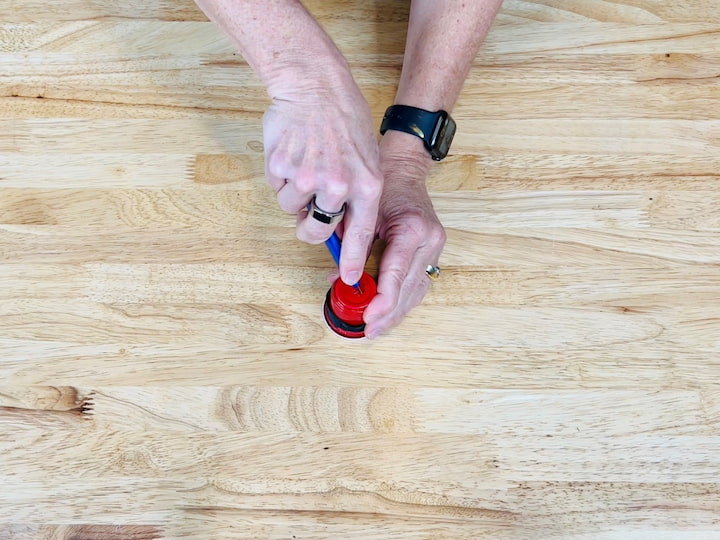
For the next step, I took a razor blade and cut an X shape small hole into the bottom of the Solo cups. This will be where we put the light. Again, you will need the same number of lights as the number of solo cups you are planning to use.
6. Stick the lights into the mini red solo cups
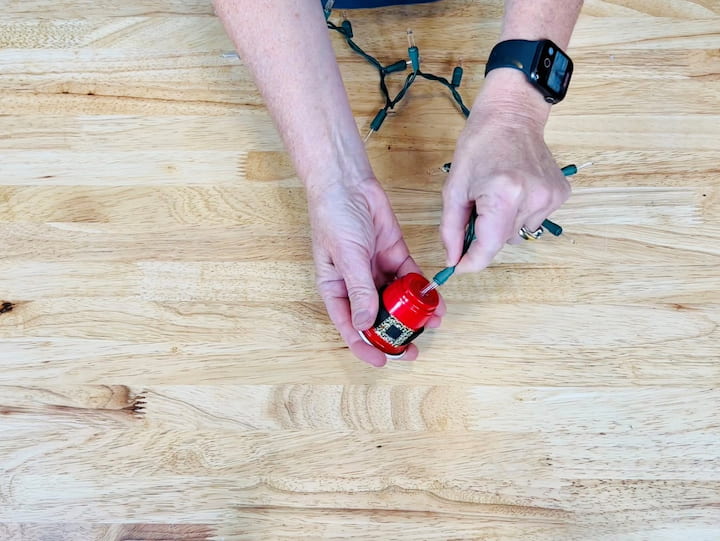
Now it was time to assemble the Christmas lights. I am using mini lights for my mini red cups, but you may use a different bulb size if you are using big cups. You can use clear bulbs or white lights if you prefer. You might consider using cool lights if your tree will be plugged in for an extended period of time. I stretched the string of lights out to make sure they were nice and straight. I pushed one light through the bottom of the cup top of each Solo cup until all the cups had a light. If you prefer, you could use just every other light.
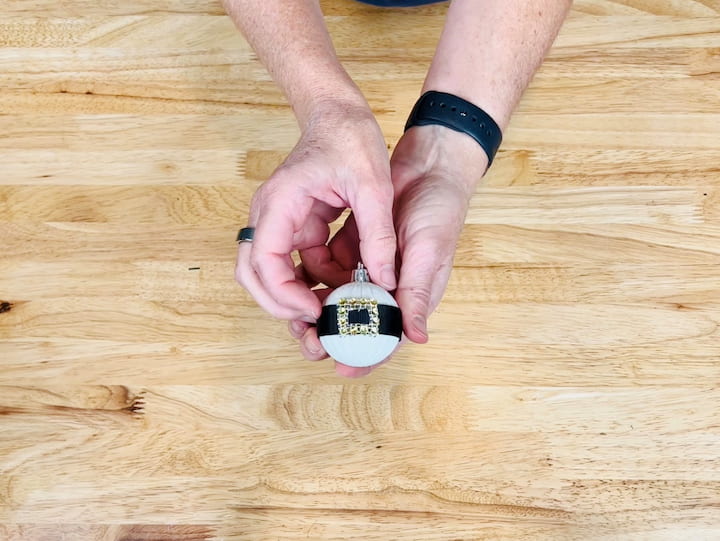
Bonus Bulb
Now to add a little flare I cut some more Diamond adhesive wrap in the same square as before. I grabbed a white bulb and measured some black ribbon to fit around the center of the bulb. I cut the ribbon and hot glued everything into place on the bulb just like I did with the Solo Cup. I peeled off the diamond adhesive wrap sticker and placed it on the center, so now my bulb has a matching belt just like the Solo cups.
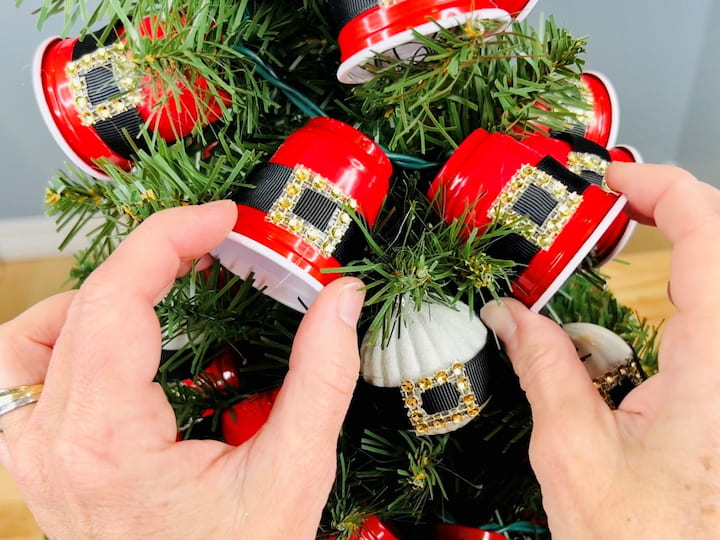
7. Place the mini solo cup lights on the tree
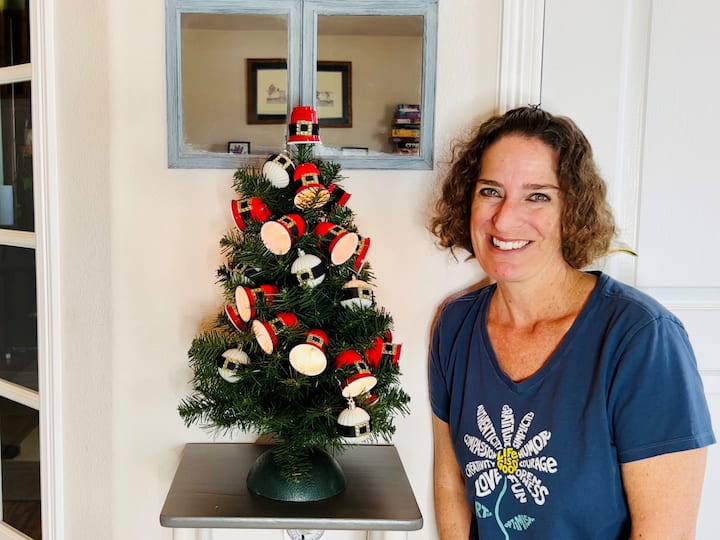
Now it was time to assemble my tree! You can adjust the red cup lights to fit a big or small Christmas tree. I think the bold red color of these plastic red cups is a great addition to my mini Christmas tree. Make sure to rotate the cups so they face the way you want.
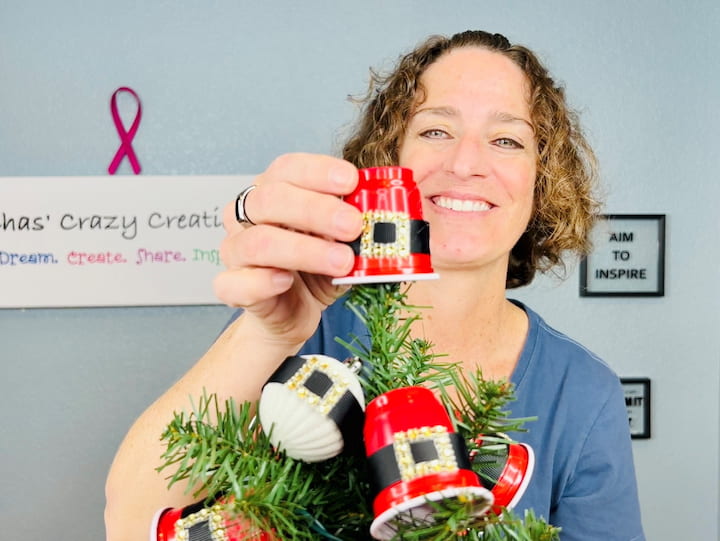
Lastly, I added an upside-down Solo Cup to the top of my mini tree. This can sit in the front entryway or outdoor patio areas for your next holiday party. It is a great way to get the attention of your guests as they come this holiday season.
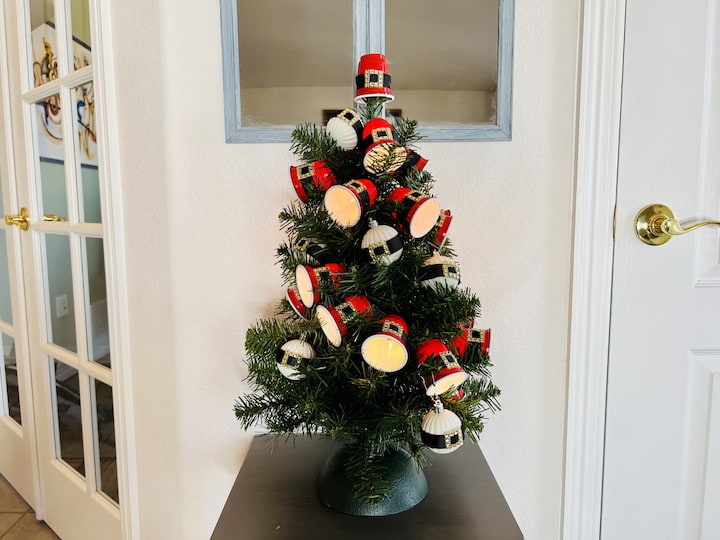
Other life of the party tips for your next party or event and additional information:
- The strand I used was for indoor use.
- Good for outdoor use with an outdoor Christmas light strand
- Hang on to your replacement bulbs so you can replace them as needed
- These are great for year-round including a summer party
- You can create this with battery powered – string lights
- You can also keep your eye out for disposable shot glasses – battery powered. I’ve seen them already to go occasionally at a store.
- Make sure to know the total length before getting started.
- You can use an x-acto knife instead of a razor blade.
If you like this post you might also like my Easy and Awesome DIY Red Solo Cup Lights
I hope this inspires you to make some decorations for your own tree. I’d love it if you’d subscribe to my YouTube channel and my blog at chascrazycreations.com.
Thanks for watching and I’ll see you in my next video. Don’t forget to like, share and subscribe.
Mini Red Solo Cup Lights Video
Shop any of these stores and I receive a small commission at no cost to you.
 National Tree Company Pre-L...Shop on Amazon
 GOOSH Lighted Christmas Sno...Shop on Amazon
 Farmhouse Beads 58in Wood B...Shop on Amazon
 3pcs new Christmas decorati...Shop on Amazon
 Interchangeable Seasonal We...Shop on Amazon
Check out some of my other Christmas posts!
- Glass Candle Holder Christmas Tree
- 5 Beautiful Dollar Tree Christmas Crafts For Under $1
- Christmas Light Up Canvas Art – Hometalk Live DIY!

Now please join us and hop through our 12+ Days of Christmas DIYs, and thank you to Juliet at a Loverly Life for putting this hop together for us.
- Chas’ Crazy Creations
- Design of Your Life
- Happily Ever After Etc.
- Shop at Blu
- Fifth Sparrow No More
- Living Large in a Small House
- Farmhouse To Florida
- Perfecting Places
- Pure Happy Home
- This Dear Casa
- A Loverly Life
- Adorn the Table
- Sweet Valley Acres
- Our Tiny Nest




Such a cute idea! These are adorable! Thanks for sharing how to make them! It was fun hopping with you today!
Thank you so much
So cute my friend and love how you incorporated it into the tree topper!
What a fun idea! You are so creative Chas! This project made me smile.
Such a great idea! Love how cute they turned out!!! Thanks for hopping along!
Chas this is such a creative idea!!! I love it!
What a fun idea! This would be a fun project for kids or grands to decorate a little tree for their room.
This is sooo cute! I love the concept and they look so easy to make! I bet big ones would be adorable as outdoor decor… thanks for the inspiration Chas!
These are so fun, Chas! What a creative idea! It’s been fun hopping with you!
Chas, this is absolutely adorable. Crafts like these make Christmas so much fun and very memorable.
Chas, this is such a darling idea – thank you SO much for sharing it with the blog hop!
I can see it as a fun garland, too!
Heading out to buy some red cups, now!