
How To Upcycle Storage Containers Easily and on a Budget
Who doesn’t love a DIY project that upgrades the look of a household item at practically no cost? I know I do!
Today, I’m sharing an easy and affordable way to upcycle storage containers. This handy hack can glam up your storage bins and hide what’s inside at the same time!
Can you tell how excited I am to show you my plastic drawer makeover? These plastic containers were such a breeze to revamp and the results blew me away. I mean, what a difference can just a few craft supplies make!
Upcycle Storage Containers Video
Plastic Storage Container Upcycle Prepping
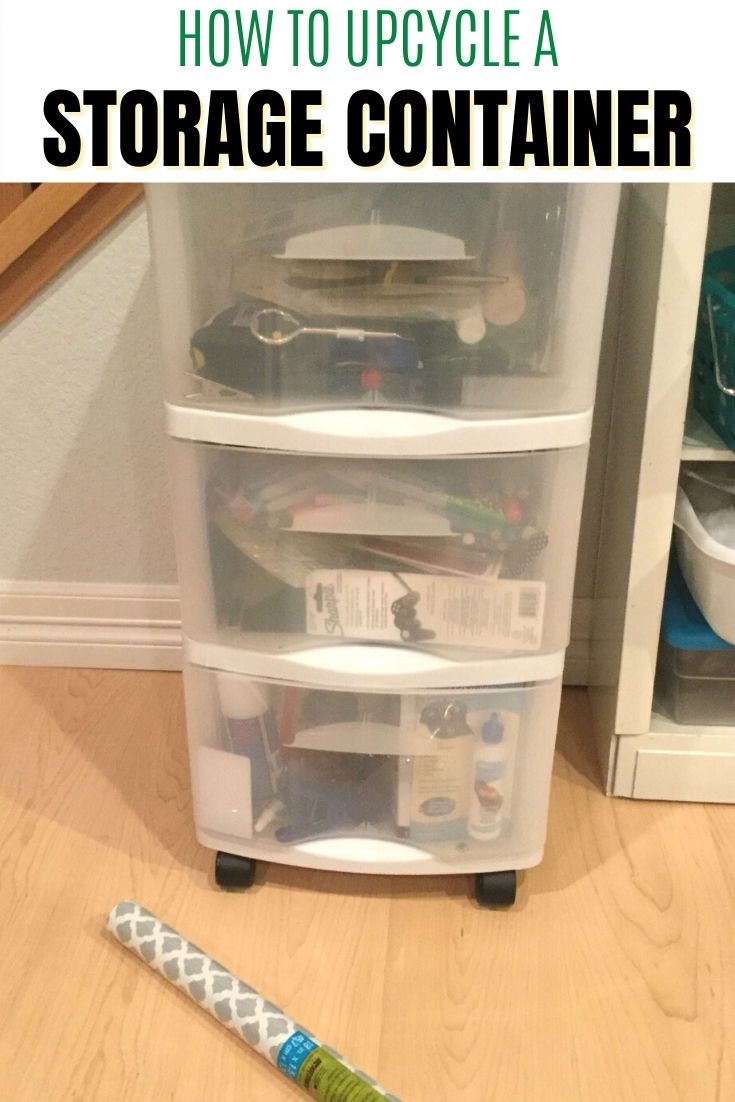
I have these 3 drawer storage containers set up in multiple spots throughout our home.
Sometimes I like that I can see what’s in the drawer, but most of the time, not really. So, I decided to change things up!
If you want to go from ugly plastic storage drawers to modern storage solutions in a few minutes, start by gathering supplies.
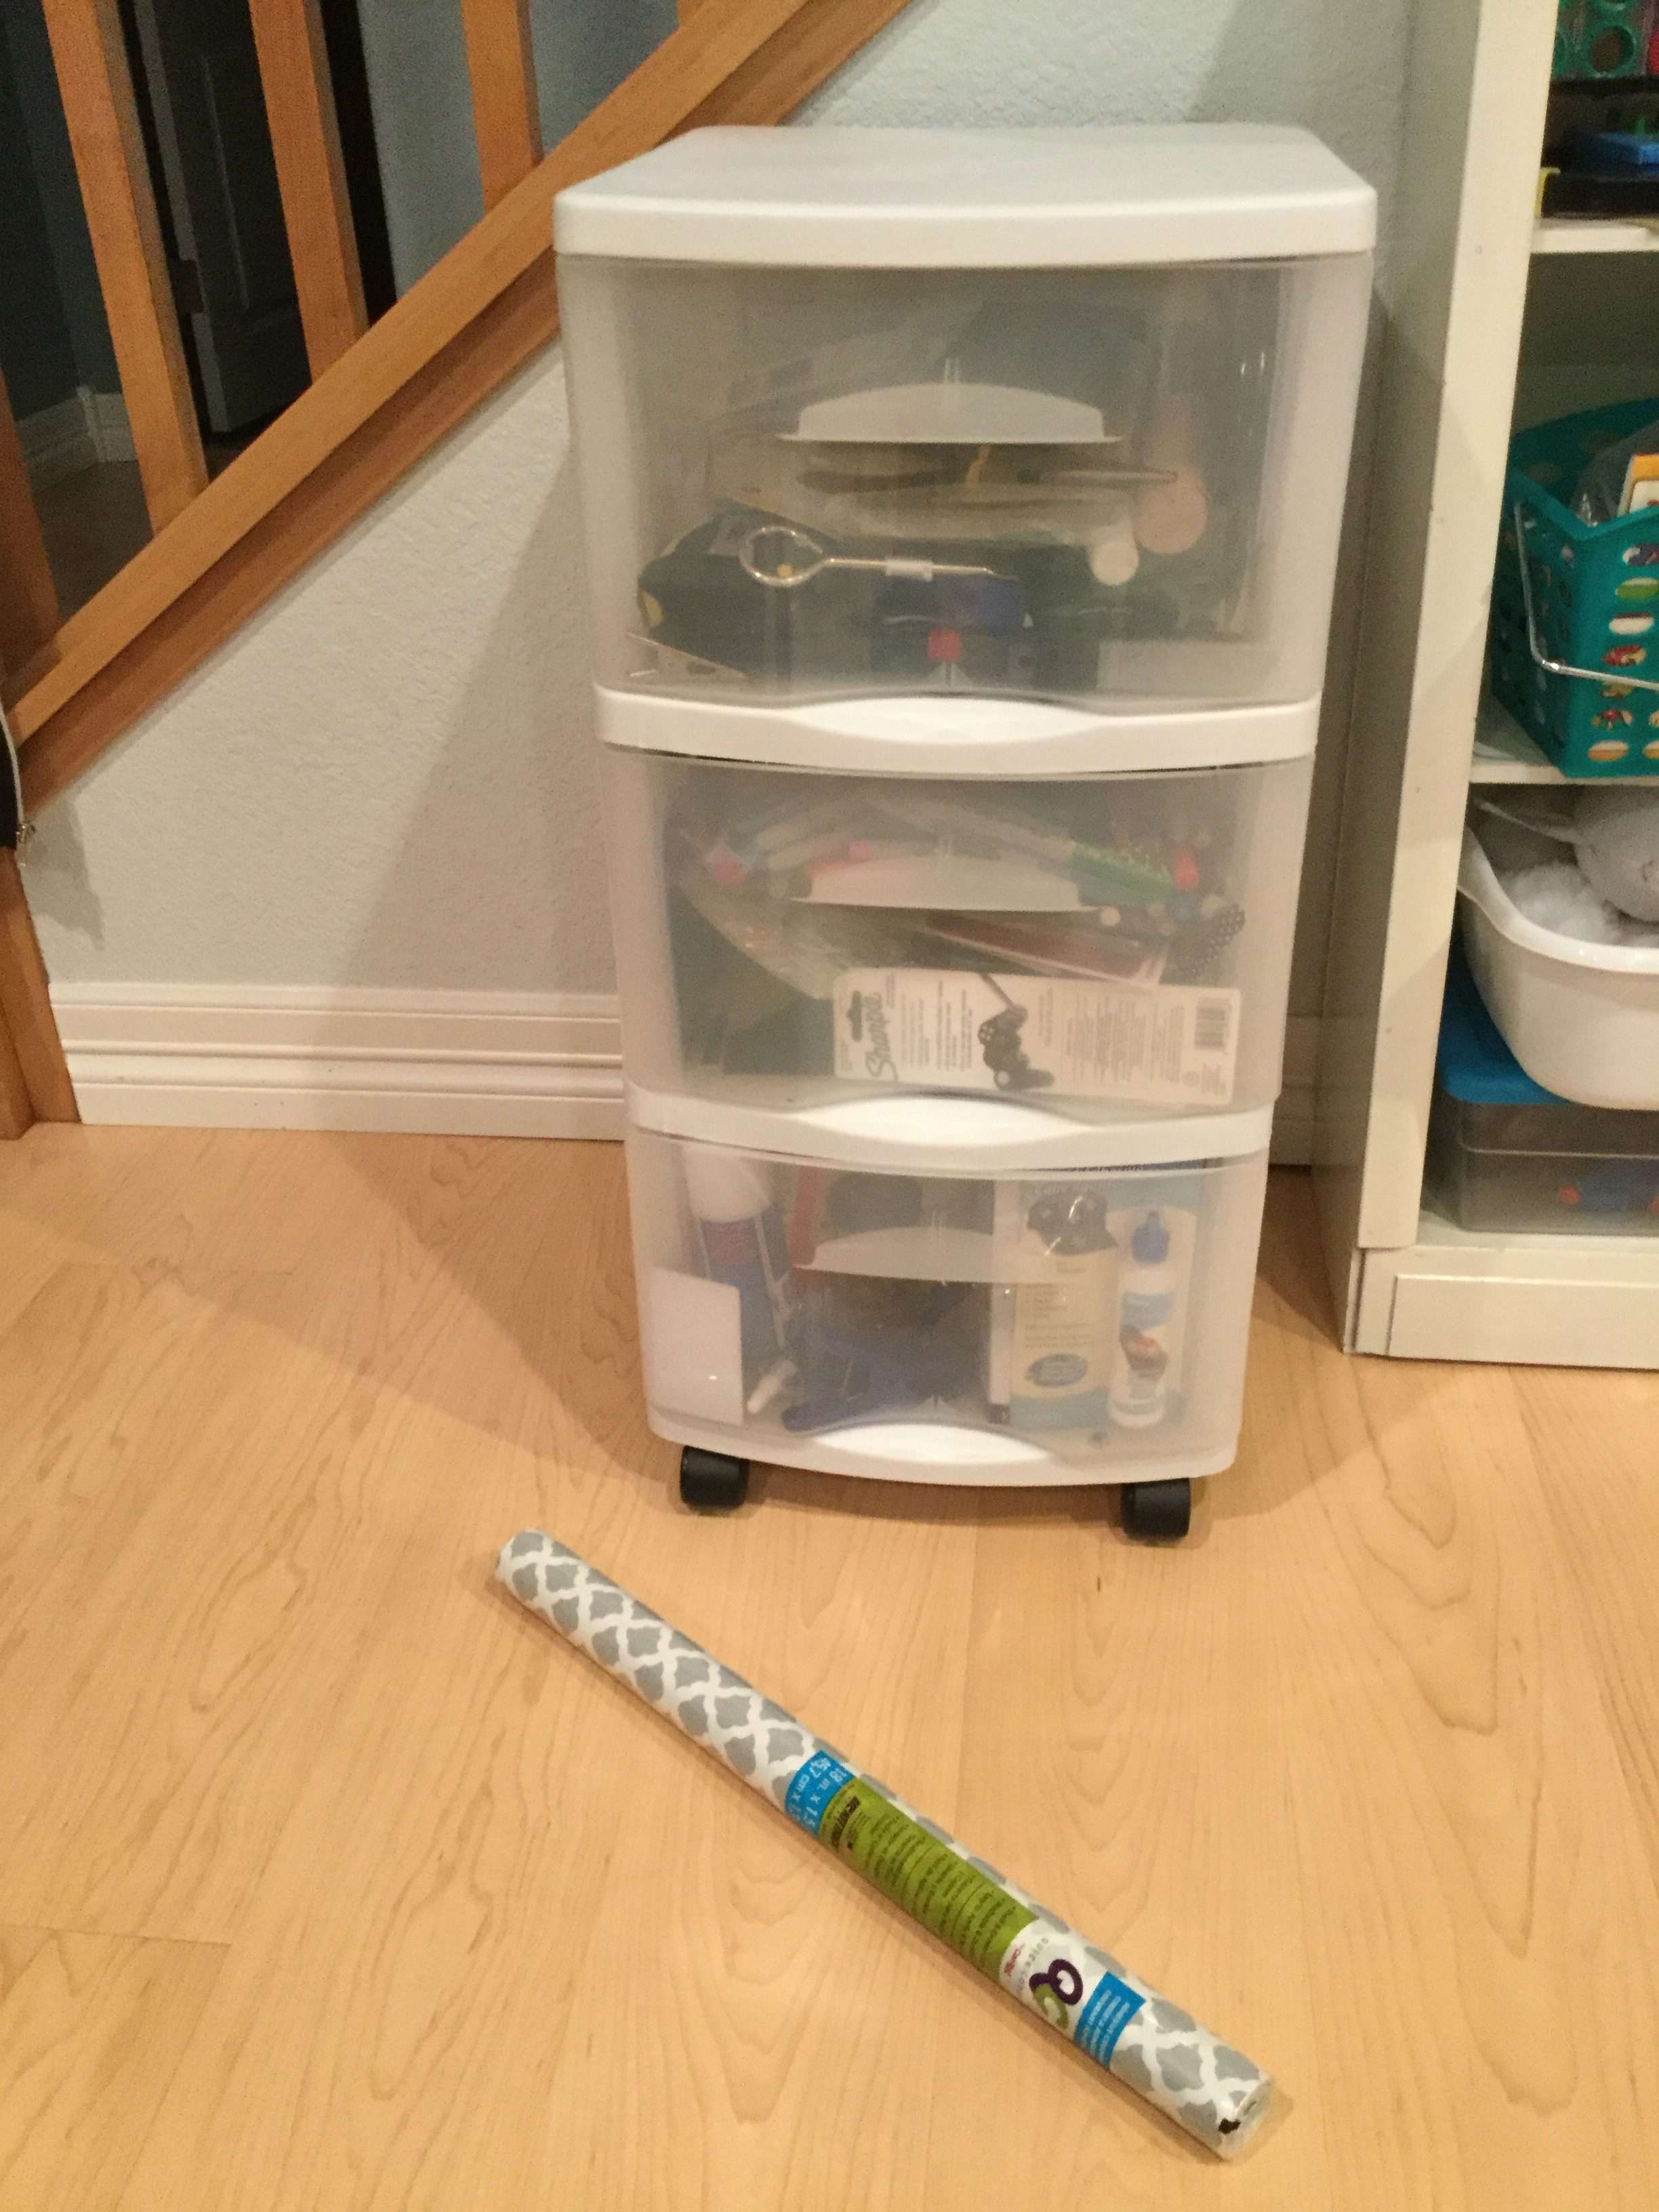
Upcycle Storage Containers Materials
- Drawer(s) you want to upcycle
- Contact paper of your choice
- Regular paper/butcher paper
- Pencil
- Scissors
- Ruler
- Electrical tape
- Razor blade
DIY Plastic Drawer Makeover Steps
Once you have all the supplies and equipment ready, you can move on to the steps below:
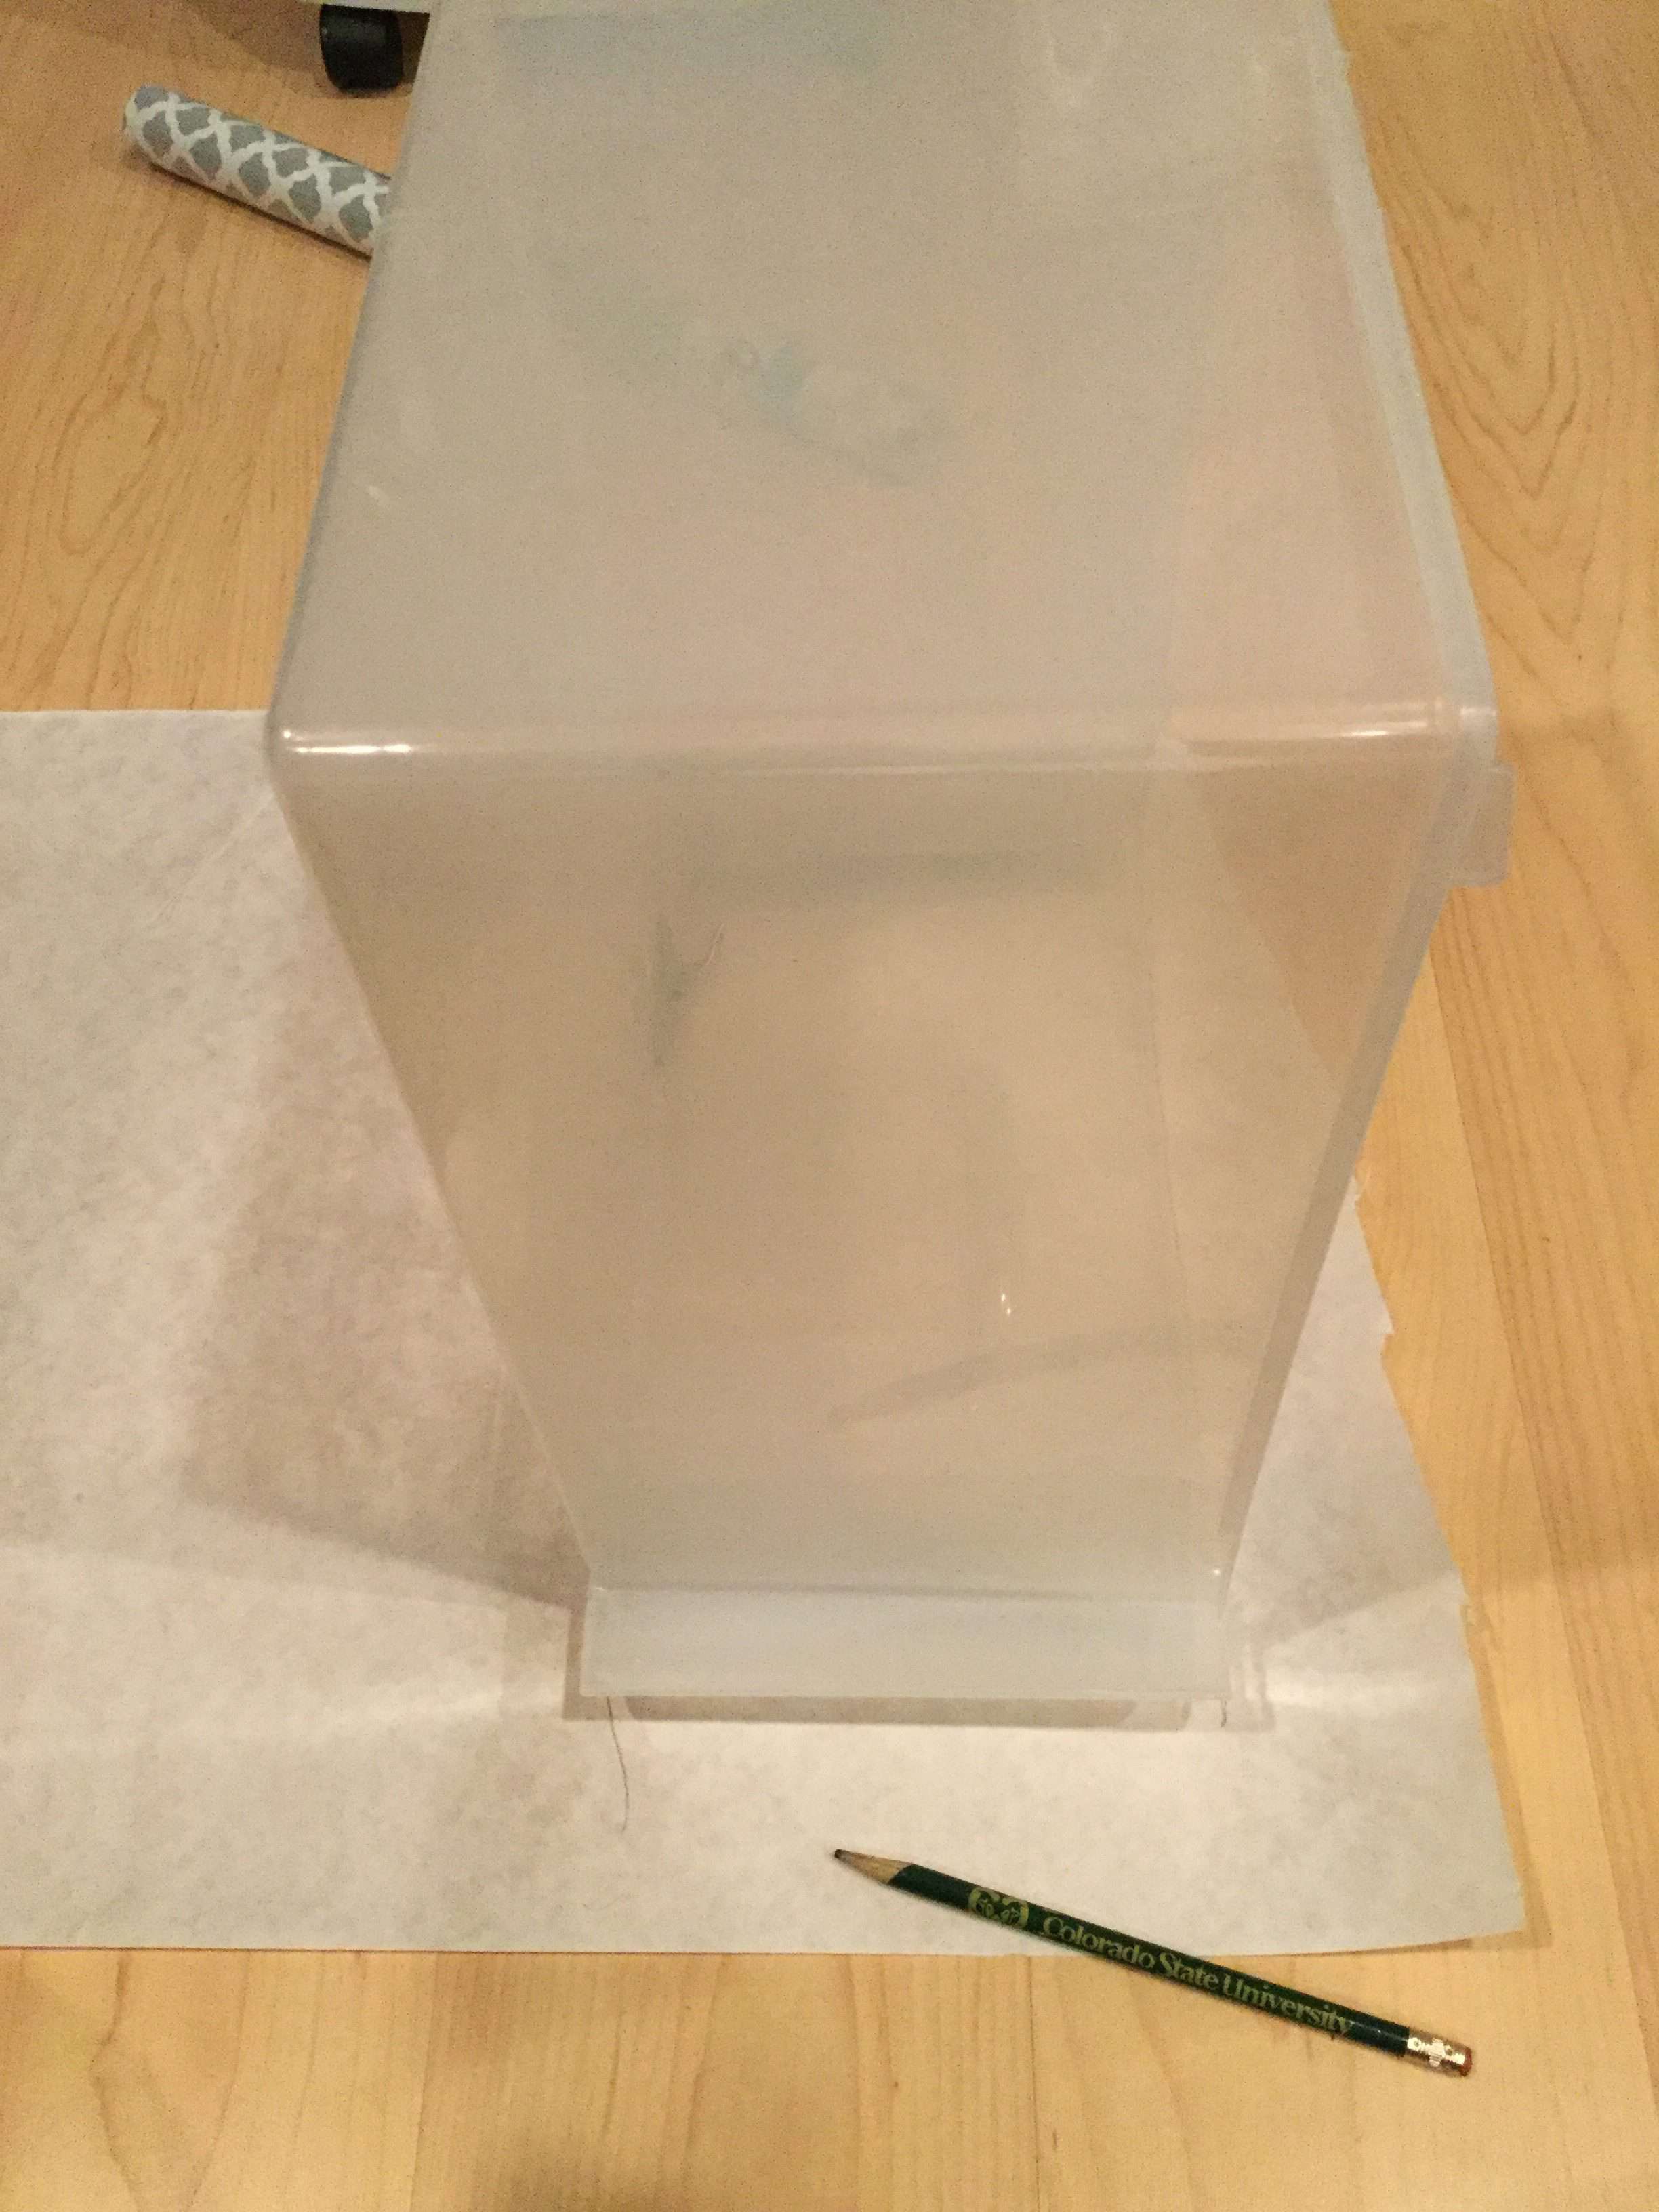
Step 1: Create a Drawer Pattern
I pulled out the plastic bins and used butcher paper to trace the outline of the front side of the clear plastic drawers. I ended up with a pretty accurate pattern to work with.
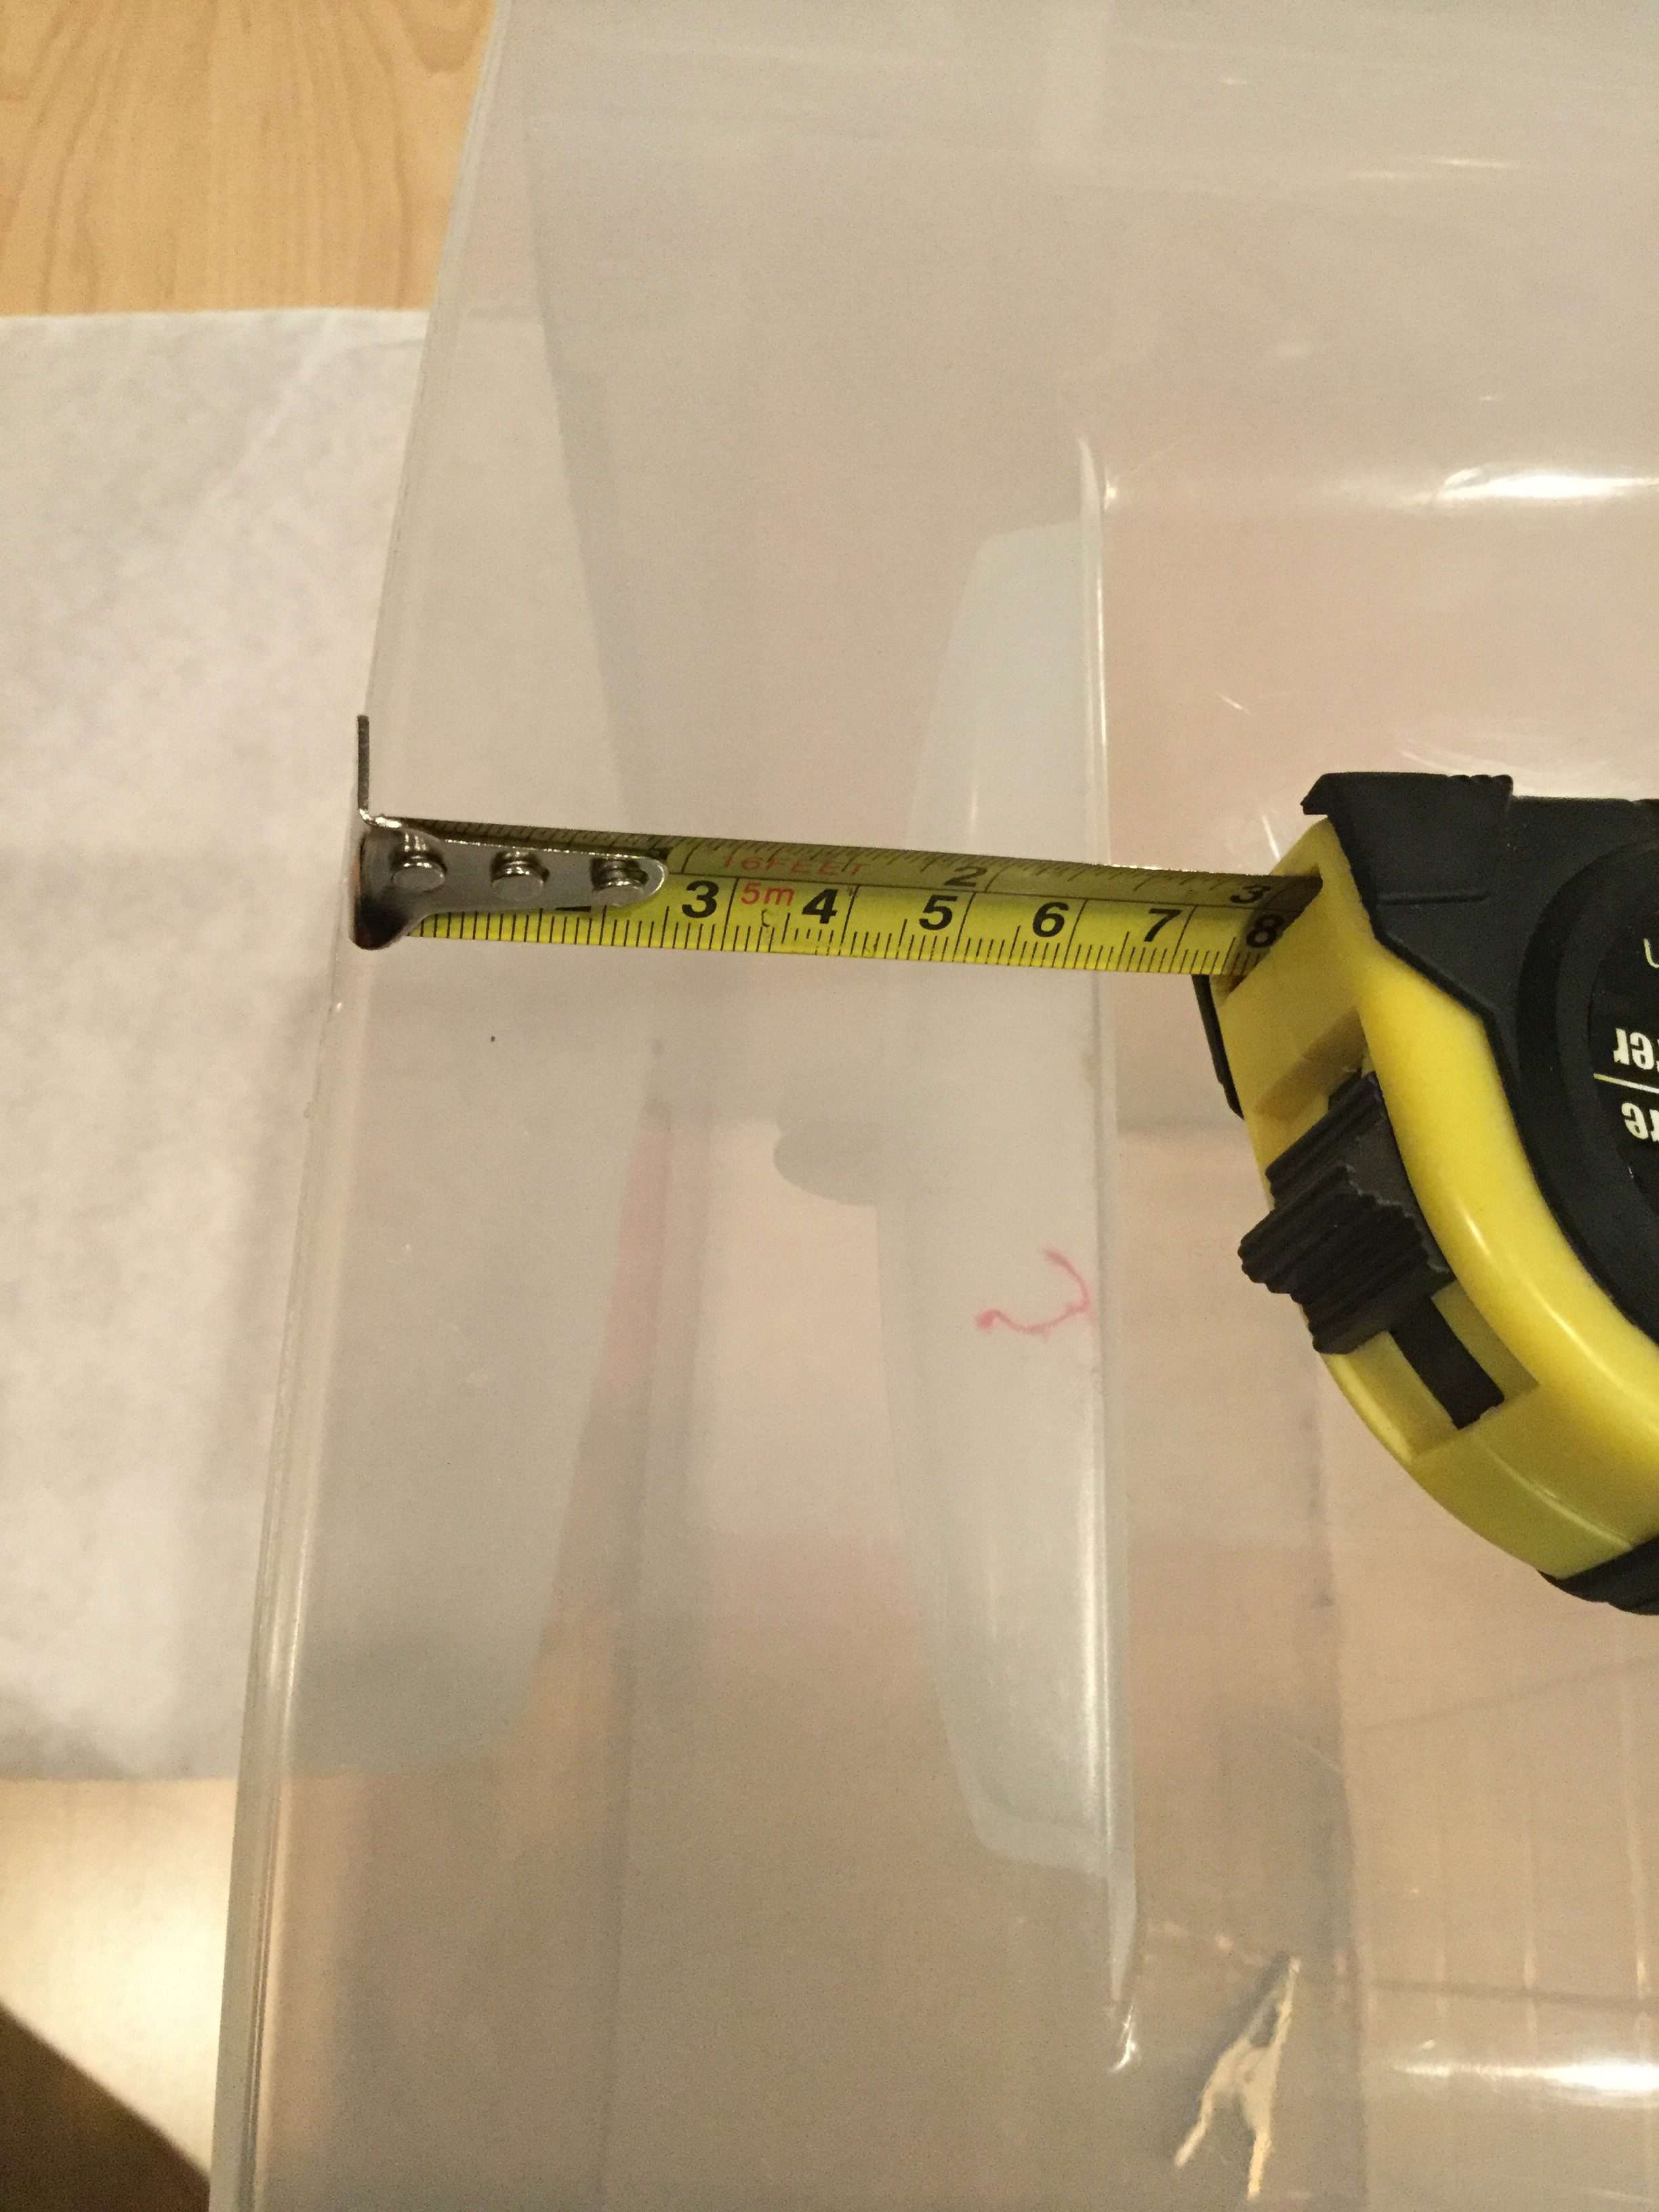
Step 2: Take Measurements
I measured from the top of the drawer down to the handle, and it was about 2 1/2″.
The indent portion of the bottom half of the drawer would take more contact paper than the upper portion, so I had to cut my pattern in unequal halves to accommodate the difference.
Step 3: Cut, Trace, and Cut Again
After measuring, I cut my pattern out and traced the pattern onto the back of the contact paper.
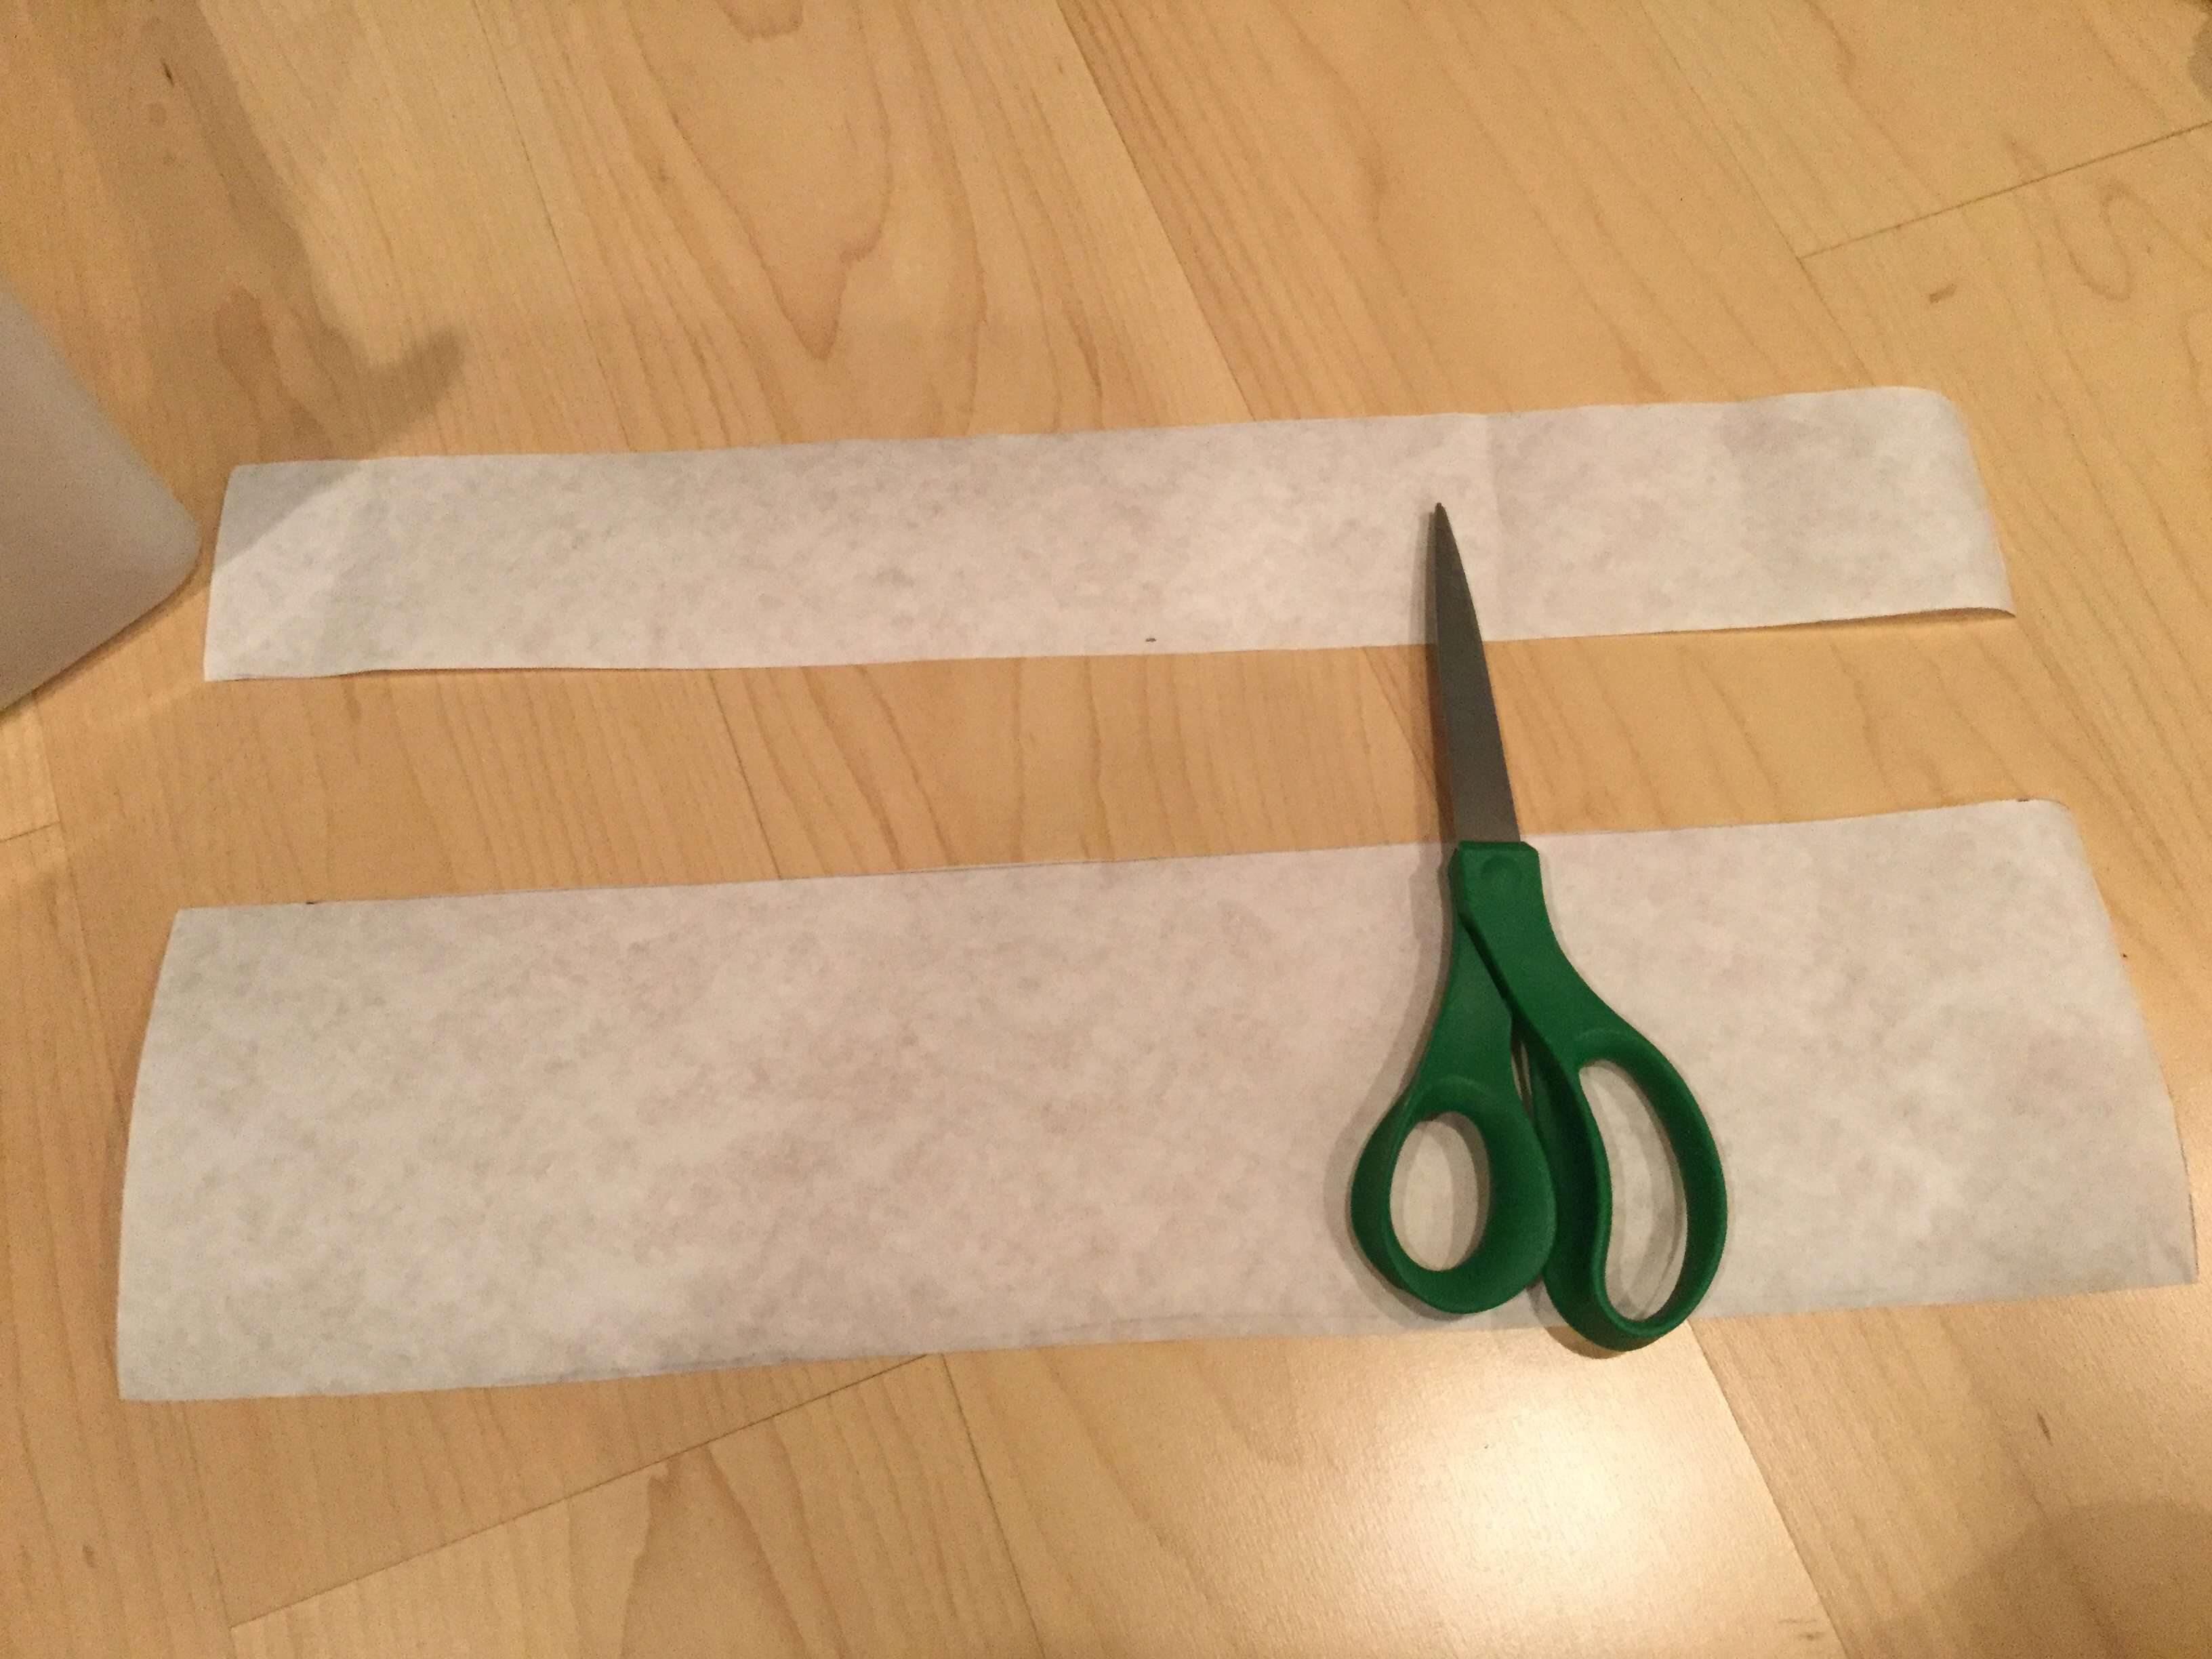
Then, I cut the contact paper.
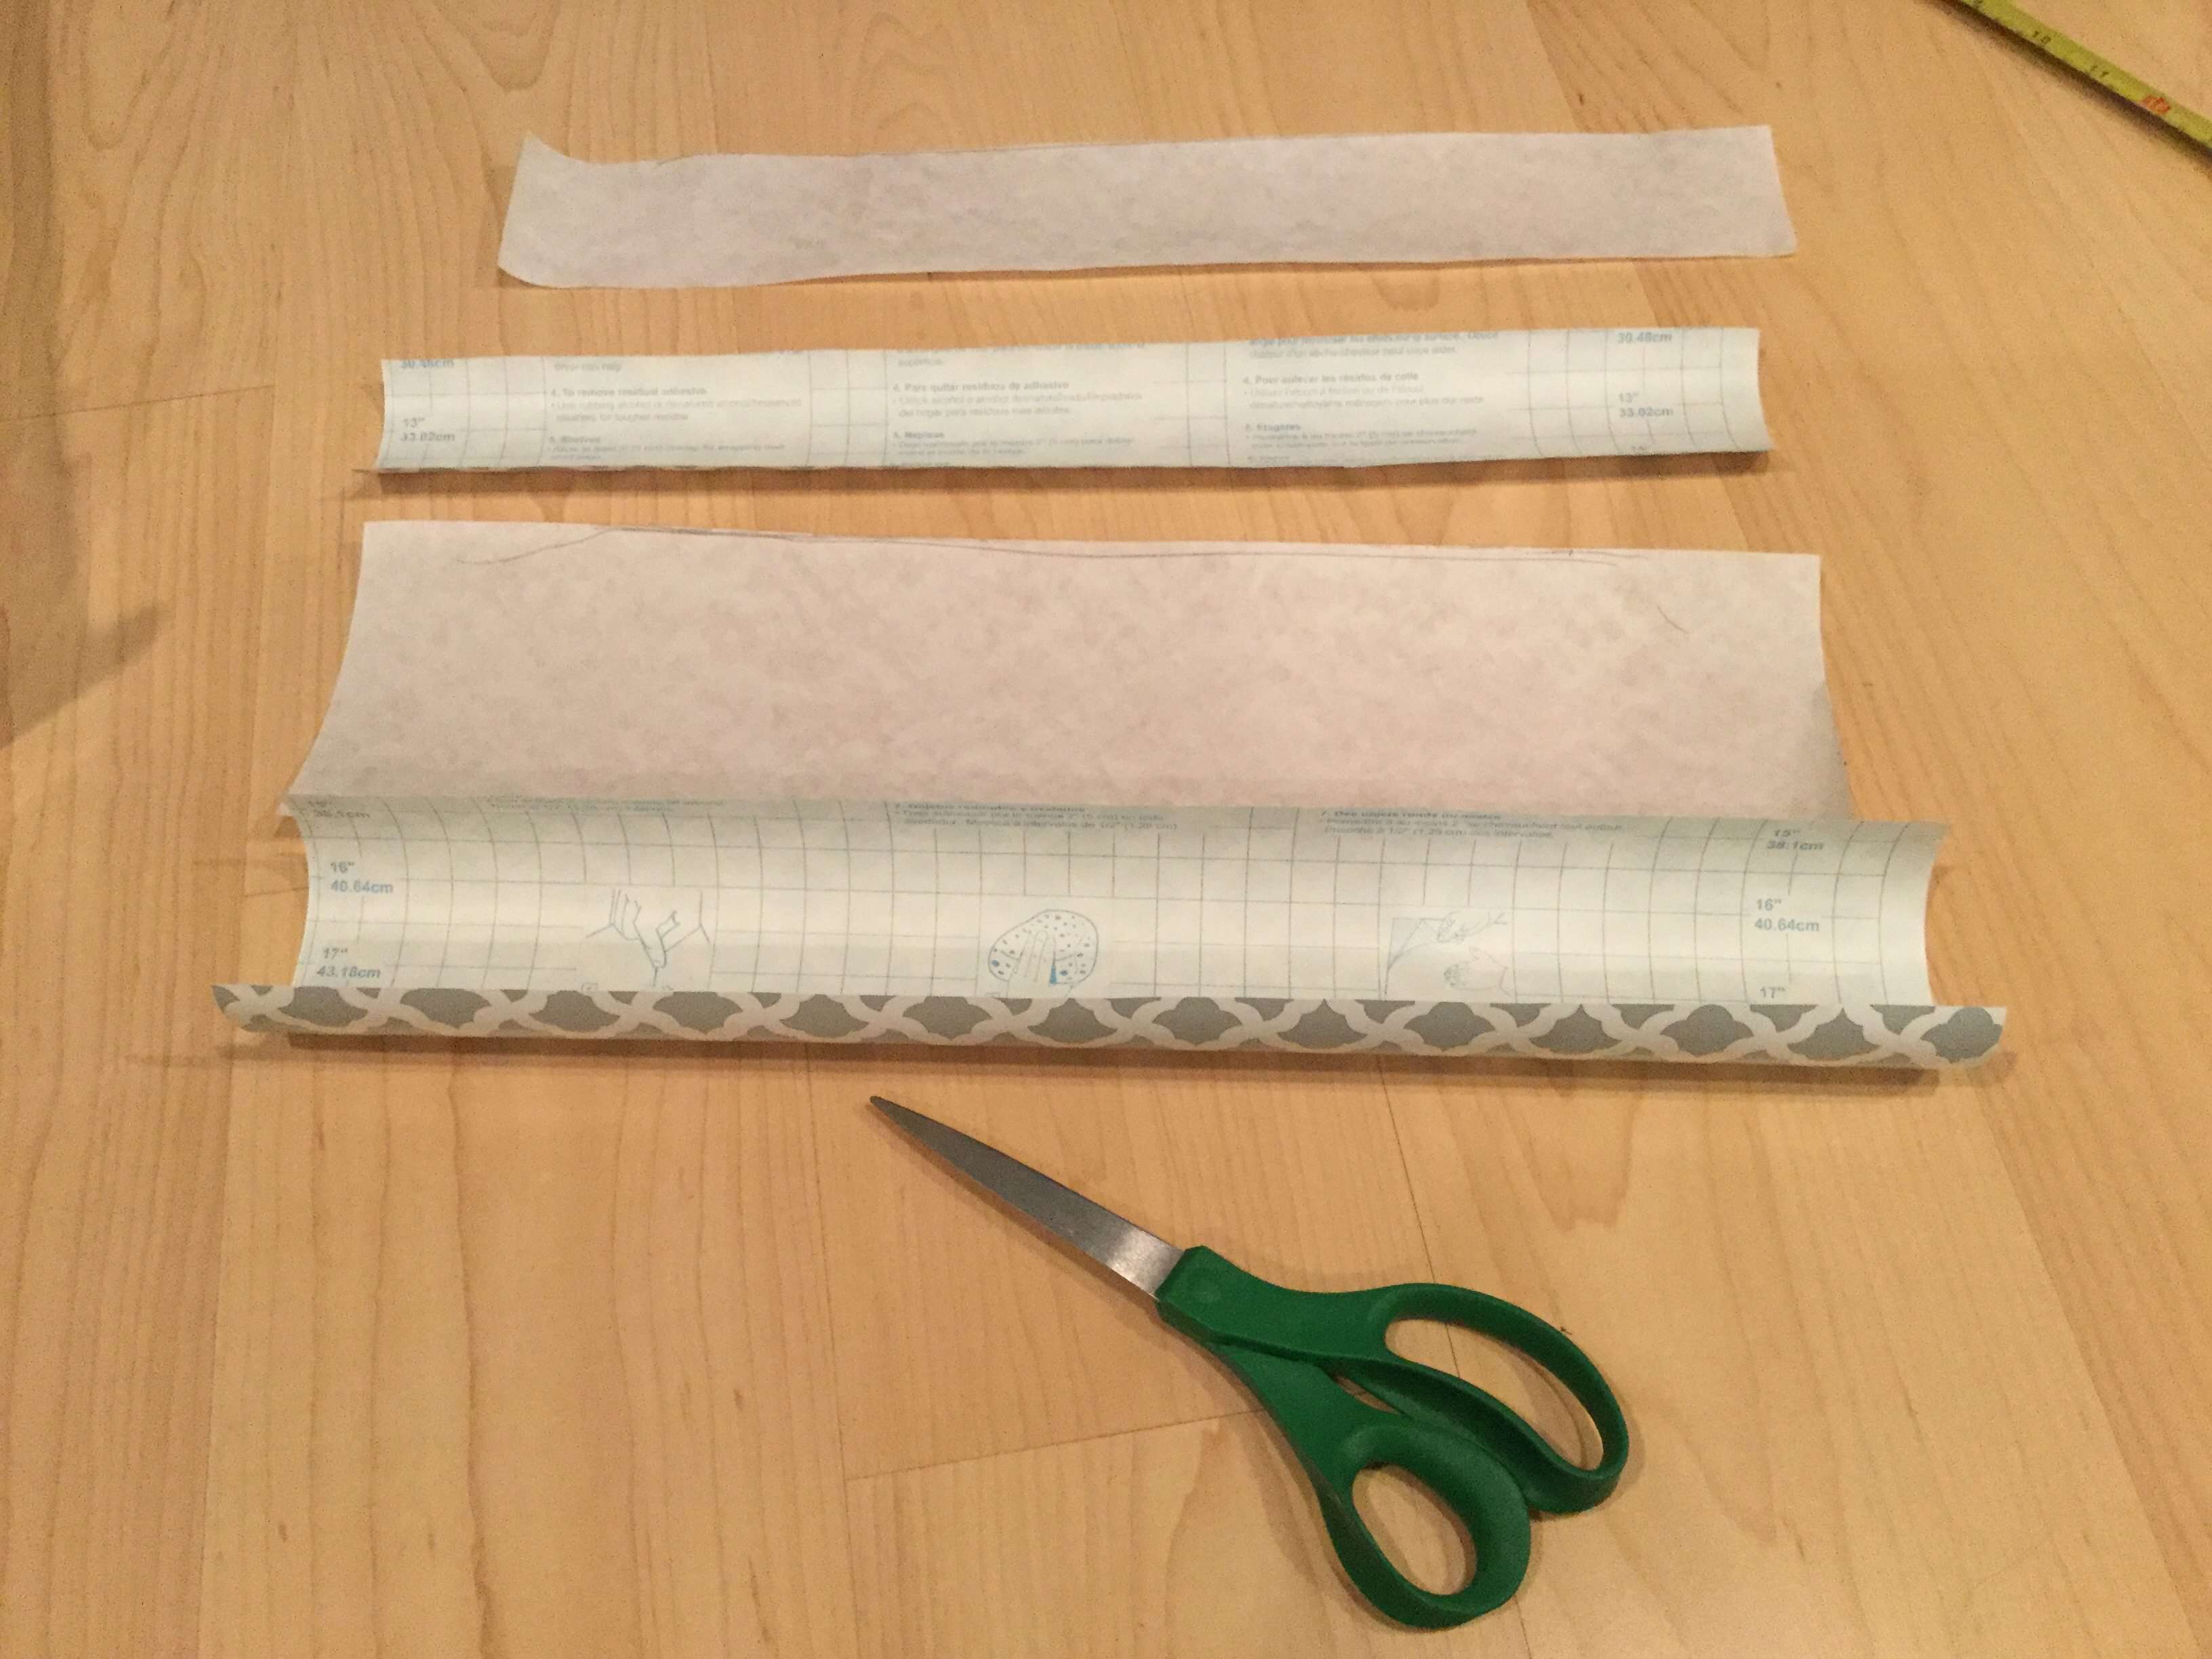
I then traced my pattern onto the back of the contact paper and cut the contact paper.
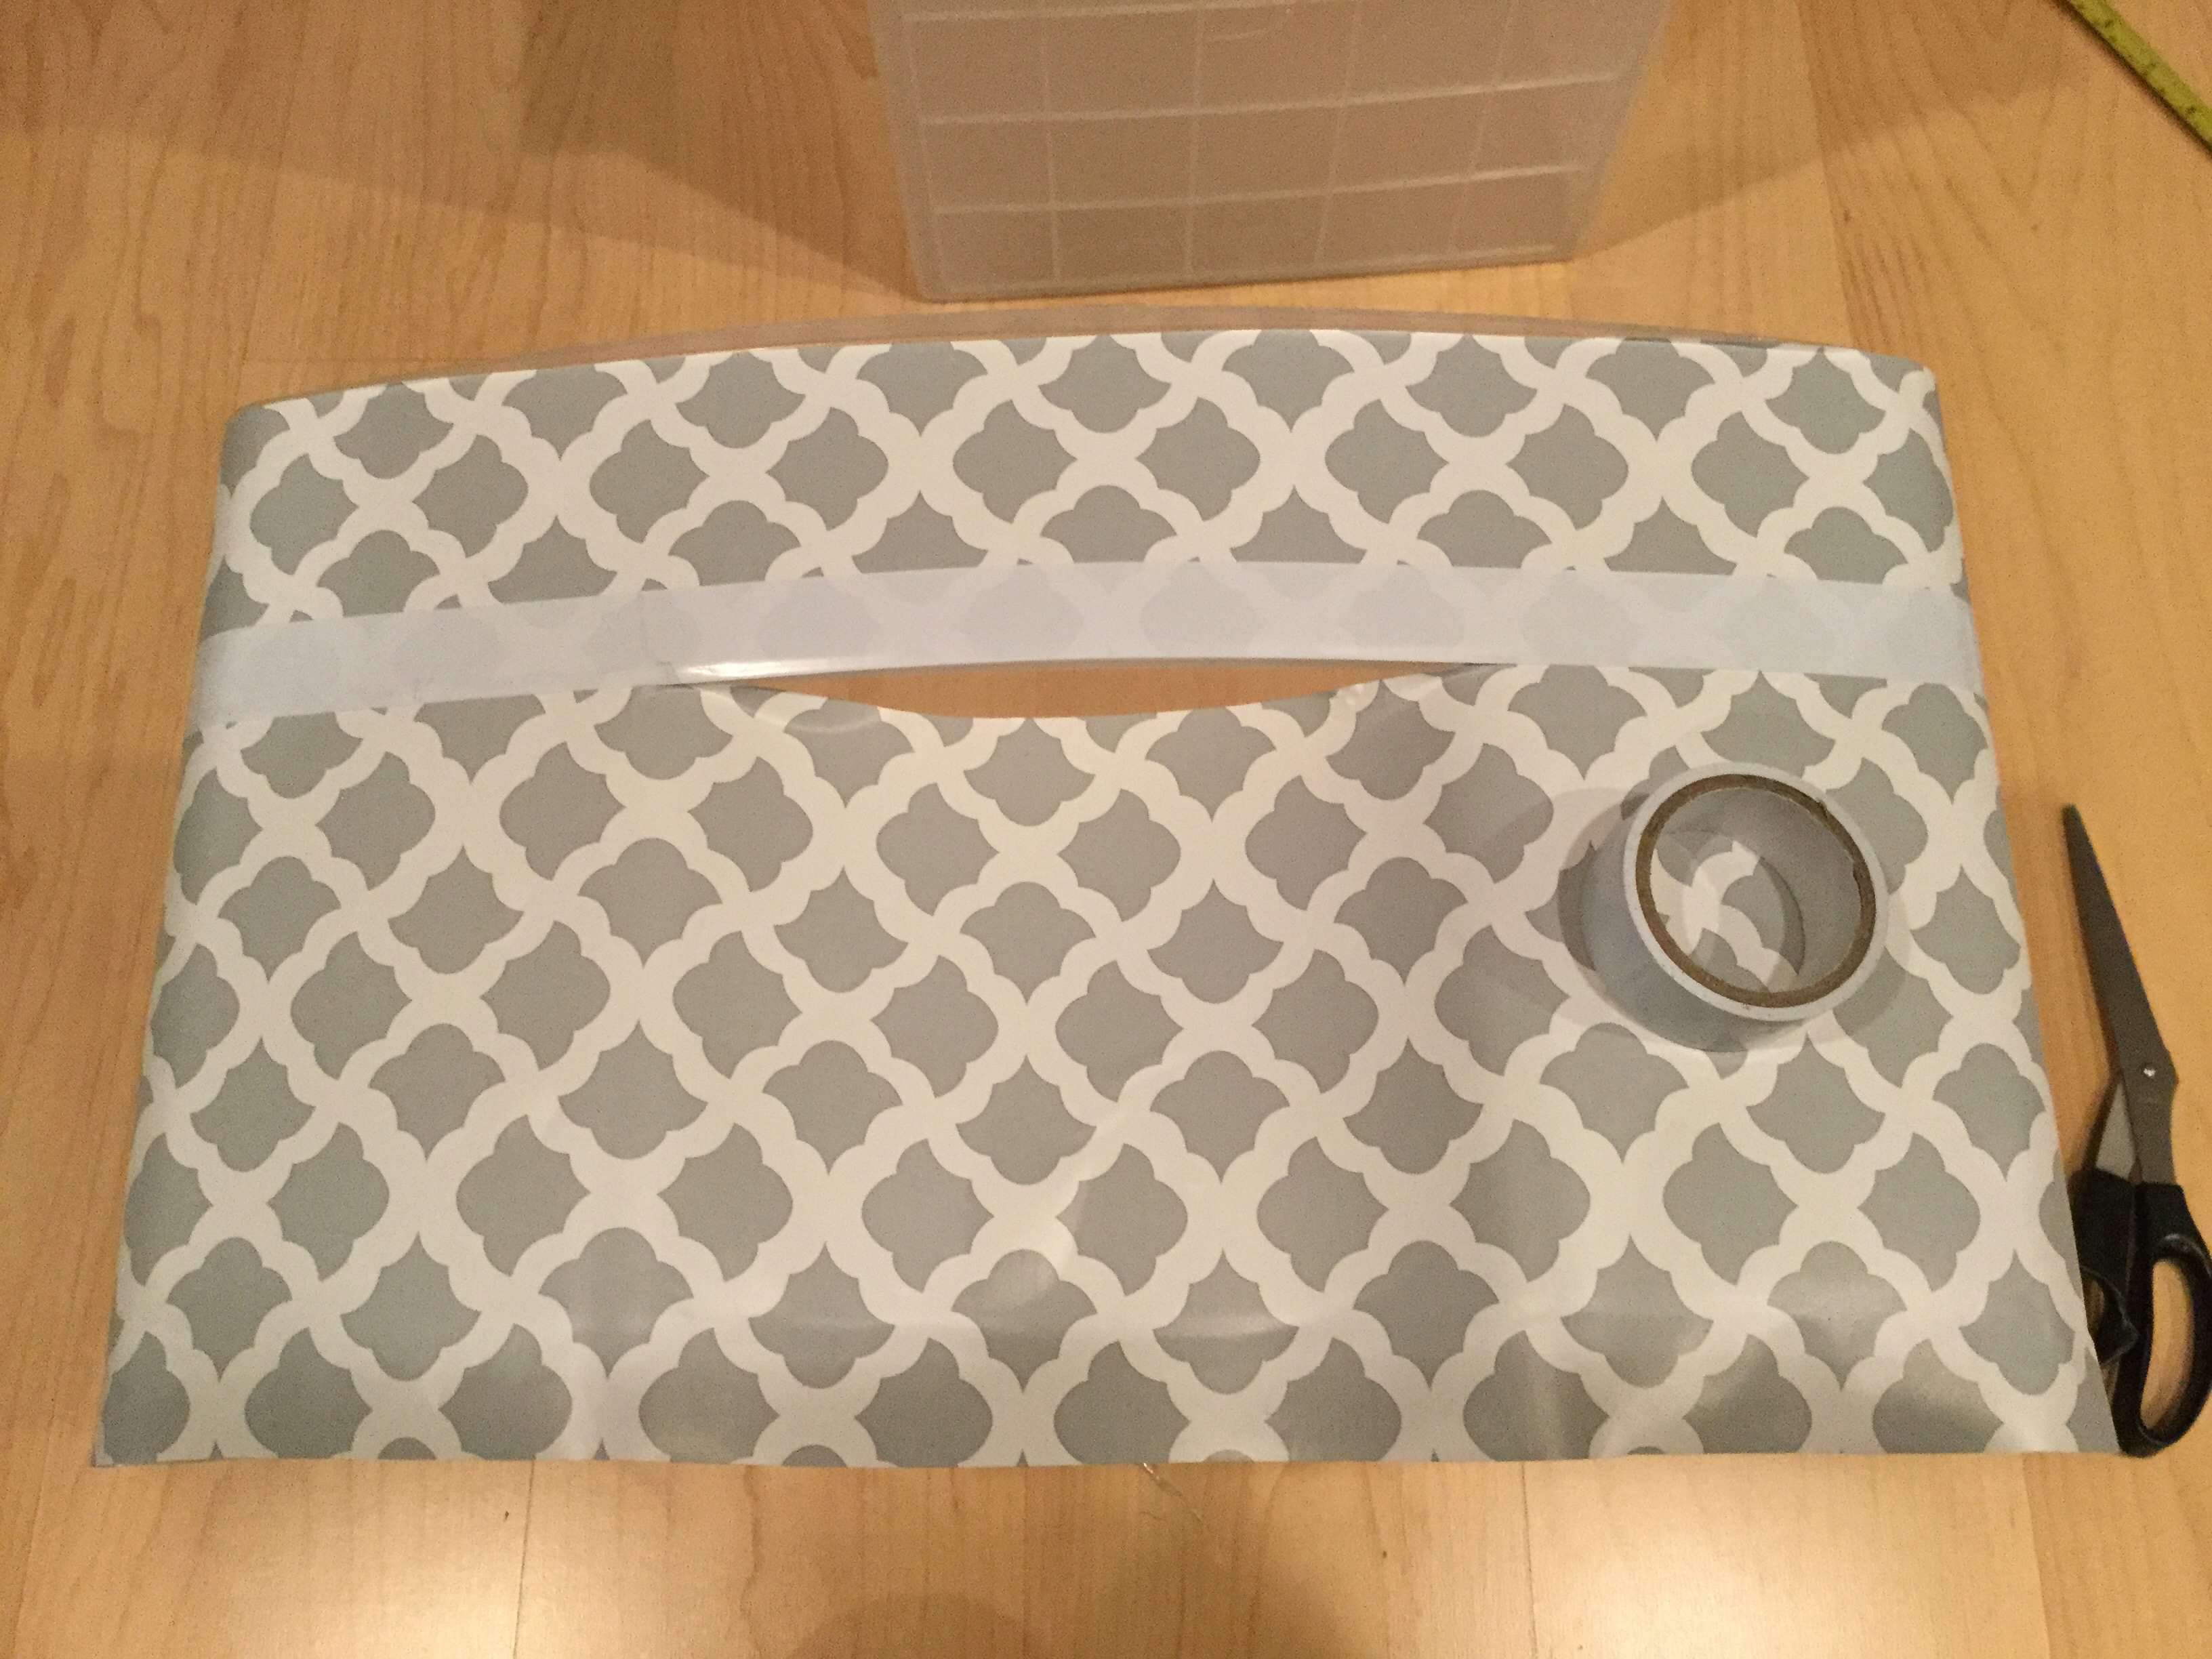
Step 4: Stick and Trim
Now was the time to peel the backing off the contact paper and place both halves on the drawer front.
To cover the line between the two contact paper sections, I used white electrical tape. You can use a different tape color depending on the colors of your contact paper.
Finally, I trimmed off the extra contact paper using a razor blade/X-Acto knife.
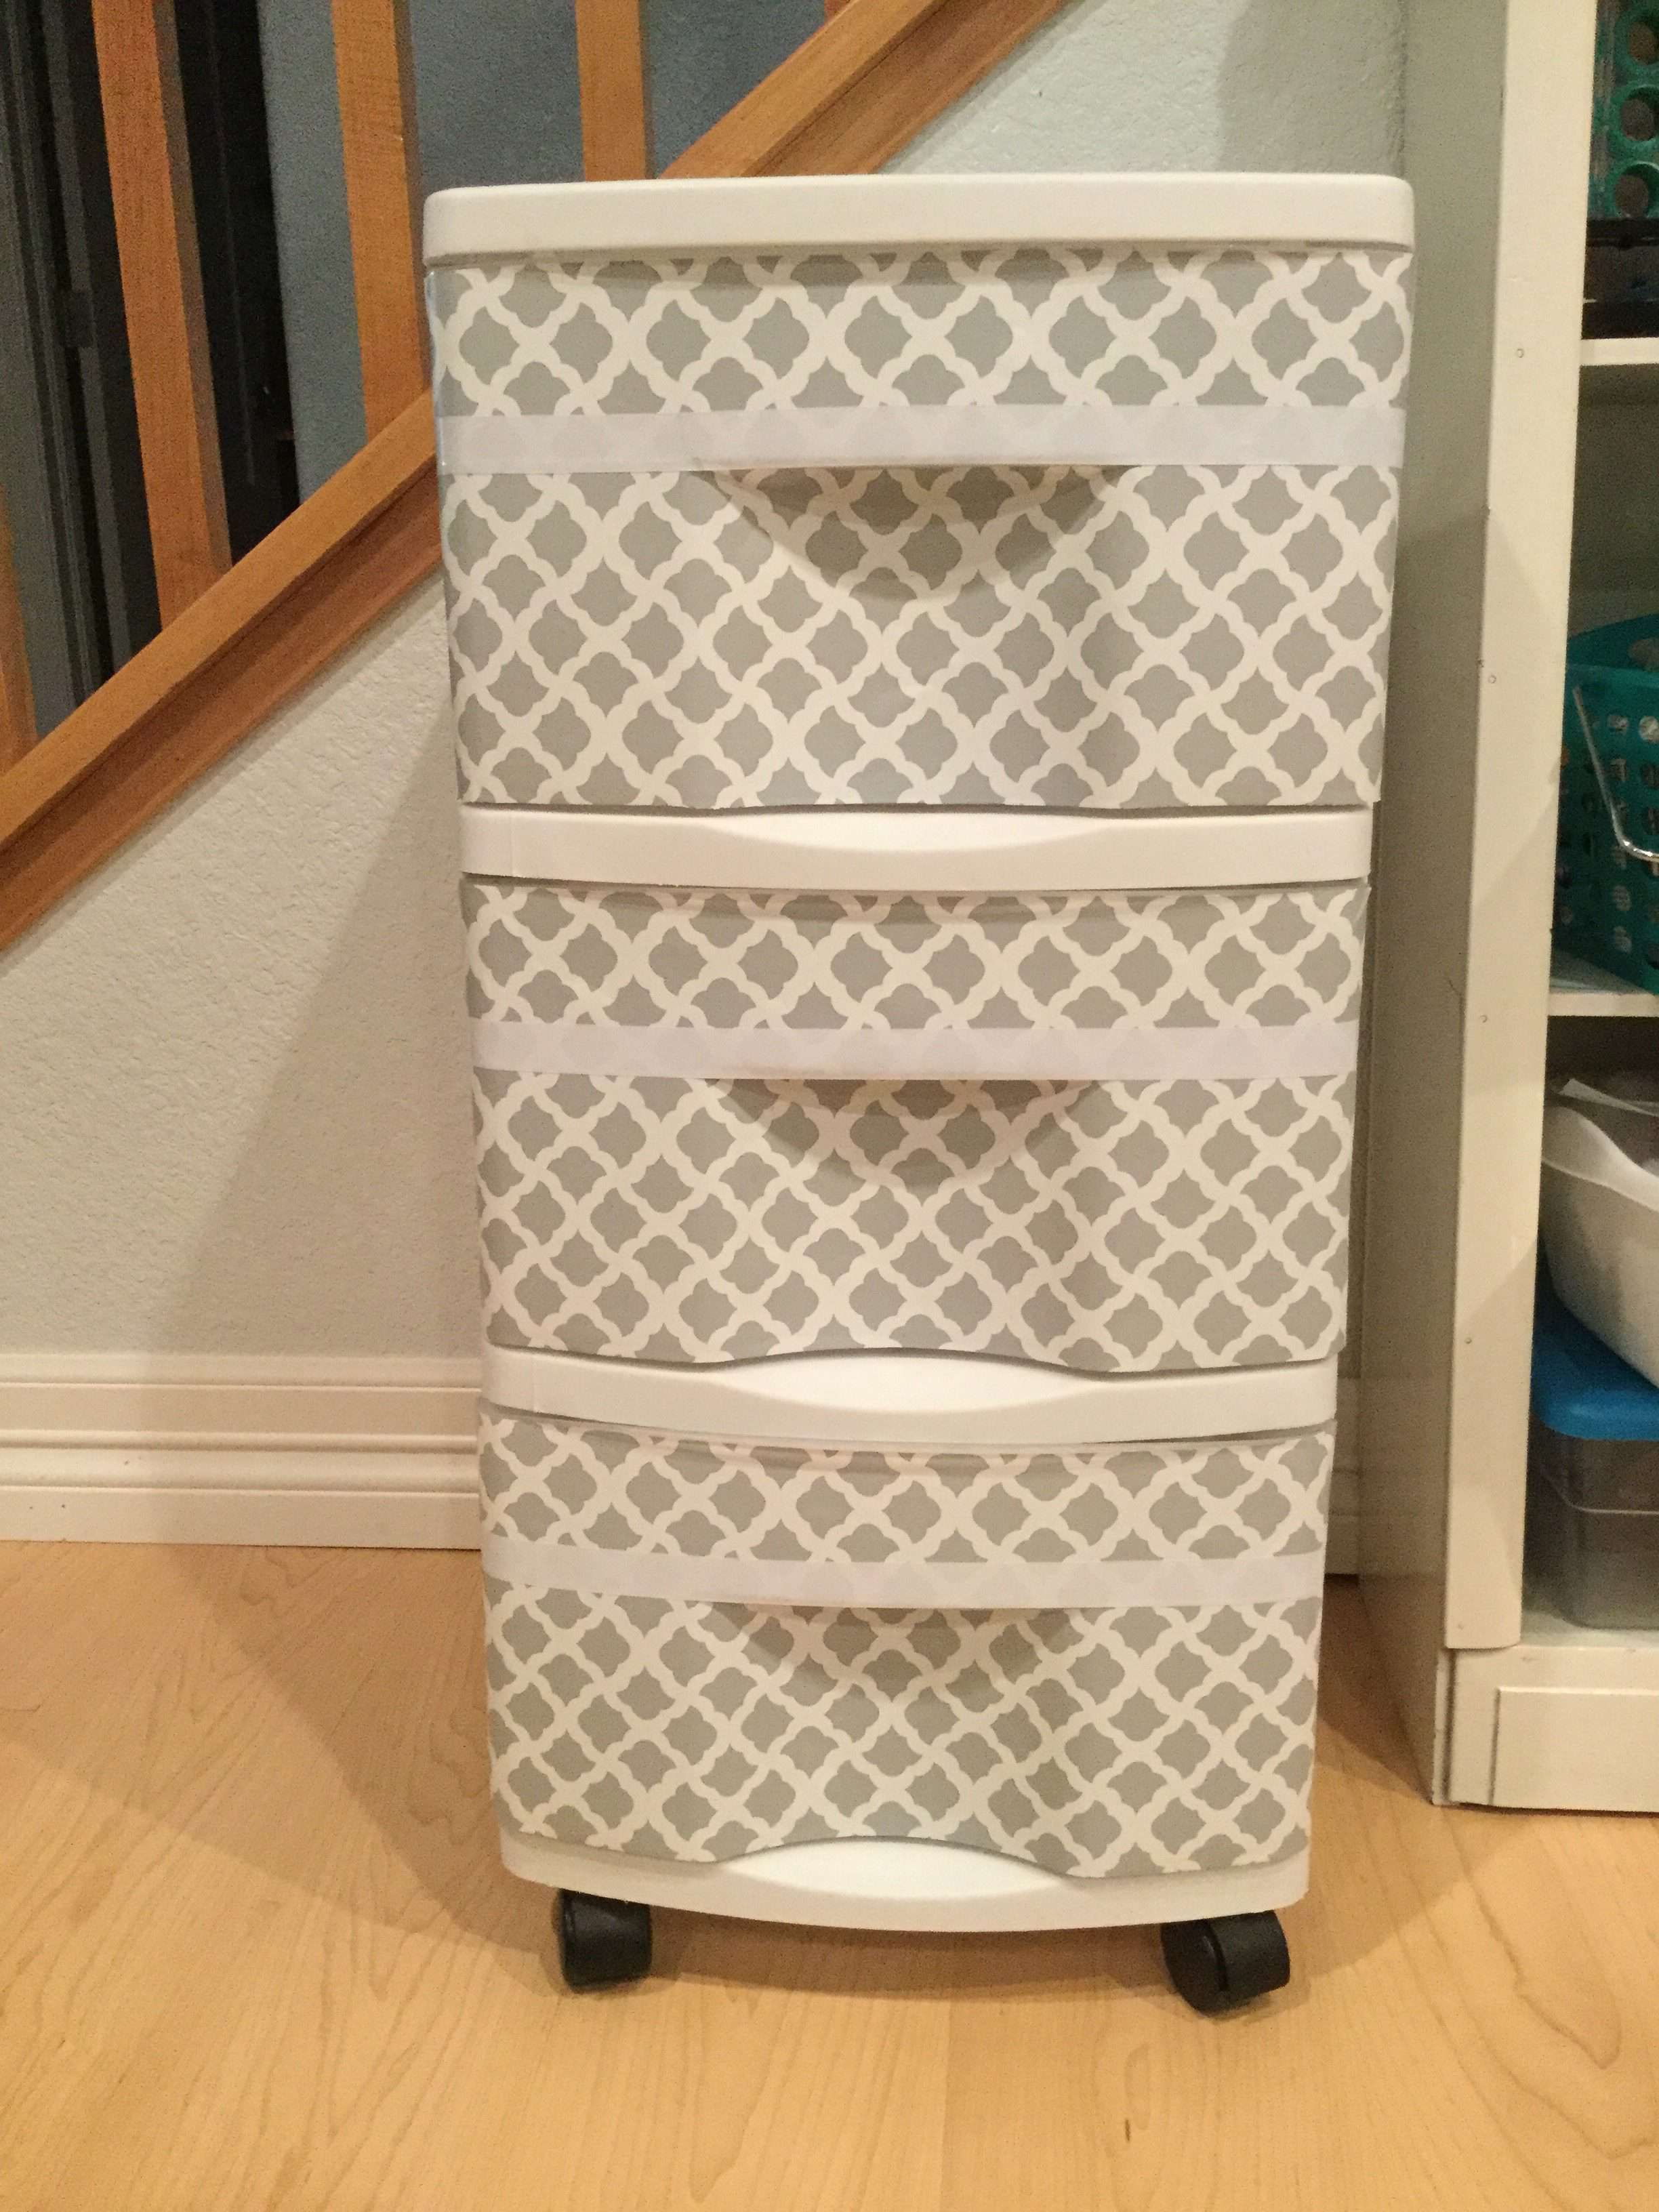
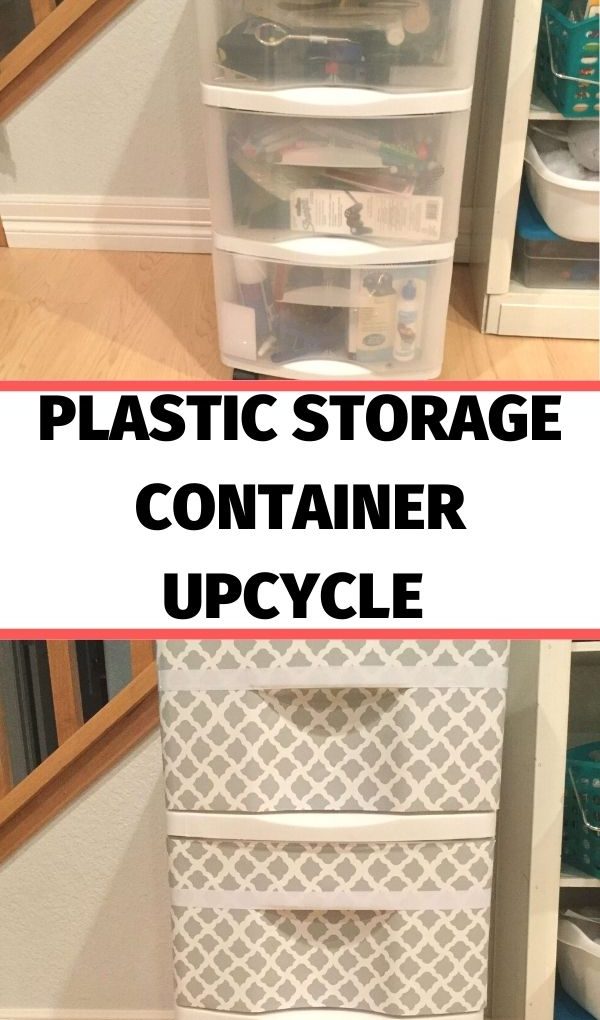
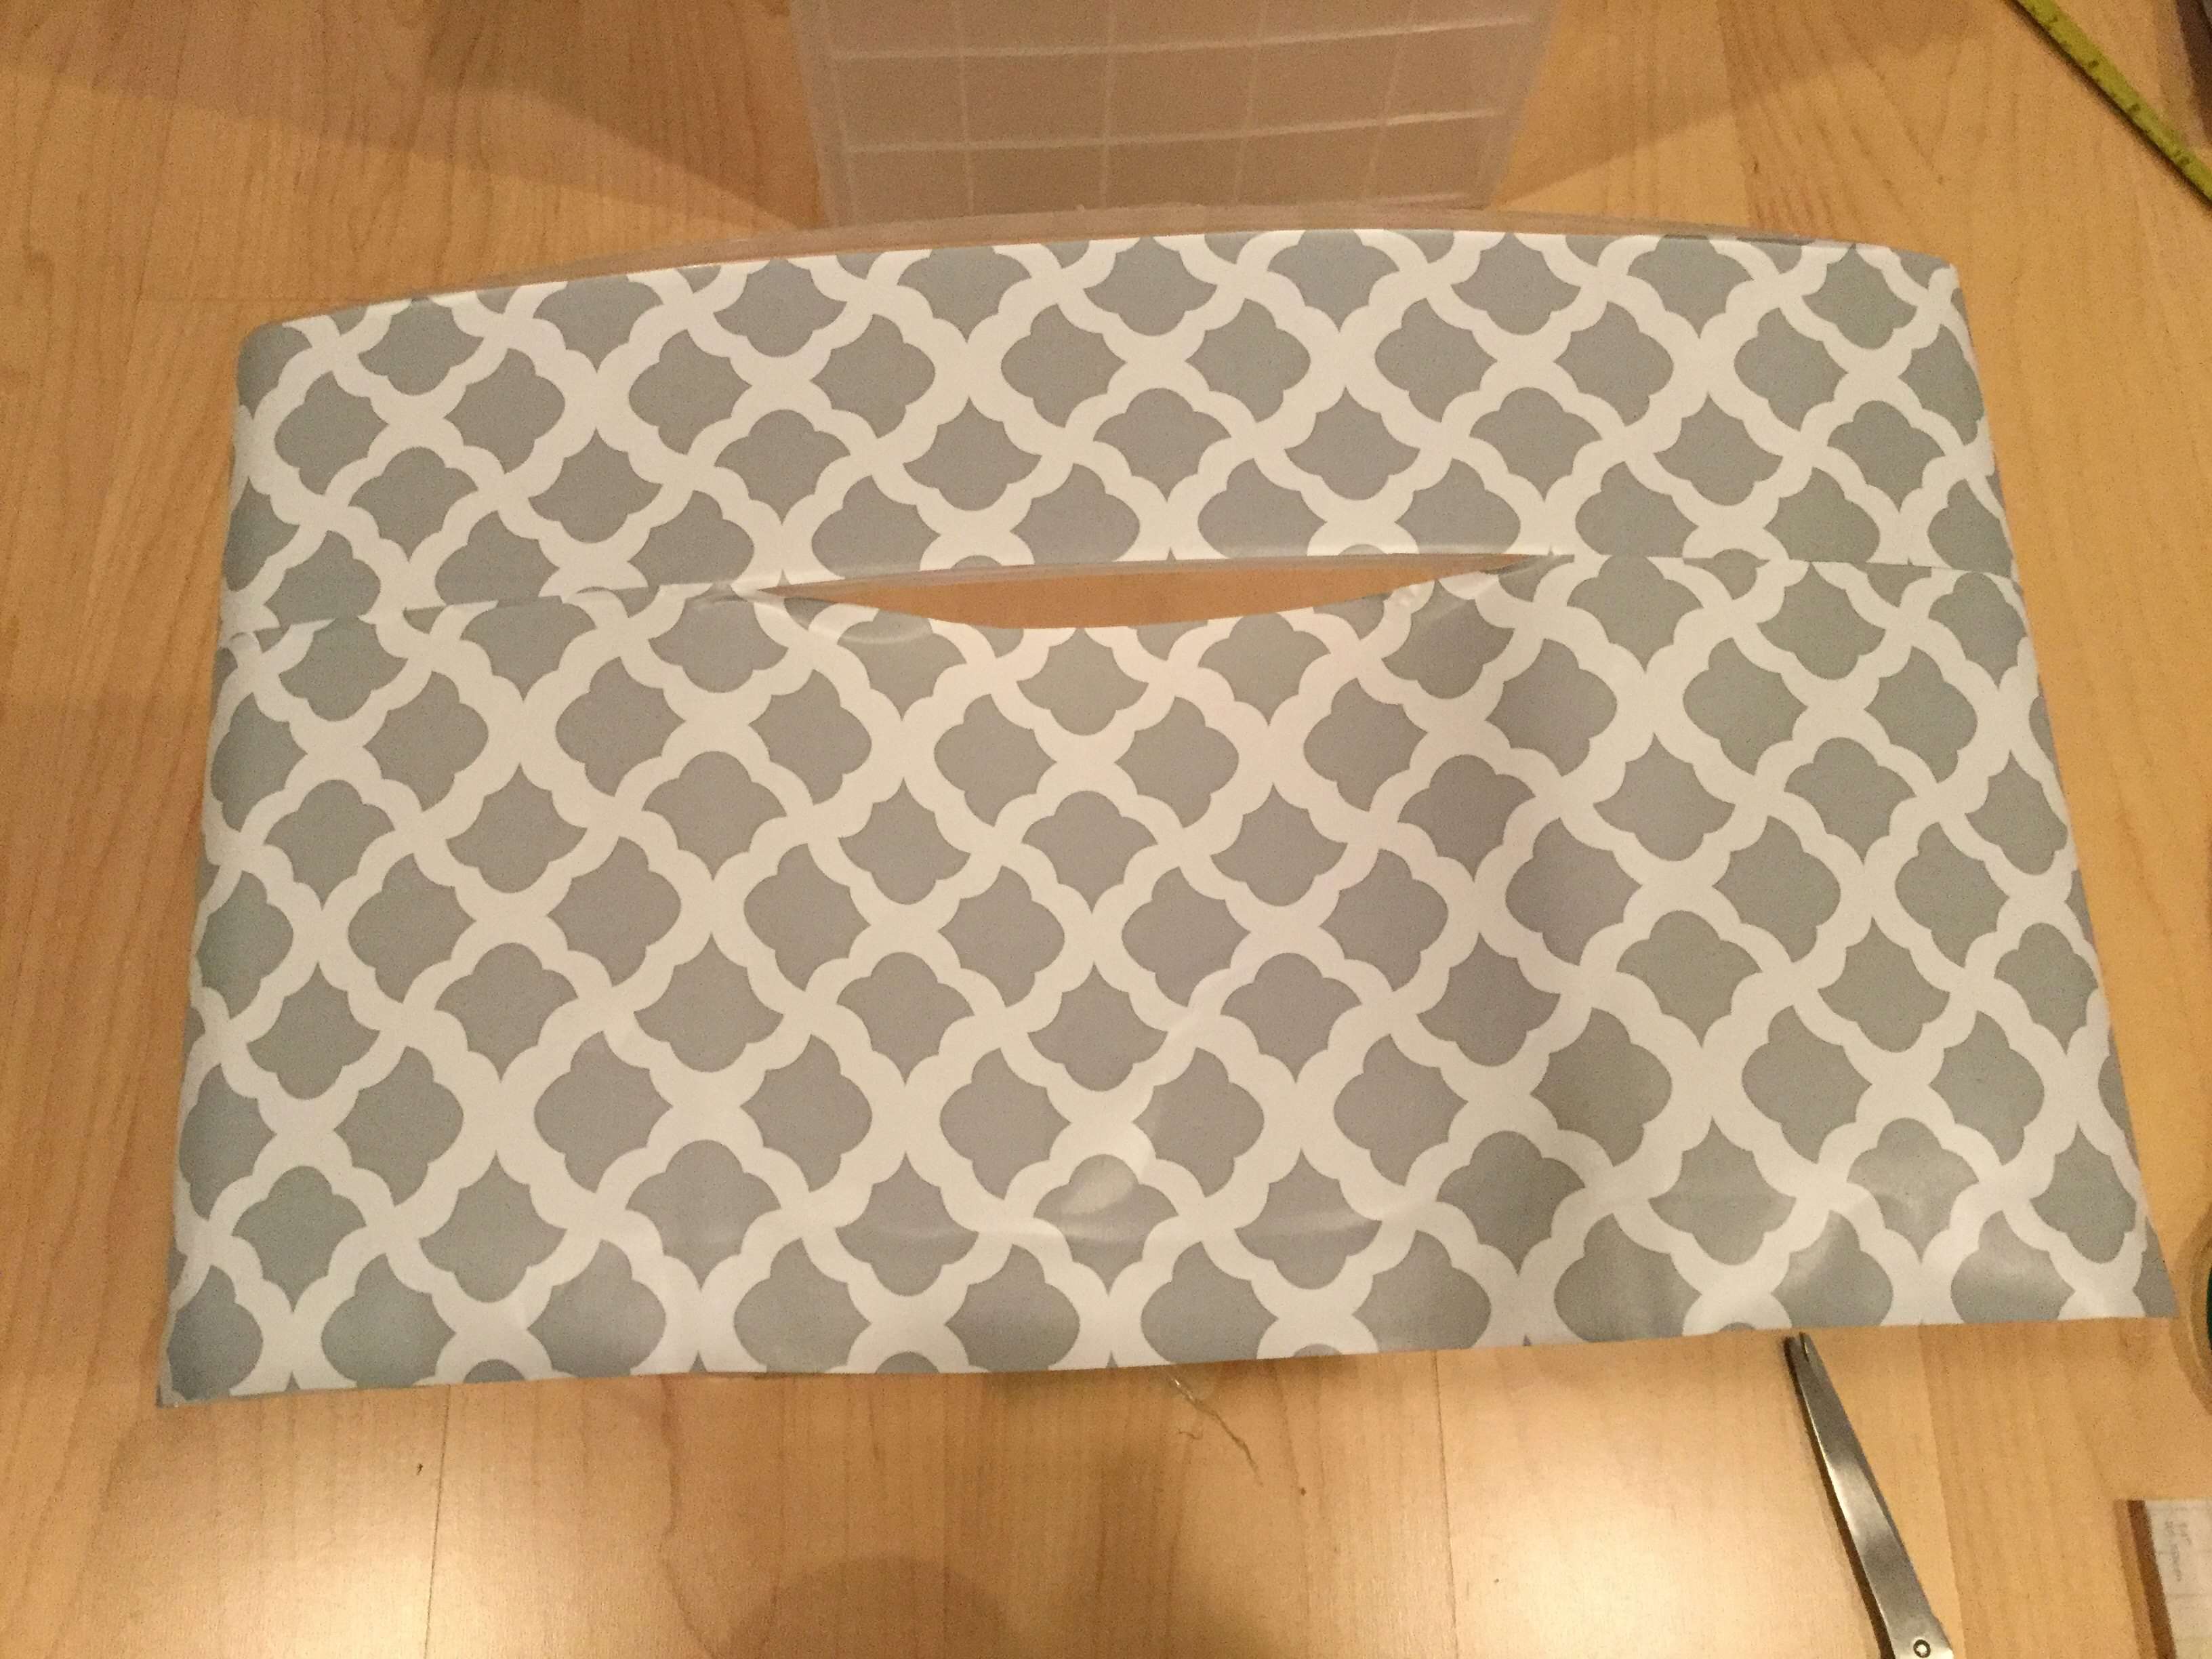
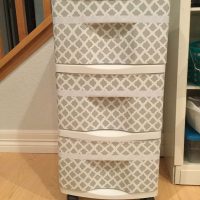
The Finished Product
Here it is all finished, and I love the way it turned out!
It is a fantastic way to hide what’s inside the drawer, and if you want a quick way to remember what you put in there, use label makers to add a simple clue to the front of each drawer.
This DIY project is so easy, but its impact is big. It brings new life to the storage unit with just a few items from the dollar store. I’m thrilled to have created one of the easiest plastic drawer makeovers and covered the clear plastic surfaces!
Other options you can use to give your plastic storage bins makeovers include:
- Scrapbook paper with spray adhesive
- Acrylic paint
- Drop cloth
- Gold spray paint
- Washi tape
How to Make Plastic Storage Bins Look Nice
When it comes to enhancing the appearance of boring old plastic storage bins, you may be wondering some of the following common questions:
You just have to be creative to work with what you have. In most cases, covering the front face of the container with a pattern or design does the trick!
Yes, you can paint plastic storage bins, but make sure the paint you use is safe for plastic.
I measured the drawer and cut the contact paper to fit on the front of the plastic drawers. Then, I placed it on the front of the drawer.
I used contact paper on my storage containers to hide what’s inside and give it a nice appearance. You could Mod Podge fabric or paper on the front as well as the sides. You can also spray paint them with a plastic-safe paint.
Upcycle Storage Containers Video
Here you can see me create this video with Hometalk
Shop any of these stores and I receive a small commission at no cost to you.
 Sterilite 3 Drawer Storage ...Shop on Amazon
  Electrical Tape 3/4" x 66' ...Shop on Amazon
  Home Logic Paisley Storage ...Shop on Amazon
  - Black - (Previous Generation - 7th)") Fire 7 Tablet (7" display, ...Shop on Amazon
Fire 7 Tablet (7" display, ...Shop on Amazon  - Smart speaker with Alexa - Black") Echo Dot (2nd Generation) -...Shop on Amazon
Echo Dot (2nd Generation) -...Shop on Amazon
Wrapping Up
I have placed and used my upcycled storage units all over my home, including the craft room, bathroom, closets, kitchen, family room, kid’s rooms, toy room, office, and laundry room.
This goes to show just how versatile this plastic storage container upgrade hack is, so don’t hesitate to try it yourself!
Find out “What Exactly Does It Mean To Repurpose Or Upcycle“, save money, and create the most amazing things.
How To Upcycle Storage Containers
Equipment
- Scissors
- Razor blade
- Pencil
- ruler
Materials
- 1 unit The drawers you want to upcycle
- 1 roll Contact paper of your choice
- 1 piece Regular paper/butcher paper
- 1 roll Electrical tap
Instructions
- Use butcher paper to trace the front of your drawer to make a pattern.
- Measure the top down to the handle.
- Cut your pattern out (two halves).
- Trace the pattern onto the back of the contact paper and cut the contact paper.
- Pull off the backing and put both sections on the front of the drawer.
- Use the colored electrical tape to cover the lines of the two sections.
- Trim off the extra contact paper using a razor blade/X-Acto knife.
- Enjoy your new container!
Transforming storage containers into functional and aesthetically pleasing units is a fantastic way to contribute to the ethos of sustainability. One of the key aspects of this process is the concept of reuse. Instead of discarding items like cardboard boxes, yogurt containers, or tin cans into the recycling bin, we can explore their potential for a second life. The lids of containers, often overlooked, can serve as excellent building blocks for creating innovative storage solutions.
For instance, a soda tub with a tight seal can be repurposed into the perfect size for storing leftover snacks in the fridge. Glass jars, typically destined for the recycling bin, find new purpose as charming herb containers. Mason jars, with their timeless appeal, can be used for pantry organization, showcasing a clever way to store various staples like flour or small toys.
The process of upcycling storage containers doesn’t just stop at aesthetics. It extends to functionality as well. Plastic tubs, often seen as mere food storage, can become ideal shelves when creatively arranged. Diaper boxes, with a bit of inspiration, can be transformed into stylish organizers for office supplies, complete with paper clips and pens neatly tucked away.
When it comes to cleanliness, a quick wash with soapy water is usually all it takes to revive containers before their makeover. The dishwasher becomes a valuable tool in this journey, ensuring that even items like milk jugs or coolers can be repurposed efficiently.
For those looking to add a personal touch, ribbons, markers, and even yarn can be employed to enhance the visual appeal of these storage units. Each upcycled creation becomes a unique gift, showcasing the effort and thought put into transforming what might have been considered junk into treasures.
In conclusion, the upcycling journey presents plenty of opportunities to turn everyday items into functional storage solutions. Whether it’s transforming a cardboard box into a decorative shelf or repurposing a yogurt container into a charming herb pot, the possibilities are endless. So, the next time you consider purchasing storage solutions, take a moment to explore the potential lying dormant in your recycling bin.
SHARING IS CARING…PLEASE PIN THE BELOW IMAGE:


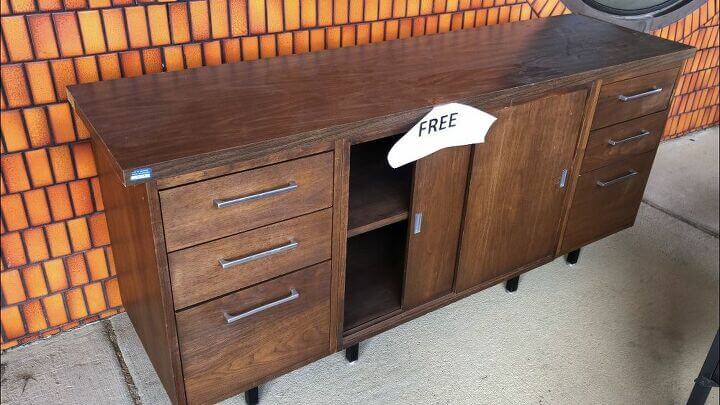

I have two of these cabinets I really should move to my craft room instead of letting them collect dust in the basement. Maybe a project like this will motivate me to do that. They look great. #HomeMattersParty
Thank you so much Donna, I’m thrilled you like it and might give it a try.
I have several of these unsightly storage containers in my home office. Great idea for dressing them up!
Thank you so much Marie, I’m thrilled you like it.
Great idea! I love that that you can see through the bins when you’re using them in a craft room. But yes, in some spots it would be better to hide the contents.
Thanks for sharing with Creative Compulsions!
Michelle
mybijoulifeonline.com
Thank you Michelle, I agree with you entirely – sometimes you want to see inside and other times not so much.
Great idea! Just put one in my office yesterday, and something like this would really make it stand out! Thanks!
Thank you so much Sarah and I’m thrilled you like the idea too.
I’ve had this on my list to-do list in my craft room forever as I have lots of these plastic storage containers. You’ve motivated me to finally get this done! Have a happy Easter!
Thank you so much Allyson, I’m thrilled you want to give it a try too 🙂 Happy Easter!
That looks great. I have so many of these drawers on my craft shelves, and they would look so much nicer this way. For some reason, I never even thought to cover them.
Thank you Pam, I’m really enjoying their new look – plus hiding all the clutter that was in them.
I’ve featured it today at TFT – congrats!
You are so very sweet Pam, thank you so much!
That is a great idea for obscuring the contents of the storage containers. I think that you could make something out of nothing over and over again!
Thank you Amy, it was great to cover up the “messy” appearance of what was inside.
I’ve always thought those storage containers could be nicer to look at, and you’ve really done it, Chas! Sharing on the Hearth and Soul Facebook page!
Thank you so much April I appreciate the share and I always enjoy your party. I hope you have a wonderful week!
This is so brilliant. I have several of these type of bins and I really need to do this! Love it.
#friendshipfriday
Thank you so much Jennifer, I really fell in love with the transformation just a little contact paper made.
What an amazing transformation. It doesn’t look like a plastic cart at all anymore. Thanks for sharing at Merry Monday.
Thank you so much Jenny, I am excited how they turned out. Thanks for stopping by
Such a great way to ‘pretty-up’ those drawers! Thank you for sharing at Party In Your PJs!
Thank you Ann, and thanks for stopping by 🙂
This is such a grand idea… I love it and will try it soon. So glad to hop over here from the link up today. Happy Blogging! I will share this in Pinterest!
Thank you Susan, thanks for the Pin and stopping by. I would love to see pictures of yours when you’re done 🙂
I’ve done something similar with paper or materail inside the drawer
Thank you for sharing Carol 🙂
I love the way you gave your storage bins such an amazing face lift. These bins are great but are a real eyesore. Great idea! Thanks for sharing!!
Thank you so much Catherine, I’m so excited with the way they turned out 🙂
Love this. Am going to Dollar Store today to buy contact paper for 3 of them. One of them is in my home office and the sides show, so I think I’m going to cover them also. Thanks for the great idea.
Thanks Sharon and I’m so excited you want to give it a try 🙂