
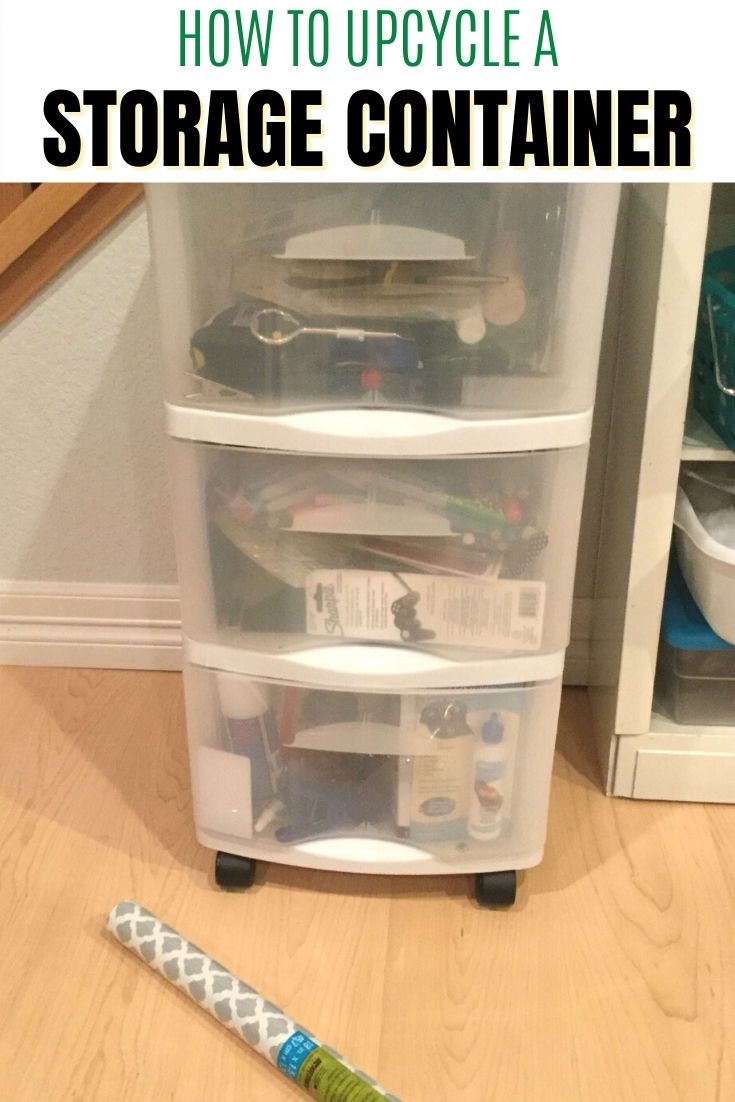
How To Upcycle Storage Containers (5+ Genius Budget Hacks)
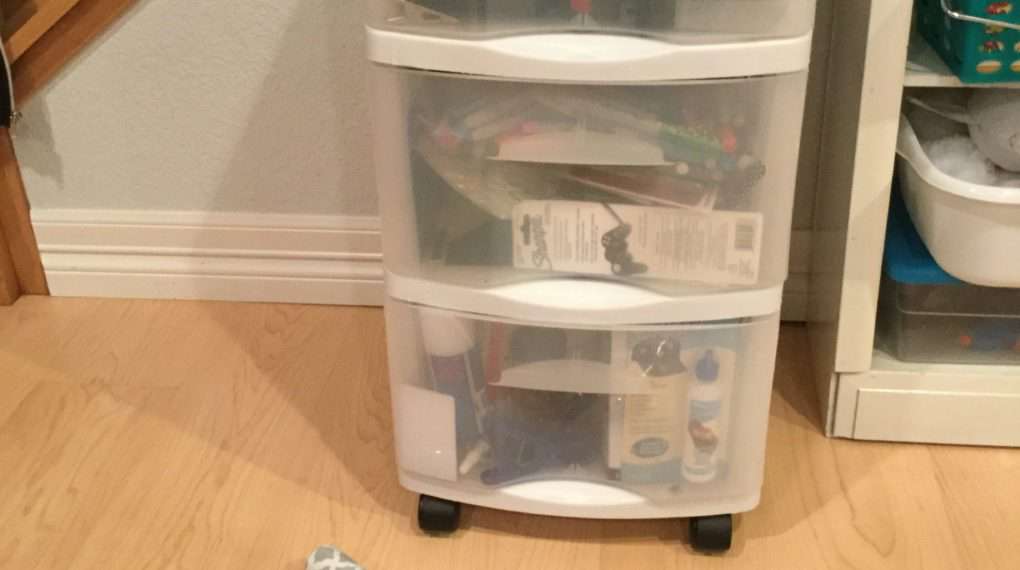
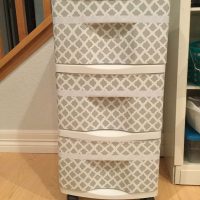
We all have those plastic three-drawer storage units. They are cheap, functional, and… honestly? They are pretty ugly. I had a set in my craft room that was visually cluttered because you could see all the [Messy Supplies] inside.
Quick Answer: How can I make clear plastic bins look better?
The easiest way to upgrade cheap plastic drawers is to cover the front with pattern contact paper.
- Step 1: Trace the drawer front onto butcher paper to make a template.
- Step 2: Cut your contact paper (or wallpaper) using the template.
- Step 3: Stick it to the inside or outside of the drawer front.
- Step 4: Use colored electrical tape to create clean borders or hide seams.
Instead of buying expensive furniture, I decided to give them a facelift using just a roll of contact paper and some electrical tape. It is one of my favorite [Upcycling Projects] because it completely transformed the look for just a few dollars!
In this post, I’m sharing the step-by-step tutorial for my Plastic Drawer Makeover, plus two other ways I upcycle [Dollar Tree Plastic Crate Shelves] and [Food Containers] to create custom storage on a budget.
Upcycle Storage Containers Video
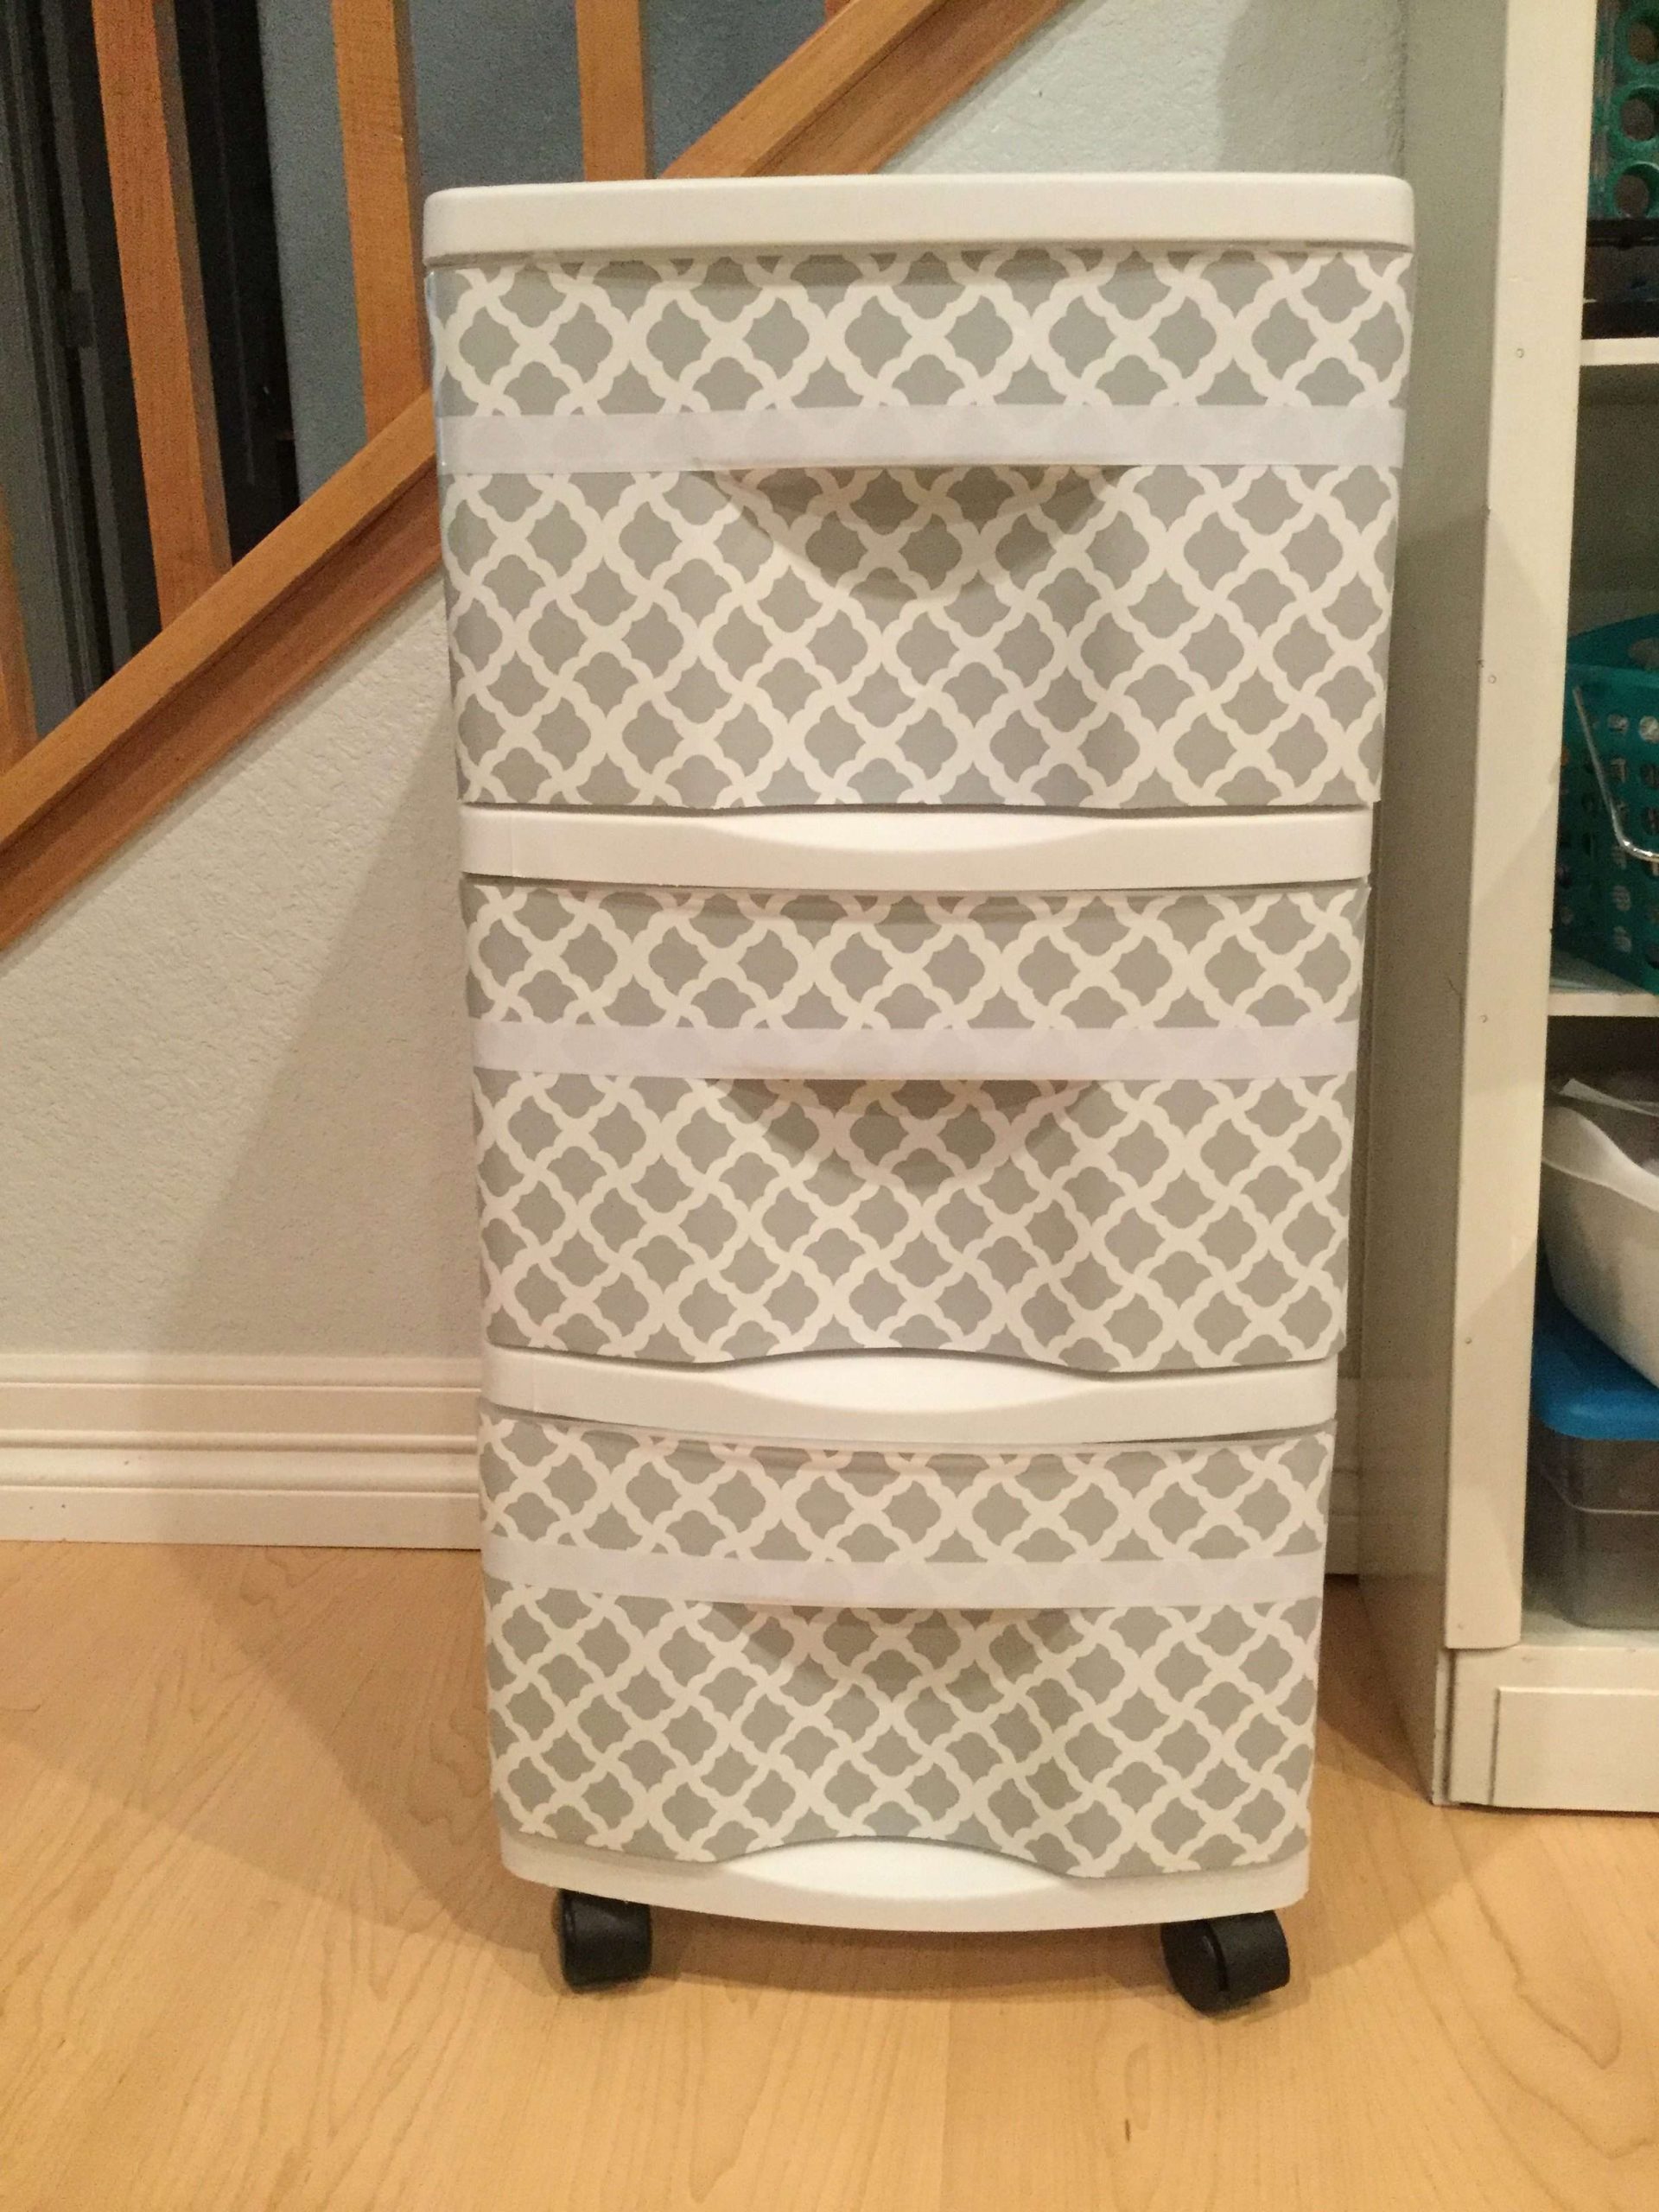
Project 1: The Plastic Drawer Makeover (Contact Paper Hack)
(This is the perfect way to hide clutter while adding a pop of pattern to your room.)
Materials Needed
- Plastic 3-Drawer Storage Unit (Sterilite or similar)
- Contact Paper (or Wallpaper/Scrapbook Paper)
- Butcher Paper (for making a pattern)E
- lectrical Tape (to hide seams)
- X-Acto Knife or Razor Blade
Instructions
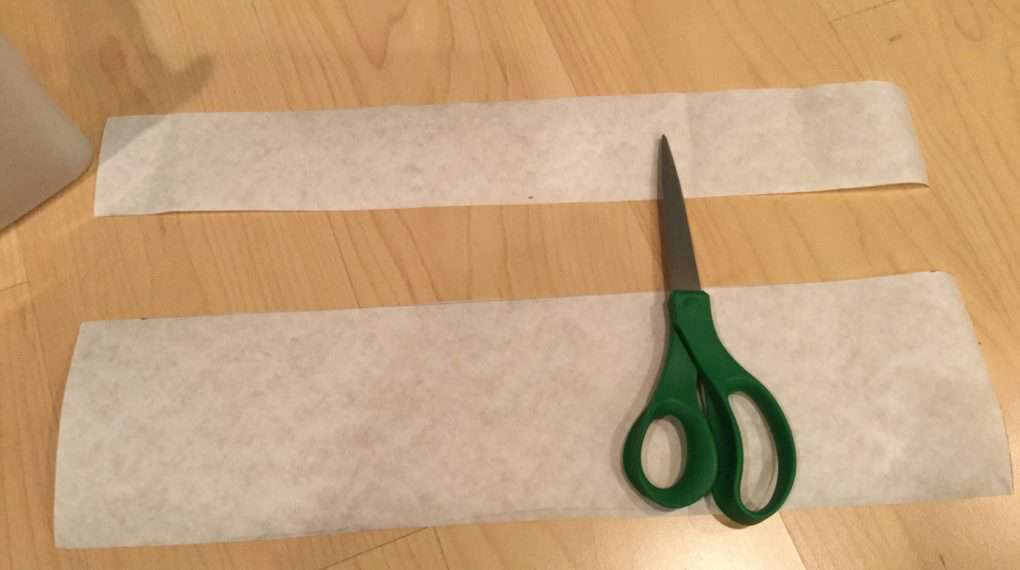
1. Make a Pattern
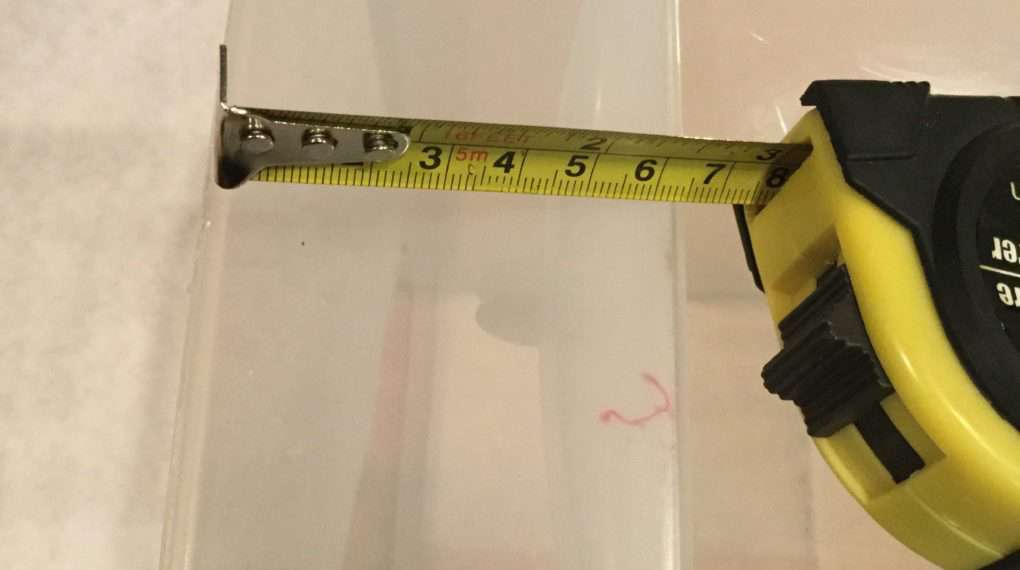
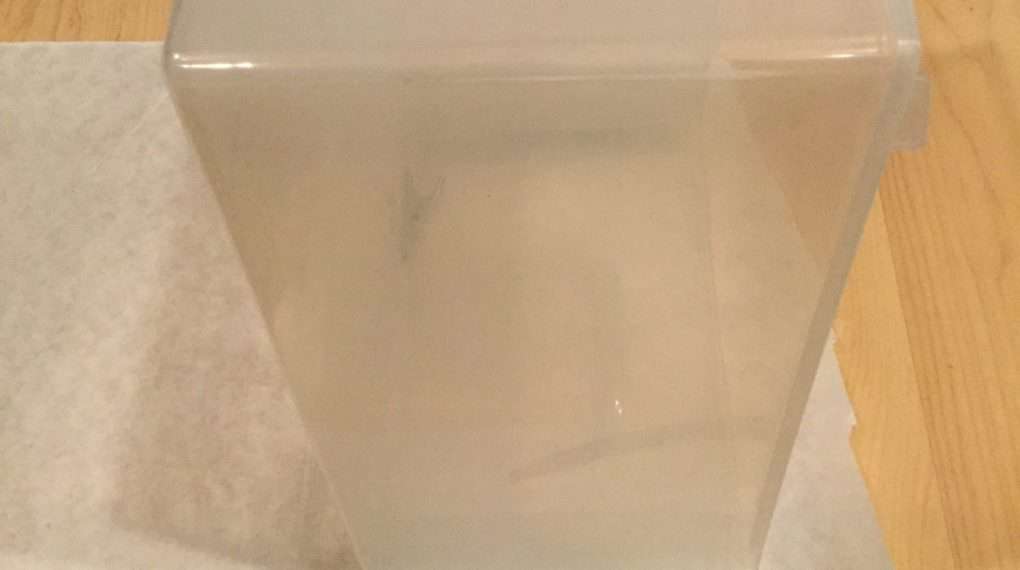
It is hard to trace directly onto contact paper, so I used butcher paper first. I placed the paper over the front of the drawer and traced the outline (including the handle curve!).
- Tip: If your drawer has a split design (an upper and lower section), measure them separately.
2. Cut the Contact Paper
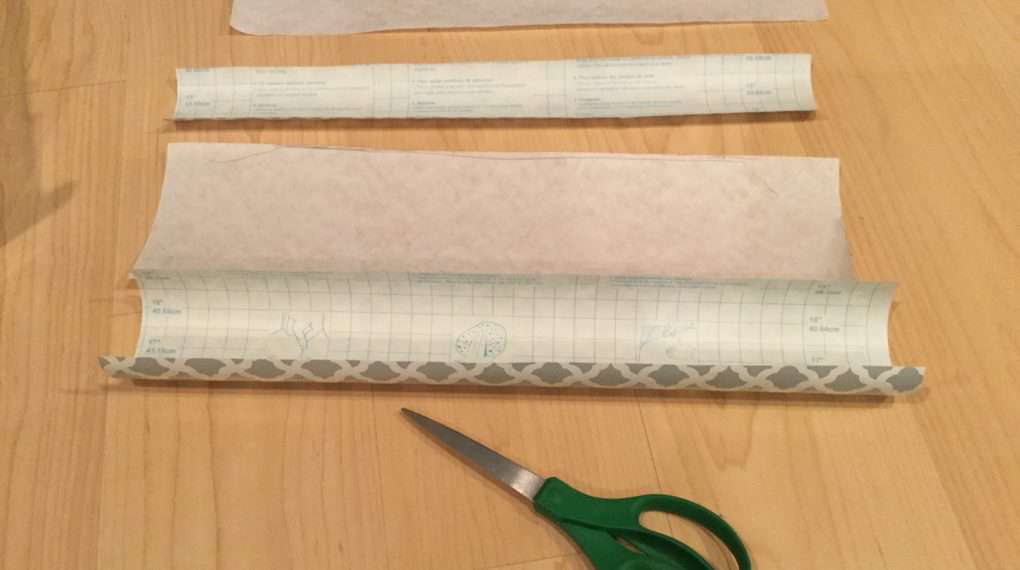
Place your butcher paper template on top of your contact paper and cut it out.
- Design Tip: If you are using a patterned paper, make sure the pattern is straight before you cut!
3. Stick & Trim
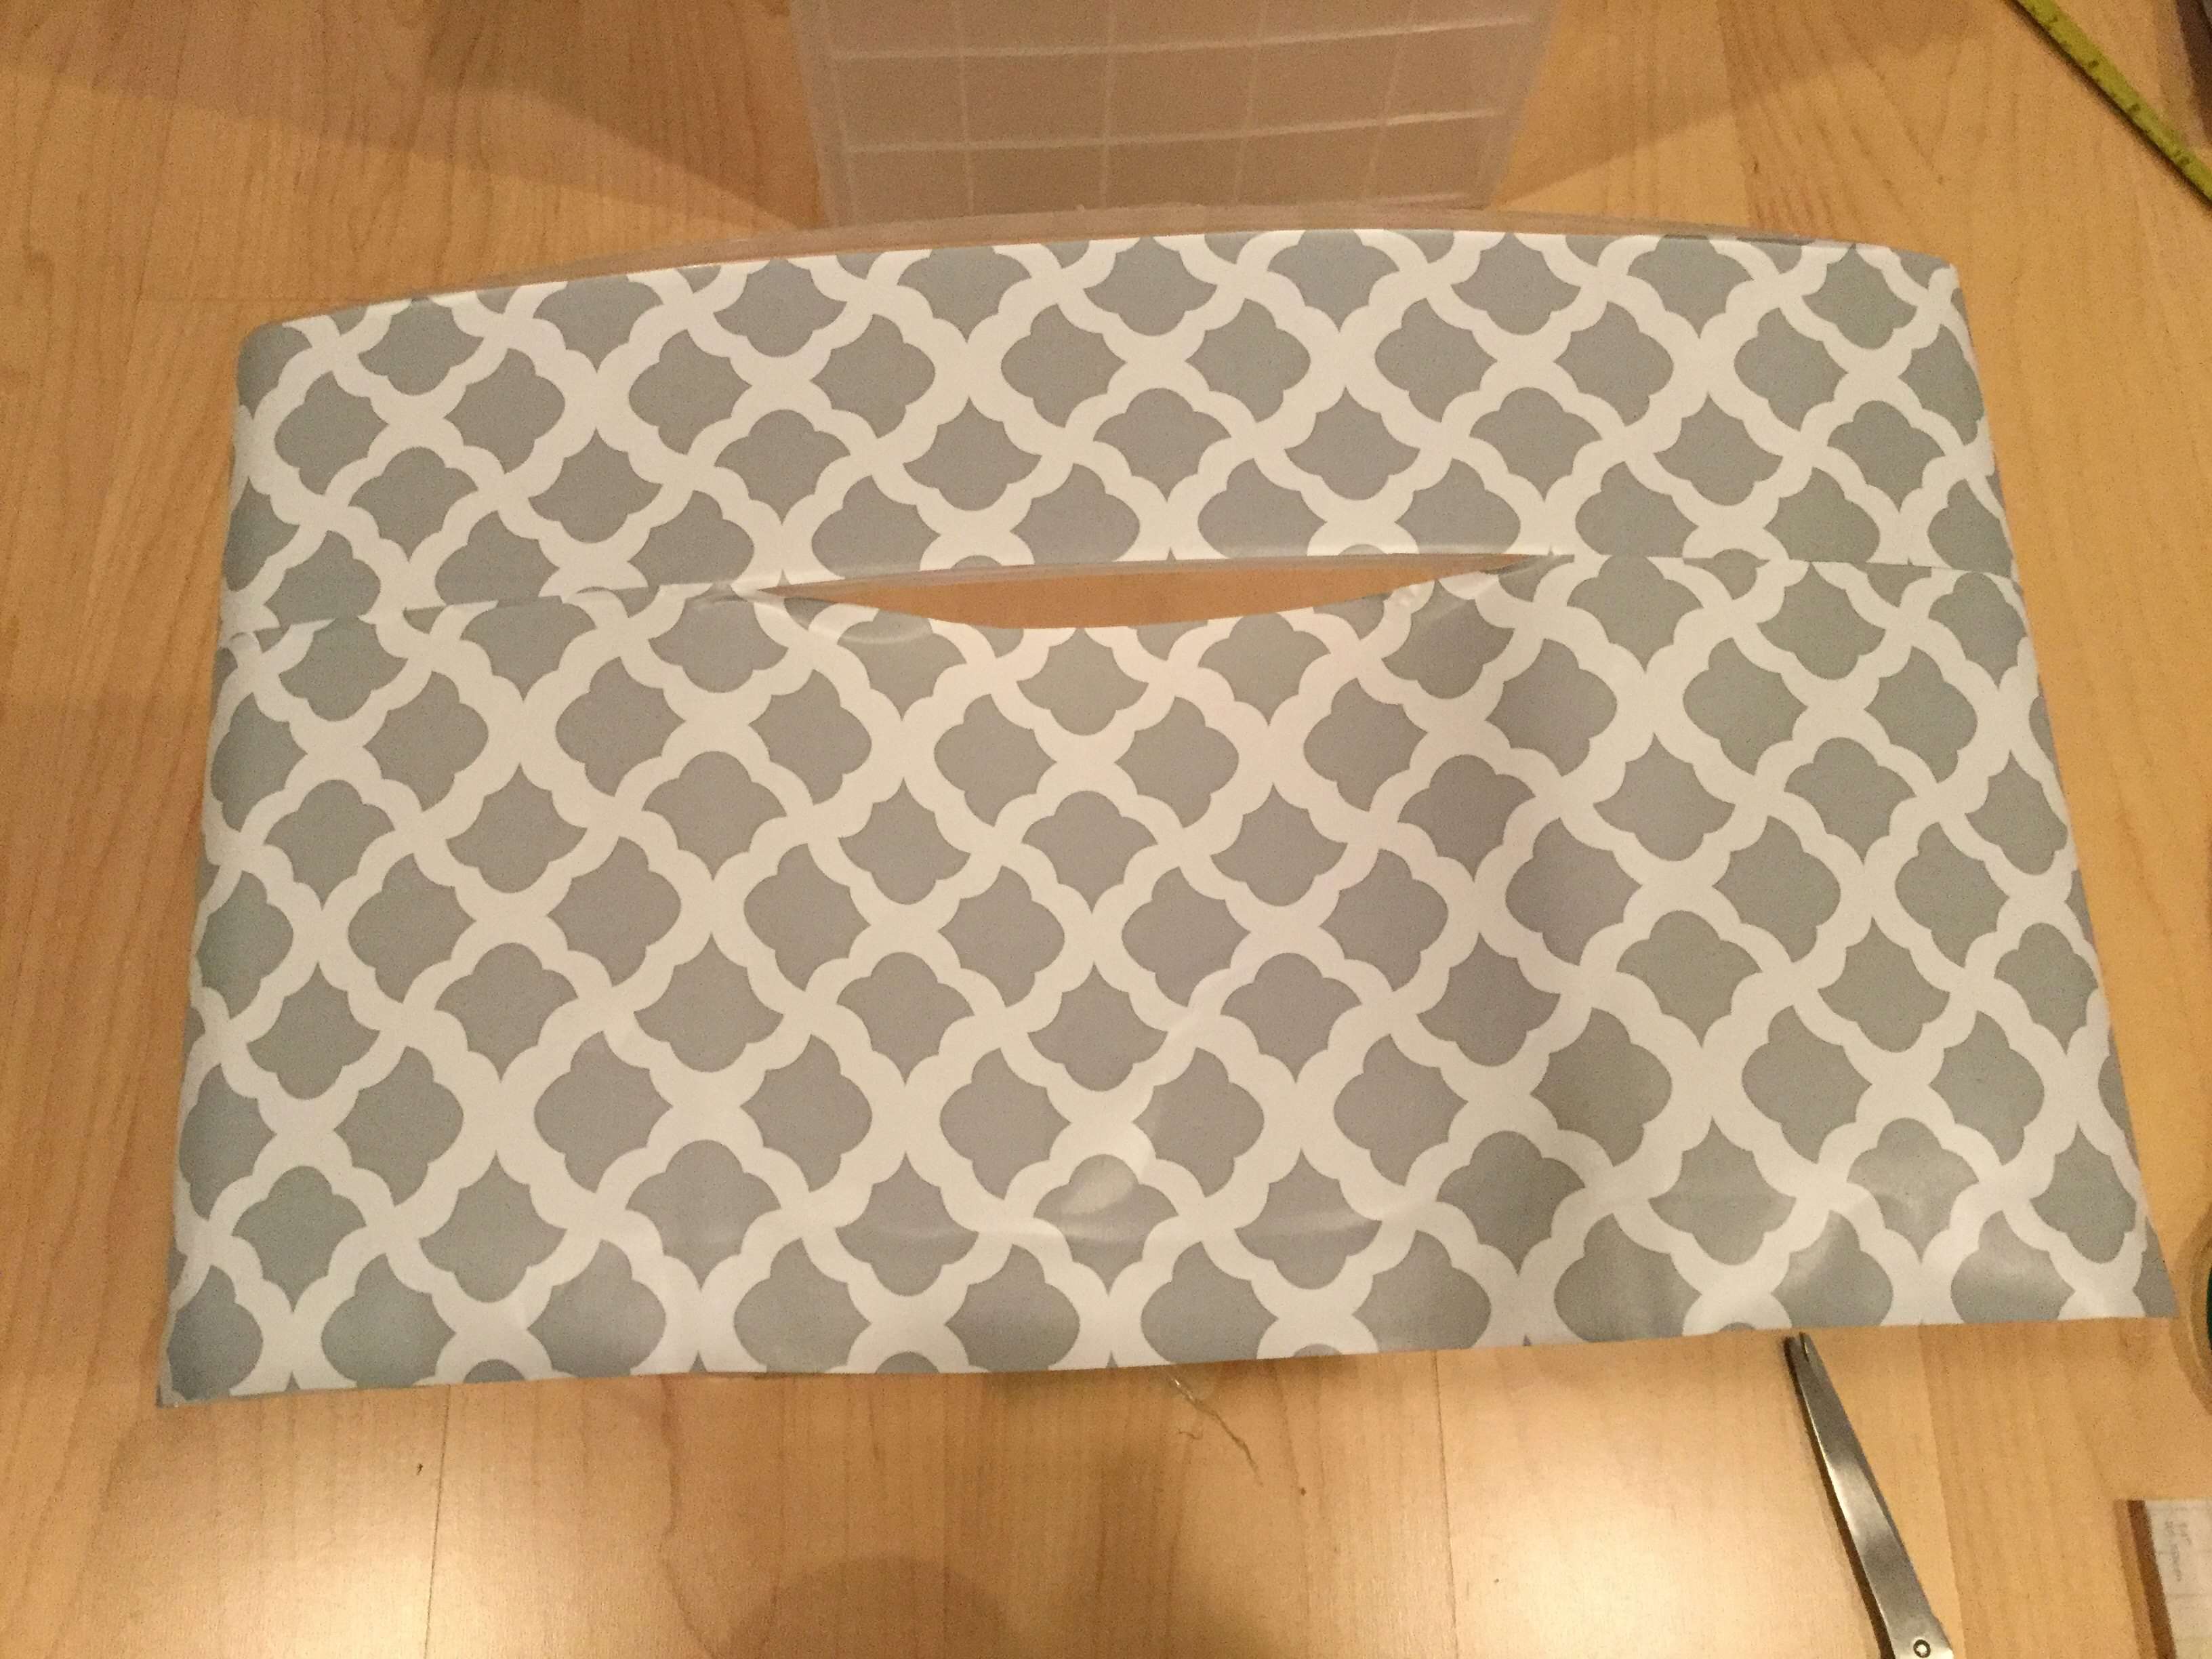
Peel the backing off and carefully stick the paper to the front of the drawer. Smooth out any air bubbles with a credit card. Use your razor blade to trim any excess paper around the edges for a perfect fit.
4. The Secret Detail (Electrical Tape)
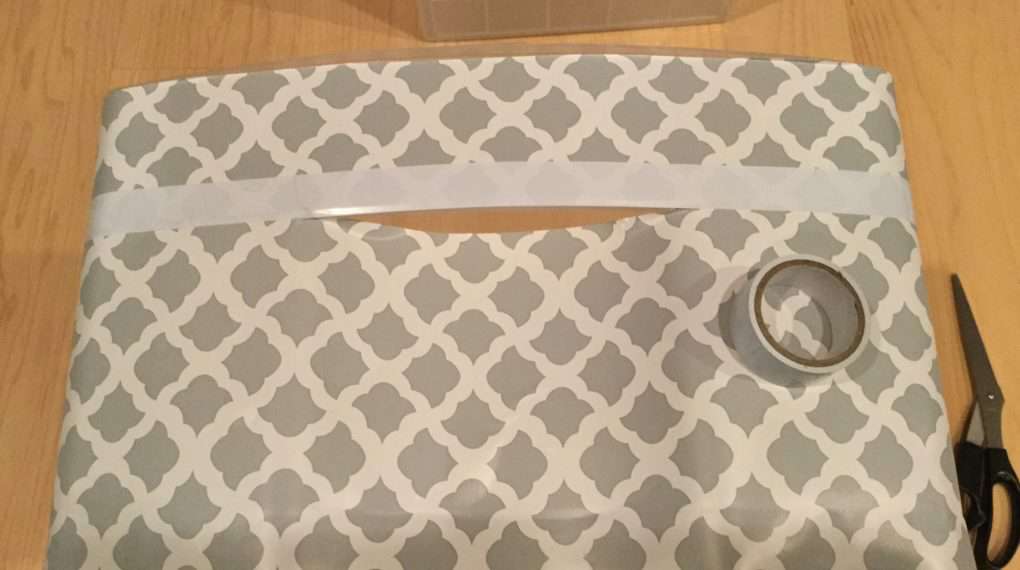
If you had to use two pieces of paper to fit around a handle, you might have a visible seam. I used a strip of white electrical tape to cover the seam. It looks like a deliberate design element and gives it a clean, finished look!
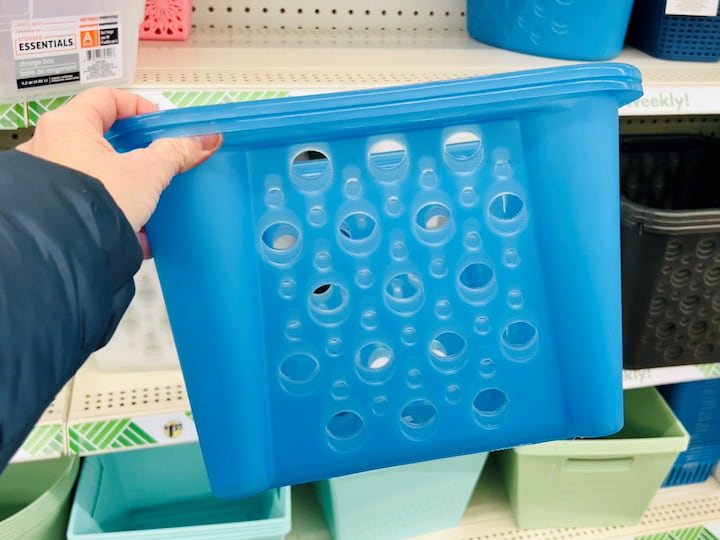
Project 2: DIY Dollar Tree Crate Shelves
If you need open storage that is sturdy but cheap, this is my favorite hack. I used dollar store plastic crates and pool noodles (!) to build a custom shelving unit.
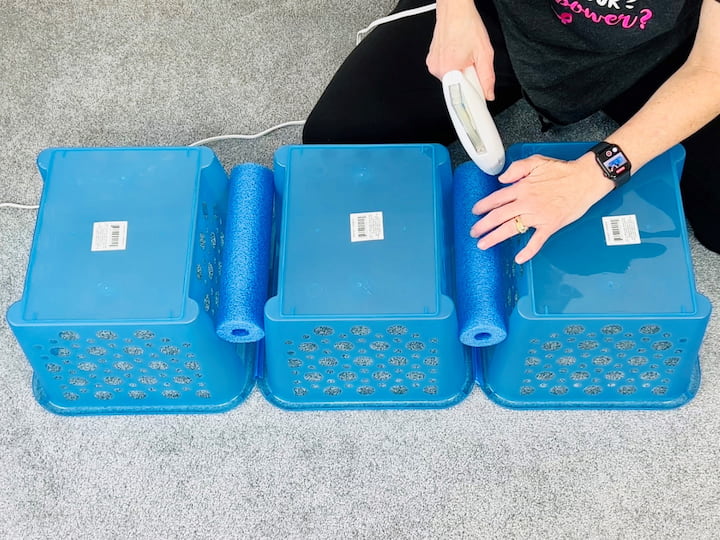

How it Works
- The Spacers: I cut pool noodles into equal lengths.
- The Assembly: I placed the pool noodles inside the corners of the crates to act as spacers, then stacked another crate on top.
- The Stability: I used hot glue (or zip ties) to secure them together.
- The Finish: I topped it with a piece of foam board covered in wood-grain contact paper to create a “tabletop.”
[Read the Full Tutorial: Easy DIY Dollar Tree Plastic Crate Shelves]
Project 3: Trash Wipes Dispenser
This is a brilliant way to reuse those sturdy plastic wipes containers. Instead of throwing them out, turn them into a dispenser for grocery bags or trash bags.
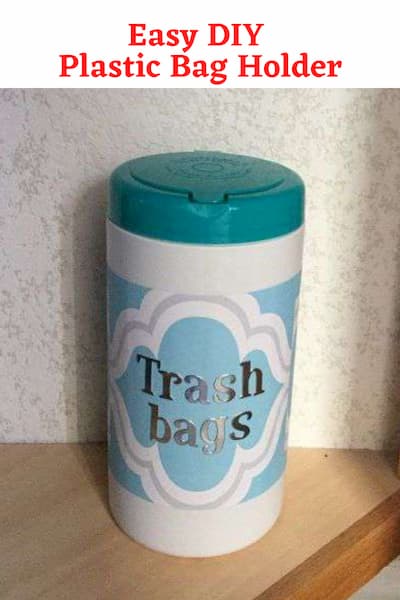
The HackClean:
- Remove the label and clean the container thoroughly.
- Cover: Use contact paper or spray paint to make the container match your decor.
- Fill: Stuff your plastic grocery bags inside. The “star” opening in the lid is perfect for pulling out one bag at a time!
- [Read the Full Tutorial: Trash Bag Storage Dispenser]
Project 4: Upcycled Trash Can Makeover
Why spend $30 on a fancy wastebasket when you can upgrade a $1 plastic one?
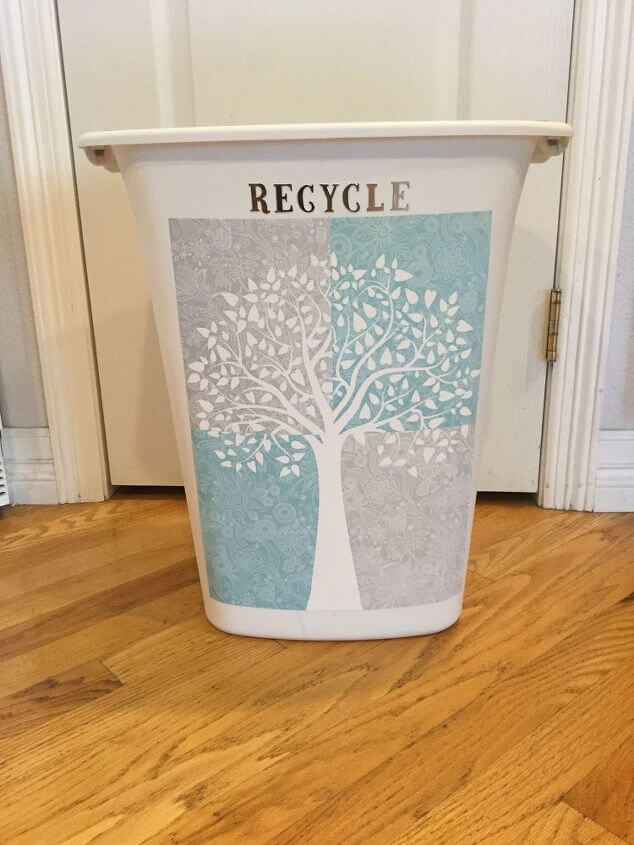
The Makeover
- The Method: I took a plain plastic bin and wrapped it in textured wallpaper (or contact paper).
- The Trim: To make it look high-end, I added “bling” ribbon around the top rim. It looks like a designer piece but cost pennies to make.
- [Read the Full Tutorial: Easy Upcycled Trashcan & Recycle Container]
Project 5: Hanging “Trash Can” Bins
Do you have zero floor space? Look up! I turned Dollar Tree wire trash cans into wall-mounted storage baskets.
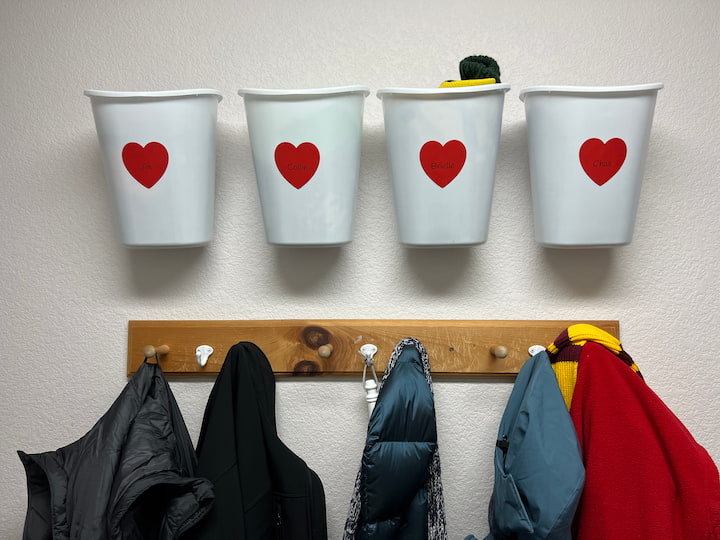
The Command Hook Hack
- The Bin: Grab a wire mesh wastebasket or a plastic bin with a lip.
- The Mount: Use heavy-duty Command Hooks on your wall.
- The Result: Hang the bin on the hook! I use these in my craft room to hold rolls of vinyl and wrapping paper. It uses vertical wall space that was totally wasted before.
- [Read the Full Tutorial: Super Easy Dollar Tree DIY Organization]
Bonus: 5 Quick Ways to Upcycle Food Containers
Don’t throw those recycling items away yet! Here are rapid-fire ways to reuse common kitchen containers:

- Parmesan Cheese Lids: Did you know these fit perfectly on standard Mason Jars? Use them to turn a jar into a shaker for baking soda or glitter.
- Coffee Creamer Bottles: Peel off the label and use them to store snacks like Goldfish or nuts. The pour spout is perfect for little hands!
- Crystal Light Containers: These are the perfect size for storing pencils, markers, or paintbrushes.
- Altoid Tins: Use them to organize small office supplies like paper clips, thumbtacks, or screws.
- Glass Jars: I use old pickle jars to store cupcake liners and bulk spices.
- [Read More: Recycled Plastic Containers – Make Your Life Easier]
Frequently Asked Questions
When it comes to enhancing the appearance of boring old plastic storage bins, you may be wondering some of the following common questions:
Yes, but you need the right paint! Use a spray paint specifically designed for plastic (like Krylon Fusion or Rust-Oleum 2X). If you use regular acrylic paint, it will scratch off immediately.
Fabric: Use Mod Podge to adhere fabric scraps to the drawer fronts.
Scrapbook Paper: Use spray adhesive to stick colorful paper inside the clear drawer face.
Washi Tape: Create stripes or geometric patterns directly on the plastic.
Burlap/Drop Cloth: For a farmhouse look, hot glue textured fabric to the front (just make sure the drawer still slides open!).
My go-to trick is a mixture of baking soda and cooking oil. Rub it on the residue, let it sit for 20 minutes, and scrub it off. If that fails, Goo Gone is a lifesaver.
Upcycle Storage Containers Video
Here you can see me create this video with Hometalk
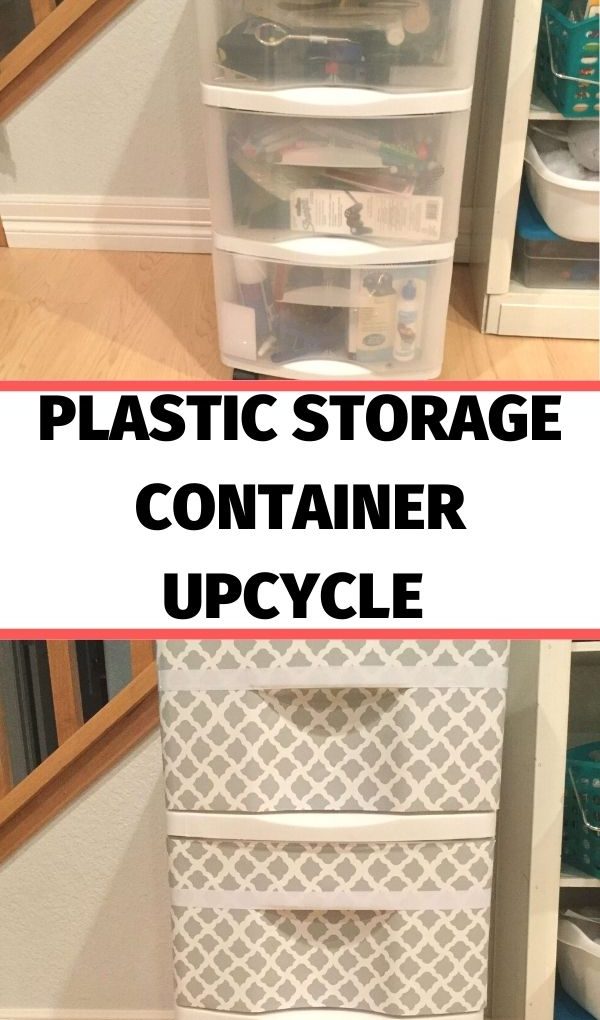
SHARING IS CARING…PLEASE PIN THE BELOW IMAGE:
How To Upcycle Storage Containers
Equipment
- Scissors
- Razor blade
- Pencil
- ruler
Materials
- 1 unit The drawers you want to upcycle
- 1 roll Contact paper of your choice
- 1 piece Regular paper/butcher paper
- 1 roll Electrical tap
Instructions
- Use butcher paper to trace the front of your drawer to make a pattern.
- Measure the top down to the handle.
- Cut your pattern out (two halves).
- Trace the pattern onto the back of the contact paper and cut the contact paper.
- Pull off the backing and put both sections on the front of the drawer.
- Use the colored electrical tape to cover the lines of the two sections.
- Trim off the extra contact paper using a razor blade/X-Acto knife.
- Enjoy your new container!
This DIY project is so easy, but its impact is big. It brings new life to the storage unit with just a few items from the dollar store. I’m thrilled to have created one of the easiest plastic drawer makeovers and covered the clear plastic surfaces!
Upcycling storage doesn’t have to look “cheap.” With a little creativity, you can turn dollar store finds into custom decor that fits your style perfectly.
Do you have a favorite storage hack? Let me know in the comments below!


I have two of these cabinets I really should move to my craft room instead of letting them collect dust in the basement. Maybe a project like this will motivate me to do that. They look great. #HomeMattersParty
Thank you so much Donna, I’m thrilled you like it and might give it a try.
I have several of these unsightly storage containers in my home office. Great idea for dressing them up!
Thank you so much Marie, I’m thrilled you like it.
Great idea! I love that that you can see through the bins when you’re using them in a craft room. But yes, in some spots it would be better to hide the contents.
Thanks for sharing with Creative Compulsions!
Michelle
mybijoulifeonline.com
Thank you Michelle, I agree with you entirely – sometimes you want to see inside and other times not so much.
Great idea! Just put one in my office yesterday, and something like this would really make it stand out! Thanks!
Thank you so much Sarah and I’m thrilled you like the idea too.
I’ve had this on my list to-do list in my craft room forever as I have lots of these plastic storage containers. You’ve motivated me to finally get this done! Have a happy Easter!
Thank you so much Allyson, I’m thrilled you want to give it a try too 🙂 Happy Easter!
That looks great. I have so many of these drawers on my craft shelves, and they would look so much nicer this way. For some reason, I never even thought to cover them.
Thank you Pam, I’m really enjoying their new look – plus hiding all the clutter that was in them.
I’ve featured it today at TFT – congrats!
You are so very sweet Pam, thank you so much!
That is a great idea for obscuring the contents of the storage containers. I think that you could make something out of nothing over and over again!
Thank you Amy, it was great to cover up the “messy” appearance of what was inside.
I’ve always thought those storage containers could be nicer to look at, and you’ve really done it, Chas! Sharing on the Hearth and Soul Facebook page!
Thank you so much April I appreciate the share and I always enjoy your party. I hope you have a wonderful week!
This is so brilliant. I have several of these type of bins and I really need to do this! Love it.
#friendshipfriday
Thank you so much Jennifer, I really fell in love with the transformation just a little contact paper made.
What an amazing transformation. It doesn’t look like a plastic cart at all anymore. Thanks for sharing at Merry Monday.
Thank you so much Jenny, I am excited how they turned out. Thanks for stopping by
Such a great way to ‘pretty-up’ those drawers! Thank you for sharing at Party In Your PJs!
Thank you Ann, and thanks for stopping by 🙂
This is such a grand idea… I love it and will try it soon. So glad to hop over here from the link up today. Happy Blogging! I will share this in Pinterest!
Thank you Susan, thanks for the Pin and stopping by. I would love to see pictures of yours when you’re done 🙂
I’ve done something similar with paper or materail inside the drawer
Thank you for sharing Carol 🙂
I love the way you gave your storage bins such an amazing face lift. These bins are great but are a real eyesore. Great idea! Thanks for sharing!!
Thank you so much Catherine, I’m so excited with the way they turned out 🙂
Love this. Am going to Dollar Store today to buy contact paper for 3 of them. One of them is in my home office and the sides show, so I think I’m going to cover them also. Thanks for the great idea.
Thanks Sharon and I’m so excited you want to give it a try 🙂