
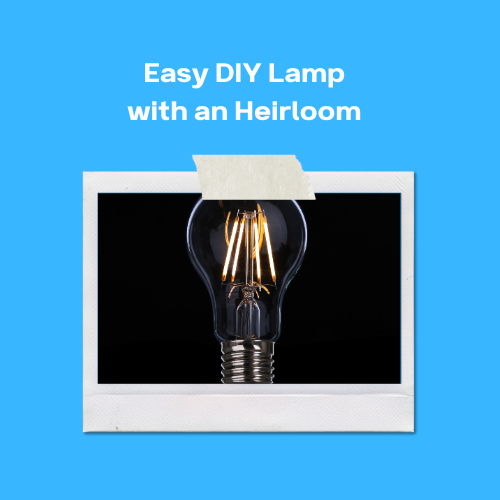
Easy DIY Lamp with an Heirloom

Explore a creative DIY lamp project as we repurpose an old silver clarinet into a stunning home decor piece. Learn step-by-step instructions and innovative cleaning techniques, turning sentimental heirlooms into functional and stylish lamps.
This post may contain affiliate links, I earn from qualifying purchases at no extra cost to you. Click here for my disclosure policy
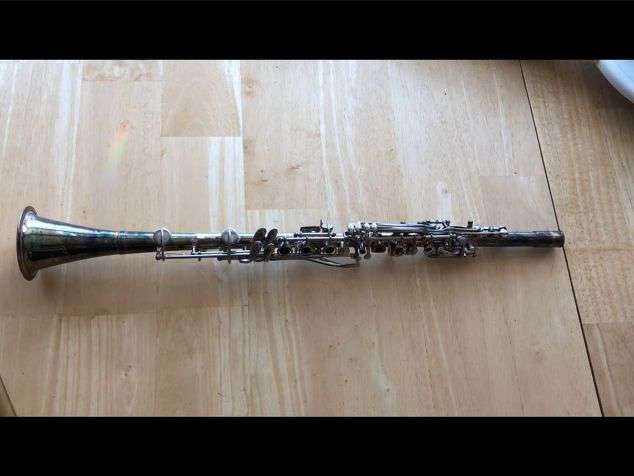
I inherited an old vintage silver clarinet from my grandparents. Before starting on the project we checked the value and it wasn’t worth anything and it was too far gone to be repaired. I knew I wanted to do something with it rather than letting it sit in it’s case and never be seen. I decided to turn it into a lamp!
DIY Lamp Video
DIY Lamp Materials
- Old silver clarinet (or other base of your choice)
- Large pot
- Tin foil
- Baking soda
- Soft cloth
- Q-tips
- Regular toothpaste (not gel)
- Wood base
- Paint
- Polyurethane
- Nut
- Base for a clarinet stand
- Lamp Kit (I used a cork socket option, and there are several types to choose from)
- Light bulb
- Metal wire
DIY Lamp Instructions
Determine what your lamp will be made out of
I am using my heirloom clarinet, but there are so many options of items you could use as your base.
- Ceramic vase or pot
- Glass bottle or mason jar
- thrifted lamp
- Sculptural element (e.g., driftwood, thrift store antique figurine)
Clean your item for your lamp
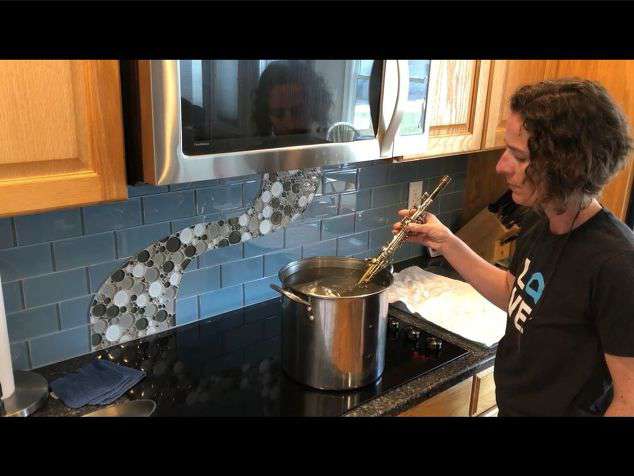
It was extremely tarnished so I wanted to clean it up. I first tested several techniques for cleaning silver you can see that tutorial here –
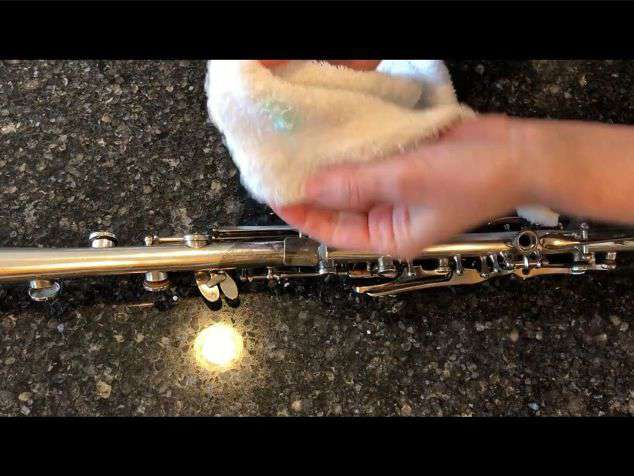
I started with the Boiling method: In a pot place a large piece of tin foil in the bottom, fill with 4 cups of water, and 1 tablespoon of baking soda. Bring to a boil. Place your silver in the boiling water for 10-30 seconds and pull out. It’s pretty amazing to watch the tarnish literally disappear! I took the largest pot I had and did the bottom half and then the top half.
I wiped it clean with a soft cloth and then in between the spaces I used a q-tip to finish cleaning it.
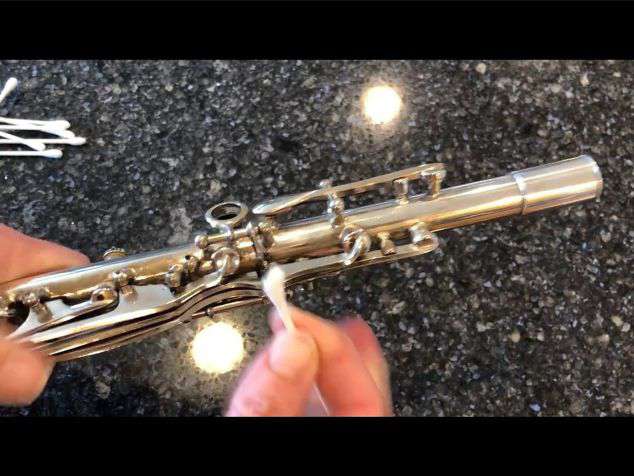
There was a stretch of the clarinet that didn’t make it into the pot so I needed to clean that up with a different method. I first tried a baking soda paste but that wasn’t working as well as I wanted so I used the Toothpaste Method – For this use regular toothpaste (not gel). I used Crest no flavor regular toothpaste.
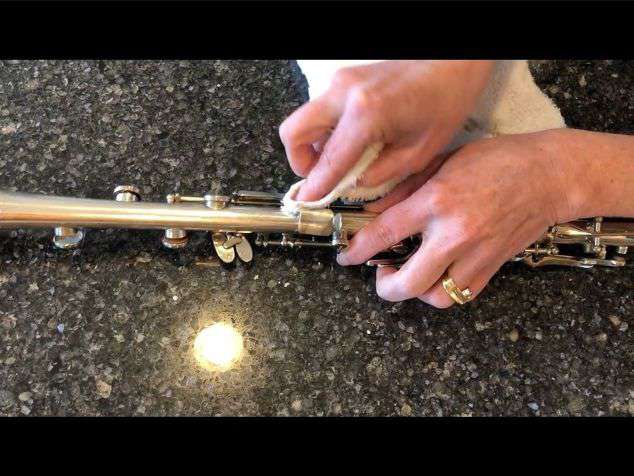
Put the toothpaste on a cloth and rub the silver with the toothpaste. Rinse off when finished cleaning. Again for I used toothpaste on a q-tip to get in between the spaces.
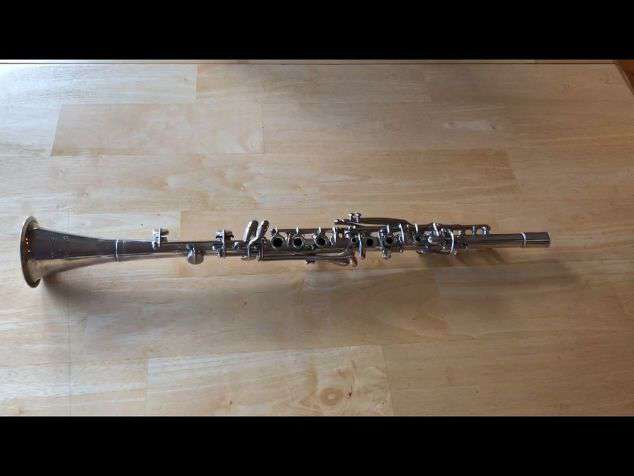
Here it is all tarnished removed – what a difference!
Create your DIY lamp base
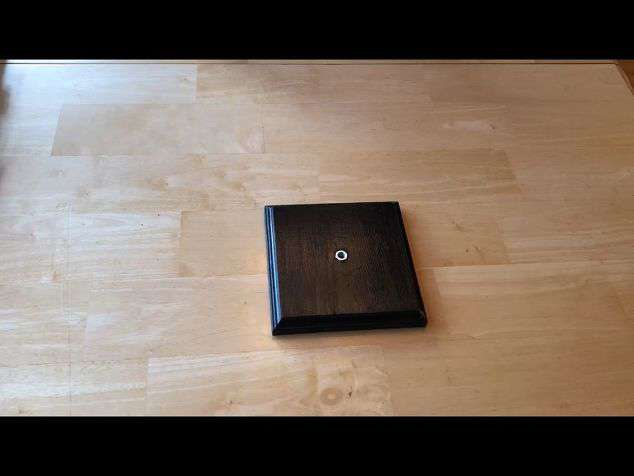
I bought a square wooden base at Hobby Lobby. We drilled a hole in the center, I painted it black, and put a top coat of polyurethane on it. You could spray paint it as well. We added a nut in the center for the next step.
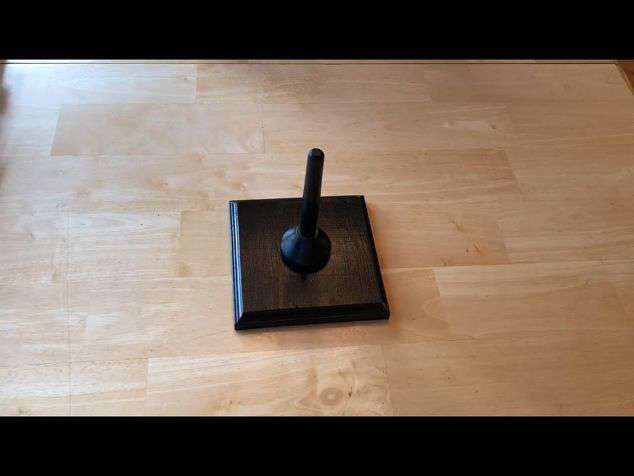
My husband had an extra base for a clarinet stand he wasn’t using. We screwed stand’s screw into the nut, washer, and wood base.
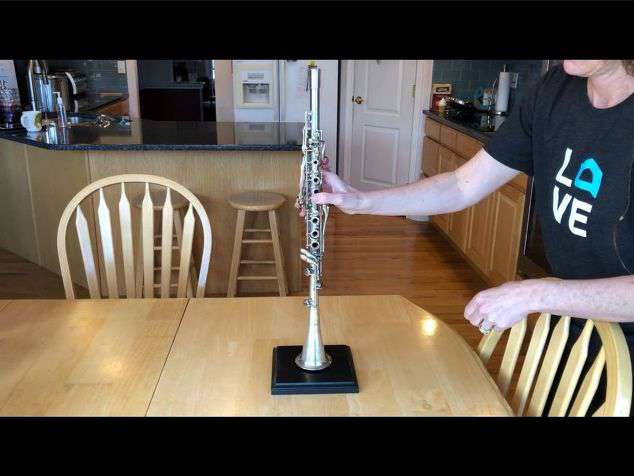
I placed the clarinet onto the stand.
Add your DIY Lamp Kit
I purchased a cork lamp kit and there are several lamp kit options you can choose from on Amazon, Buy Yours Now
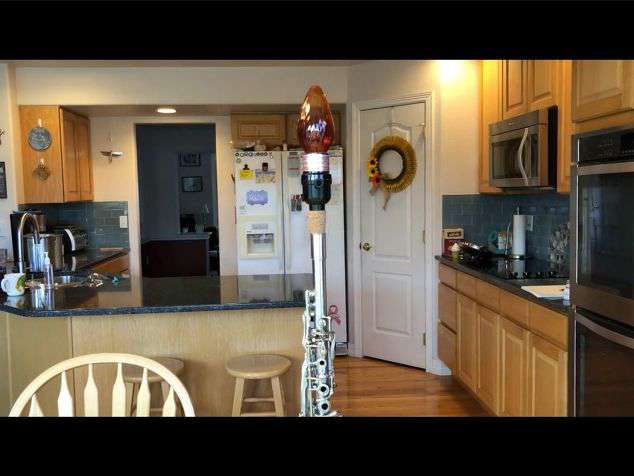
On top I added a cork light fixture. The cork fit directly into the top of the clarinet and I added a light bulb to the top. We have had some fun using different light bulbs, anything from a flickering flame, Edison light bulbs, and black light, to this orange bulb we have in it now.
I secured the lamp cord on the back by attaching it to the clarinet on with some metal wire twisting it through the keys and around the cords. Then we placed the plug into the outlet, and guess what, we use a timer for that too!
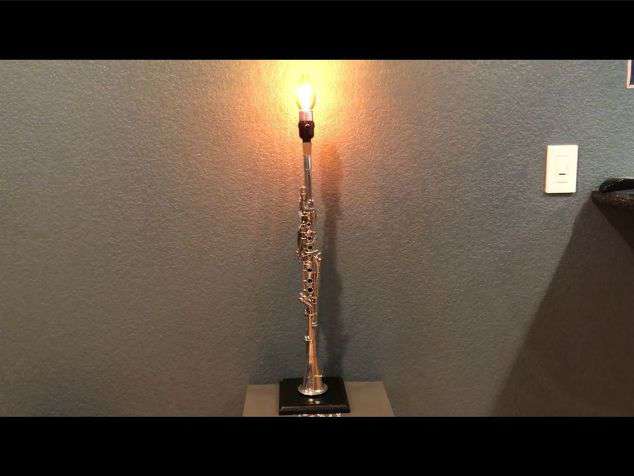
Here is our new DIY table lamp all finished and we love it. My husband and I met on in college on band scholarships – we sat right next to each other. We both have a passion for music and we loved adding this heirloom decor to our home.
DIY Lamp Video
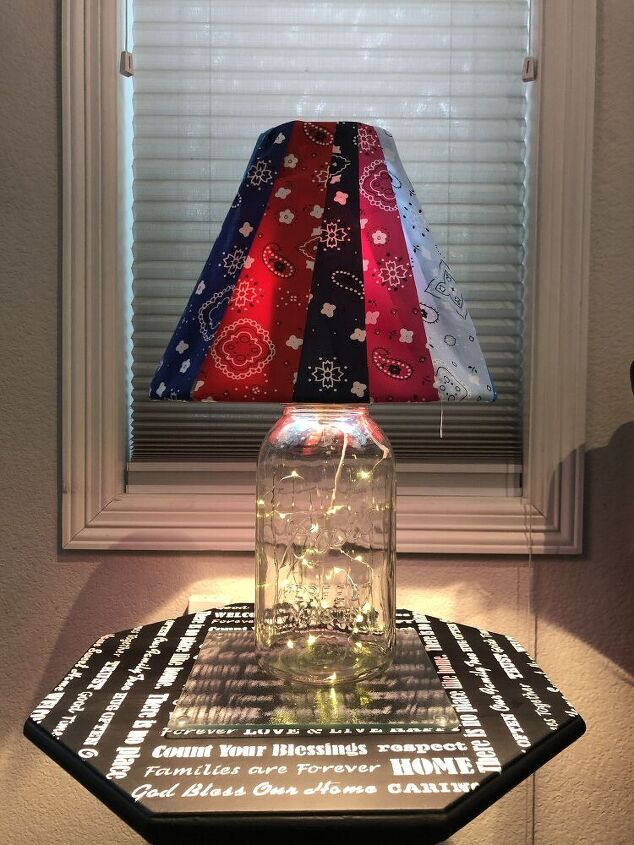
Now if you wanted to add lamp shades to your lamp you’re more than welcome too, and I have a few options of how to give your lampshade a makeover as well using fabric, stickers, and more.
Check out some of my other DIY lamp projects and decorating ideas!
- DIY Lampshade Makeover
- Upcycle A Lamp With Dollar Store Stickers
- Turn a Old Lamp Into Halloween Fun!
Let me know what you think in the comments below. I hope this gives you some inspiration, and let your creativity shine and create a lamp makeover of your own. I’d love it if you’d subscribe to my newsletter below and join my community. Thanks for reading and watching and I’ll see you in my next DIY blogging journey.


What a fabulous way to keep a family heirloom in view! It can bring back memories every day. So much better than hidden away in a case!
Thank you Linda, I do enjoy having it out on display. It’s in our basement as we call it our “blues basement”. It’s literally blue down there but we have a music clock and art down there. It fits in nicely. 🙂
Love it!
SO much better than just leaving it in a case. Now you can enjoy it everyday. Such a clever upcycle
Thank you Julie, we really love seeing it everyday 🙂
What a great upcycle idea! It must being fun memories when you see it everyday. Thanks for sharing at Merry Monday!
Thank you so much and I truly do love having it out to enjoy.
I love repurposing things we love this way. It’s so much better than packing them in a box.
Thank you Donna, it’s so true. I don’t get to enjoy it while it’s stored away. Much better to see it and have the memories everyday.