Quick and Easy Side Table Makeover On A Budget
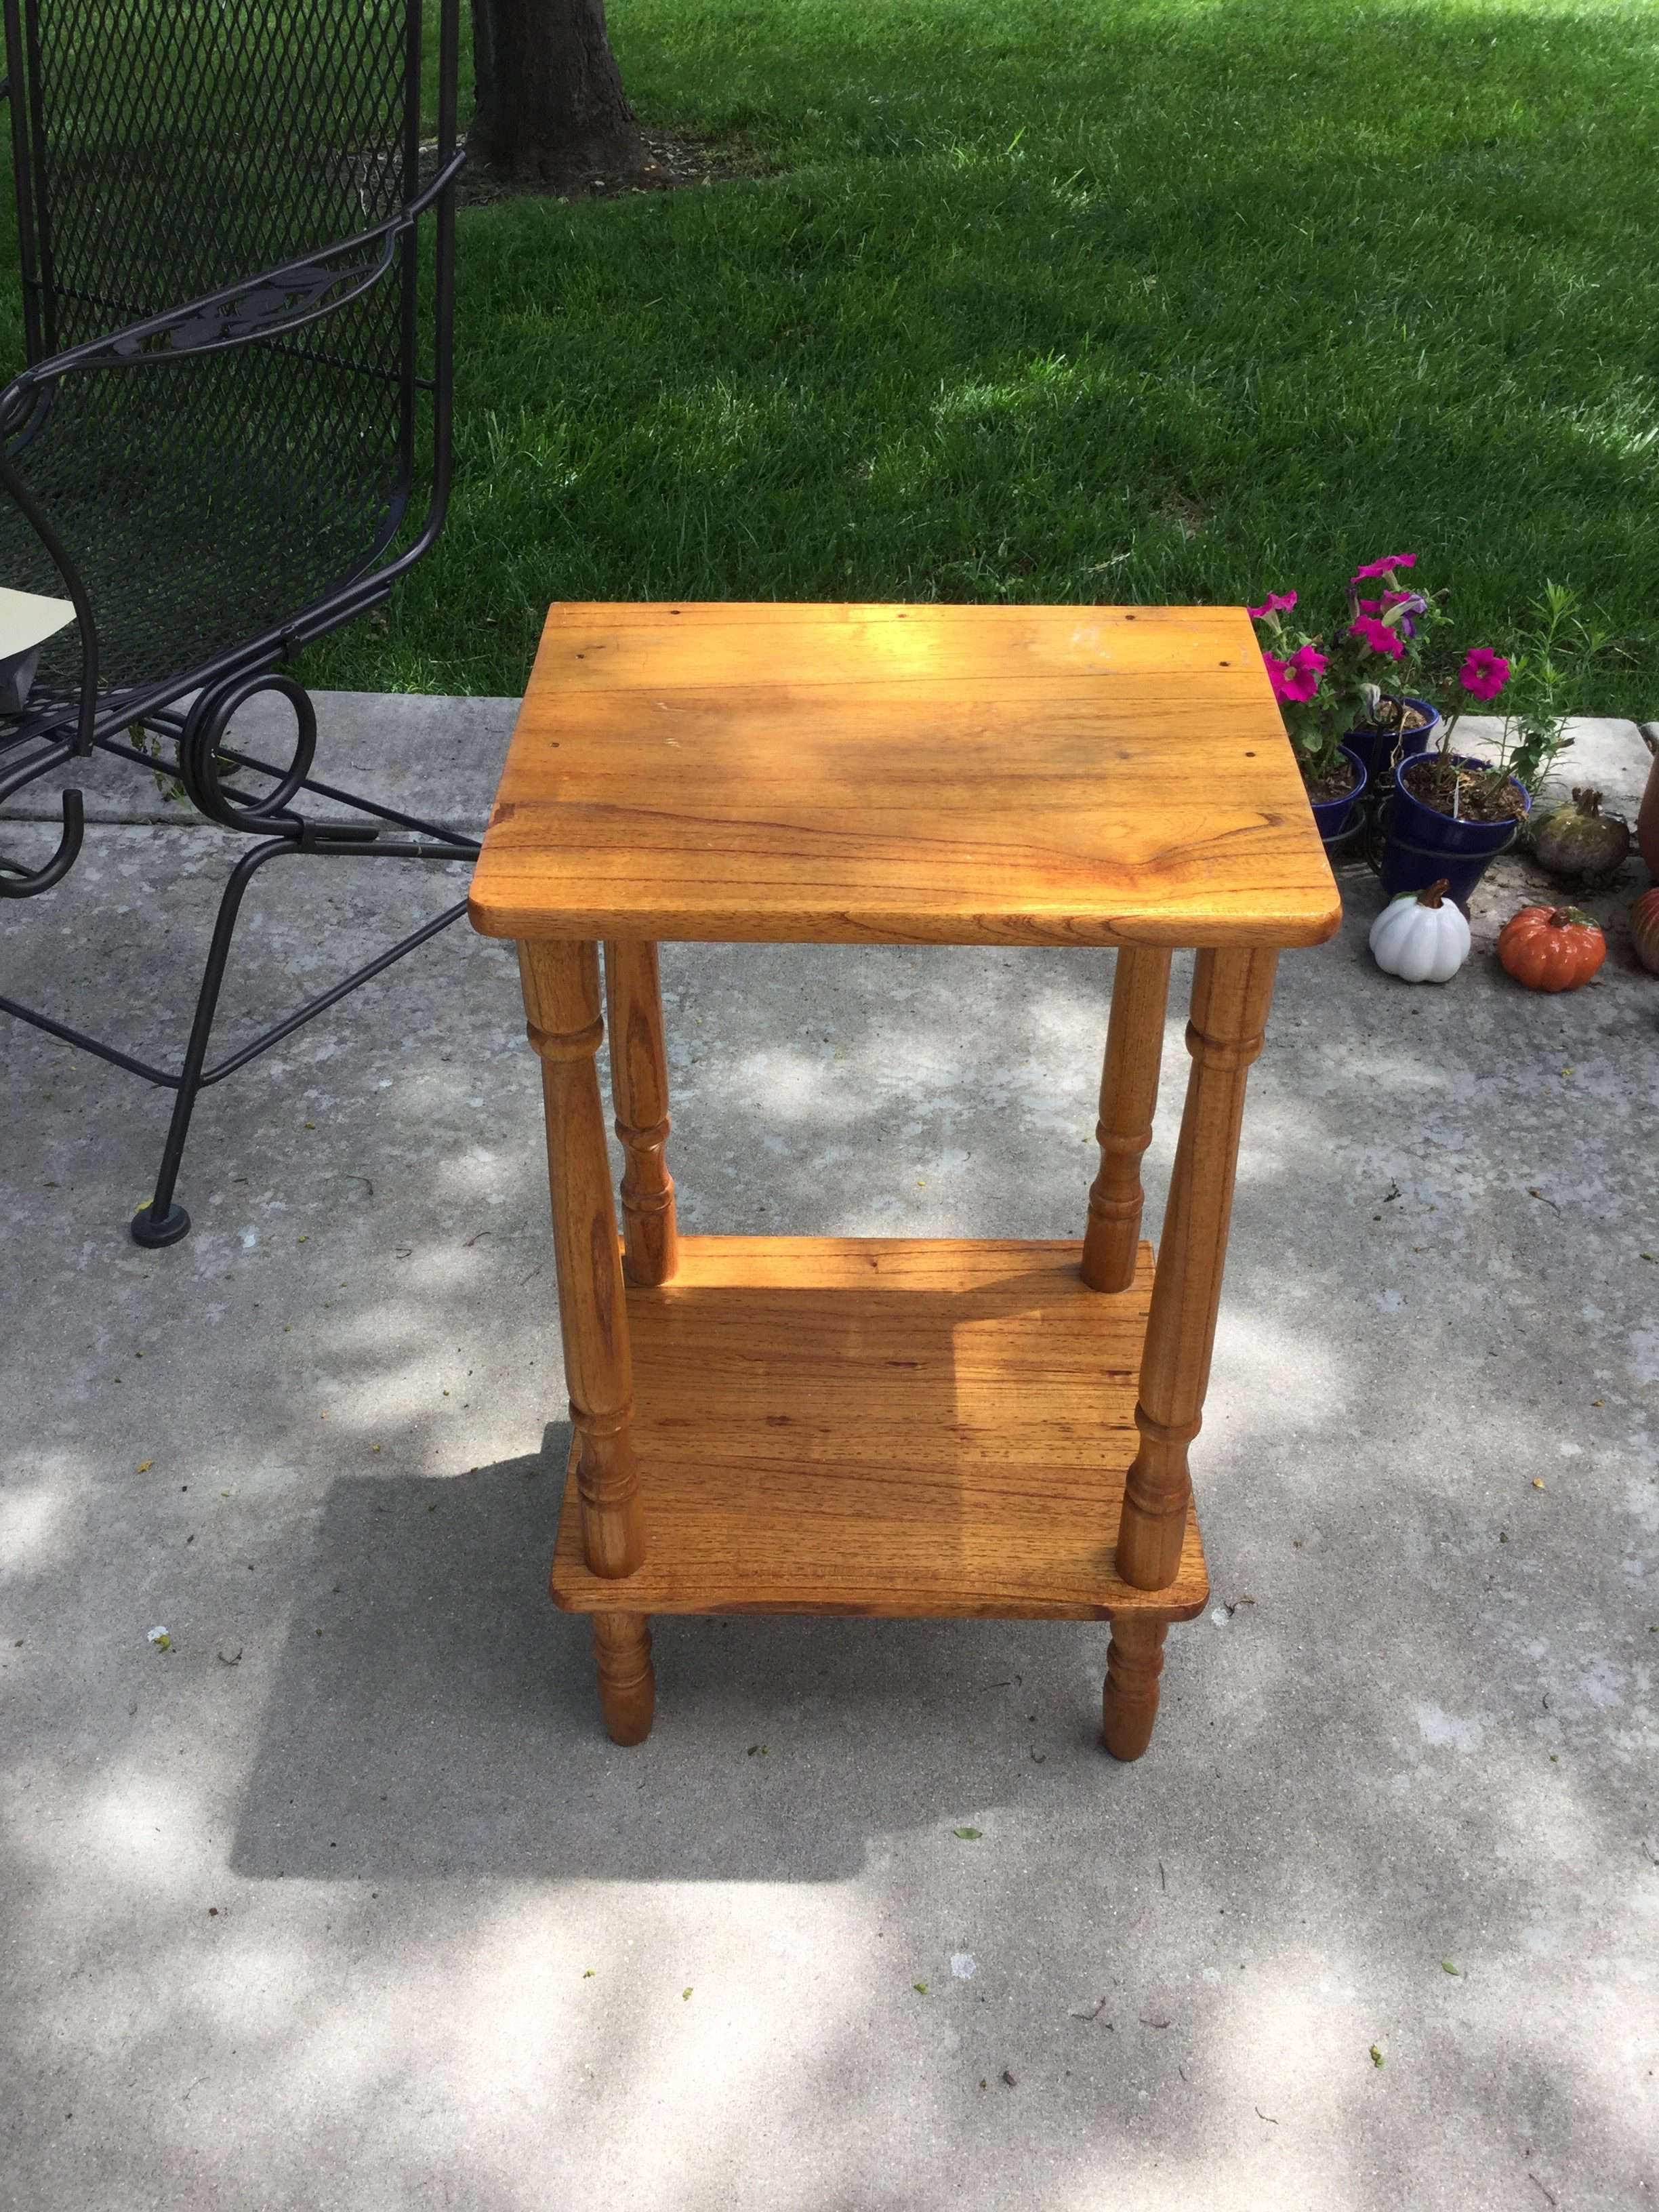
Do you ever wonder how to revamp, update, or makeover a side table? I have been dabbling in furniture makeovers and last week I saw this little side table for $1 at a garage sale. It had seen better days, but I thought what have I got to lose? I love refurbishing old furniture and small projects like this are quick and easy. You can find plenty of similar pieces at the thrift store or yard sales. With today’s project, I’m going to give this table new life with painting, stenciling, and glazing.
This post is in collaboration with Dixie Belle Paint. All thoughts and opinions are my own. A big thanks to Dixie Belle Paint for providing me with the paint for this project.
Side Table Makeover Materials:
Dixie Belle Hurricane Gray Chalk Mineral Paint
Dixie Belle Fluff Chalk Mineral Paint
Dixie Belle Van Dyke Brown Glaze
Dixie Belle Round Paint Brush
Dixie Belle Paris Stencil
Side Table
Painters Tape
Quick and Easy Side Table Makeover On A Budget Video
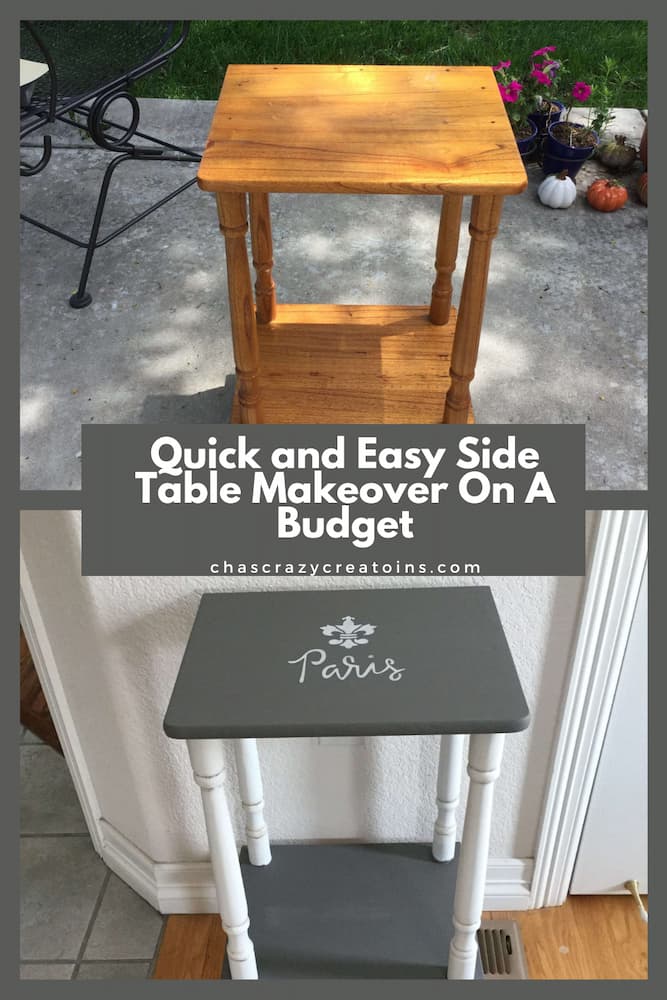
Here is the small table that I purchased for $1 at a garage sale.
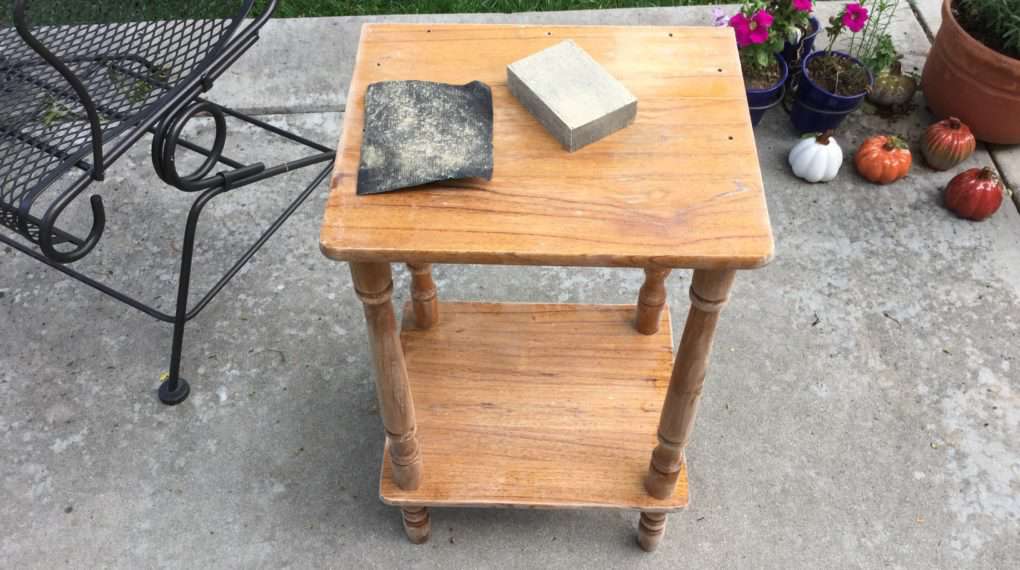
The top of the table had holes, some sort of sticky residue from something that was sitting on it, and some scratches. Overall though this old table was in pretty good shape.
Side Table Makeover Step-by-Step Instructions:
The first thing I did was use a sanding sponge and sand the sticky residue off. I then tried to even out some of the scratches.
It took more than a little effort to sand, and I thought there must be a better way to do this…
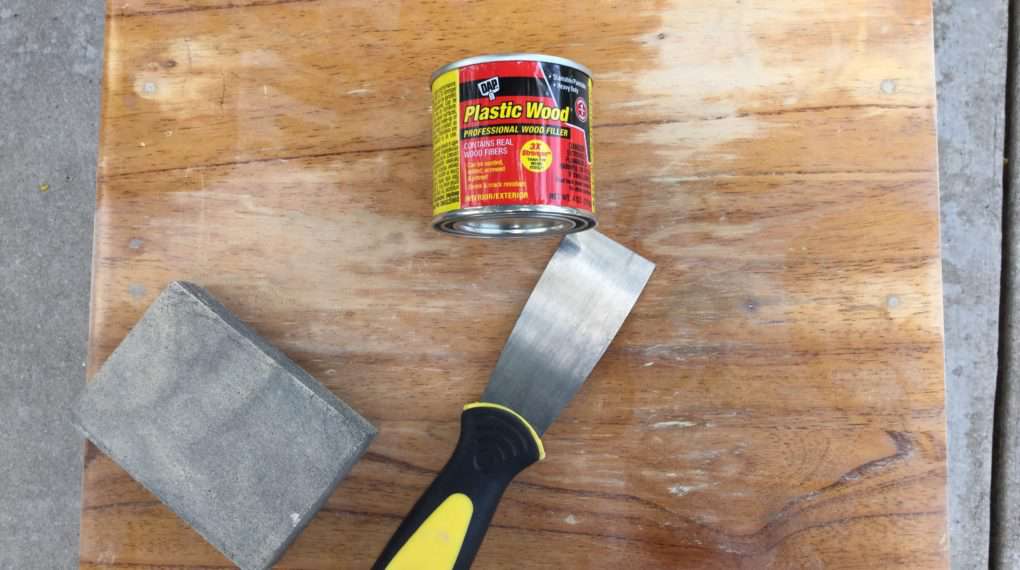
I used this plastic wood my husband had from another project. I mixed it, used a putty knife to fill the holes, and once it was dry I sanded the holes down. I made sure to give the table a good wipe down after I was done sanding, before applying paint.
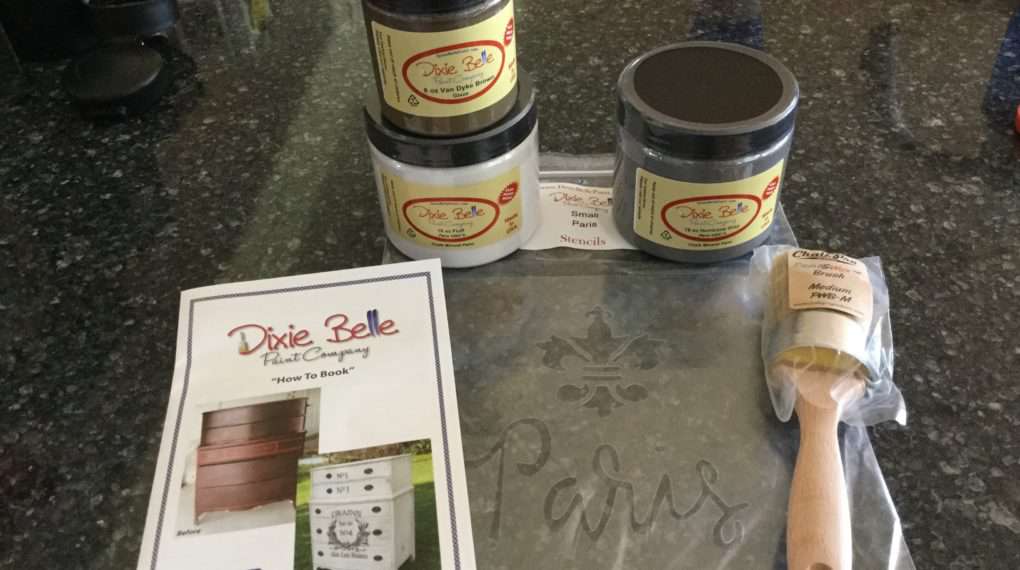
I have the opportunity to work with Dixie Belle Paint products for this project.
This chalk paint is great for the everyday DIYer. No sanding or primer necessary (Full disclosure, I totally could have skipped that step.) You can check out their products here: Dixie Belle Paint Company. They have so many different colors to choose from.
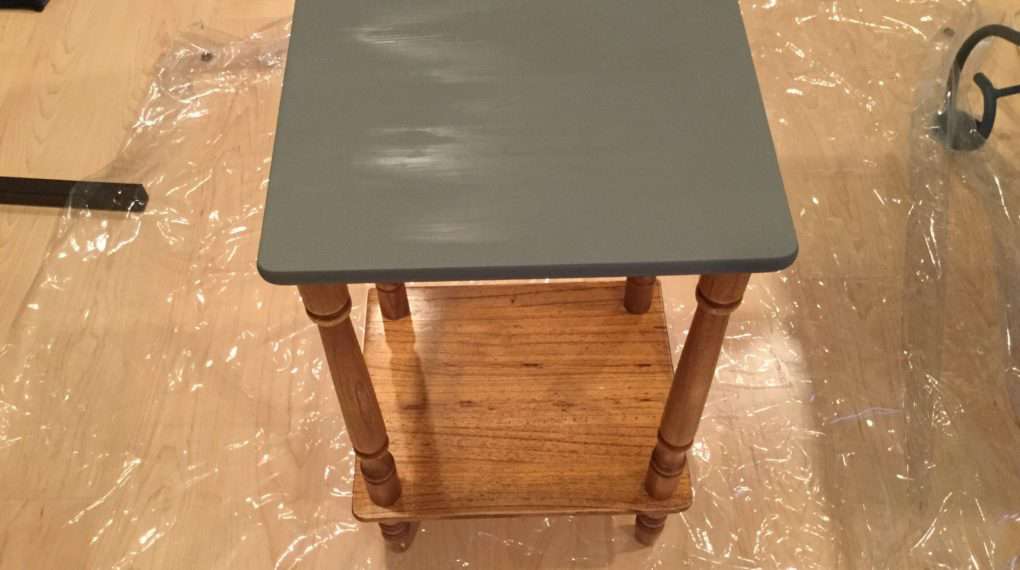
For the next step I used a medium Dixie Belle round brush to paint on Dixie Belle Hurricane Gray Mineral paint.
A little goes a long way for the paint. It is the perfect choice for this project because it self-levels, and the paintbrush really helps a beginner, like me minimize brush strokes.
I did the first coat of paint and I could have gotten away with one coat, but I did a second coat just to even out my paint job.
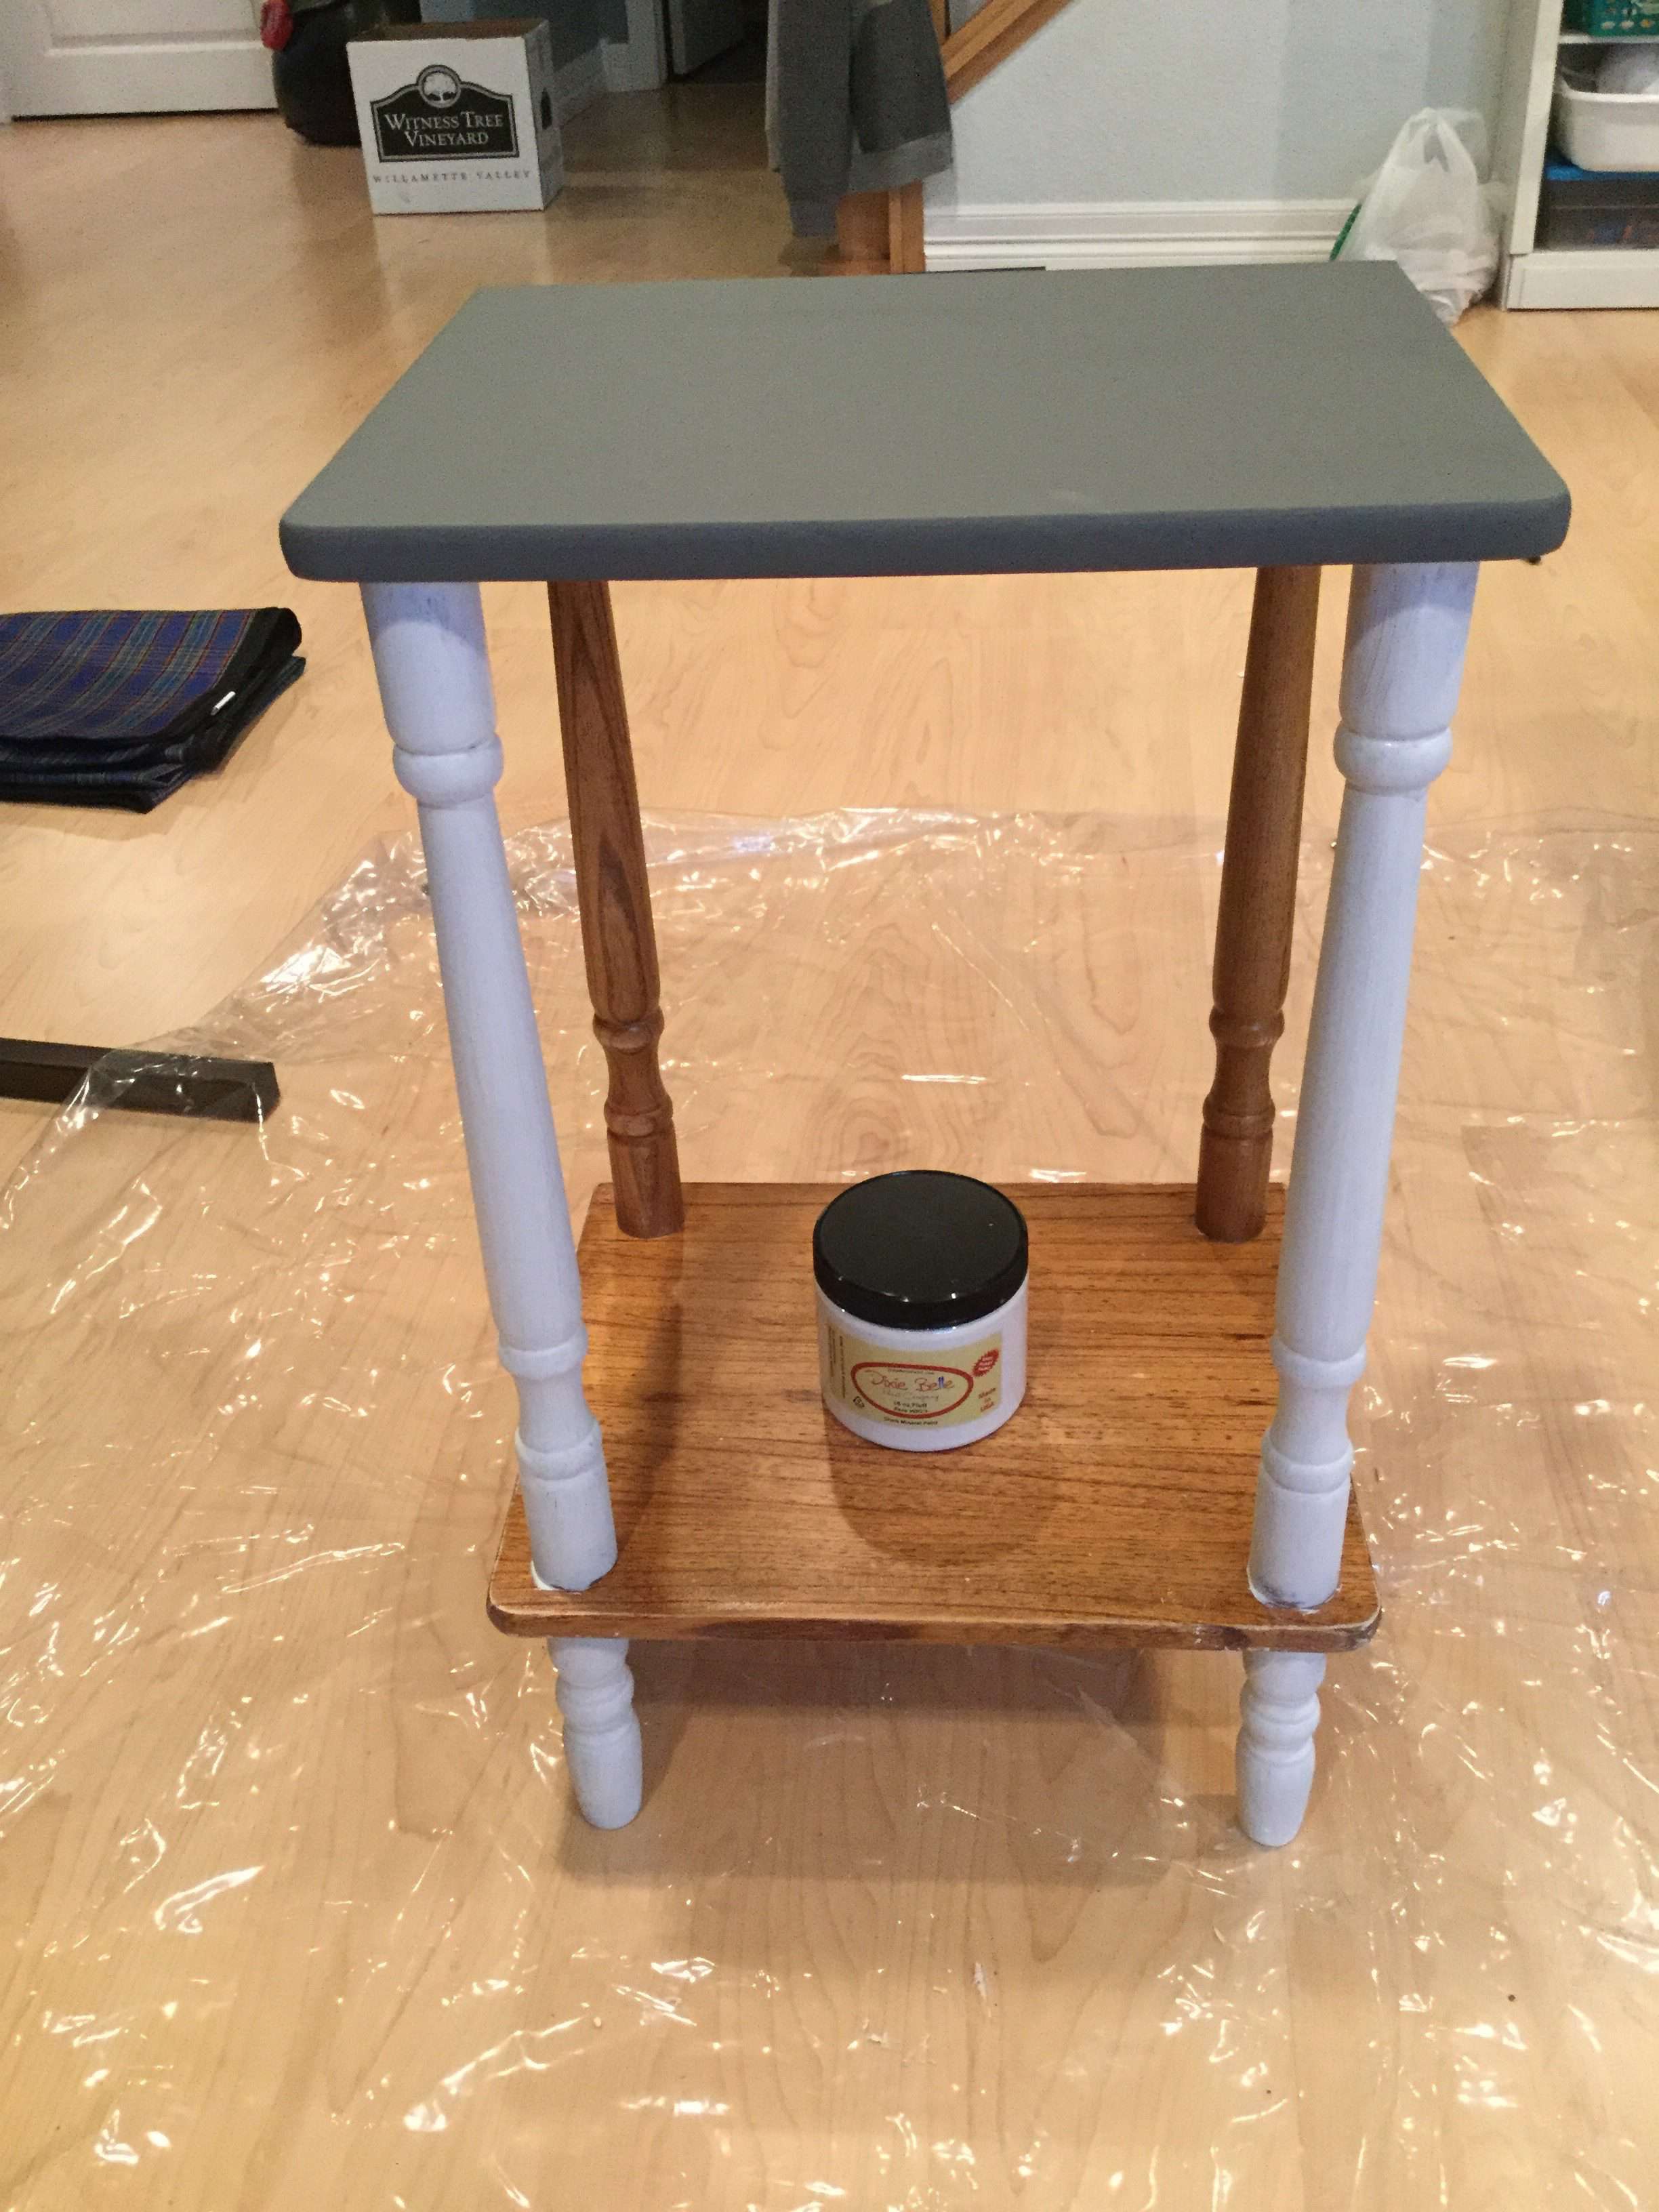
I used their Dixie Belle Fluff Mineral Paint for the legs. Lighter colors take 2 coats of paint..
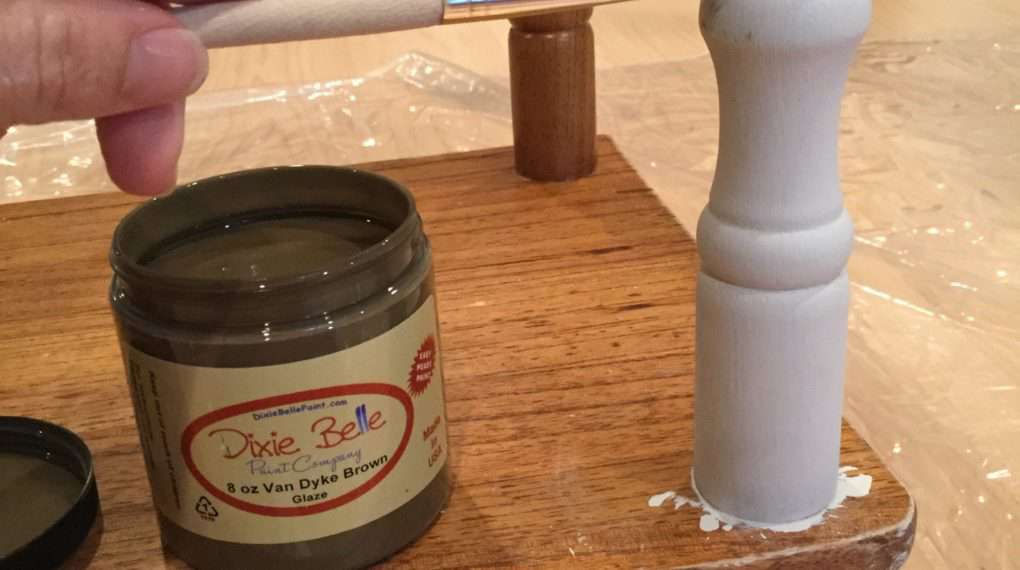
I am using Dixie Bell Van Dyke Brown Glaze to accent the legs.
Paint the glaze into the creases. This is a great way to add depth to your piece.
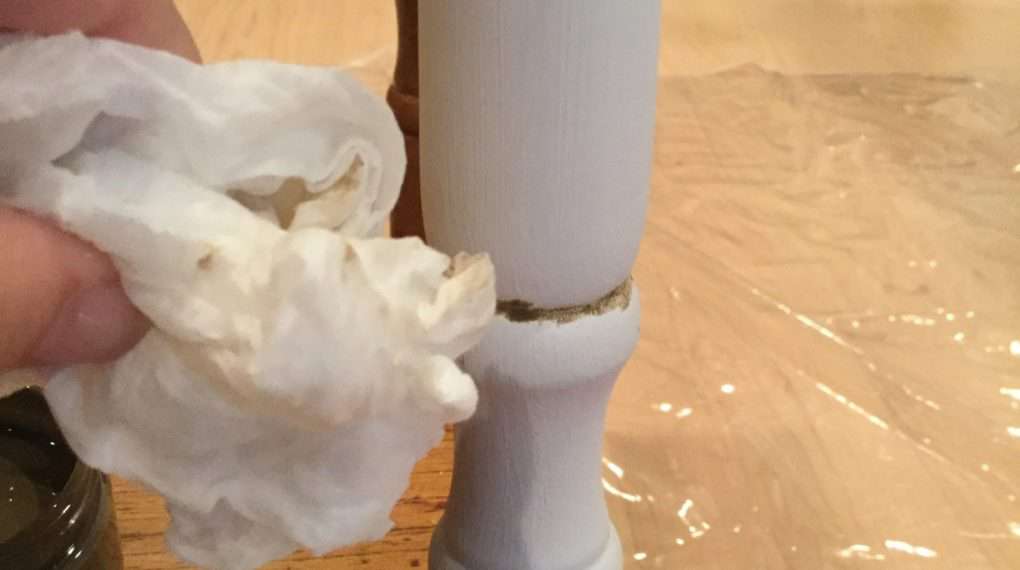
Using a damp cloth, old rag or paper towel gently rub and wipe the glaze until you get the desired look you want.
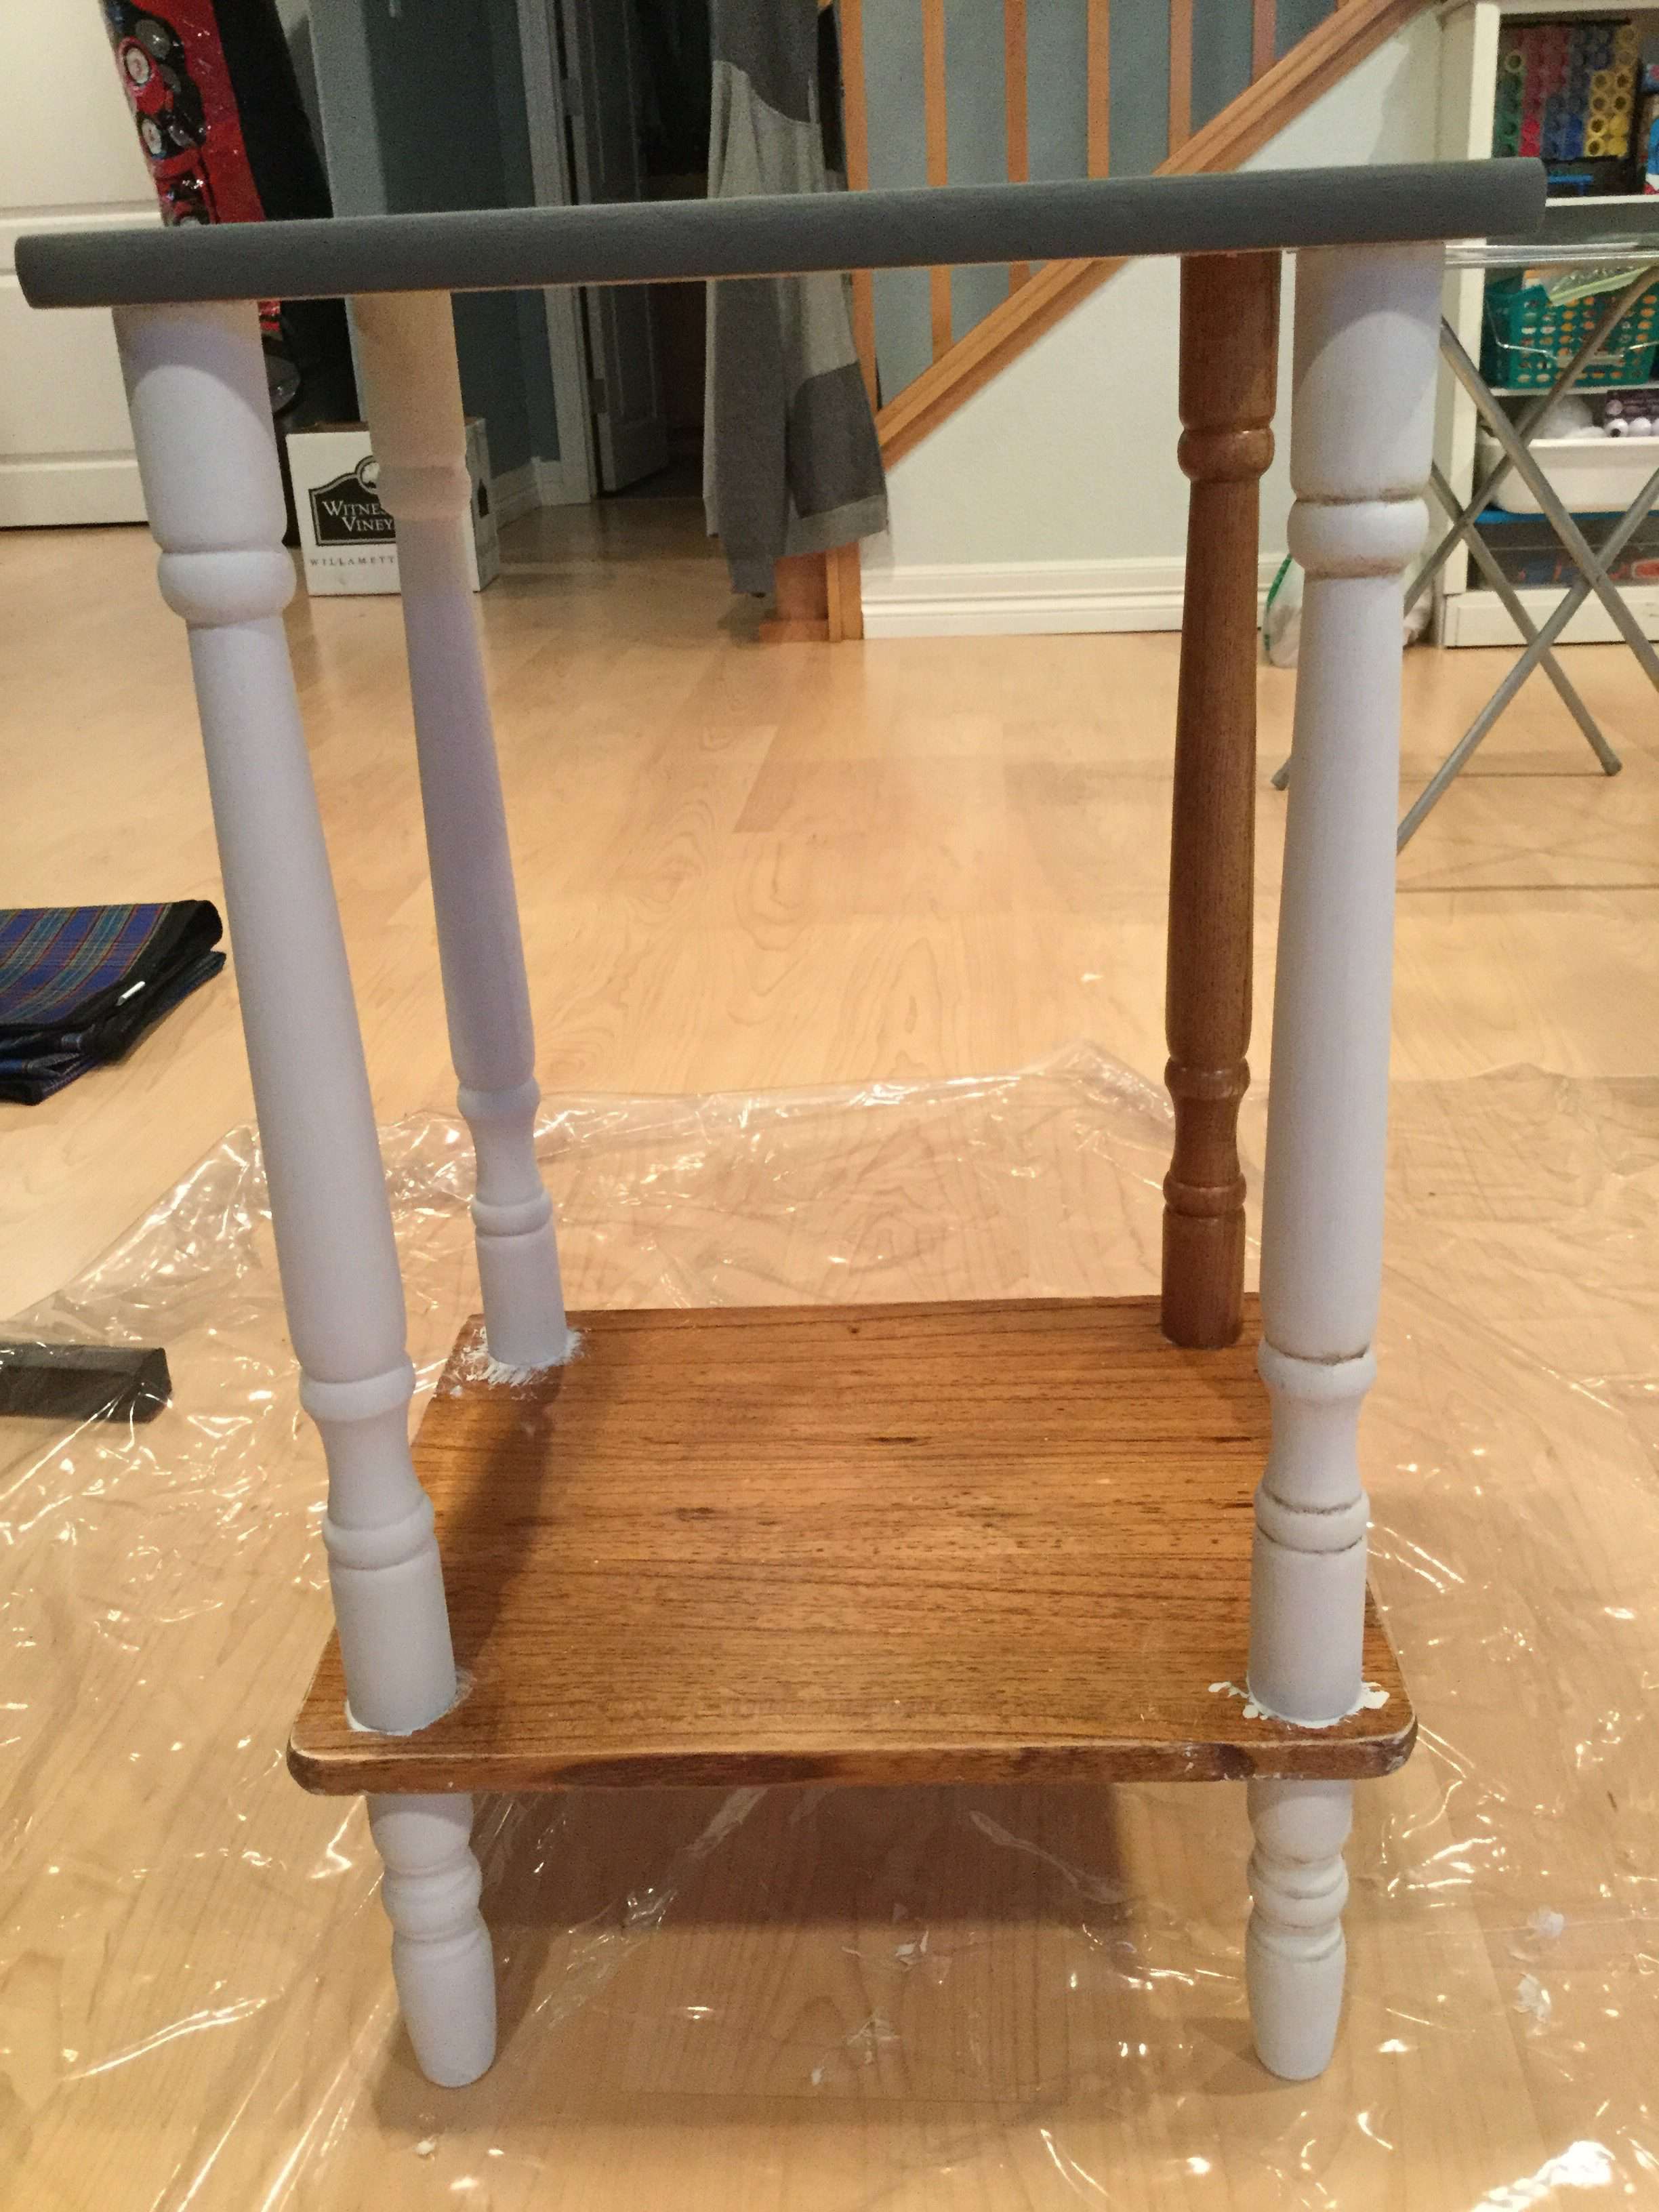
You can see the leg on the right was the one I was working on.
I was looking to emphasize the creases but not change too much of the white color.
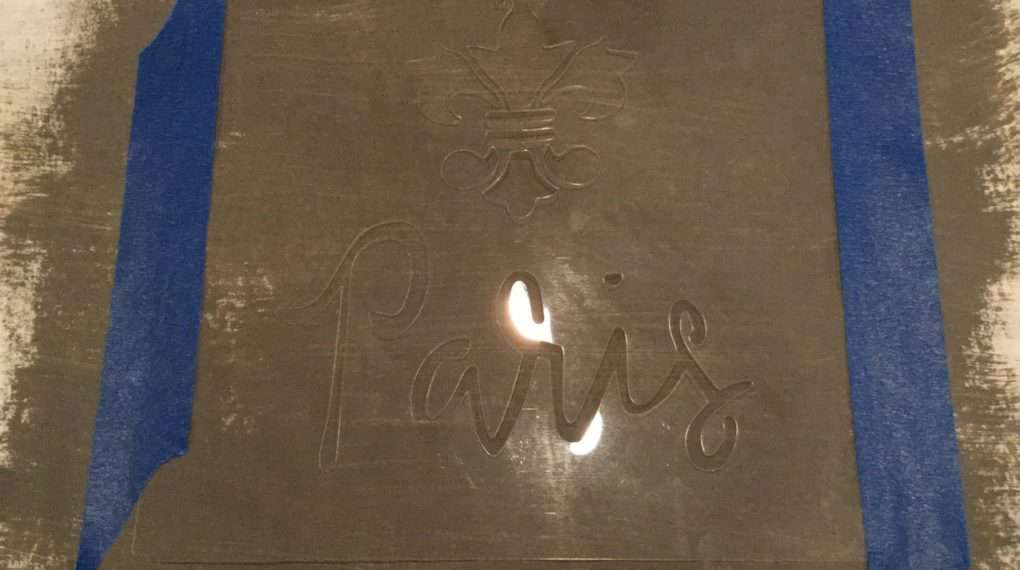
For the finishing touches, I will be using their “Paris” stencil on the tabletop.
I will demo this on a piece of paper.
I used Hurricane Gray as the base, and using painter’s tape is an easy way to hold the stencil in place.
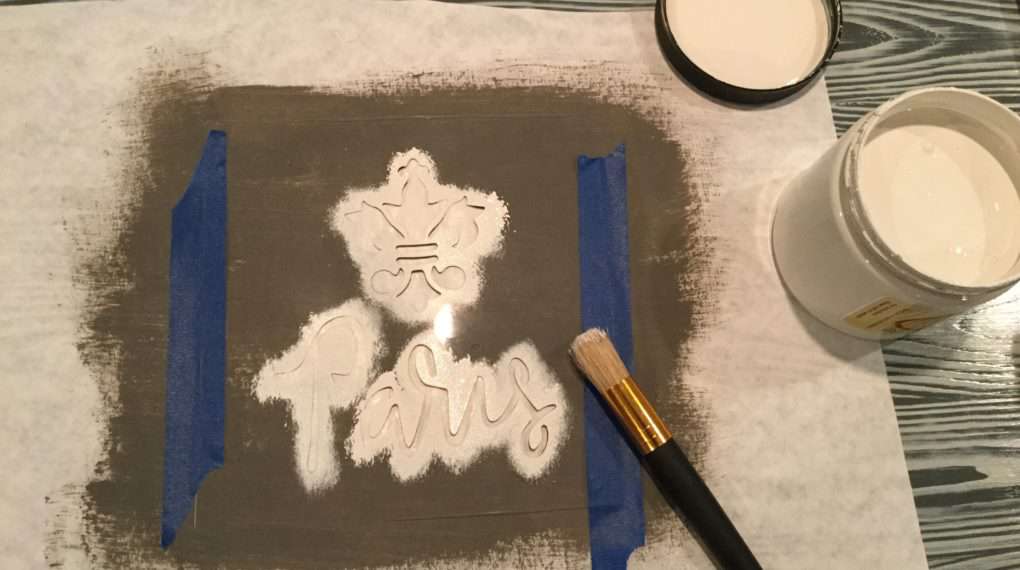
Using the Fluff paint I dabbed it onto the stencil.
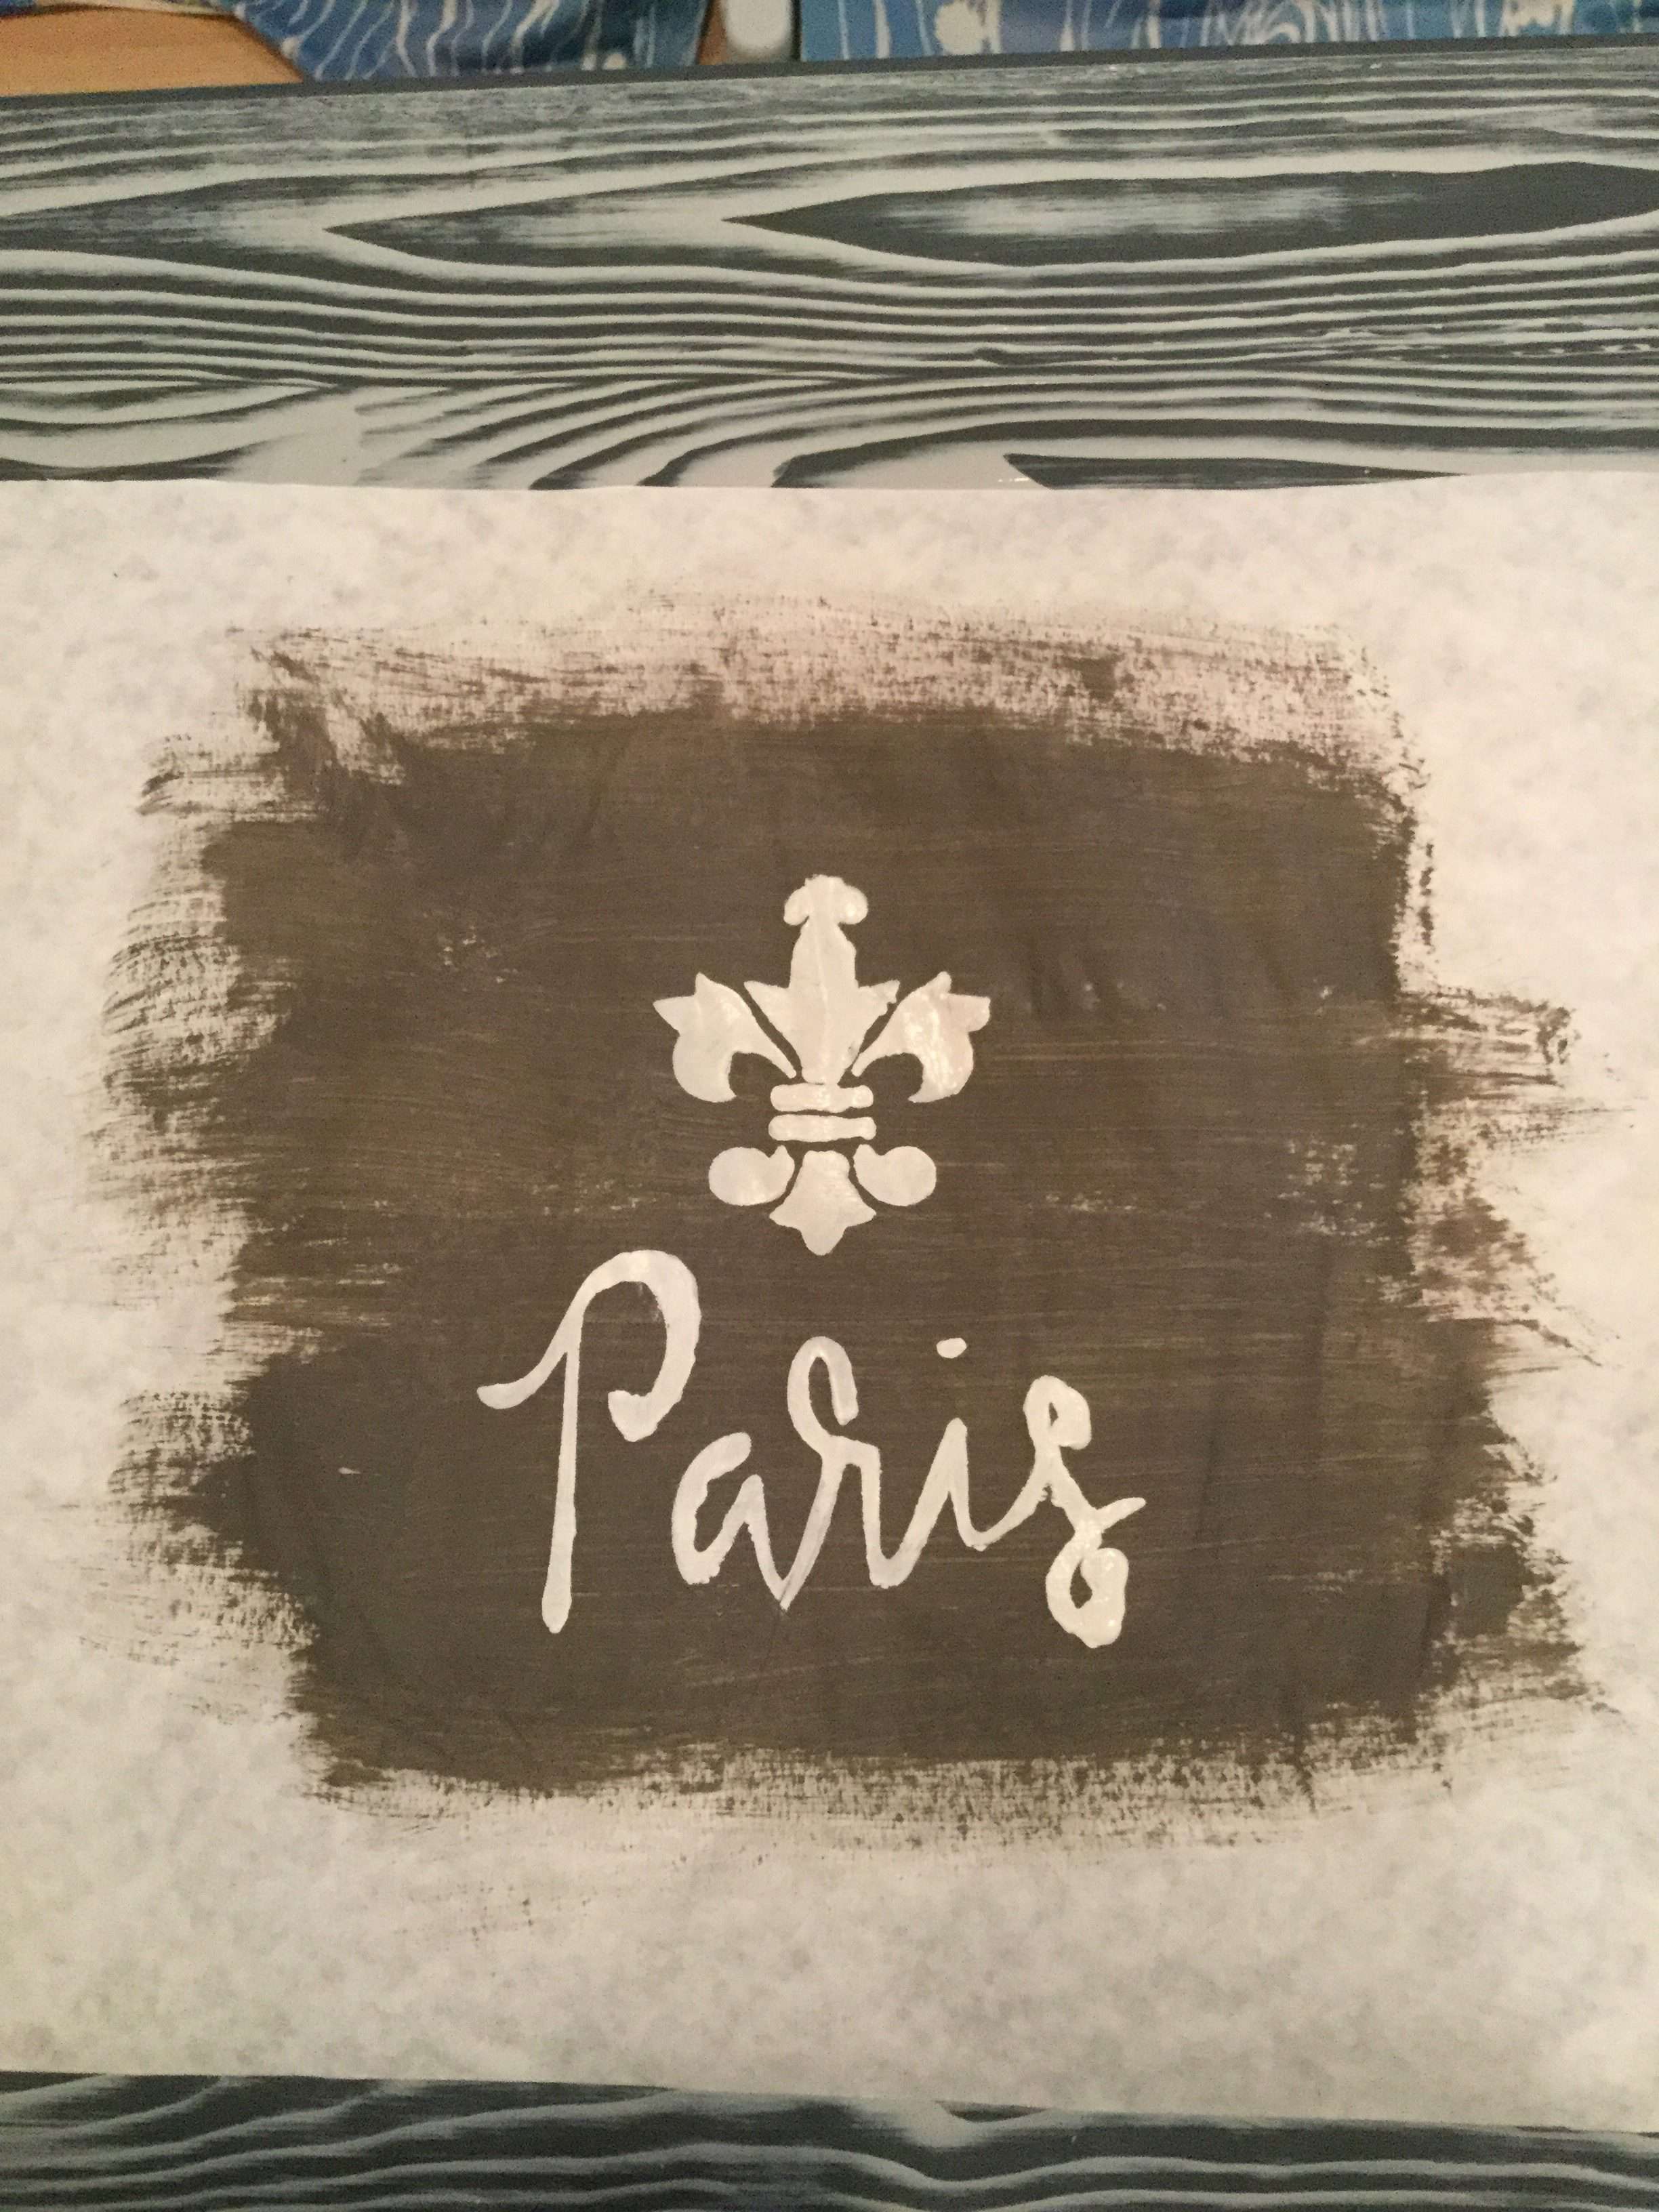
Here is the stencil when it’s done.
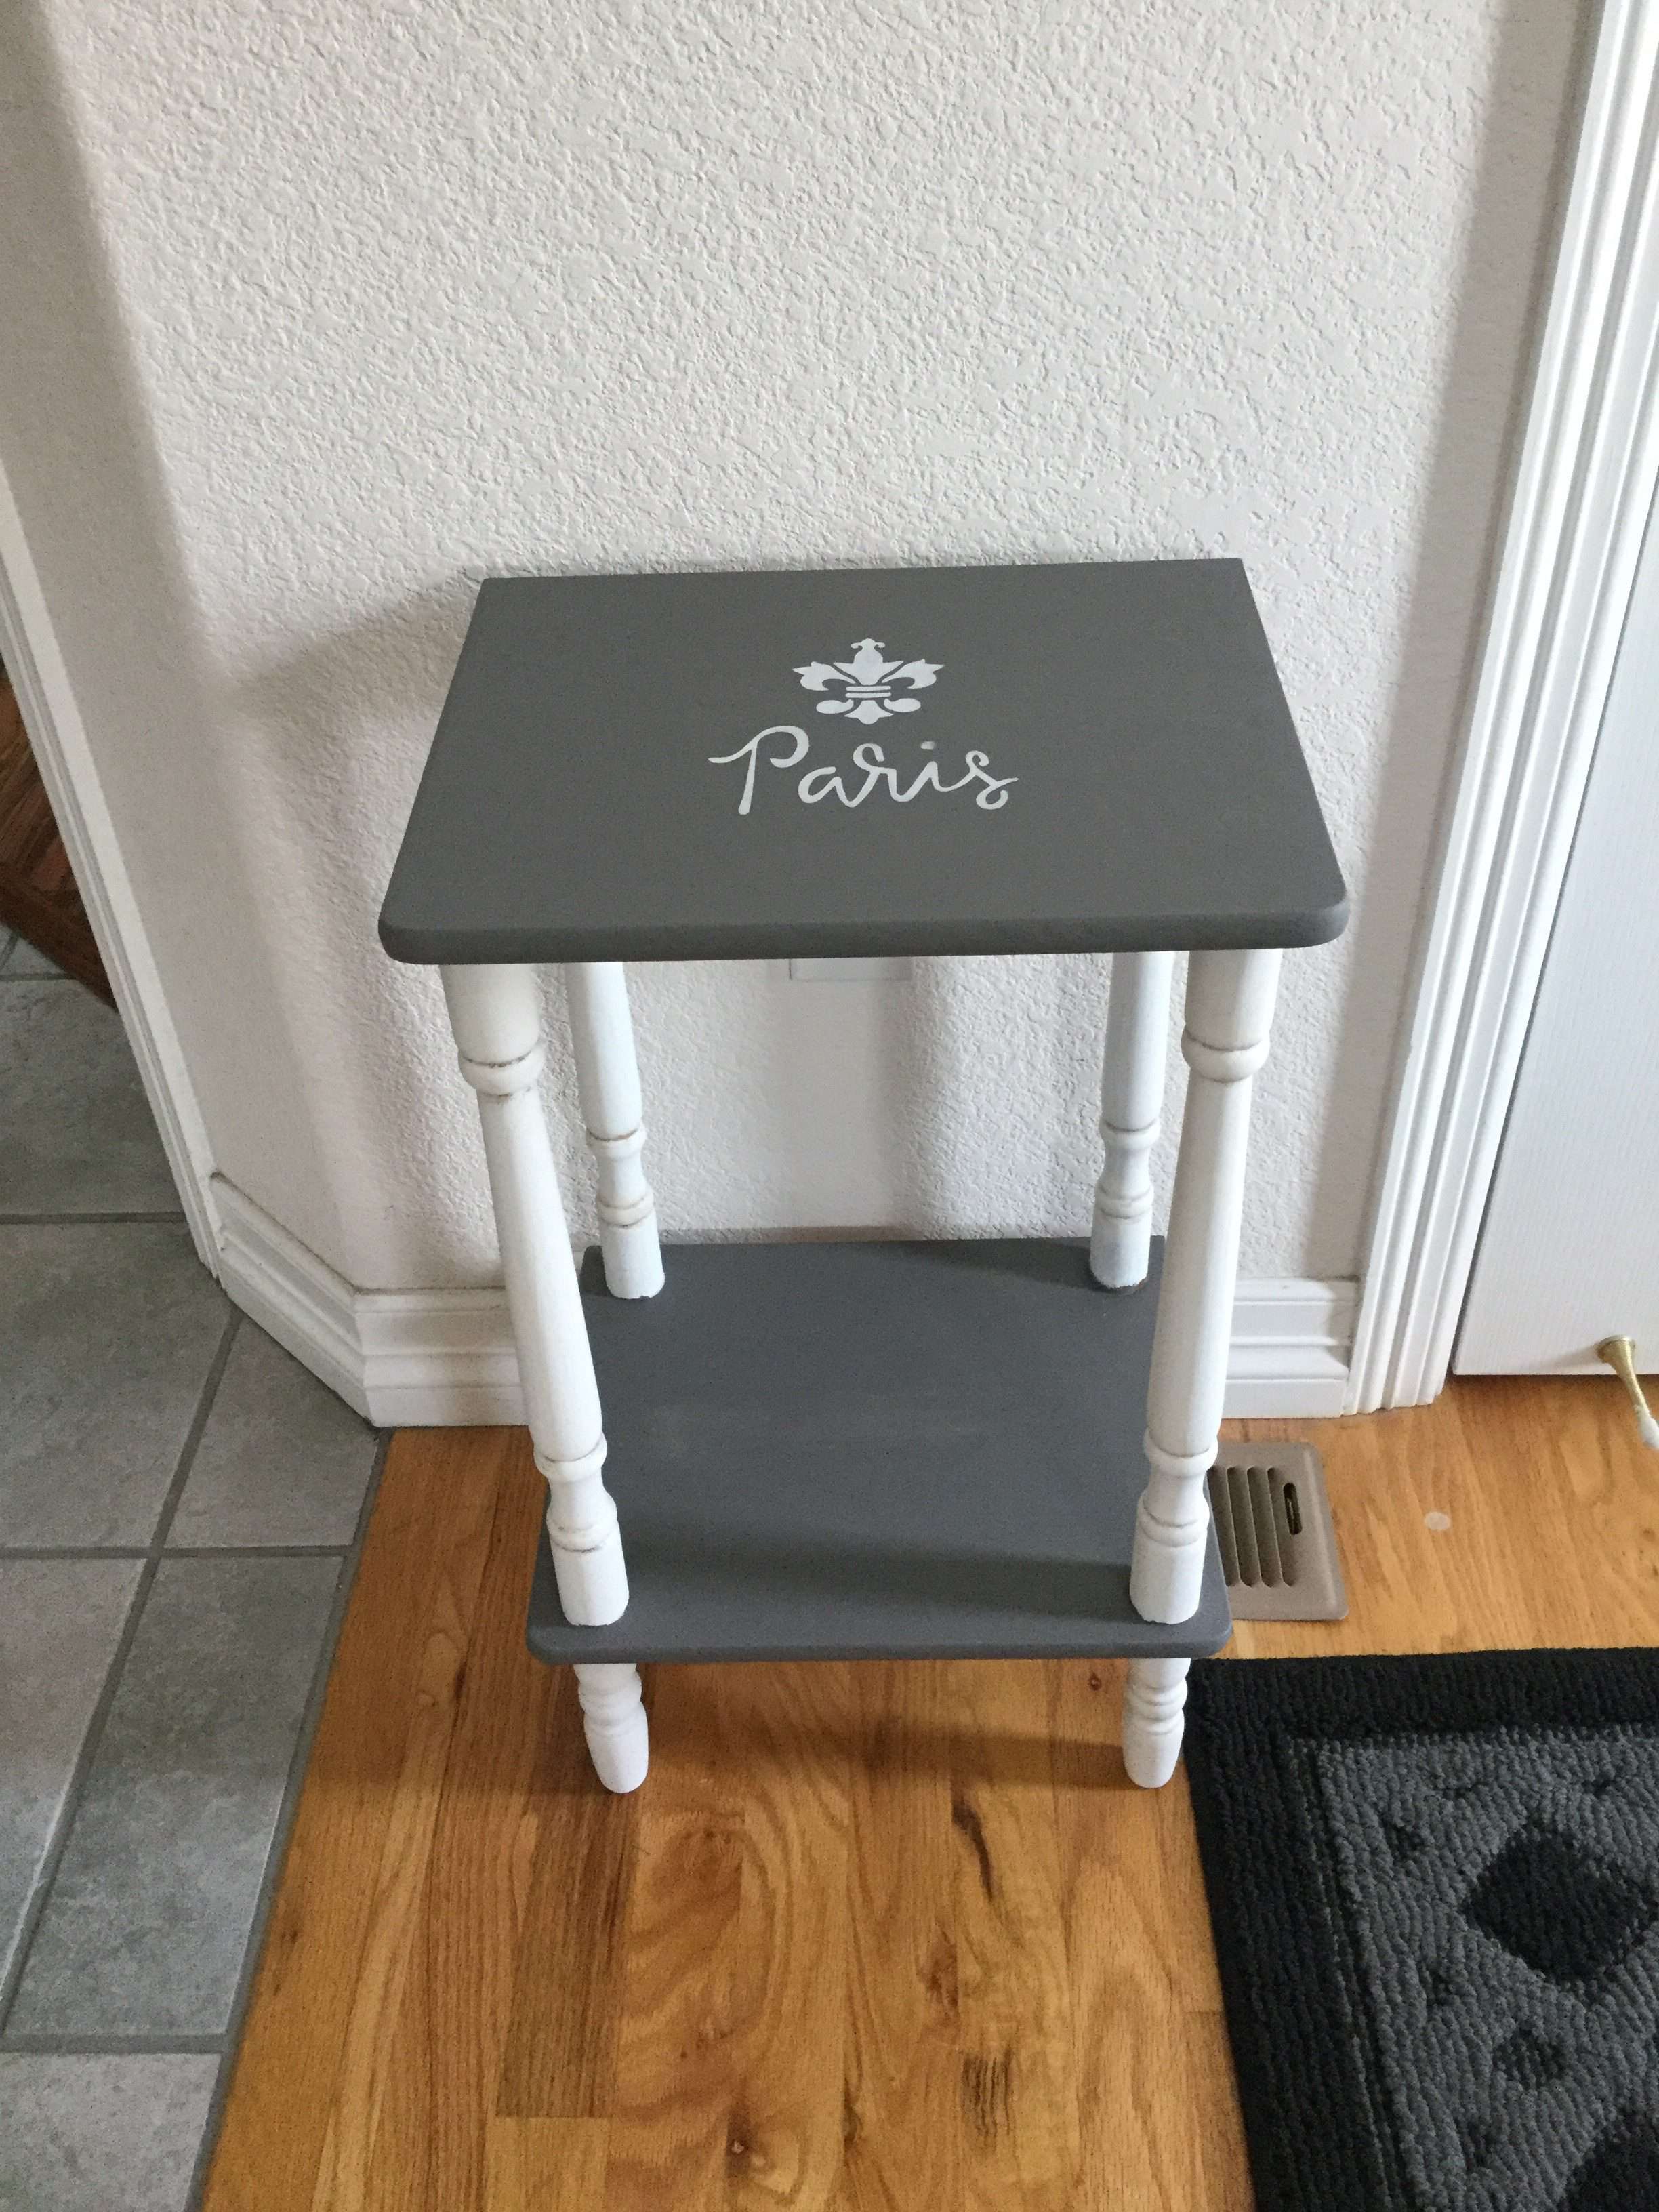
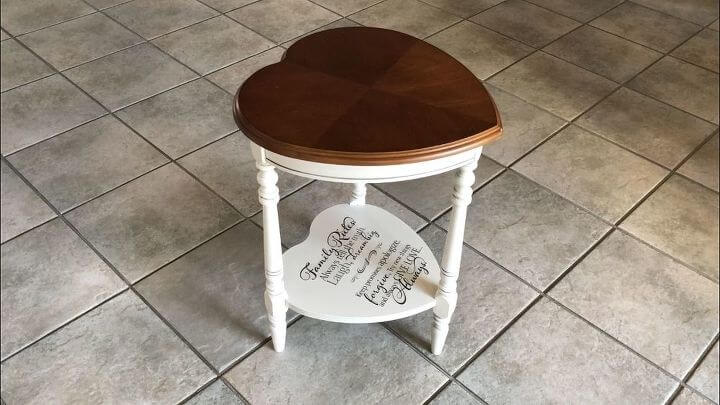
Here is the completed table! The paint and stencil made a huge difference and this looks like brand new piece of furniture that will make a great addition as an accent table.
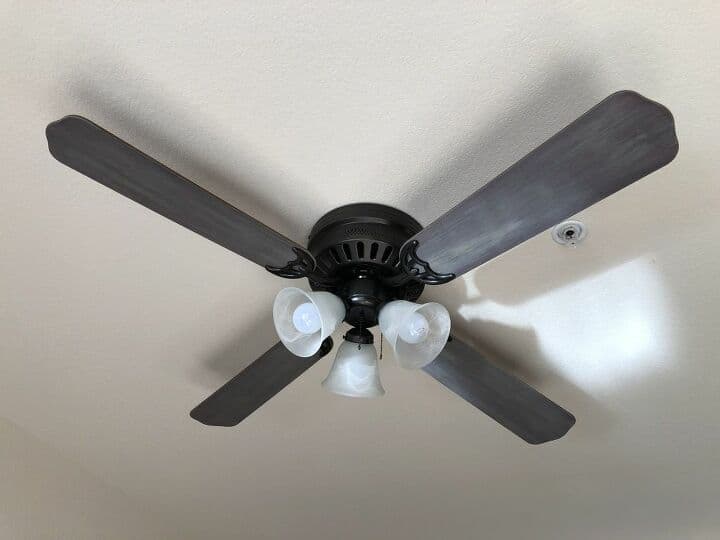
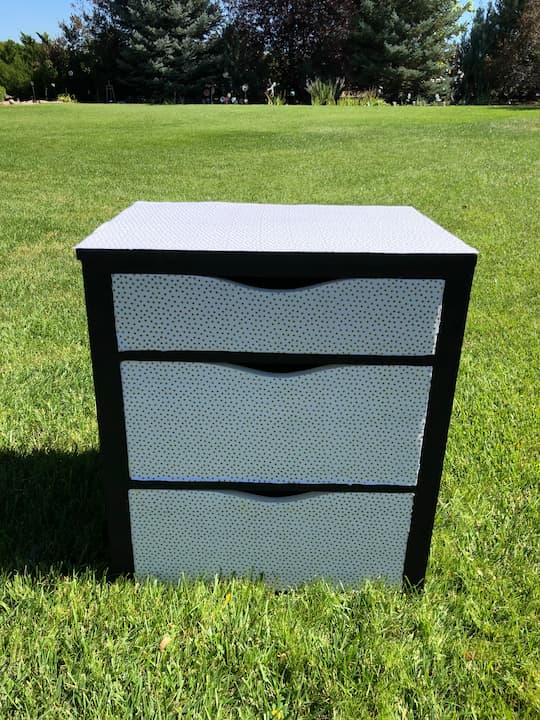
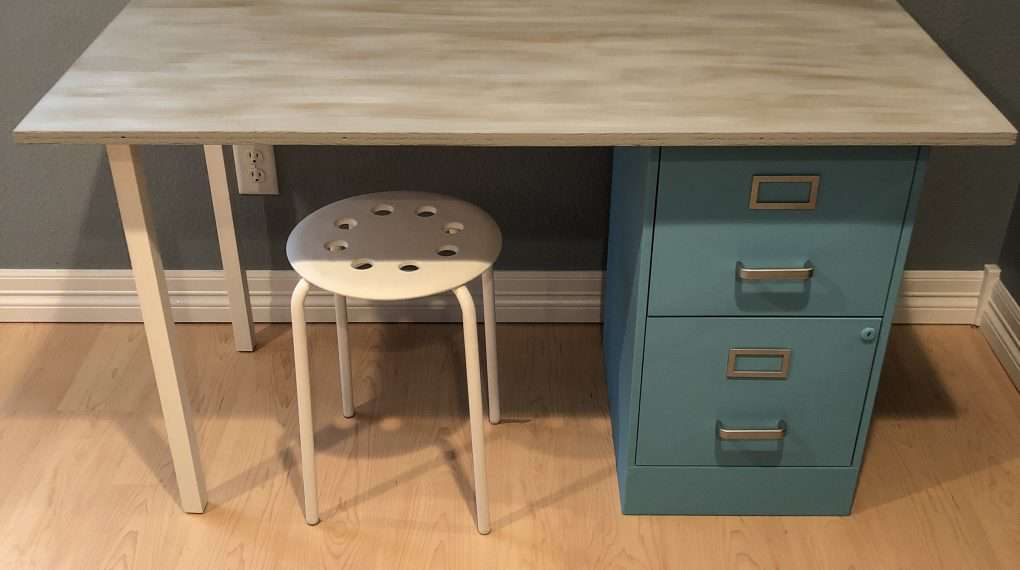
Check out some of my other furniture makeovers!
- Amazing and Easy Ceiling Fan Makeover with Video
- Easy and Useful DIY Filing Cabinet Makeover with Video
- Super Easy Chest of Drawers Makeover with Video
Side Table Makeover Video
Shop any of these stores and I receive a small commission at no cost to you.
 Dixie Belle Paint Company C...Shop on Amazon
 Dixie Belle Paint Company C...Shop on Amazon
 Dixie Belle Glaze | Grunge ...Shop on Amazon
 Paris Stencil by StudioR12 ...Shop on Amazon
Extra tips:
You’ll want to use grit sand paper to help the paint stick better as the first step, then give your piece a good cleaning. You can put a piece like this in your living room, or guest room, use it as a bedside table or night stand, and I’ll be putting this little table in my entryway. With projects like this, you can paint the entire table or leave part of the original wood showing. You can also spray paint the whole piece or use a paint sprayer if you prefer and find that easier for you. You can update just about anything from a coffee table to large table makeovers. You can paint with chalk paint, acrylic paint, spray paint, milk paint, or you can even use gel stain or a dark stain on it. You can use a chip brush or a foam brush. It’s whatever you like to work with best. After this fun project, I invested in an orbital sander to make some of that process easier. If you decide to fix laminate furniture you’ll need to put some sort of primer on it, or the paint won’t stick. You can give your piece a distressed look if you prefer, and you may opt to put a clear coat over it at the end to protect your piece.
Find out “What Exactly Does It Mean To Repurpose Or Upcycle“, save money, and create the most amazing things.




Ooh la la! This turned out so great!
Thank you so much Carol, I really appreciate it!
This turned out fantastic! I love all sorts of furniture makeovers 🙂 I’ll check out your faux wood effect project as I’ve been looking for a good way to do this for ages, hehe 🙂 Thanks for sharing Chas!
Thank you very much Kasia, I’m so thrilled you like it and want to check out more 🙂
Chas this table turned out just darling! Love it!
Thank you so much Tarah! Wonderful hopping with you!
I haven’t heard of Dixie Belle Paint, but I love how it looks on your adorable side table makeover. I will have to check it out! It was fun to “hop” with you again this month!
-Niky @ The House on Silverado
Thank you so much Niky. Any chalk or mineral paint is so great to work with. So easy to paint without tons of coats and work. So very forgiving too. I love your fall entryway! Wonderful hopping with you!
Chas, What a fabulous transformation! Thanks for sharing Dixie Belle paints. I’ve never heard of them but I love that they self-level, which helps hide lots of flaws. The tutorial is very thorough too which helps first-time DIYers. It’s always amazing to me what you find in yard sales! Thanks for sharing and love blog hopping with you.
You are so sweet, thank you so much Mary. A lot of chalk and mineral paints self level and that’s one of the great things about them. Yard sales are the best right?!!! Wonderful hopping with you friend.
Your table looks so cute that I’d be afraid to put anything on it! I’ve never tried Dixie Bell paint. I’ll have to try that on my next project. Your brush looks so chunky!
Thanks Andrea, this was one of my first chalk paint projects ever. I now use a chip brush instead. Helps get in the details better. One person suggested I could have put the Paris on the bottom… that might have been a good idea 😉
I have the same type of table in my Garage gathering dust. I now know what i can do with it. Thank you that was a lovely idea.
Thank you so much Tracy and I love that you’re inspired to bring that table out of the garage. I have set mine by my entry way so people can set their keys and such on it.