
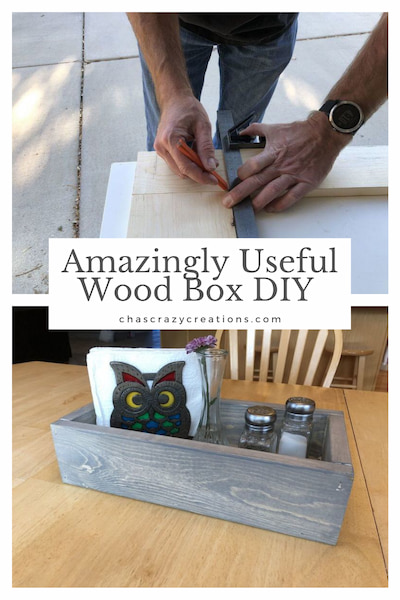
Amazingly Useful Wood Box DIY

How do you make a homemade wooden box? Here’s a wood box DIY that you can use in so many ways in your home.
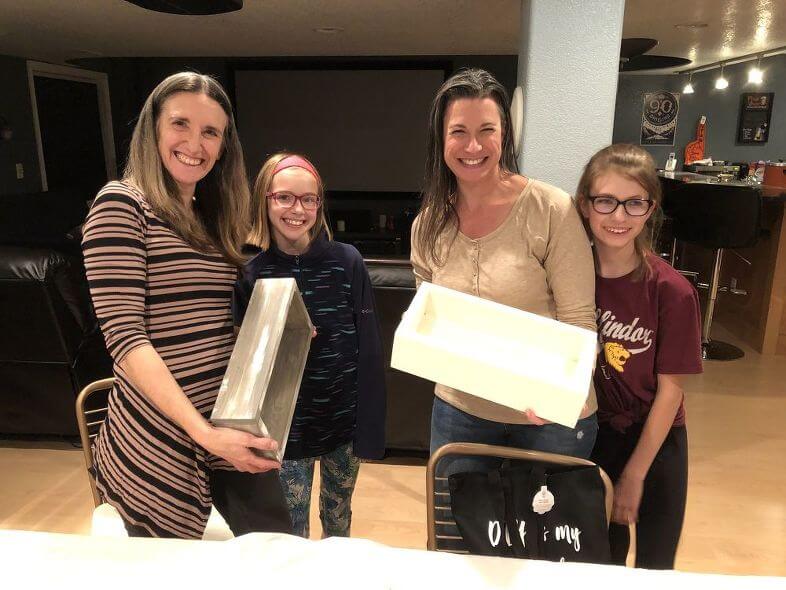
In 2018, Hometalk flew a couple of us to their headquarters in New York City to discuss a local workshop opportunity. There were several workshops that were conducted in many cities, and I met some wonderful people that ran those. For our first workshop, we made Farmhouse style wood boxes.
What materials are needed to make a DIY Wood Box?
- 1 x 4 pine board
- 1 x 6 pine board
- saw
- wood glue
- nail gun
- paint or stain of your choice
- ruler
- sanding block
Here are the instructions for the farmhouse box
My husband and I did this first box together.
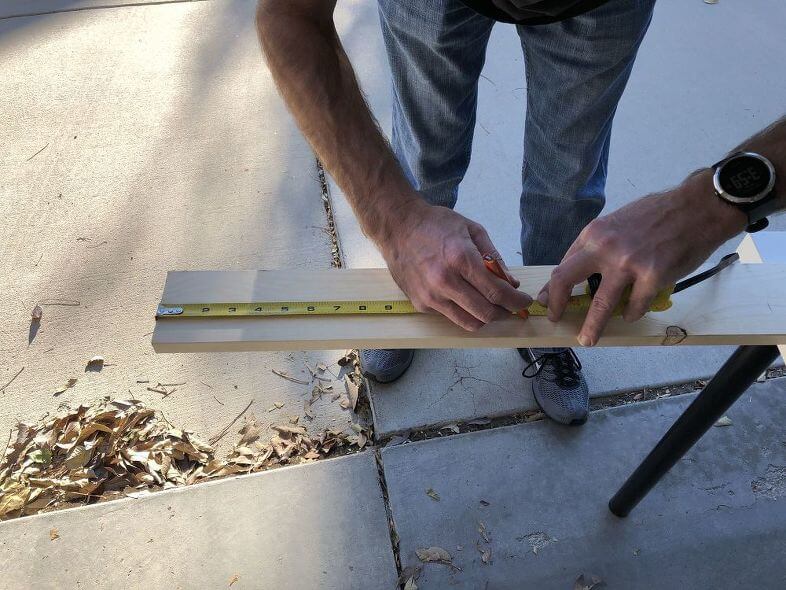
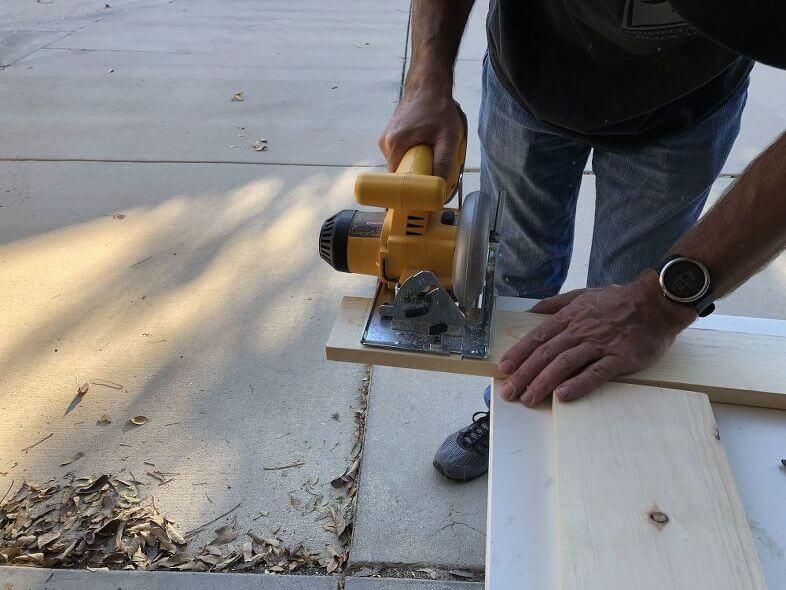
For the sides of this board we used a 1 x 4 pine board and measured it to 14 inches.
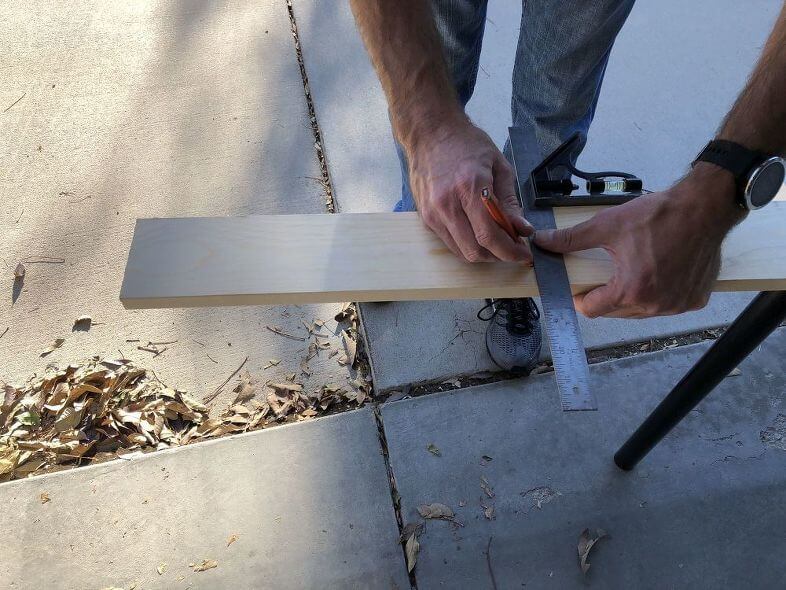
He used a square to make a straight line.
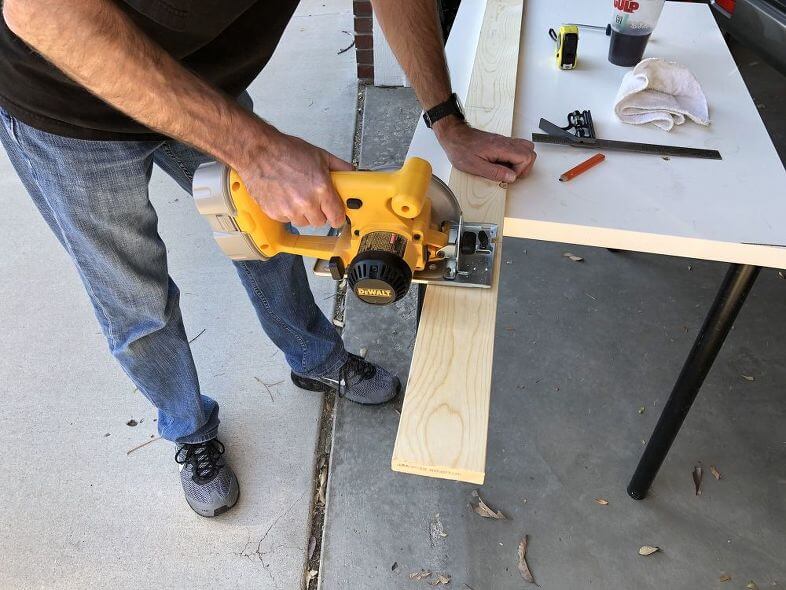
He cut the board with a Dewalt Circular Saw.
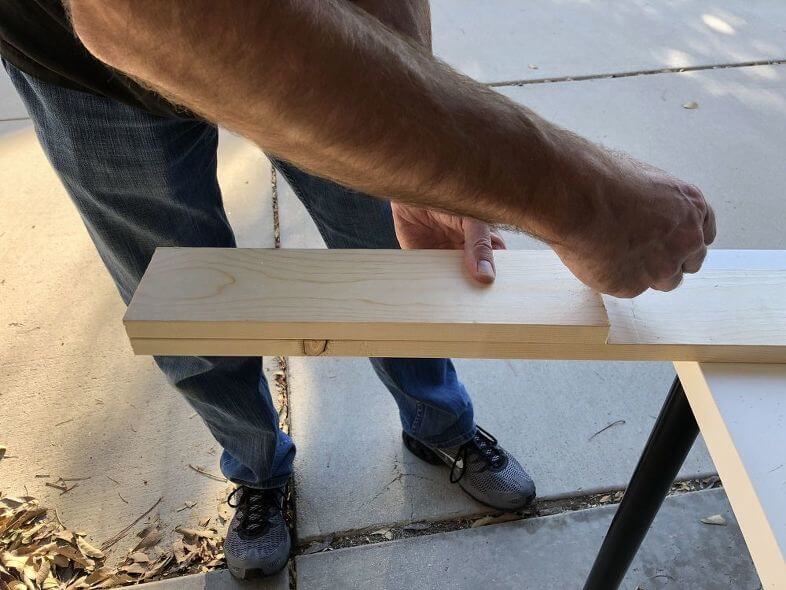
We took that board and measured the second board to make sure they would be the same size.
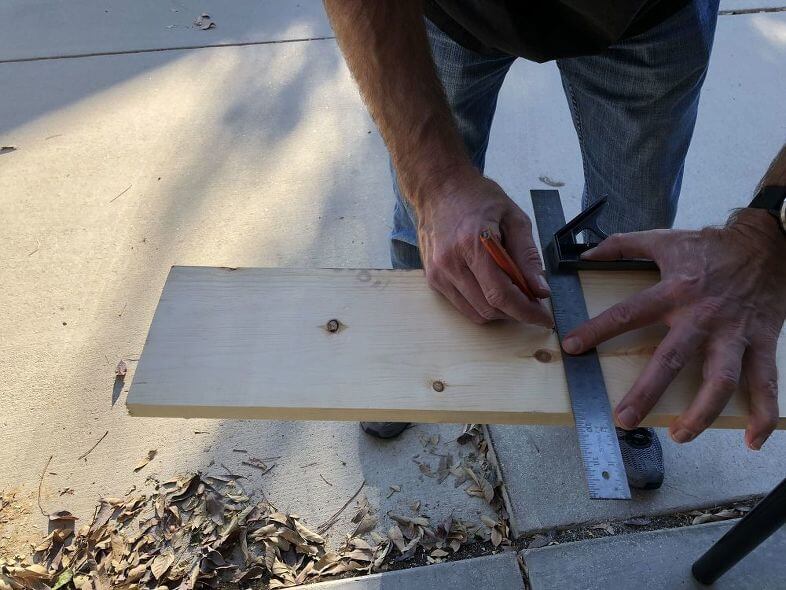
For the bottom board we used a 1 x 6 and measured it to 12.5 inches, again using a square to make a straight line.
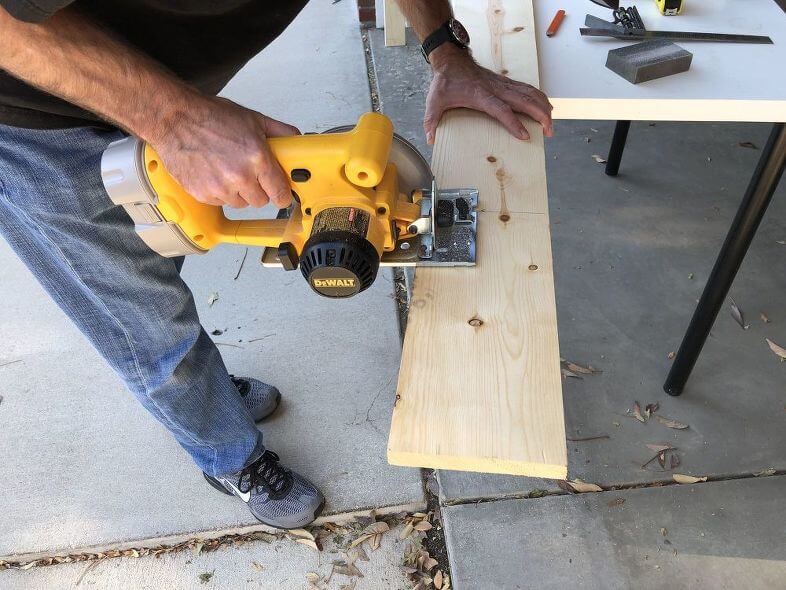
He cut that with our Dewalt Circular Saw.
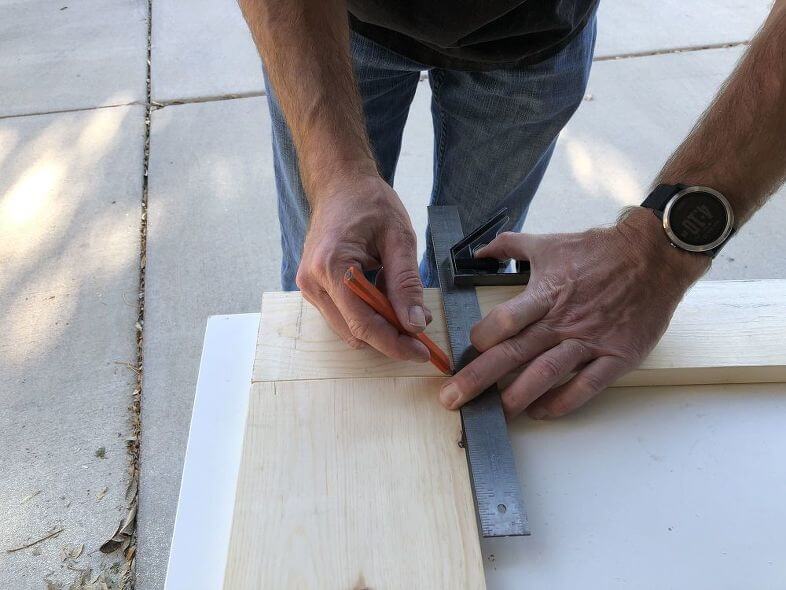
He took the bottom board and used it to measure a 1 x 4 to make the sides so they would be the same length. The piece measured approximately 5.5 inches.
He cut 2 of those.
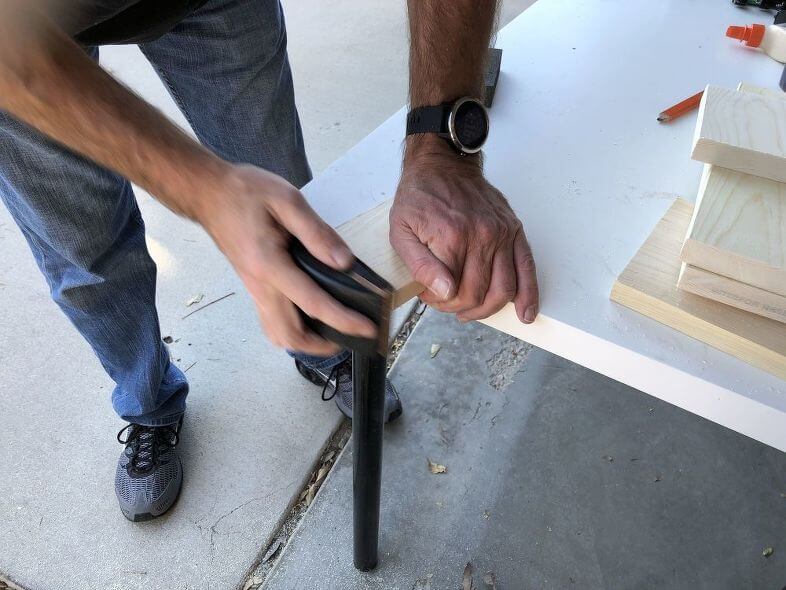
We then sanded the cut edges and all of the boards to get them smooth and ready for staining.
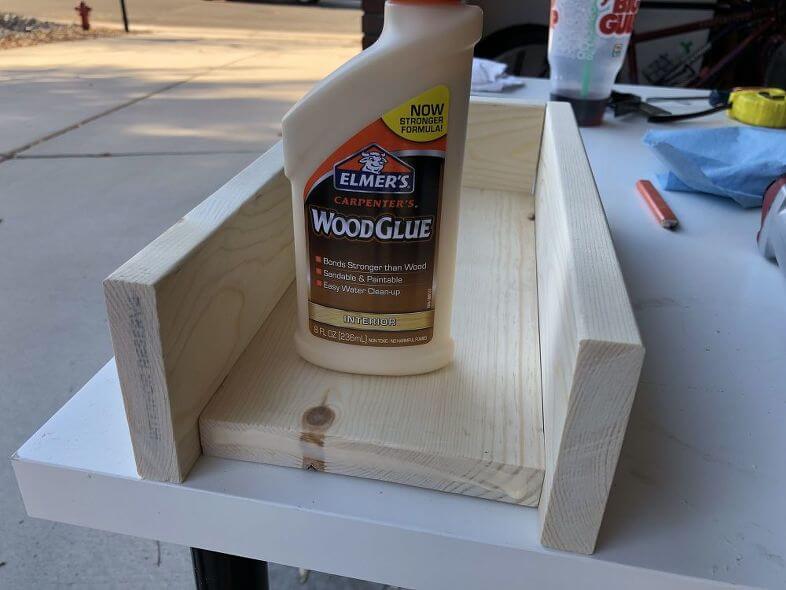
We glued each edge with Elmer’s Wood Glue that would be connecting together.
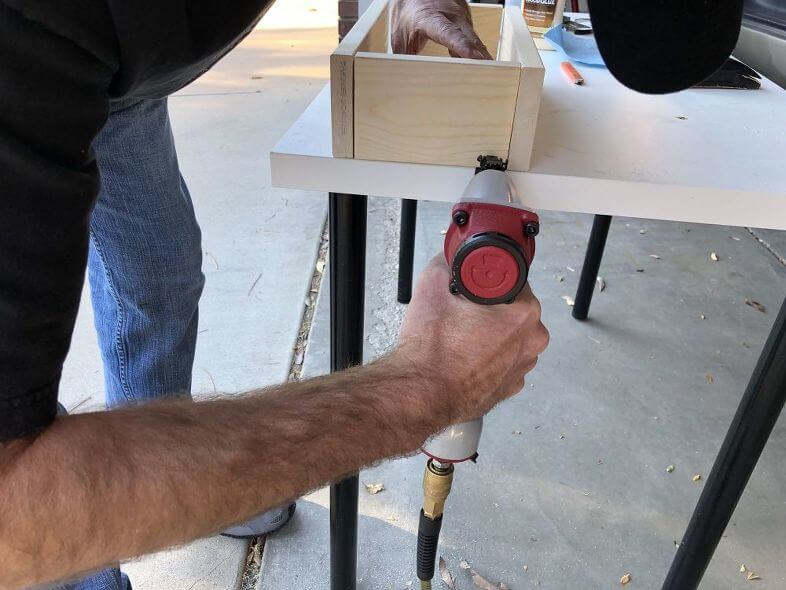
After each board was glued in place we used our nail gun to secure it.
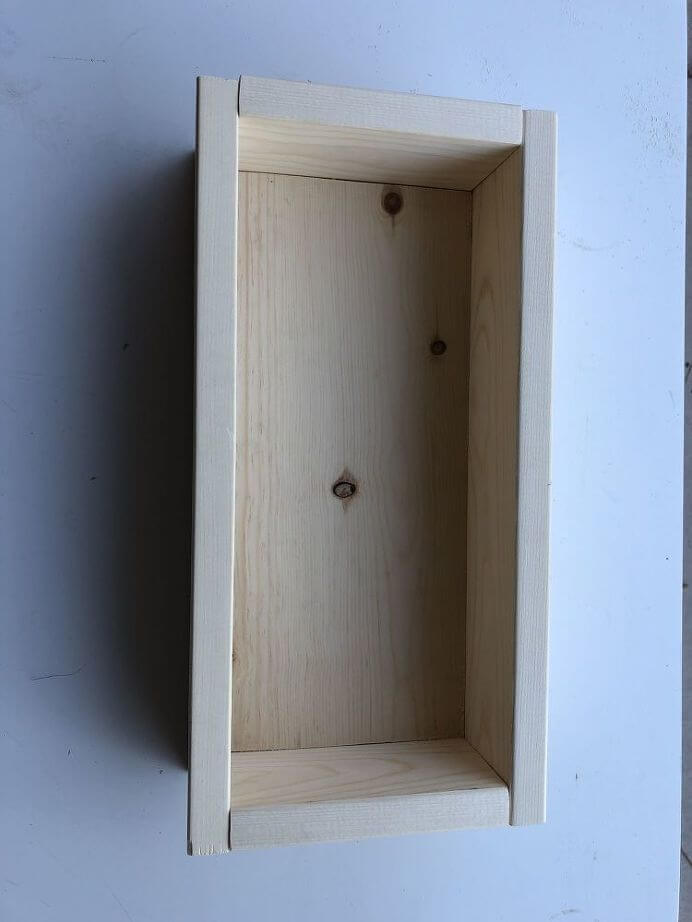
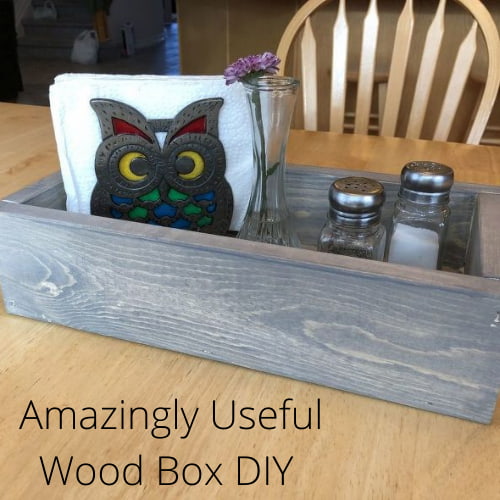
Here is our completed box. I then used Dixie Belle Up In Smoke Voodoo Gel Stain.
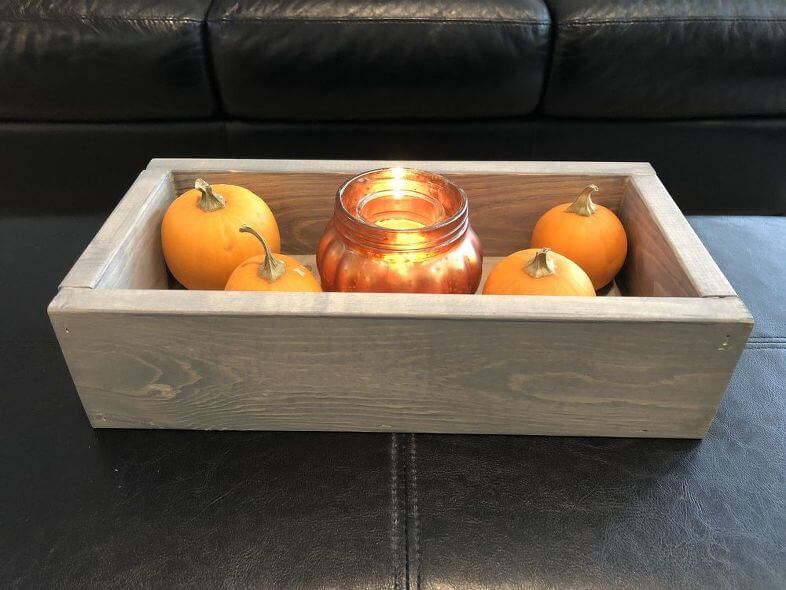
You can use this box as a centerpiece that can be changed up seasonally.
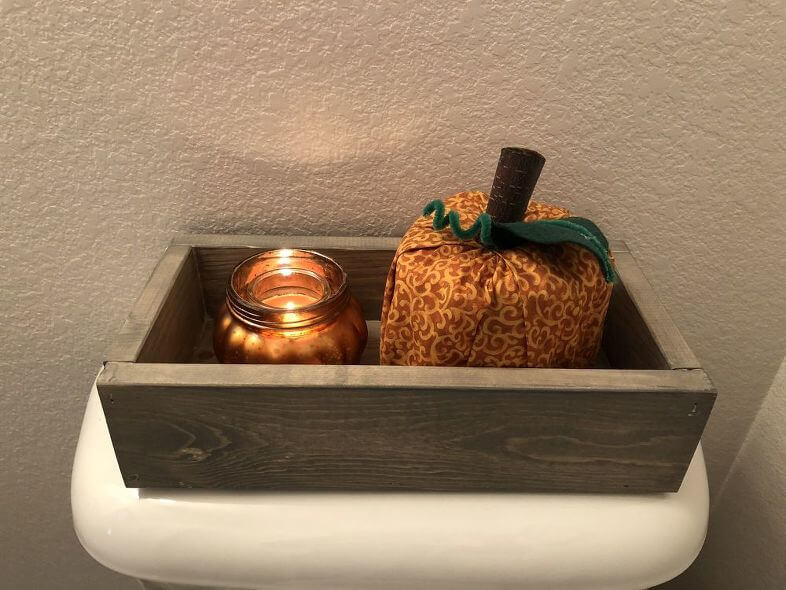
Or in your bathroom on the back of your toilet to hold supplies.
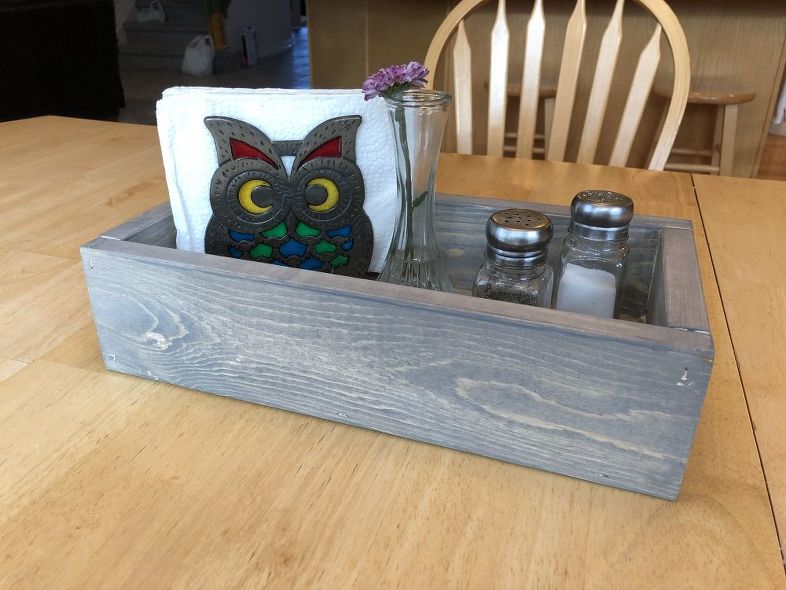
Here is where I’m using ours – on our kitchen table. I love that it keeps our salt and pepper shakers, and napkins in there and I can pick it up to easily wipe up the table.
We had a lot of fun at our workshop together.
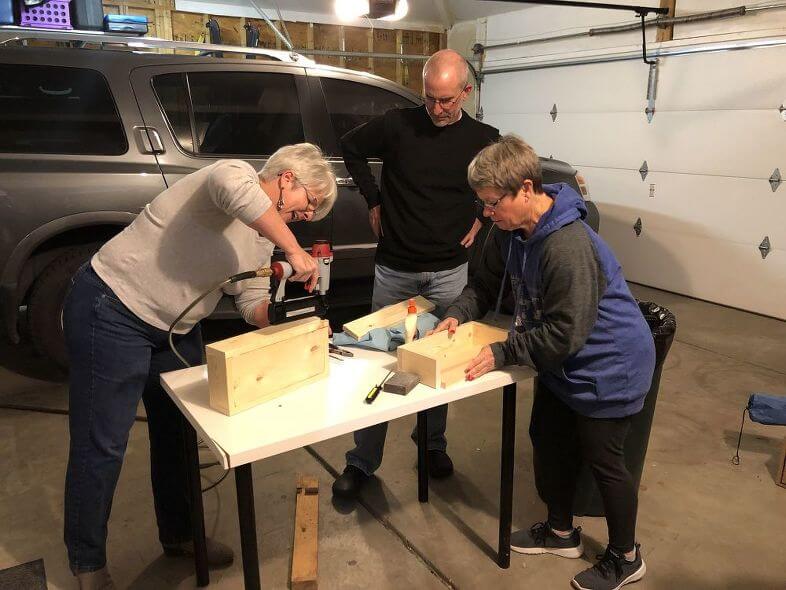
Everyone put together their boxes. Of course our nail gun had to give us grief, but the ladies were all so supportive and patient (thank you ladies).

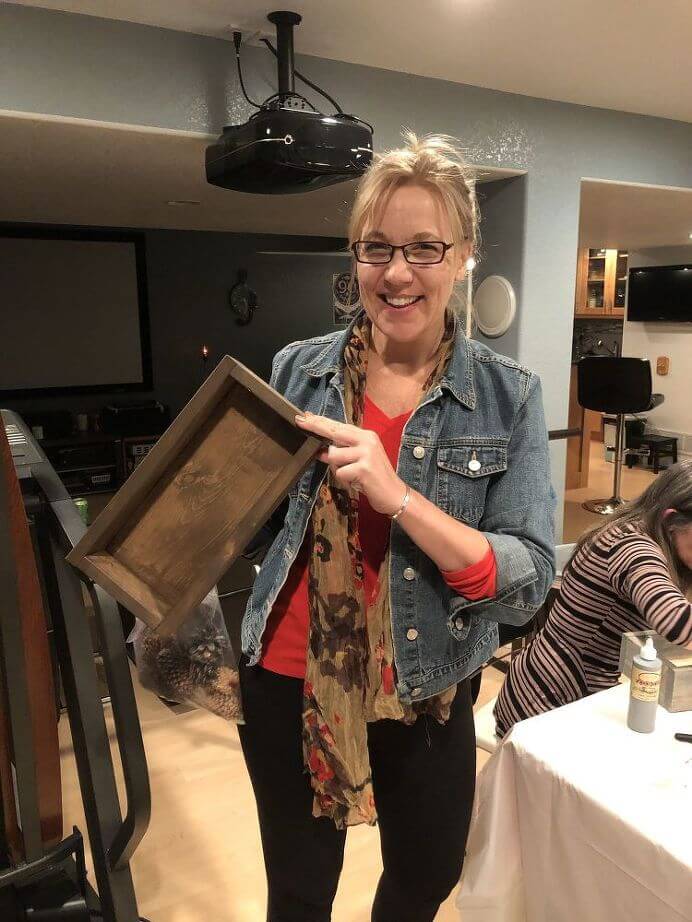
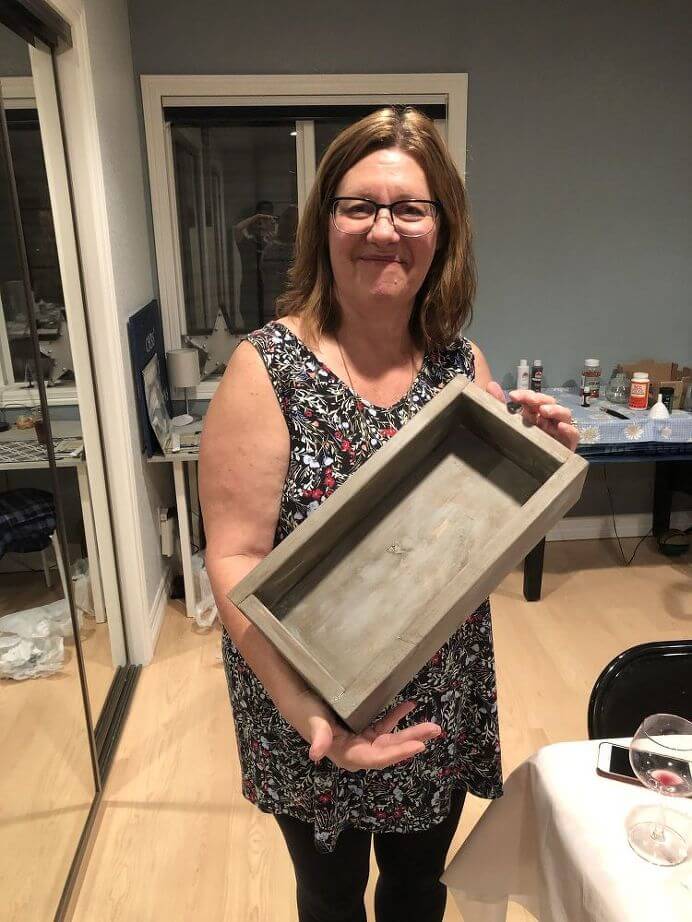
Next they came in for snacks and their choice to stain or paint their boxes as they liked.
I taught them how to make scented pine cones to put in their box for a Thanksgiving Centerpiece.
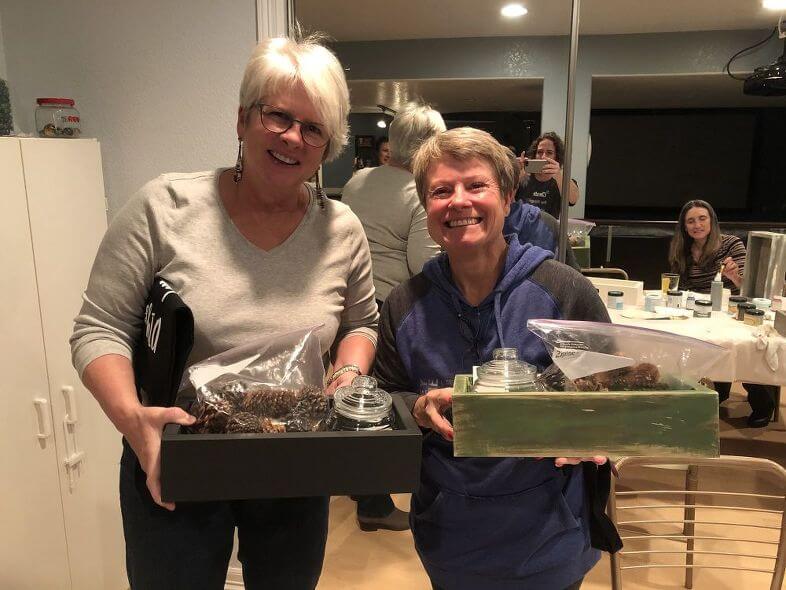
They also received a glass jar that they could use as a candle, hold something like mints, or add some glitter to turn it into a glittery pumpkin.
Sadly Hometalk decided not to continue the workshops moving forward, but maybe I’ll continue them on my own. What do you think?
This beautiful homemade wooden box can look gorgeous anywhere at home! Whether you’d like to make one and add Christmas decorations to it so it can go on a fireplace, or maybe even add some thick pillar candles so it can become a romantic centerpiece for a dining room table. This useful Farmhouse-style wooden box would also look amazing outside as a centerpiece for a patio set, or even as a nice little holder for gardening tools. seed packets, or so much more.
If you plan to have it outside, then it’s best to add a nice coat of furniture teak oil to it. This is going to help it last while it’s outside. While teak oil is mainly used for wood such as pergolas, outdoor steps, fences, or even wooden garden furniture, it can also be used for small décor like this. The oil is going to help out in protecting it against UV rays and water stains. This not only allows the wood to look beautiful for years to come but also helps in making it last longer too.
This farmhouse-style box would only need just a little bit of oil to protect it from water stains or UV rays as it’s not very big. If you plan to place your wooden box underneath some covering such as an awning or roof then you shouldn’t need to add any coats of teak oil to it as it should be already protected from the sun and water.
Shop any of these stores and I receive a small commission at no cost to you.
Shop on Amazon Twine Farm House Decor, Rus…Shop on Amazon
  DII Chicken Wire Collection…Shop on Amazon

Amazingly Useful Wood Box DIY
Equipment
- saw
- nail gun
- ruler
- sanding block
Materials
- 1 x 4 pine board
- 1 x 6 pine board
- wood glue
- paint or stain of your choice
Instructions
- For the sides of this board we used a 1 x 4 pine board and measured it to 14 inches.
- He used a square to make a straight line.
- He cut the board with a Dewalt Circular Saw.
- We took that board and measured the second board to make sure they would be the same size.
- For the bottom board we used a 1 x 6 and measured it to 12.5 inches, again using a square to make a straight line.
- He cut that with our Dewalt Circular Saw.
- He took the bottom board and used it to measure a 1 x 4 to make the sides so they would be the same length. The piece measured approximately 5.5 inches.
- He cut 2 of those.
- We then sanded the cut edges and all of the boards to get them smooth and ready for staining.
- We glued each edge with Elmer’s Wood Glue that would be connecting together.
- After each board was glued in place we used our nail gun to secure it.
- Paint or stain your box and let dry
Potential needs for a DIY Wooden Boxes
- wood, scrap wood, crates – maple, white oak, pine, walnut
- screws or wood screws
- brads and brad nailer
- hammer
- clamps
- finishing nails
- wood putty
- router
- chisel
- hardware if you’d like handles
- bandsaw
- miter gauge
- power drill
Uses for a DIY Wood Box
- jewelry box
- centerpiece box
- great for a kid’s room (toys or larger version for a toy box)
- gift box
- larger size box for blanket storage


Love wooden boxes! You can do so many things with them and you make it look so easy to make Chas. I think doing DIY projects together is always so much fun!
Thank you so much Kim, I love this box and have used it so many places already
How fun! I think getting together and doing crafts together is a wonderful way to spend time with others and a great way to meet new people! You are so right about how practical and useful a farmhouse box can be. For me, I would make these in a variety of sizes and use them for centerpieces for my tablescapes. I could not just stain them, but could paint them and even decoupage them to coordinate with my tablescapes!
Thank you so much Chloe, and oh I love that idea of decorating so much. Thanks for sharing
We’re going to be upcycling our used pieces of cedar from our place for everything from boxes like this to shelving! 🙂 Great job!!!
Yay, I’m so thrilled you are using all of that beautiful cedar and glad I could be a part of it in some way 🙂
Such a clever idea and it looks so useful. Perfect for corralling things where ever things need corralling!
Thank you so much Julie, I love how versatile it is. Mine is on my kitchen table but I’m looking forward to making more for other uses.
I love the look of this box. Super cute and easy! #trafficjam
Thank you Tracy and I love it too because it can be used for so many different things. Thanks for stopping by.
I love my boxes. I use one on my table too to hold the salt, pepper and napkins. What do they say about great minds? I like the get together you hostessed of the make and take. I love classes too sure wish we were neighbors. Happy New Year, Kippi
Thank you Kippi you are so right – great minds do think alike 🙂 Maybe someday we’ll be able to do something together.
Oh my goodness Chaz! Take care of yourself and I am sure your family will wait on you gleefully. Take all the help you can get. Let us know when you get bored so we can send you funny amusing stuff. Love your blog, you tube and Hometalk projects! Do what you can but don’t stress if you don’t feel like it. When I had my last major surgery, that’s when I started up again with jigsaw puzzles and adult coloring books. Lots of fun novels too. Take care and let us know if you need anything! We are here for you! ??????
Thank you so much Naomie, you are just so sweet my friend. Thanks for the kind words and helpful tips. I’ll keep you posted and love the comment about sending funny stuff. Hugs
First to say.. I hope you are doing ok. I had to wearing walking boot for 21 weeks and that s*cked. I feel bad for you and what you will going through. Keeps us posted on your progress. Now the Box. I really like how they all turned out.. I would really like a Work Shop in my Area.. I will be looking for one. Thank you for all your ideas. I enjoy your Blog/ emails.
Thank you so much Kathy for sharing our experience and kind get well wishes. I am glad you like the box and if you want to email me through this link – https://chascrazycreations.com/contact-me/ and tell me where you live I can pass it along to Hometalk, (Are you connected with them?)
Love this. I have a really old one my grandpa did that I found.. I will make a few more they are very handy. Get healed quickly so you can get back on the dance floor.. been there! Thanks, love your blog.
Thank you so much Melody for the compliments, sharing your story, and heart felt get well 🙂
Nice, simple and versatile.
Thank you so much Calleen 🙂
These little farmhouse boxes are so handy. A workshop to make them must be fun and popular. Welcome to the farmhouse hens.
Thank you so much Leanna and so happy to be a part of this fun group – thank you