
Amazingly Easy DIY Front Porch Welcome Sign For Your Home

Have you seen those tall diy welcome sign for front porch but been intimidated on how to make one? I created an easy and inexpensive DIY Front Porch Welcome Sign that I wanted to share with all of you!
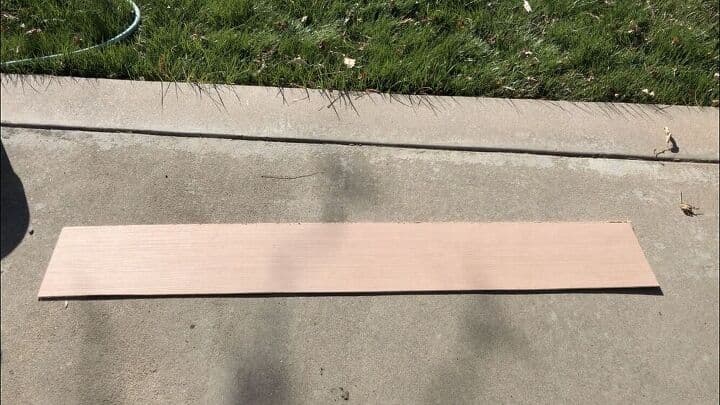
To create this diy welcome sign for the front porch, we had some scrap wood at home from re-roofing our gazebo. It’s an inexpensive underlayment wood. I explained what I was creating to my husband and he helped me cut the wood into a long tall board.
Amazingly Easy DIY Front Porch Welcome Sign For Your Home Video
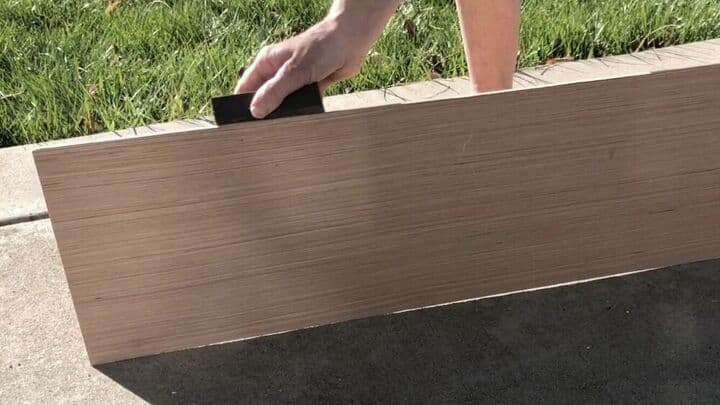
I sanded down the edges with a sanding block I had on hand.
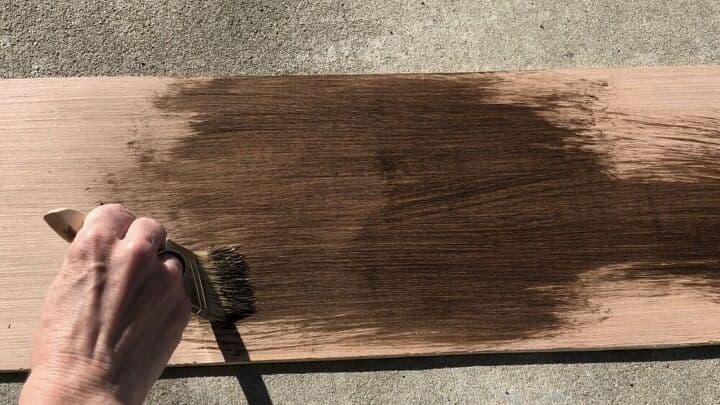
I stained the wood with Folk Art Wood Tint in the color Walnut. It’s water based, goes on easy, dries fast.
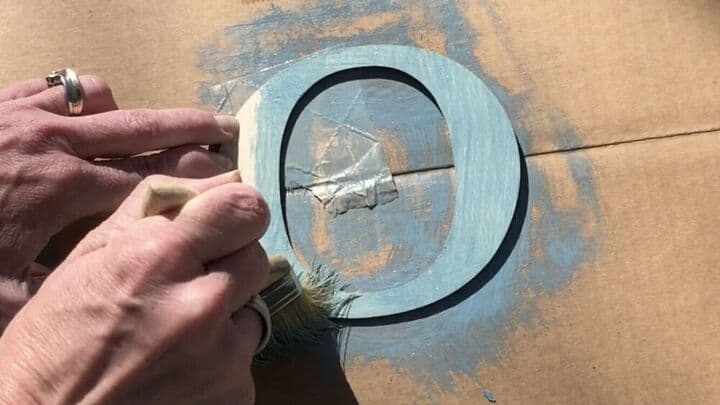
While the board was drying, I painted wooden welcome sign letters I got from the target dollar spot with Folk Art Wood Tint in the color Cascade.
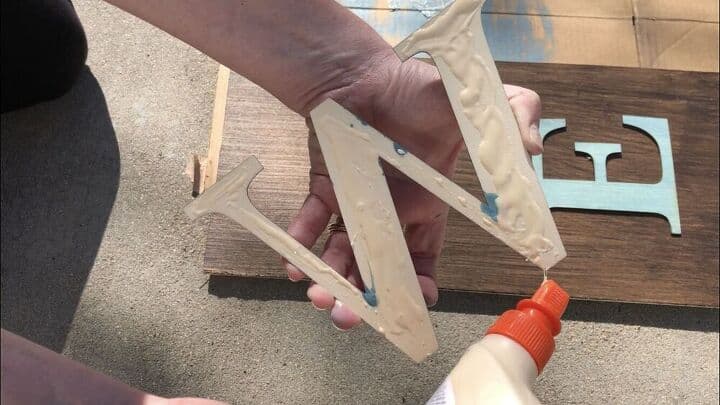
Once both the board and the letters were dry, I used Elmer’s Wood Glue to adhere the letters to the wood board.
I was lucky that I had the wood, wood tint, and glue all on hand. I had purchased the welcome letters last fall knowing they would be great for something – and who can beat the price at the Target dollar spot?

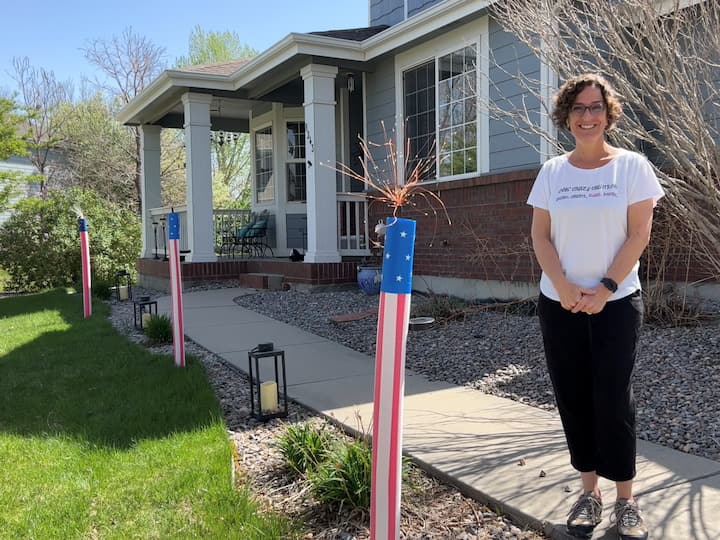
Once the sign was dry, I put it on my front porch for display. Now you know how to make a front porch welcome sign.
You might also be interested in my 2 Easy and Important No Soliciting & Message Board Signs
DIY Front Porch Welcome Sign Video –
Shop on Amazon Welcome SignShop on Amazon
, Cascade") FolkArt Home Decor Wood Tin…Shop on Amazon
FolkArt Home Decor Wood Tin…Shop on Amazon") ELMERS Carpenter's Wood Glu…Shop on Amazon
ELMERS Carpenter's Wood Glu…Shop on Amazon MX-Amigo 10 PCS/Set:Large H…Shop on Amazon
Shop any of these stores and I receive a small commission at no cost to you.
Click here for Plaid Enterprises, Inc. Disclosure @PlaidCrafts #PlaidCrafts #PlaidCreators
Find out “What Exactly Does It Mean To Repurpose Or Upcycle“, save money, and create the most amazing things.
Check out some of my other similar posts!


********************************************************
Thank you for sharing at #OverTheMoon. Pinned and shared. Have a lovely week. I hope to see you at next week’s party too! Please stay safe and healthy. Come party with us at Over The Moon! Catapult your content Over The Moon! @marilyn_lesniak @EclecticRedBarn
********************************************************
Thank you so much Marilyn, and I’ll see you at the next one.