
2 Easy and Inexpensive Lap Trays
These are inexpensive and easy lap trays. Adaptable for many occasions and customization. There are 2 versions from you to pick from. I’m gearing up for the Super Bowl, so mine are customized for that.
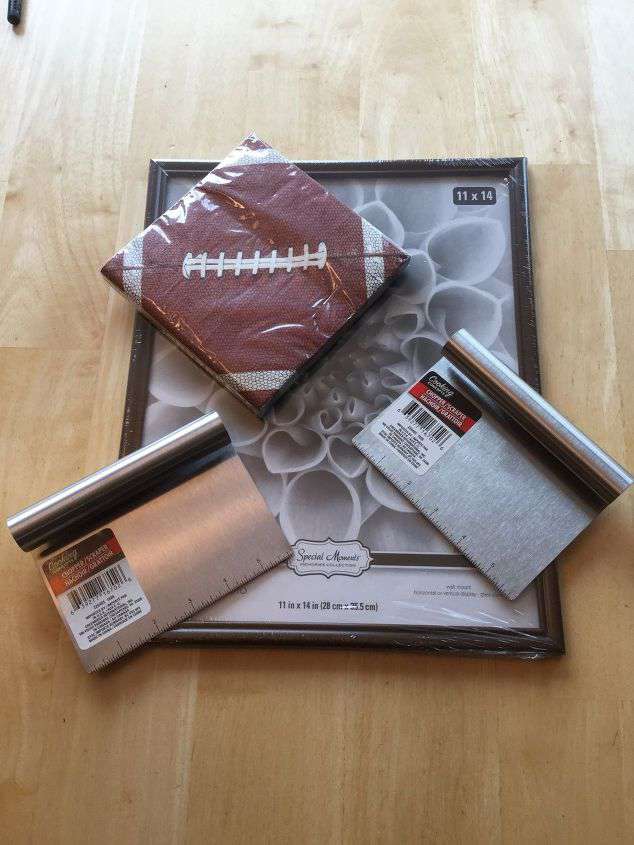
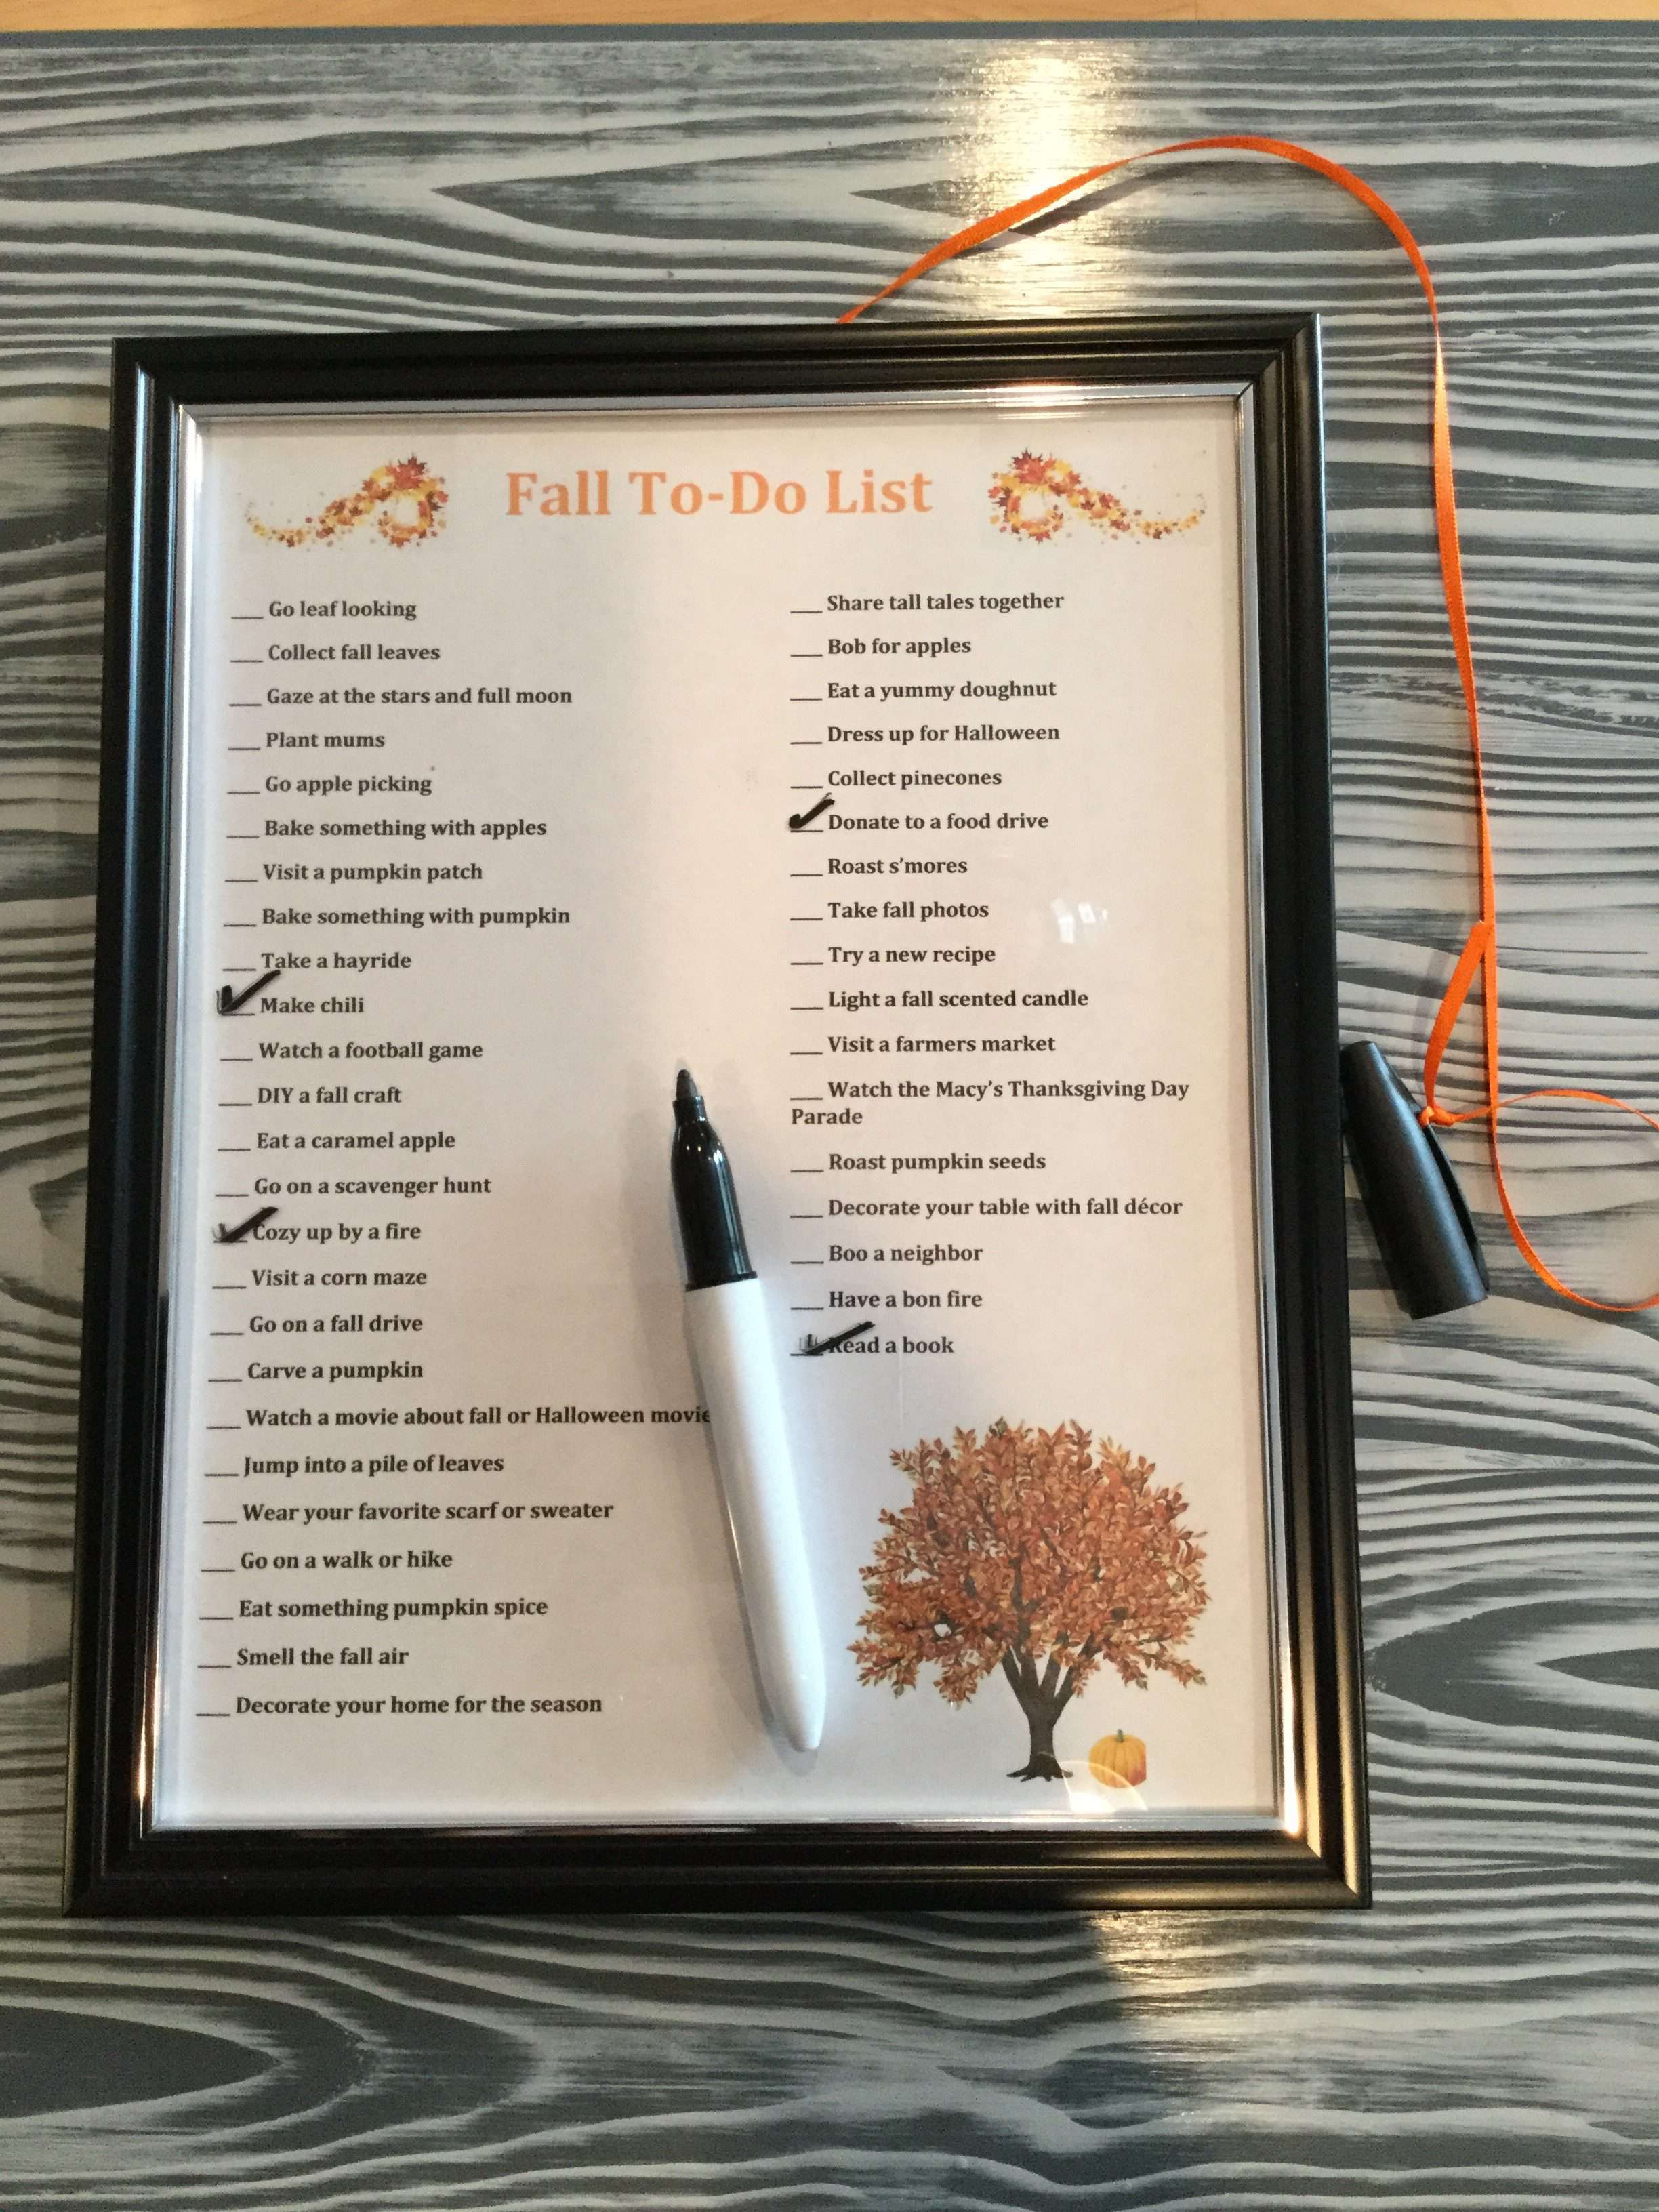
For the first version, you’ll need: A 11 x 14 picture frame (Dollar Tree) 2 choppers – or handle of your choice (Dollar Tree) Personalize-able items to decorate (napkins are from Dollar Tree) Either Hot Glue or E6000 Adhesive *Optional – Dry Erase Marker
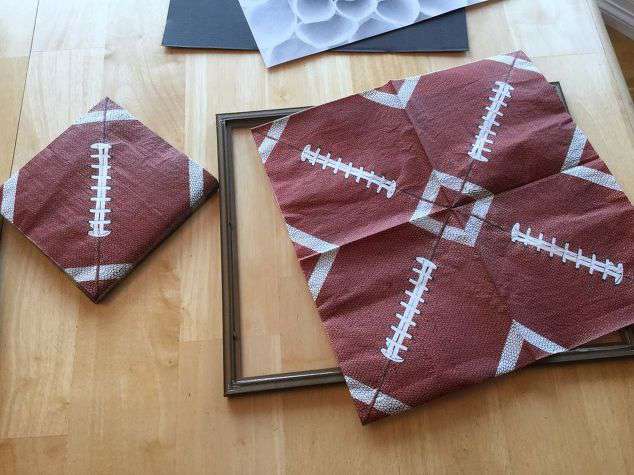
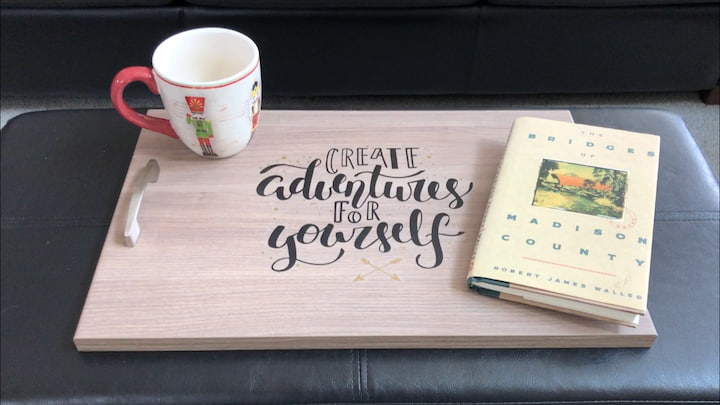
Open up your frame and personalize your lap tray with whatever you want – customize it per person, birthdays, movie viewing, etc. Since I’m gearing up for the Super Bowl, I decided on football napkins.
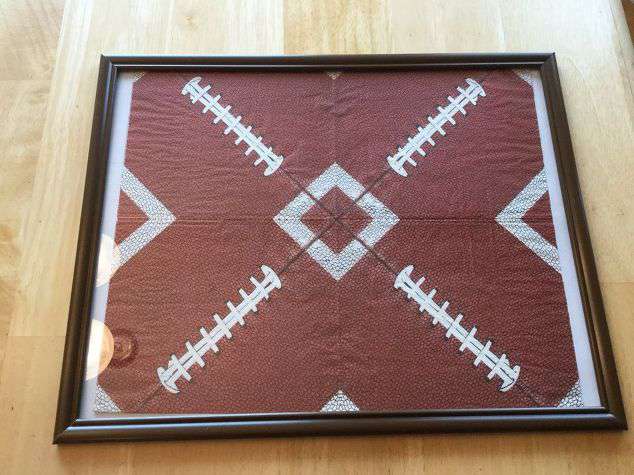
I opened up my napkin, placed it inside, and closed the back of the frame.
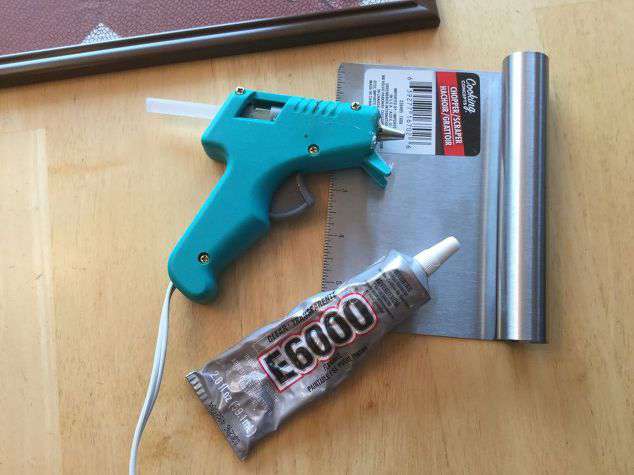
If you decide you want to use handles, you’ll need to glue them on. I used choppers for my handles that I found at Dollar Tree. You can either glue them on with hot glue which is a little less secure but allows you to open back up the frame if you want to change what’s inside, or you can use E6000 for a more secure and permanent hold.
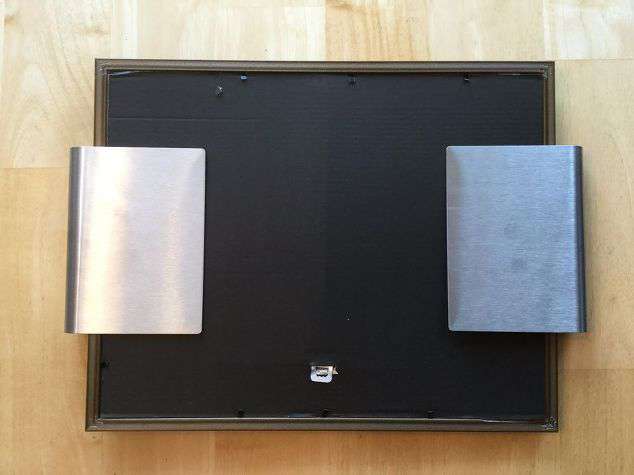
Glue your choppers onto the back of the frame.
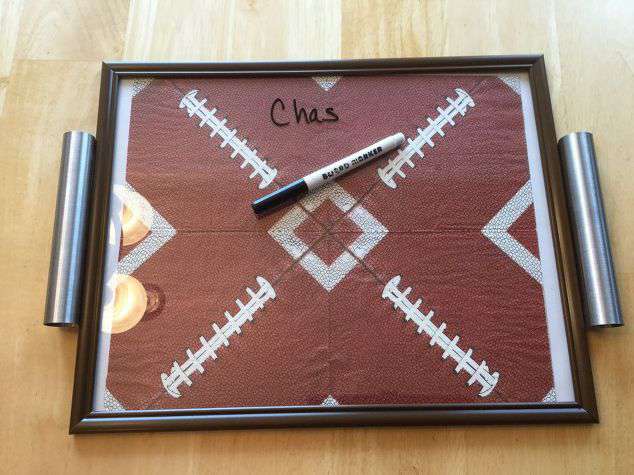
You’re tray is ready and you can use a dry erase marker to personalize each tray for an event. When you’re done, it wipes right off.
Now onto the second lap tray option…
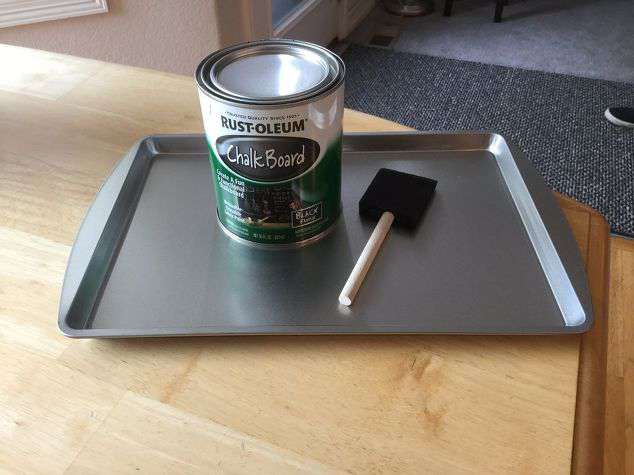
For this lap try you’ll need: A cookie sheet pan (Dollar Tree) Chalkboard paint of your choice (I used Rust-oleum, Amazon) Paint brush Painters Tape Chalk
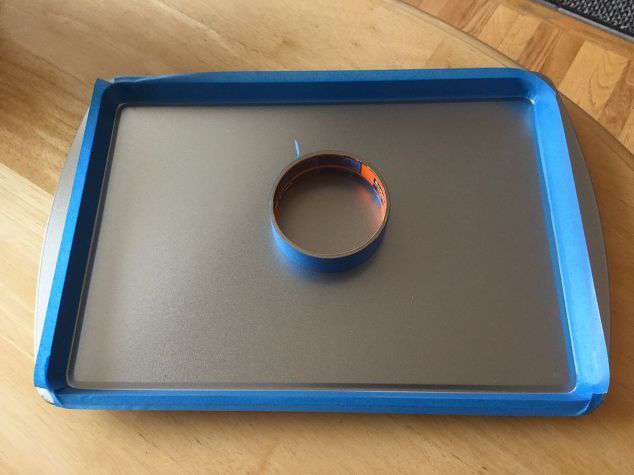
I taped the edges of my pan with the painters tape to stop the paint from getting on the edges.
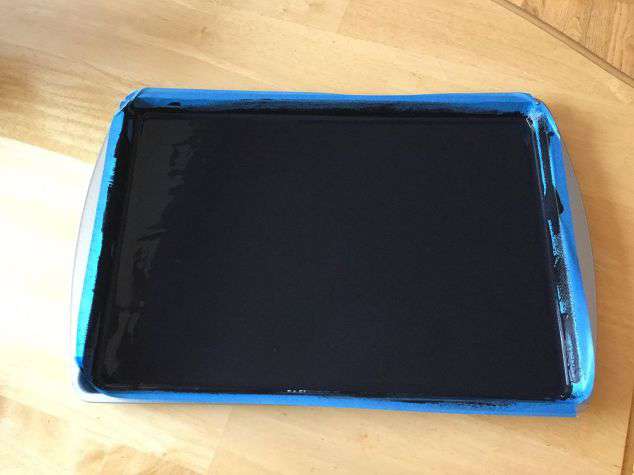
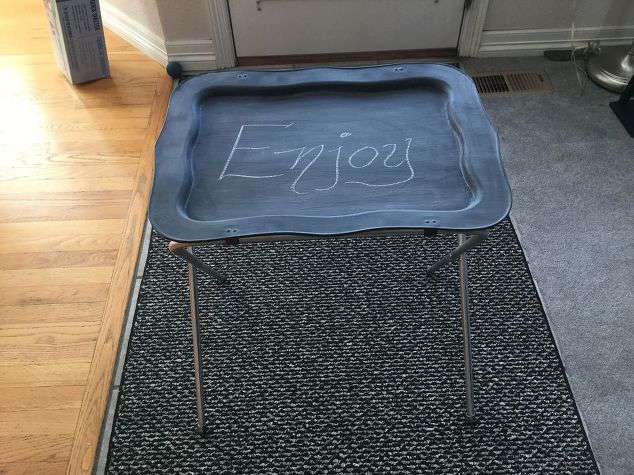
Paint on the chalk board paint and let dry. Follow the directions, mine said to let the paint dry for 3 days.
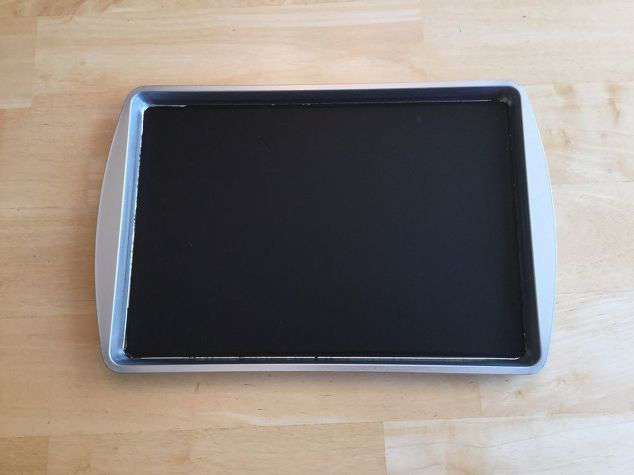
Pull off the painters tape.
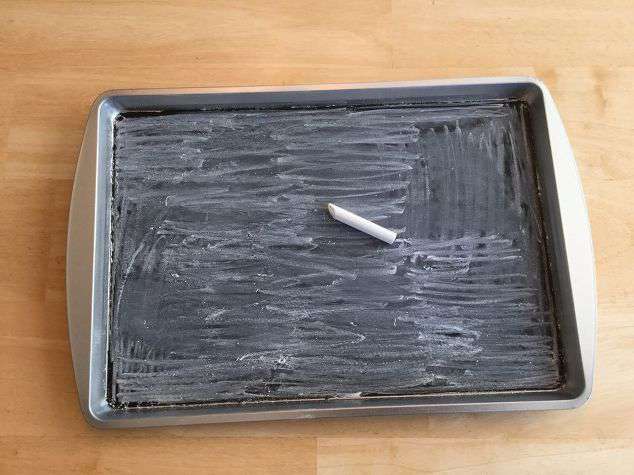
Season the chalkboard paint by using a piece of chalk sideways and coloring the whole surface area. This step is important so that when you write on it the writing erases – if you skip this step your chalk words won’t erase as well.
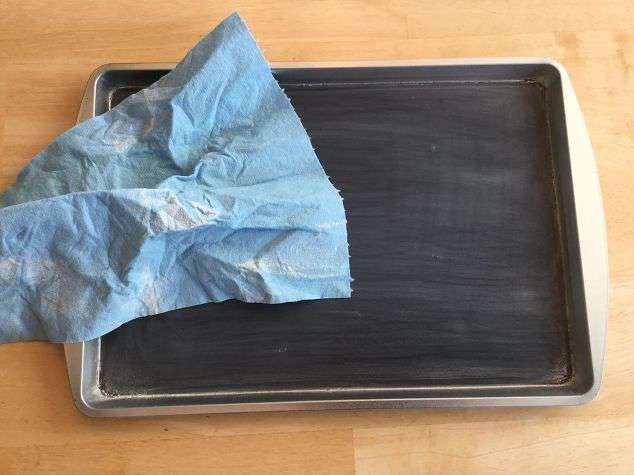
Erase all the chalk.
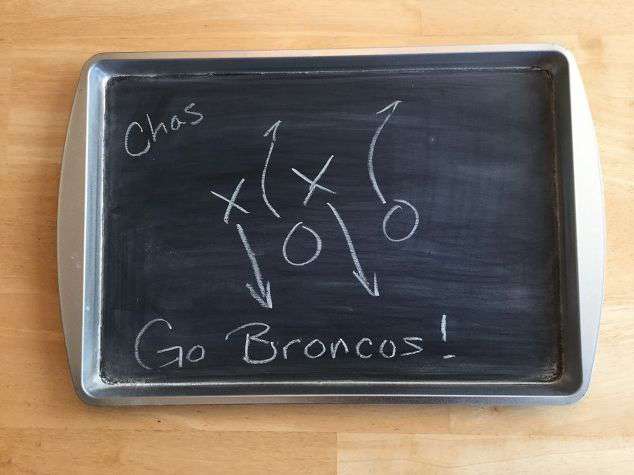
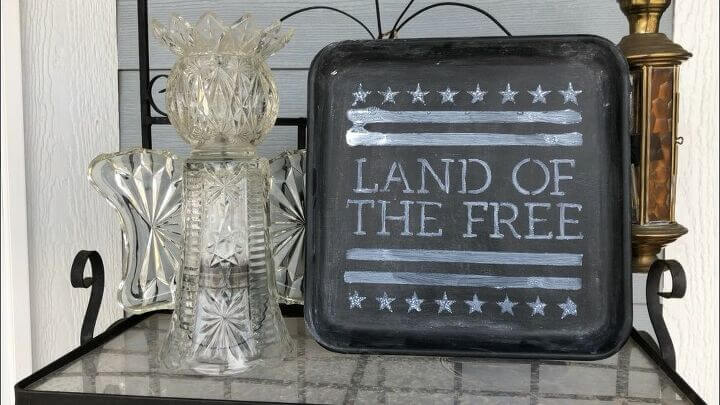
Use the chalk to personalize for the event.
One of the things I like best about this tray is it’s great for traveling with kids – bring it in the car and they can use it to eat off, doodle with chalk, play games like tic tac toe or hangman, and they are still magnetic – so bring along those magnets and magnetic alphabet letters for fun!

Now you have your own lap tray to bring your food to watch your event. Which one do you like best?
Subscribe to my blog
and get my crazy creations delivered straight to you inbox.
Never miss a project, update, or latest news!
&
I’d love for you to visit my YouTube Channel and subscribe
Chas’ Crazy Creations YouTube
Find out “What Exactly Does It Mean To Repurpose Or Upcycle“, save money, and create the most amazing things.

As seen on Hometalk Live, did you miss it? I save all my Live videos to my Chas’ Crazy Creations Facebook page
") G & S Metal Products Compan…Shop on Amazon
G & S Metal Products Compan…Shop on Amazon  Rust-Oleum 206540 Chalkboar…Shop on Amazon
 , 1 Roll Blue Paint Tape Protects Surfaces & Removes Easily, Masking Tape for Indoor and Outdoor Use (2090-48NC)") ScotchBlue Original Multi-S…Shop on Amazon
ScotchBlue Original Multi-S…Shop on Amazon and Colored Chalk(12 ct box) Bundle") Crayola Non-Toxic White Cha…Shop on Amazon
Crayola Non-Toxic White Cha…Shop on Amazon  Snap 11×14 Picture Frame wi…Shop on Amazon
  E6000 231020 Adhesive with …Shop on Amazon

Check out some of my other tray projects!

Thank you for joining my Link Party! Your DIY ideas are just fabulous! Hope to welcome you soon again!
Warm regards,
Dagmar Bleasdale
http://www.dagmarbleasdale.com
Thank you so much, I’m flattered. Thank you for the invite back and I look forward to sharing more at the next link party 🙂
I’ve used cookie sheets as spontaneous trays but never thought to decorate one for that purpose! Thanks for sharing with Party in Your PJs!
Thank you Lynda, thanks for stopping by 🙂
I love coming here for all the great ideas!!! I come here now just about once a week. Blessings to you! Tweeting and pinning!
Oh Bonnie you are so sweet and just made my day – thank you 🙂 Thank you for the Tweet and Pin!
I like them both but I love the choppers for handles ideas! Thanks for sharing with us at Merry Monday. Pinning. Go Patriots!
Thank you so much Shirley, and thanks for the Pin 🙂
Great ideas and so useful.
Thank you so much 🙂
What a great way to recycle and make a lap tray. Found you on Party in Your PJ’s Link Party
Thank you so much Candy and thanks for stopping by 🙂
Yeah, you have answer to my question. Am taking 4 grandchildren-all high school age-on 2 day train trip and wanted something cheap for them to use when playing cards, etc. For the price can leave the at our destination when we fly back home and not regret the $1 purchase. You are so smart!
Thank you and I am so happy that these will work for you too! There are so many things you can do when you take these with you 🙂 Have a wonderful time on your trip and I love that you are doing something so special with your grand kids.
Great ideas, Chas! I really like both of them. Using the choppers for handles is such a creative idea and they look wonderful!
Thank you so much Linda – I’ll bet those grand kids of yours would have a fun time with the chalk board trays – games (tic tac toe, etc), magnets & magnetic letters, coloring with chalk. so much fun!
Yes, I think you are right!