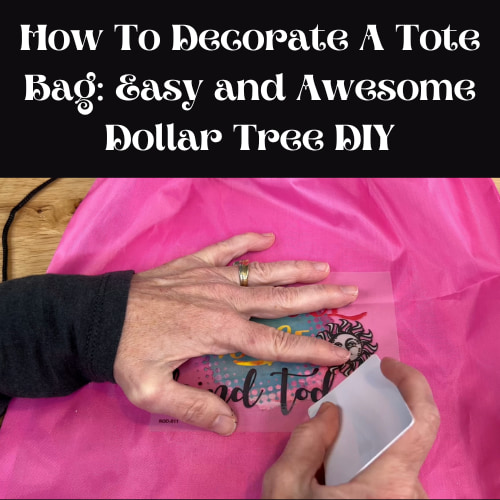
How To Decorate A Tote Bag: Easy and Awesome Dollar Tree DIY
Are you wondering how to decorate a tote bag? I have a few super easy ideas and all you’ll need are a few supplies from Dollar Tree
How To Decorate A Tote Bags Materials
- drawstring bag
- tote bag
- Rub on transfer
- transfer card
 Vorspack 10 Pcs Drawstring …Shop on Amazon
") TOPDesign 5 | 12 | 24 | 48 …Shop on Amazon
TOPDesign 5 | 12 | 24 | 48 …Shop on Amazon KSCRAFT Vintage Rub On Tran…Shop on Amazon
 Knaid Watercolor Birds and …Shop on Amazon
 Redesign with Prima – Home …Shop on Amazon
How To Decorate A Tote Bags Videos
How To Decorate A Tote Bag Instructions
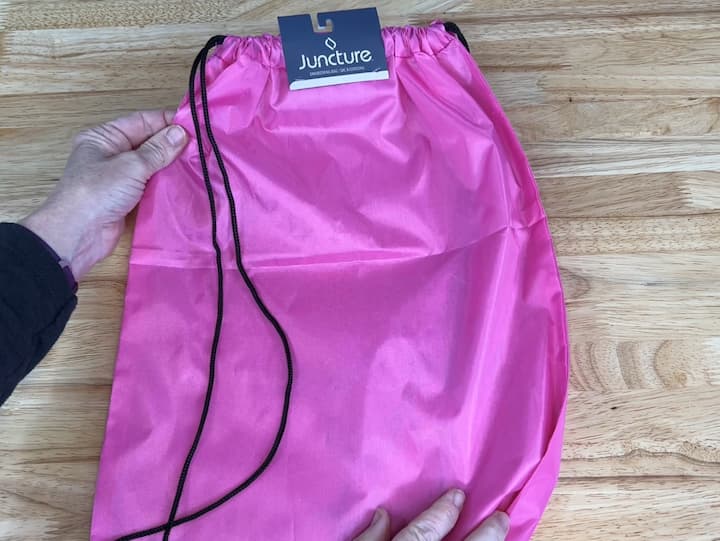
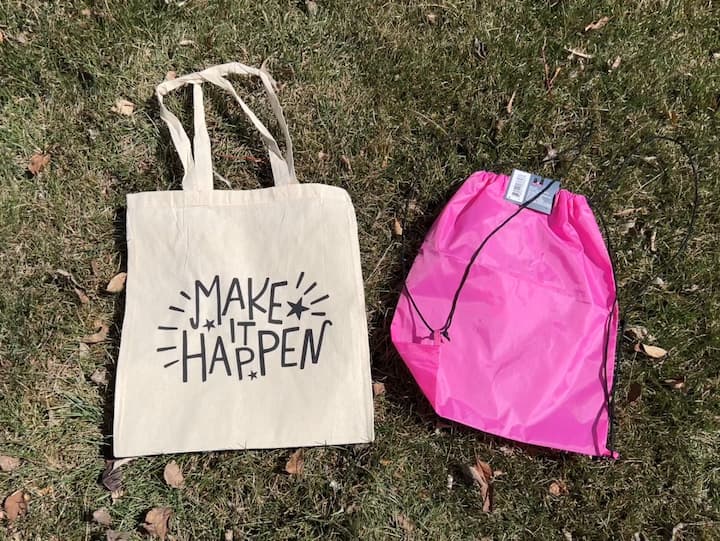
1. Choose a blank bag
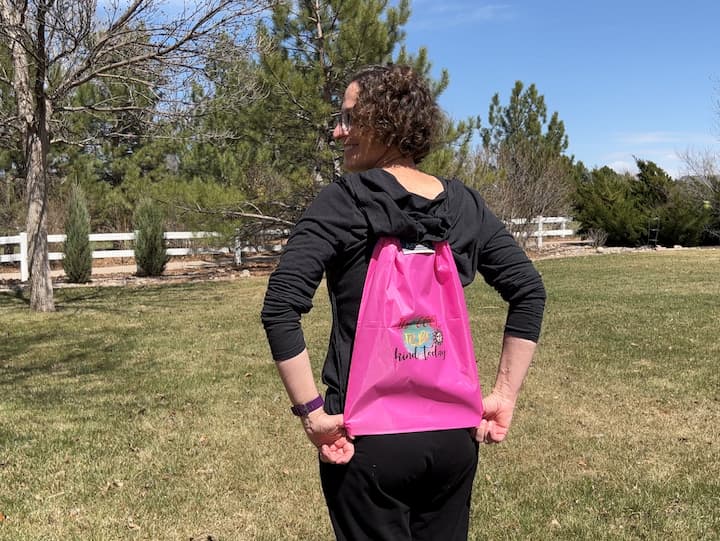
This is an easy DIY. For this project, I’m going to be using one of those drawstring backpacks. It’s plain on both sides with no front or back so I can choose either side to work on. I will be using a rub on transfer to give it a little something. You could use this same technique with canvas tote bags or any blank tote bag. Here is a step-by-step guide.

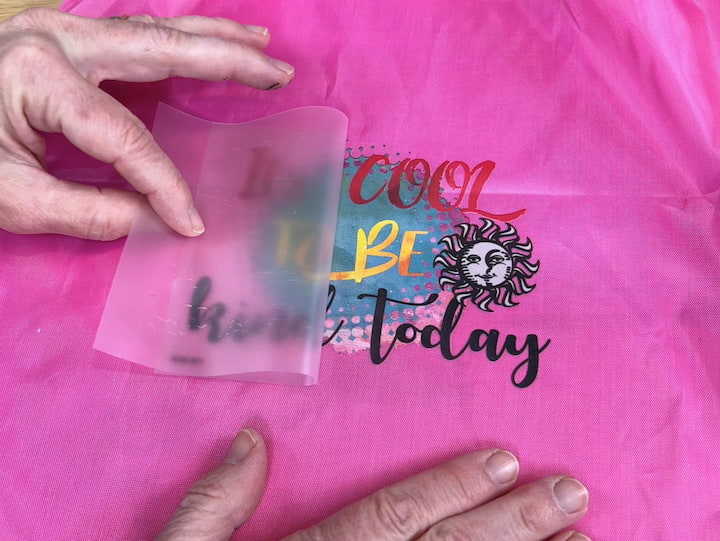
2. Peel the backing off transfer and place the sticky side down onto the bag
This transfer says “it’s cool to be kind” The first thing I need to do is peel off the transfer from its backing. I need to be careful not to touch it because it’s sticky and I’m going to be placing it on the bag.
Once I’ve placed it on the bag I want to get it nice and pressed. Now if you’re worried about it moving at all you could use some painter’s tape or some stencil tape to hold it in place.
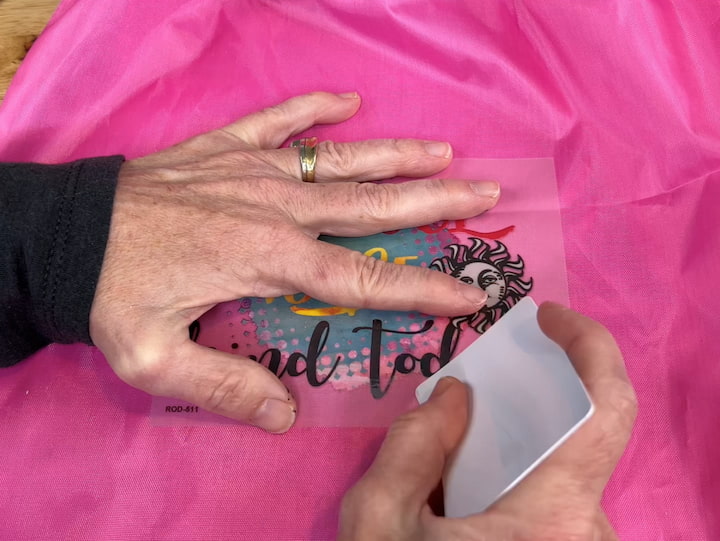
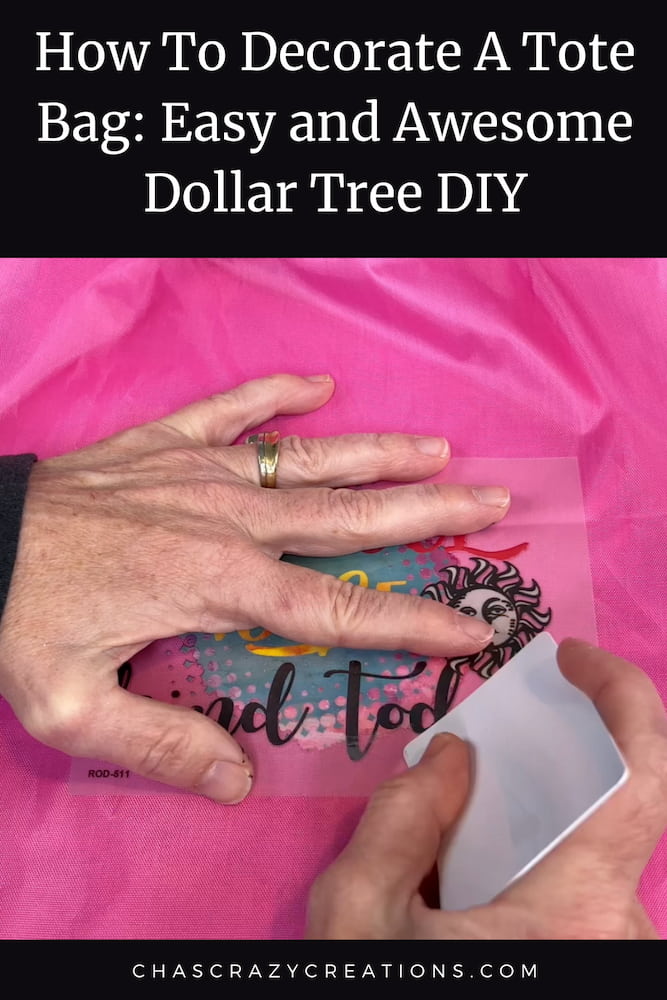
3. Rub the transfer onto the bag
Next, you will be transferring the actual design. An easy way to do this is to use some sort of credit card or something like a Mod Podge card, popsicle stick, or anything to help you with the dry rub transfer. For this next step, I simply use the card to go back and forth. As you can see sometimes the color changes a little bit so that you know it has adhered to the bag. Continue this motion across the entire transfer sheet until you can tell it’s all adhered to your backpack.
These handmade tote bags or backpacks make a great gifts or could be used as a custom-made gift bag that is reusable, rather than a disposable gift bag.
4. Peel the backing away from the rub on transfer
The next step is to peel this off and when you do you’ll want to be careful because if you missed a spot just stop, place it back down and scratch over that spot. So we’re going to go ahead and carefully peel back and there it is
I’ve created a new bag and older children could get into the fun and create different styles.
How do you transfer pictures to a tote bag?
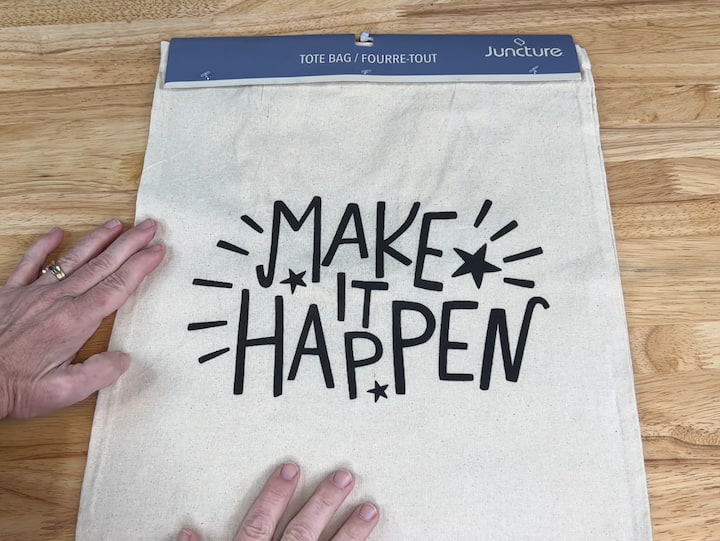
1. CHOOSE A BLANK BAG
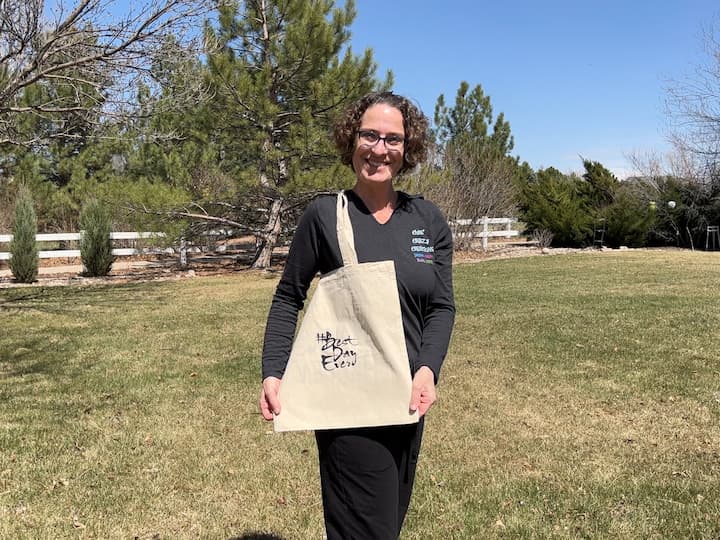
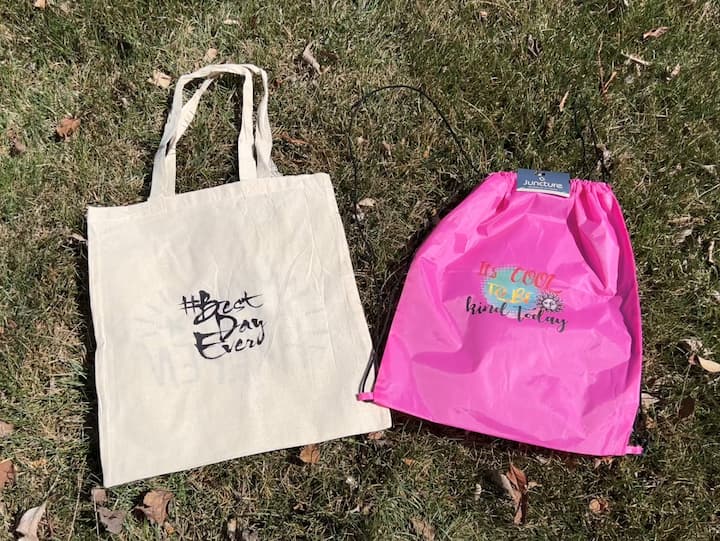
This durable canvas tote has a design on it. I love this bag and it has so many uses. They are great as reusable gift bags that then someone can use again. They could also be used as grocery bags, bags to go to the library Etc
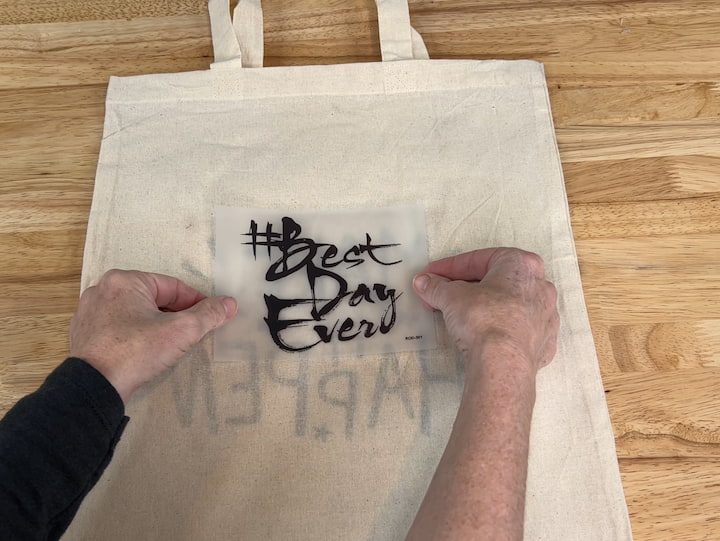
2. Peel the backing off transfer and place the sticky side down onto the bag
Next I’m going to move the handles out of the way and add a design on the back. I’ve got this rub on transfer that says hashtag best day ever and I’m just going to add it to give the back a little bit of fun. You can place this wherever you want. It could go towards the top, near the center, or down in the bottom corner, it’s really up to you.
Now you need to peel off the backing and be careful not to touch the stickiness that’s on the backside. Again just place this wherever you want. I think I’m going to line it up on this side.
Once I have it where I want it, I’m going to go ahead and press it down so the stickiness on the back adheres to the bag. You could use some painter’s tape or some stencil tape to hold it in place.
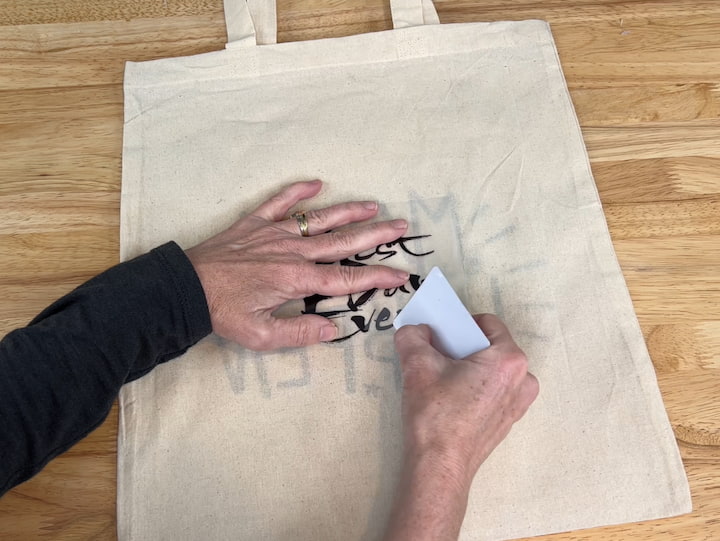
3. Rub the transfer onto the bag
The next step is to use a credit card a popsicle stick anything you want. You will just scratch back and forth on the design and you may notice with some designs, but not all, that as you scratch the color changes. I will show you up close so you can see this, it has turned more of a gray. This helps you judge when the design has transferred. I’m going to go ahead and I will finish transferring this onto the bag and then we’ll talk about what’s next.
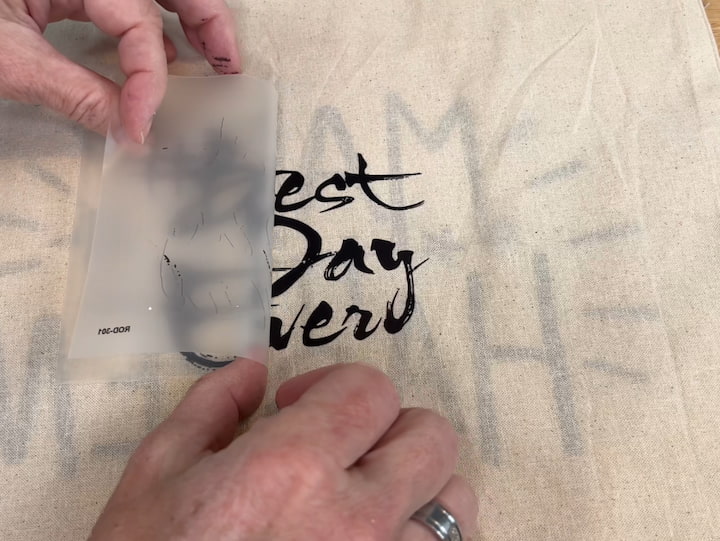
4. Peel the backing away from the rub on transfer
Now comes the fun part, pulling it up and seeing the transfer happen. If you pull it up and a part of the transfer didn’t work that’s okay just lay it back down and scratch over the top. it’ll be fine just go slow so you can see if it’s transferring or not.
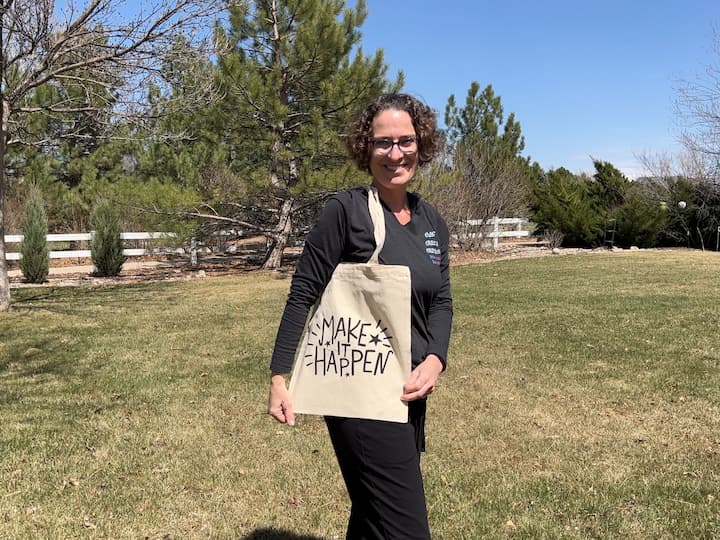
One very simple idea is to make the back of a plain bag personalized with a different design on the front. Again these bags make great gifts and are so versatile, they are perfect for everyday use.
Here are DIY project supplies you can use for making a custom tote bag or updating a plain tote bag
- iron-on transfers
- iron-on vinyl
- iron-on transfer paper
- Use acrylic paint
- fabric paint
- fabric markers
- Use an embroidery needle and hand embroidery a custom design
- foam stamps
I hope this inspires you to update some bags of your own. I’d love it if you’d subscribe to my YouTube channel and my blog.
Thanks for watching and I’ll see you in my next video and don’t forget to like share and subscribe.
How To Decorate A Tote Bag Video
Shop any of these stores and I receive a small commission at no cost to you.
") Women's Floral Kimono Cardi…Shop on Amazon
Women's Floral Kimono Cardi…Shop on Amazon") FULLSOFT Sweatpants for Wom…Shop on Amazon
FULLSOFT Sweatpants for Wom…Shop on Amazon LONGYUAN Tunics Tops to Wea…Shop on Amazon
 TEMOFON Women's Tops Long S…Shop on Amazon
 Amoretu Women's Criss Cross…Shop on Amazon
How To Decorate A Tote Bag: Easy and Awesome Dollar Tree DIY
Equipment
- None
Materials
- drawstring bag
- tote bag
- Rub on transfer
- transfer card
Instructions
- CHOOSE A BLANK BAG
- PEEL THE BACKING OFF TRANSFER AND PLACE THE STICKY SIDE DOWN ONTO THE BAG
- RUB THE TRANSFER ONTO THE BAG
- PEEL THE BACKING AWAY FROM THE RUB ON TRANSFER
Video
Check out some of my related posts!