
15 Amazing and Easy DIY Photo Gifts For Any Occasion
Do you want some DIY photo gifts? I have 15 super easy and amazing gifts that are good for any occasion. You can use your favorite photos to create a great gift for family members. Aren’t handmade gifts always the best? Each one of these projects is a simple tutorial and makes the best photo gifts that are meaningful gifts.
DIY Photo Gifts Video
DIY Photo Gifts Instructions
1. DIY Photo Mug
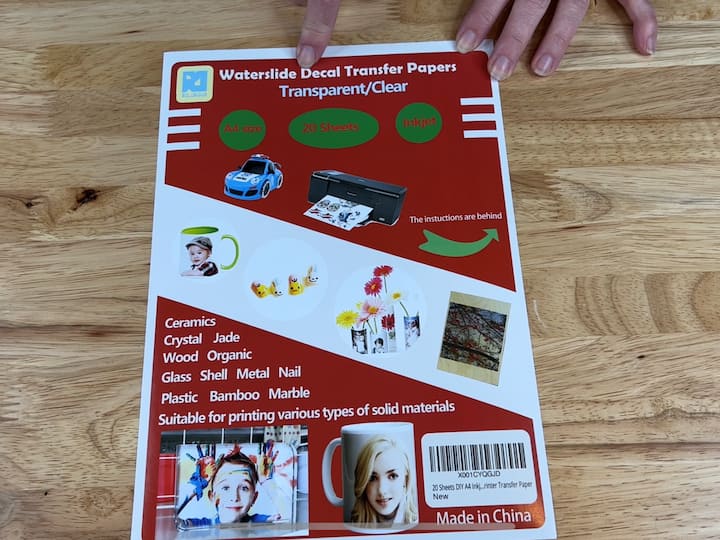
Materials needed for this project include:
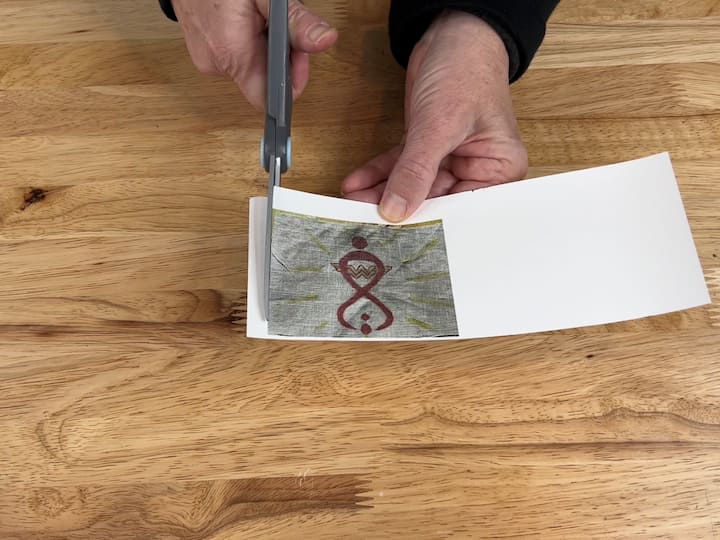
Print your photo image on the transfer paper following the instructions on the package to know which side to print the image on. Let the ink dry, and then cut out the design.
You can easily use photos of people for this project. I chose to preserve artwork that my daughter made for me while I was going through breast cancer. If you look closely it has a mother and child within the breast cancer ribbon, as well as the Wonder Woman emblem as I am a huge Wonder Woman fan.
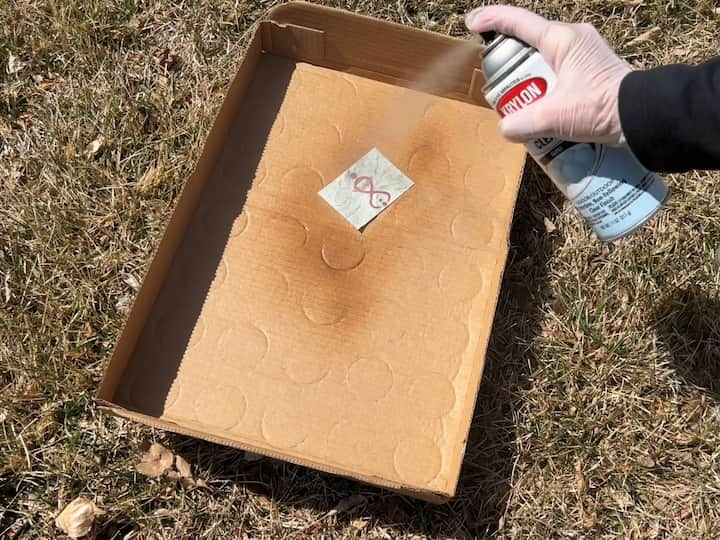
Take the image outside and spray it with clear coat spray paint. Let the paint dry completely.

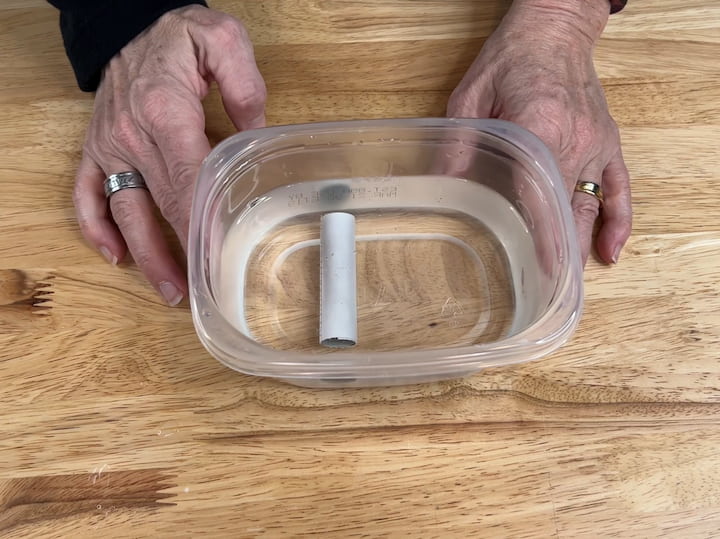
Place the image in water and follow the package for how long. Mine said to soak the image for 30 seconds.
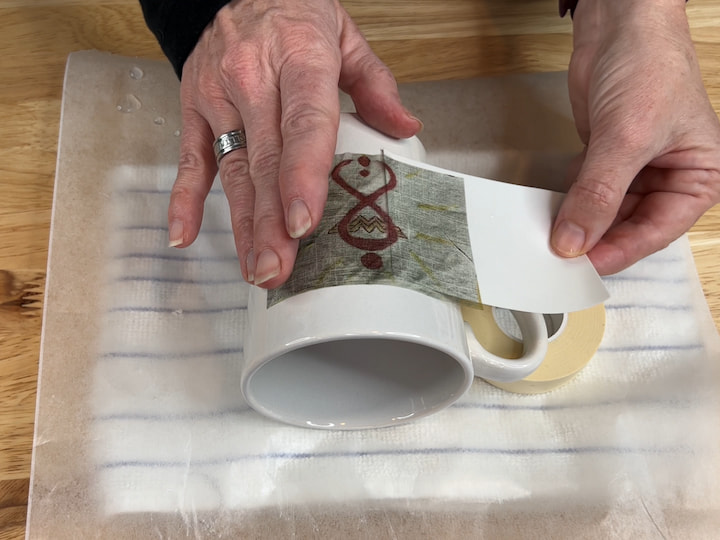
Remove the water decal from the water. Slide the backing out while placing the transfer onto the mug.
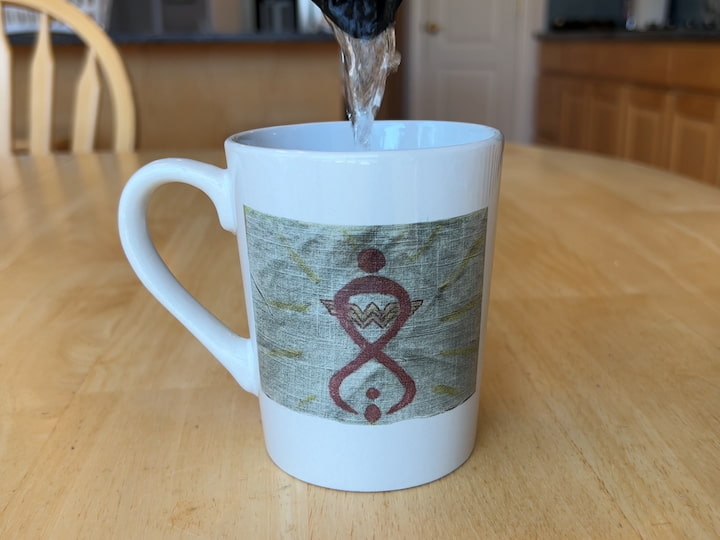
Let the mug dry completely, and then let it air dry for 3-4 days, or bake it according to the package instructions. The best part is this is such a simple gift.
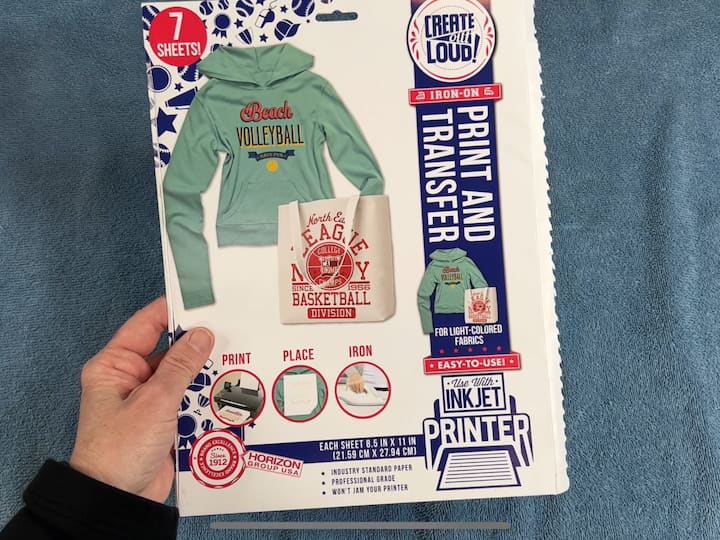
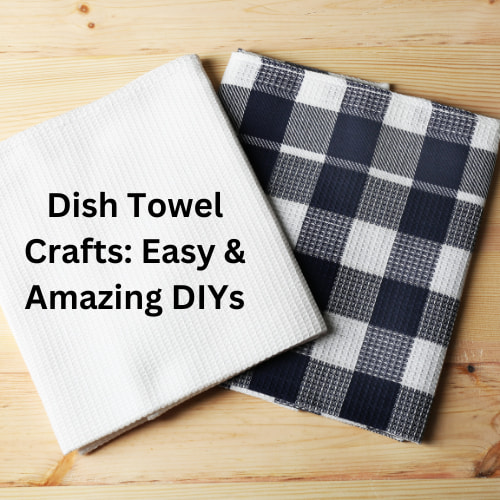
2. DIY Photo Iron-On
Materials needed for this project include:
- Iron-On Transfer Paper
- Fabric of your choice – dishtowel, shirt, bag, etc
- Iron
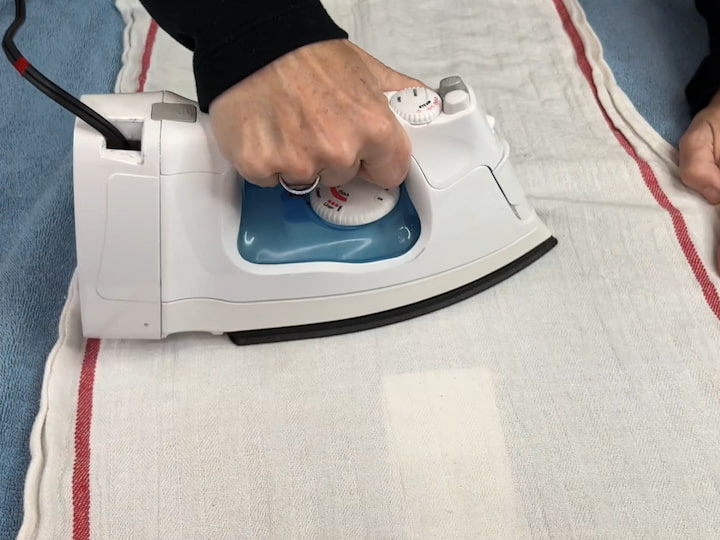
Start by washing and ironing your fabric.

Print your photo image on the transfer paper following the instructions on the package to know which side to print the image on. Let the ink dry, and then cut out the design.
You can easily use a photo, recipe, and other ideas for this project. I took a photo of my son’s handprint art and will be using this for this project.
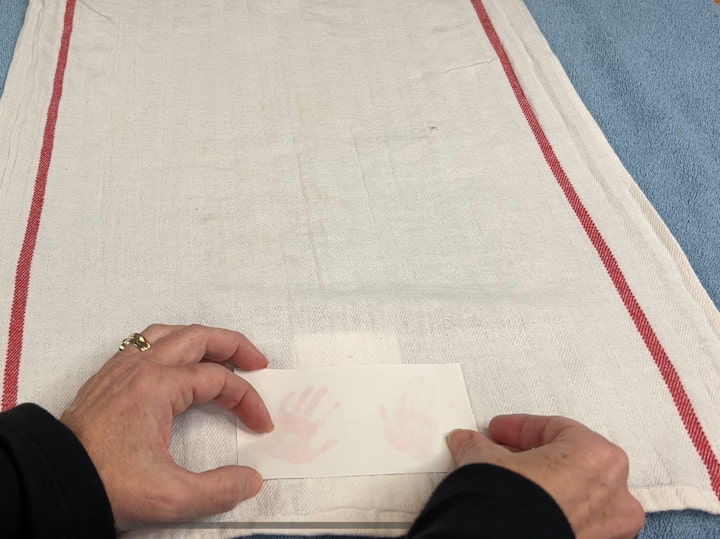
Place the image side down onto the towel. It’s important if you are using any writing that you reverse it so it will print correctly on the fabric.
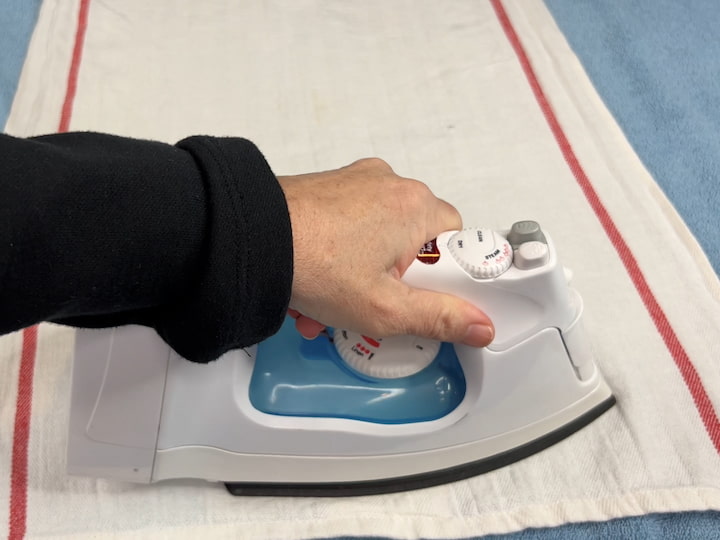
Iron the image according to the package instructions.
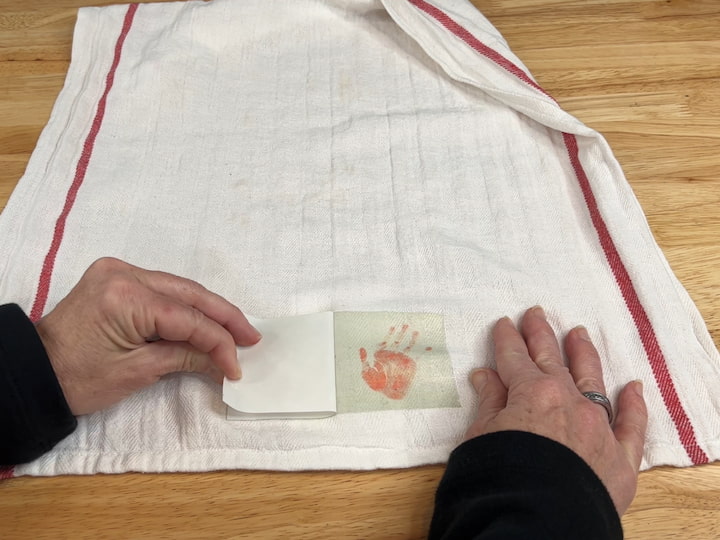
Let the iron-on transfer cool, then carefully peel back the backing. If for some reason the iron-on isn’t transferred, stop, and iron the project more.
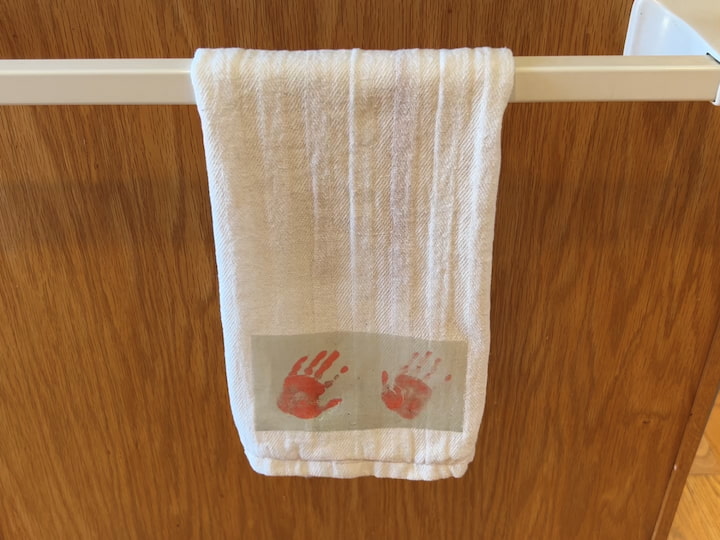
Your dishtowel is ready to use, and be sure to wash it according to the package instructions.
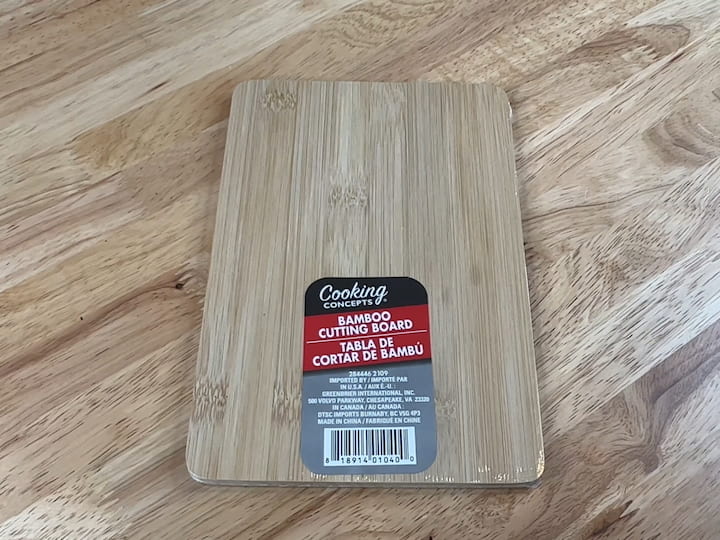
3. DIY Cutting Board
Materials needed for this project:
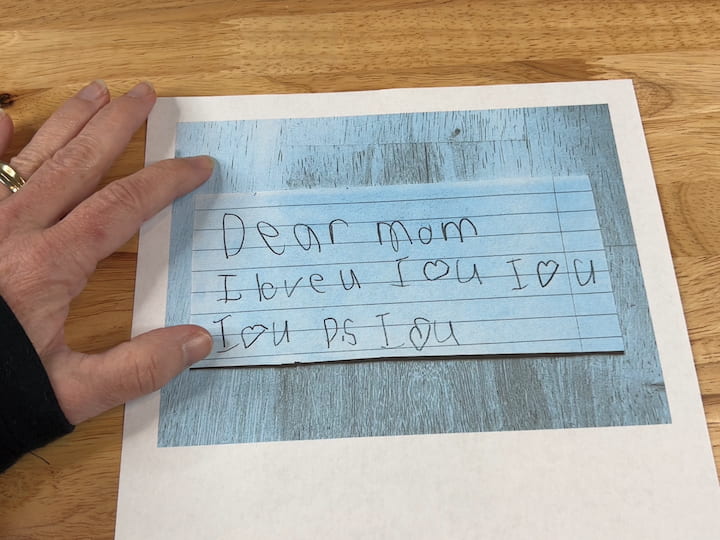
Print out the image, art, or handwriting you want on a regular piece of paper, and cut it out.
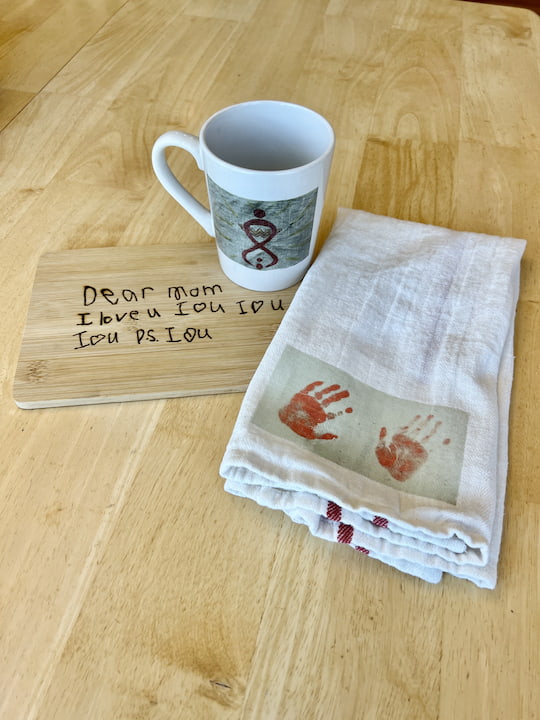
My son wrote me this note when he was little and I wanted to preserve not only the note but his handwriting as well. What a fun way to create home decor!
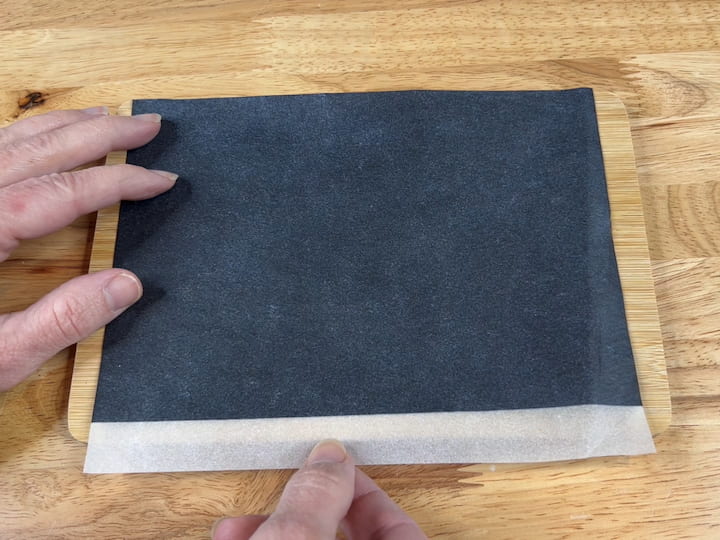
Put a piece of transfer paper over the top of the cutting board. Use enough that the whole message will fit on it, and place the ink side down on the cutting board.
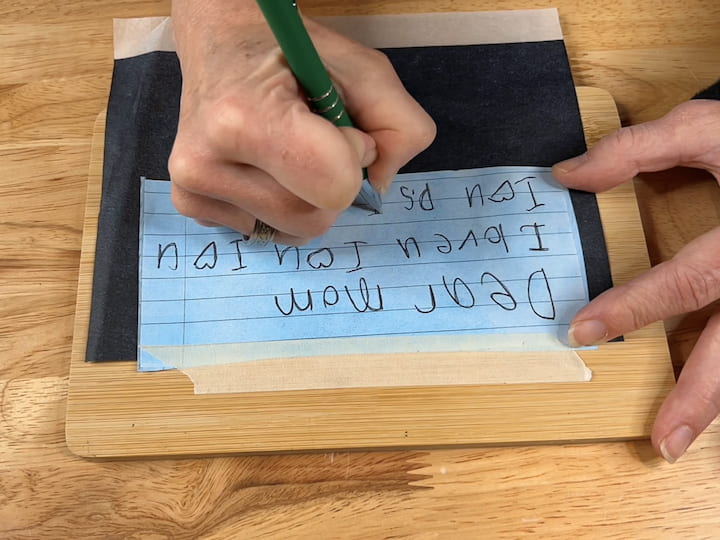
Place the image over the transfer paper, and use painter’s tape or stencil tape to hold the papers in place. Trace over the image with a pen.
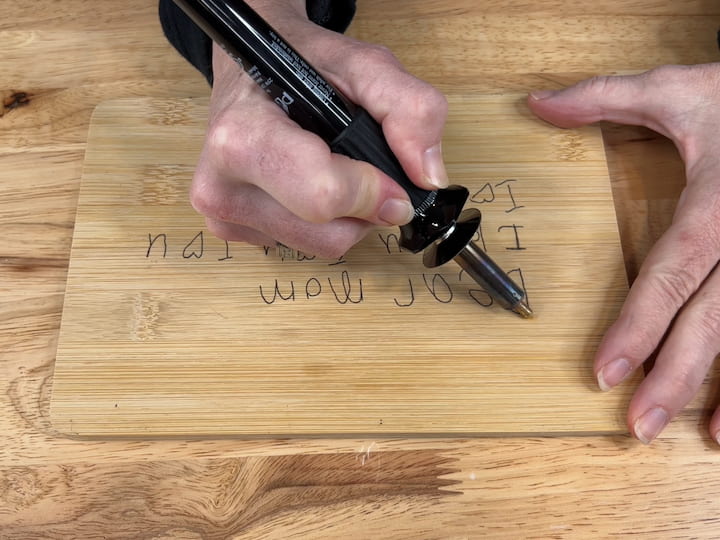
Pick the tip you want to use on your wood-burning tool, and turn the temperature from medium-high to high. Once it’s heated slowly trace the image or letters with the wood-burning tool.
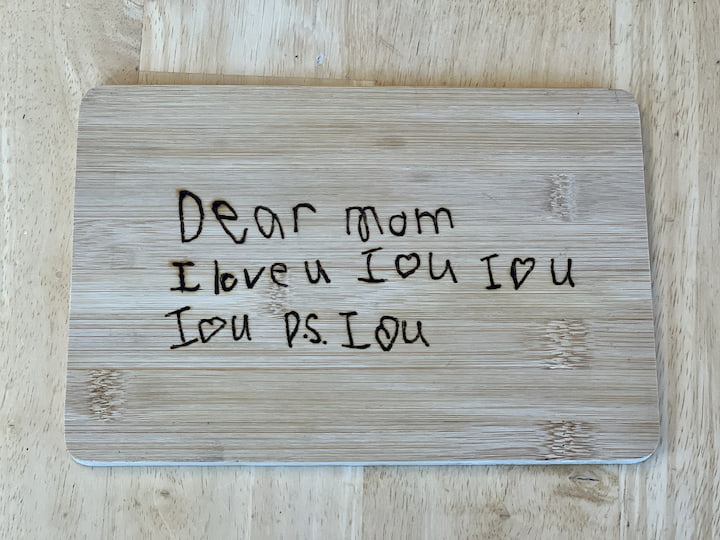
It is recommended that you use the opposite side to cut food as the integrity of the cutting board has been compromised. I love this little heirloom gift that preserves my son’s writing in the perfect way.
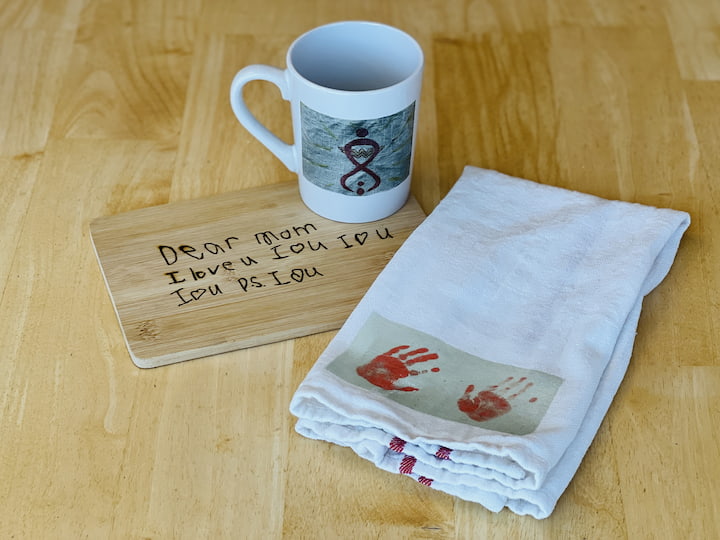
Here are the first 3 projects – all kitchen related and very useful. Great DIY photo gifts for any occasion.
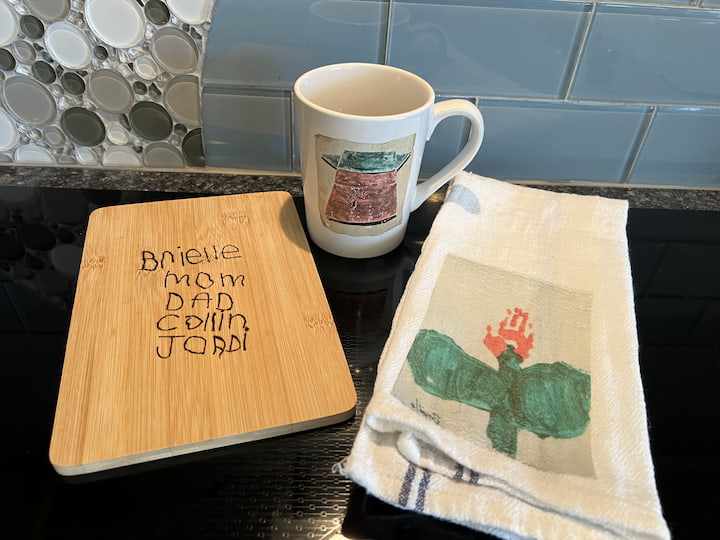
Here are 3 more I made for Hometalk TV. Did you know I’m a regular host? These projects from left to right – my daughter’s preserved handwriting, my son’s origami Yoda, and my daughter’s handprint.
DIY Photo Gifts Video
Shop any of these stores and I receive a small commission at no cost to you.
, 20 Sheets – Rolurious") Waterslide Decal Paper for …Shop on Amazon
Waterslide Decal Paper for …Shop on Amazon") Corikee White Ceramic Mug F…Shop on Amazon
Corikee White Ceramic Mug F…Shop on Amazon") Krylon K05515007 COLORmaxx …Shop on Amazon
Krylon K05515007 COLORmaxx …Shop on Amazon PPD 10 Sheets 8.5×11” – I…Shop on Amazon
![Utopia Kitchen White Flour Sack Towels [12 Pack - 28 x 28 Inch] 100% Cotton Tea Towels for Cleaning & Drying - Highly Absorbent Kitchen Dish Cloth](https://m.media-amazon.com/images/I/41tDxhzHEuL._SL500_.jpg "Utopia Kitchen White Flour Sack Towels [12 Pack - 28 x 28 Inch] 100% Cotton Tea Towels for Cleaning & Drying - Highly Absorbent Kitchen Dish Cloth") Utopia Kitchen White Flour …Shop on Amazon
Utopia Kitchen White Flour …Shop on Amazon Plaid Decorative 15 pc. Woo…Shop on Amazon
") Outus 30 Pack Carbon Papers…Shop on Amazon
Outus 30 Pack Carbon Papers…Shop on Amazon Hiware Extra Large Bamboo C…Shop on Amazon
Now Let’s look at 12 other DIY Photo Gifts
Making handmade gifts is a great way to gift the perfect gift and thoughtful gift with special photos in a fun way.
Give DIY photo gift ideas for any of these occasions or holidays:
- Mother’s Day
- Wedding Gift
- Father’s Day
- Holiday Gift
- Christmas Gifts
- Special Day
- Teacher Gift
- Valentine’s Day
- Graduation Gift
- Birthday Gift
Do you want another photo gift idea or photo crafts? Here are some Best DIY Gifts that are very popular.
- Photo Book
- Photo Calendar
- Photo Collage
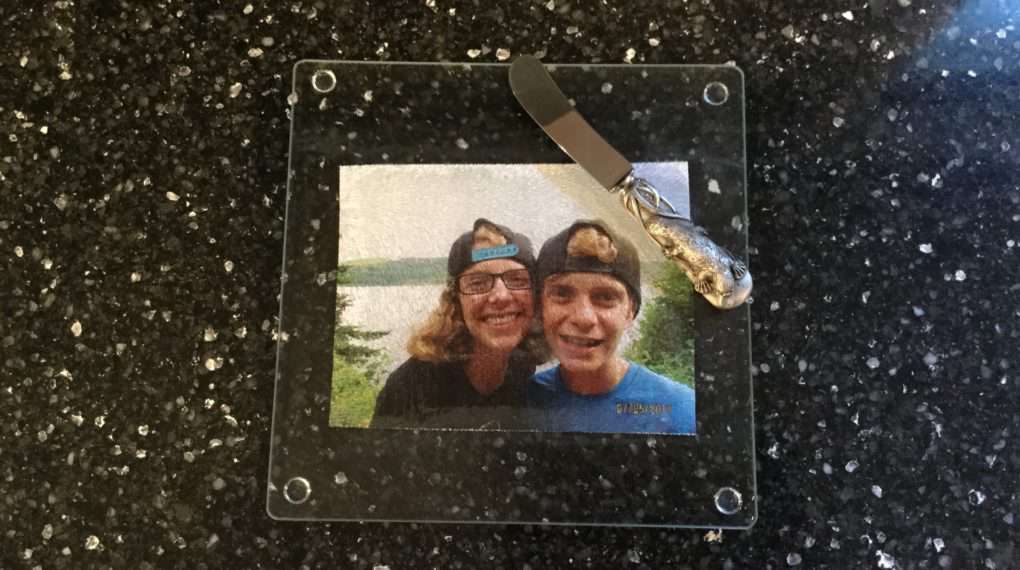
- Photo Coasters
- Key Ring
- Photo Album
- Photo Displays
- Digital Photo Album
- Photo blanket
More DIY Photo Gifts Tutorials
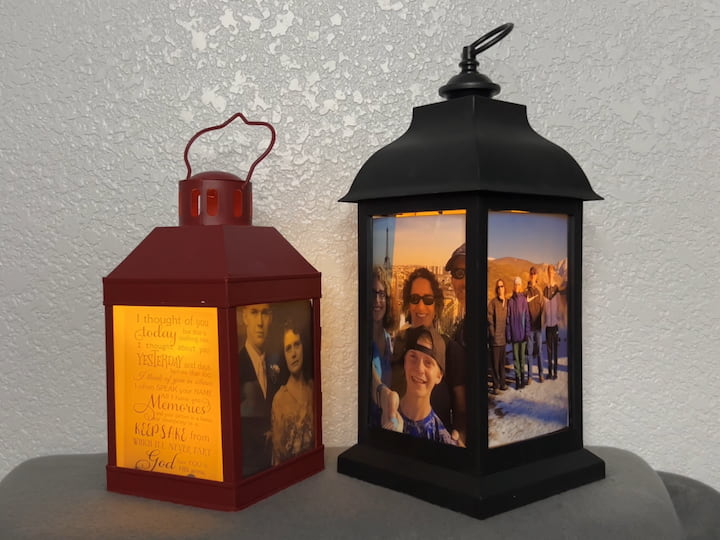

- Stunning DIY Photo Lantern for Any Occasion and Memorial Day Craft
- How To Make DIY Photo Memorial Lanterns To Honor Those We Love
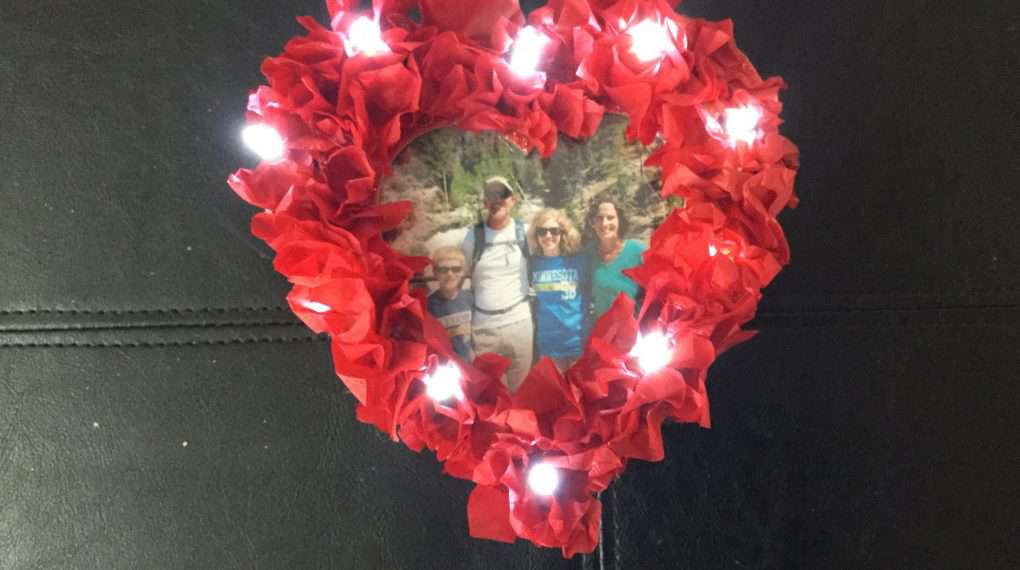
- Personalizable Photo and Light Up Sign
- Glowing Photo Holder
- Personalized Photo Trivet
- Making Magnets to Your Style! Great Gift Ideas!
- How To Make Your Own DIY Coasters with Video
Don’t forget to link to ThriveCart – Book

Loving all these great ideas Chas.
Thank you so much Kim