
Easy and Awesome Tile Coasters DIY

Are you looking for a Tile Coasters DIY? Look no further as here are a few different easy tutorials to get you started!
These coasters are inexpensive, easy to make and these are made to last! Homemade coasters are a fun way to preserve family memories and they make a great gift! Please read all the way through this tutorial to learn how to preserve them.
Tile Coasters DIY Materials List:
- Tile or Ceramic coaters
- Print out of desired coaster surface
- scissors
- ruler
- paint brush
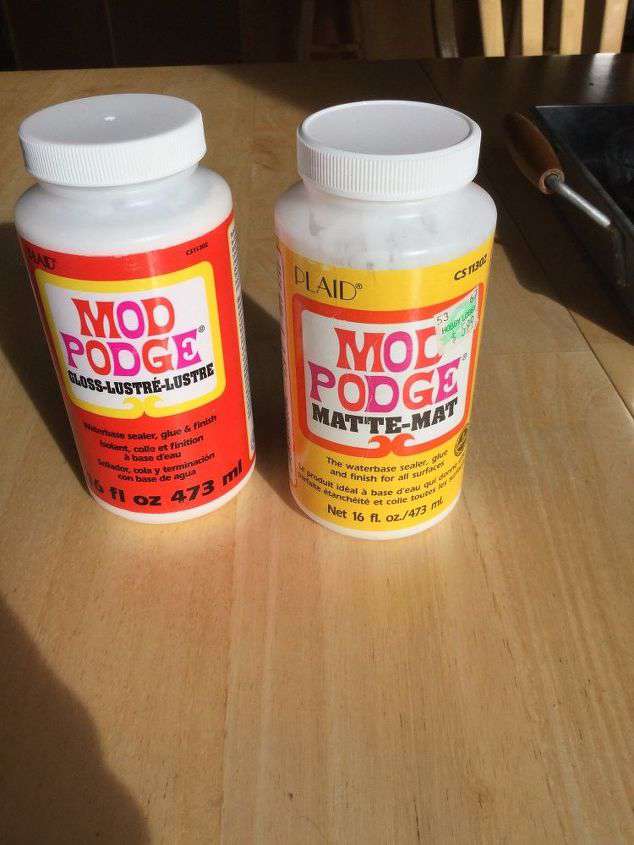
- craft glue (like Mod Podge) high gloss, matte finish or gloss finish
- felt pads if your coaster doesn’t already have a protective finish on the bottom of the tiles, and I like the self-adhesive felt, or you could use cork backing
Tile Coasters DIY: Instructions
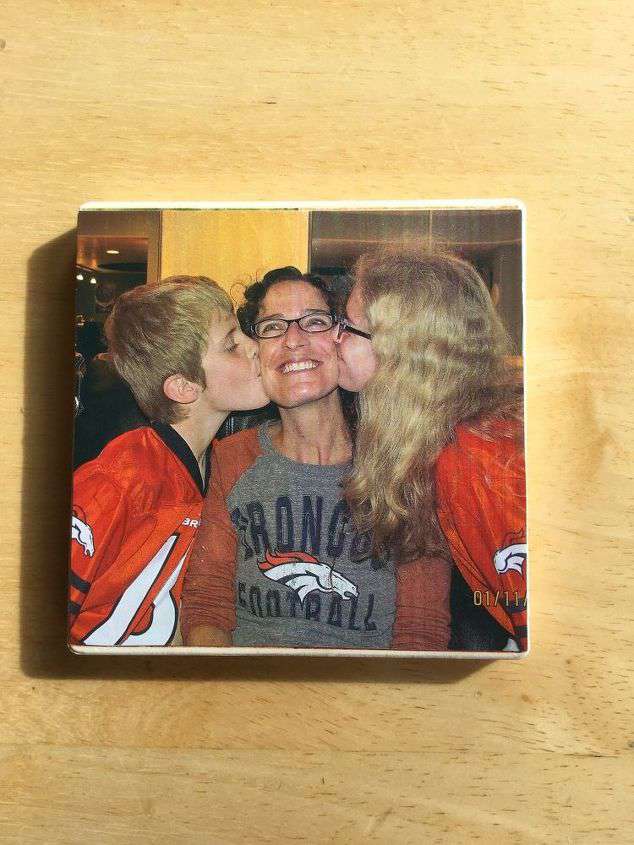
Tile Coasters DIY
First you’ll need ceramic tile coasters. Mine came from Dollar Tree and I chose it because it already had the cork on the bottom to protect surfaces – you could put sticker felt onto the bottom of a tile from a hardware store.
You will also need to decide what your design decor will be on your coaster. You can use fabric, a photo, or create your own saying, etc. For these projects, I used photo paper and printed my design. If you have an inkjet printer, seal the ink by spraying it lightly with acrylic sealer first before moving forward with the project.
Instructions:
Put a thin layer of Mod Podge on the top of the tile or coaster.
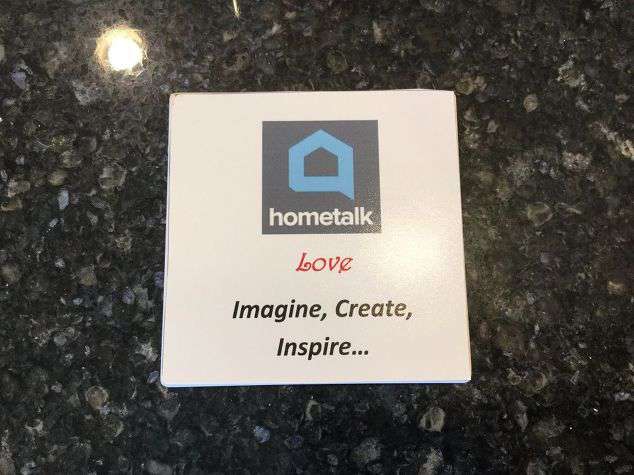
Put your photo or fabric on top of the coaster. Carefully center it and press it down.
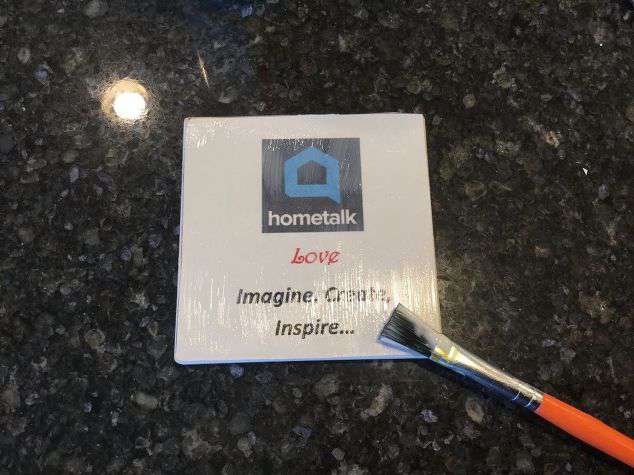
Put a thin coat of Mod Podge over the top of the coaster. Let dry. Repeat a few coats to protect and seal the project – don’t forget the sides of the coaster and paper. Make sure to let your Mod Podge dry completely before moving on – at least 24 hours.
***Please do not stop here – read on… Before we move on let me explain why we don’t stop with just the Mod Podge. Mod Podge is water and glue based. If water gets on it, it will ruin the coaster. You can gently and quickly wipe it off but you cannot put it in water or it will be ruined. Hot beverages can sometimes make the layer of Mod Podge sticky again from the heat of the cup. You still must protect your coaster. Update – they now have dishwasher safe Mod Podge so you could opt for that for better protection.
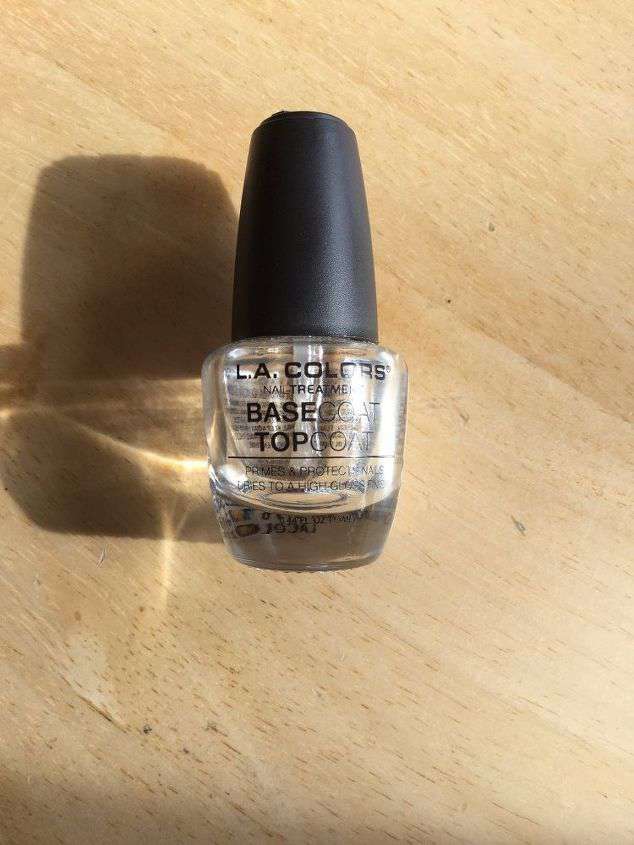
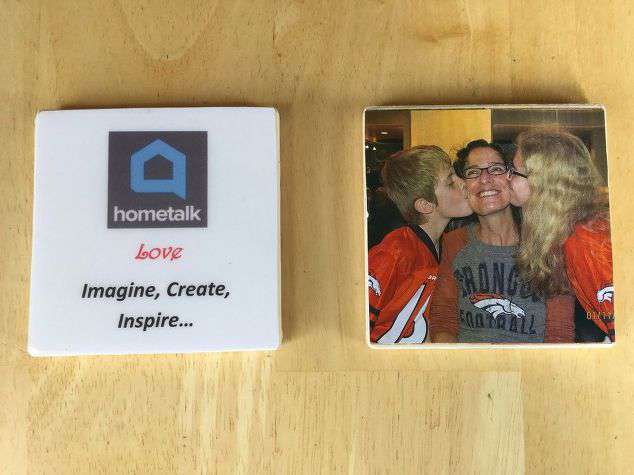
One of the most inexpensive and easy ways to preserve your coaster is to put on a few layers of clear top-coat nail polish letting it dry between each coat. My coaster with the photo (top photo) is preserved with this. I can wipe it off, I have had hot beverages on it, it has had condensation from a cold glass sitting on it and it’s still fine. I am not sure I would let it sit in a sink full of water for a long time though. The more layers, the better it’ll be.
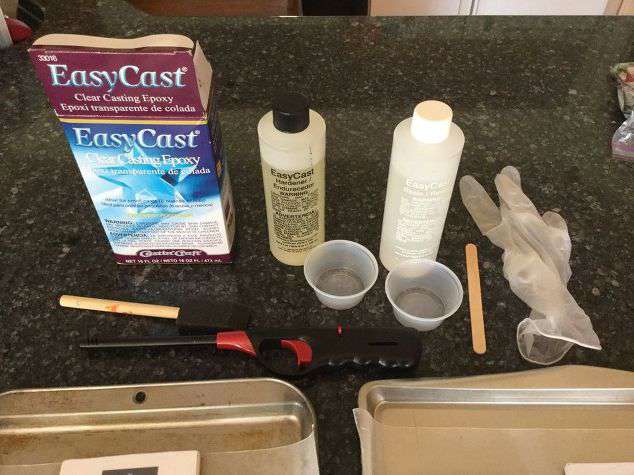
The other option, a little more expensive but will last is to use Easy Cast Epoxy. You can find it online or at craft stores like Michaels. The directions are clear and easy to follow. You will need gloves, a craft stick or something to stir with, a couple of disposable cups to mix in, a paintbrush, and a lighter.
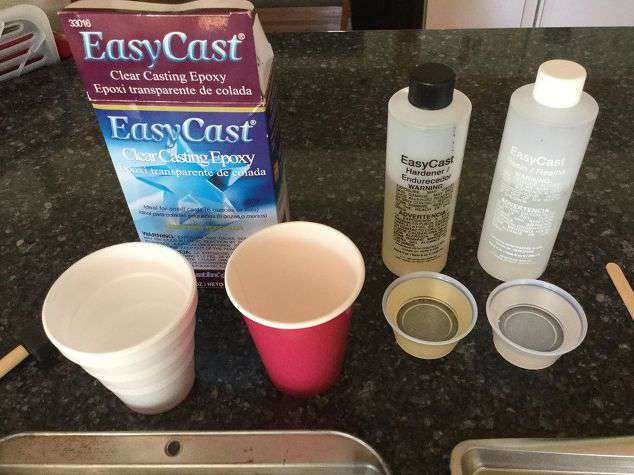
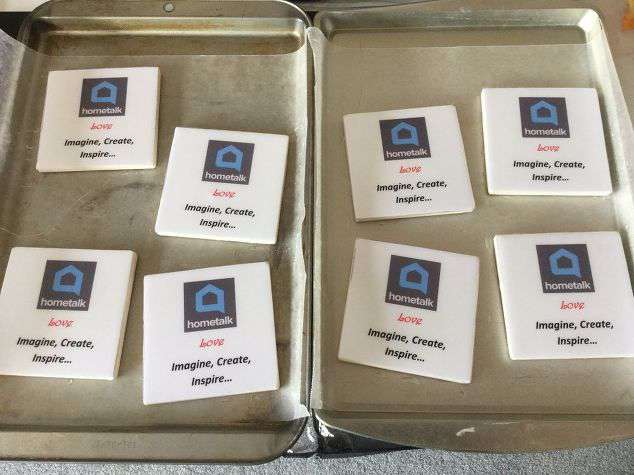
You will measure equal parts of both the epoxy resin and hardener. I made 9 coasters and made 2 ounces Easy Cast – I think I only really needed 1 oz.
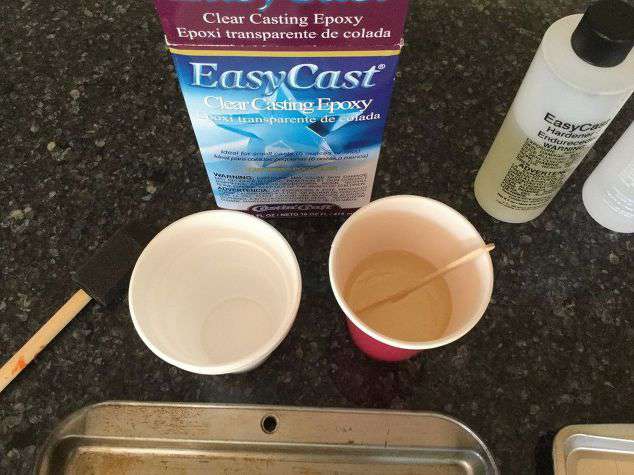
Pour both measured resin and hardener into a cup together and mix thoroughly.
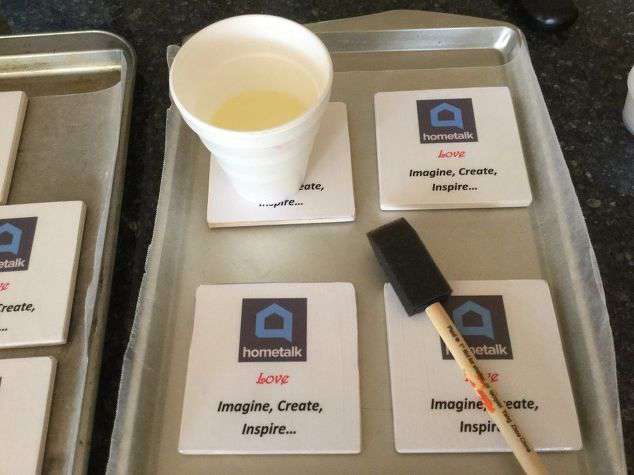
Put your coasters on wax paper for painting.
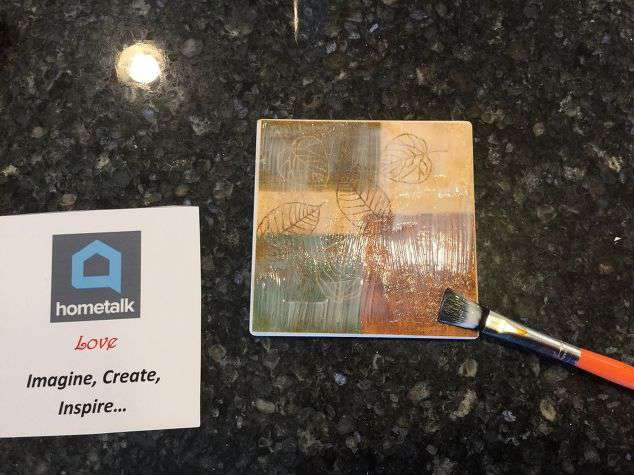
Paint on the resin mixture. Make sure to get the sides as well, and smooth out/off all the drips. I used a foam brush and was careful to smooth out the brush strokes.
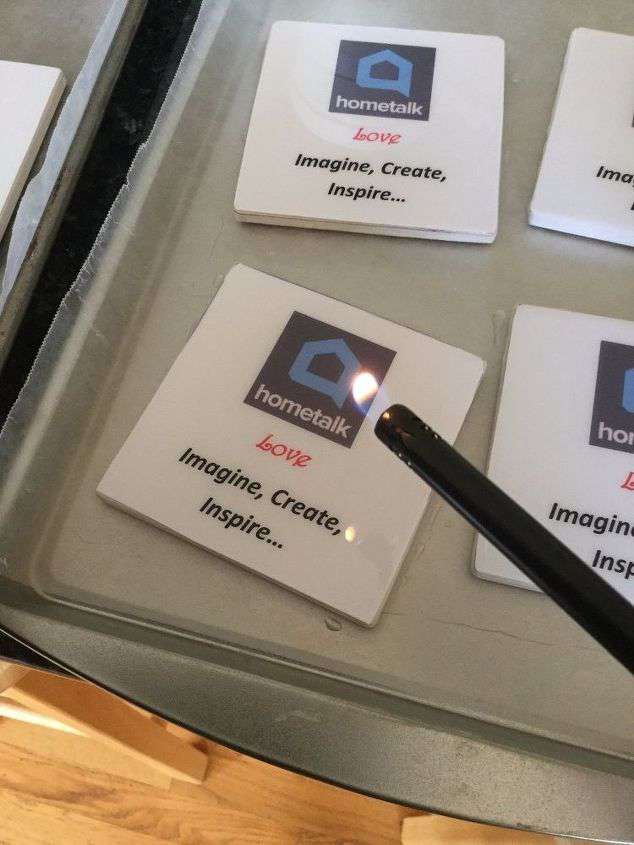
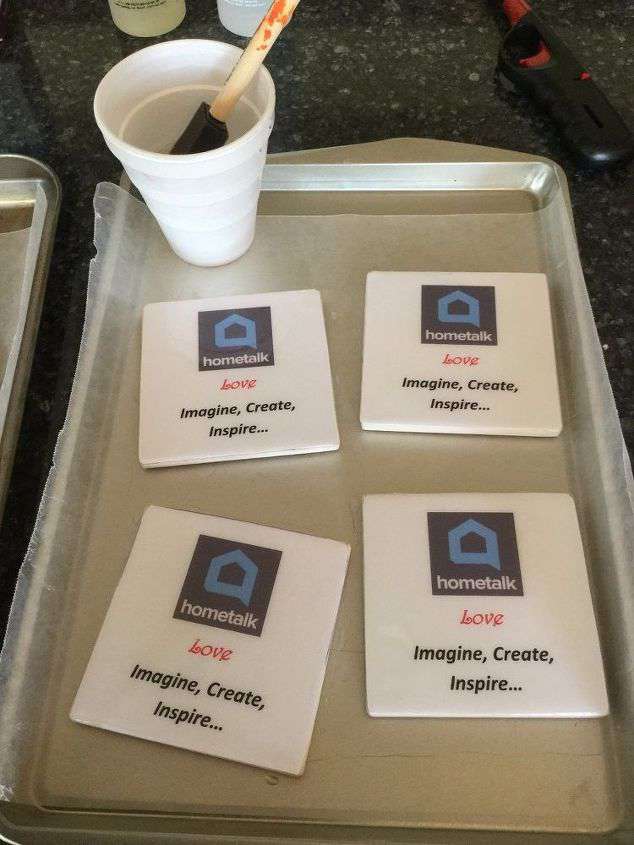
After you paint all your coasters, you will see tiny air bubbles in the resin. Use a lighter to gently go over the top of the resin to “pop” the bubbles over the entire coaster. Let sit for 24 hours to harden.
They are done and strongly protected! You can wipe them off, they are good for hot and cold drinks and made to last. They have a nice shiny glaze to them.
Now you can make coasters that are made to last with either the Easy Cast Epoxy or Clear top coat nail polish. Kids can get in on this too. If you decide to make some, I’d love to see what you have come up with!
Find out “What Exactly Does It Mean To Repurpose Or Upcycle“, save money, and create the most amazing things.
Shop any of these stores and I receive a small commission at no cost to you.
Shop on Amazon, CS11302 Matte Finish, 1 Pack") Mod Podge Waterbase Sealer,…Shop on Amazon Shop on Amazon
Mod Podge Waterbase Sealer,…Shop on Amazon Shop on Amazon  For Coating of Small Arts & Crafts, Wood, Jewelry Making | Low Odor & Solvent Free | 8 oz Resin + 8oz Hardener (16 ounce)") Environmental Technology Ea…Shop on Amazon
Environmental Technology Ea…Shop on Amazon
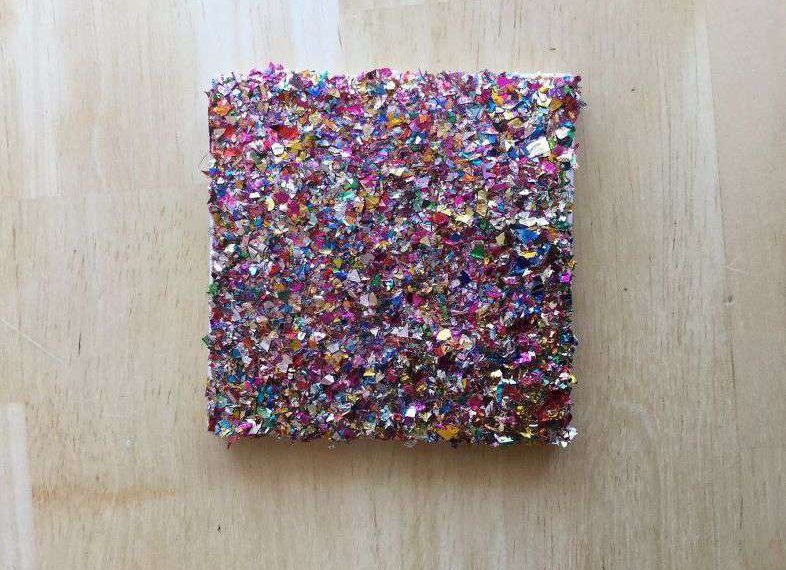
Confetti Coasters: More DIY Tile Coasters
Making a sparkly travel mug and coaster is easy and inexpensive. Great for gifts, party favors, or a crafting night with friends. You can find the full tutorial at Confetti Travel Mug & Coaster
Tile Coasters DIY Q & A
What size tile for coasters?
The size of tiles for coasters can vary depending on your personal preference and the design you have in mind. However, a common and practical size for coasters is around 4×4 inches (10×10 cm) or 4×4.5 inches (10×11.5 cm). These sizes are suitable for most glass and cup bases and provide enough surface area to accommodate a standard-sized drink.
You can, of course, choose different sizes if you have specific requirements or creative ideas in mind. Just make sure that the tiles are large enough to support the average size of a glass or mug and small enough to fit comfortably on a table without taking up too much space. Additionally, consider the thickness of the tiles; thicker tiles may provide better insulation and protection for your furniture.
What is the best sealer for DIY coasters?
The best sealer for DIY coasters depends on your specific needs and preferences, as well as the type of materials you’ve used to create your coasters. However, there are several popular sealers that are commonly used for DIY coaster projects:
- Mod Podge: Mod Podge is a versatile sealer and adhesive that works well for sealing coasters made from paper, fabric, or other porous materials. It comes in various finishes, including matte, gloss, and satin, so you can choose the look you prefer.
- Resin: Epoxy resin is an excellent choice for creating a hard, glass-like finish on your coasters. It’s durable and provides a high-gloss finish. There are two-part epoxy resin kits available that are easy to use for DIY projects.
- Polyurethane: Water-based polyurethane is a popular choice for sealing coasters made from wood, ceramic, or other hard surfaces. It provides a clear, protective finish and is available in matte, satin, or gloss finishes.
- Clear Acrylic Spray: Clear acrylic spray sealers are quick and easy to apply. They work well on various surfaces and come in matte, satin, and gloss finishes. Make sure to use this sealer in a well-ventilated area.
- Cork Backing: In addition to sealing the top of your coasters, you may want to consider adding cork backing to protect your furniture. Simply apply adhesive cork sheets or pre-cut cork pads to the bottom of your coasters.
When choosing a sealer, consider factors like the type of material you used for the coasters, the desired finish (matte, glossy, or satin), and the durability you need. It’s also a good idea to follow the manufacturer’s instructions for the specific sealer you choose to ensure proper application and drying times.
Related Posts
Wooden Coasters DIY
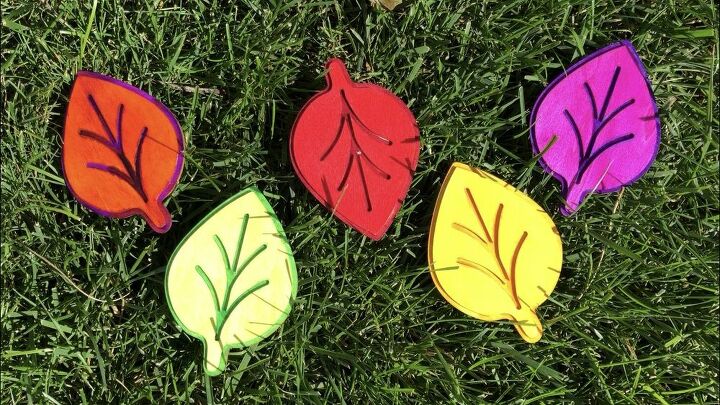
Using Plaid wooden leaves and some Folk Art Ultra Dye, I created some colorful coasters for my home this fall. You can find the full tutorial at Colorful Autumn Fall Leaves Coasters
DIY Wood Coasters
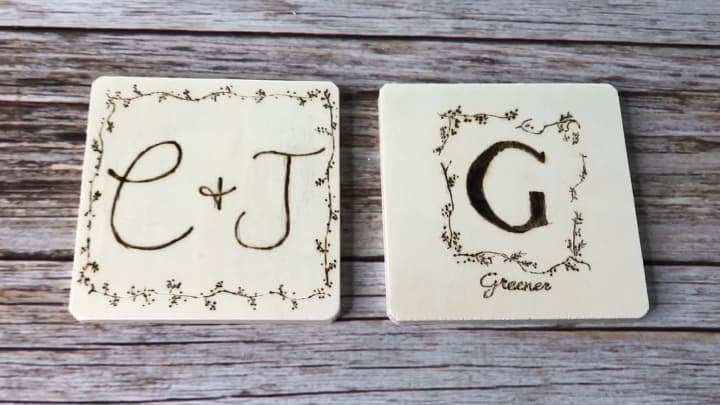
Do you want to make your own DIY coasters? I like to make gifts for all occasions and these can be useful items many people need. I have come up with 3 different sets that are easy to make. You can find the full tutorial at How To Make Your Own DIY Coasters with Video
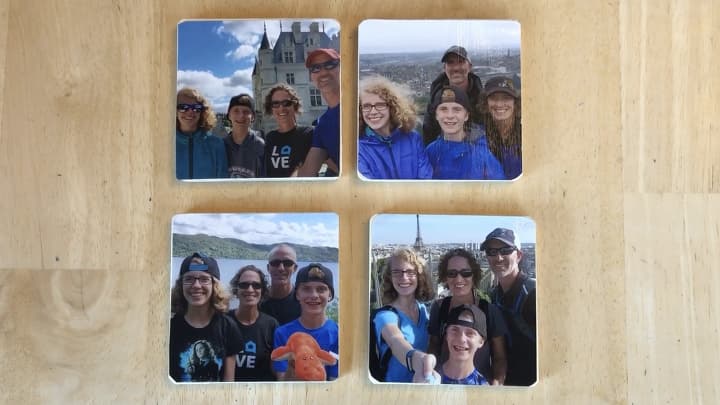
DIY Coasters with Pictures
I painted on a layer of dishwasher safe Mod Podge onto my Plaid wooden coasters. This also works with tile. Added some photos and gave them a top coat. You can find the full tutorial at How To Make Your Own DIY Coasters with Video
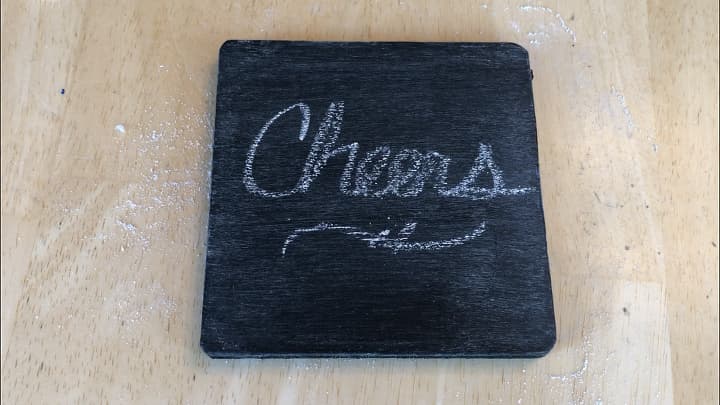
Chalkboard Coasters
I painted Folk Art Chalkboard paint onto my Plaid Wooden Coasters and let that dry completely. You can find the full tutorial at How To Make Your Own DIY Coasters with Video
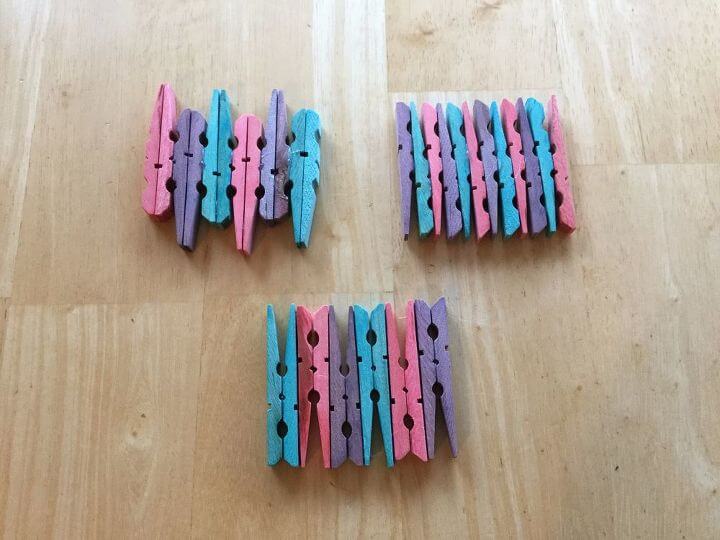
Clothespin DIY Coasters
Do you want to know how to dye clothespins? Did you know you can dye wood with food color? I tried this method out on clothespins and turned them into coasters that I gave as gifts. I’ll show you how to make Food Color Dye Clothespin Coasters You can find the full tutorial at How To Dye Clothespins Fast and Easy DIY
EASY & AWESOME DIY GIFTS ON A BUDGET TO MAKE AND SELL Ebook
Do you love to make gifts for friends and family members? Would you like to personalize your gifts too? This book is for you! Over 30 DIYs gifts on a budget plus extra tips, tricks, eco-friendly gift wrapping ideas, and more!
So what are you waiting for?!!! Get your copy today and start creating!
Don’t forget to link to ThriveCart – Book
I wish I saw this much earlier! It will be a perfect DIY gift for my mom-in-law. Thank you for sharing this over at the Healthy Living Party. We are back from our break and the party is live tonight at 5pm PST. Hope to see you there.
PS:
I will be featuring you!
Thank you so much Cristina for the feature! I’ll be there, thanks for the reminder and Happy New Year!
Thanks for sharing on the Whisk It Wednesday link party at Carrie’s Home Cooking. Tomorrow when this week’s party starts you will be one of our featured links. I hope to see you there again. Merry Christmas! – Carrie @ Carrie’s Home Cooking
Thank you so much Carrie for the feature and having a wonderful place for all of us to share our ideas 🙂
I always love seeing what you’ve been up to Chas. You are so creative and talented. The coasters are great and would make great gifts. Thank you for sharing at Party in Your PJs!
Thank you so very much Teresa, and thank you for having a great place for all of us to share ideas 🙂
What an important final step; thanks so much for sharing with us at the Virtual Refrigerator. These would make great Christmas presents. Pinned.
Thank you for stopping by and we definitely love these at our house 🙂
This is a cute project. it would be fun to make a set of these for a gift.
Thank you Michele – so true. I love making them for others, and I loved making a set for us too. Preserving those fun memories 🙂
What another great idea Chas, so easy and useful! I love the nail polish suggestion as a cheaper alternative. Thanks for sharing with us at The Blogger’s Pit Stop. Debbie from http://www.debs-world com
Thanks Debbie, I like that option as well. I have made several that way 🙂
Hi,
Great easy idea, thanks for sharing.
Have a great day!
Thank you Sherrie, have a great day back at you 🙂
Chas, these are great! I’m assuming that’s a picture of your family. I can see making these in the future.
Thanks Linda, yep – these are my kids. I made that coaster almost 2 years ago and it’s still going strong. The other coasters I made as a gift for Hometalk and brought them with me to Hometalk Headquarters in NY when they brought me there.
Awwww what a nice thing to do. I’ll bet they loved them!