

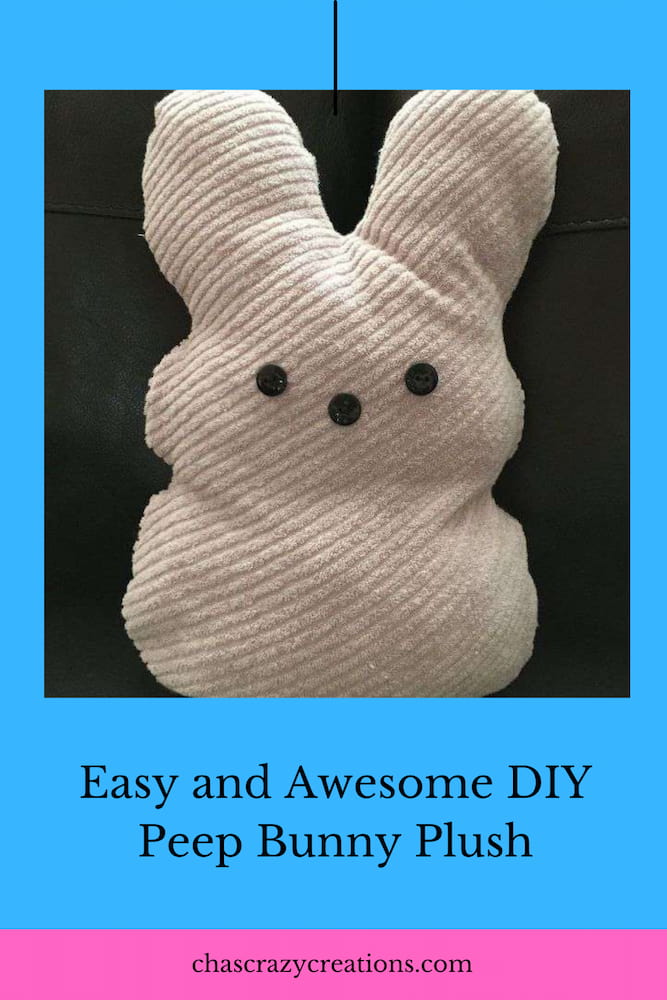
Easy and Awesome DIY Peep Bunny Plush
Are you looking for a DIY Peep bunny plush tutorial? Here is a really easy craft for the Easter season. You can even make it no sew if you’d like. My kids love Peeps, how about you?
I made Peep pillows for Easter, and my kids loved their plush toy with the perky ears. These little bunnies are perfect to add to an Easter basket surrounded by all the Easter candies and chocolates. This craft didn’t take a lot of time. There are options listed to make it easier, and there is an option for easy storage.
My mom gave me a bunch of fabric. Every year I sit down with it and try to create something. This year I decided on Peeps. We store and keep these bunny plushies, but they would make adorably charming gifts.
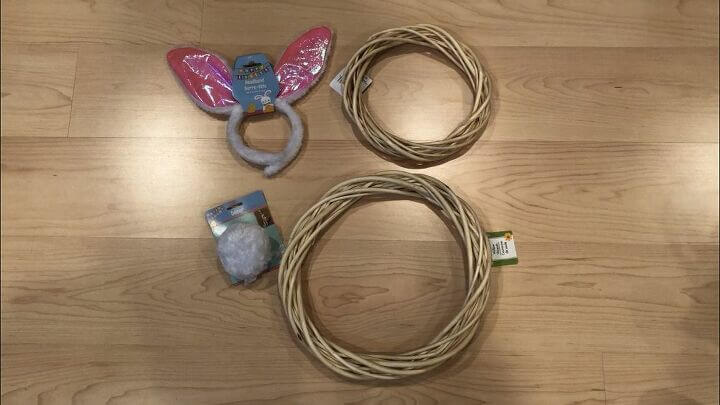
Peep Bunny Plush Materials
- Fabric, of your choice. You can use pink fabric if you want a pink bunny. Or, try other pastel colors like yellow and purple.
- Buttons for eyes and nose or peel and stick felt
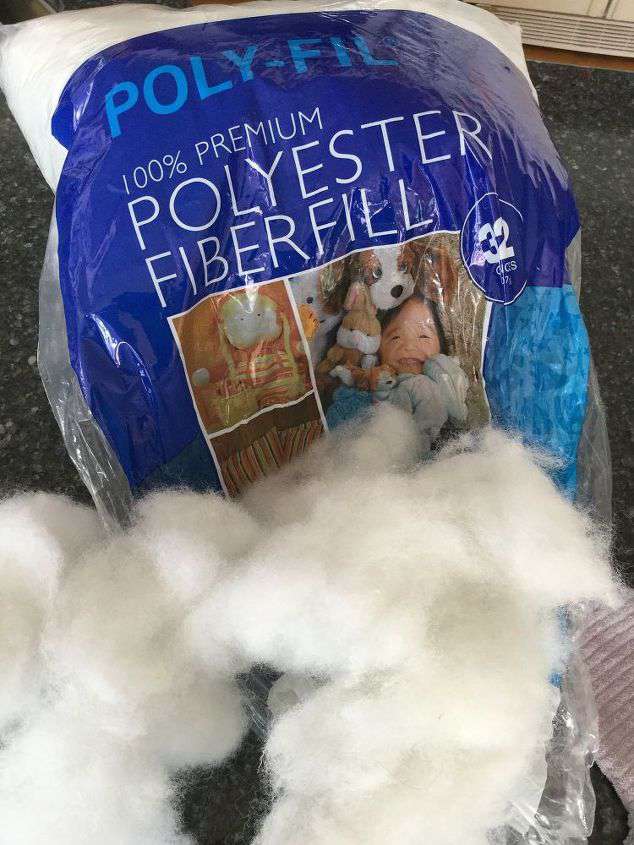
- Stuffing
- Sewing Machine, hand stitching material, or hot glue
- Scissors
- Optional Velcro

Peep Bunny Plush Instructions
Here are step-by-step instructions to make your DIY bunny plush:
Step 1: Use pattern or free hand Peep bunny shape
Fold a piece of fabric in 1/2 & put your “right sides” (which means the part that is facing out on your bunny) of fabric together. Draw a peep shape.
If you are not comfortable free handing your Peep round body, here’s what you can do:
- Google search for a picture of a peep
- cut and paste it onto a piece of paper
- make it the size you want
- print it for a pattern
Step 2: Cut Fabric for Peep bunny stuffed animal
Cut your double layer of fabric, and stitch or hot glue the bunny together. Make sure to leave an opening at the bottom for stuffing.
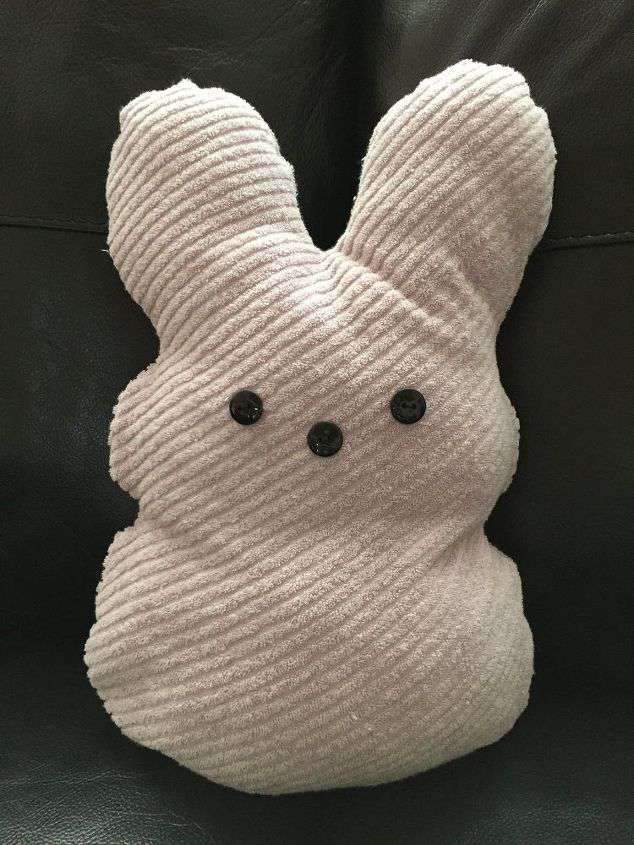
Step 3: Add Peep bunny face
Turn your bunny “right side” out and add the eyes and nose for the cutest face. Stitch on the buttons or use the peel and stick felt.
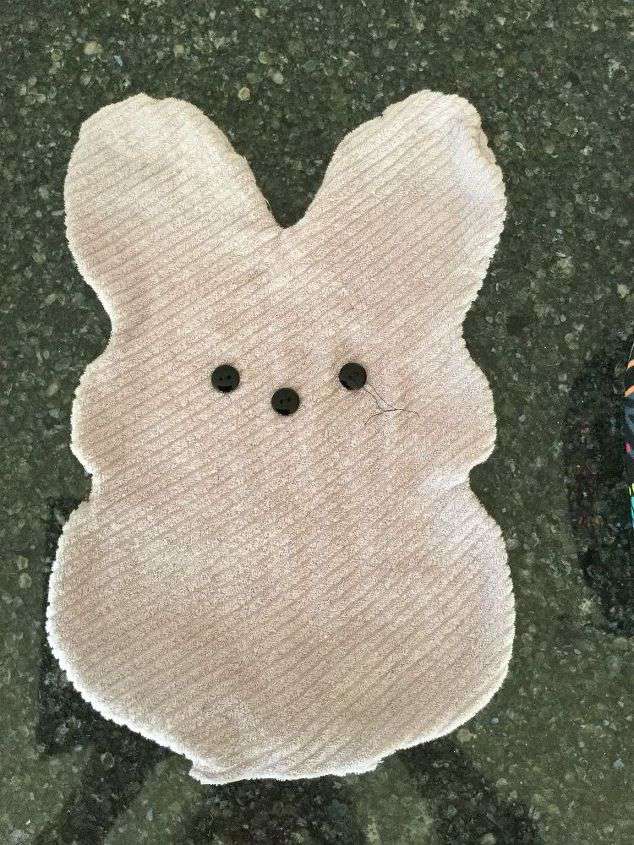
Step 4: Stuff the Peep Bunny Plushie
Stuff the inside of your bunny to the desired amount of polyester fiberfill. Make sure to work the fiberfill into the ears before stuffing the round body.
Stitch the bunny closed. See the next step if you want to make it more pack-able after Easter and easier to store.

Step 5: Finish Peep Bunny plushie with Velcro strips
I opted to use Velcro strips to close my bunny. I used a stitch Velcro but you could use a Velcro with a sticky back to save production time. This allows me to stuff the bunny when I decorate, and then un-stuff it and pack it away for the year with other Easter decorations.
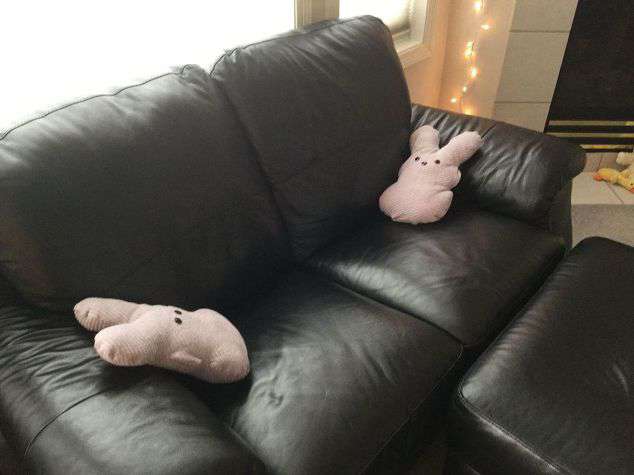
We called this “sitting with our peeps” when we sat on the couch with our cute toys.
Now while my kids are enjoying their marshmallow treat, they can cuddle with these. There is no need to run to the bear workshop for those expensive pets. Boy did my kids love that store. There was a serious passion for stopping there whenever we were near there. What is your favorite Easter treat? (My mom’s is hot tamales, my kids love sour things, etc) Do you have any special requests that you look forward to? Let me know in the comments below.
Soft fabrics are best suited for the DIY Peep bunny plush. These DIY bunny plushies are not just decorations for Easter; thus, a soft fabric, like fleece, is more comforting. If you intend for your plush bunny to be displayed as decoration, consider using fabrics like muslin and corduroy to add texture. Pastel or bright colors are also great choices!
Use cold water and a soft cloth to surface clean your stuffed bunny plush. While some stuffed animals can be machine washed, the delicate assembly of the DIY Peep bunny plush, including potentially delicate felt, peel-and-stick eyes, makes surface cleaning a better option to prevent damage.
Shop any of these stores and I receive a small commission at no cost to you.
 Peeps Marshmallow Candy Chi…Shop on Amazon
 PEEPS Bunny Buttermilk Panc…Shop on Amazon
 Peeps Marshmallow Candies P…Shop on Amazon
 WATINC 5PCS Easter Peeps Ch…Shop on Amazon
 AACORS Easter Lumbar Pillow…Shop on Amazon
 ARKENY Easter Placemats 12x…Shop on Amazon
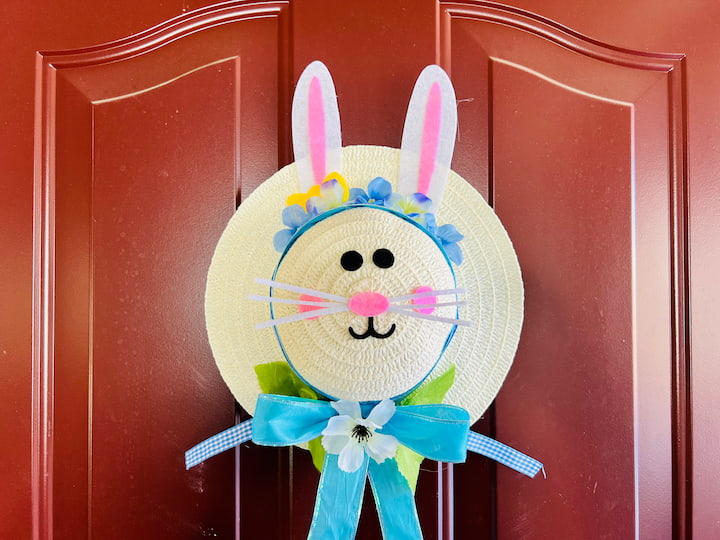


Other Bunny crafts
- Easy and Awesome Bunny Wreath with Video
- Super Cute and Easy Dollar Tree Bunny DIY with Video
- Cute and Easy Easter Sock Bunny Hack Anyone Can Make

I love this pillow. Thx for posting at Funtastic Friday.
Thank you so much Michele
Adorable! I love that you engineered a way that the bunny could be un-stuffed for storage. Really clever!
Thanks for linking up to Creative Compulsions!
Michelle
mybijoulifeonline.com
Thank you Michelle – It’s all gotta be packed up as efficiently as possible 😉
So cute and you can make it special for each child. And such an easy tutorial too. Thanks for stopping by each week at #HomeMattersParty. I look forward to your post each week.
Thank you so much Donna – you’re so right about personalizing it.
Too cute! A great one to do with kids.
Thank you so much Kristen
how cute! These would be fun to make for decoration, or for the grandkids. Thanks for the great tutorial 🙂
Thank you Linda – I bet your grandkids would love them too. Mine are teens but they’ll still curl up with them.
This is such a cute DIY. I have a granddaughter and I want to make her one. I may even have everything needed to do while in this ‘Stay at Home’ mode with the big ole bad virus going on. Thanks for the inspiration; be safe, sound, & blessed, my friend!
Thank you so much Cathy, and I’m so thrilled you want to make one too 🙂 Thank you and same to you – be safe, well, and have a lovely day.
Adorable, who doesn’t love a Peep, even an inedible one!!
Thank you so much Pamela 🙂
thanks for cute and easy idea using up scrap fabric and the link for those who NEED a pattern
Thanks Sue, and you bet. I cannot always free hand stuff and look for ways around that too.
My boys would love these! They love any sort of pillow/stuffed animal and these are so cute. Thanks for sharing with us at the Virtual Refrigerator. Pinned.
Thank you and mine too! Kids just can’t get enough of stuffed animals can they – lol
Thanks for sharing with us at Encouraging Hearts and Home too. Pinned
Thank you, always a pleasure to join your party.
So cute! My kids saw these at the store and I refused to shell out for overpriced stuffies. But I do have a stash of fabric scraps….this would be a fun project! Curious, did you have stencil or pattern you used?
I’m so pleased you want to give this a try, and I agree those prices can be huge. I didn’t have a pattern or stencil, I just free handed it on paper to about the size I wanted. I’ll bet you could use one of these here to help you out – https://www.google.com/search?q=peep+pattern&tbm=isch&tbo=u&source=univ&sa=X&ved=0ahUKEwiV6PWH6I_aAhUSwWMKHRKfD-gQsAQIKA&biw=1242&bih=535
So adorable! I no longer have extra fabric around, but I do have a bag of clothes that I keep adding to for Amvets. Maybe I can find something in there. They would be cute take home goodies for my grandkids. 🙂
Oh I love the idea of the using old clothes! What a great idea 🙂 Otherwise Walmart sells some fabric folded into squares – I think it’s a yard – for around $1, those might work as well.
Very cute; love seasonal pillows! I can see my boys whacking each other with those Peeps though, LOL. Visiting from Happy Now.
Thanks Victoria, and thanks for the laugh about the pillow fight. I’ve been lucky so far that my kids haven’t done that yet. lol