
A Stunning and Easy Lighted Archway That’s Customizable for Any Occasion
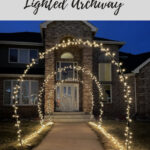
Do you want a lighted archway? I created a super easy one that anyone can make and adjust for any occasion.
*We’ll start with the prototype that we mastered, and just wait until you see how I moved it to my mom and dad’s – WOW!!! Keep going to see more! You might also like my Halloween Archway
Materials needed for a lighted archway
Lighted Archway video
Instructions to build a lighted archway
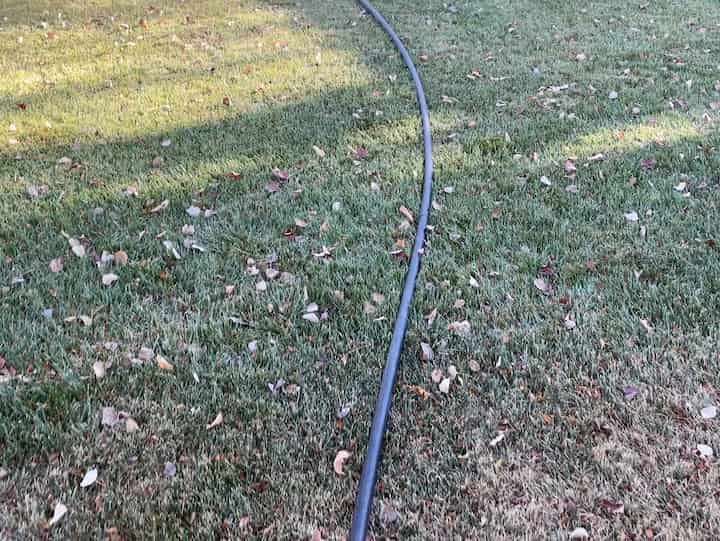
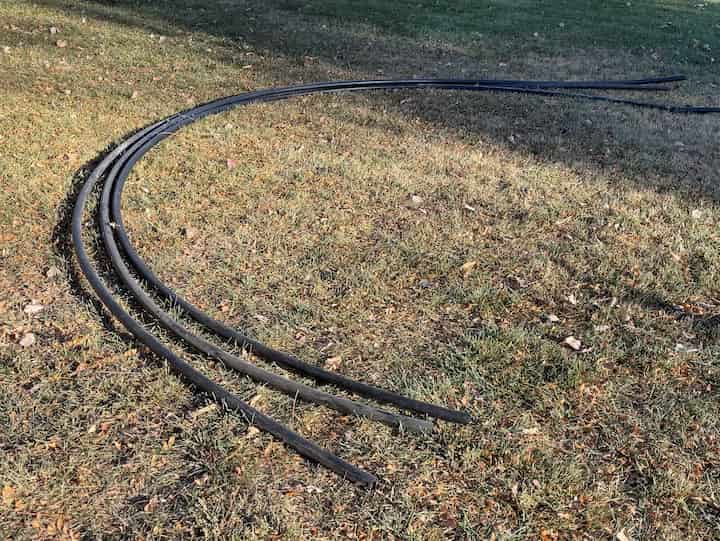
1. Measure and cut your pipe
I measured 20 feet of sprinkler pipe and used my pipe cutter to cut the pipe. I repeated this process 3 times. You can make as many or as few archways as you’d like for this project. The length I’m measuring will fit over the top of a sidewalk, and you could adjust it to go over driveways or other paths.
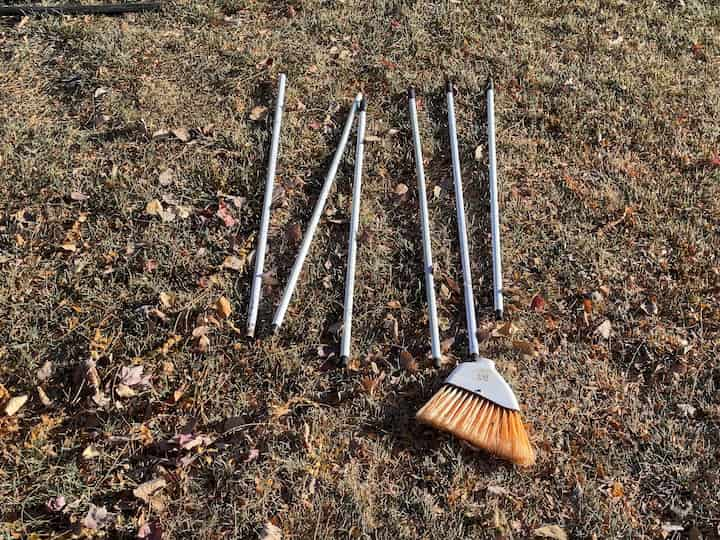
2. Remove the broom from the handle
I’ll be making 3 archways, so I needed 6 brooms which I picked up from Dollar Tree. I removed the broom part from each of the handles.

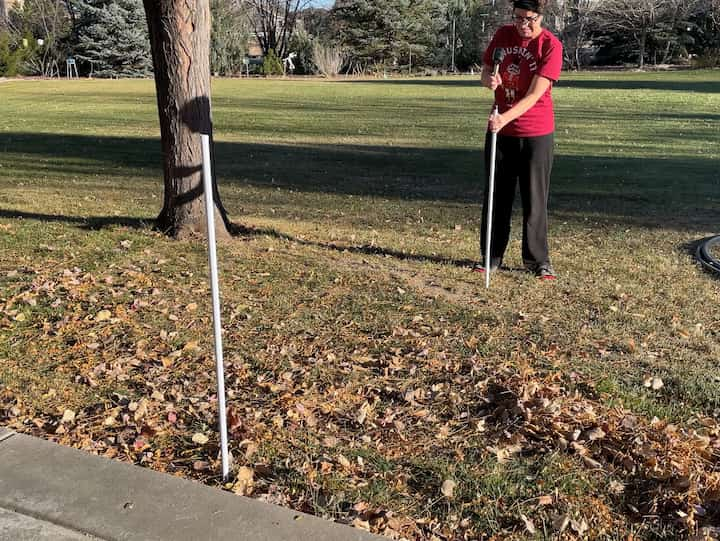
3. Hammer your handles into the ground
I used a rubber mallet and I hammered 2 stakes across from each other into the ground. You’ll repeat this process for the other 4 as well. You can space them as close together or as far apart as you like.
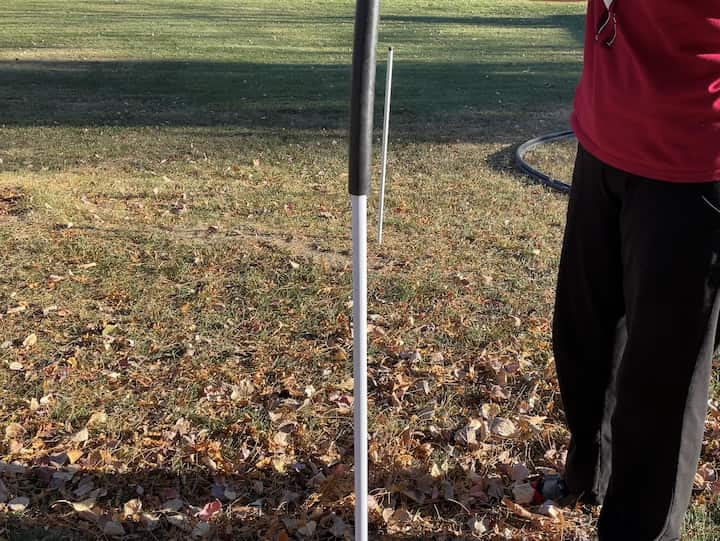
4. Slide the sprinkler pipe onto the broom handle
I slid one end of the sprinkler line over the broom handle on one side, then repeated the process by placing the other end of the sprinkler line onto the other handle.
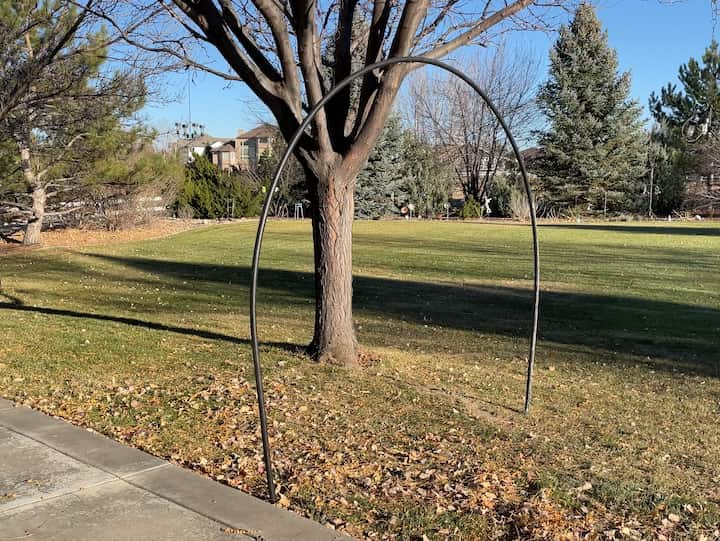
Here is what the first arch looks like.
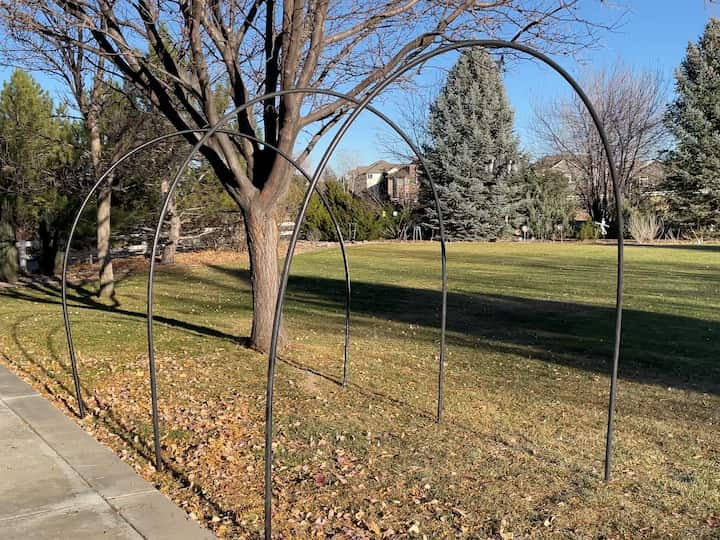
I made a total of 3 arches, and you can make as many or little as you like.
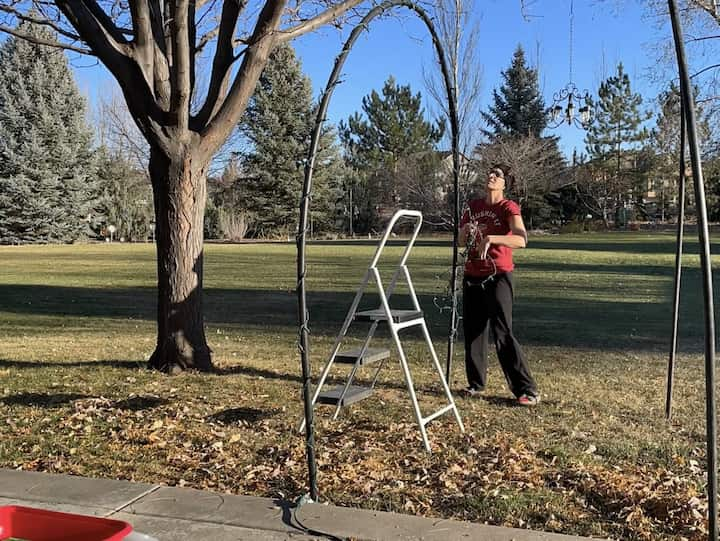
5. Wrap the archways with lights
I wrapped the first archway with a strand of lights. I then ran the lights across the ground to the next arch and wrapped that arch with lights. I continued doing this until all of my archways were covered.
5. Plug in the lights
I ran an extension cord to the lights and plugged them in. I decided to use a timer with mine that would turn on at dusk and then run for 6 hours.
Now onto the one, I made for my mom and dad!!!
A Stunning and Easy Lighted Archway Video

A lighted archway story
My parents love holiday lights. Their house has a roof that is really steep and difficult to put lights on. Plus my dad has screened over his gutters so you cannot use light clips. They both love lights during the holidays and so I wanted to come up with an easy solution to help them. I surprised them and I built them their own archway over their sidewalk that goes to their front door. This was perfect for them – no climbing ladders and easy to put up and takedown.
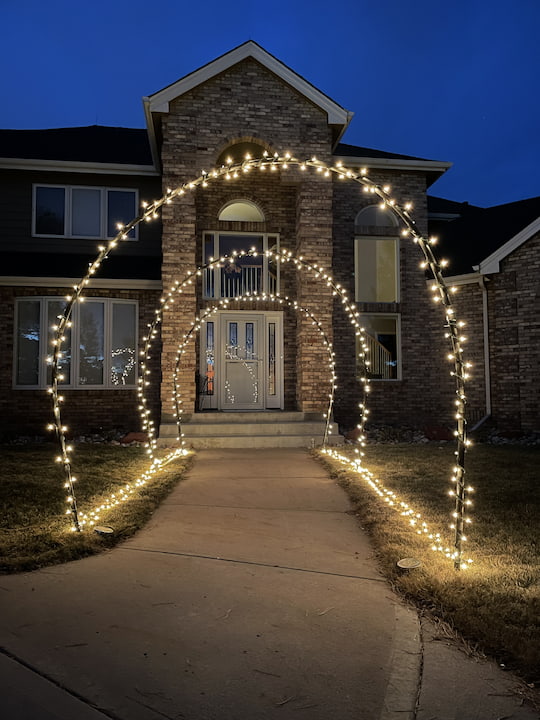
They absolutely loved it!
What occassions can I use archways with lights?
These lighted archways aren’t just for the holiday season.
- Weddings – white lights
- Christmas – multi color or white lights
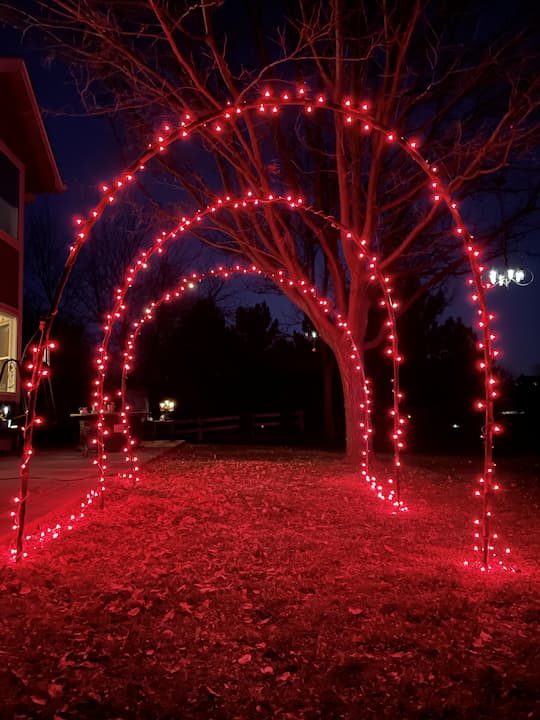
- Valentine’s Day – red lights
- Easter – spring colors
- Birthdays – birthday boy or girl’s favorite color
- July 4th – red, white, and blue lights
- Halloween – orange, purple, or green lights
- Baby Showers – blue or pink
How do you put lights on Archway?
I just wrapped them around each pipe, and you could alternatively use a set of solar lights if you didn’t want to run power to them.
How do I make my driveway light arched?
You can make this same project for a driveway. You just need to measure your driveway’s width and decide how tall you want to make the height. Next decide how many arches you want. Buy the correct amount of pipe, and cut each one to size. You will probably want a more heavy duty stake as you’ll be working with much more hose and you want it to be stable. Wrap the arches with lights, and you’re done!
Shop any of these stores and I receive a small commission at no cost to you.


WATCH CHAS’ CRAZY CREATIONS HOLIDAY HOME TOUR

A Stunning and Easy Lighted Archway That’s Customizable for Any Occasion
Equipment
- rubber mallet
- measuring tape
- pipe cutter
Materials
- 1 inch sprinkler pipe
- broom handles
- lights
Instructions
- MEASURE AND CUT YOUR PIPE
- REMOVE THE BROOM FROM THE HANDLE
- HAMMER YOUR HANDLES INTO THE GROUND
- SLIDE THE SPRINKLER PIPE ONTO THE BROOM HANDLE
- WRAP THE ARCHWAYS WITH LIGHTS
Video


I’m curious if you live in an all weather area? For example I live in Midwest where we frequent storms, snow wind etc. Do these hold up well with weather? It’s a fabulous archway, I’m trying to do my whole sidewalk and started with PVC. But this would be much easier. Thanks
What an awesome idea, Chas! Looks fabulous!