
Easy DIY T-Shirt Tote Bag (No Sew & Sew Options)
Are you tired of using plastic bags that rip the second you put a milk jug in them? With this easy [Upcycling Project], you can create your own reusable cart accessories! These lightweight bags are durable, washable, and cost absolutely nothing to make. You might also be interested in my Repurpose Old Clothes: 5 Items From ONE Thrift Store Sweater

Quick Answer: How do you turn a shirt into a bag?
You can upcycle a t-shirt into a tote bag in 4 simple steps:
- Prep: Turn the shirt inside out.
- Seal Bottom: Sew the bottom hem shut (or use fabric fuse/hot glue for a no-sew option).
- Flip: Turn the shirt right side out.
- Cut Handles: Cut off the sleeves and neckline to create the bag opening.
Whether you need a bag for grocery shopping, a wet bag for the pool, or just a fun way to preserve a favorite old t-shirt, this tutorial has you covered. It is one of my favorite [Earth Day Activities] because it keeps old textiles out of the landfill and reduces plastic waste at the store.[Paragraph] In this post, I’ll show you exactly how to make a “Shirt Bag” using both a sewing machine and a simple [No-Sew Method] for beginners. Say goodbye to plastic bags that puncture and tear easily.
Materials Needed
- Old T-Shirt: Any size works! (Small for lunch bags, XL for grocery bags).
- Scissors: Make sure they are sharp fabric scissors for clean cuts.
- Closure Method: Sewing Machine, Fabric Fuse, Hot Glue, or just your hands (for tying)!
How to Make a T-Shirt Bag (Step-by-Step)
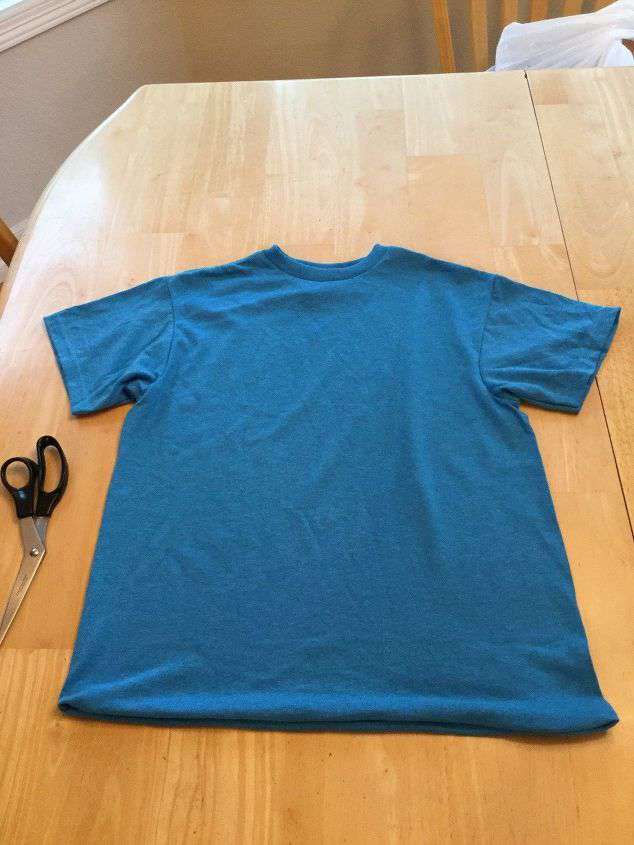
Step 1: Prep & Invert
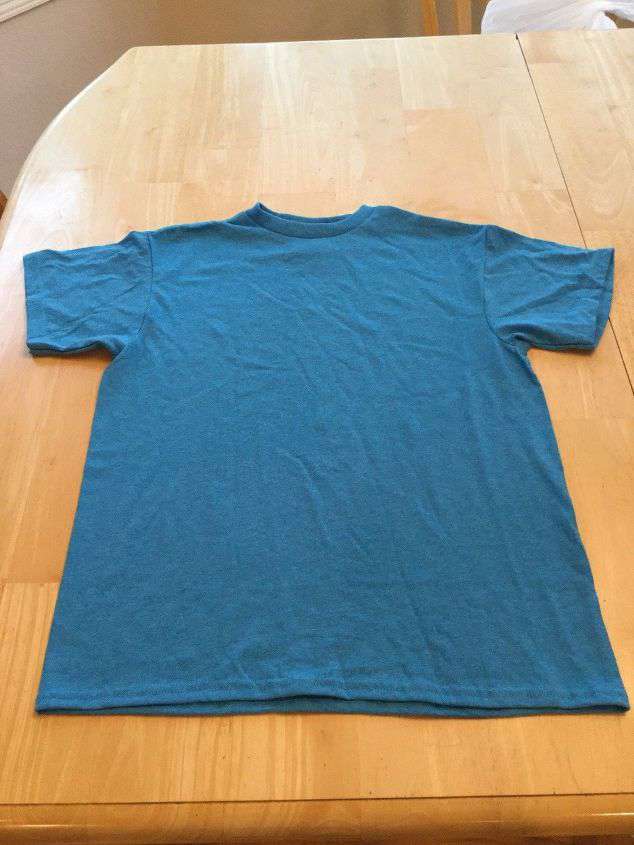
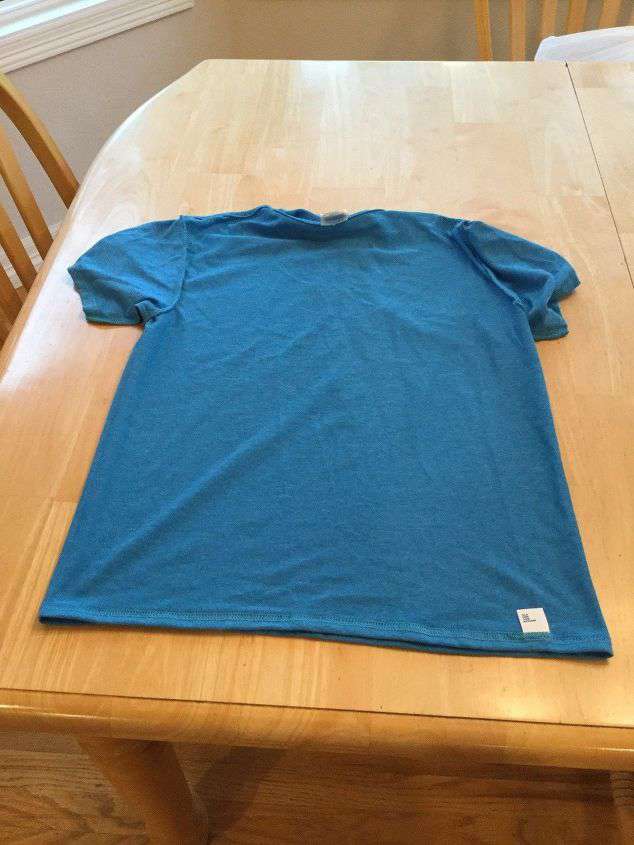
Start by washing and drying your shirt so it is clean and preshrunk. Then, turn the shirt inside out. This ensures that your seam (or glue line) will be hidden inside the finished bag.
- Tip: Thicker cotton shirts make sturdier bags than thin, stretchy synthetic ones.
Step 2: Close the Bottom
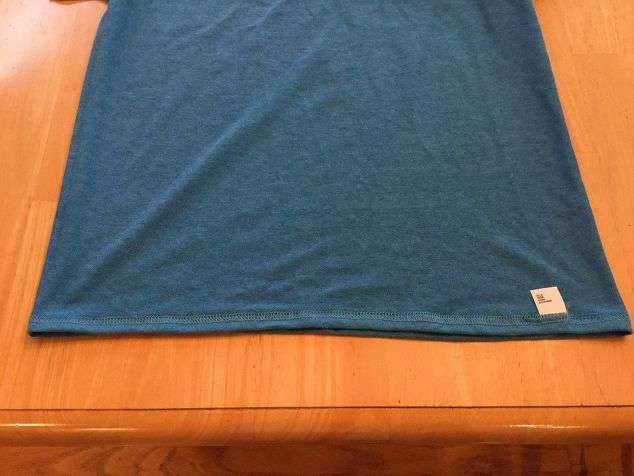
You have a few options here depending on what supplies you have:
Option A: Sewing (My Preferred Method) Using a sewing machine or hand stitch, sew a straight line all the way across the bottom hem of the shirt.
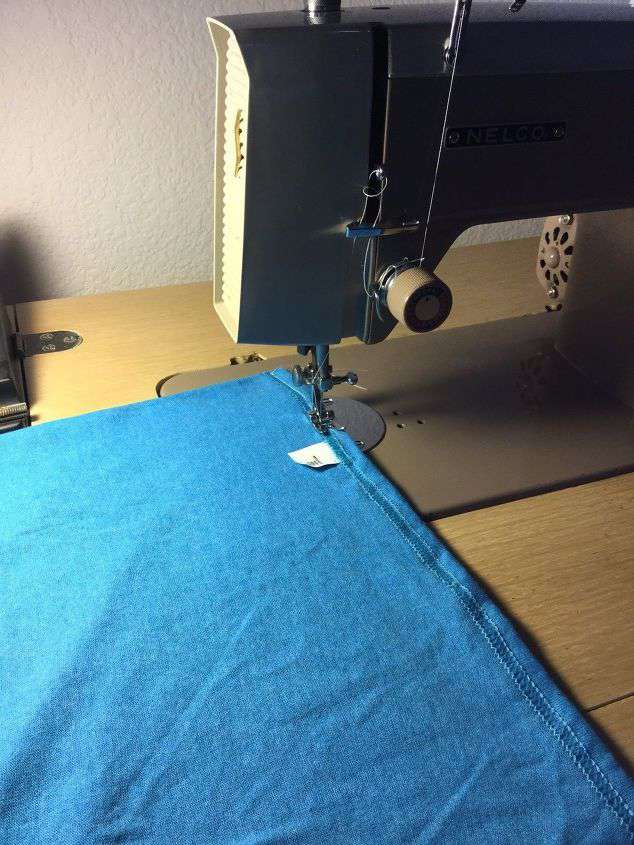
- Tip: I recommend going over it twice (or using a zigzag stitch) to ensure it can hold heavy items like canned goods.
Option B: Fabric Fuse or Hot Glue If you don’t sew, you can use Fabric Fuse tape (iron-on adhesive) or a line of hot glue along the bottom hem. Press it firmly and let it set.
- Note: Glue is great for light items, but sewing is best for heavy groceries.
Option C: The “Tie” Method (No Tools Needed)
- Cut vertical slits (fringe) along the bottom of the shirt. Make them about 3 inches long and 1 inch wide.
- Tie the front fringe piece to the matching back fringe piece in a double knot.
- Continue all the way across until the bottom is sealed.
Step 3: Turn Right Side Out
Once your bottom is sealed, turn the shirt right side out. Your seam is now hidden inside!
Step 4: Cut the Handles

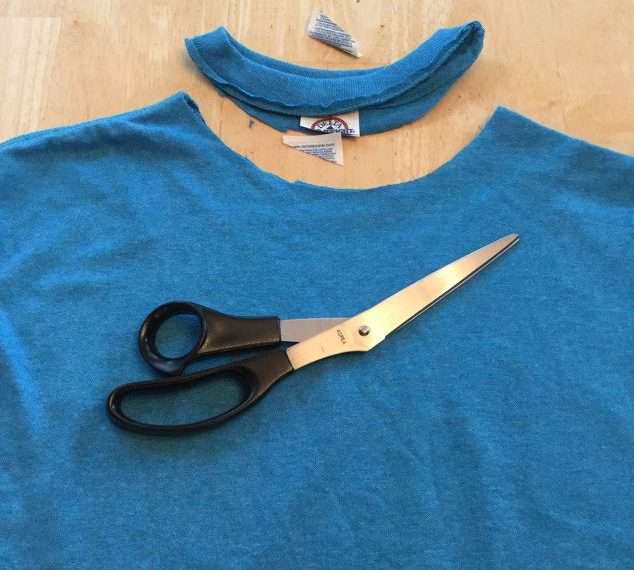
Now it is time to turn this shirt into a bag.
- The Handles: Using sharp scissors, cut off both sleeves. Cut just inside the seam so the hem is removed.
- The Opening: Cut out the neck of the shirt. If you want a wider opening (for easier packing), cut slightly deeper than the original collar. Be careful not to cut too much, as the fabric will stretch when filled!
3 Ways to Customize Your Bag
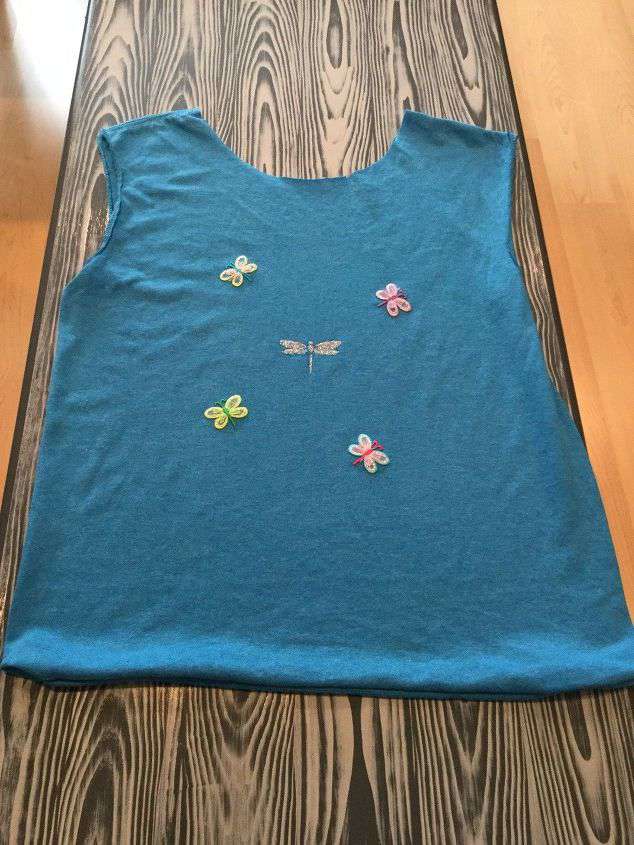
1. Iron-On Patches & Vinyl
In my project, I used iron-on patches to give the bag a custom look.How to do it: Place your patch or heat-transfer vinyl (HTV) on the center of the bag. Cover it with a pressing cloth and iron according to the package instructions. This is great for adding school logos or fun quotes!
2. Fabric Paint & Markers
This is a fun activity for kids! Before cutting the bag, place a piece of cardboard inside the shirt (to prevent bleed-through) and let them draw their own designs with fabric markers or puffy paint.
3. Tie-Dye
If you are using a plain white t-shirt, tie-dye it before you start cutting. It turns a boring undershirt into a bright, summery beach bag.
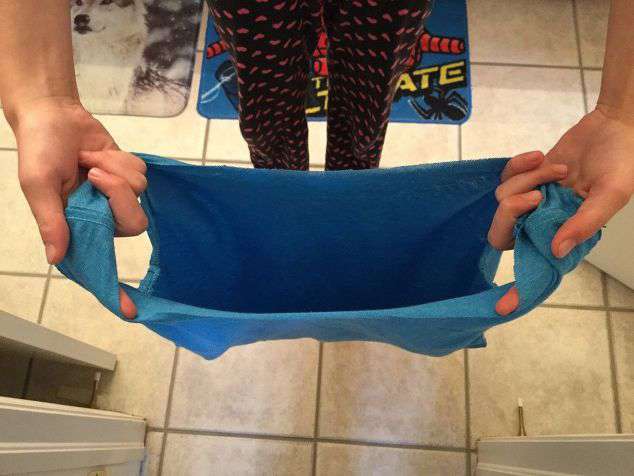
And there you have it! Your shirt bag is now ready for action. Simply grab the handles and fill it up. These shirt bags are not only practical but also a great way to reduce waste and repurpose old shirts. No more plastic shopping bags are needed, and no more grocery bags that get tears in them! You can make a range of sizes and make several plain t-shirt bags. Enjoy your new eco-friendly accessory, and stay tuned for more economical and creative DIY projects!
Shirt Bags Tutorial Video
You can see me create this bag in the video I was contracted by Hometalk to do!
Frequently Asked Questions
The size of the bag depends on the size of the shirt!
Small Shirts: Create bags around 8″ x 10″. These are perfect for lunch bags, gift bags, or carrying small library books.
Medium Shirts: Create bags around 12″ x 15″. These are great for general use or gym clothes.
Large/XL Shirts: Create bags 15″ x 18″ or larger. These are ideal for bulk grocery shopping or beach trips because they can hold towels and cereal boxes.
Because t-shirts are made of Jersey Knit fabric, they generally do not fray like woven fabrics. Instead, the raw edges will naturally “roll” slightly, giving it a casual look.
Pro Tip: If you want a cleaner finish without sewing, you can fold the edges over and use Iron-On Hem Tape (like Stitch Witchery) to fuse them in place.
Yes! If you use the Tie Method (double-knotting the fringe), it is surprisingly strong.
Fabric Glue/Fuse: Good for light items.
Sewing: Best for heavy items like canned goods or textbooks.
Absolutely. Since they are just cotton t-shirts, you can toss them in the washing machine and dryer just like normal laundry. This makes them much more sanitary than reusable plastic bags that are hard to clean.

DIY T-Shirt Tote Bag
Equipment
- 1 Fabric Scissors
- 1 Sewing Machine
Materials
- 1 Old T-Shirt
- Thread Fabric Fuse, or Hot Glue
Instructions
- Prep: Turn the clean t-shirt inside out.
- Seal: Sew the bottom hem shut. (Alternatively: Use Fabric Fuse, hot glue, or cut fringe and tie knots).
- Flip: Turn the shirt right side out.
- Cut Sleeves: Cut off both sleeves to create the handles.
- Cut Neck: Cut out the neckline to create the bag opening.
- Enjoy: Fill with groceries or gear!


A Truly no-sew method is slitting the bottom section and double tying them makes the bag even cuter
Thank you for sharing
This is a great idea for recycling a t-shirt. Thanks for sharing at #HomeMattersParty
Thank you Donna 🙂
Very creative for sure, never thought of recycling a Tee other than as a Floor rag. Epic. Thanks for sharing at the Pit Stop!
Syl
Thank you Julie
Very good and practical idea for our old t-shirts! Thank you for sharing with us on Party in Your PJ’s.
Thank you Teresa 🙂
I’m sure I have some old t-shirts I could do this to! Great idea, and super easy!
Thank you Heather and I’m so pleased you want to give it a try 🙂
Wow! What a simple but great idea! I’ll have to check though my older T-shirts to see what I can find. 🙂
Thank you Linda 🙂
It’s fabulous, my friend! I have a bag in this shape that I love so I may have to make a few more with your simple and fun t-shirt idea.
Thanks for the inspiration. Hugs! Stephanie-The Enchanting Rose
Thank you Stephanie, I’m sure with your wonderful sewing skills you’ll fancy it up even more! Please send me pictures if you decide to do it, I’d love to see what you make! Hugs!!!