

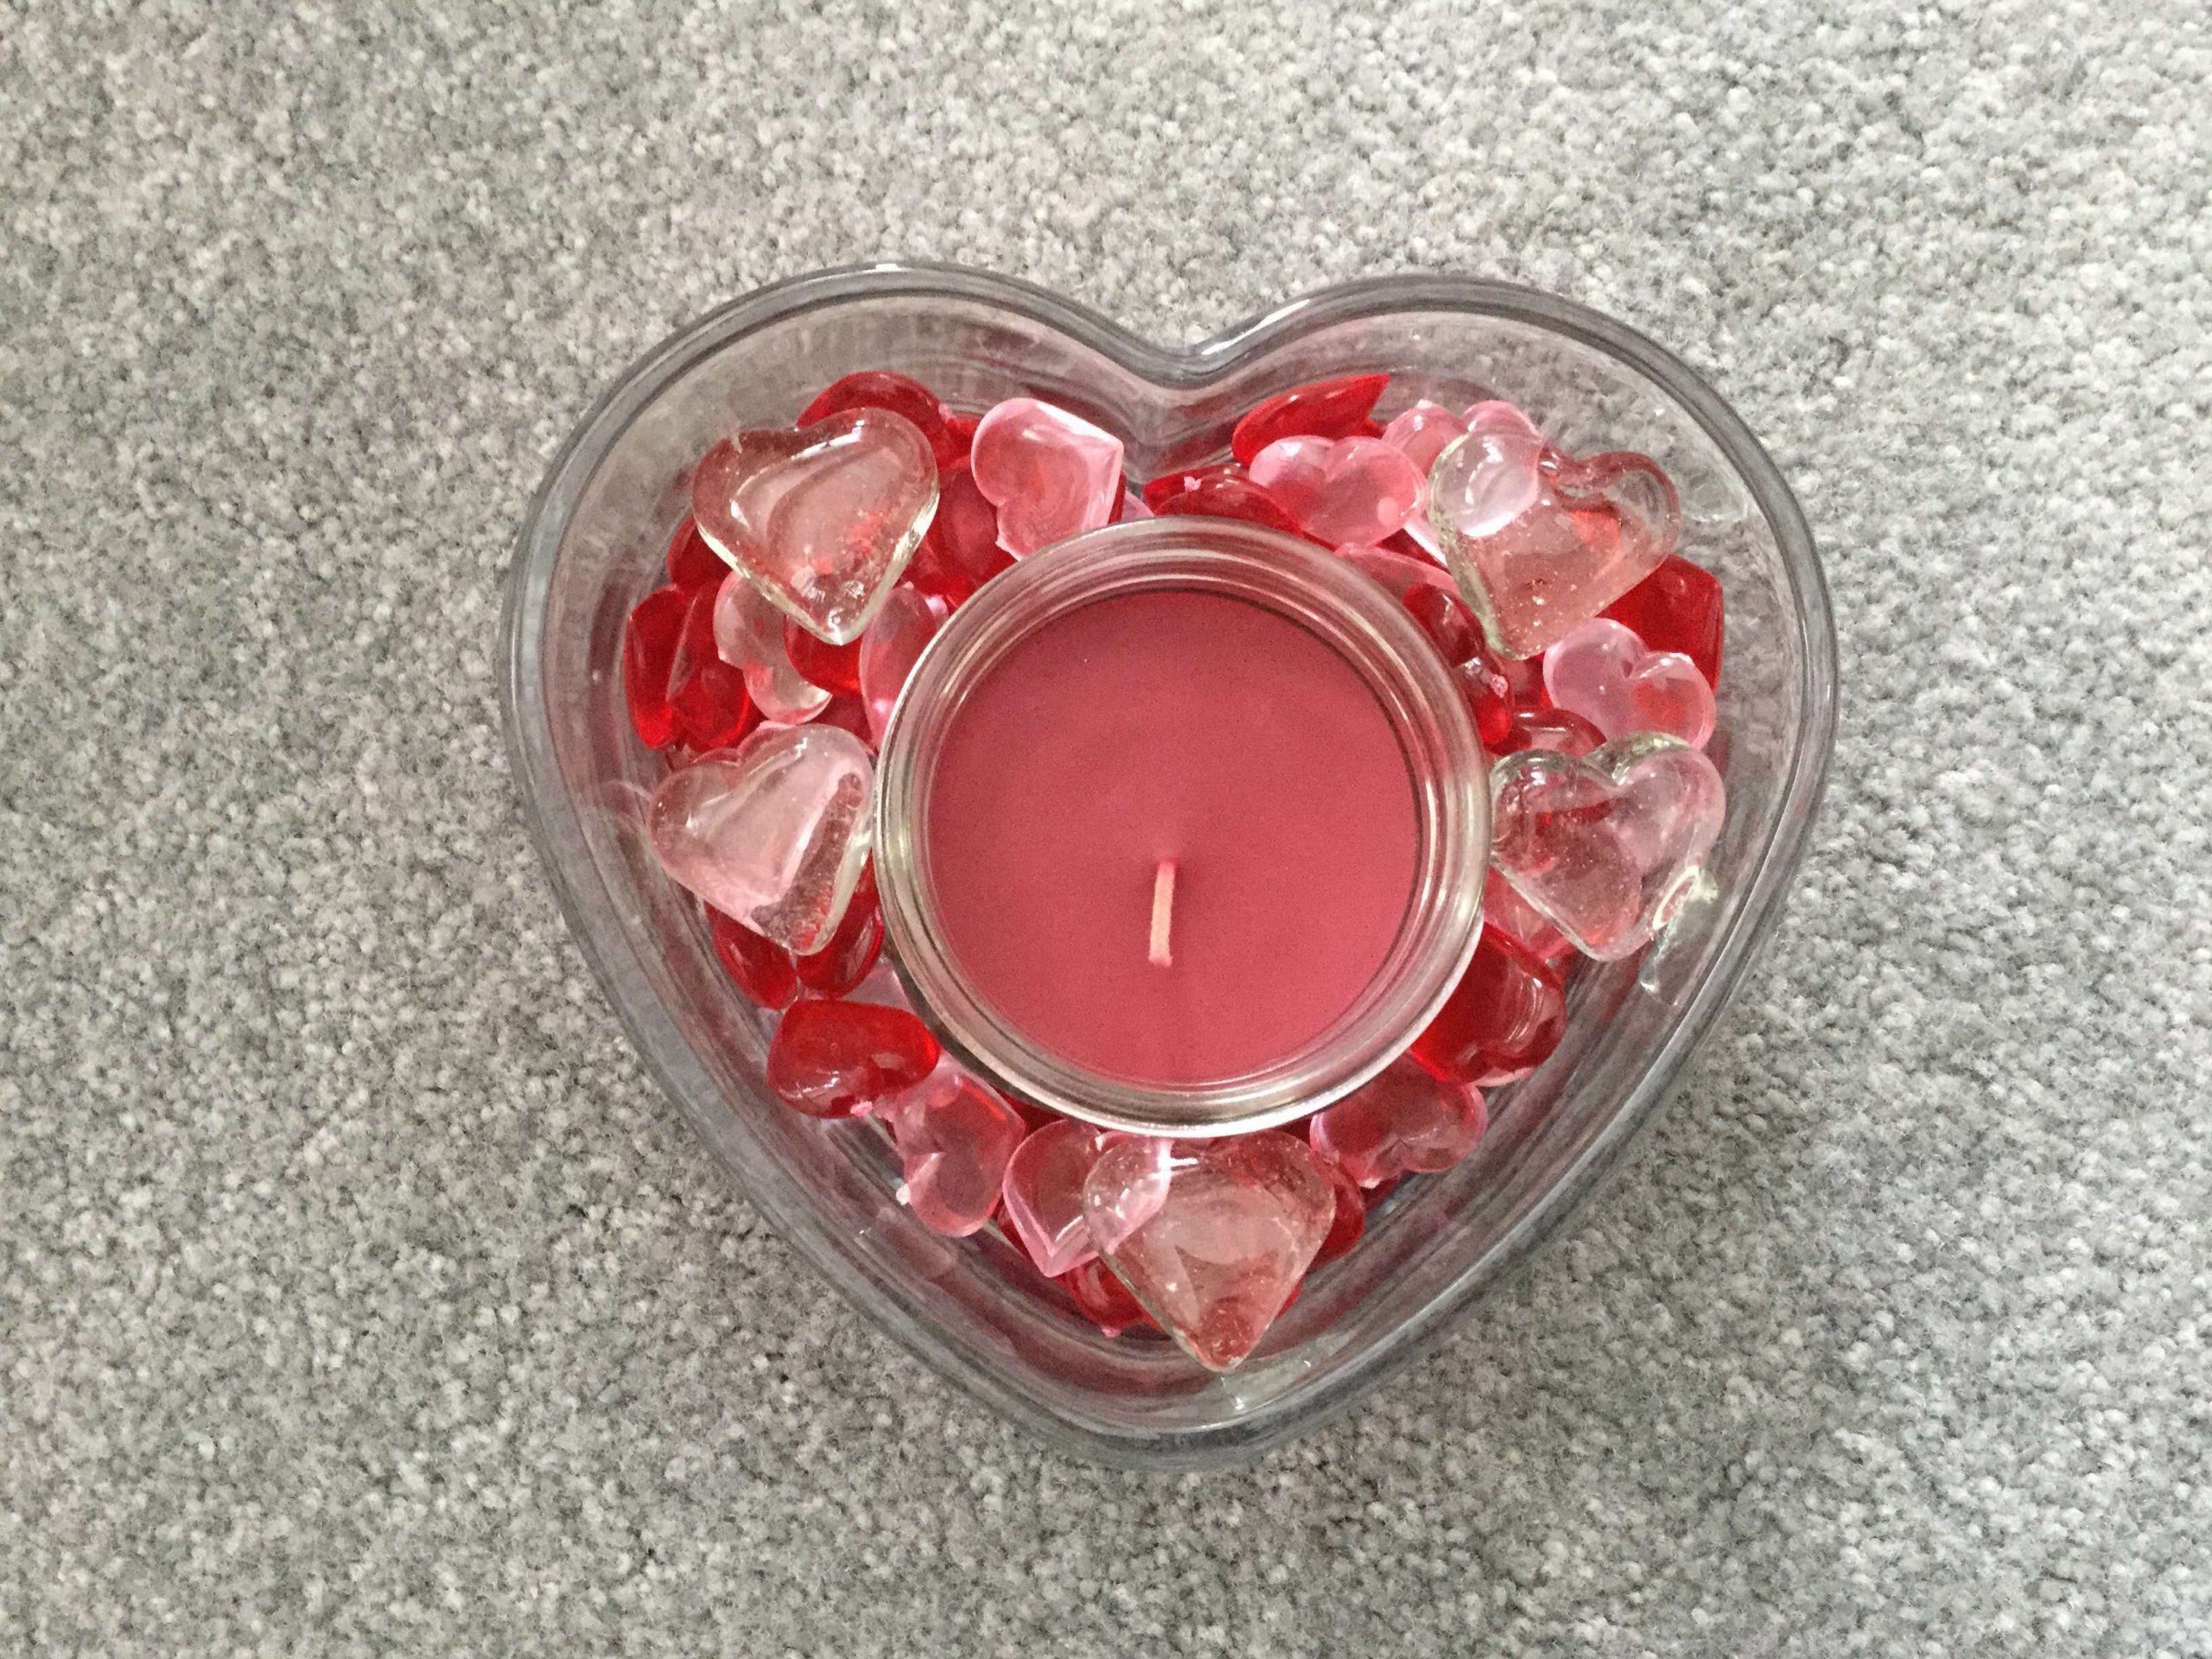
2 Easy Dollar Tree Valentine’s Day Wreaths

Why settle for one Valentine’s wreath when you can have options? If you have been following my recent decorating adventures—like my How To Make a Dollar Tree Wreath Easy DIY, or my Easy and Beautiful Paper Doily Wreath, —you know I love taking a simple wire form and completely transforming it with unexpected items.

Project Snapshot
- The Goal: Create a high-end heart wreath using a wire frame.
- Cost: Under $5 each.
- Time: 15–20 Minutes per wreath.
- Skill Level: Beginner (Hot Glue Gun required!)
- Trend Alert: The “Scarf” method fits perfectly with the 2026 “Cozy/Textured” decor trend.
Today, I’m sharing two different ways to style a $1.25 heart wreath form. Whether you want the soft, cozy texture of a wrapped scarf (Option 1) or the shiny, high-end look of repurposed ornaments (Option 2), I have you covered. These projects are proof that you don’t need a craft store budget to make your front door look designer-ready.
Why I Love These 2 Hacks
I couldn’t decide which style I liked better, so I made both!
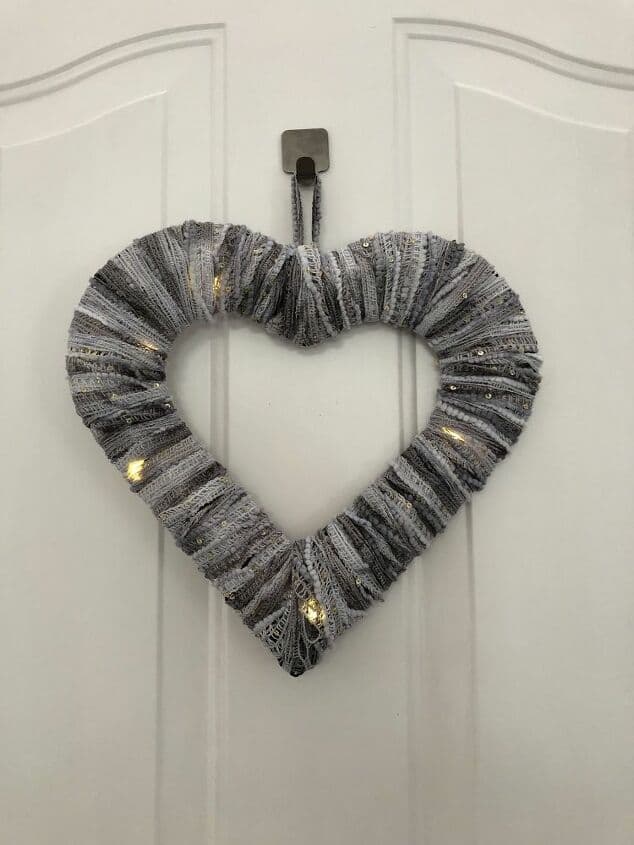
- Option 1 (The Scarf Wreath): This is perfect if you want a “soft” look. By wrapping scarves around the wire, you get a chunky, textured look that hides the frame completely. It’s warm, inviting, and uses fabric you might already have.
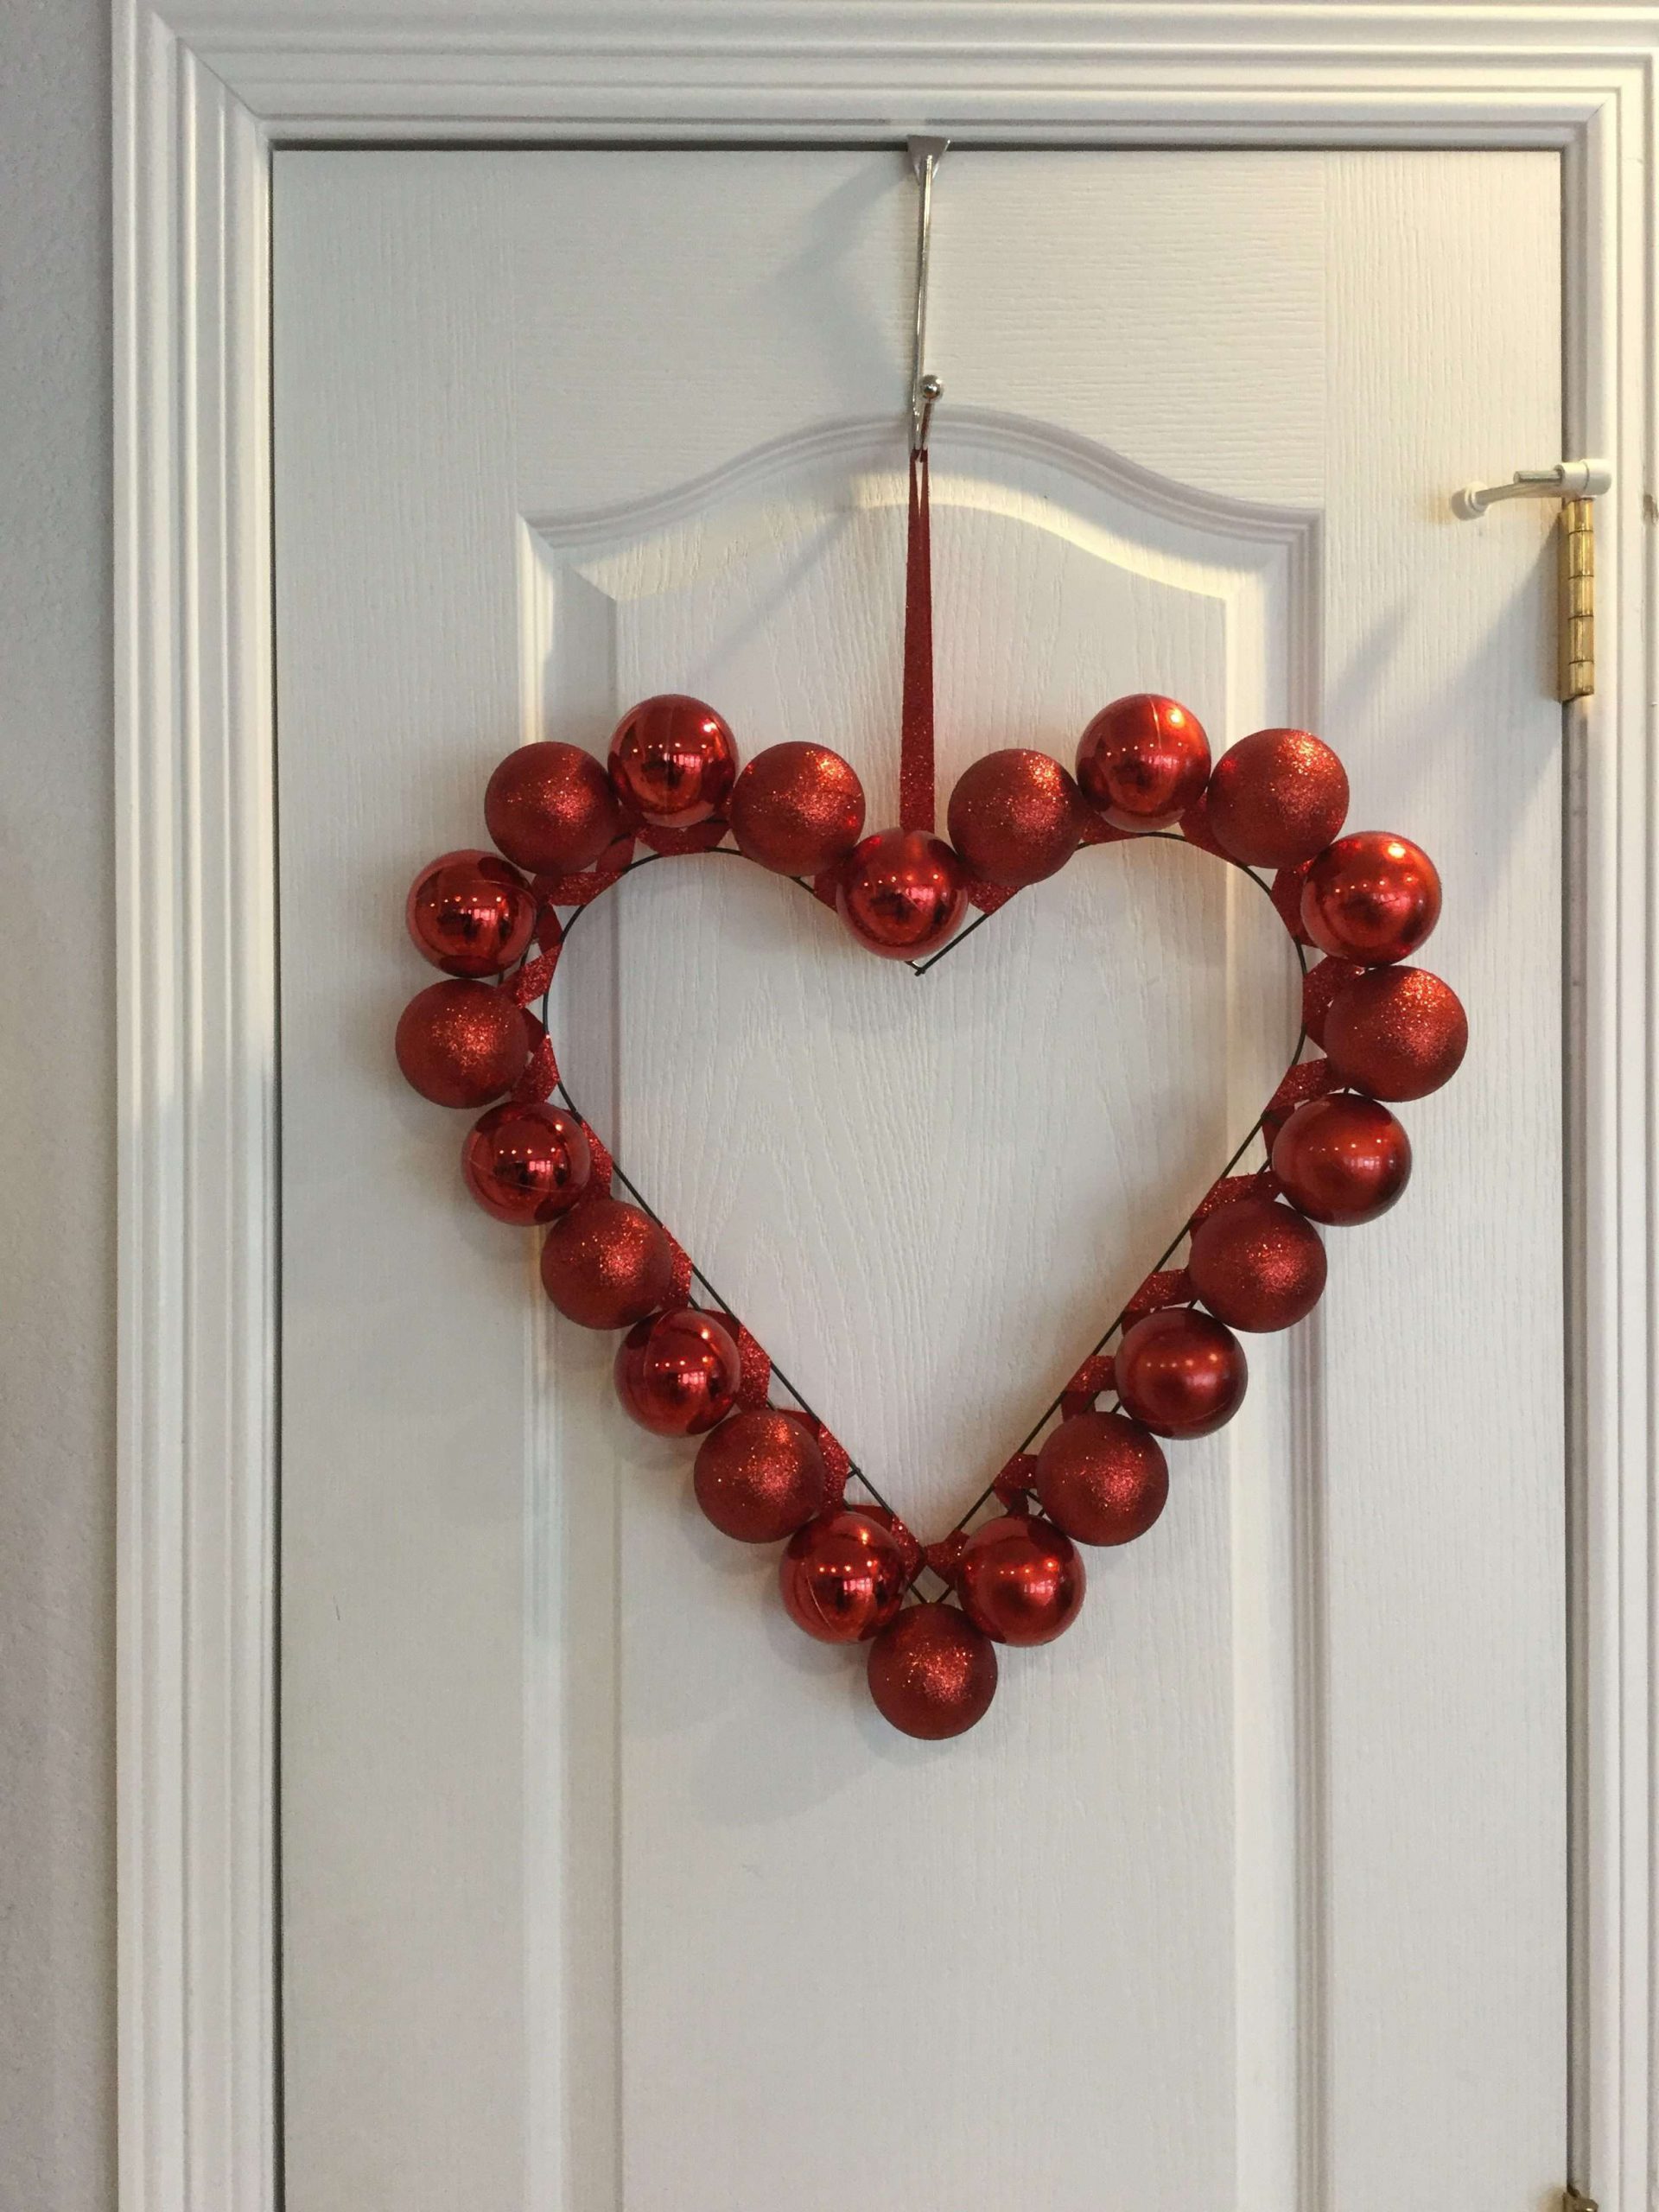
- Option 2 (The Bulb Wreath): This is a brilliant way to use up red Christmas ornaments! It looks like those expensive “Mercury Glass” wreaths you see in catalogs but costs pennies to make.
Beautiful Dollar Tree Heart Wreath Video
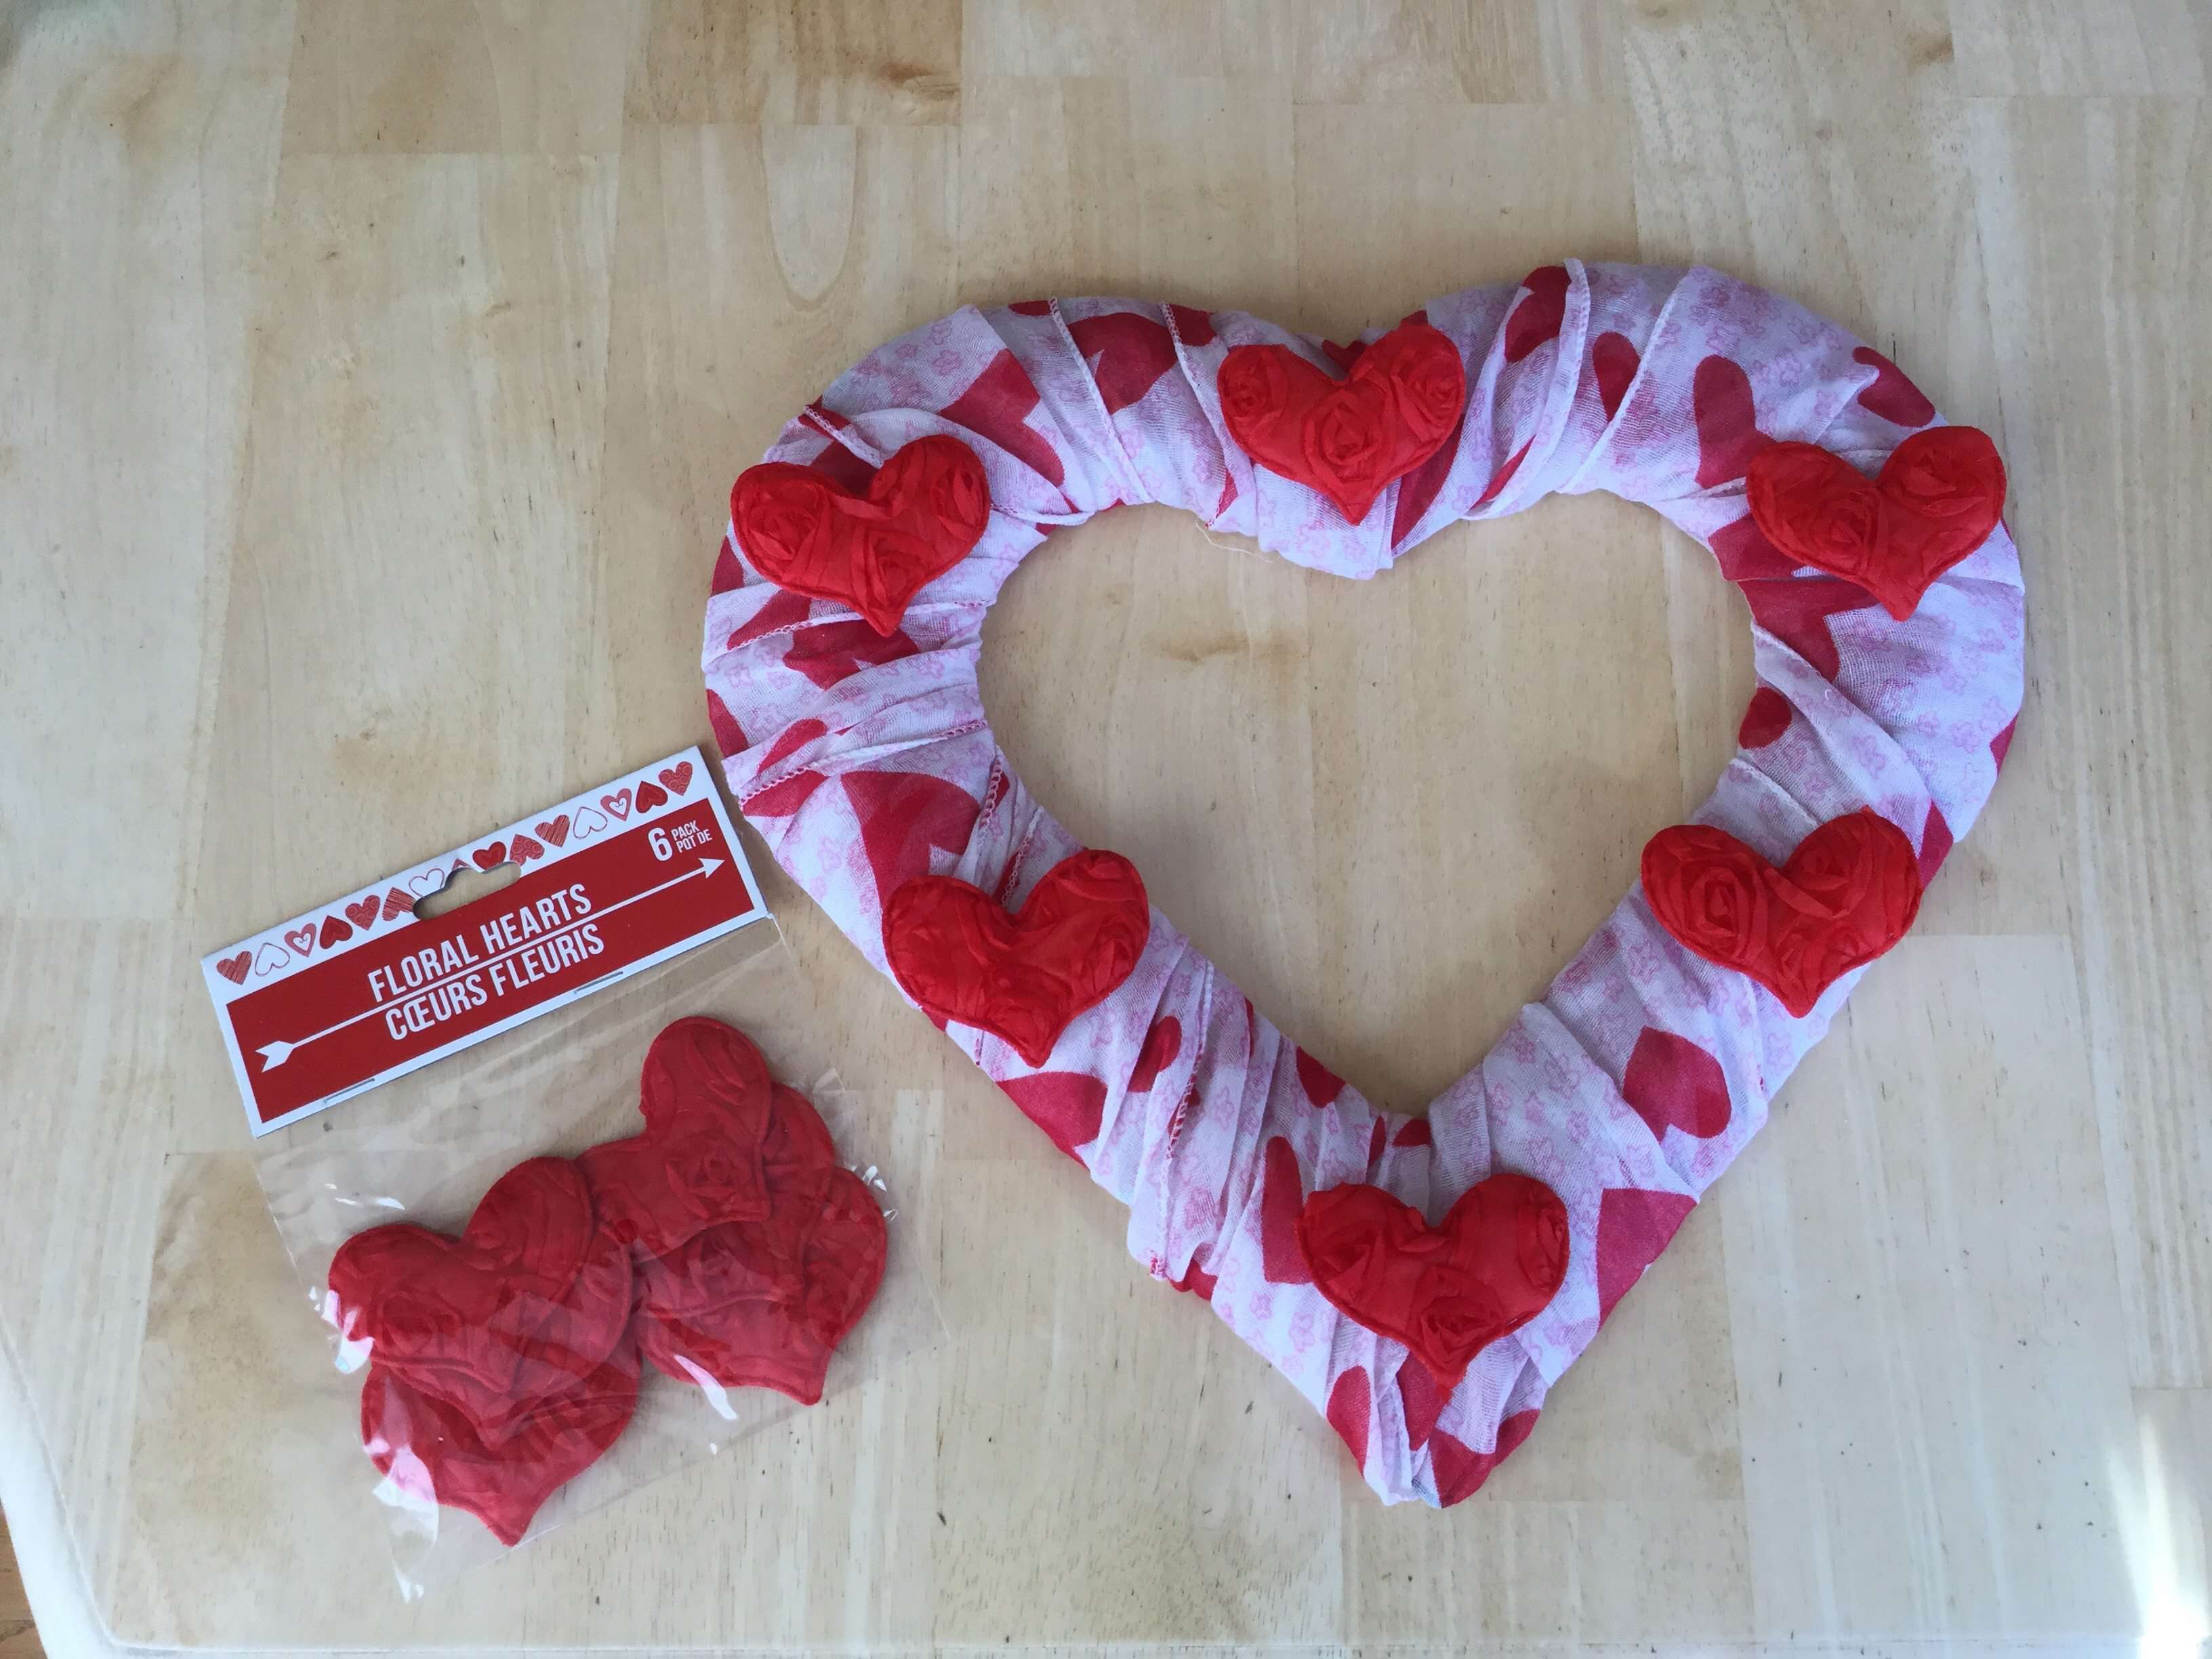
Option 1: The Scarf Wrapped Wreath

This method gives you a soft, boho-style wreath perfect for indoor doors or a gallery wall.
Materials Needed:
- Wire Heart Wreath Form (Dollar Tree)
- 2 Scarves (Pink, Red, or Patterned)
- Fabric Heart Stickers (or felt cut-outs)
- Hot Glue Gun
Instructions:
1. Secure the Start
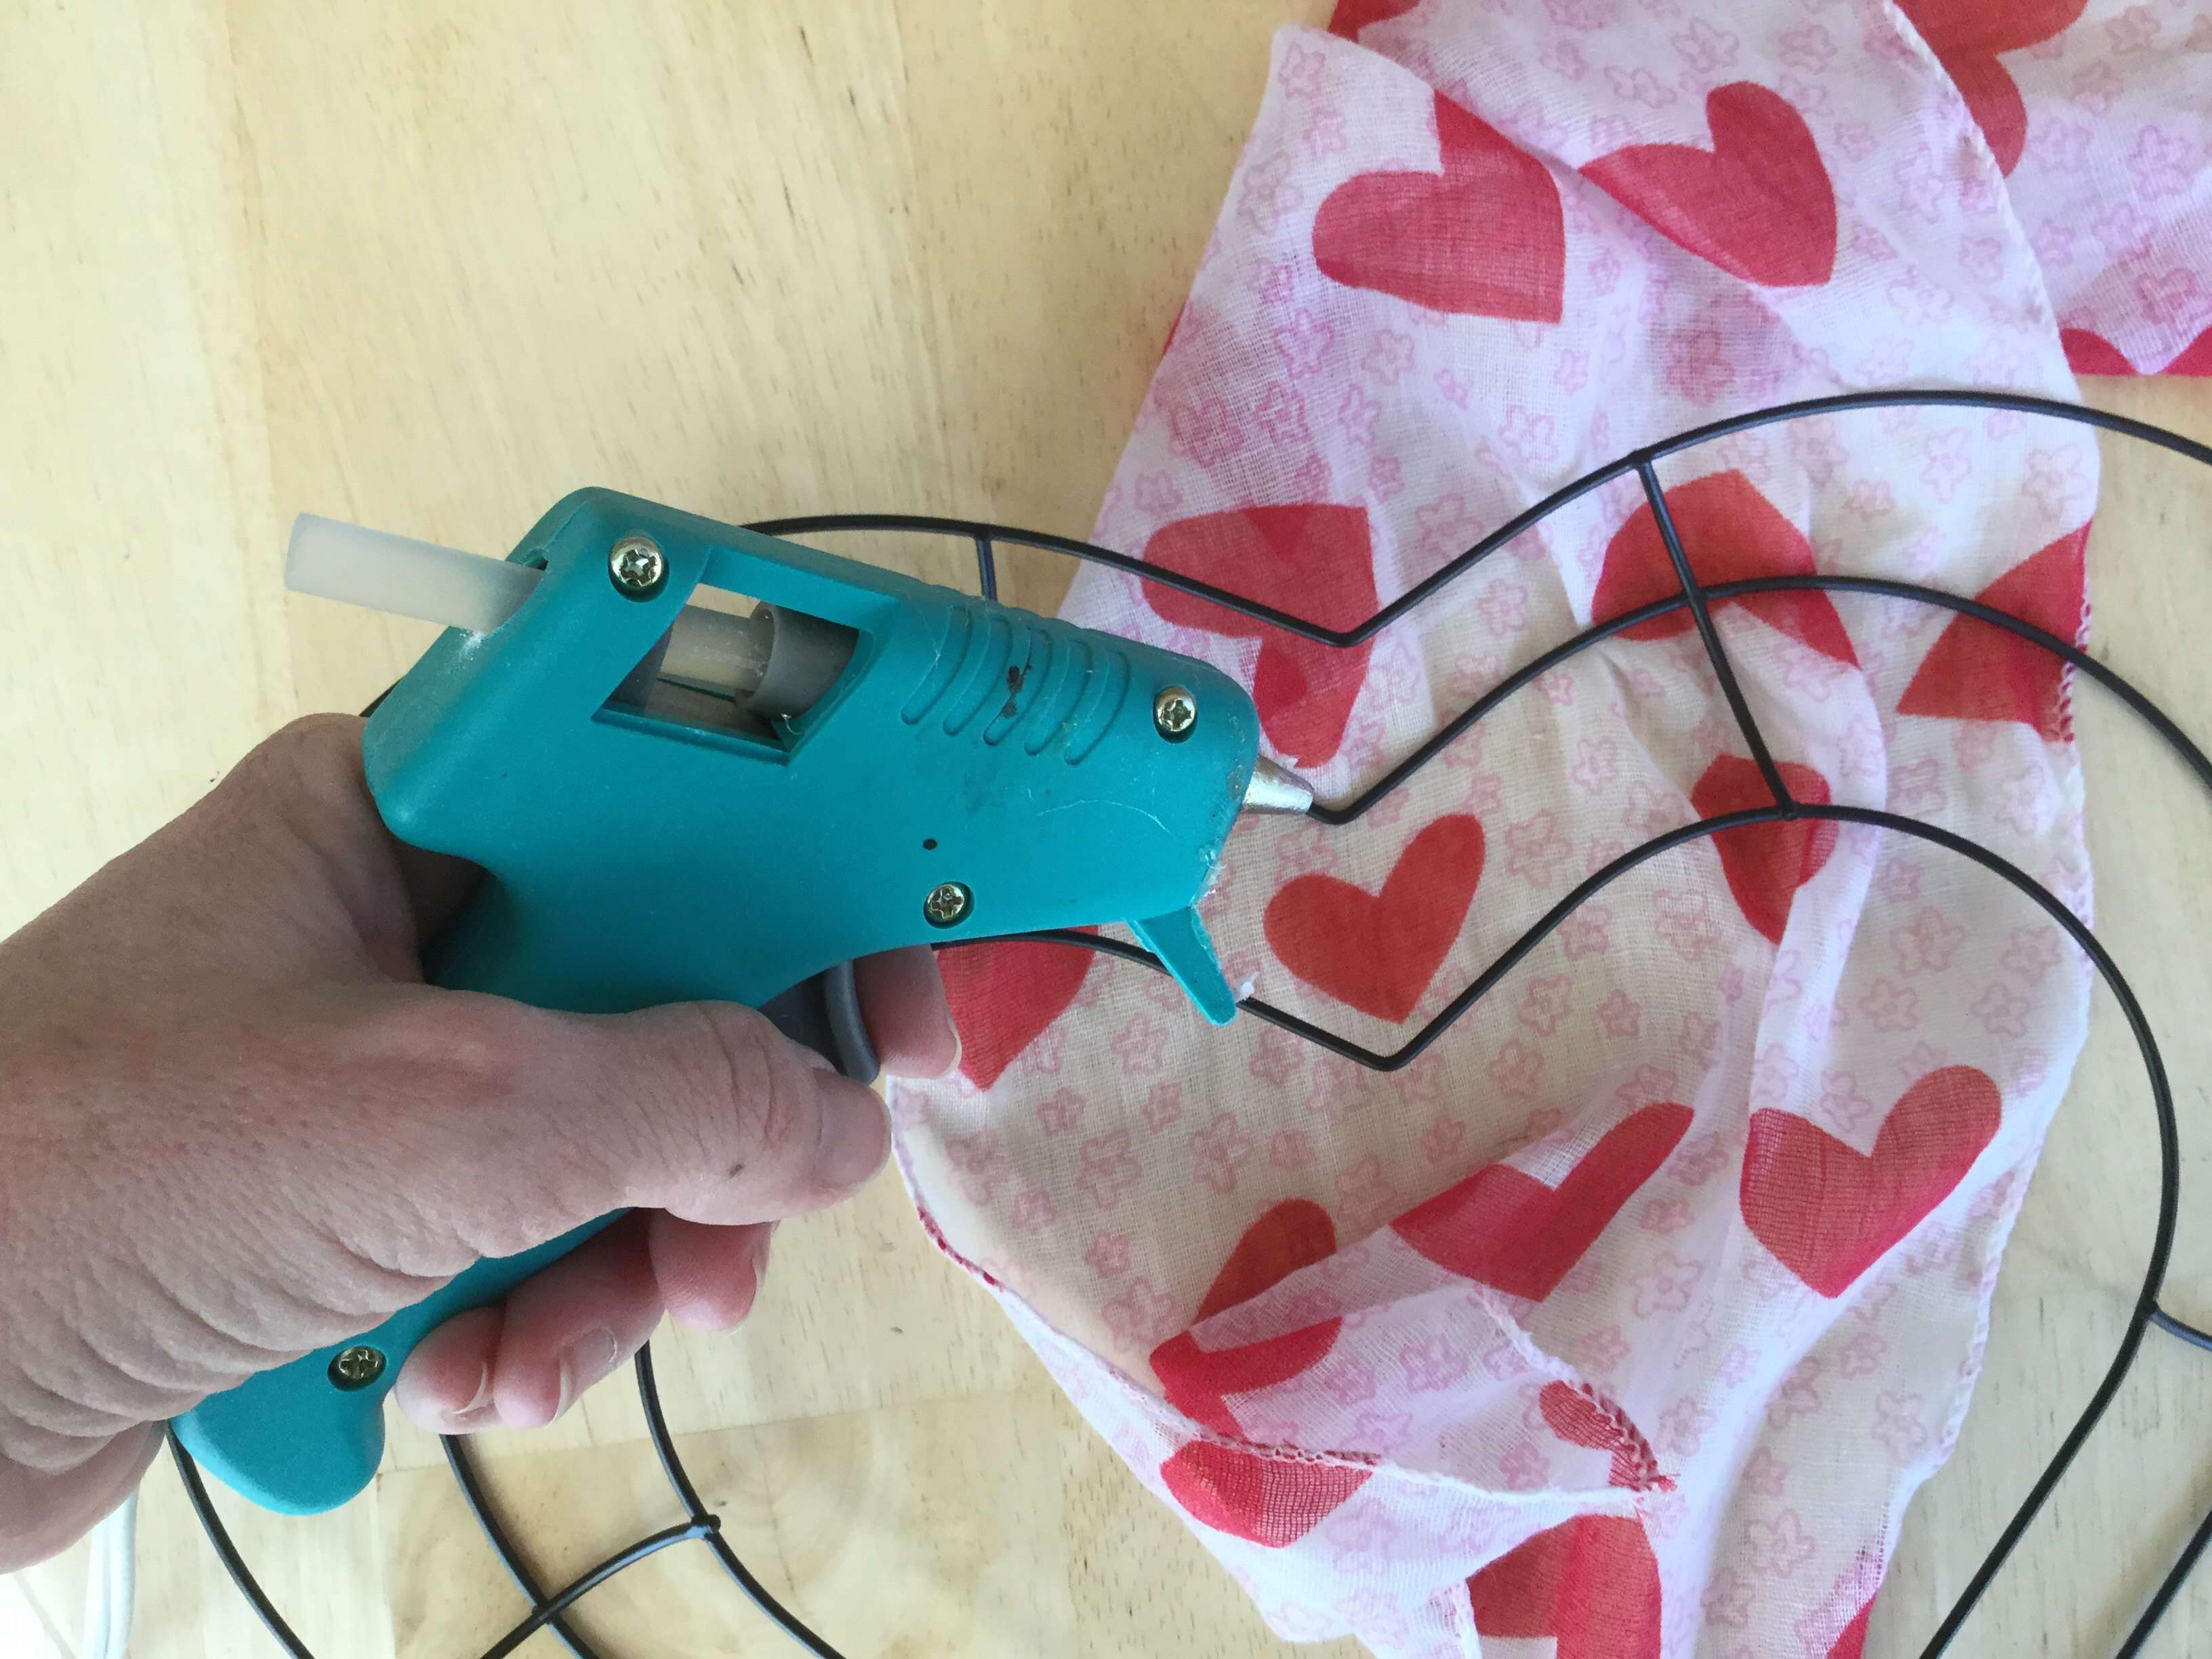
Hot glue the end of your first scarf to the top center of the wire heart form.
2. Start Wrapping
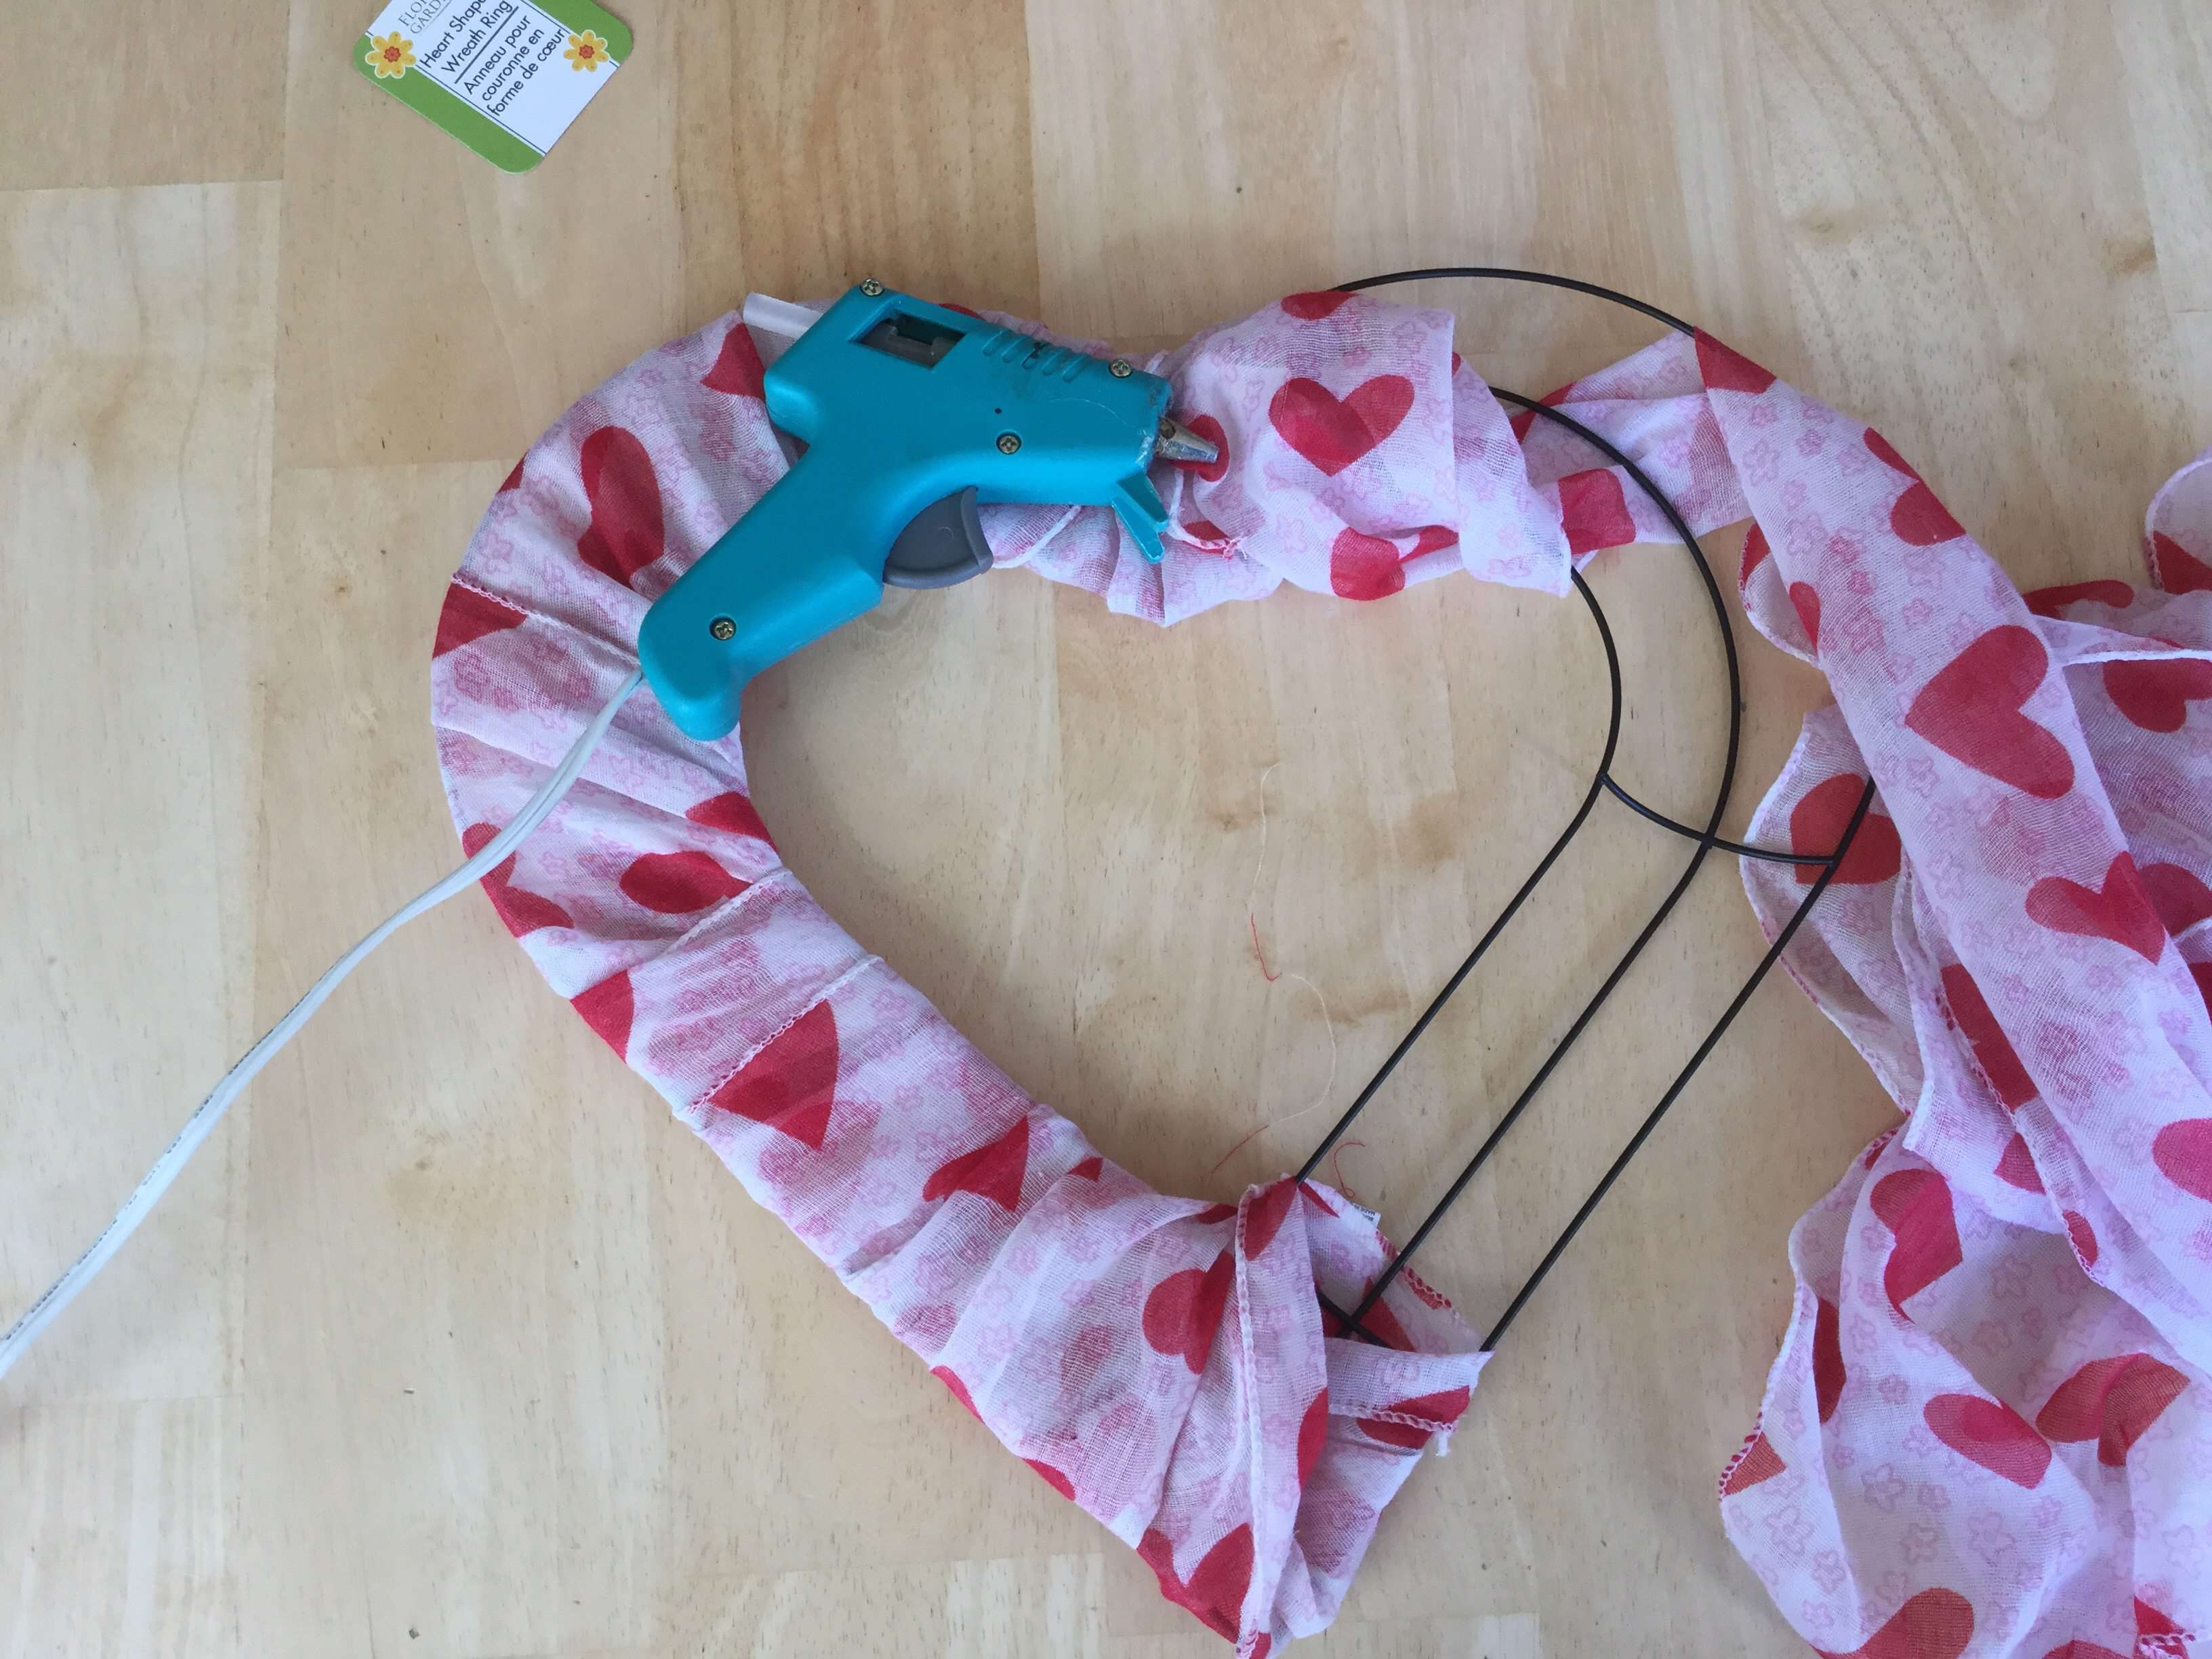
Tightly wind the scarf around the wire form.
- Chas’ Tip: Overlap the layers slightly so no green wire peeks through!
3. Add the Second Scarf
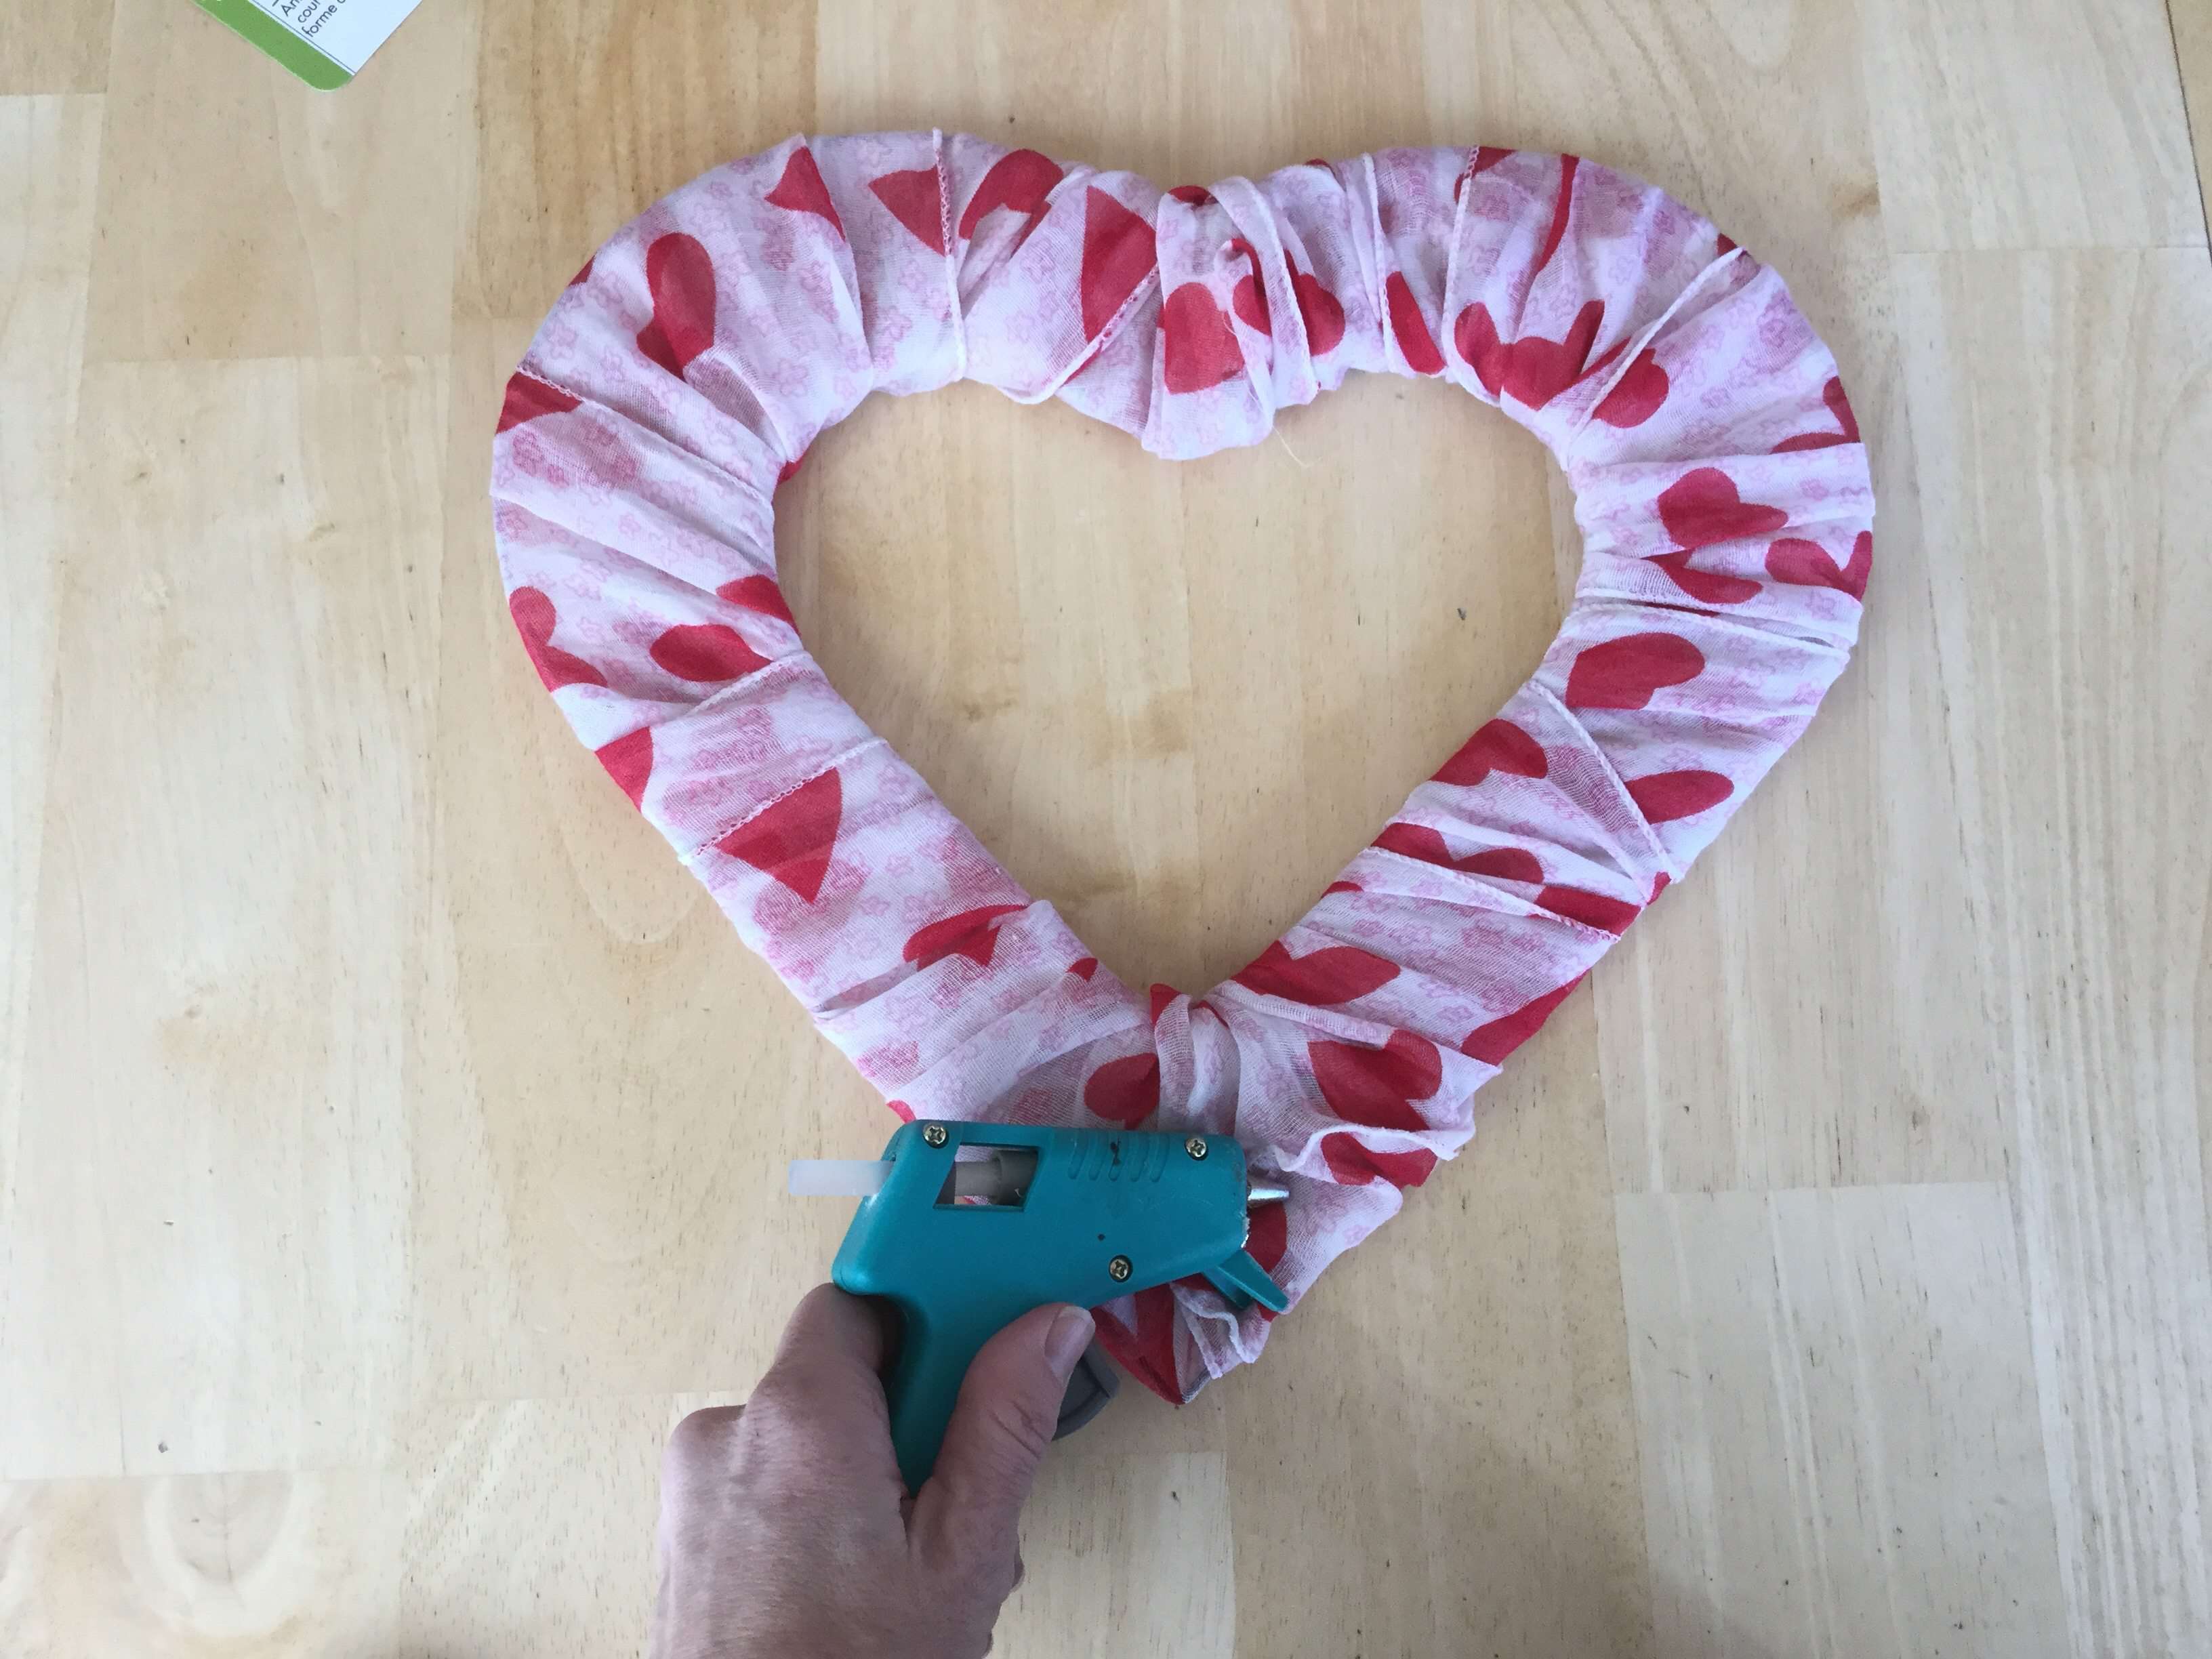
When the first scarf runs out (usually halfway), glue the end down and start the second scarf right on top of it.
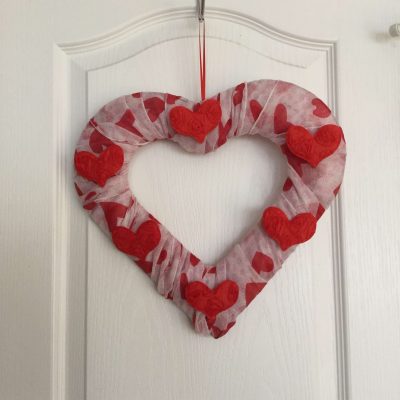
4. Decorate
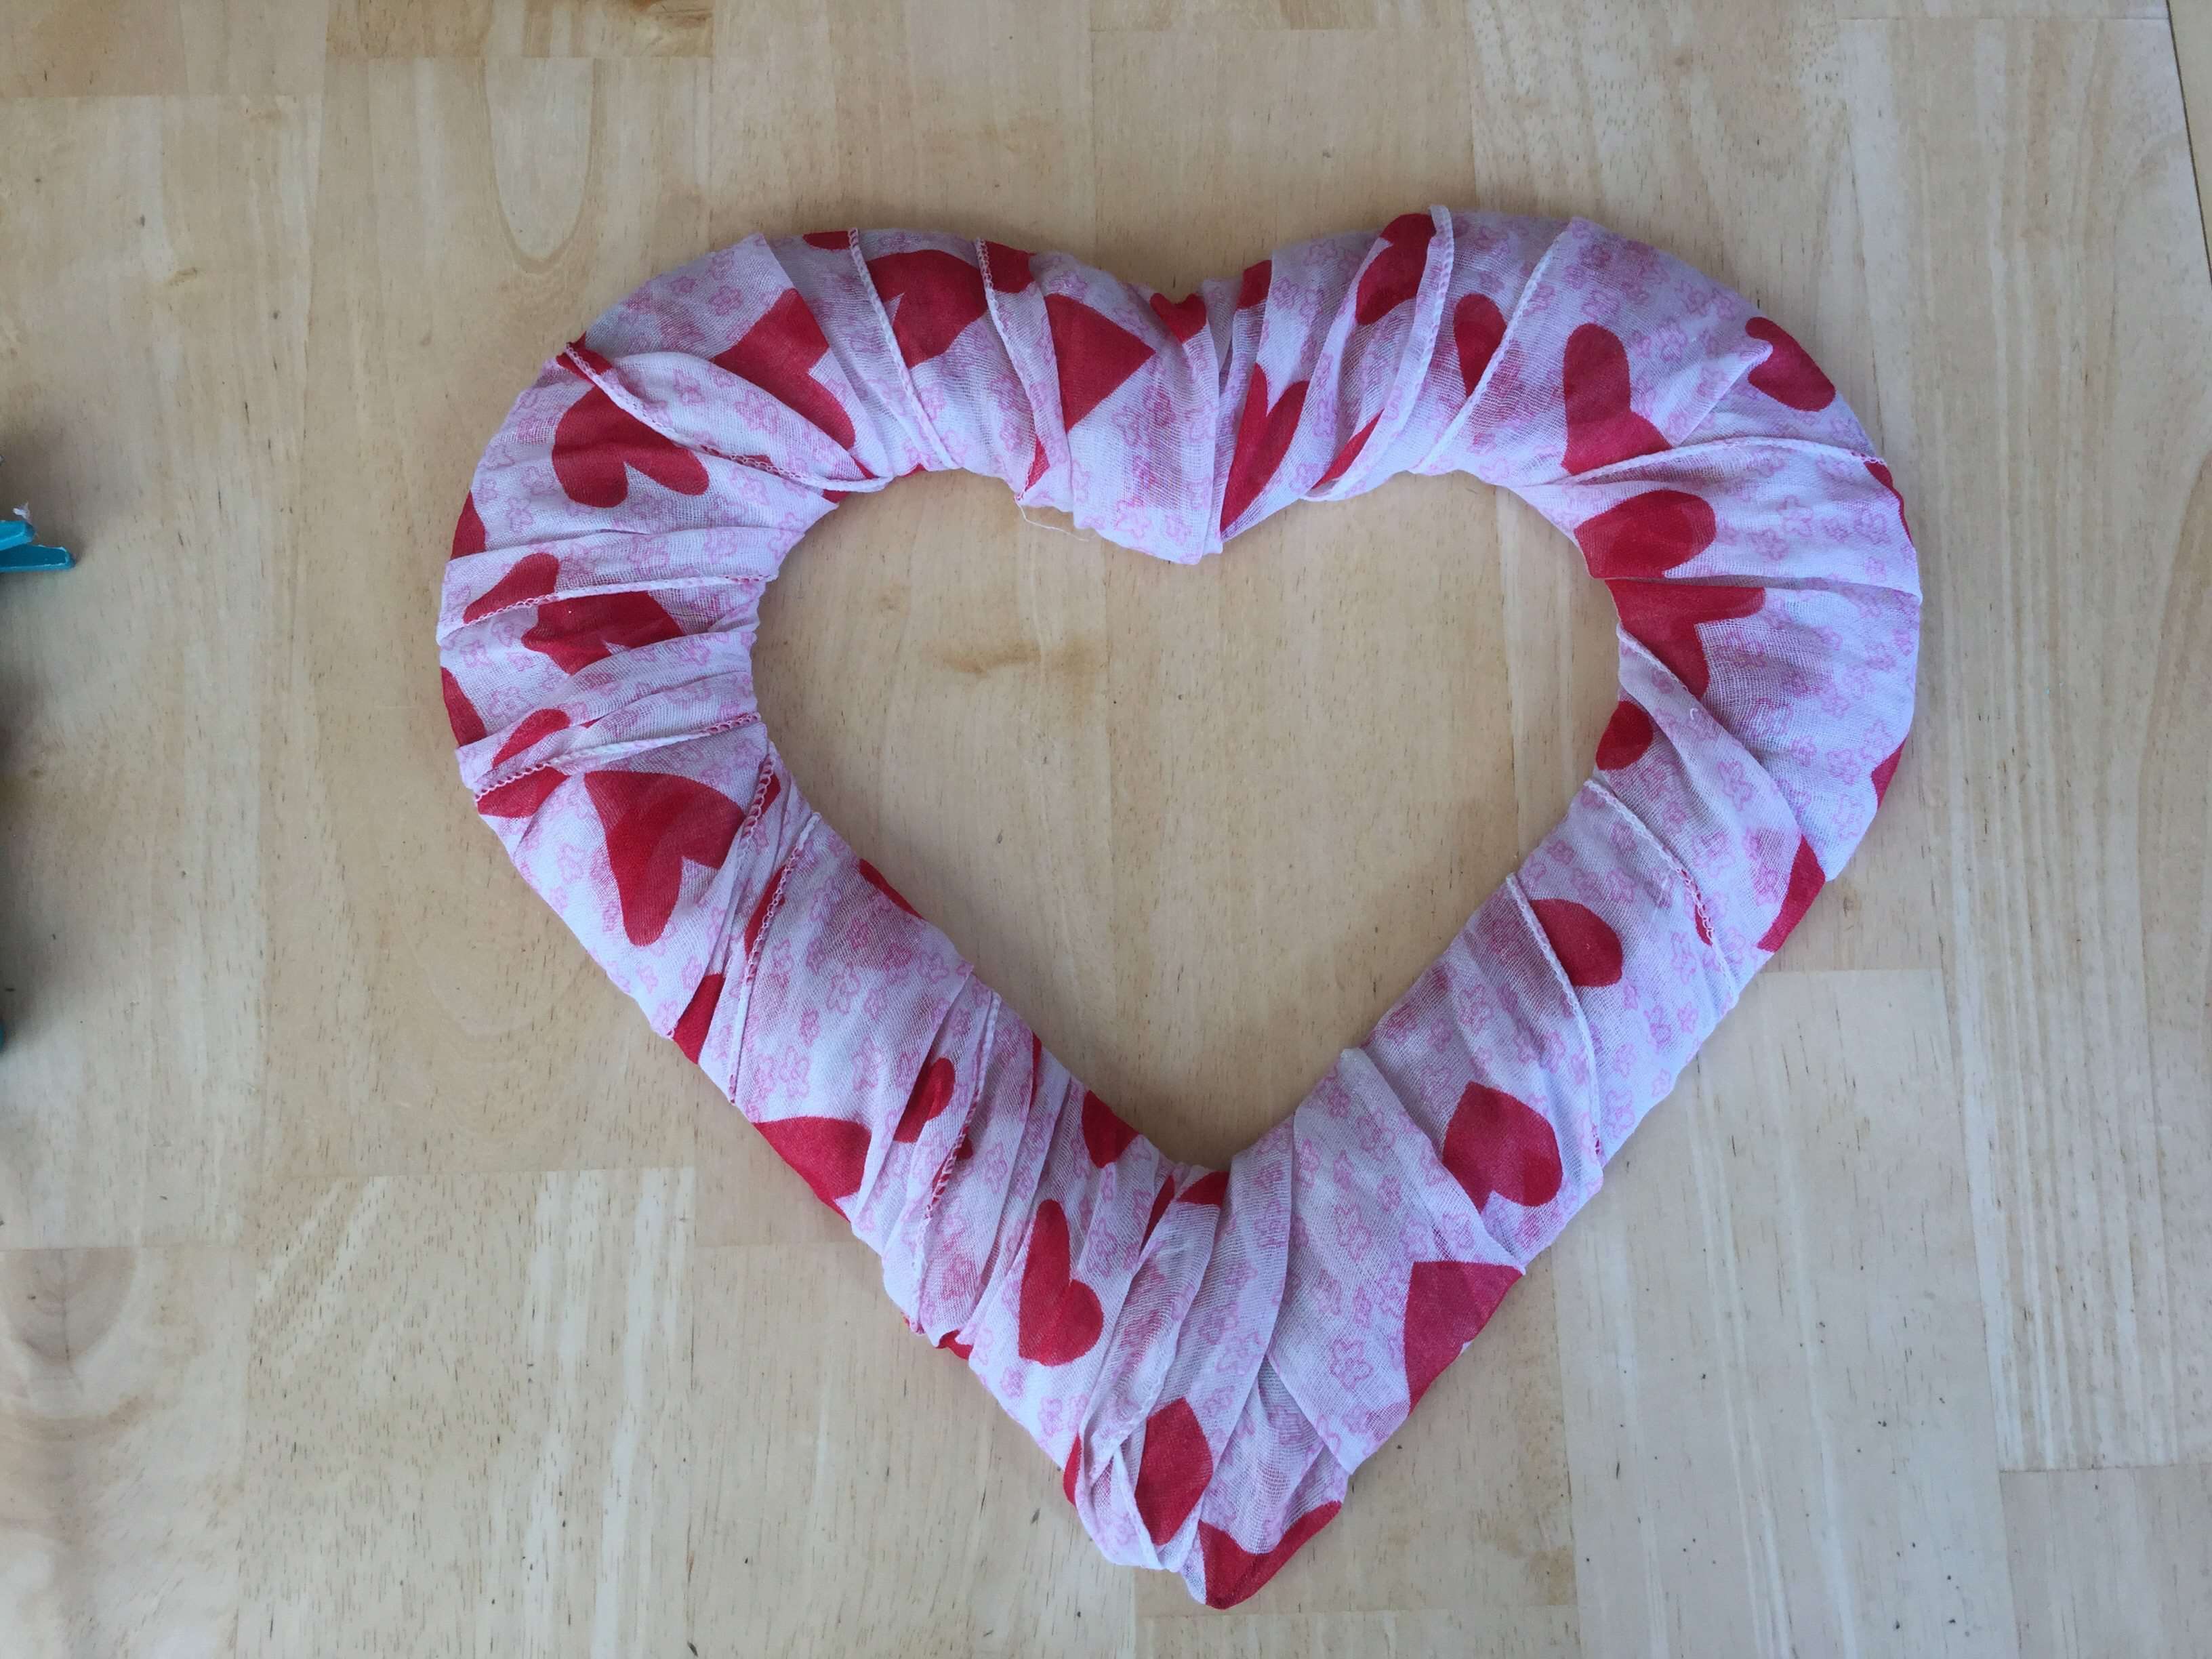
Once the form is fully covered, use hot glue to attach fabric heart stickers or felt shapes directly onto the scarf material for a pop of pattern.
5. Hang
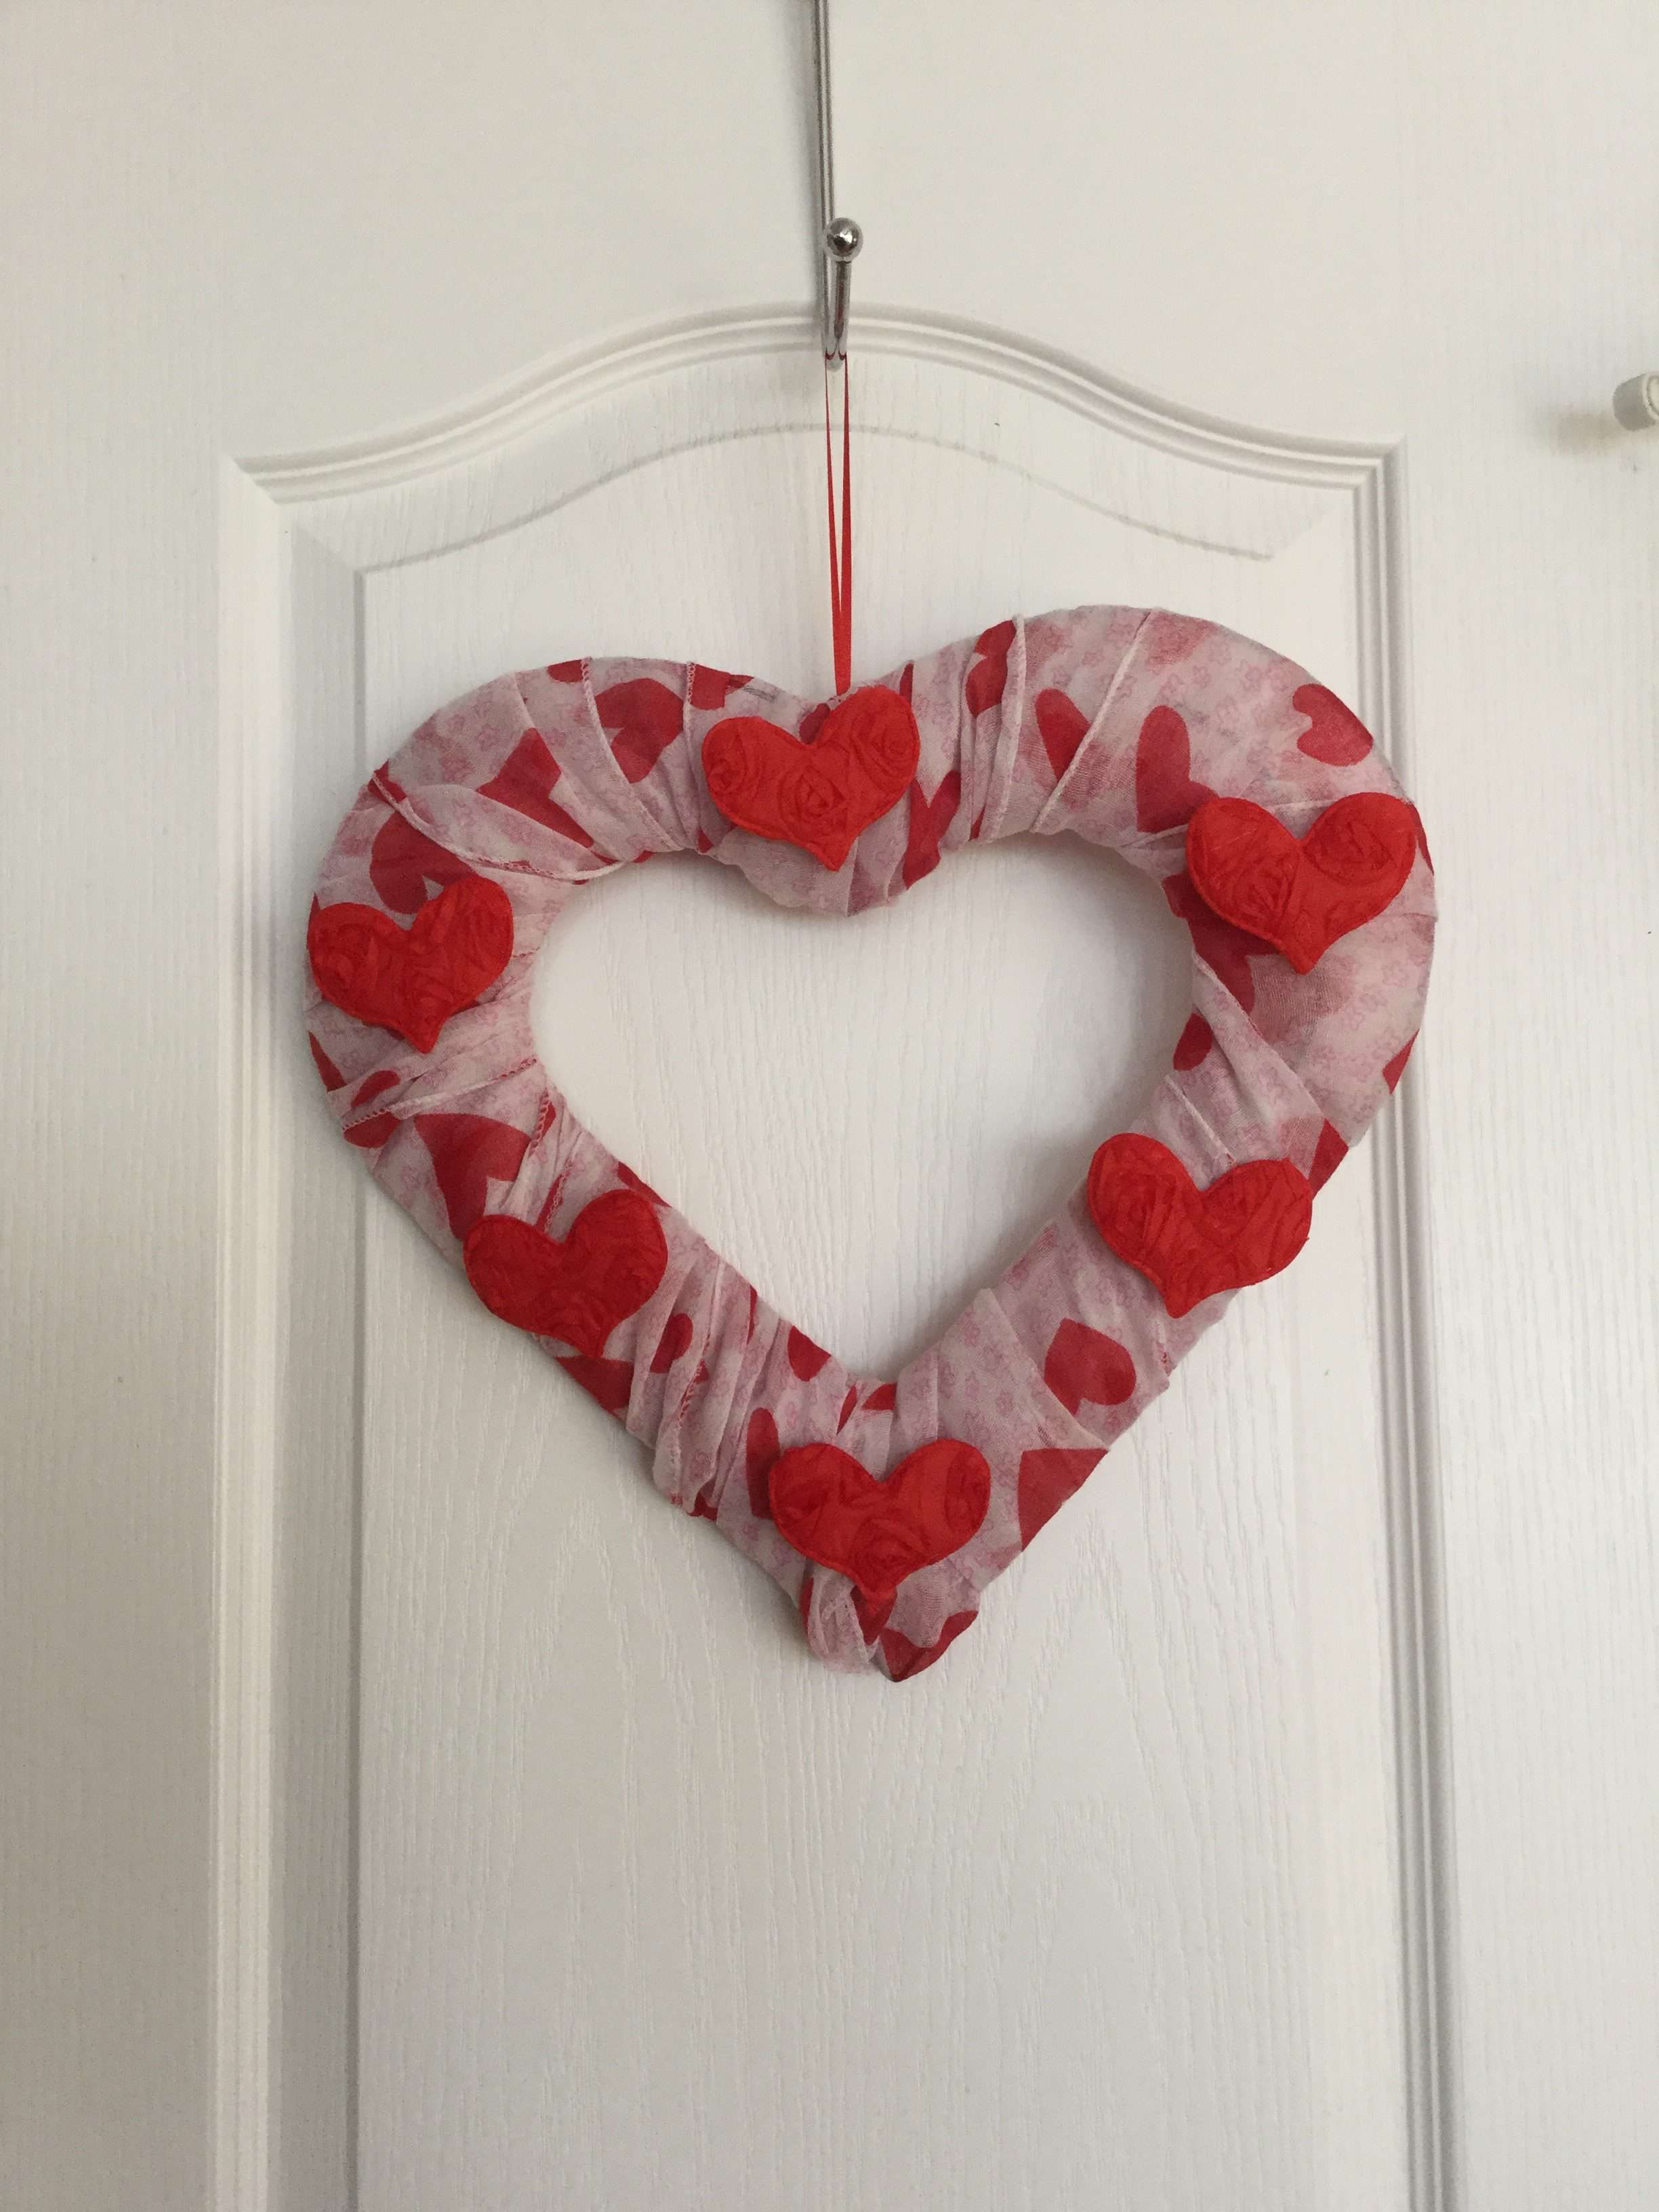
Add a ribbon to hang the wreath, and you’re done!
Option 2: The Red Bulb Wreath
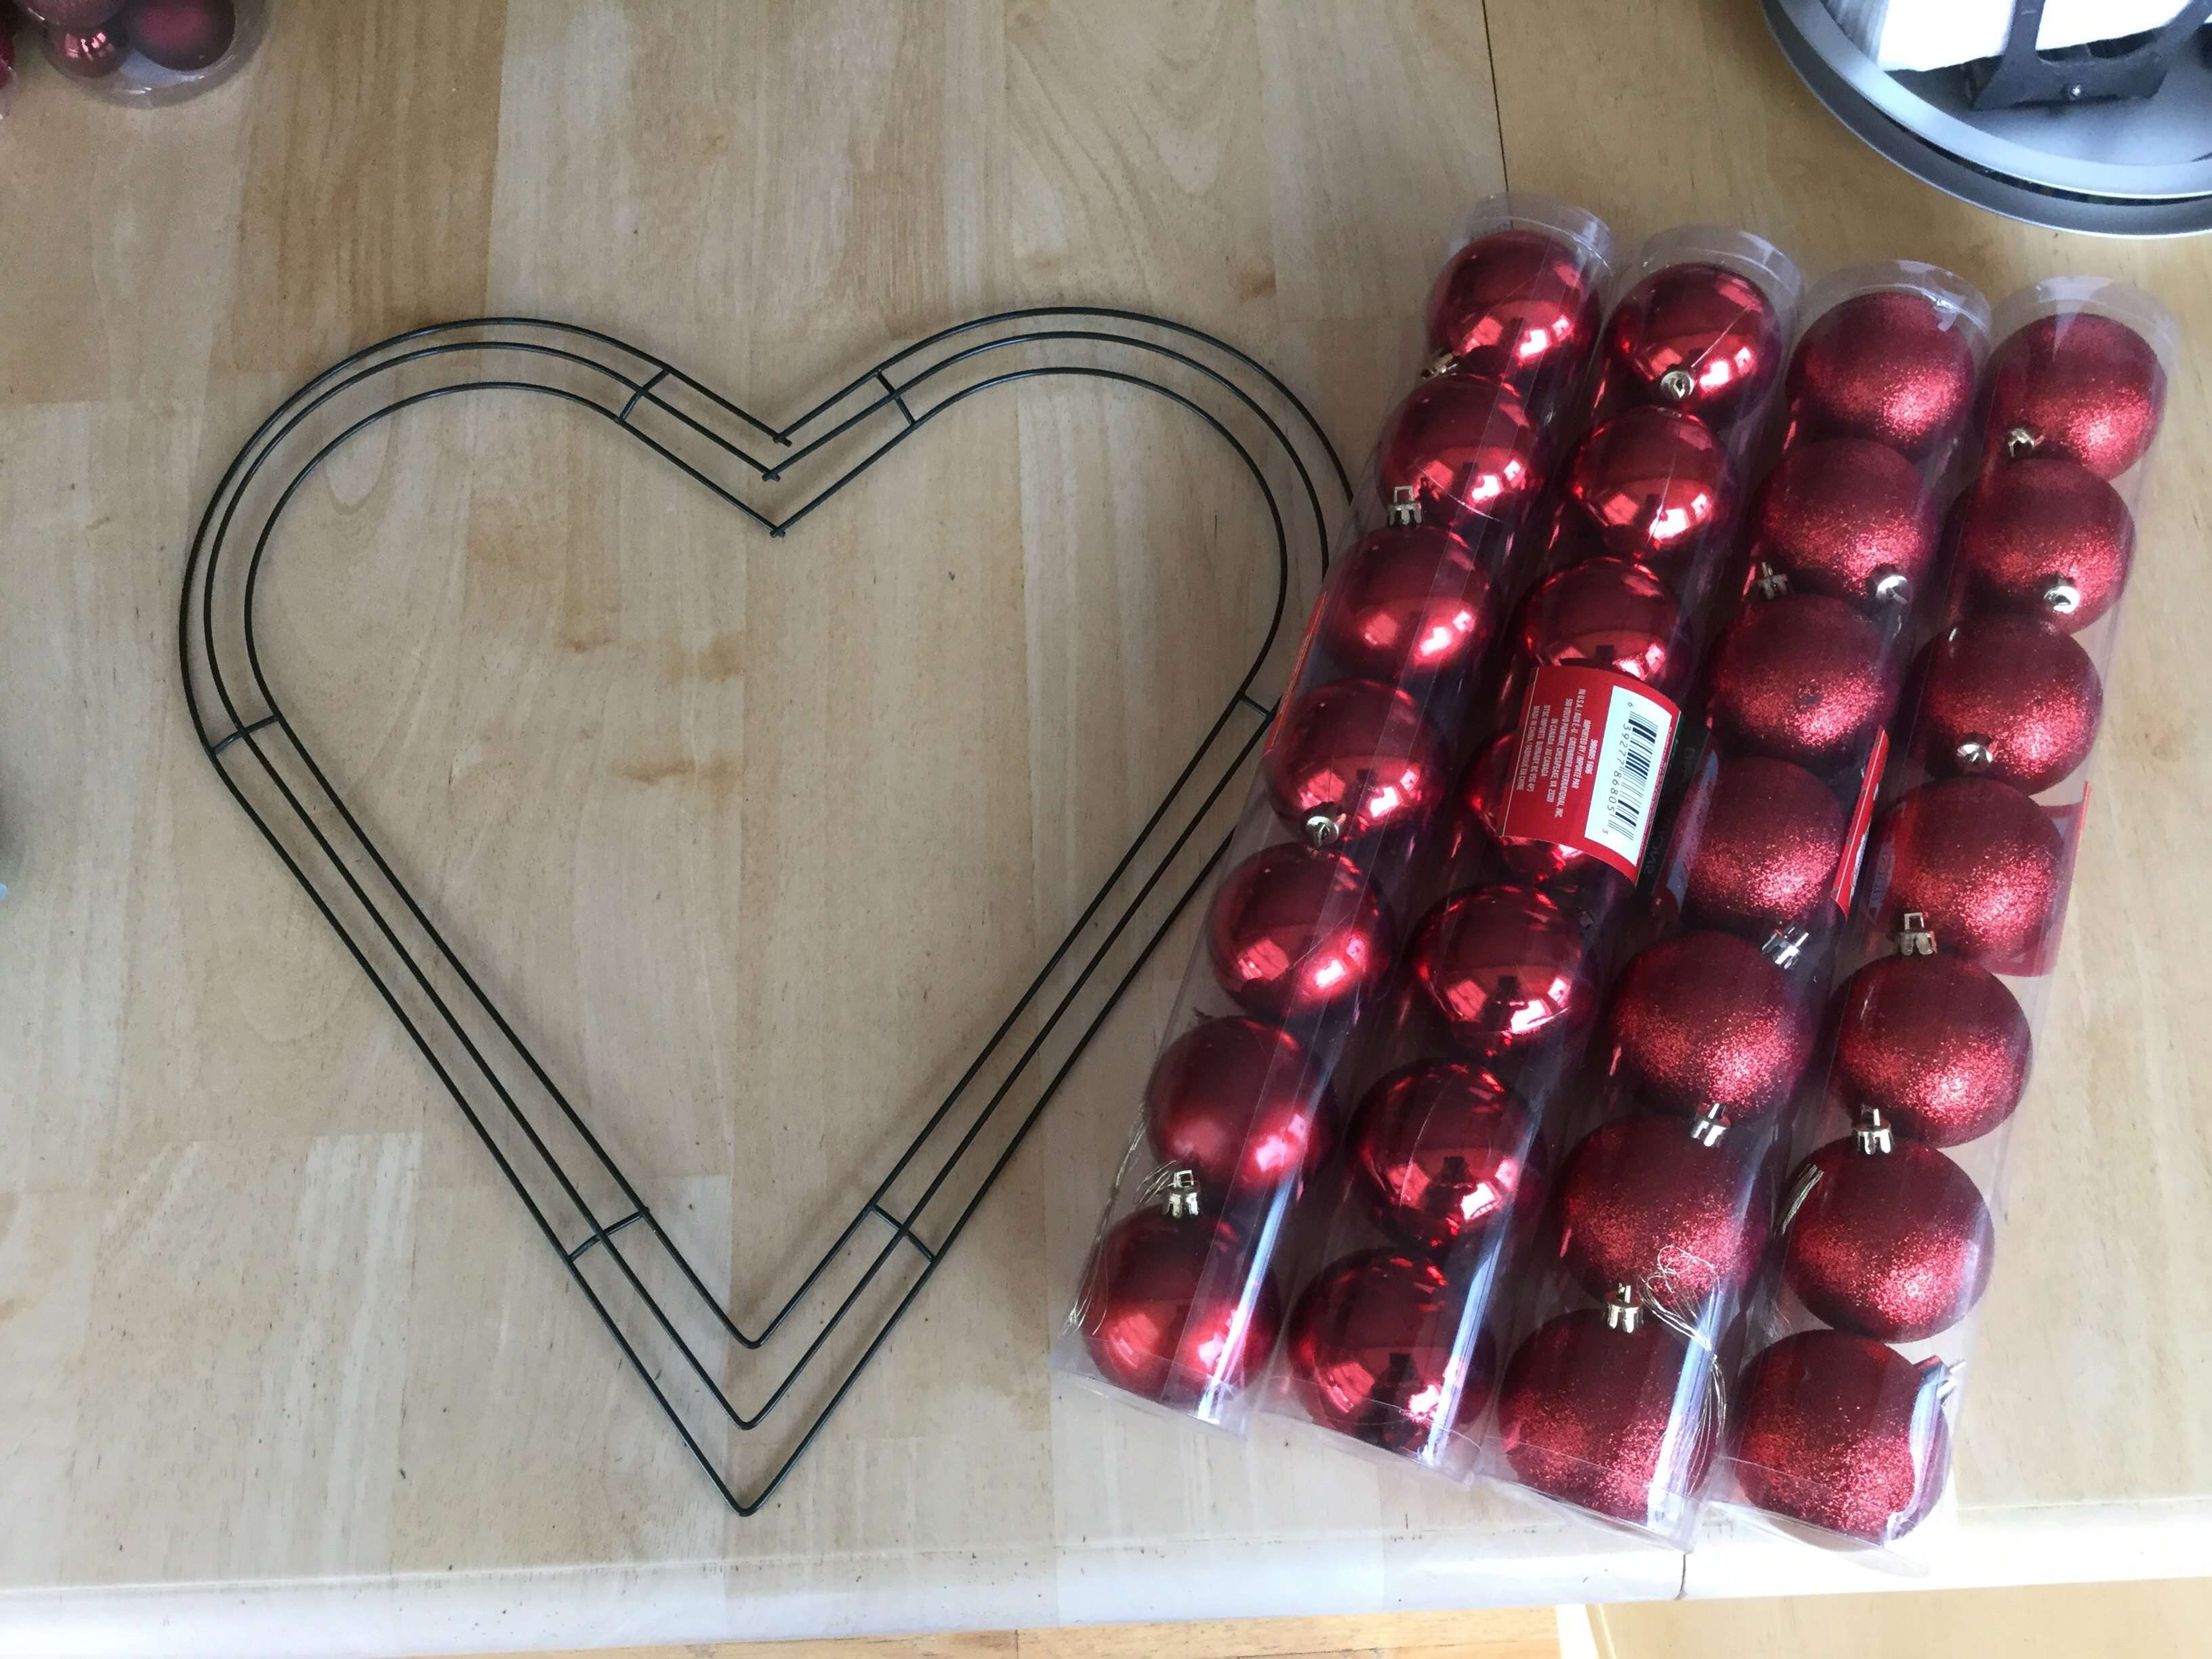
This option is flashy, fun, and a great “upcycle” project.
Materials Needed:
- Wire Heart Wreath Form
- Red Christmas Bulbs (Small to Medium size works best)
- Red Ribbon (Satin or Grosgrain)
- Hot Glue Gun
Instructions:
1. Glue the Bulbs
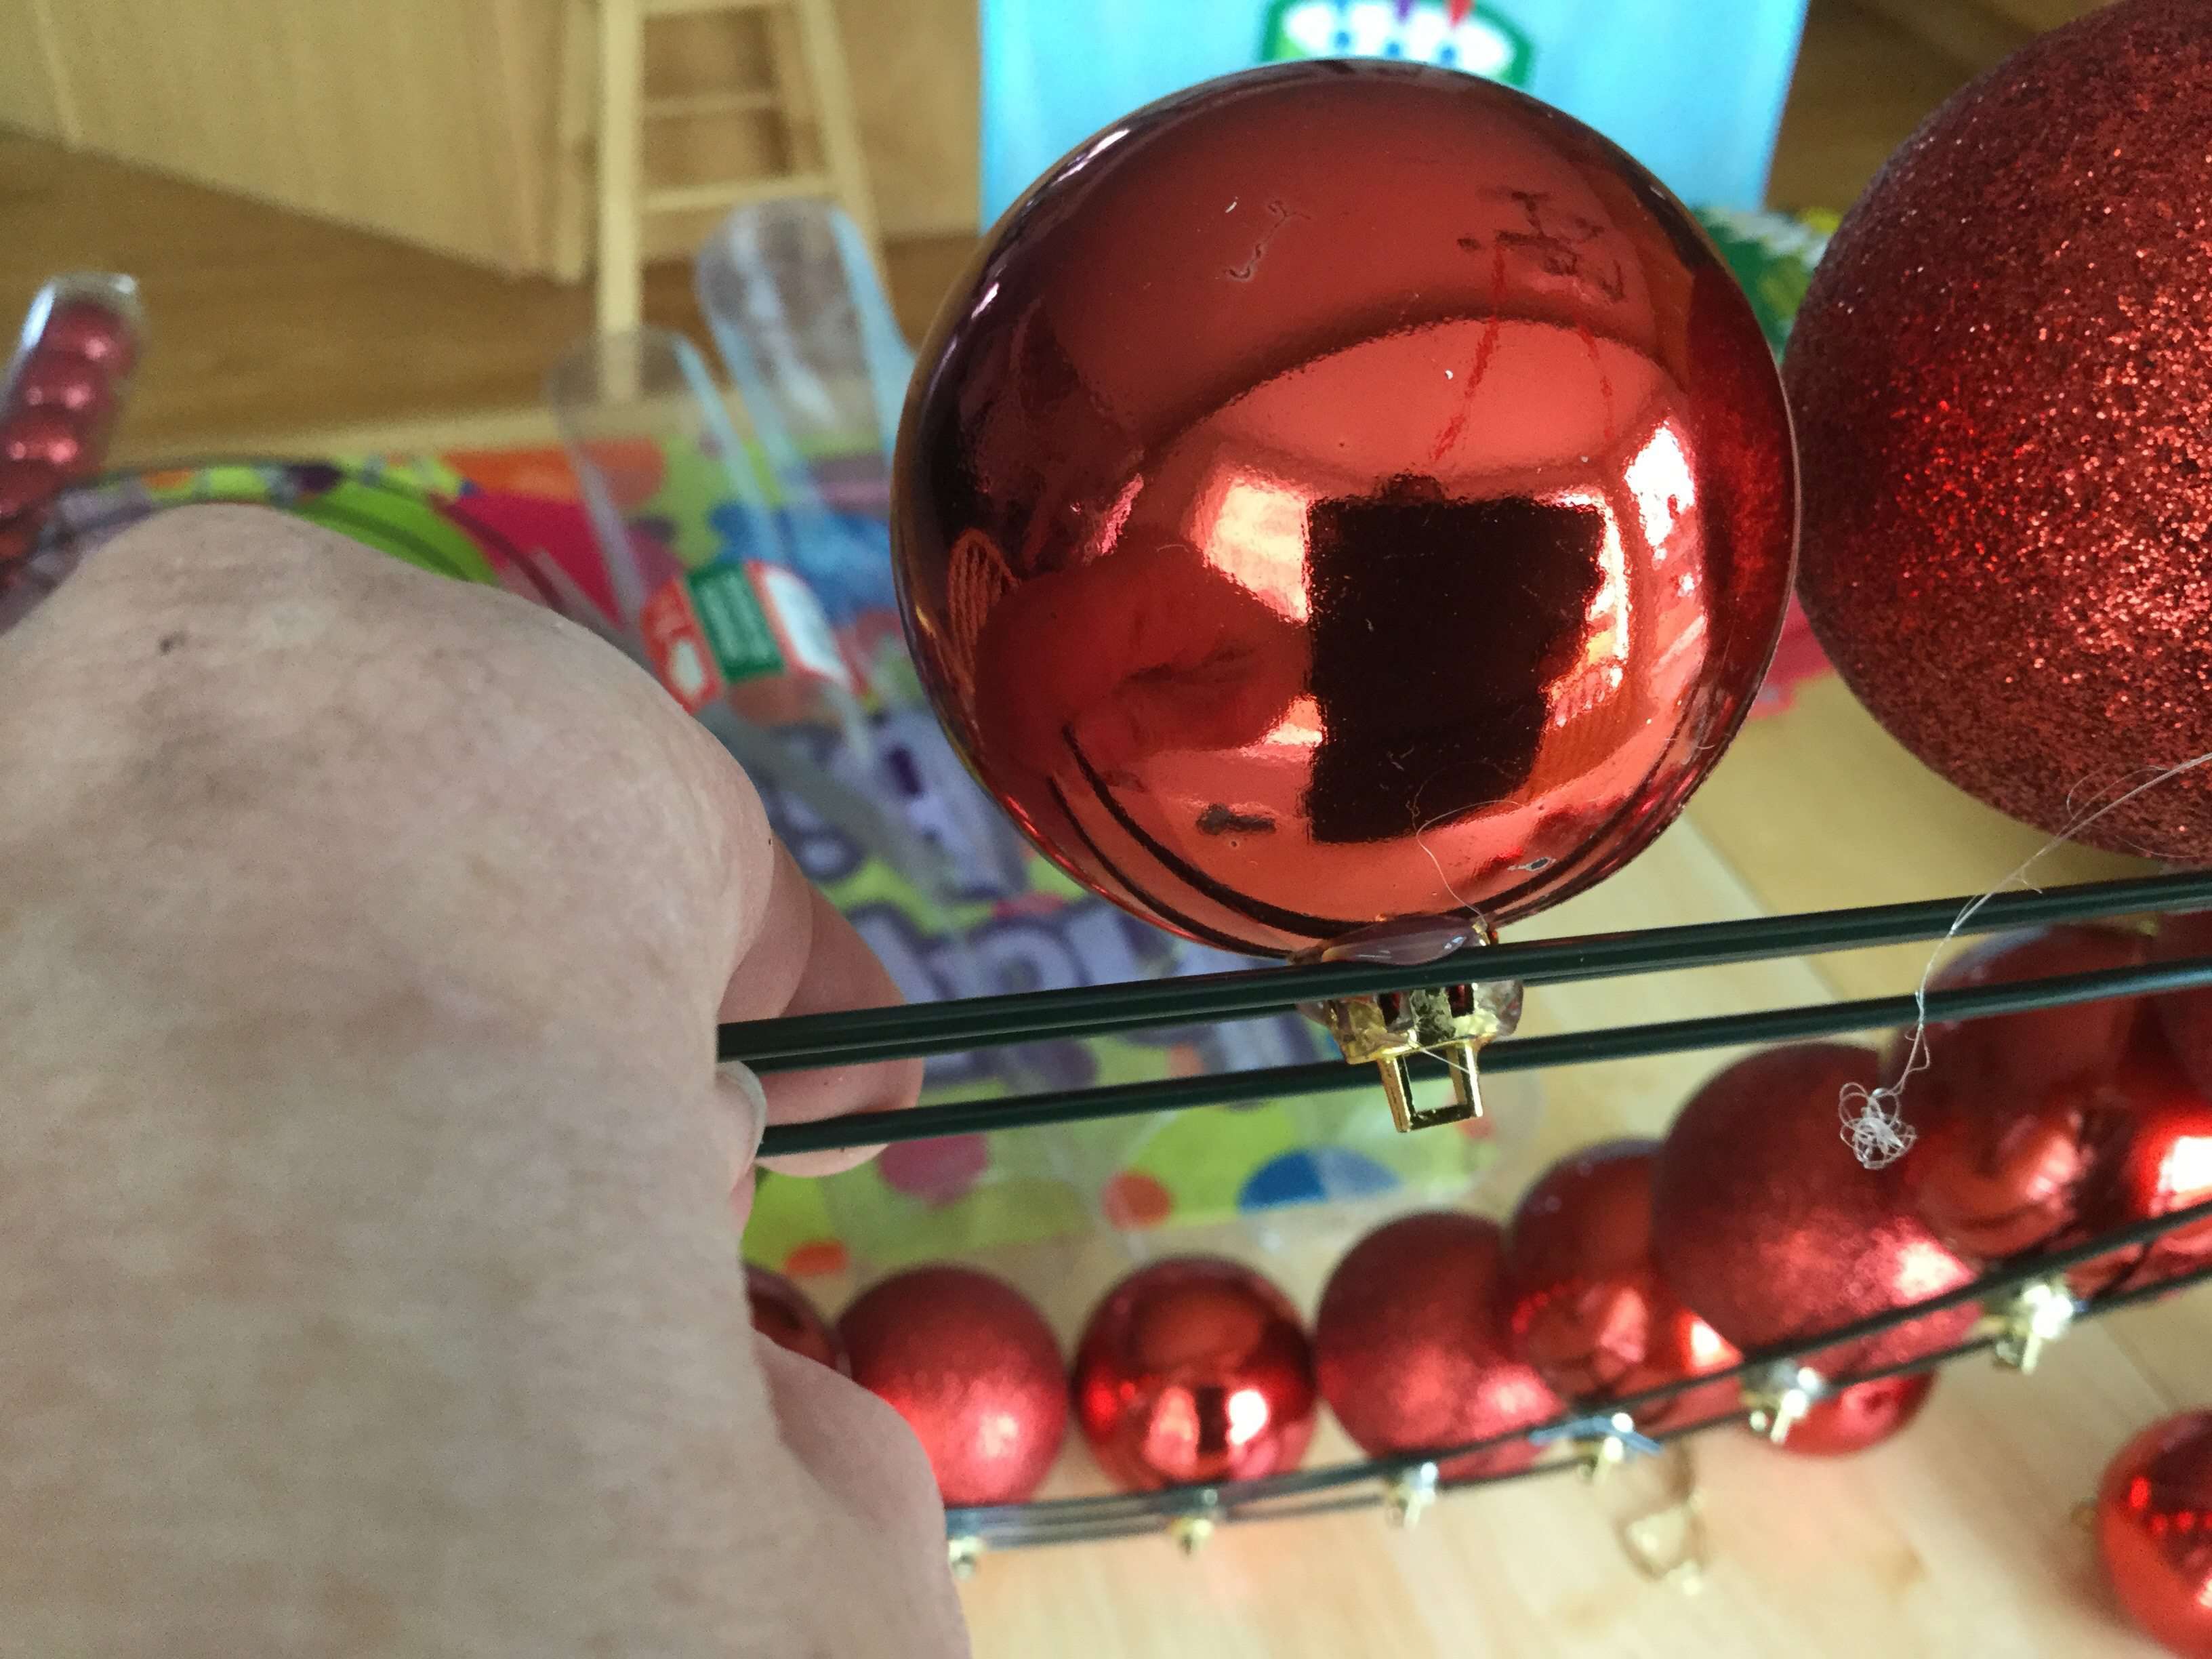
Apply hot glue to the metal cap of your ornament and press it firmly into the gap between the wire rungs.
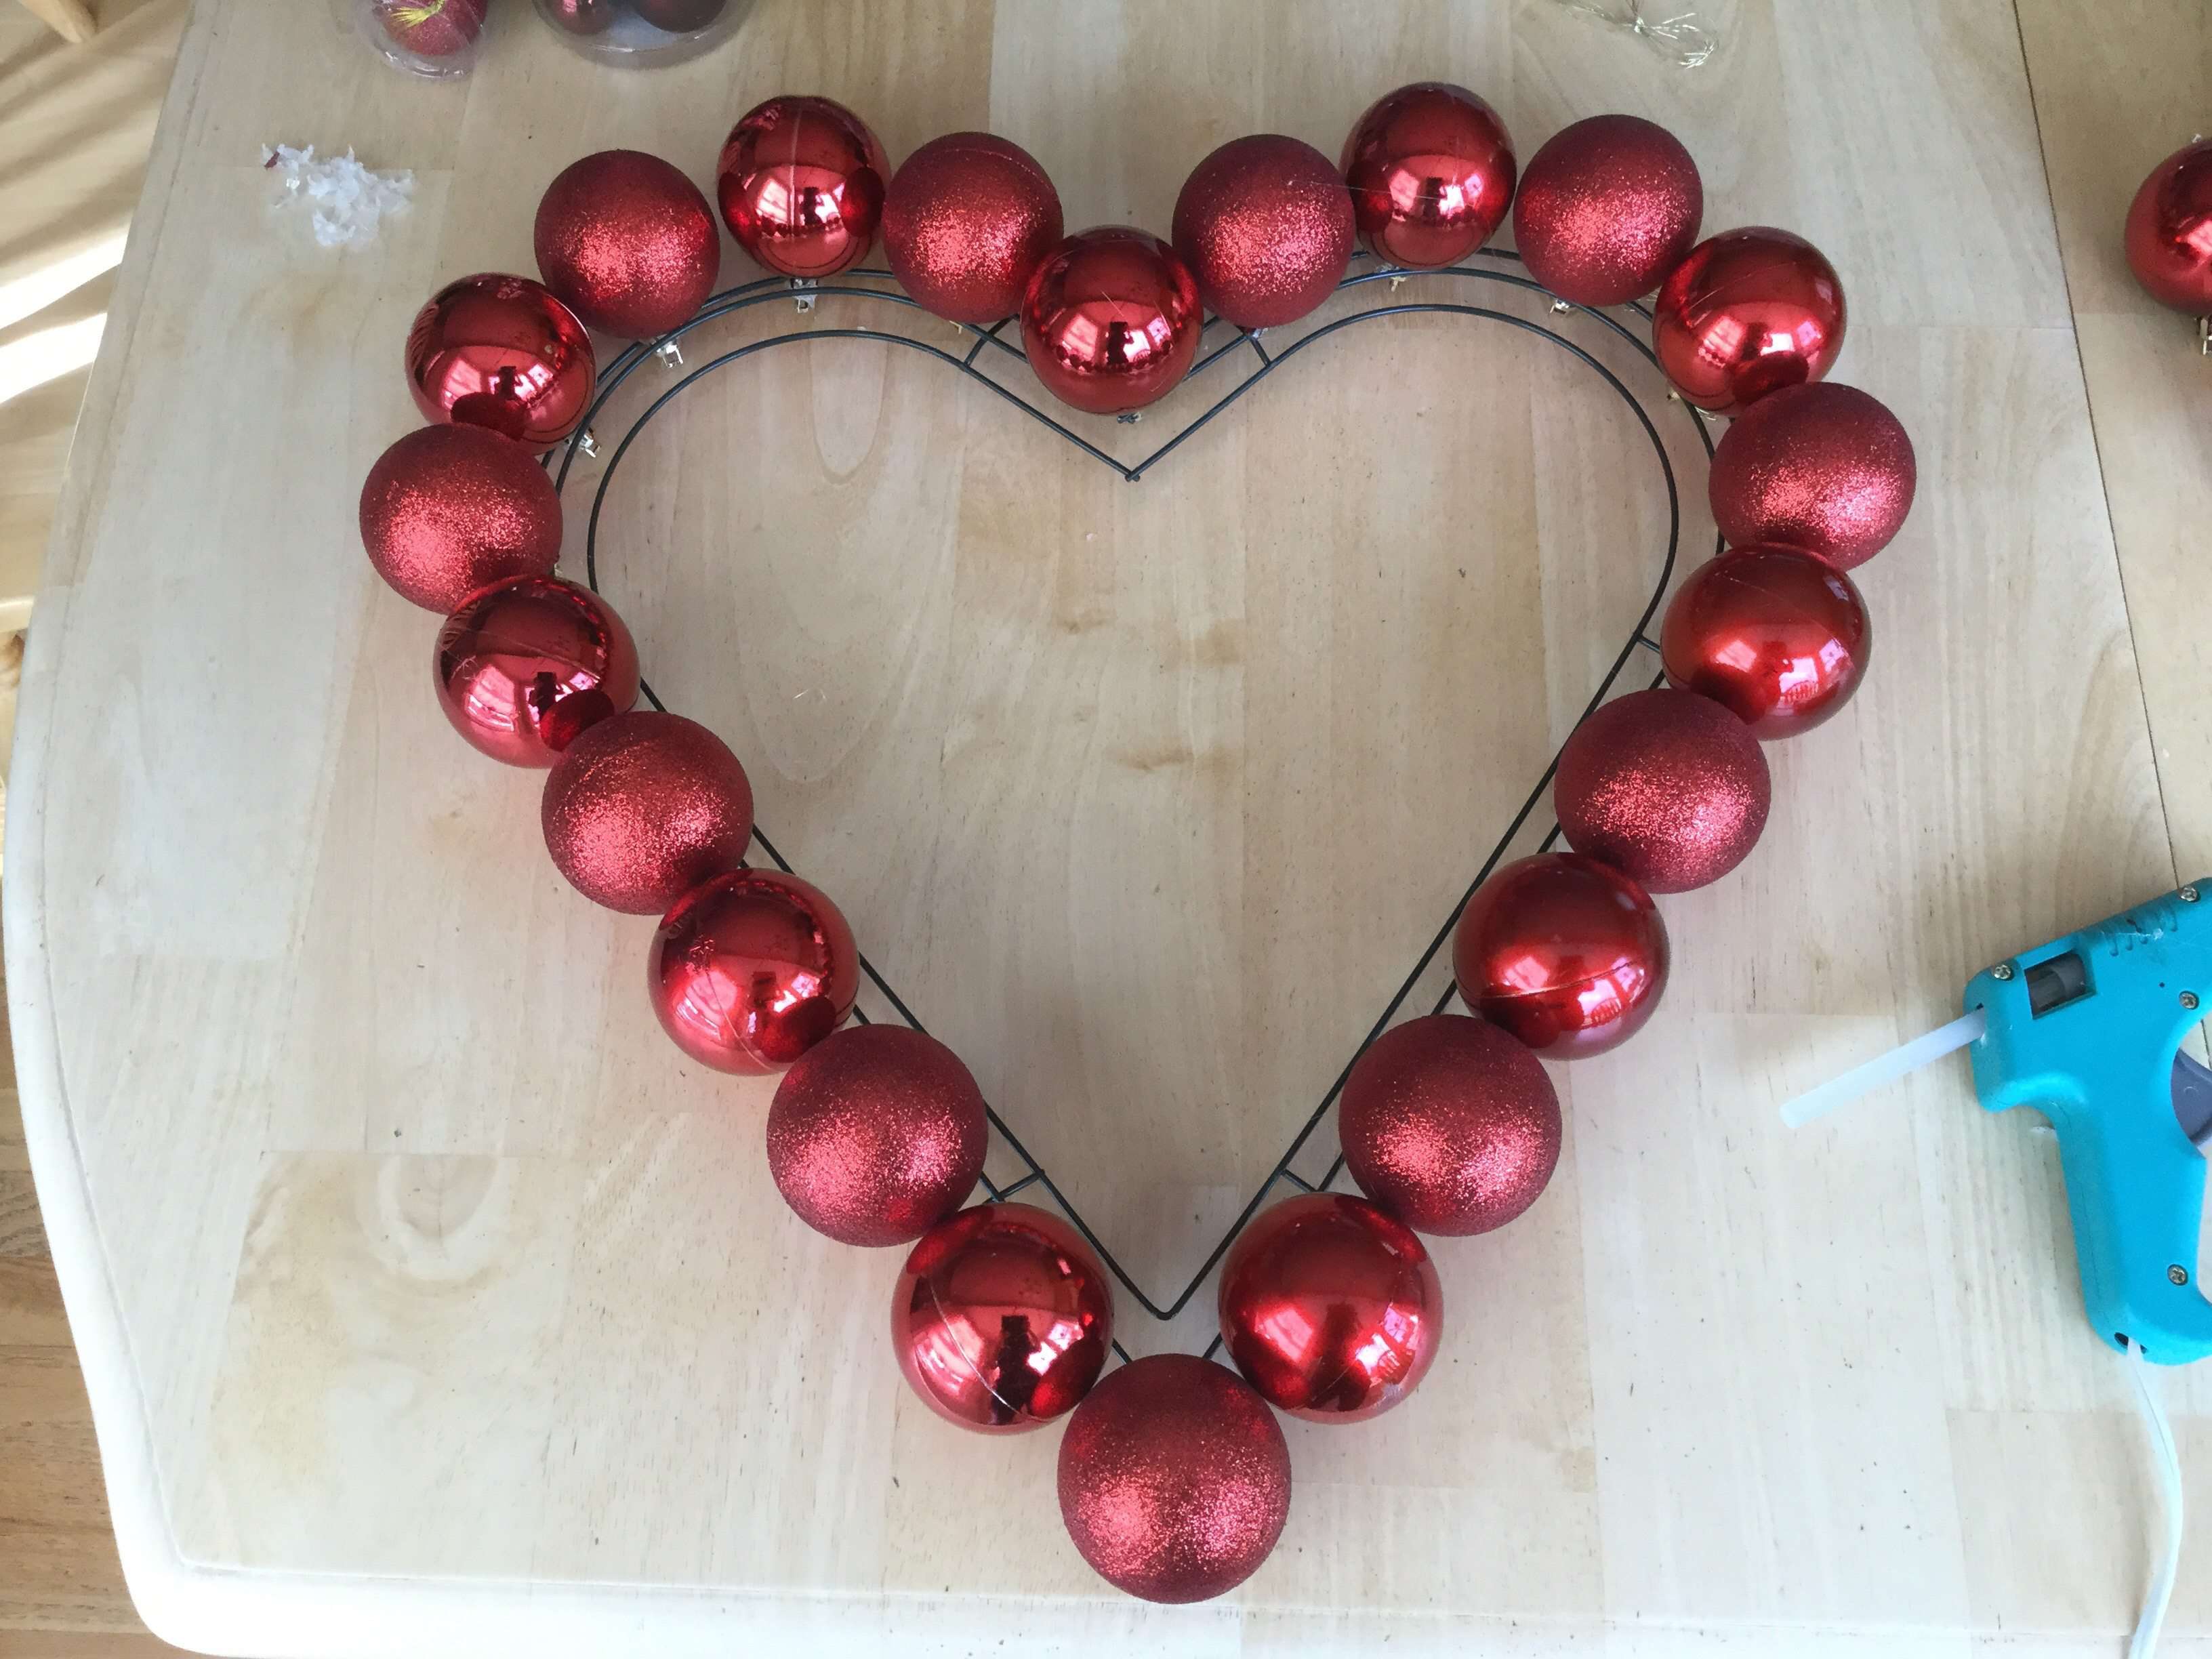
- Tip: I like to alternate sizes or stagger them so they nestle together tightly. Go all the way around the frame until it is filled with bulbs.
2. Wrap the Gaps
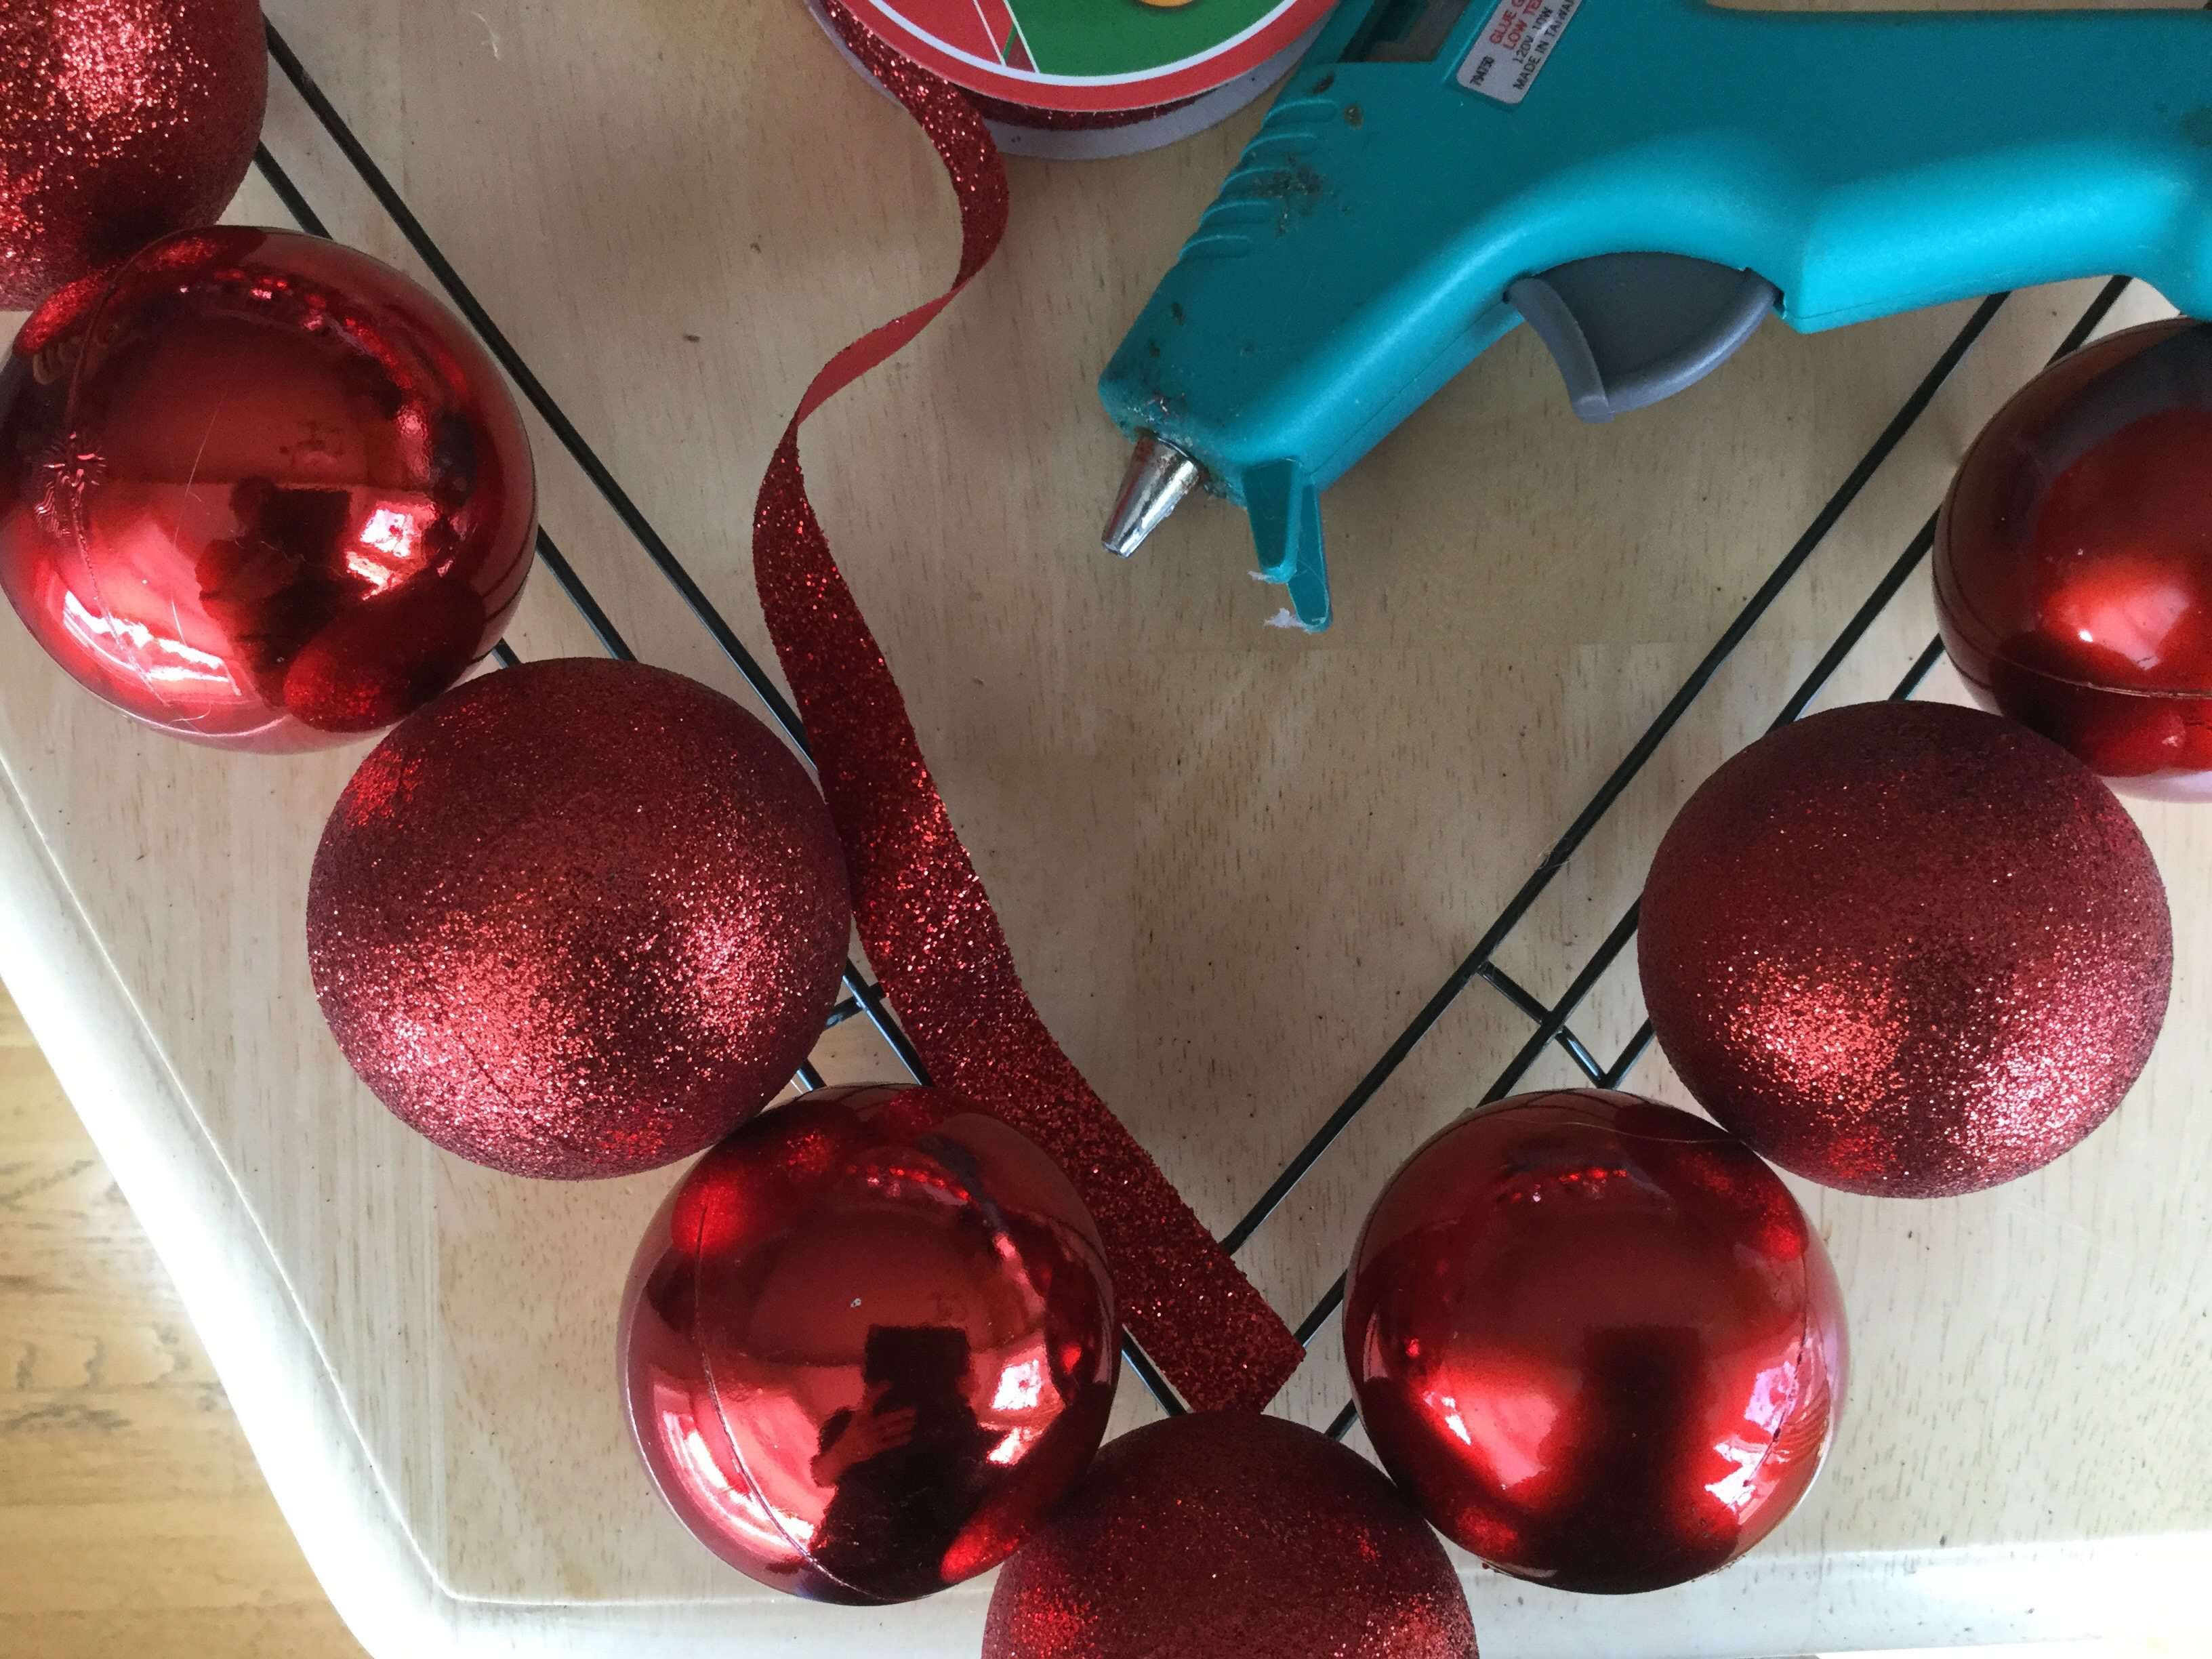
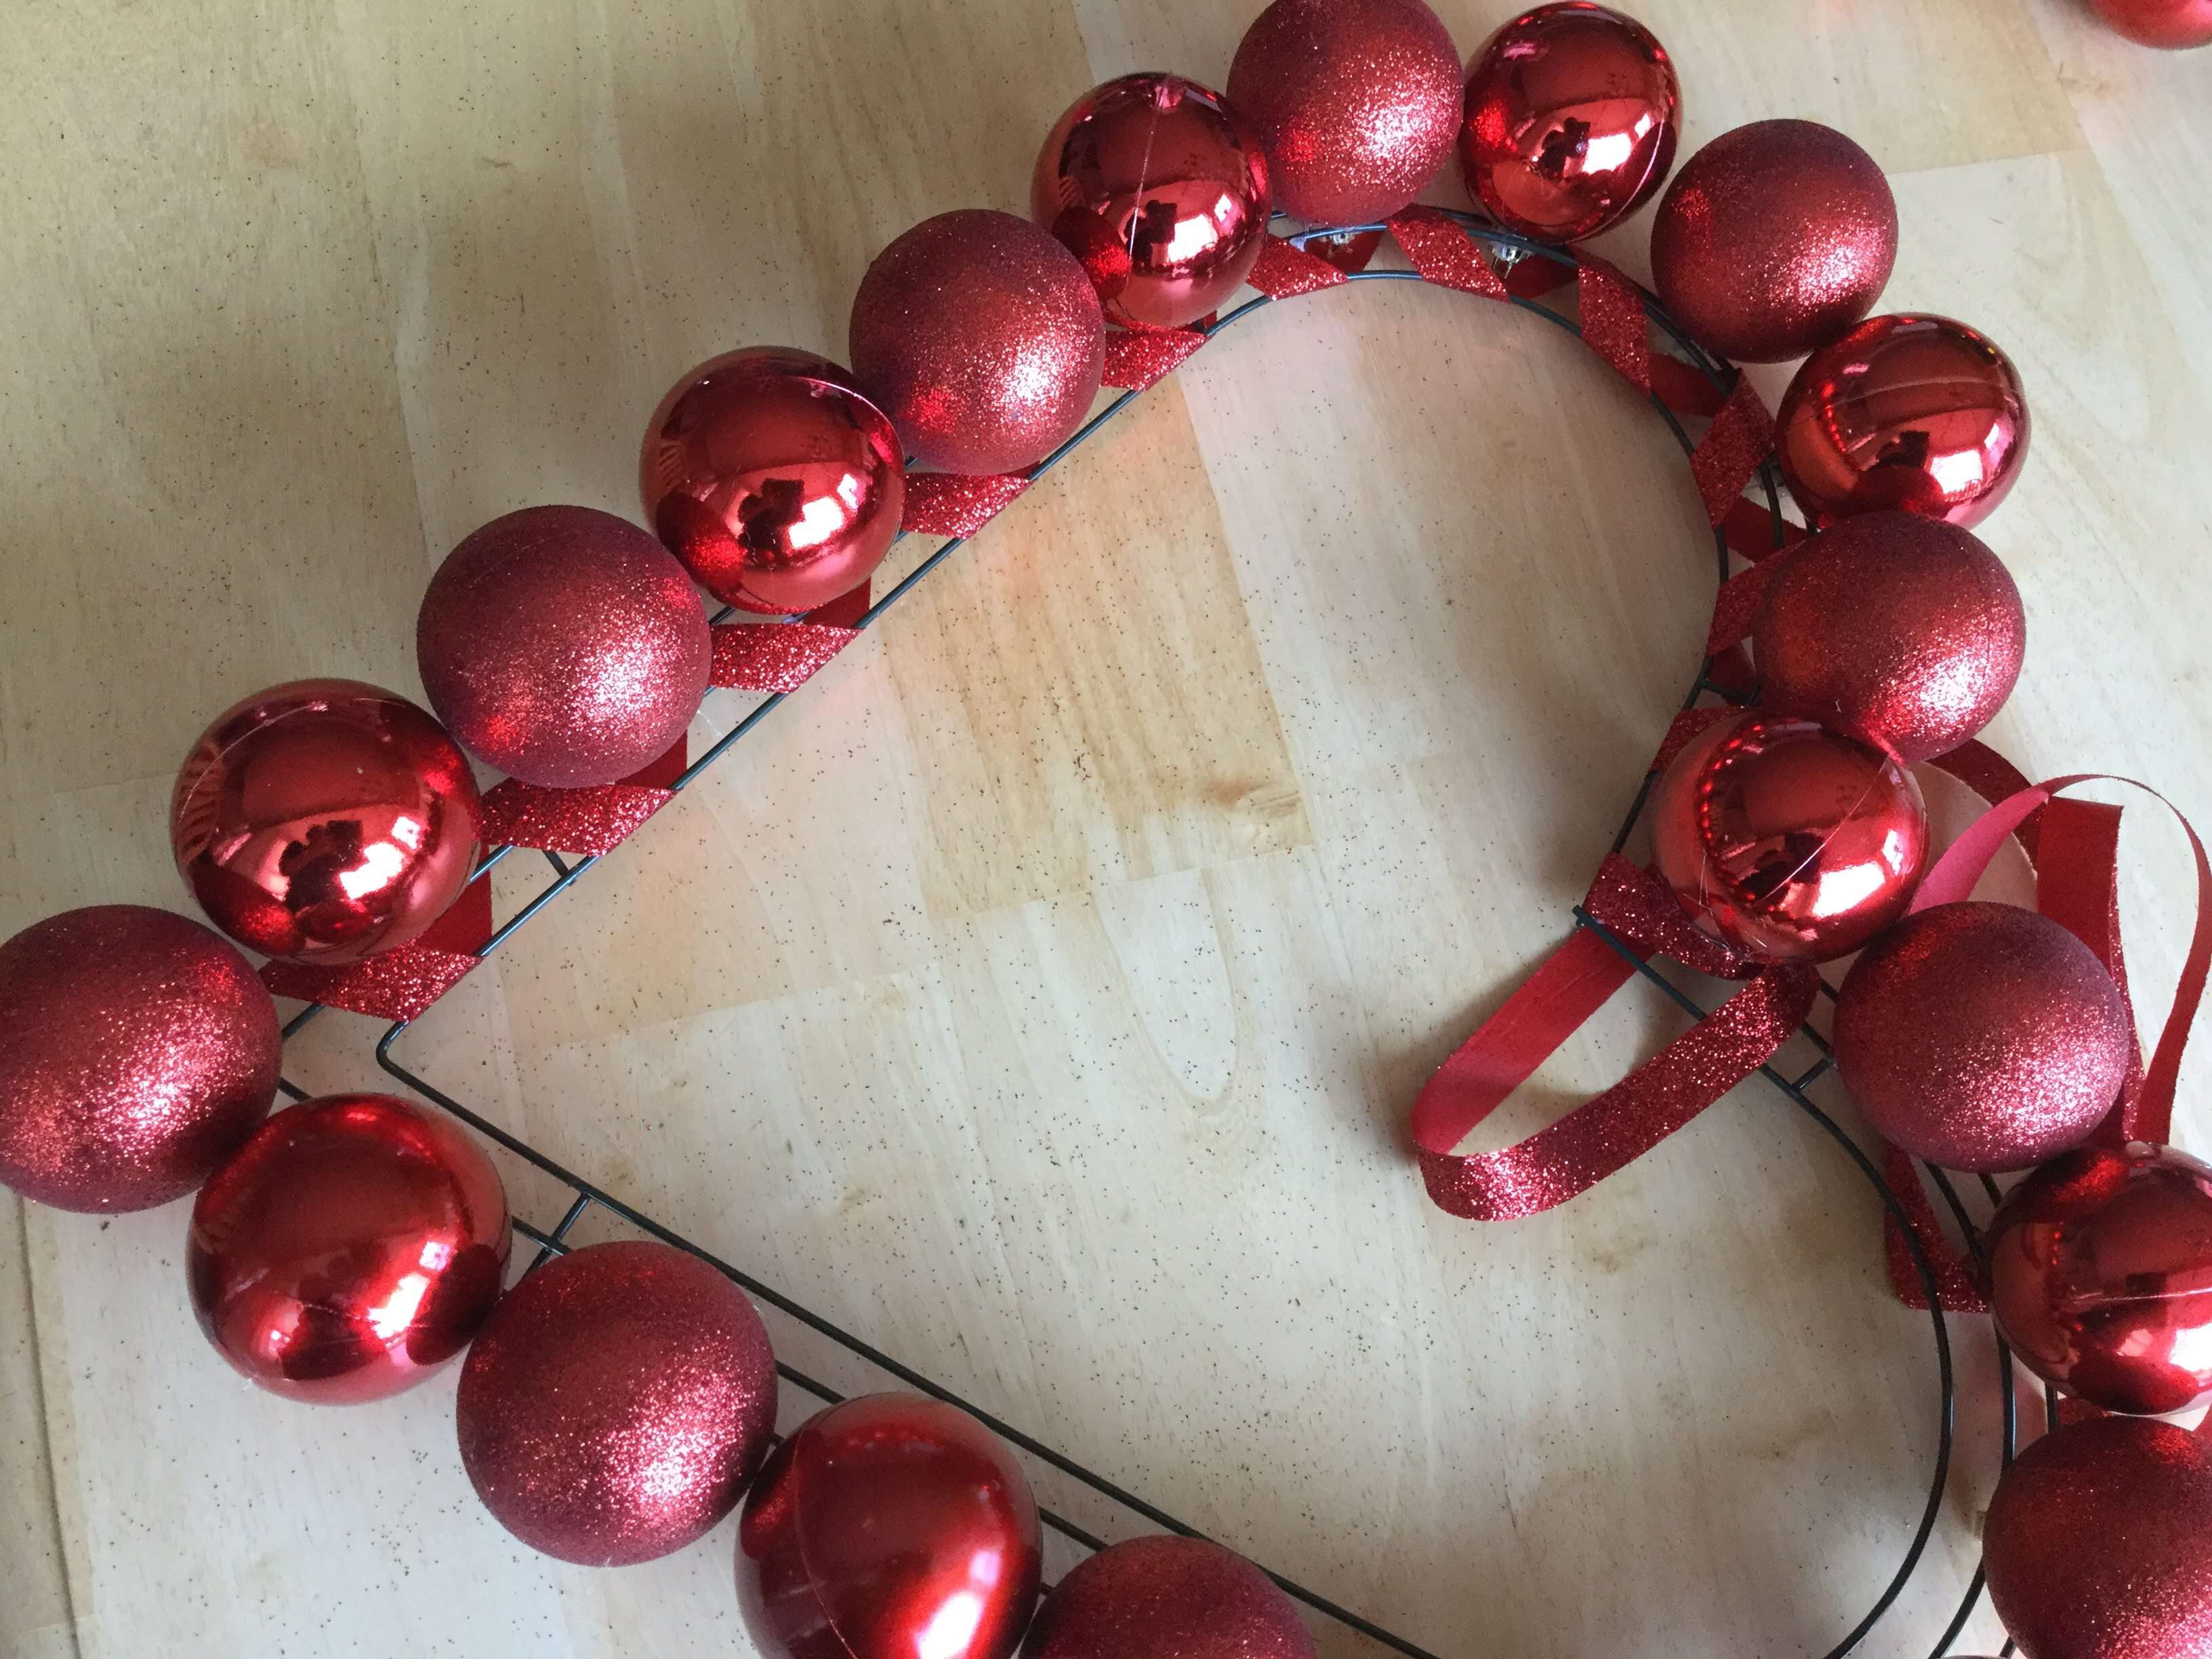
You might still see some wire or gaps between the bulbs. Take your red ribbon, glue the end to the back, and weave it in and out between the bulbs.
- This adds a rich, finished look and hides the mechanics of the wreath.
3. Hang
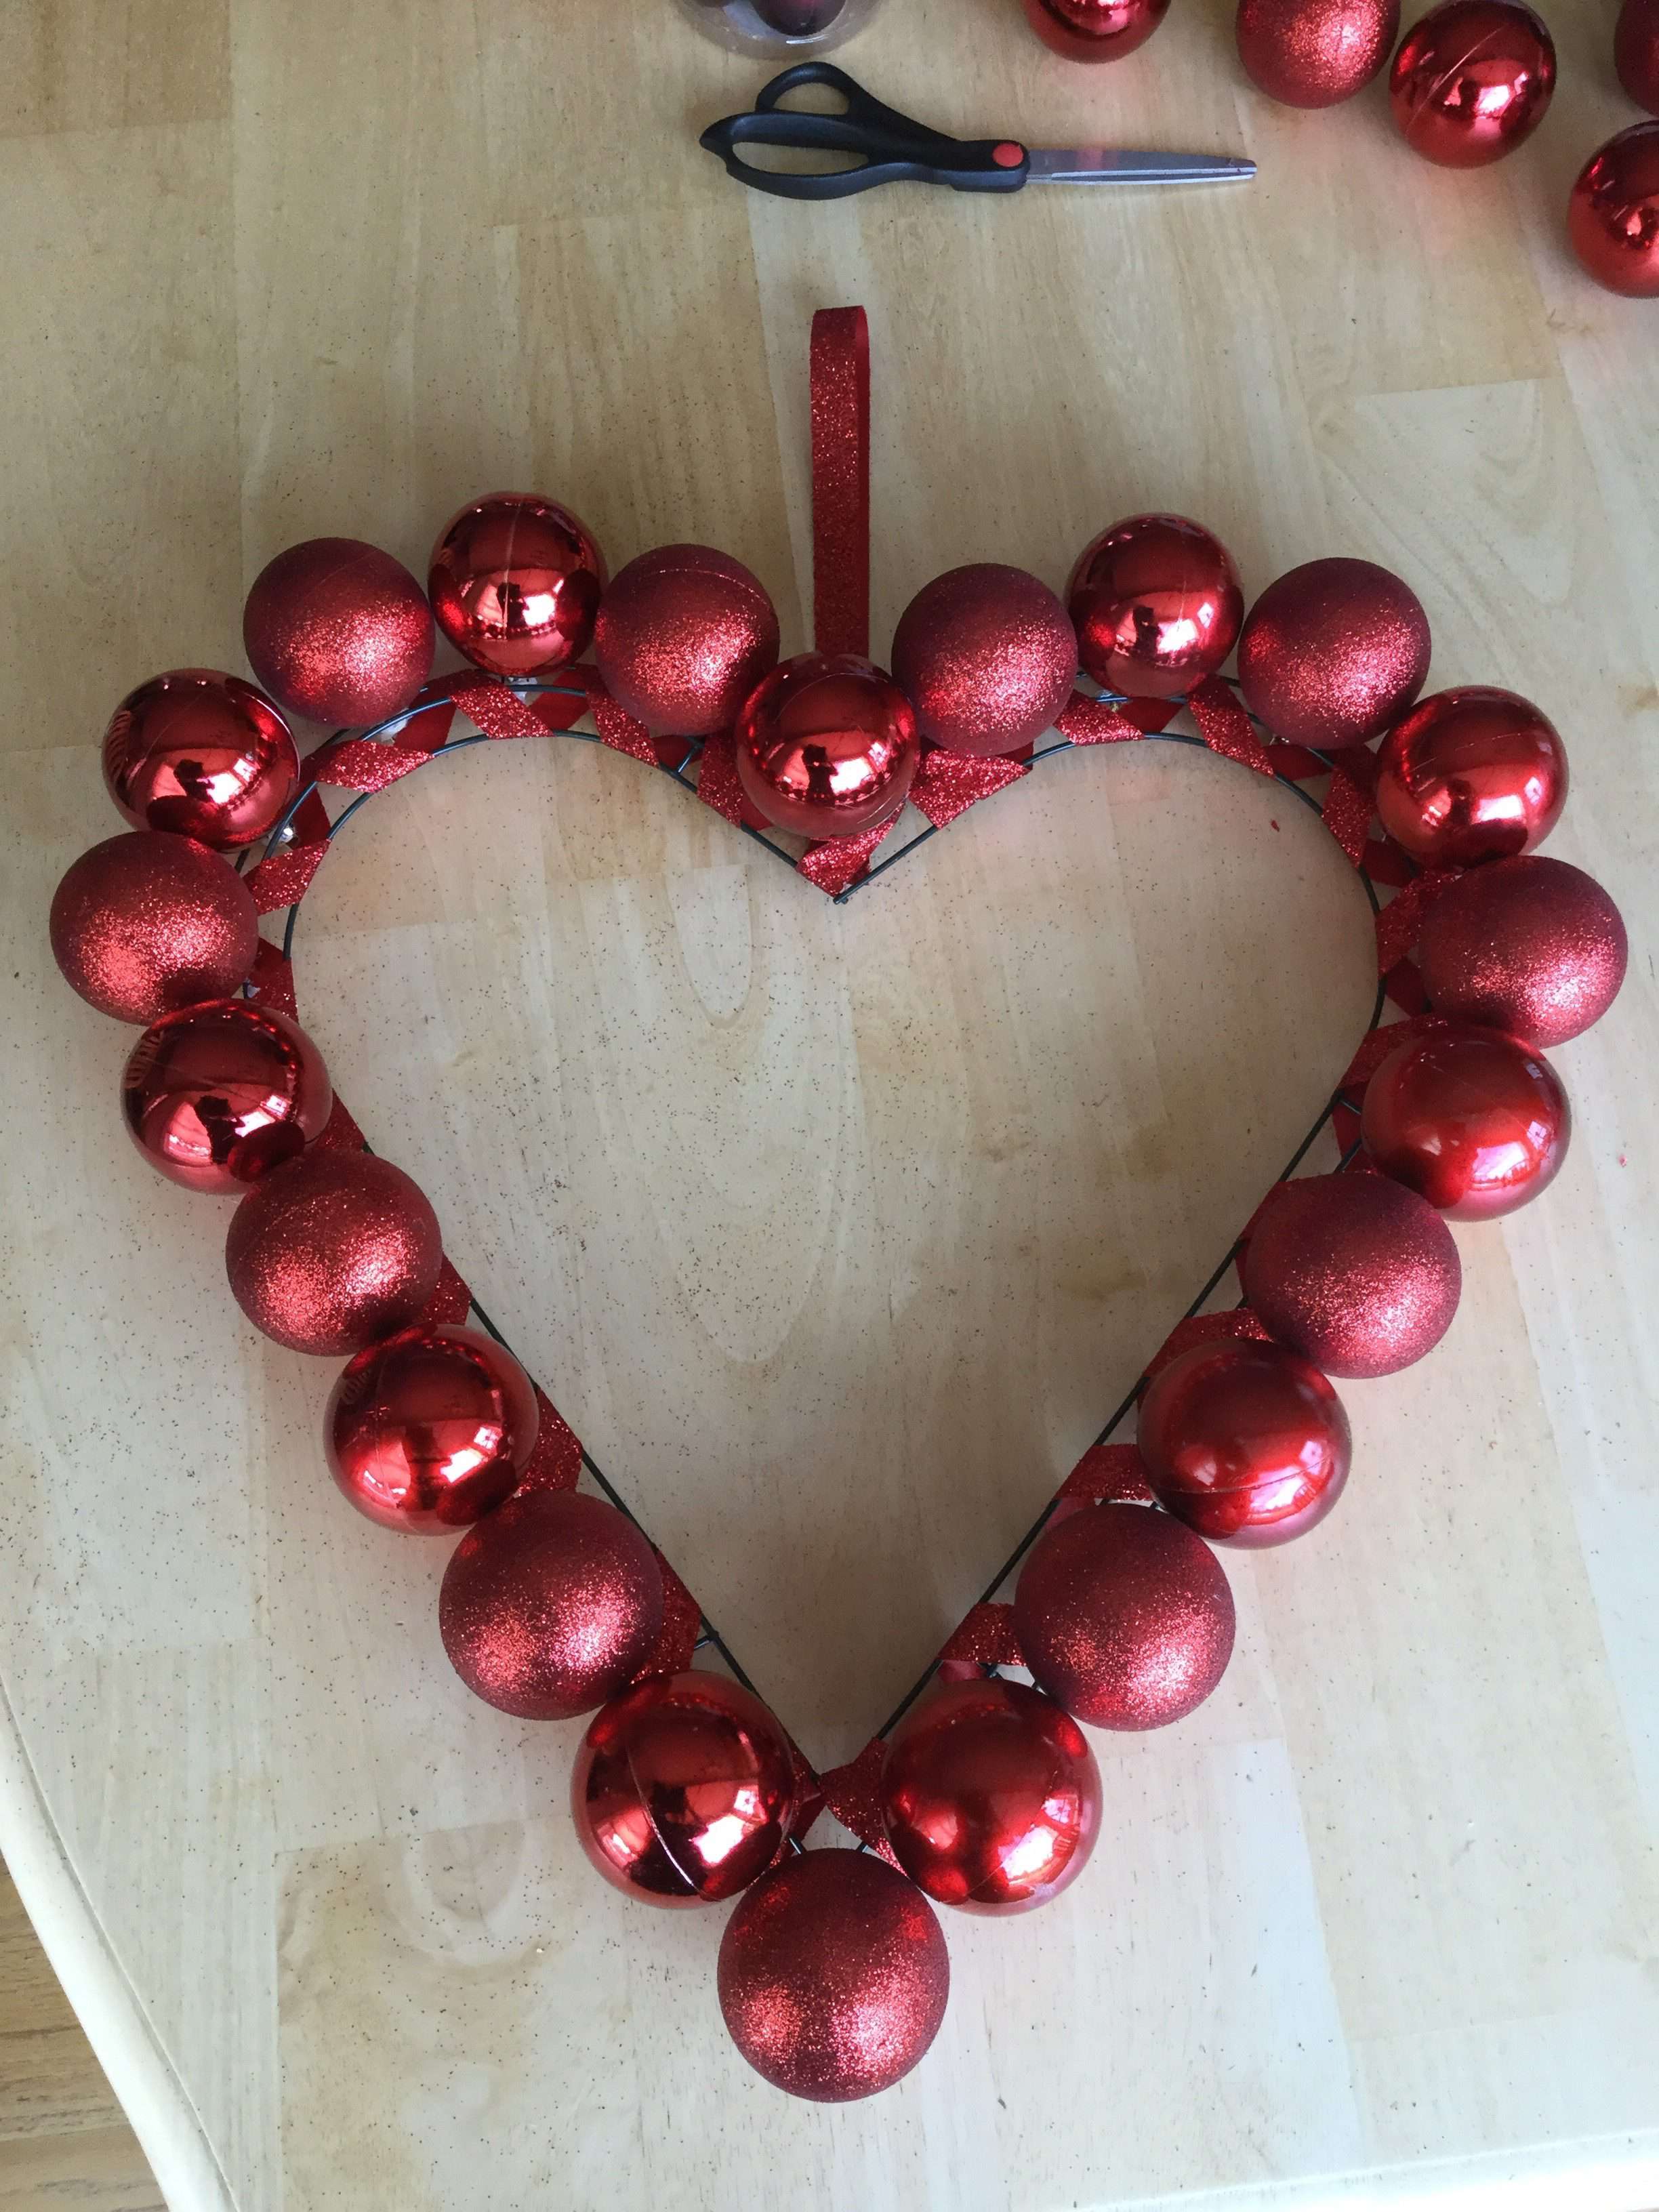
Add a loop of ribbon at the top for hanging.
3 Ways to Customize Your Heart Wreath
Want to take it a step further?
- Add Lights: Before wrapping the scarf, wrap a string of battery-operated fairy lights around the frame for a glowing night-time look.
- Neutral Vibes: For a modern look, use a cream or beige scarf instead of red. It looks very chic and minimalist!
- Candy Hearts: Instead of fabric stickers, glue real conversation hearts (sprayed with clear sealer) to the wreath for a whimsical touch.

Frequently Asked Questions
Yes, but the wire form is easier for the “Bulb” method because the ornaments nestle into the wire tracks. For the scarf method, a foam wreath works perfectly—just wrap it the same way!
I recommend using a magnetic wreath hook (if you have a metal door) or a clear Command Hook. Since these wreaths are very lightweight, you don’t need heavy-duty hardware.
Dollar Tree often sells fashion scarves, but I also check the thrift store! You can find beautiful knitted or silk scarves for $1 that add amazing texture.
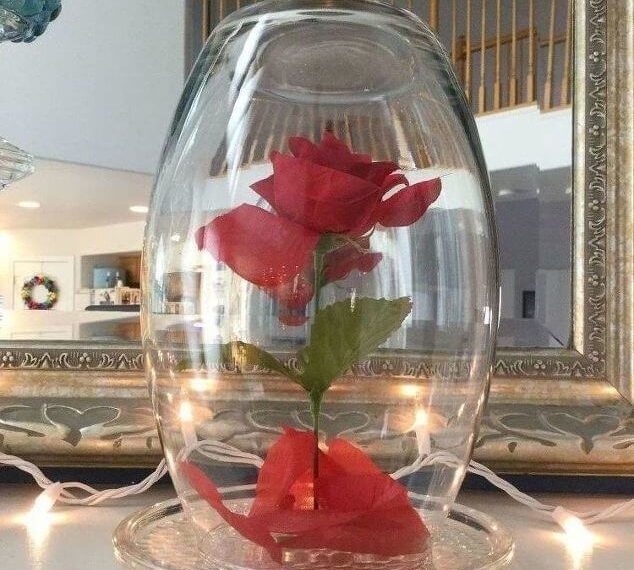
You might be interested in some of my other Valentine’s Day Decor. There are several tutorials to choose from, and all of these DIY projects are inexpensive.
Beautiful Dollar Tree Heart Wreath video
Dollar Tree Scarf Heart Wreath
Equipment
- 1 Hot Glue Gun
- 1 Scissors
Materials
- 1 Wire Heart Wreath Form 12-inch or 14-inch
- 2 Fashion Scarves approx. 5ft long each
- Fabric Heart Stickers or Embellishments
- Ribbon for hanging
Instructions
- Anchor: Glue the end of the first scarf to the top “dip” of the heart frame.
- Wrap: Wrap the scarf tightly around the frame, overlapping edges to hide the wire.
- Join: When the first scarf ends, glue it down and immediately glue the start of the second scarf on top. Continue wrapping until the entire heart is covered.
- Finish: Glue the final end at the bottom point of the heart.
- Embellish: Peel and stick (or glue) the fabric hearts onto the scarf surface.
- Hang: Tie a ribbon loop at the top for hanging.
Learn more about “Creating Seasonal Decor for Your Home” to create seasonal decor that doesn’t cost an arm and a leg.


What simple ideas for dressing up a wire wreath, Chas, for Valentine’s. I’m not sure which one I like better. Probably the balls.
Thank you so much Carol, always fun to learn what speaks to everyone.
Those are certainly quick and easy…and a BARGAIN, TOO!! I keep looking at the red ornaments that had been up around my front door for Christmas thinking that there must be SOMETHING I could do with them for Valentine’s Day. I just know if you were here and we put our heads together, we would come up with something grand! Have a fabulous day my dear friend!
Thank you my friend, I’m so glad you like them 🙂 YES, we would have so much fun!!!
They are both super cute, and so different! I love them both!
You’re so sweet Jenna, thank you so much
Chas, I love the simplicity of wrapped wreaths and dollar store projects, too–so your pretty Valentine wreath is a win, win! Blessings, Cecilia @My Thrift Store Addiction
Thank you so much Cecilia, always fun learning what is everyone’s favorite.
Chas, I love them both, for how pretty and easy they are to make. The scarf is such a wonderful idea. The two different colors is soft and vibrant at the same time, so it’s my fav!
RR
Thank you so much Rachelle and thanks for tell me what speaks to you. It’s so fun to learn which one is everyone’s favorite.
Pinned! Great ideas– I like the scarf one a lot. I like scarves! : )
Thank you so much Liberty 🙂
Great ideas for the DT Valentine’s wreath form. I love seeing all the different ways to decorate them. I like the baubles best!
Thank you so much Gail, that one is my favorite too.
You make it look so easy! Tow for the price of one. Thanks for sharing these today. I got to see all your great wreaths in one place. I love the one made from the paper plates too. So many great ideas.
Thank you so much Andrea, I’m so glad you like seeing them. Remind me someday to show you on of my first wreaths ever! I was thrown into my first Facebook Live ever with Hometalk, never made a wreath before, and it included a mystery component!
So festive! I especially love your ornament wreath with the cheery pops of red! Happy to be hopping with you again ♥
Thank you so much Mary, that one is my favorite too 🙂
i love #2, however where i live all christmas decorations have been put away. will save for next year
Thanks, and I totally know what you mean. I was lucky to pick these up on clearance… they had to be good for something right? 🙂
Both are great but I’m really loving the one with the Christmas baubles, such a great way to use decorations at more than one time of the year. Very practical!
I like the second one – so simple yet so pretty! Thanks for sharing at The Blogger’s Pit Stop! Roseann from thisautoimmunelife.com
Thank you Roseann and thanks for casting your vote. I can’t wait for next week to see what everyone is up to.
Christmas ornaments – so much depth as you are looking at it, and really like the idea of the two different finishes for the ornaments. Brilliant!
Thank you so much and you called it Jacquey – Christmas clearance 🙂
Ooooh, I love both of them! Beautiful wreaths for Valentine’s Day, my friend!
Happy day to you! Hugs-Stephanie
Thank you Stephanie and I can’t wait to see what you’re making next. Your magnetic wreath was divine! Hugs!
Good morning Chas! I love these ideas but most of all I love your creativity for making pretty things easily and with simple materials! 🙂
Thank you Linda, it’s one of my favorite things being crafty yet affordable and easy to accomplish 🙂