
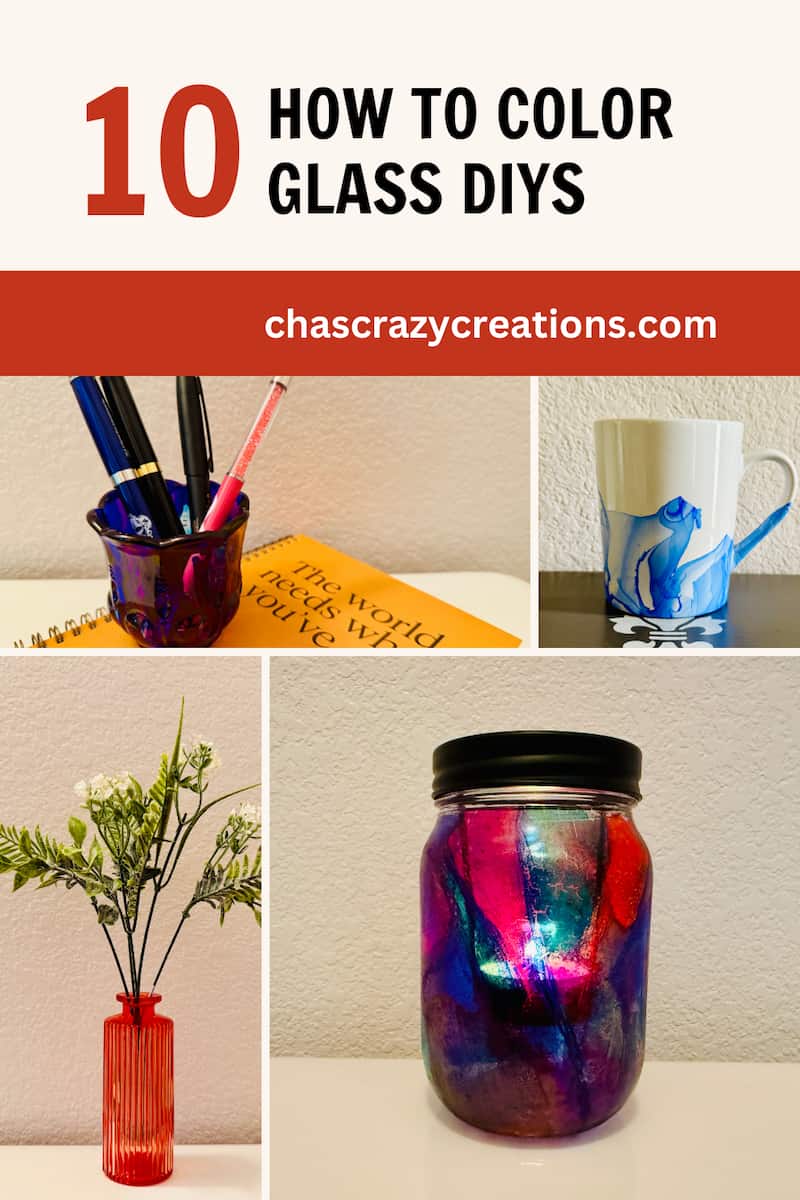
How to Color Glass 10 Different Ways (Easy DIY Techniques!)
How to color glass: Learn 10 easy ways to color glass using paint, glue, food coloring & more! Budget-friendly DIYs perfect for jars, vases & home décor.
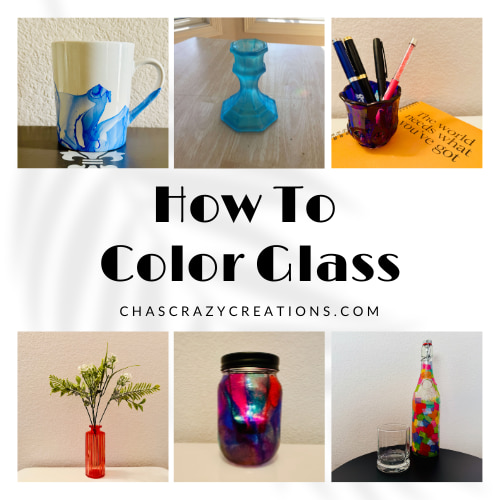
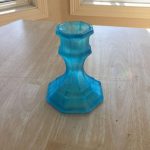
Looking for fun and easy ways to color glass at home? Whether you’re painting mason jars or upcycling thrift store vases, these beginner-friendly DIY colored glass techniques are affordable and creative. You probably already have most of these materials in your home! From glue and food coloring to tissue paper and alcohol ink, these methods are perfect for anyone who loves crafting or wants to create a stained glass effect DIY project. No glassblowing needed 😉
Let’s dive into 10 easy glass painting techniques that are perfect for spring, gifts, or everyday home décor.
How To Color Glass Tutorial Video
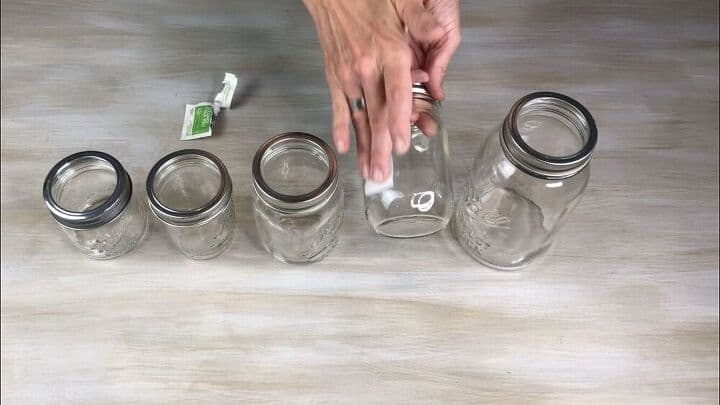
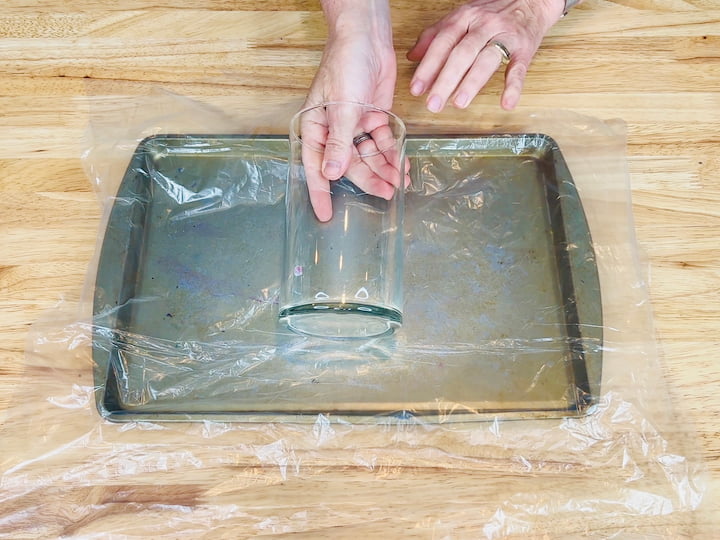
Preparing The Glass
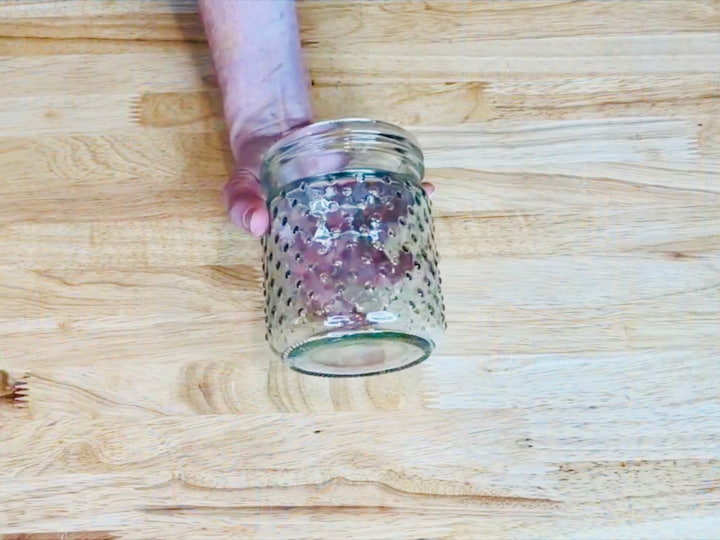
Make sure to clean your glass surfaces before you begin. I usually wash the glass in soapy water and rinse it, and dry it with a towel or paper towel. I follow this up with wiping the glass down with rubbing alcohol to remove dirt, oil, sticky residue, etc.
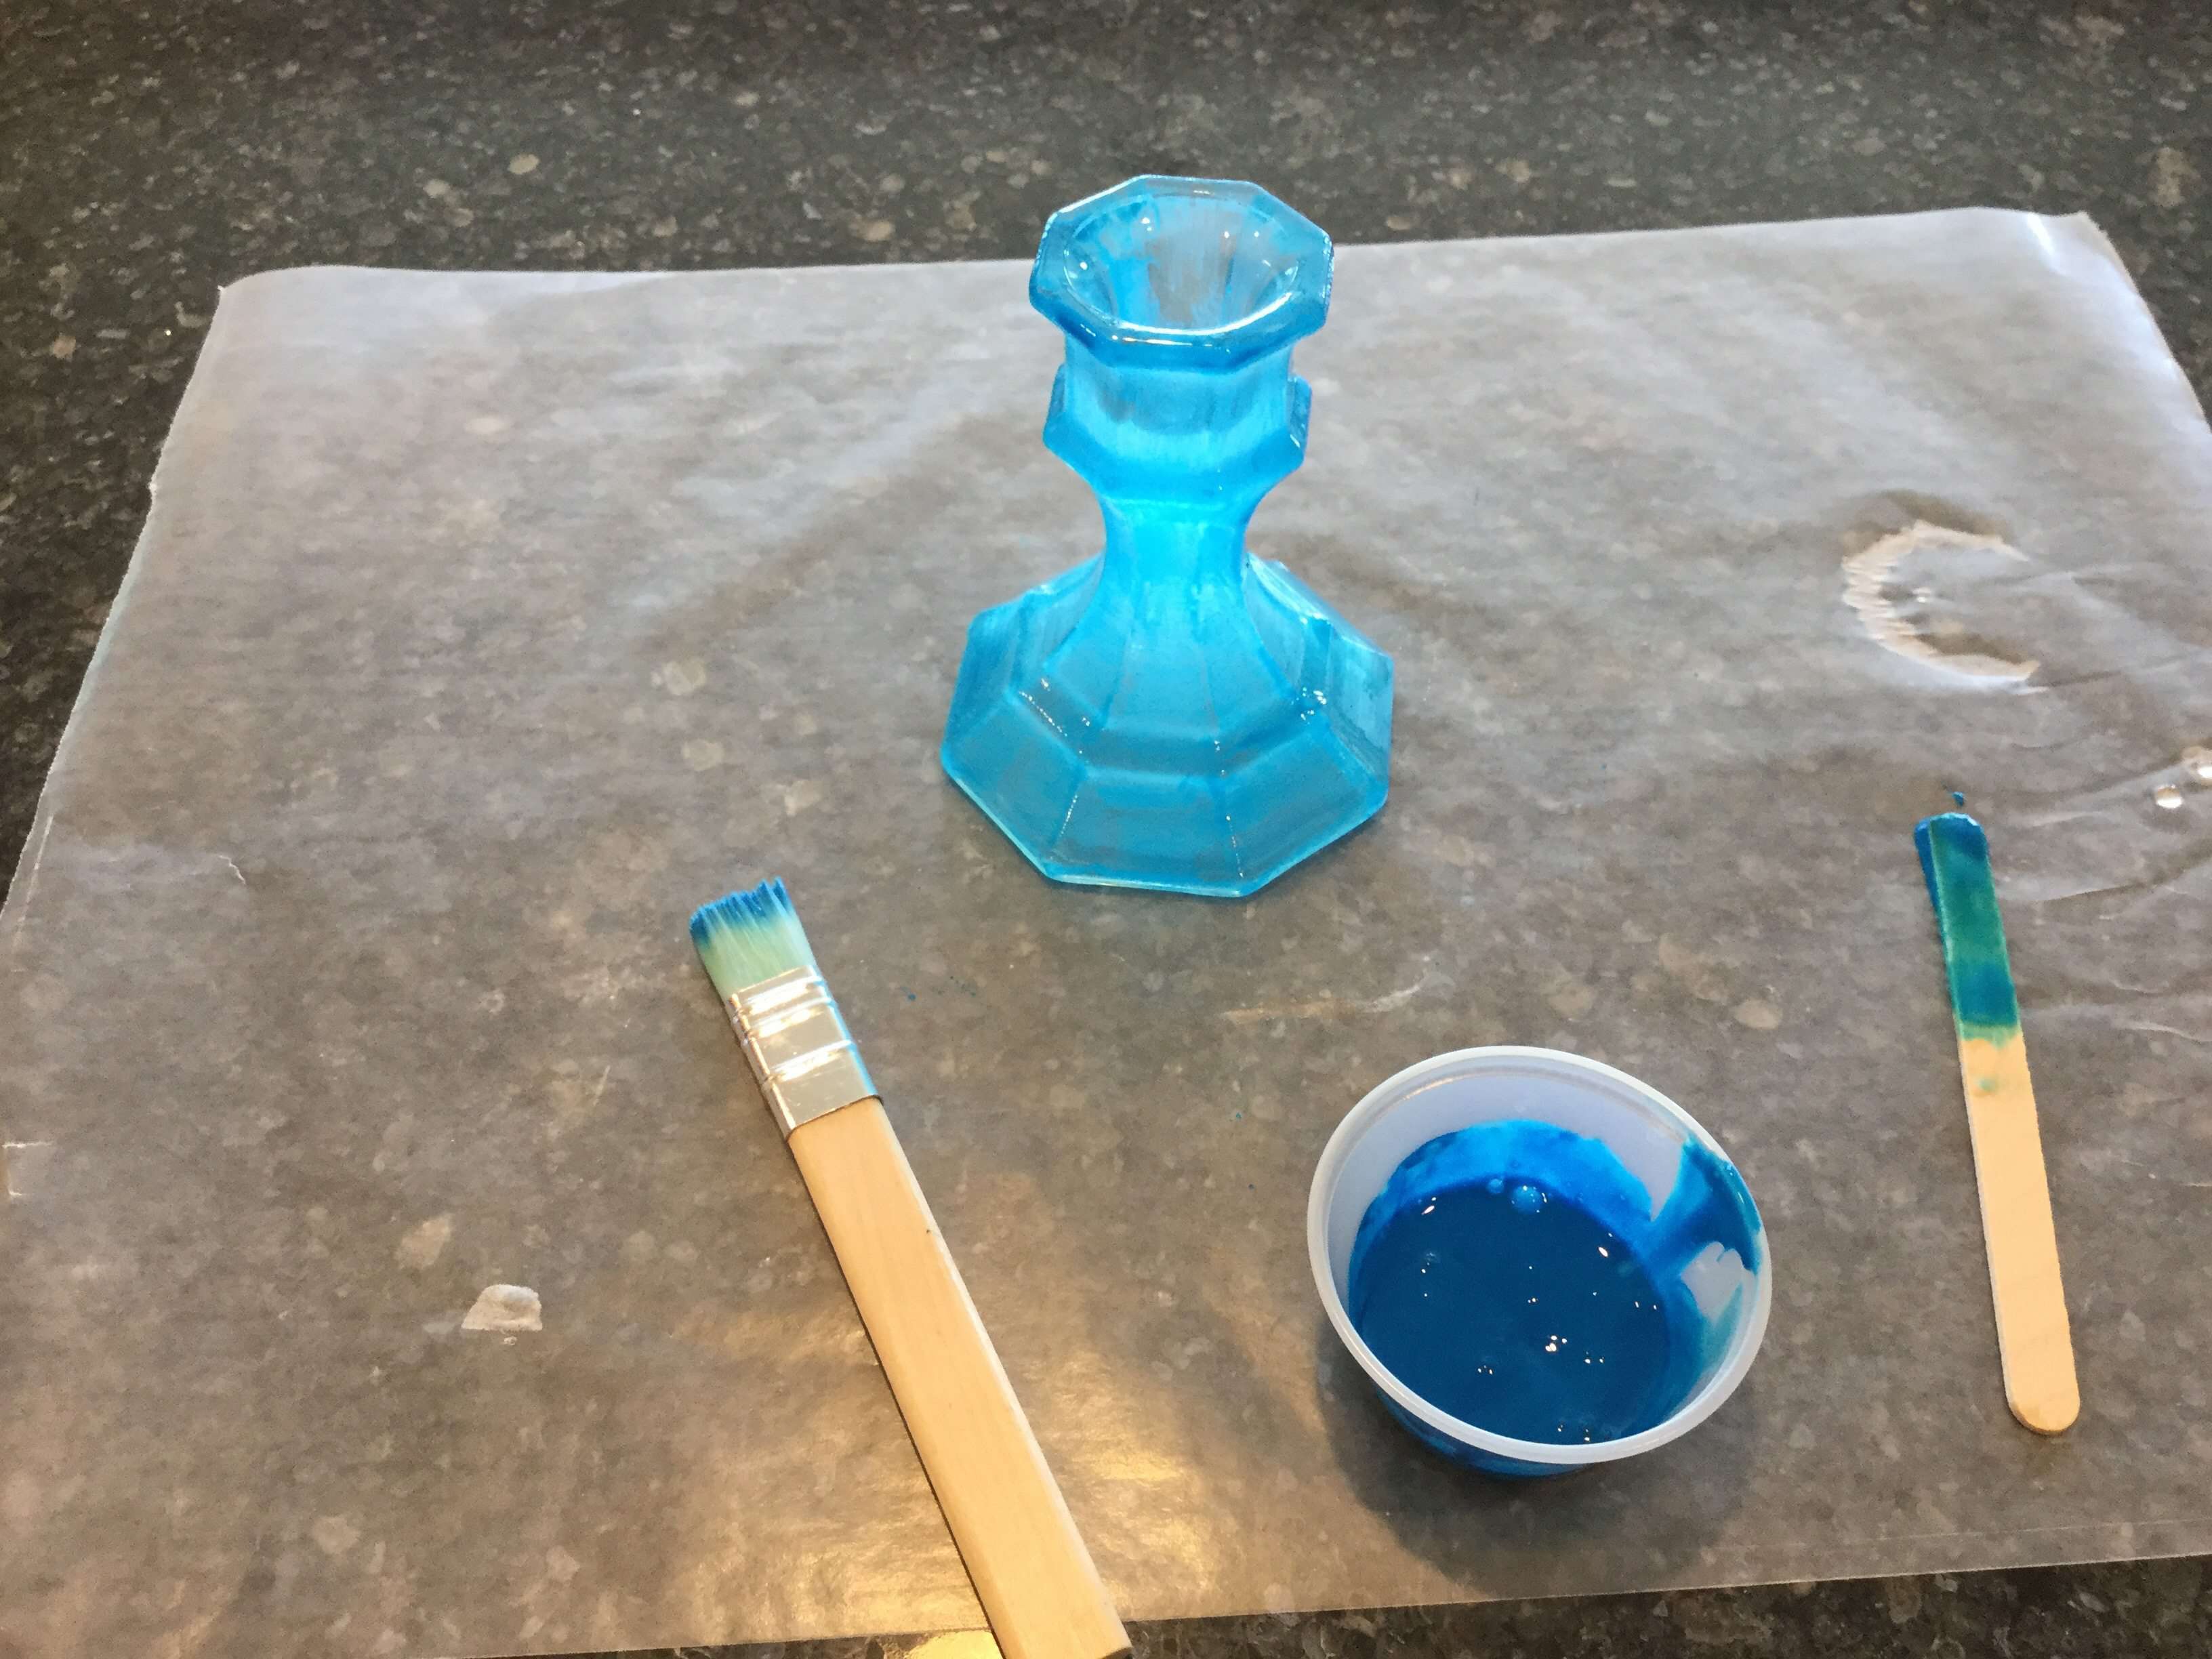
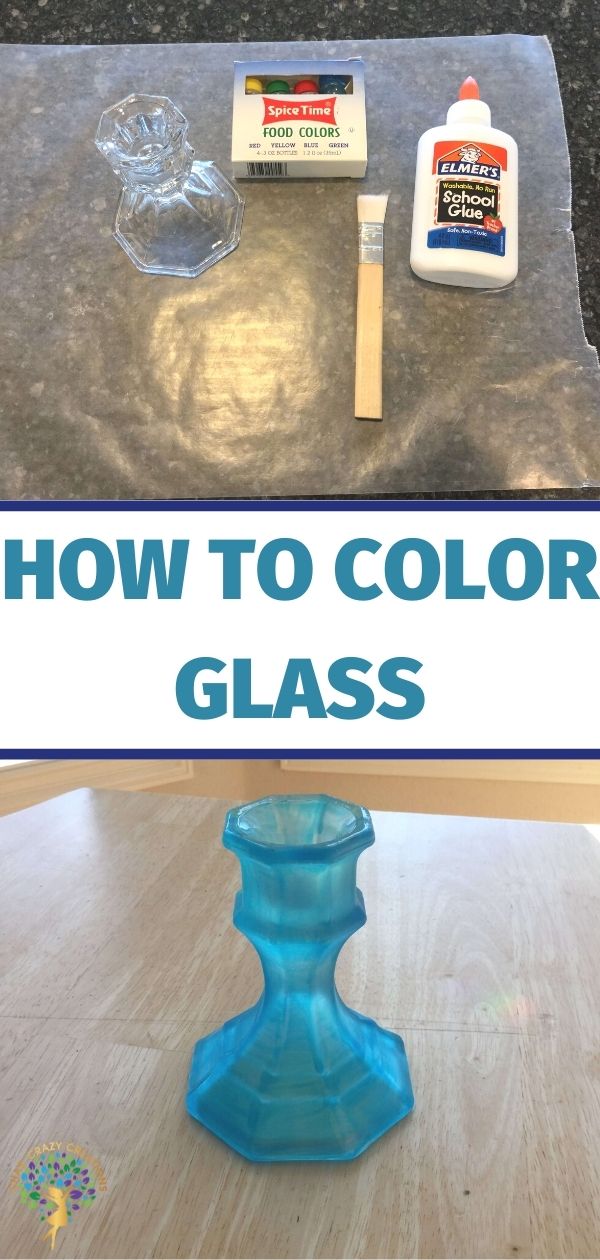
1. School Glue + Food Coloring = Beautiful Translucent Glass
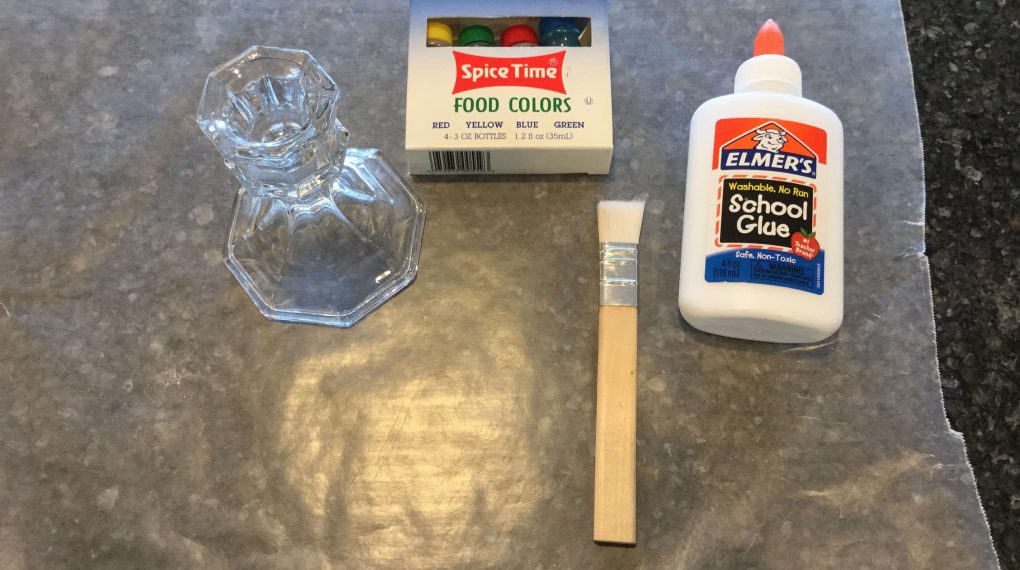
Materials Needed:
- Elmer’s school glue
- Food coloring
- Glass jar, vase, or candle holders
- Wax paper
- Craft stick or popsicle stick
- Styrofoam cups (for elevation)
- Optional: Dishwasher-safe Mod Podge

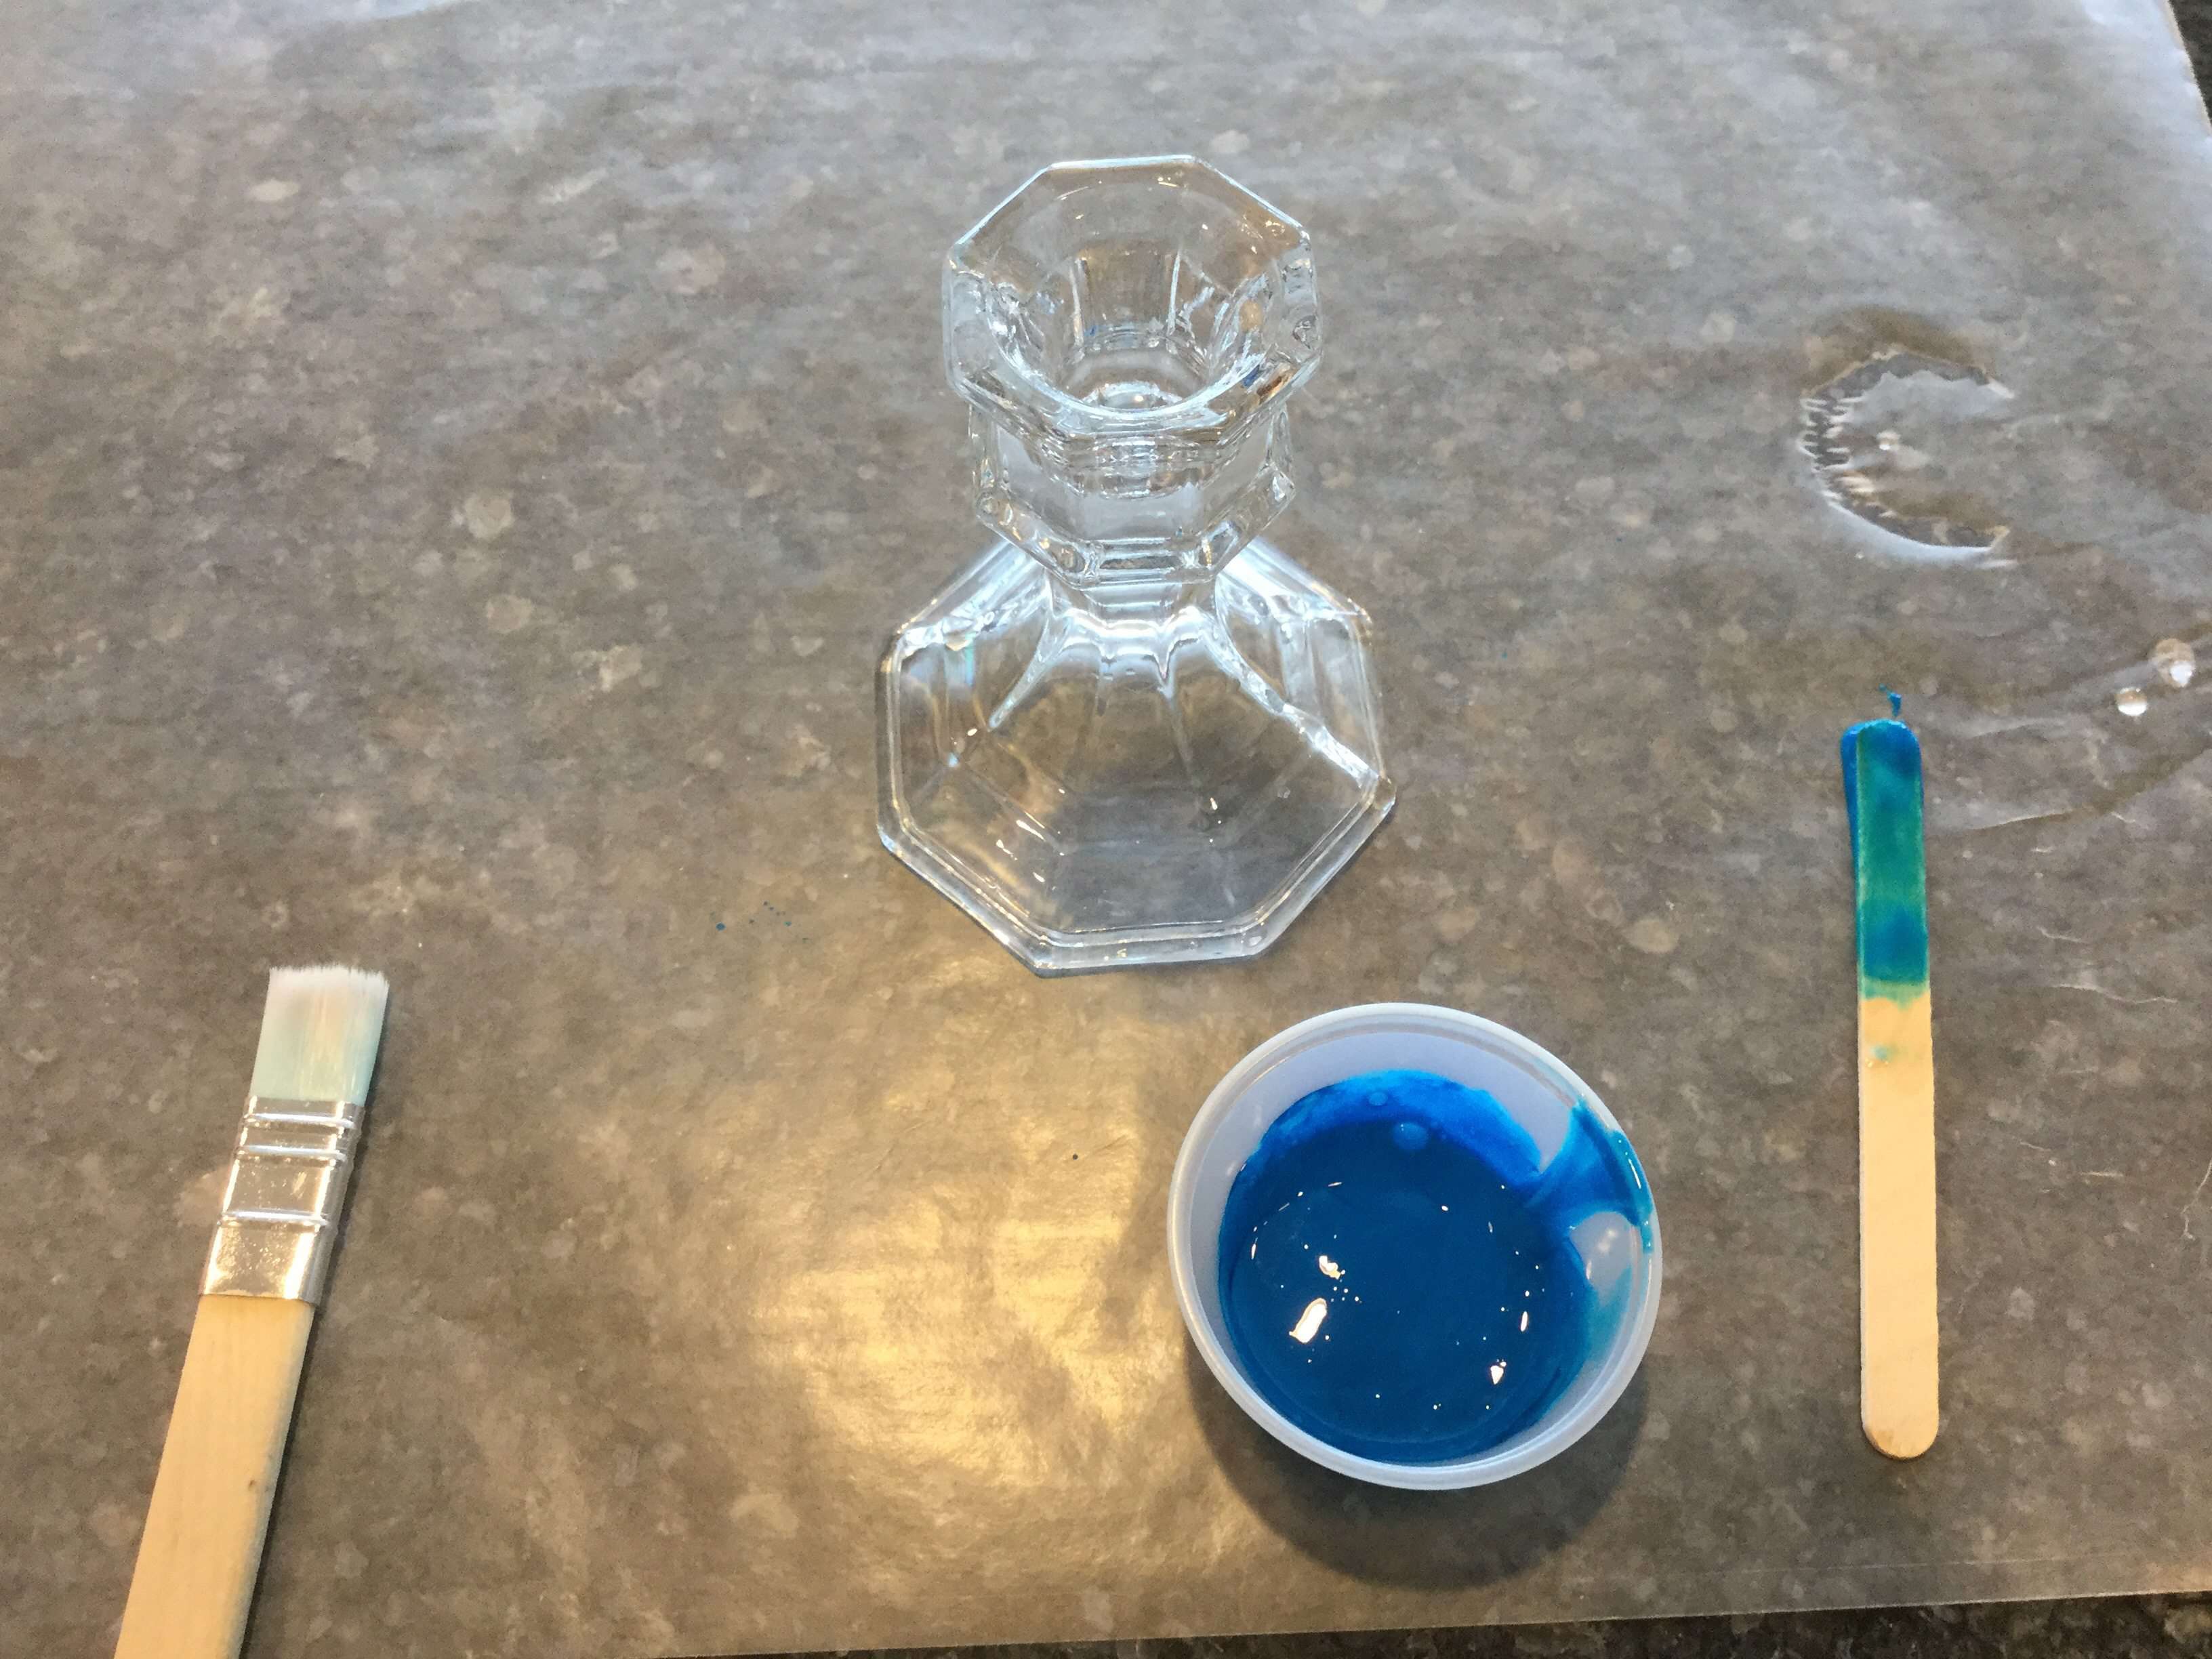

Steps:
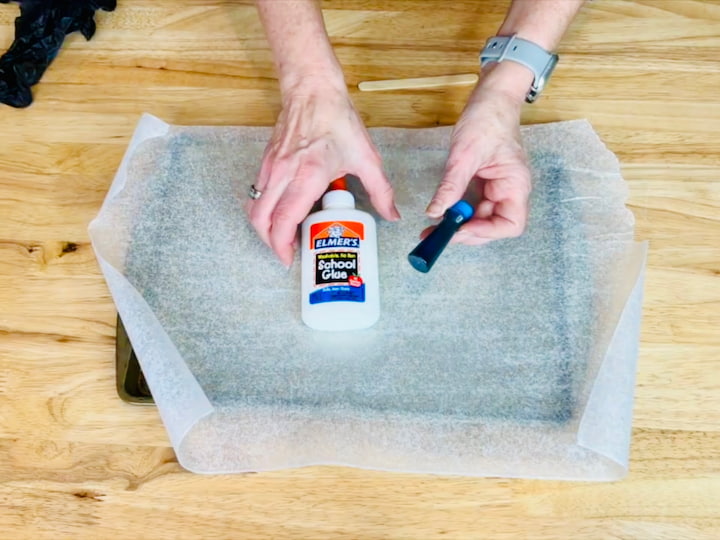
- Cover your work space
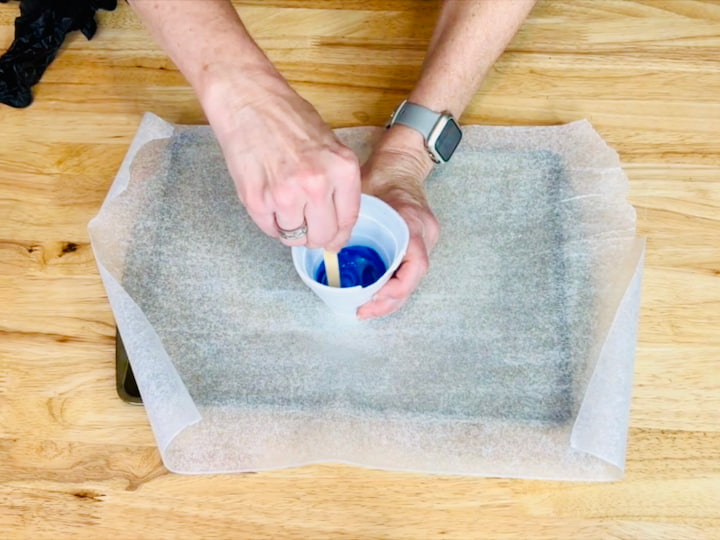
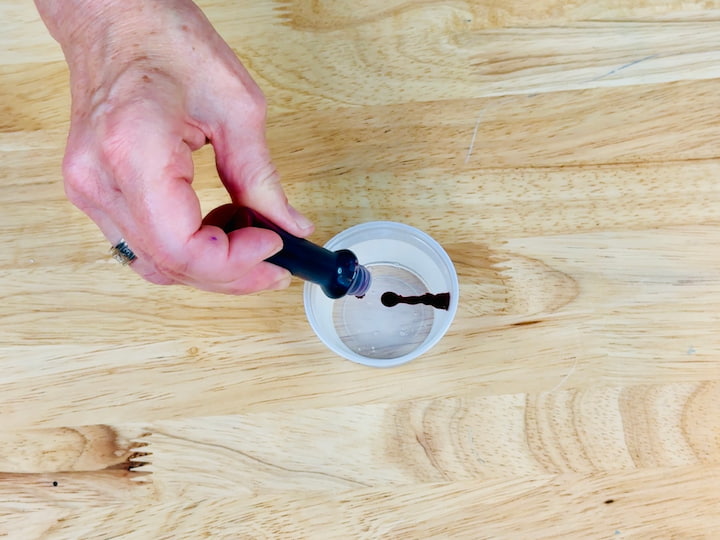
- Pour about 2 tablespoons of school glue into a small container.
- Add 3–4 drops of food coloring and stir until fully blended. Adjust with water for a thinner consistency if needed.
- Use a paintbrush to apply the mixture to the outside of your glass.
How To Color Glass with School Glue and Food Coloring Video
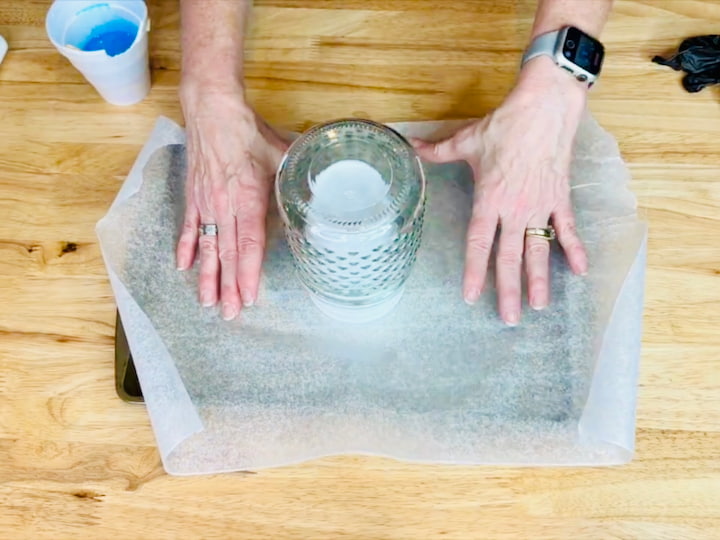
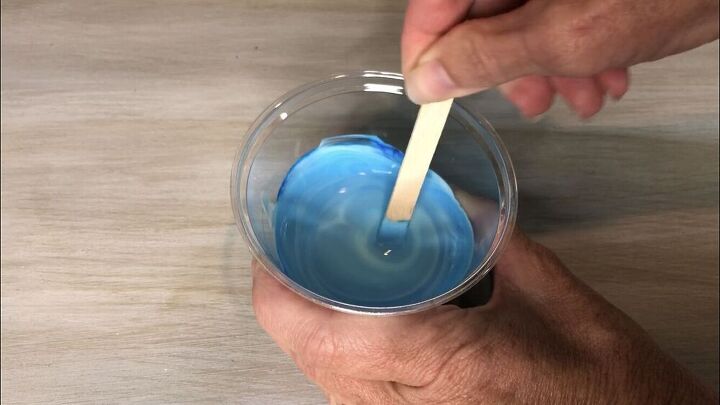
Second Option with pouring for a smoother look – no streaks
- Mix school glue and several drops of food coloring in a cup.
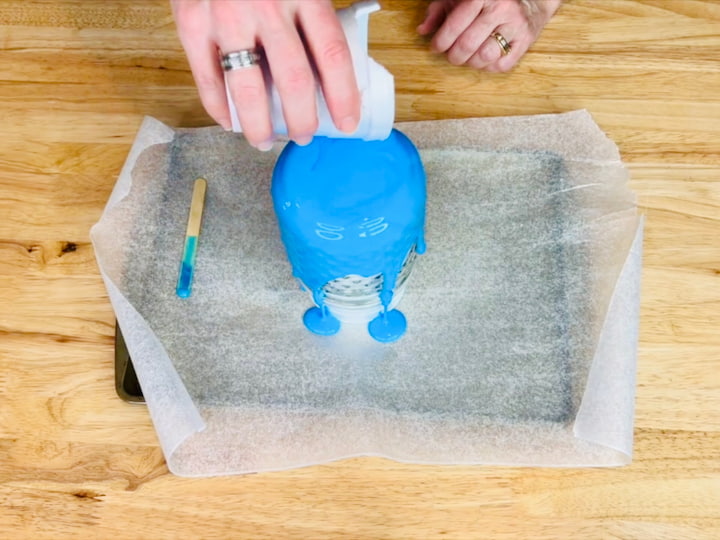
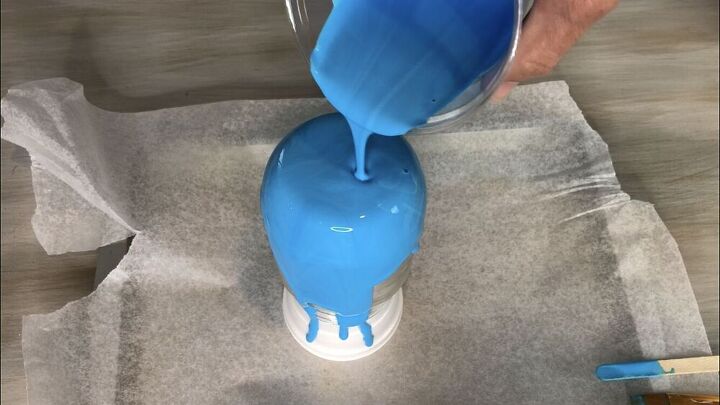
- Place your jar or vase upside down on styrofoam cups above wax paper.
- Slowly pour the mixture over the glass, swirling to coat evenly.
- Use a craft stick to fill in gaps.
- Let it dry overnight.
This technique is not water resistant, so I recommend sealing with dishwasher safe Mod Podge if desired for durability.
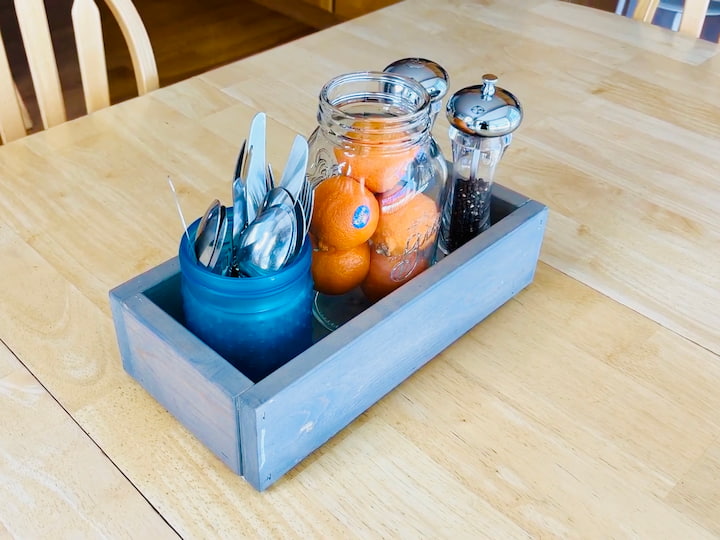
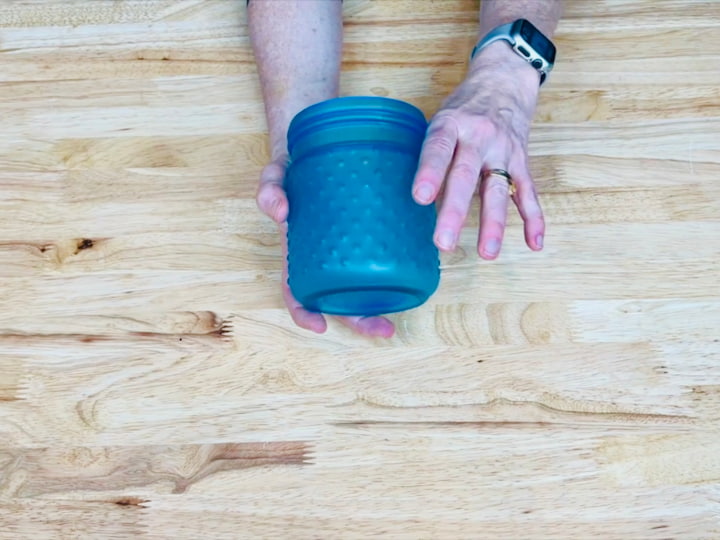
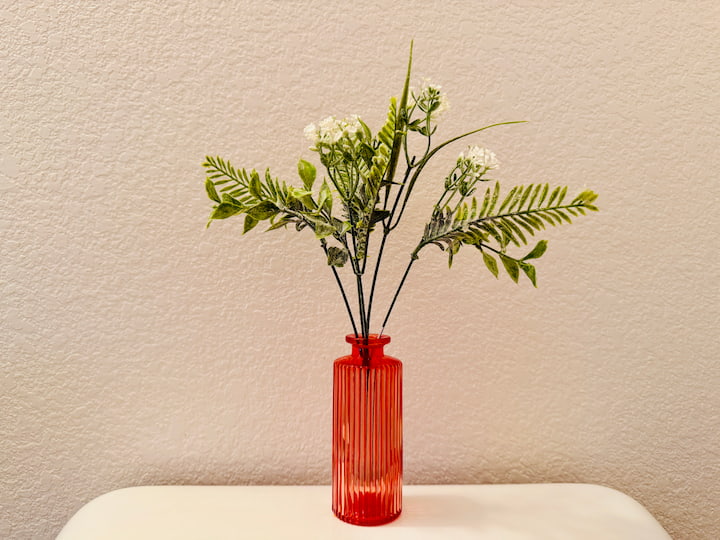
Use It For:
Holding silverware, flowers, or as a candle holder.
The best part – you can wash it off and paint it with a new color for the next holiday or season!!!
Pro Tip: If you want to speed up drying time you can try baking it in the oven. I don’t love doing this, I’d rather let it dry naturally.
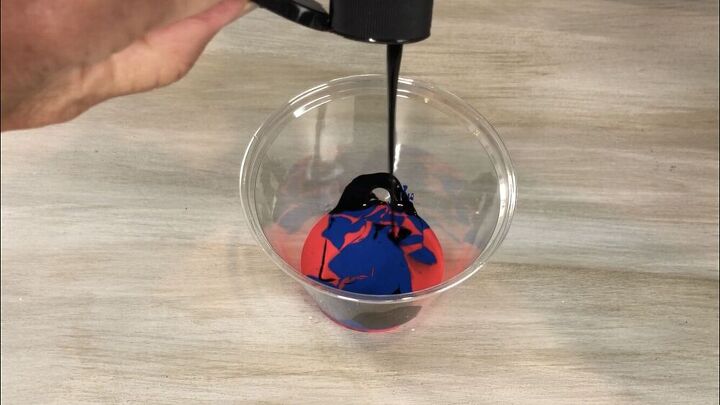
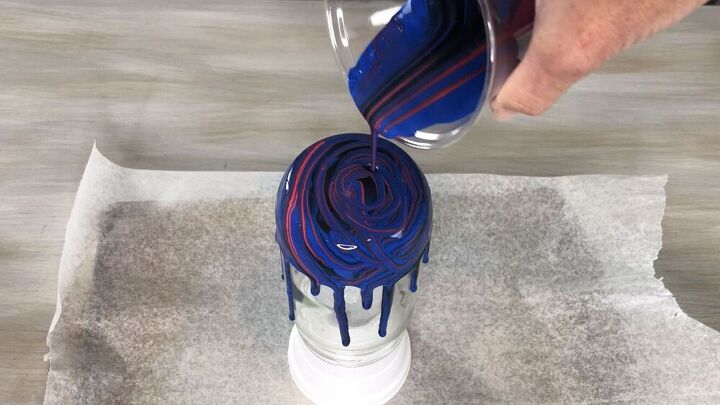
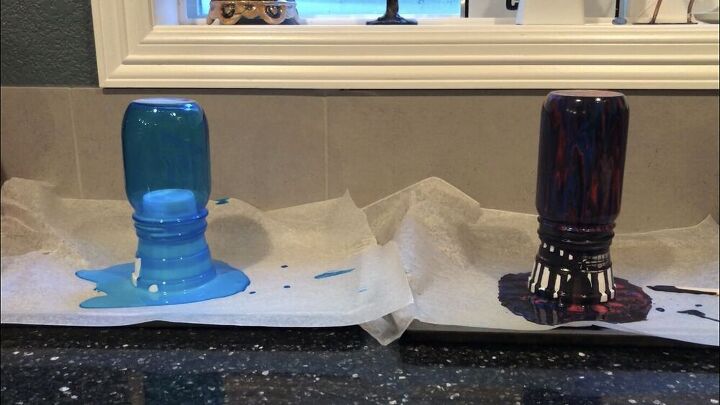
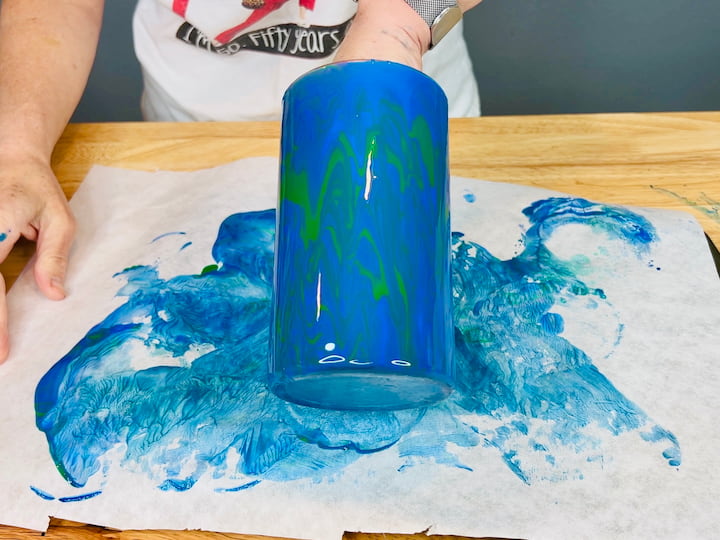
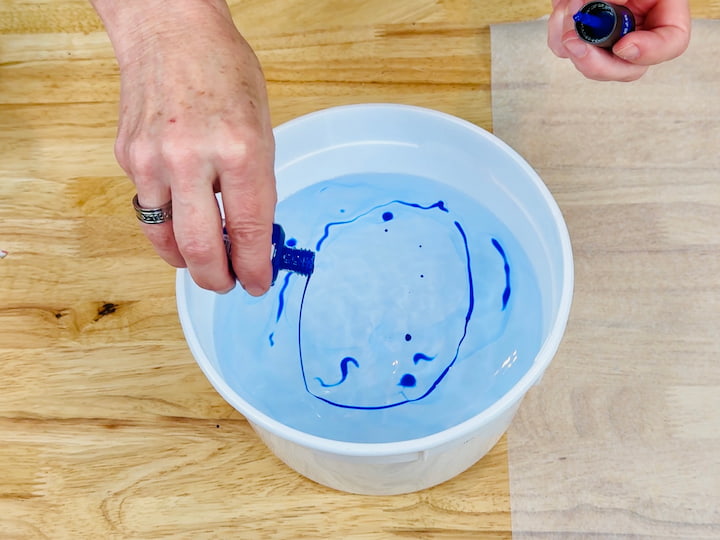
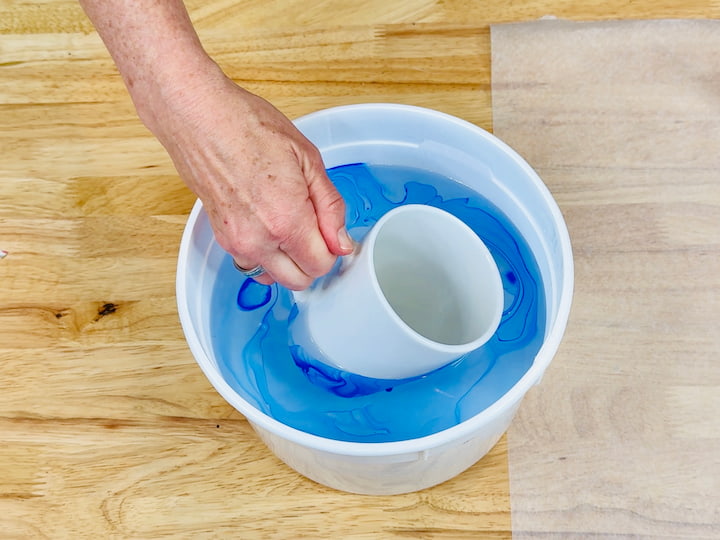
2. DIY Colored Glass Using Pouring Paint
Materials Needed:
- Pre-mixed pouring paint
- Glass jar or vase
- Cup for layering paint
- Styrofoam cups and wax paper
Steps:
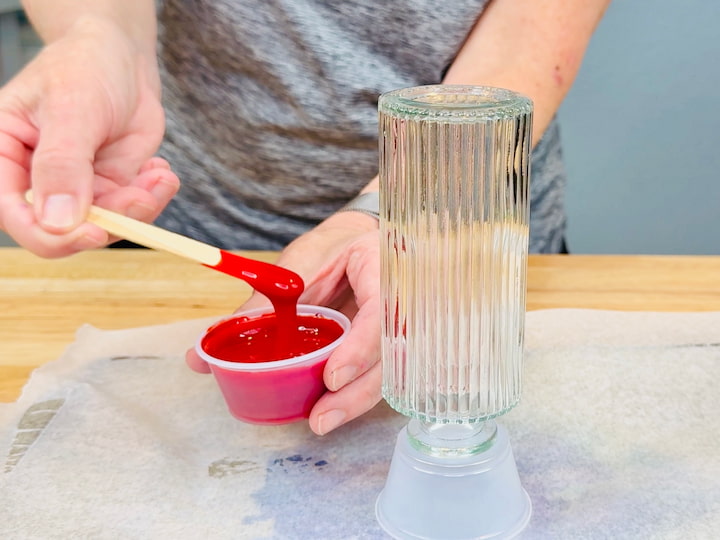
- Layer multiple colors of paint into a cup (e.g., red, blue, black).
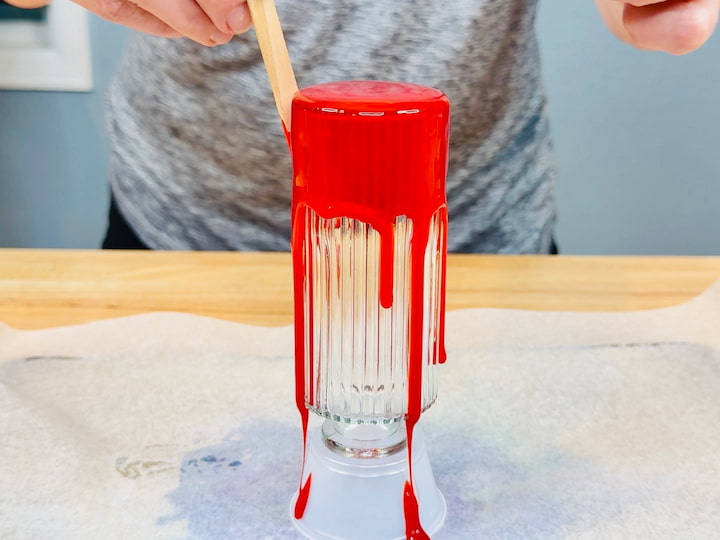
- Pour the paint mixture over the glass item in a swirling motion.
- Allow excess paint to drip off naturally.
- Let it dry overnight.
Pro Tip:
Every piece comes out one-of-a-kind!
3. Mod Podge + Food Coloring Technique
Materials Needed:
- Mod Podge
- Food coloring
- Cup
- Glass container
- Toothpick (optional)
Steps:
- Mix food coloring into Mod Podge.
- Pour the mod podge mixture over your glass container, letting it flow naturally.
- Pop any bubbles with a toothpick.
- Let it dry upside down overnight for a transparent stained-glass effect.
4. Chalk Painted Mason Jar with Distressed Details
Materials Needed:
- Chalk paint
- Mason jar
- Sanding block
- Twine (optional)

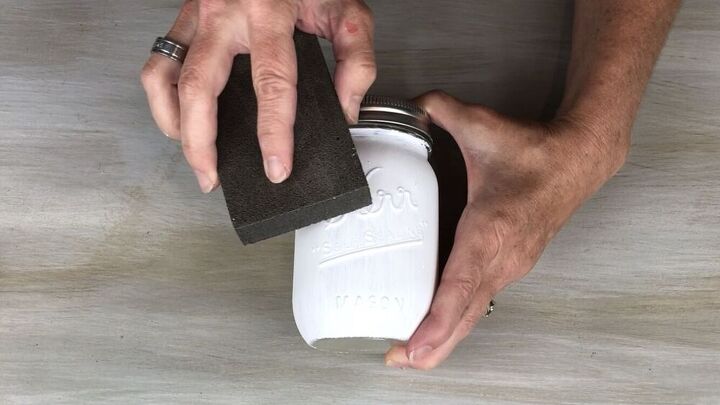
Steps:
- Paint your jar with two coats of chalk paint.
- Let dry between coats.
- Sand lightly over raised lettering for a distressed look.
- Add twine for a farmhouse feel.
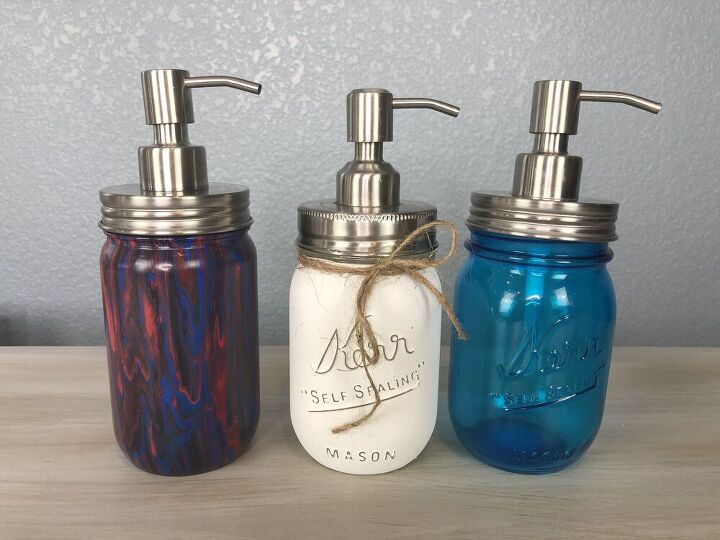
Here are the 3 techniques from above (paint pouring, faux stained glass with Mod Podge and food coloring, and painted and distressed) turned into soap dispensers for easy home decor. You can find all of these tutorials in my post DIY Hand Soap Dispenser
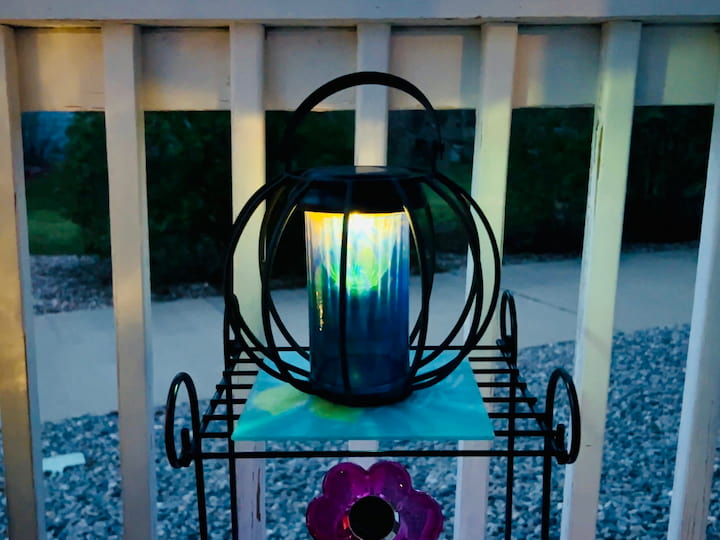
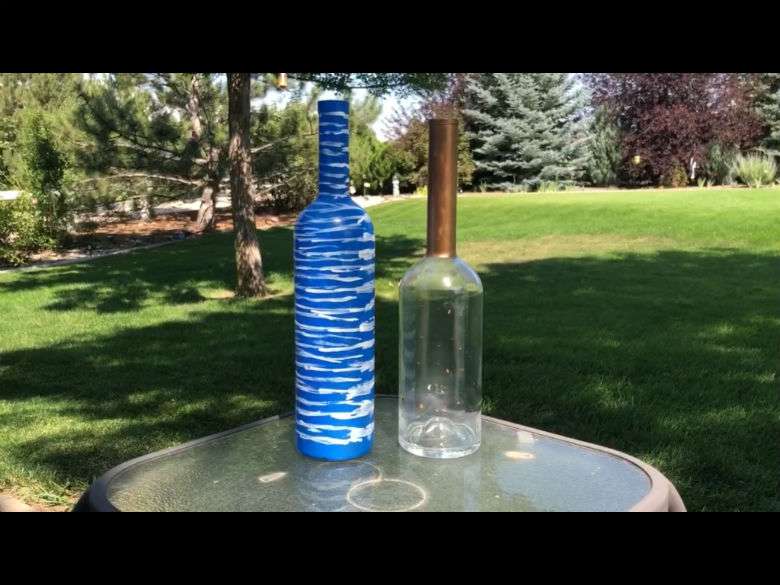
5. FolkArt Murano Glass Paint Vase
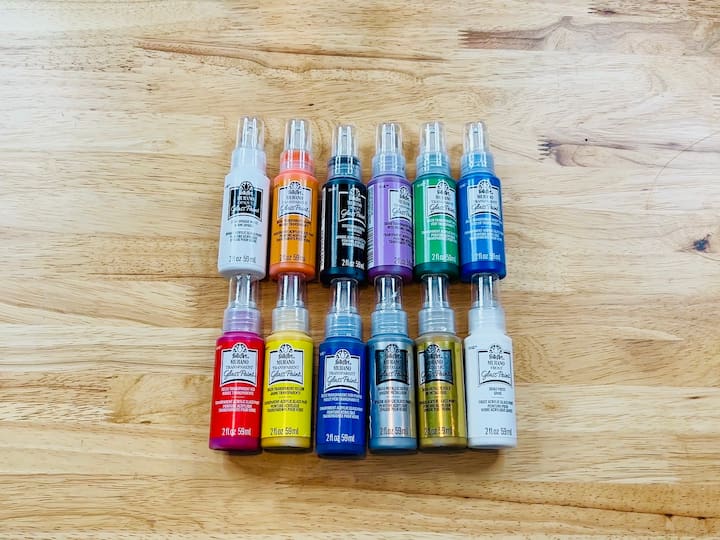
Materials Needed:
- Clear vase
- FolkArt Murano Glass Paint (blue, green, purple)
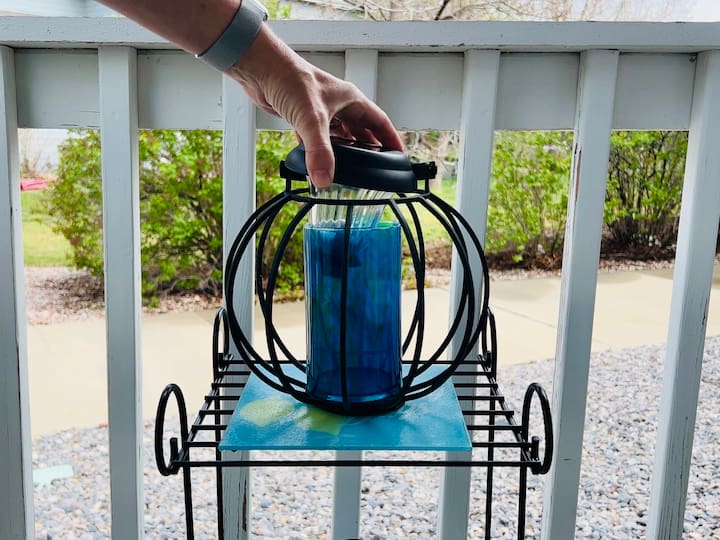
- Candle holder (optional base)
- Solar light (optional)

Steps:
- Squiggle colors onto a clean glass vase.
- Blend gently with the applicator tip.
- Let dry for 48 hours to cure.
- Add a solar light on top for a glowing effect.
You can see the full tutorial for this in my post Creative Solar Light Ideas for Summer Nights
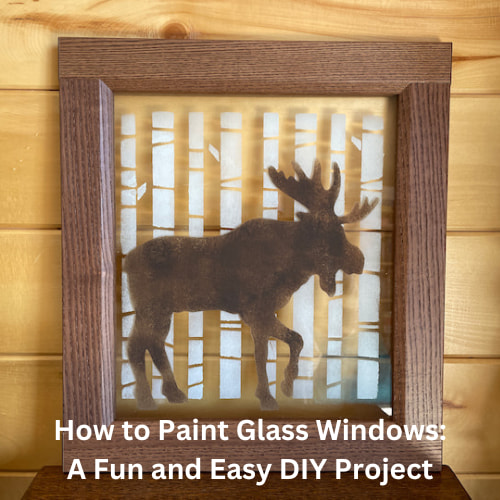
6. Gallery Glass Sun Catcher
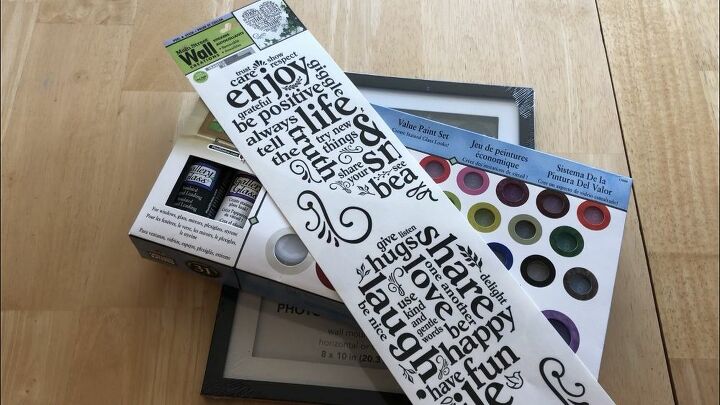
Materials Needed:
- Picture frame
- Gallery Glass paint
- Dollar Tree decal
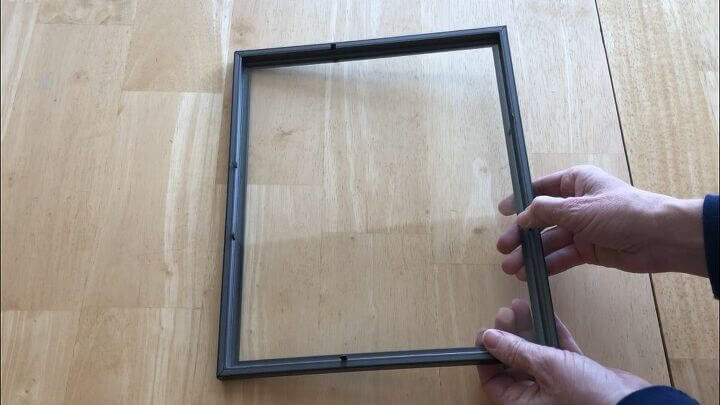

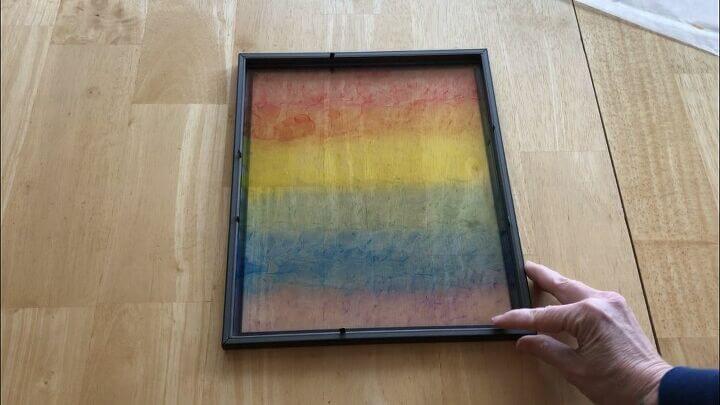
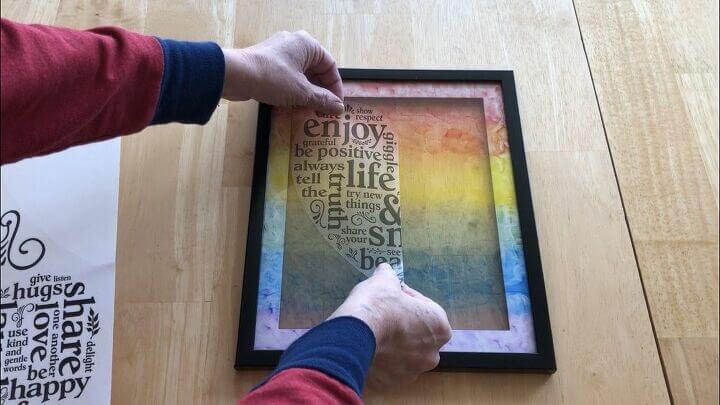
Steps:
- Remove the glass from a frame.
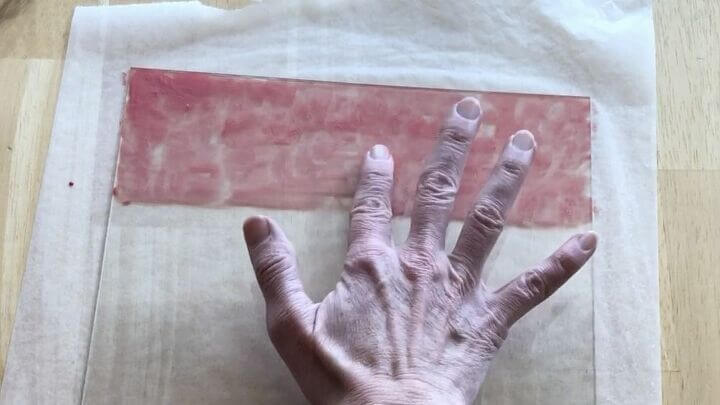
- Apply Gallery Glass paint using fingers to tap colors in.
- Let dry until translucent.
- Replace the glass and add a decal.
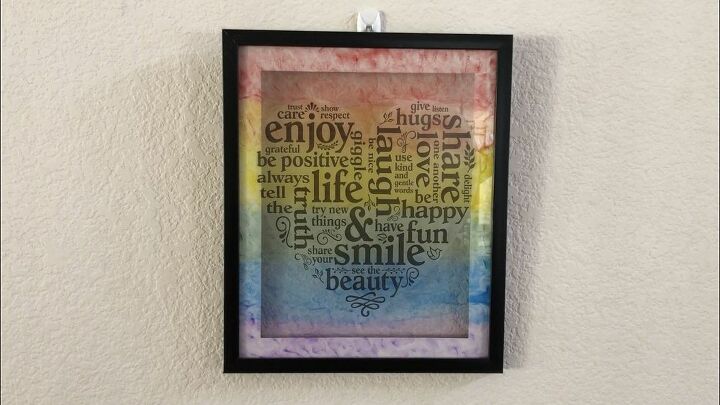
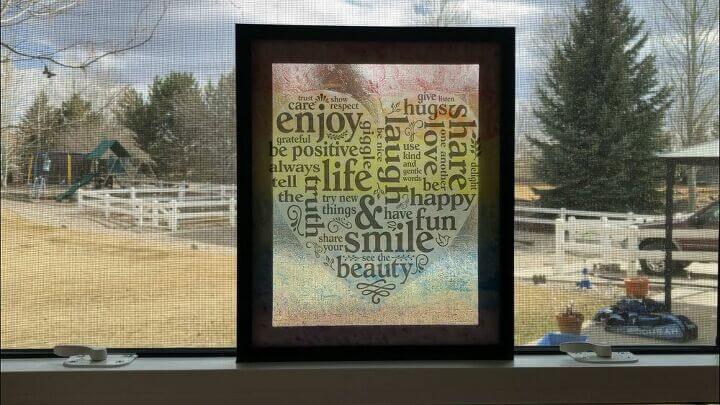
Display Tip:
Hang in a window for a pretty sun catcher effect.
You can see the full tutorial and video for this in my post Faux Stain Glass Sun Catcher
7. Marbled Nail Polish Glass

Materials Needed:
- Nail polish
- A bucket with hot water
- Glass or ceramic mug
- Optional: Dishwasher-safe Mod Podge
Steps:
- Drop nail polish into hot water.
- Dip the item into the water’s surface.
- Let dry.
- Seal with Mod Podge if using for dishwasher-safe items.

8. Sharpie + Rubbing Alcohol Color Bleed Glass
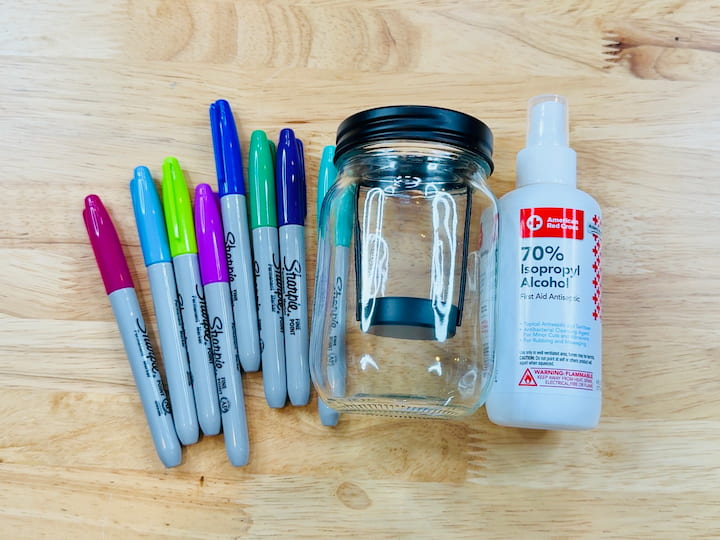
Materials Needed:
- Clear glass container
- Sharpie markers
- Rubbing alcohol
- Spray bottle
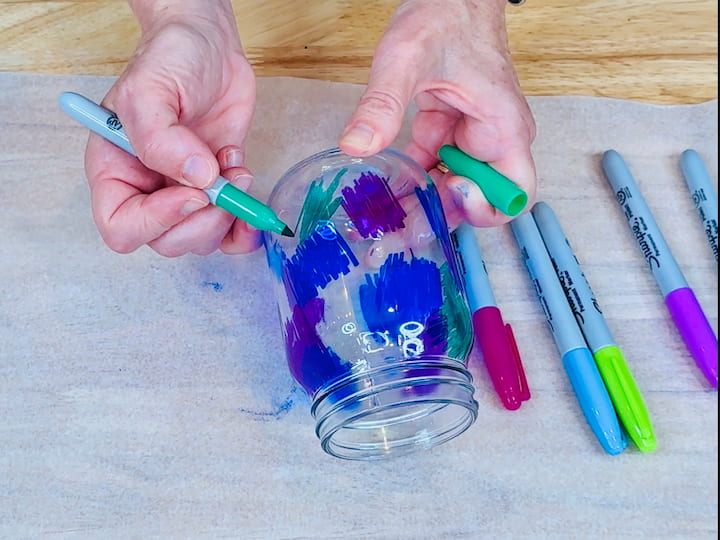
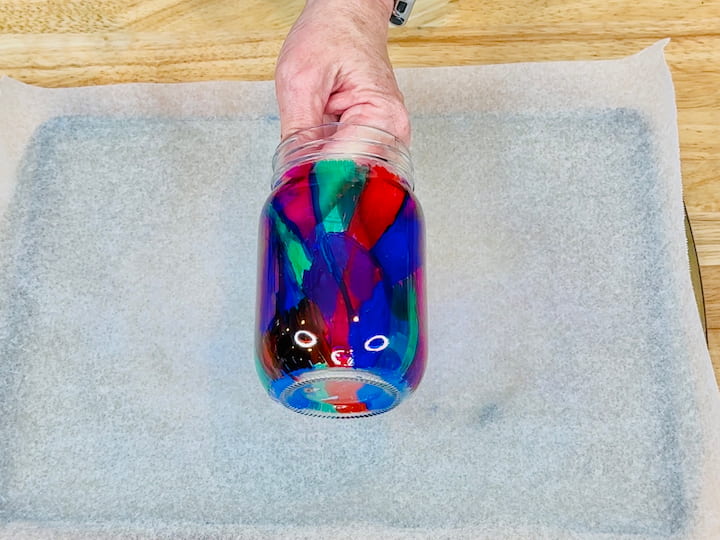
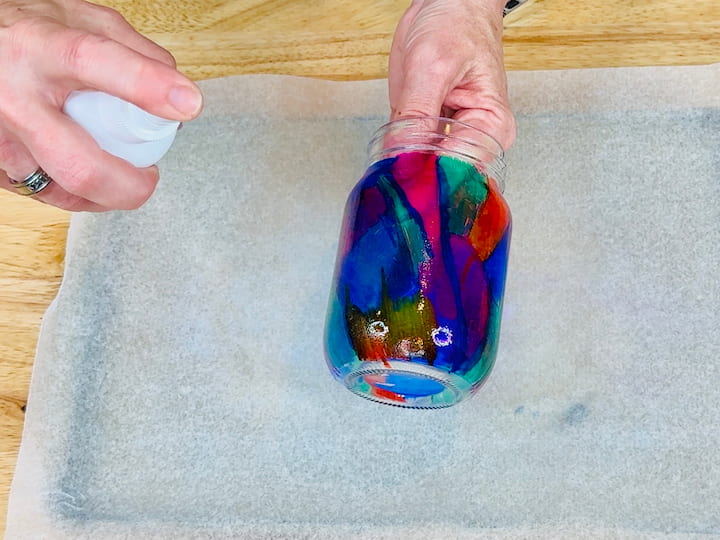
Steps:
- Color random blotches all over your glass with Sharpies.
- Spritz with rubbing alcohol to blend the colors.
- Let dry.
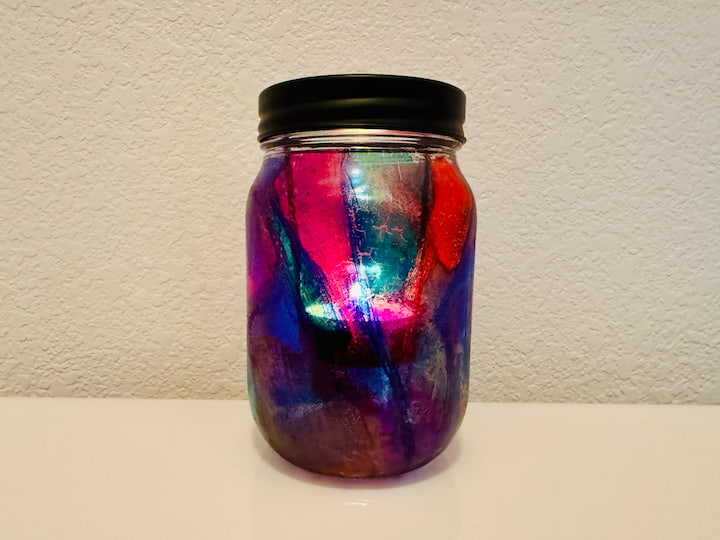
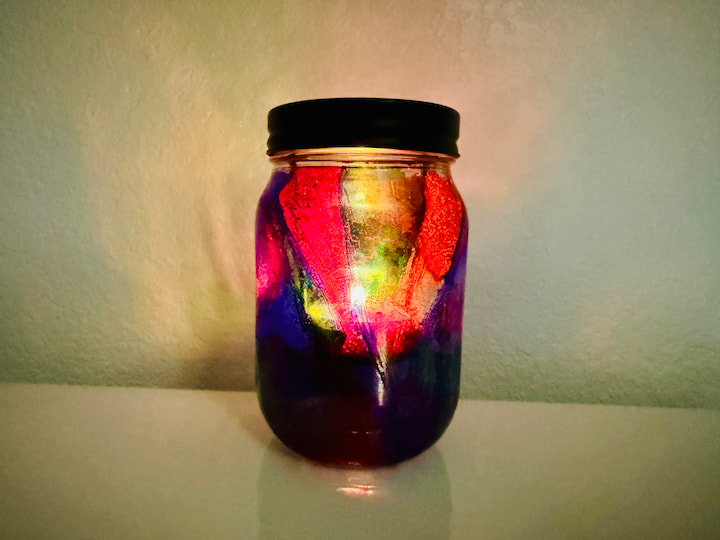
Light It Up:
Add a tealight for glowing stained-glass vibes.
9. Tissue Paper & Mod Podge Bottle
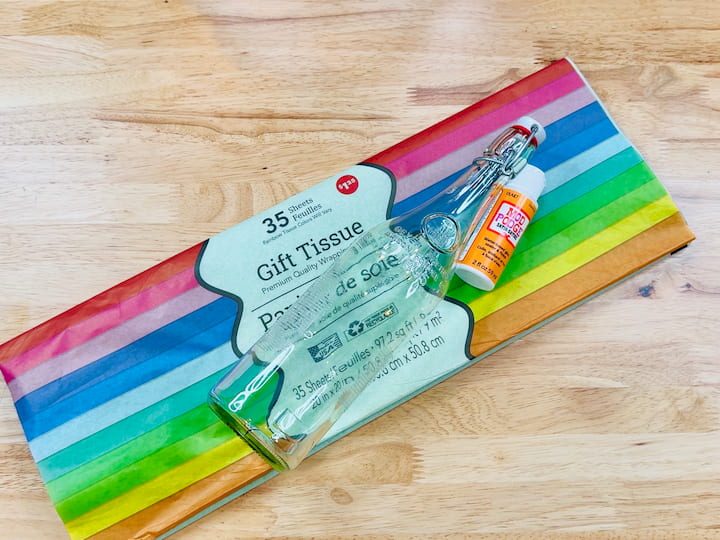
Materials Needed:
- Tissue paper (variety of colors)
- Mod Podge
- Paintbrush
- Glass bottle
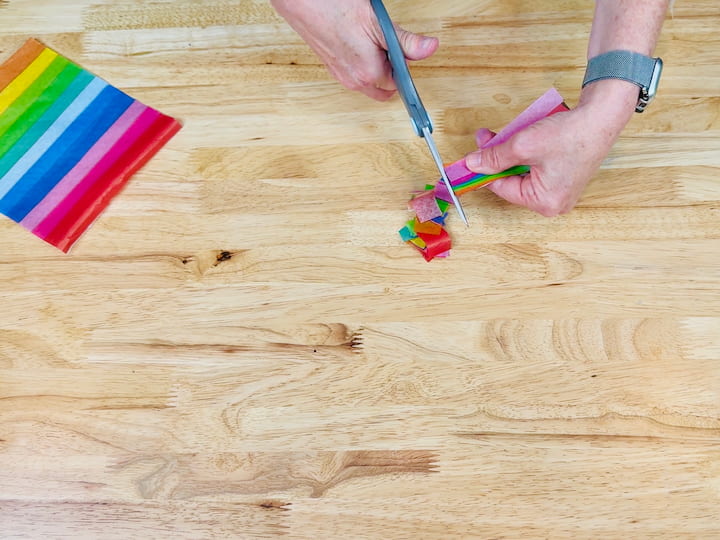
Steps:
- Cut tissue paper into small squares.
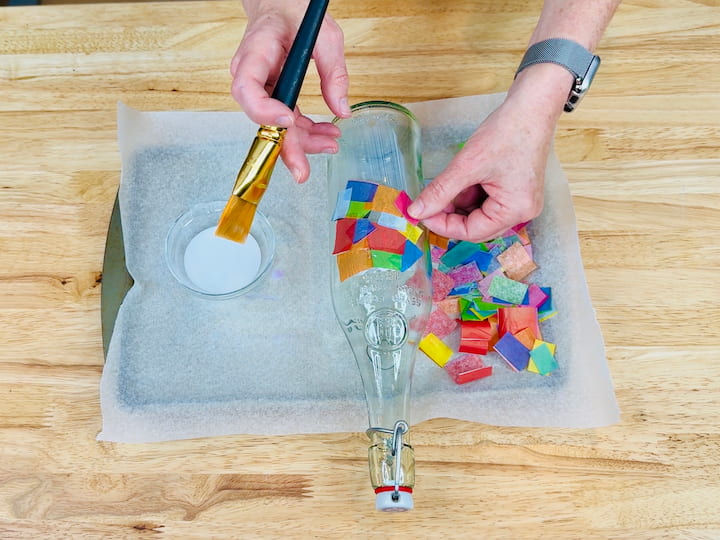
- Apply Mod Podge to glass.
- Add tissue squares and topcoat with Mod Podge.
- Let dry completely.
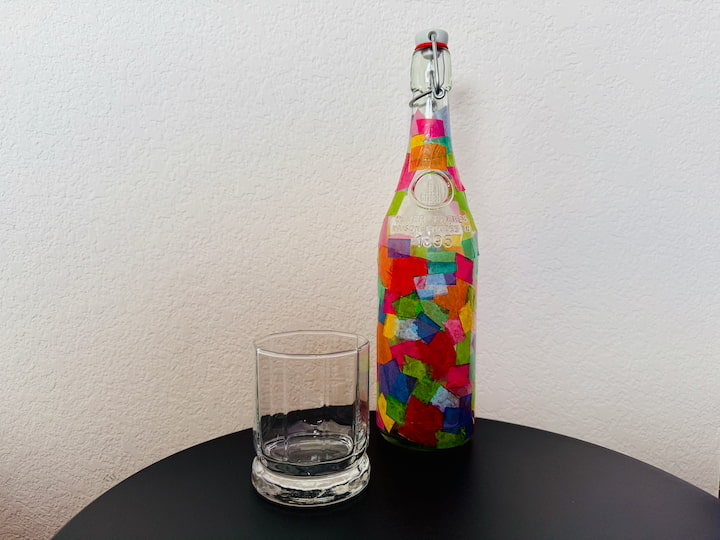
Use It As:
A water bottle for guests or a unique vase.
10. Alcohol Ink Glass
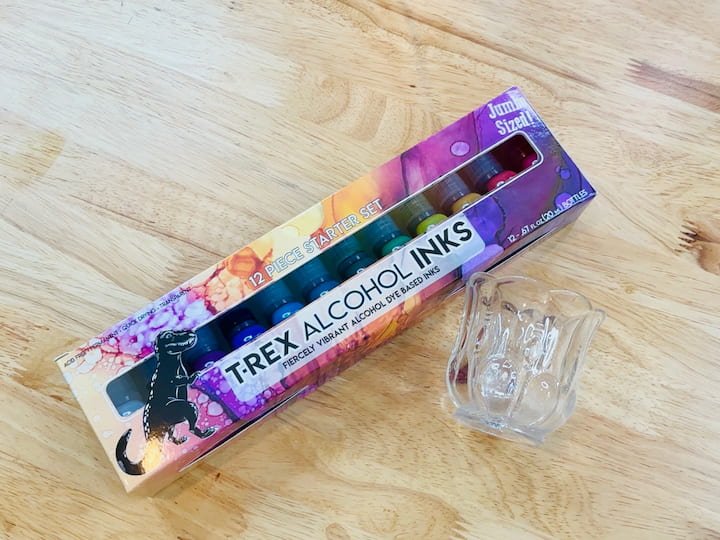
Materials Needed:
- Alcohol inks
- Glass candle holder
- Wax paper
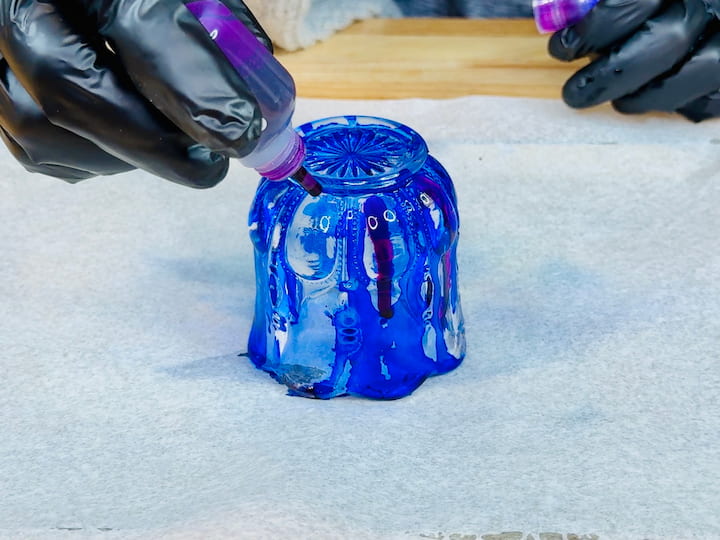
Steps:
- Place candle holder upside down.
- Drip alcohol inks across the surface.
- Let dry completely.
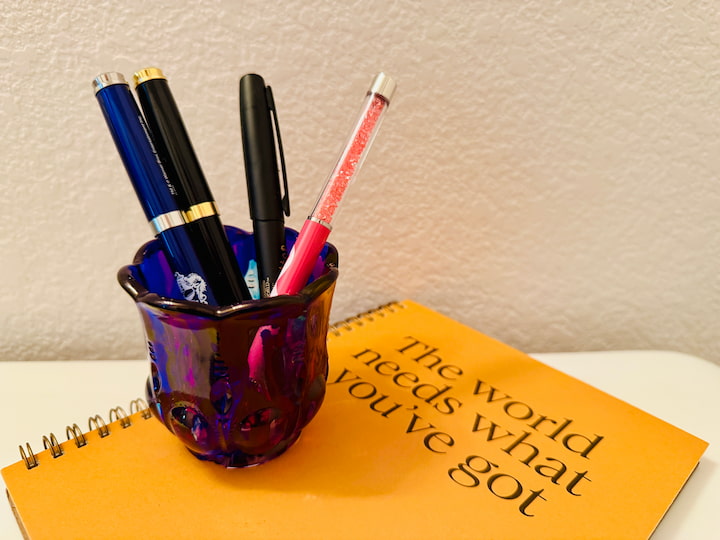
Stylish Storage:
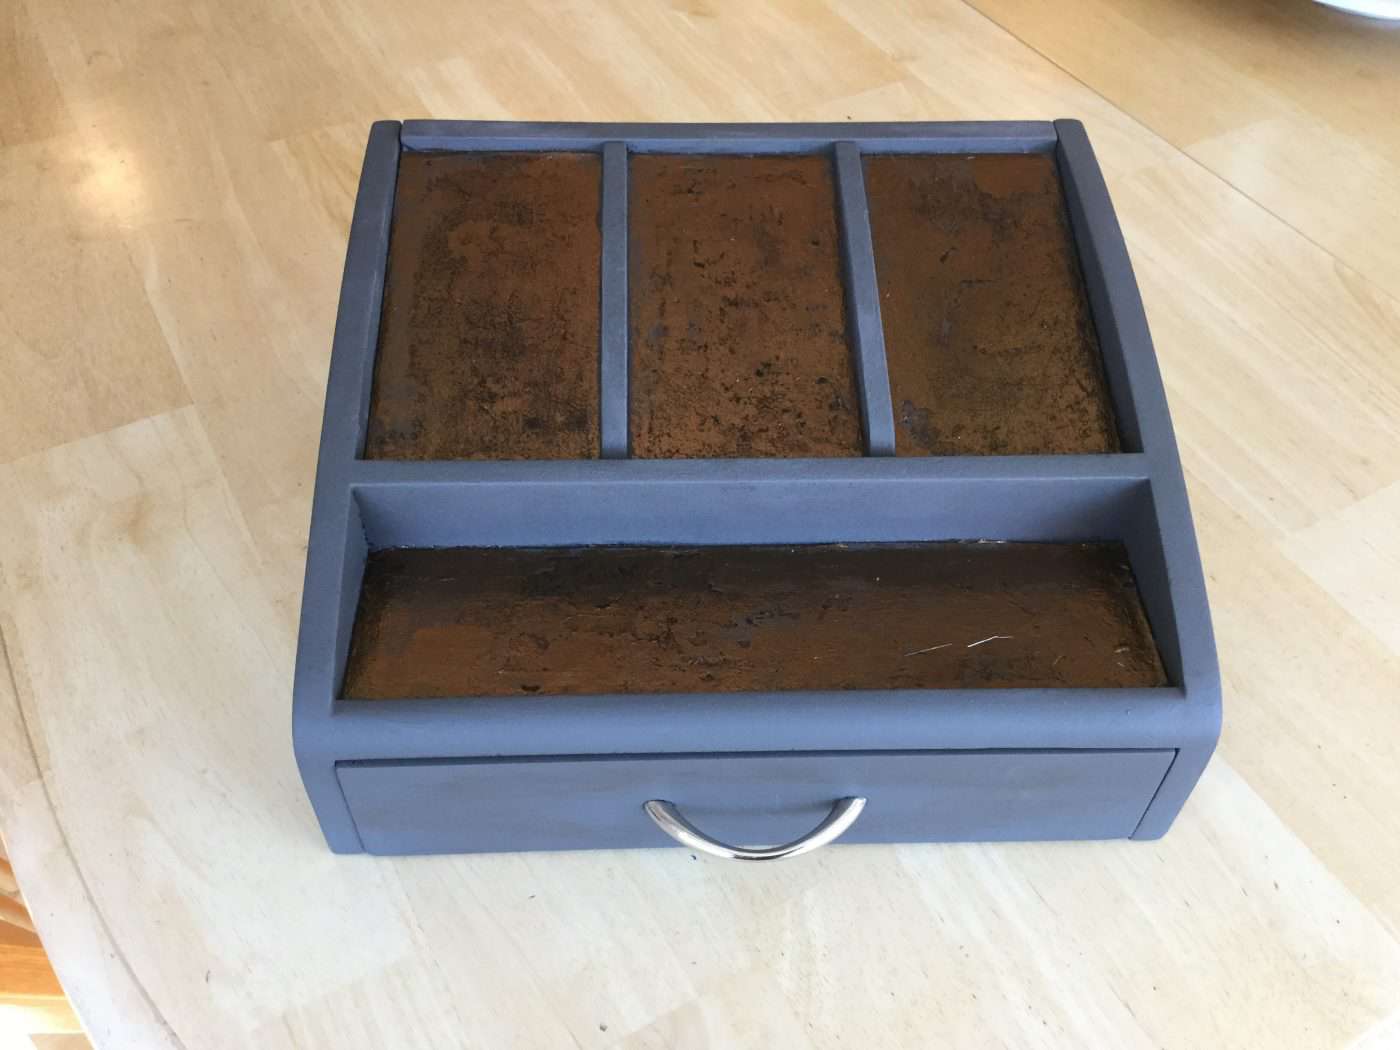
Use to store pens, makeup brushes, or cotton swabs.
Bonus: Clear Elmer’s Glue + Food Coloring (Transparent)
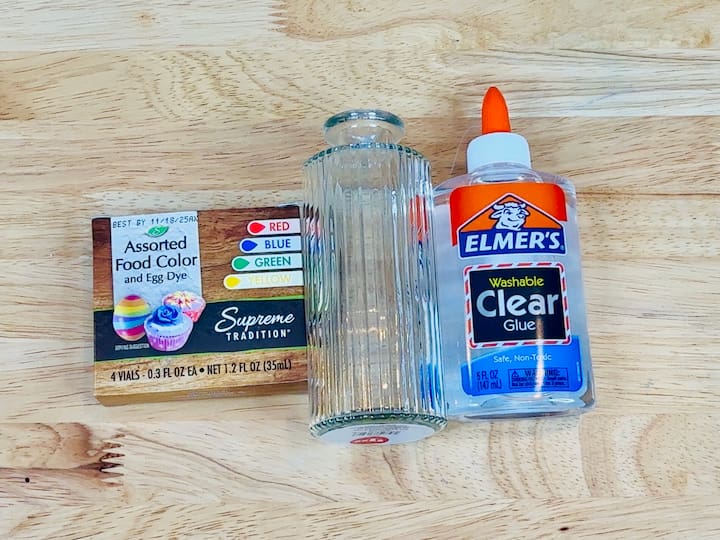
Materials Needed:
- Clear Elmer’s glue
- Food coloring
- Small glass jar
- Faux plant and water (optional diffuser)
Steps:
- Mix food coloring into clear glue.
- Pour over the glass jar.
- Let dry overnight.
- Fill with water and essential oil for a DIY diffuser!
How To Color Glass Video on YouTube
Final Thoughts
There are so many creative ways to color glass at home using everyday materials! Whether you’re trying out glass painting for beginners, decorating mason jars, or making DIY gifts, these techniques are simple, satisfying, and budget-friendly.
Which of these glass craft ideas are you going to try first? Let me know in the comments!
Shop any of these stores and I receive a small commission at no cost to you.

Tips for Success
- Clean your glass thoroughly before starting. Use rubbing alcohol or dish soap to remove oils and residue.
- Always allow plenty of drying or curing time—especially with layered paints or glue methods.
- For a longer-lasting finish, seal with Mod Podge Dishwasher Safe or a clear acrylic spray.
- These are not food-safe finishes unless specifically stated. Use for decorative purposes only.
Final Thoughts
Whether you’re upcycling old jars or adding flair to dollar store finds, these 10 simple methods to color glass let you express your creativity without breaking the bank. These techniques are perfect for gifts, DIY decor, holiday projects, and more.
If you try any of these, tag me @chascrazycreations—I’d love to see what you create!
You might also be interested in other glass projects:
- Etching Glass Tutorial
- Painting Wine Glasses
- Stencils on glass
- Color Glass Etching – you’ll see this on an emerald wine glass. I’ve also etched blue glass and amber glass.
Easy Way To Color Glass!
Equipment
- Paint Brush
Materials
- Elmer’s Glue
- Food Coloring
- Glass
Instructions
- Put your glue in a container and add a few drops of food coloring to get the color you like.
- Mix the food color and glue together.
- Paint the mixture onto your candle holder or jar.
- Let it dry completely


Love this technique. How could it be sealed permanently? Maybe with a gloss of matte spray?
Hi Patricia, that is a great question. I think spraying it with an acrylic sealer might work, or maybe a small amount of top coat can be mixed in with the mixture.
Love the sea glass items and the bug in the jar. Don’t have lightning bugs in CO but sure remember catching them in Cleveland, OH where I was born and lived til I was 10 when we moved to Tucson, AZ where there’s no lightning bugs either. Would be cute to make enuf of jars to line the railings on our front porch where we live in western CO.
Always enjoy your projects and blog.
Happy week
Thank you so much! I love that you are out here in Colorado too and I also love the idea of lining them up on the front porch 🙂
Great tutorial. And it always looks so pretty to color glass. Thanks for sharing at #HomeMattersParty
Thank you so much Donna and thanks for stopping by.
It looks great – I can imagine doing several different glass pieces in different colours and putting them together in a little group on a window sill (or somewhere that catches the light).
Leanne | http://www.crestingthehill.com.au
Thank you Leanne, there are so many possibilities and love the sun catcher idea.
Love this idea and the possible colors!
Thank you Snap – you are so right on the colors 🙂 Now you have me thinking about what I’ll make next 🙂
I love this idea. Especially because you can wash it off and change it up.
Thank you Debra, and I love that about it too. So easy to change for so many occasions.
That is so easy and such a fun idea. it would be a fun way to decorate a flower vase for different seasons too. Thanks for sharing with us at the Virtual Fridge. Pinned.
Thanks so much and I’m so glad you like it. Love your vase idea and thank you for the Pin 🙂
Amazing! And it really does have the color and appearance of sea glass!
Thanks Michele, and I thought the same thing. I think I’ll try a green one and maybe figure out if I can do a frosted glass look as well to finish those sea glass colors.
This is brilliant – I can’t wait to try it!!
Thanks Kate, and I’m so excited you want to try it too 🙂
I love the ease of doing this! Do you know if there is any way to set the color so the item can be used outside? I have some left over fan light shades that I want to combine with solar lights for some fun colors in my garden.
Thanks Linda and that is a great question. I know they make an outdoor Mod Podge but I have heard that it still isn’t waterproof. I’m wondering if you mixed the food color with a small amount of clear coat or maybe glue, clear coat, and food color? Then maybe it would be more permanent.
I see comments about easy way to color glass but don’t see how to do it. Are there steps on how to do this?? I have lots of jars I would love to do this with.
Hi Kristi, can you see the pictures and instructions on the post if you start from the top?
Wow! Love this idea! I don’t have the time for projects but this is something that would not take long and I think I already have everything I need. Thank you!!!
I’m so glad you like this project Jeanie. I hope you have as much fun with it as I did 🙂