Easy and Space Saving Christmas Tree Craft with Hangers
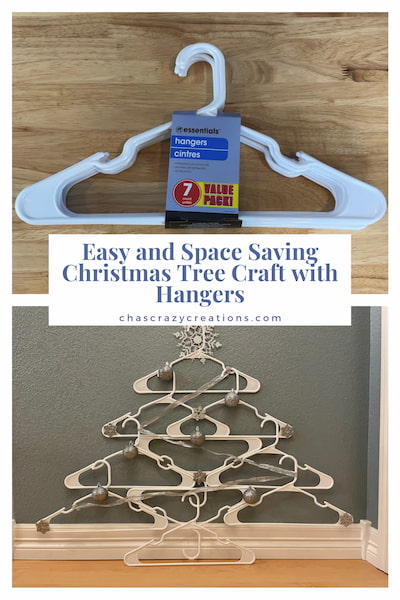
Did you know you can craft with hangers? I created this easy and space-saving Christmas tree out of white plastic hangers and a few accessories.
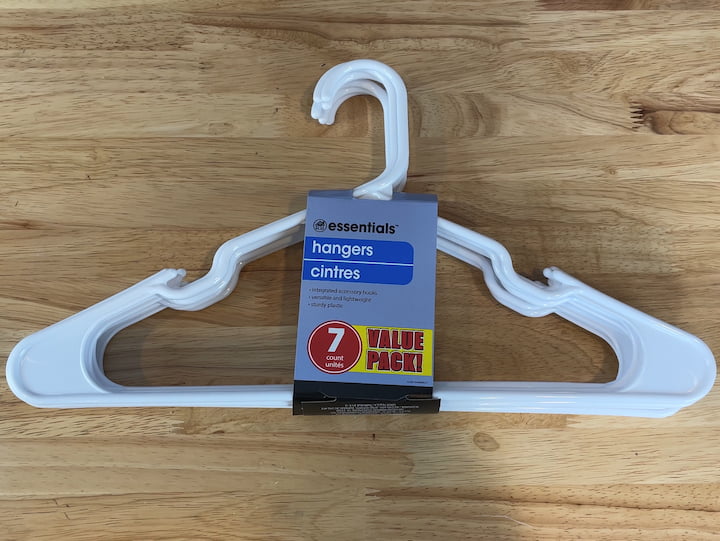
materials needed for this craft with hangers
craft with hangers Video
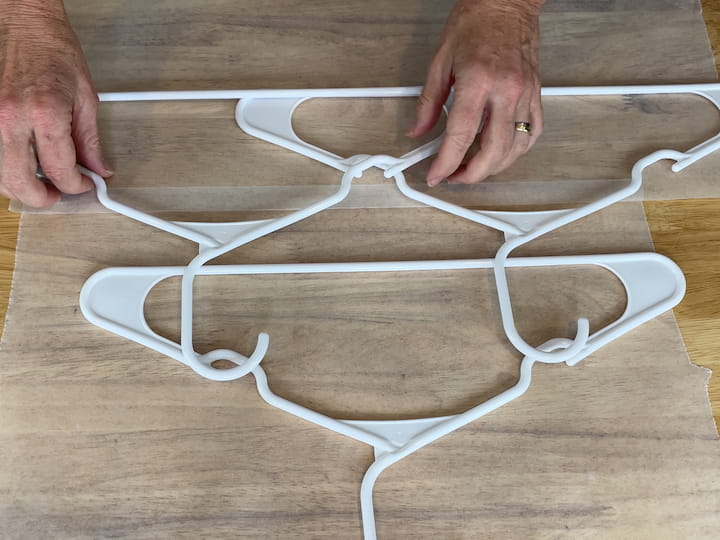
craft with hangers instructions
1. Set up the first 3 hangers
I built a pyramid of sorts by placing one hanger at the very top, and then 2 hangers in the next row.
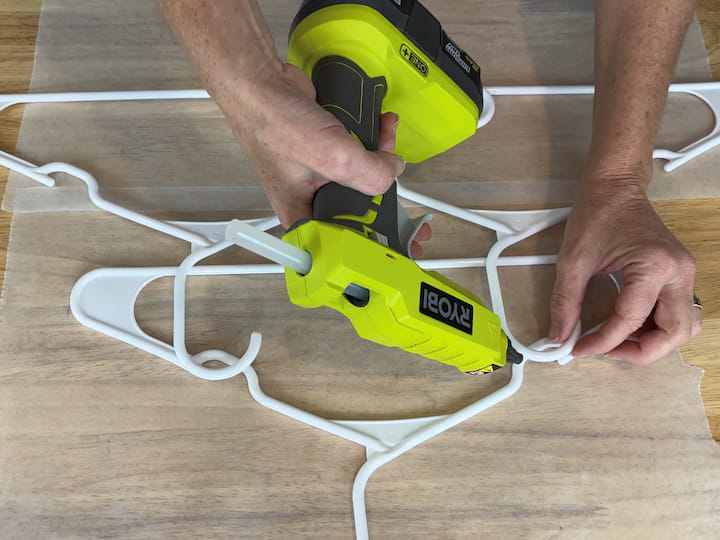
2. Hot Glue the Hangers Together
I hot glued these 3 hangers together and you could use a different adhesive of your choice.
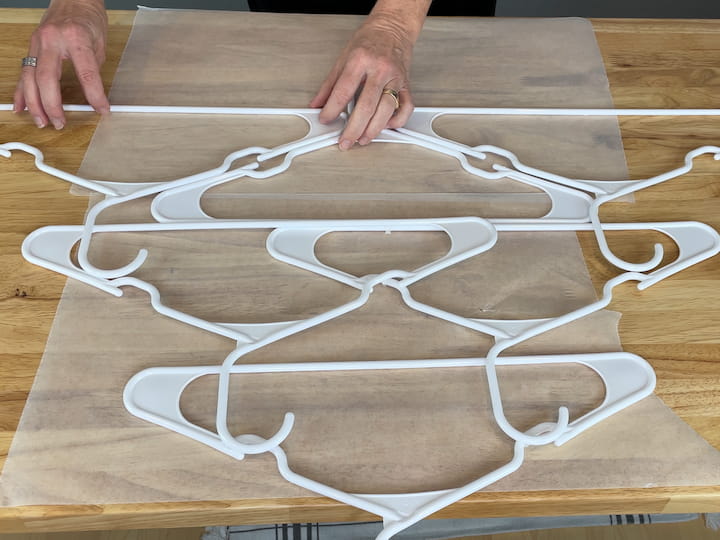
3. Add the next row of hangers and Glue Into Place
For the next row, I placed a hanger in the center upside down, and upright hangers on either side of the center hanger. I hot glued these hangers into place.

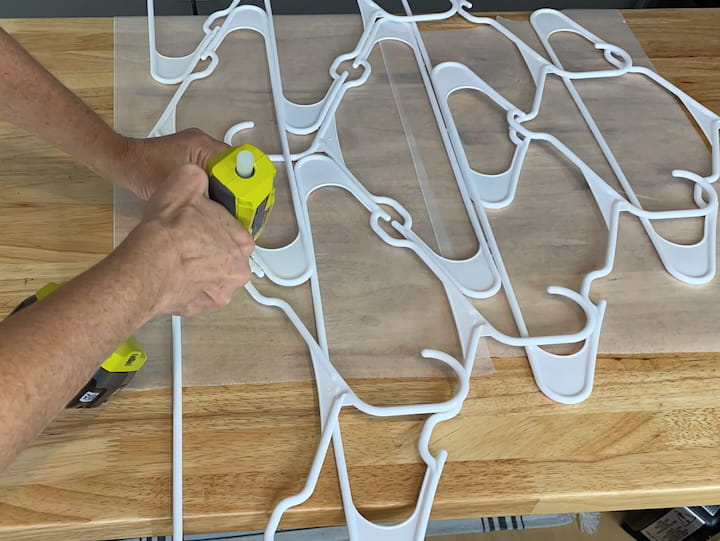
4. Repeat the adding hangers and gluing
I kept adding rows of hangers creating the Christmas tree and hot gluing them into place.
You can add as many rows as you like until you reach your desired Christmas tree height.
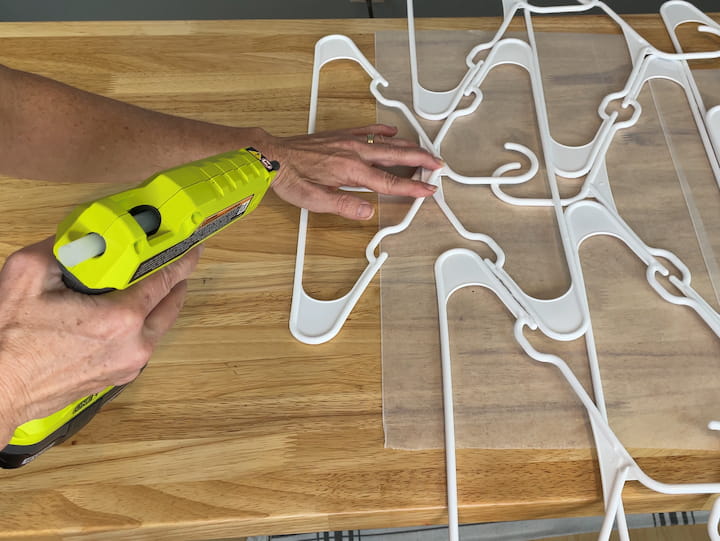
5. Add a Tree Base
I placed one final hanger upright at the bottom and hot glued it into place to become the tree base.
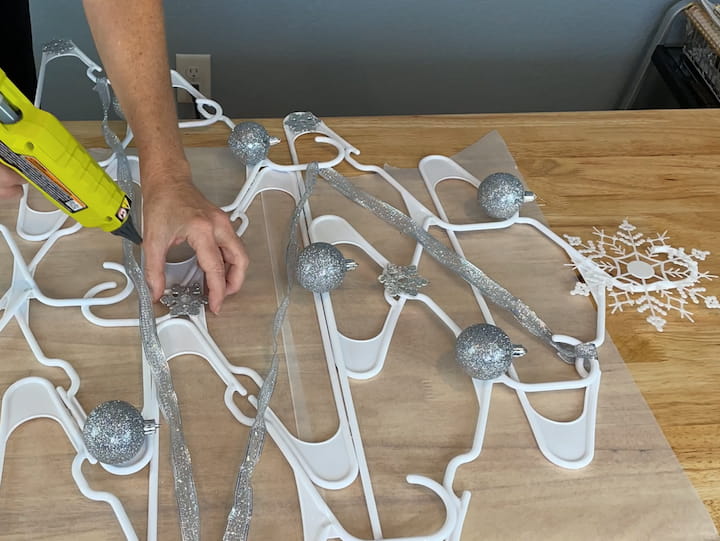
6. Decorate Your Tree
I hot glued on ribbon for garland, bulbs, and snowflake ornaments onto my tree to decorate it. You could spray paint your hangers before you decorate them if you would like a green tree.
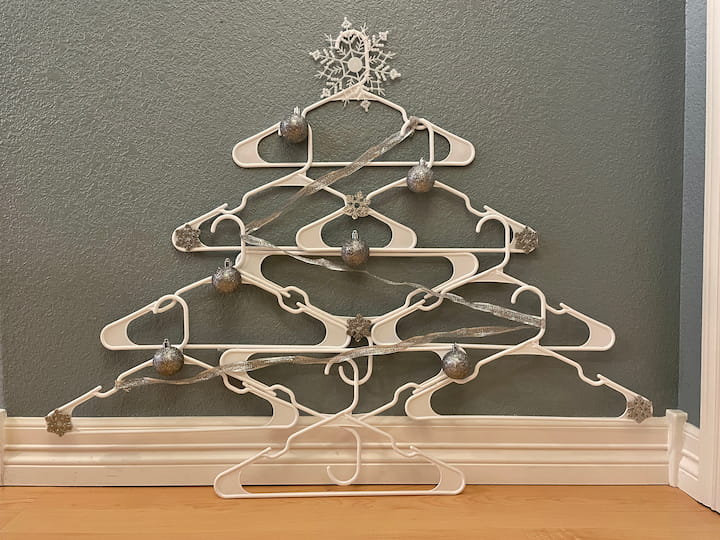
Here’s the completed tree. I love that this is a great space saver! You can place it inside or out.

I also took 8 hangers and made a snowflake out of hangers for Hometalk TV!
Check out some of my other Christmas posts!
- 6 Amazing & Easy DIY Outdoor Christmas Decorations
- Easy and Cute Dollar Tree DIY Gnome Christmas Tree
- 5 Beautiful Dollar Tree Christmas Crafts For Under $1
Easy and Space Saving Christmas Tree Craft with Hangers Video
Shop any of these stores and I receive a small commission at no cost to you.


